Zbrush tutorial: The making of Orc by Moises Gomes
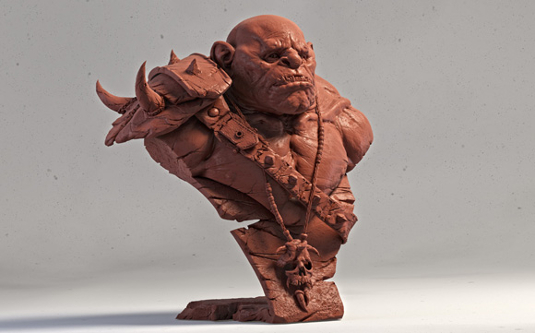
Featured artist Moises Gomes talks us through the production process for his favourite work - Orc. Inspired by drawings by Alex Oliver, the concept for this render began to take shape...
Software used:
- 3DStudio-Max 2012
- ZBrush
- Render Kit - Mike Nash
- Topogun
- Photoshop CS5
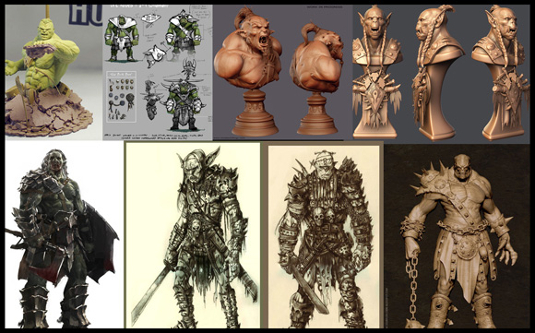
01. Concept
Once I had done a little 'Orc Research' of my own, to get references for the accessories, I was able to get started on the project. Aside from making a result I would hopefully be proud of, the main purpose of this project was for me to improve my modelling techniques and skills. Below I go into more detail about my production process, focussing primarily on modelling and composition.
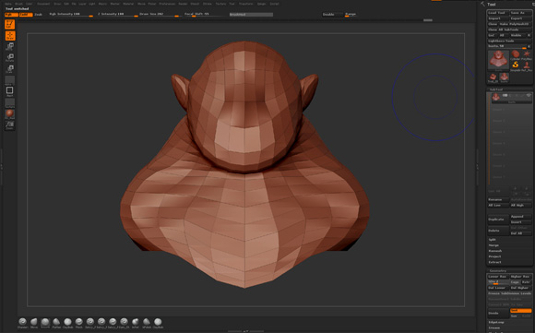
02. Modelling
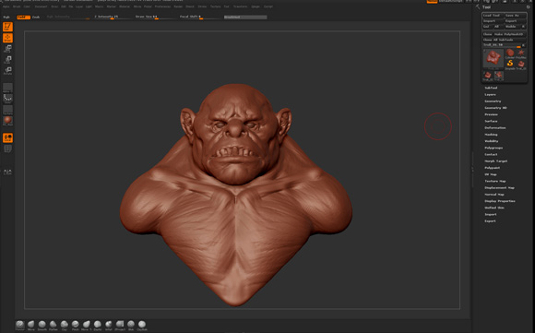
I start modelling from a base sphere and tweak it until I get a base volume/proportion that I am happy with.
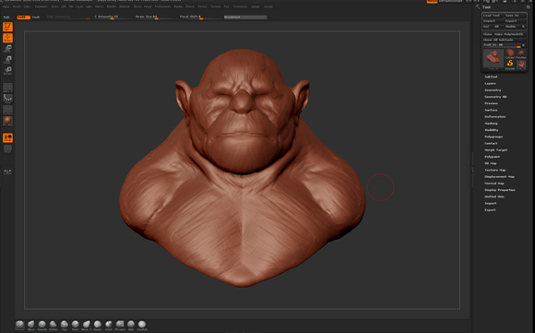
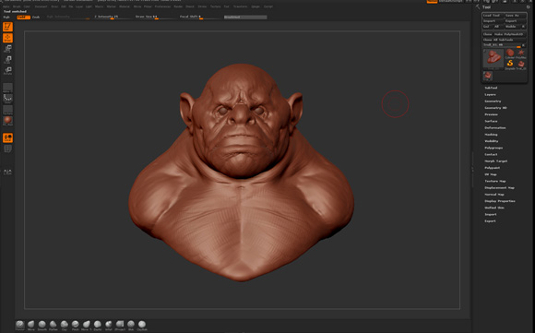
03. Blocking
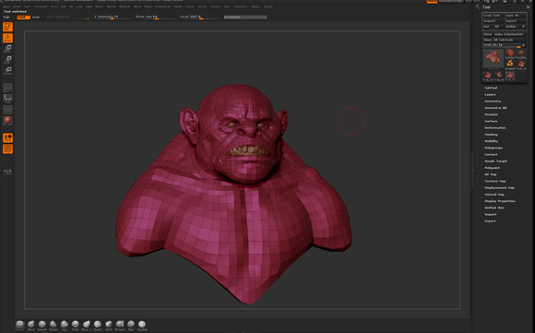
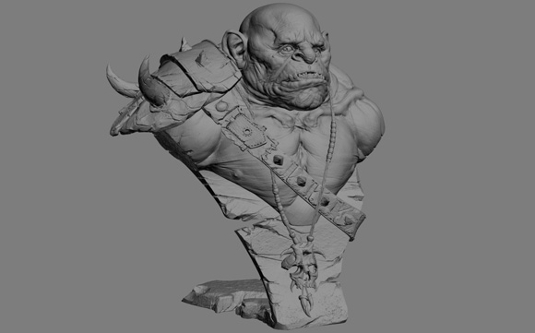
After that I turn it into a Dynamesh and begin to block it in a more 'solid' way, getting a nice silhouette and defining the right proportions.
04. Retopology
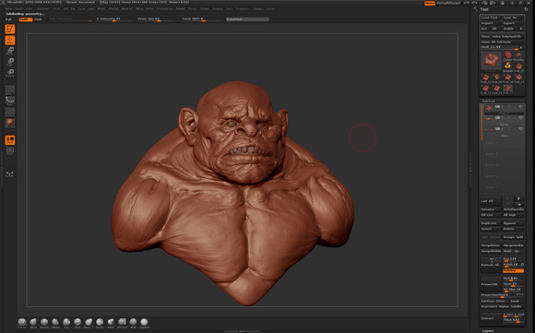
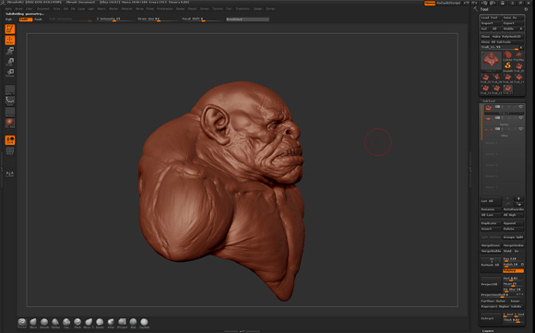
When I get to a stage I am happy with for the blocking, it´s time to start the retopology. The model will then get more detailed.
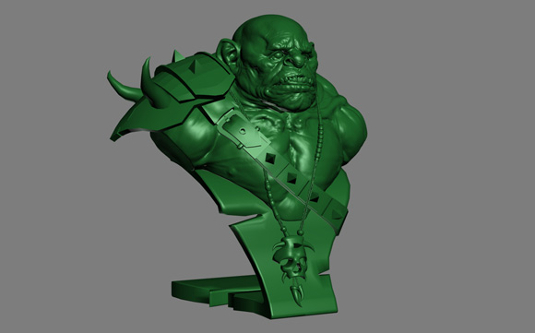
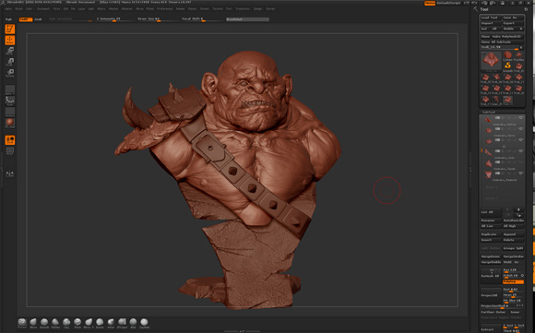
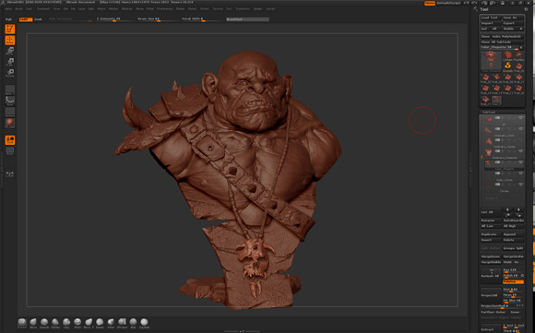
05. More modelling
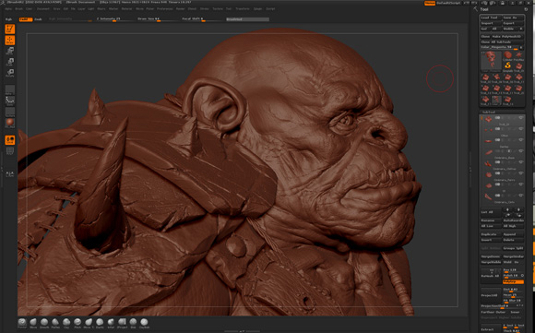
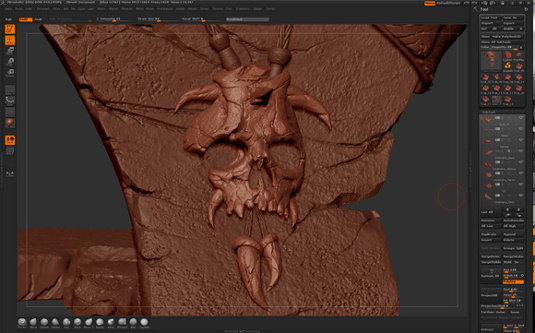
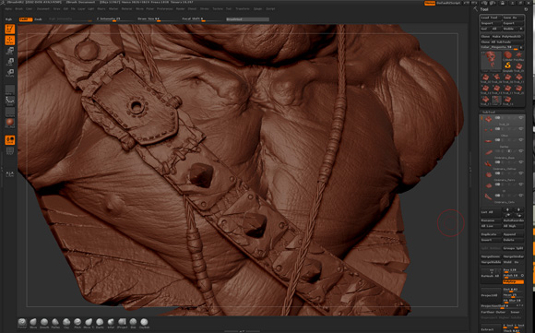
I did all the base mesh of the accessories for The Orc in 3DStudio Max and then sent them to ZBrush to make all the details. I used some alphas, but most of it was hand modelled because just alphas wouldn´t be enough.
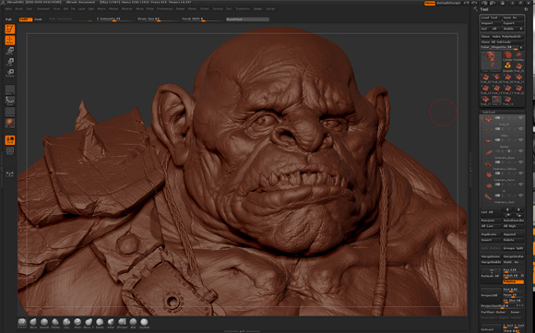
06. Detailing and Decimation
After the modelling was finished I used the ZBrush plugin, Decimation Master, to export the model with all the details.
Get the Creative Bloq Newsletter
Daily design news, reviews, how-tos and more, as picked by the editors.
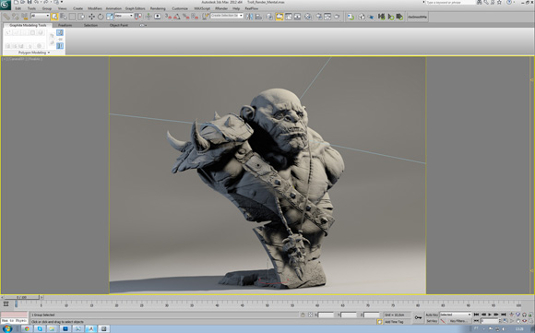
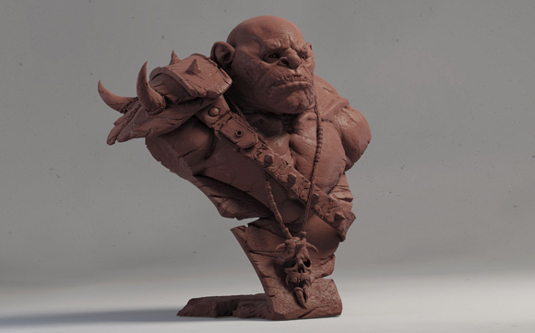
07. Light and Render
To render this model I bought a kit from a great artist, Mike Andrew Nash. He has done a great job with this render kit (awesome lighting and shading) and you can visit his link to learn more about it.
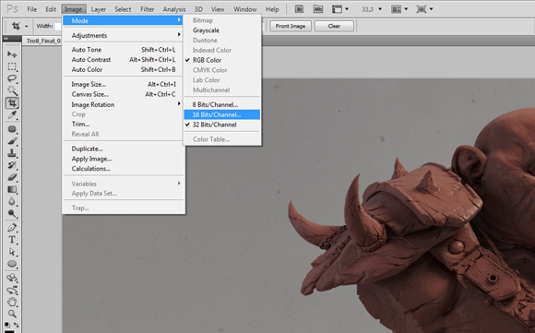
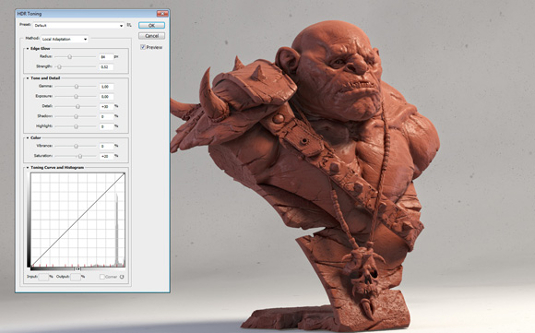
08. Composition
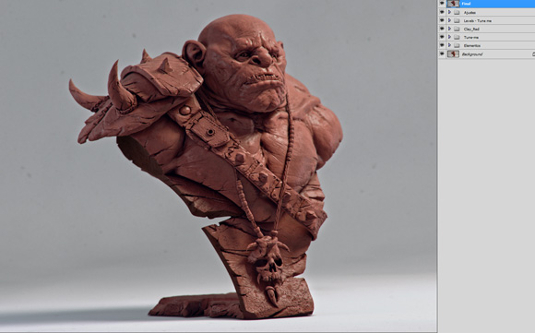
My first tip about composition is to save your render in a format called OpenEXR which is a high-quality format created by ILM. This format is multi-channel, allowing great control at the time of composition. To enable this control, simply save your image on 32-bit OpenEXR FullFloat with no compression and in Photoshop convert it from 32bit to 16bit. It will open a window called HDR Toning with a lot of fine controls. with this image, once I'd done that I used some layers from the PSD provided by Mike Nash and added some personal details like more dirt and colour correction. Another tip to make it more real is to use some dirt maps making the cavities more 'heavy'. This will improve the realism in your final image.

Thank you for reading 5 articles this month* Join now for unlimited access
Enjoy your first month for just £1 / $1 / €1
*Read 5 free articles per month without a subscription

Join now for unlimited access
Try first month for just £1 / $1 / €1

The Creative Bloq team is made up of a group of art and design enthusiasts, and has changed and evolved since Creative Bloq began back in 2012. The current website team consists of eight full-time members of staff: Editor Georgia Coggan, Deputy Editor Rosie Hilder, Ecommerce Editor Beren Neale, Senior News Editor Daniel Piper, Editor, Digital Art and 3D Ian Dean, Tech Reviews Editor Erlingur Einarsson, Ecommerce Writer Beth Nicholls and Staff Writer Natalie Fear, as well as a roster of freelancers from around the world. The ImagineFX magazine team also pitch in, ensuring that content from leading digital art publication ImagineFX is represented on Creative Bloq.
