Get started with an agile workflow
The processes and practices you need to know to embrace the agile methodology.
The term 'agile' has been around for a few years now, and is now a well-known and widely used methodology in the web industry. But what exactly is agile and how does it work? If you're still not quite sure, you're in the right place. This article outlines the basics needed to get started with agile and help you decide if it is the right workflow for your project.
What is agile?
In an agile process, a team works in short iterations (or 'sprints') to complete a series of small features ('user stories') from a list ('backlog') ordered by priority.
There are several benefits to working this way. You get completed features at the end of each sprint, which means you can learn and adjust your course along the way. As features are fully completed by the team in small parts, beta and even public releases can start early and occur frequently.
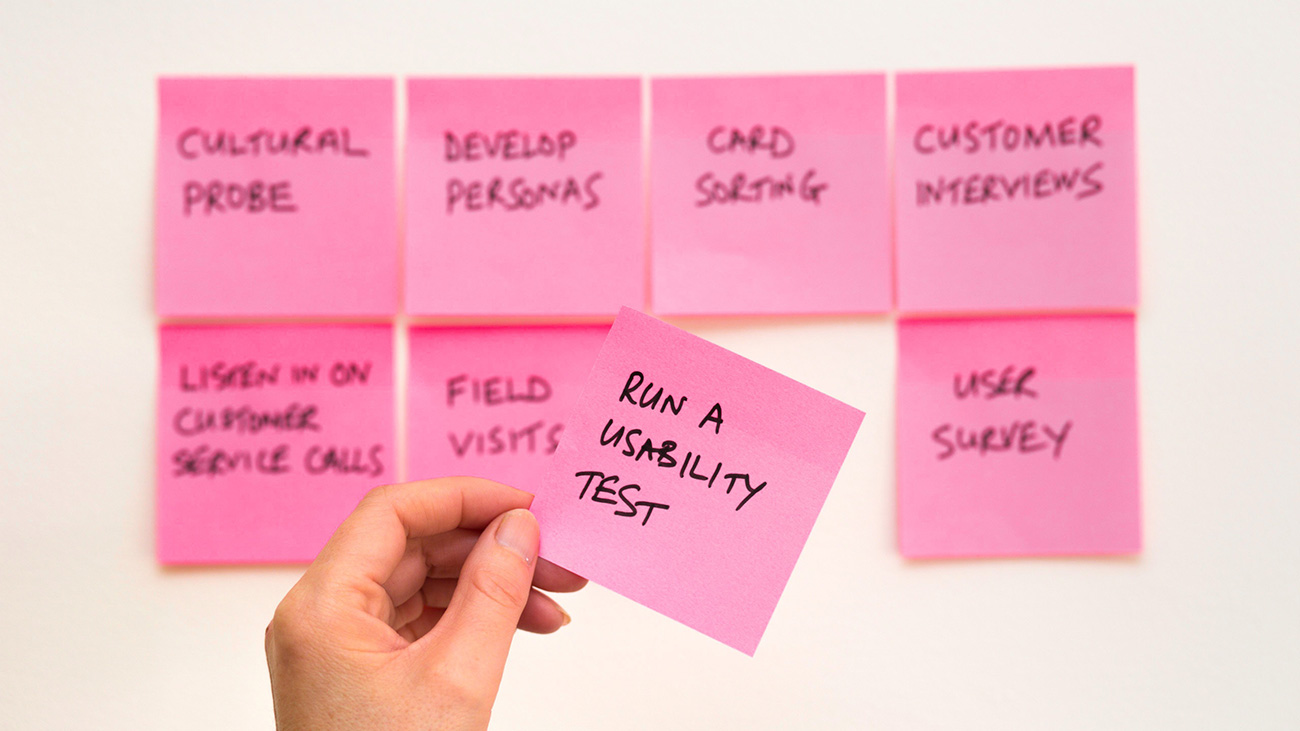
01. Start with user research

As designers, we have all had the experience of a client coming up to us and saying, 'Sure, I understand your point, but my gut tells me our users will definitely need sound effects when a form is submitted'. Side-step these types of requests by basing design decisions on actual user needs.
How? Start with user research. Focus on what your users actually need, rather than what your client wants. There are a ton of research methods out there; pick one that works for your scope and budget, but never skip this step.
02. Define the roles in your team

Now you need to define the roles of the different players in the workflow. Layers of bureaucracy simply do not work in an agile process.
It is critical to have a single client-side contact who can make decisions quickly and whose vision drives the process. They are aptly called the 'product owner'. They attend sprint reviews, provide feedback and guide the product vision.
On the agency side, it is good to have a corresponding product owner that will help direct the development team's process – this usually takes the form of a creative director or technical lead.
Coordinating the whole project is a scrummaster – a person who facilitates the process and ensures that the team has everything they need to work in an efficient manner.
03. Define your product vision
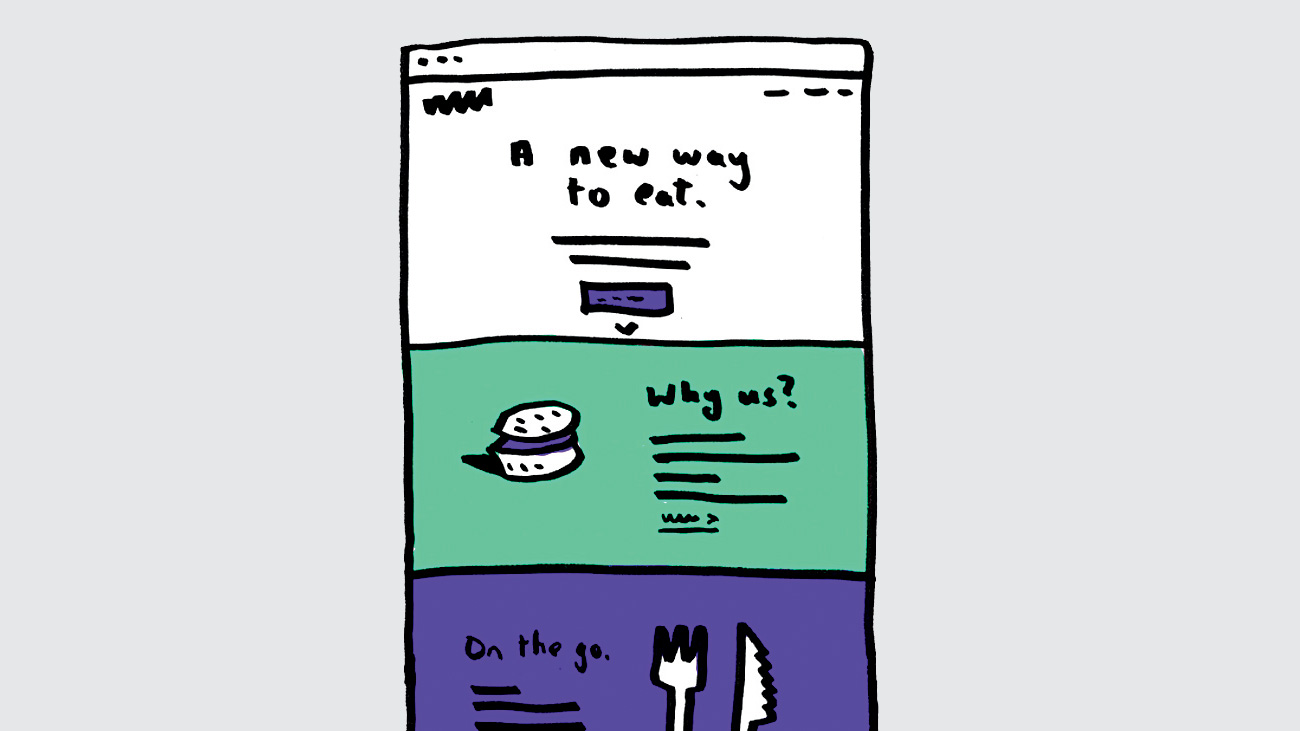
In order to prepare properly, you need to go through a concept phase where the product vision is defined. It is important to have a clear idea of the main pages or features of your digital product, even if only in sketch form.
One of the main issues experienced with agile projects occurs when the process is 'too agile' and lacks a strong vision and roadmap. However, it's a delicate balance. Having an initial idea that is too detailed negates the benefits of working in an agile way. The point is that you are able to accept user input and other changes as the process unfolds.
04. Establish your visual language
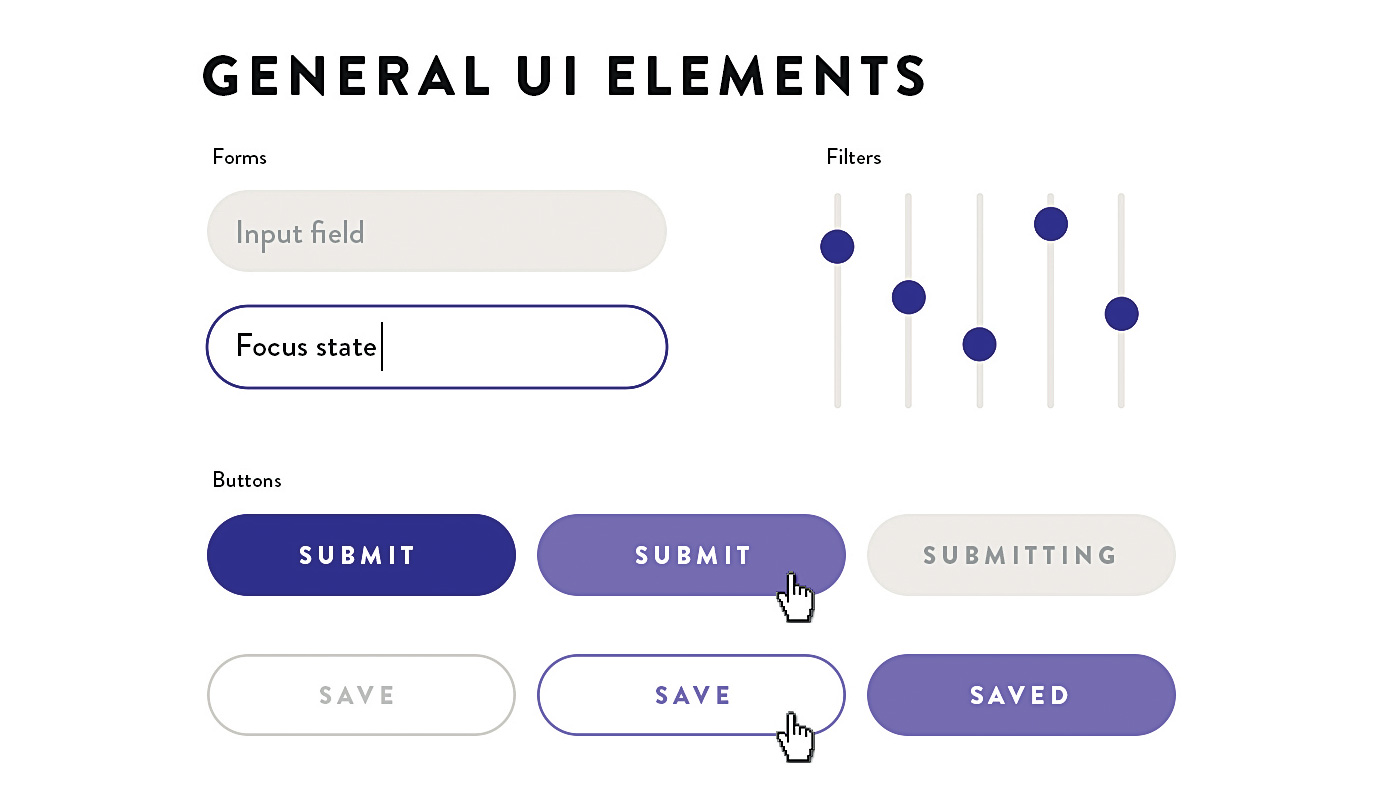
Establishing the visual language before diving into sprints is important, but you should avoid designing full pages. Clients can get hung up on the smallest of details. Style tiles or even simple moodboards featuring snippets of type, colour and basic HTML elements are great ways to communicate a visual language without showing full pages. Another approach is to build a simple digital style guide that covers the basic HTML elements.
05. Introduce user stories
Once you have established your product vision and considered your visual language, you are ready to start writing your first user stories. These stories will form your product 'backlog' – the list of small features your product could potentially have.
A user story has three parts: 'As a [user role], I want [goal] so that [reason].' So, one example of this could be: 'As a user I want a favourite button so I can save songs for later'.
06. Plan your first sprint
Now you have a backlog full of (wonderfully written) user stories, it is time to plan your first sprint. You estimate how many 'story points' each user story in the backlog will take to complete. This can be measured by difficulty or time. Estimating the story points is a job undertaken by product owner alongside the entire team.
First off, the scrummaster tells the team how many points they have for the sprint. If they choose the time-based estimation method, this would be how many days the team has in that sprint. Let's assume the team has 20 days in the sprint between them (so a five-day sprint with four team members working full-time).
07. Commit to a sprint
As an example, let's take a story such as: 'As a user I want mobile-friendly navigation so I can access the site while I'm on my smartphone'.
This story may comprise of design, and frontend and backend development. The team estimates that in total it would take 13 points. This leaves an additional seven points for other user stories. The total story points in this example should not exceed 20, as the team should only take on as many stories as it can commit to.
Once the sprint is full, the team and product owner 'commit' to it. This commitment is two-sided: the team commits to do the stories in the sprint and the product owner commits to not add any more stories.
08. Set up your scrum board
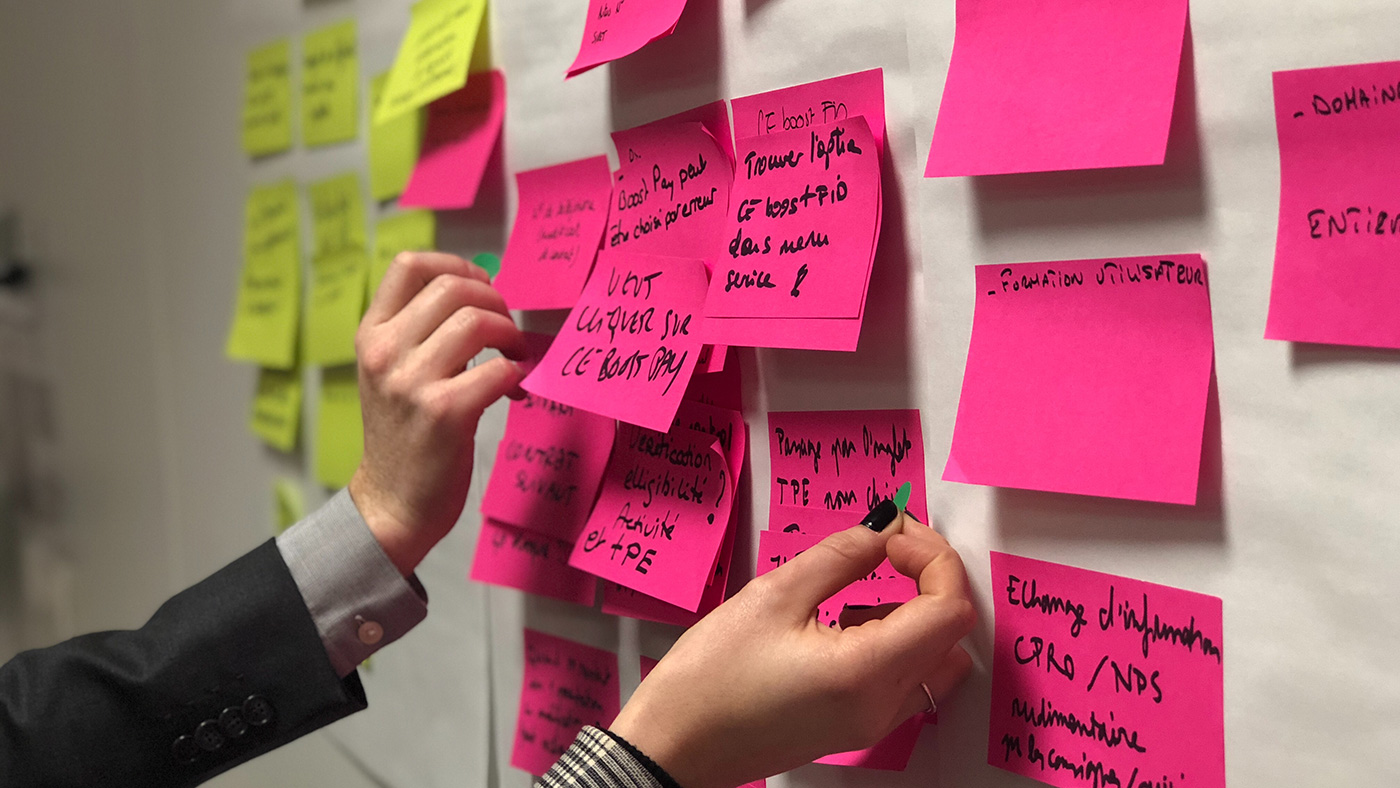
Now that your first sprint is set, it is time to set up your scrum board. This plans out the process required to complete each story.
There are four columns in the board, and they are pretty self-explanatory: 'To Do', 'Doing', 'Review' and 'Done'. These columns will be filled with the individual tasks required to complete each user story. Features are generally considered 'done' when they've been designed, developed, tested and deployed.
09. Meet to discuss progress

Every day, your team gathers for a short meeting – 15 minutes maximum – to discuss what tasks they will complete that day. Every team member in the briefing speaks about what they worked on the previous day, what they will do today and if there are issues standing in their way.
10. Review by product owner
You've finished your first sprint! Now it's time to present your work to the product owner. You should clearly go through and read out each user story before showing the related feature.
After your review, the team and product owner return to the backlog. They select the next most important features for the next sprint, and the process starts all over again. Of course, there may be additional stories that need to be written, based on the feedback from the review.

This article was originally published in net, the world's best-selling magazine for web designers and developers. Subscribe here.
Liked this? Read these!

Thank you for reading 5 articles this month* Join now for unlimited access
Enjoy your first month for just £1 / $1 / €1
*Read 5 free articles per month without a subscription

Join now for unlimited access
Try first month for just £1 / $1 / €1
Get the Creative Bloq Newsletter
Daily design news, reviews, how-tos and more, as picked by the editors.
