Our Verdict
This label maker is ideal for those who want to be able to make robust labels, fast. It's simple to use, although the UI can be a little hard to navigate and the screen is fairly small. It has a variety of options for customising your labels, too, although the three fonts on offer may not be enough for some people.
For
- Easy to set up
- Makes robust labels
- Good customisation options
Against
- Small screen size
- Limited fonts
Why you can trust Creative Bloq
The Brother PT-H110 label maker is a simple to use label maker that enables you to print off a variety of labels. It gives immediate results, you just type in the text you want to print off, choose from the font and size options, and click the print button.
This means you can create labels in just a few seconds, and can easily have a set of labels within a few minutes.
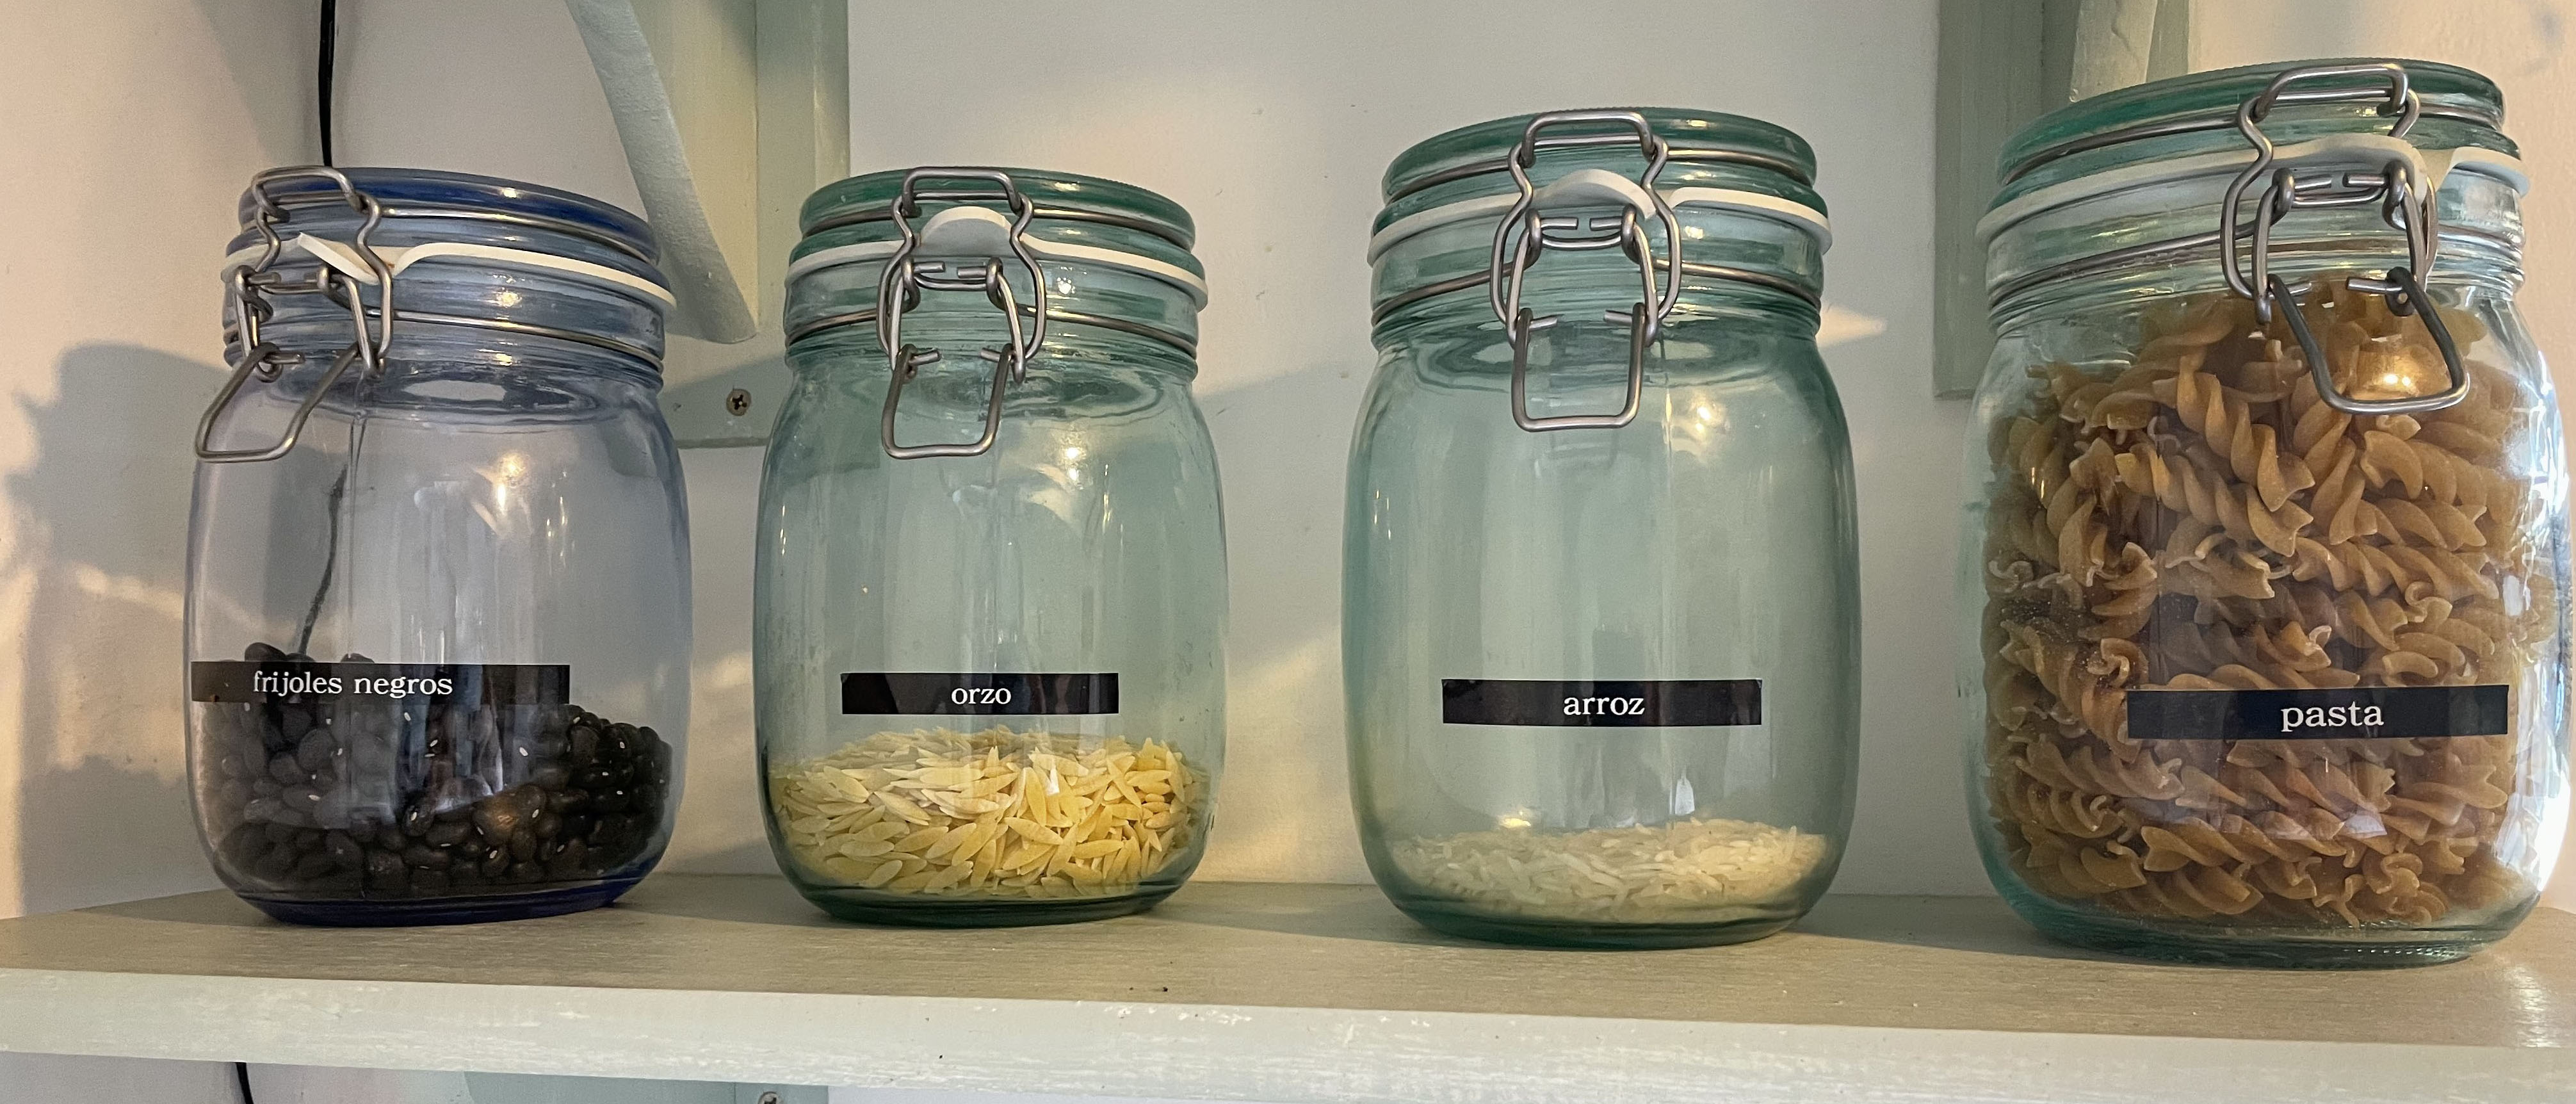
The Brother PT-H110 pits itself as for office use, but we tested it for labelling a range of jars for the kitchen. We tested out the different settings and also tried a few different types of Brother tape to see how the label maker fared. Read on for our full review of this label maker, and see how it compares to the competition in our best label maker buying guide.
Brother PT-H110 label maker: design and build
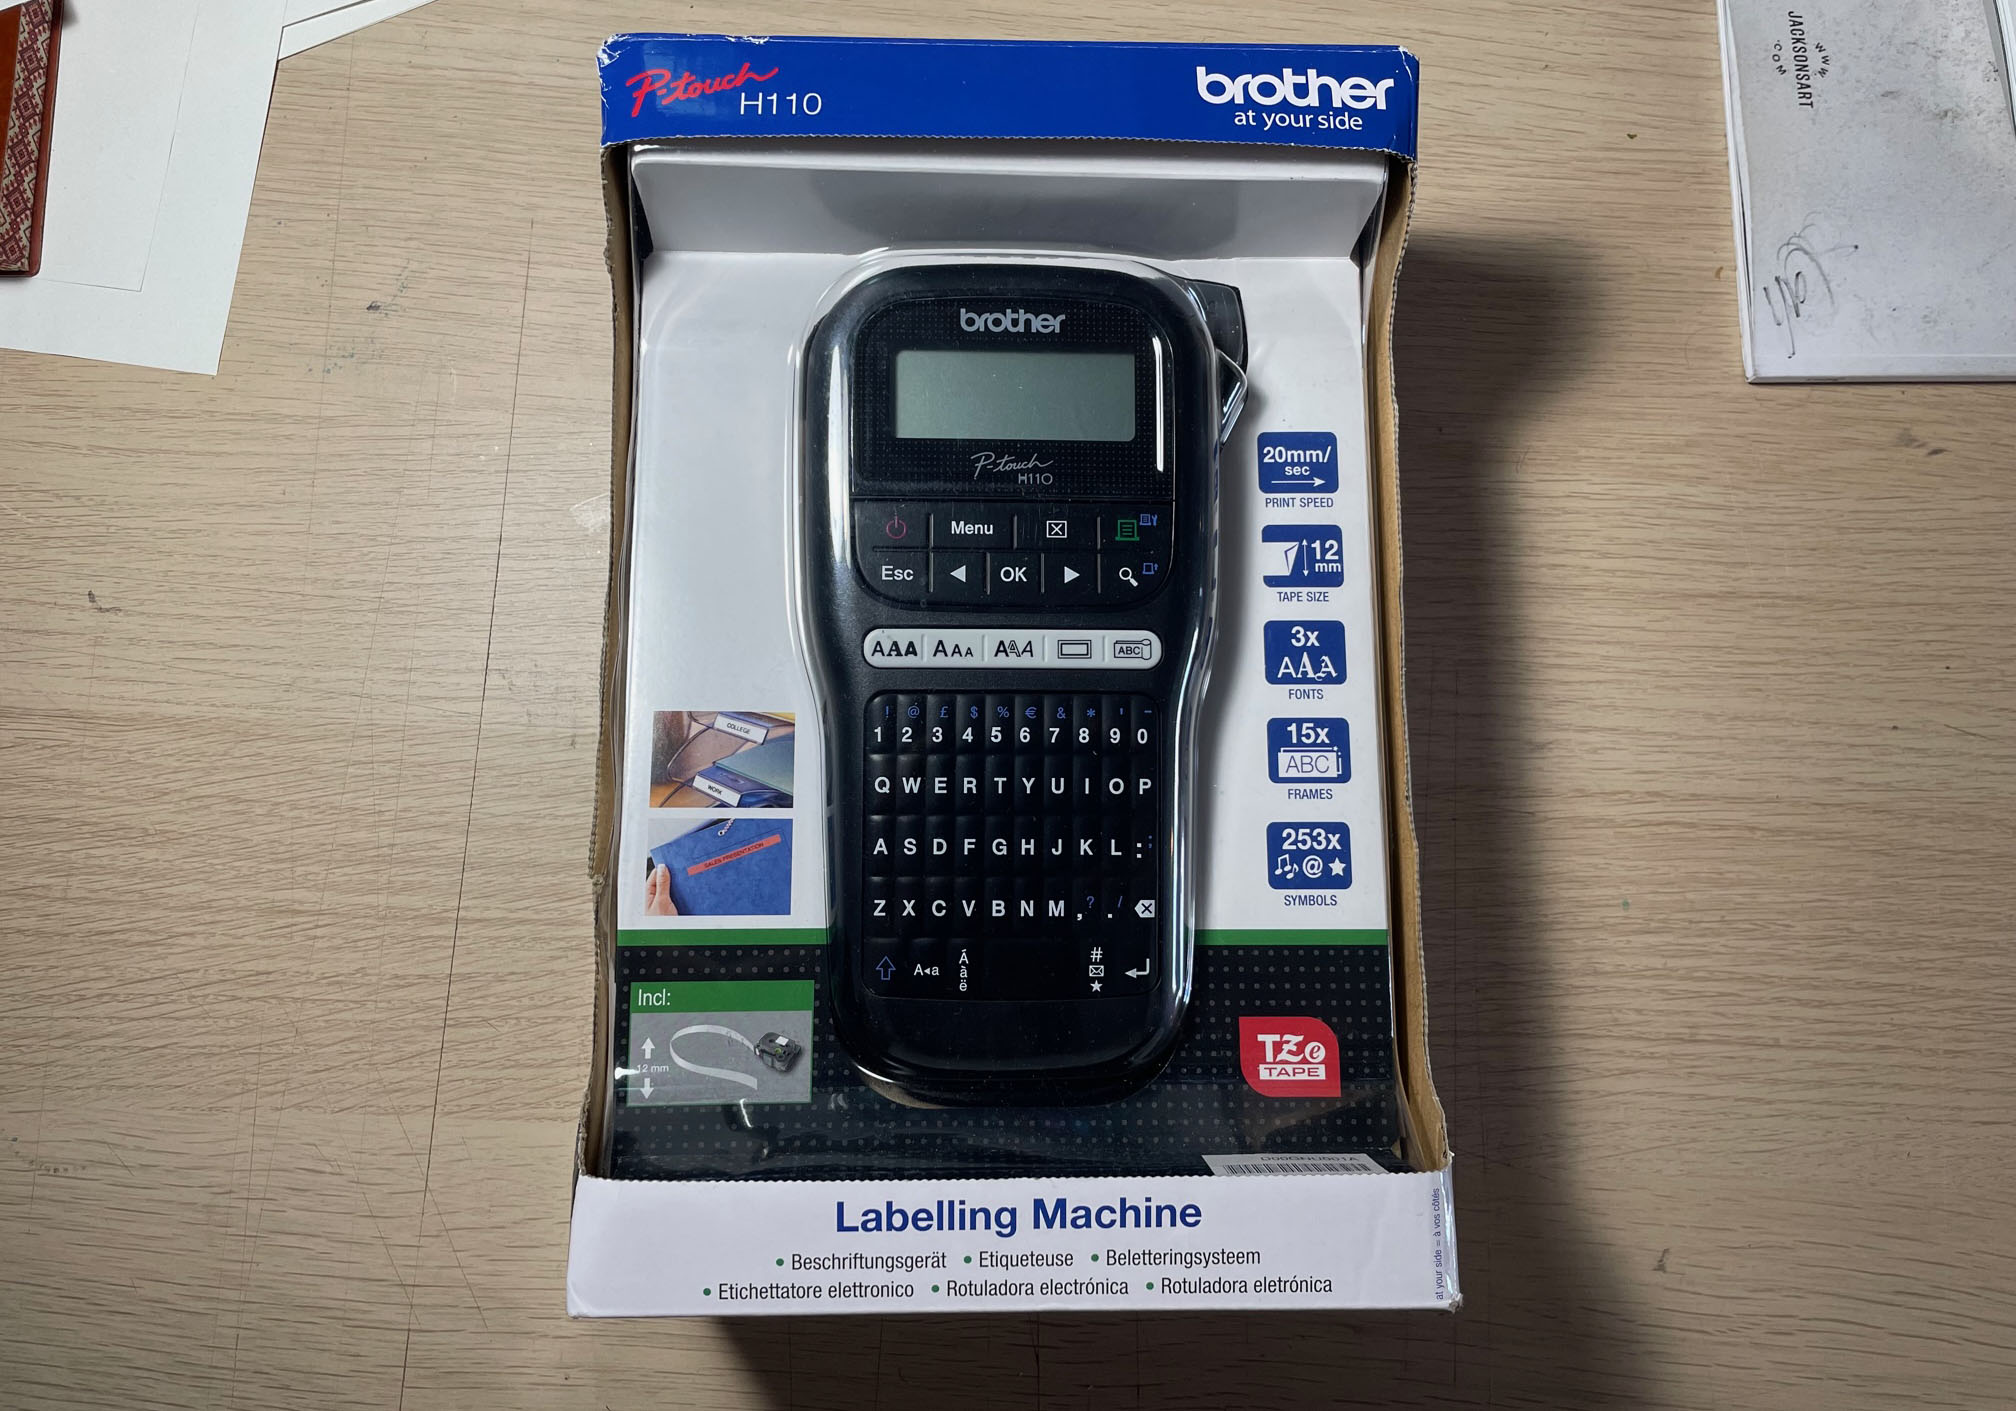
The Brother PT-H110 is quite a chunky piece of kit. It measures 111mm (W) x 204mm (D) x 58mm (H) and weighs 0.40kg. It's not too heavy to hold in your hand, but it does feel bulky when compared to a modern mobile phone. Saying that, it's not so big that you can't easily store it in a drawer or a craft box, and the tape also doesn't take up too much space.
In terms of design, it has a small screen where you can view the text you've typed in, and then various buttons that allow you to change the settings of the machine. It's not immediately obvious which button does what, but after a while playing around with the machine, we soon got the hang of it.
The size of the screen is quite small and it can be hard to see what you're doing when you're cycling through the different options. Sometimes you have to select options on several different screens so it can be hard to keep track of exactly what you're typing in. The best way to remedy this is to use the 'preview' button, which looks like a magnifying glass, before you print anything out.
Brother PT-H110 label maker: set up process
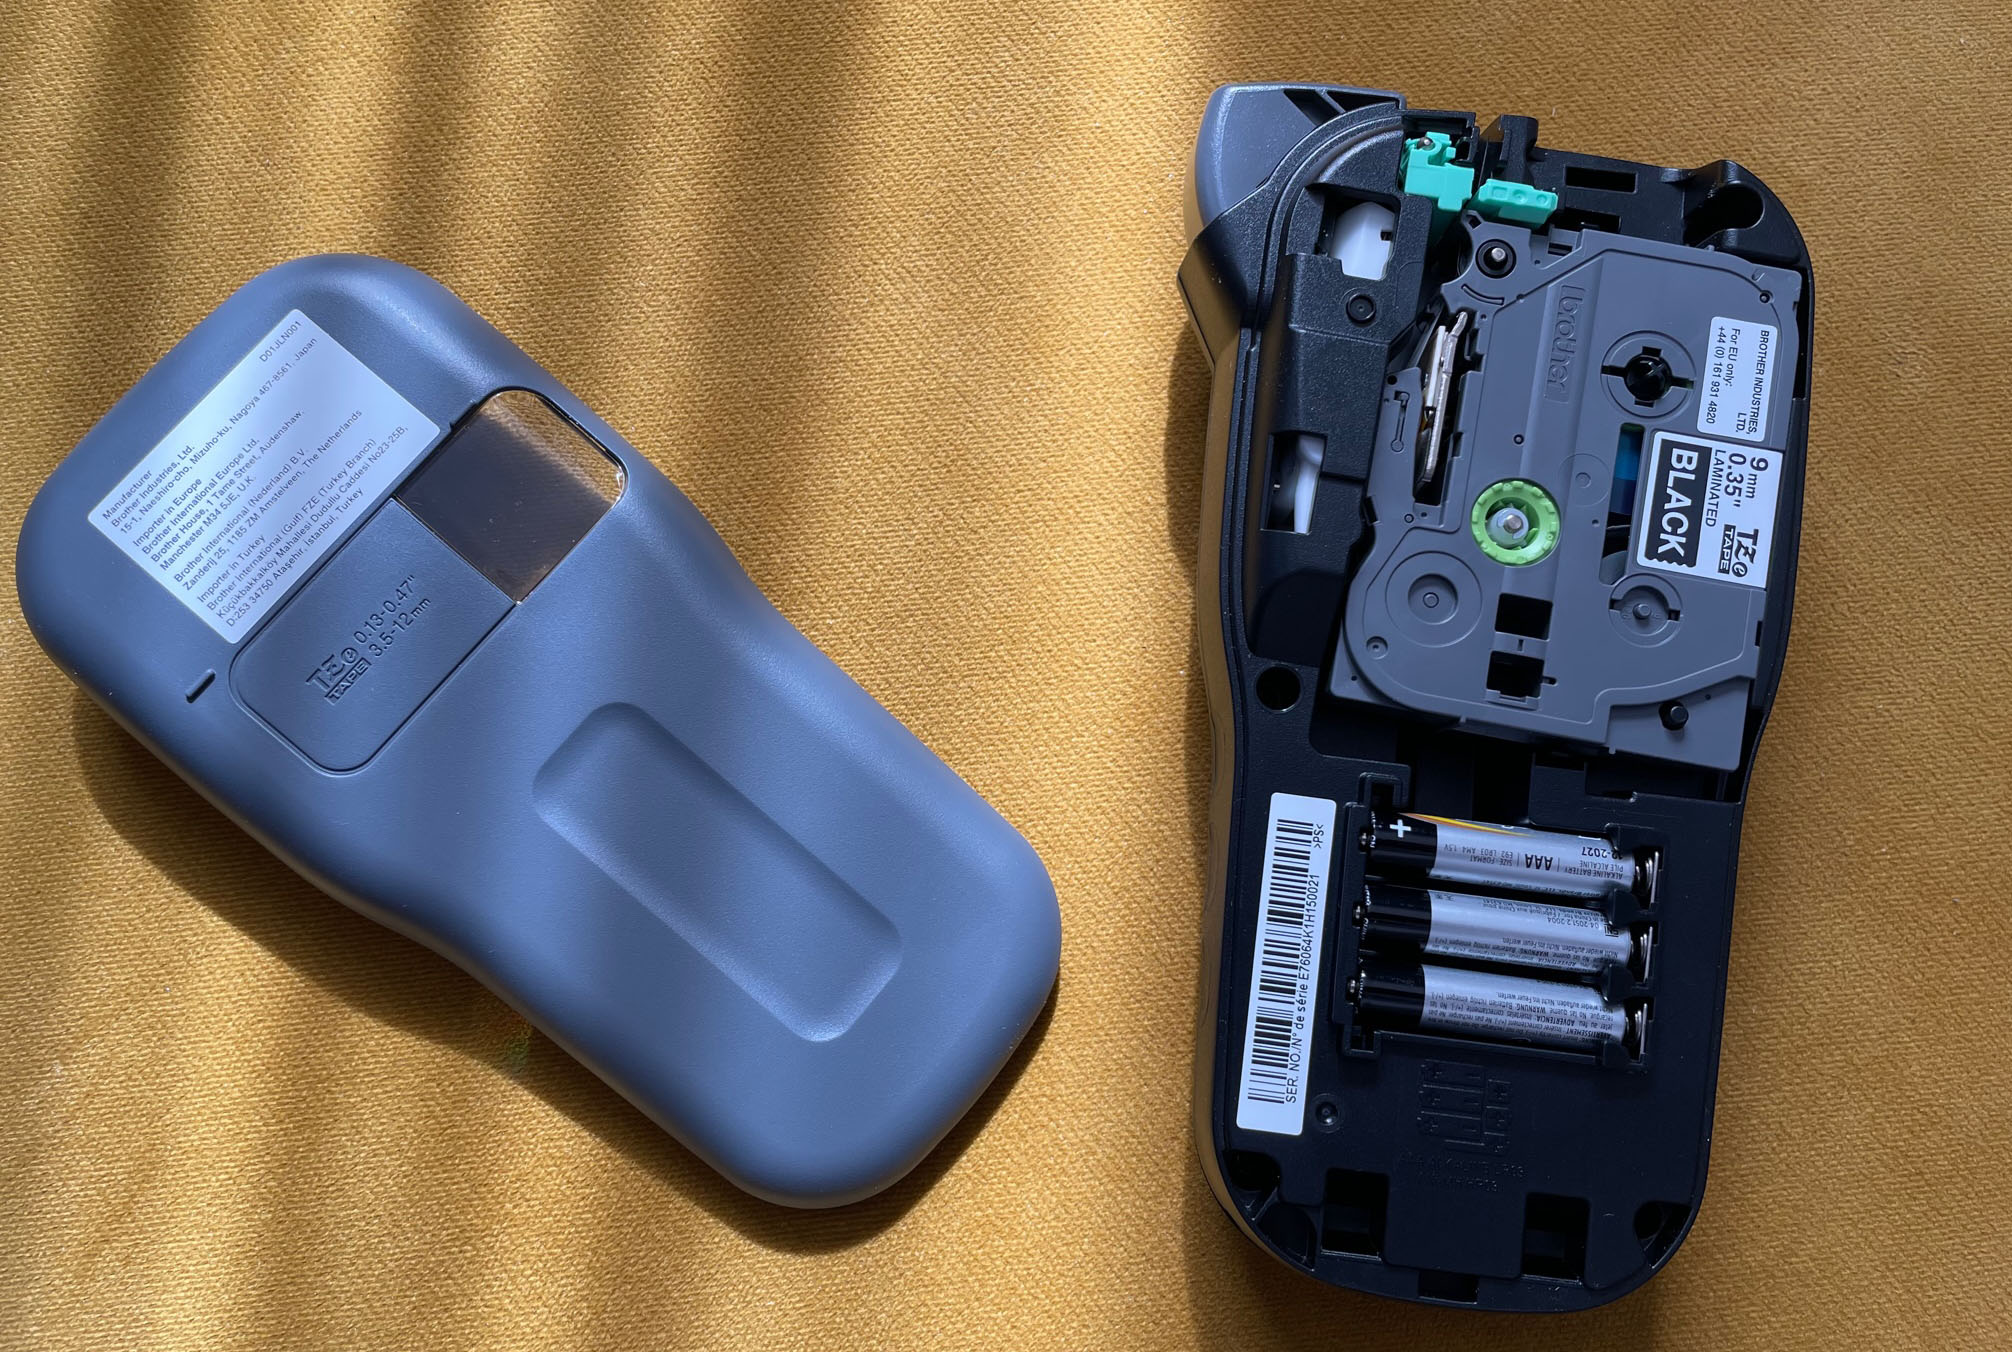
The Brother PT-H110 is easy to set up and start using, although you will need six AAA batteries to get it to work (although you can buy a power adapter separately if you wish to).
It comes with one roll of 12mm black on white tape, which is easy to insert, you just need to take the back of the label maker off. It can take 3.5mm, 6mm, 9mm, and 12mm tape widths, so offers a fair amount of flexibility.
The instructions included in the box are quite basic, but they take you through what you need to know. If you want more in-depth instructions you can download a full manual from Brother's site.
Brother PT-H110 label maker: usability
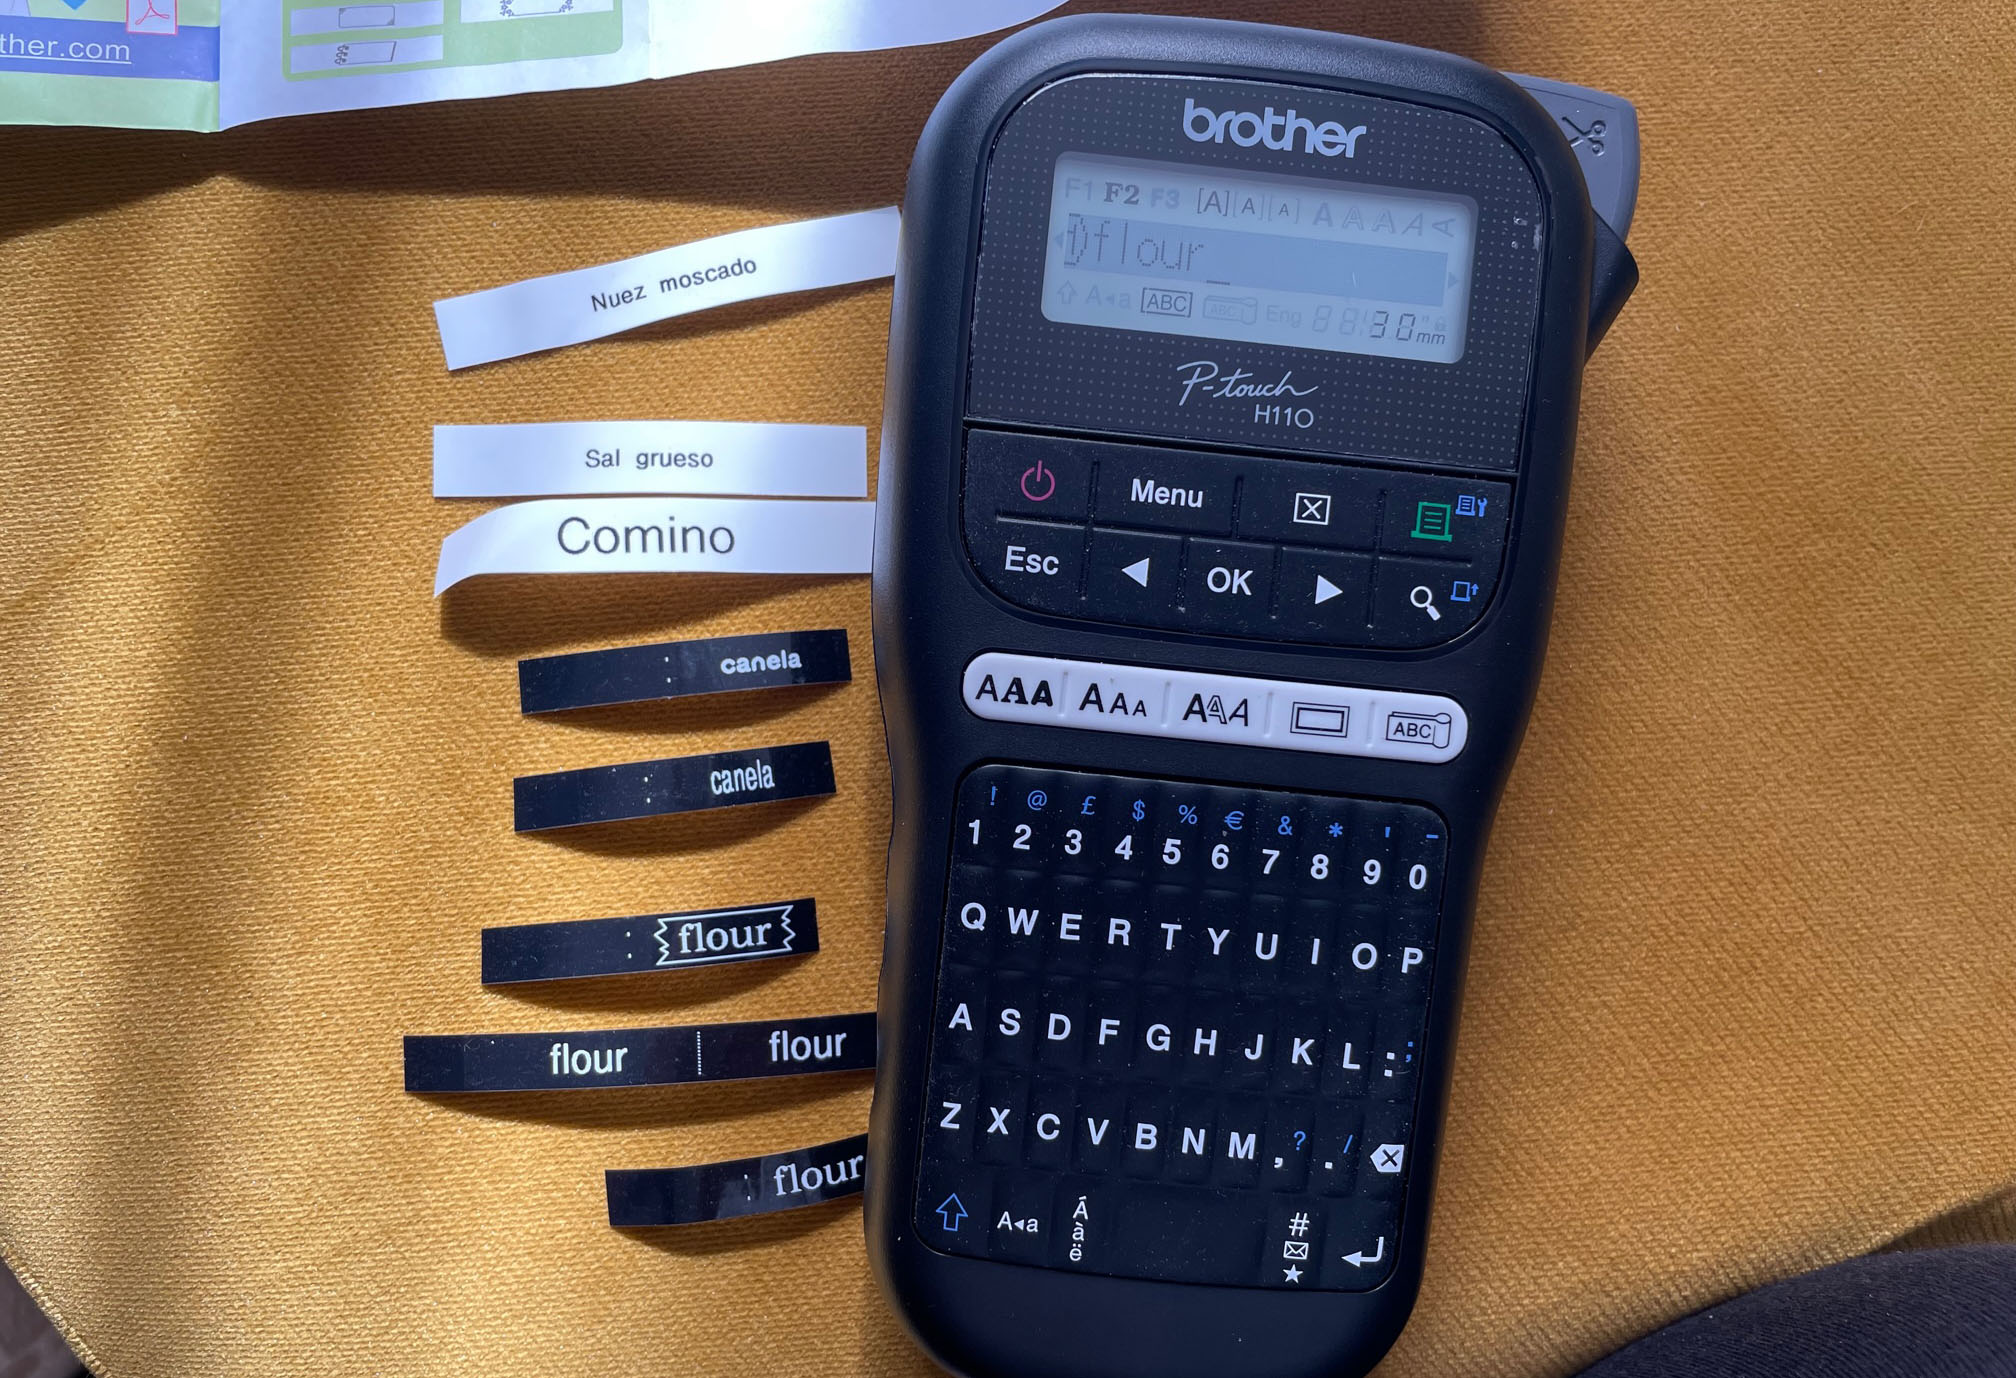
This label maker is pretty easy to use, particularly if you just want to create a set of standard labels. You just type in the text you want to print out, decide on a few customisation options, preview it and press print. The machine will print your label for you, and then cutting it is just a case of pressing a button to operate the built-in cutter.
Once you get in to saving your settings or using the built-in templates then it gets a little more complicated, as you need various steps to do so, and this isn't helped by the relatively small size of the screen.
For our purposes of creating some labels for jars and Tupperware boxes in the kitchen, it was ideal. We had previously tried created labels using the Cricut Joy (see our full Cricut Joy review for more about this machine), and found that the Brother PT-H110 was a lot simpler, particularly because there's no need to connect to a separate app, everything you need is within the device.
One thing to note about this label maker is that on the standard setting there is quite a lot of excess tape printed on either side of your text. There are a couple of to get round this, you can either print two labels on one, by pressing the 'abc' button, or you can adjust the margin via the Menu.
There are three fonts available, Brussels, Helsinki and Florida, which you can have in a few different styles (normal, bold, italic, and so on). There are 15 different frames (though some of them, like the surrounding hearts, may not be to everyone's taste), and 253 different symbols, you can also underline text if you wish to. We'd have preferred a wider selection of fonts, but the ones available may be more than enough for you.
There were a couple of times where we were seemingly 'stuck' on a setting and couldn't figure out how to change it. For example, at one point we seemed to be 'stuck' on printing to lots of text on one label, and it wasn't immediately obvious that we needed to go to 'Margin' in the menu to change this.
Brother PT-H110 label maker: price
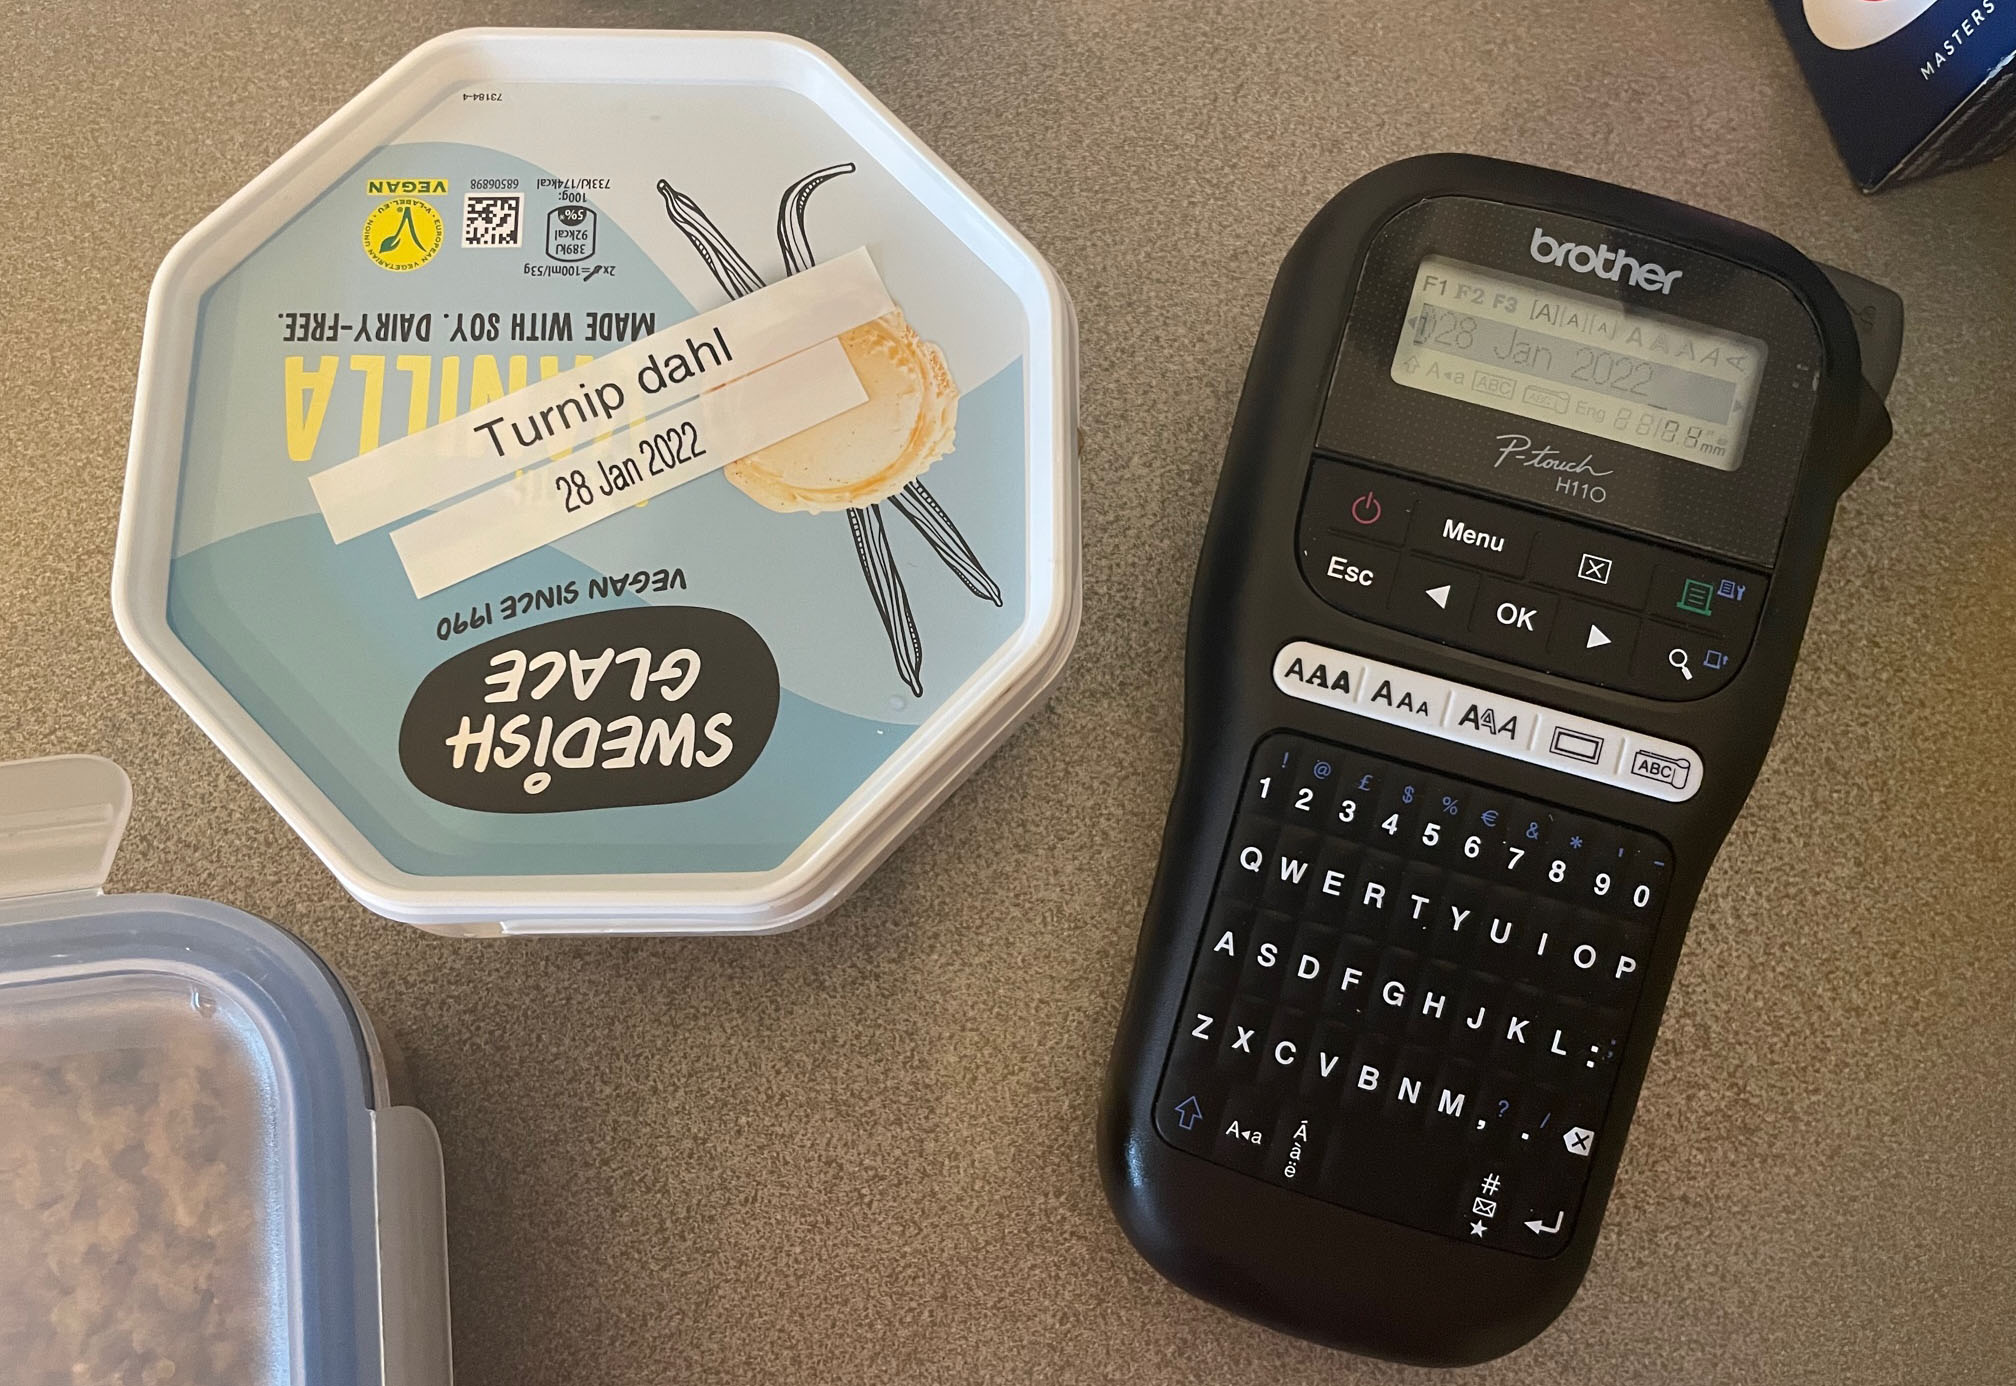
The Brother PT-H110 has an RRP of $29.99 / £59.99, meaning it sits in the middle of the market. It's not the cheapest or most advanced label maker out there, nor is it the most expensive/the simplest.
The tape is where it can get more expensive, however. The tape costs around $15.99 / £14.99 for eight metres of tape, but if you choose not to go with Brother tape, then there are compatible tapes from other suppliers that are cheaper. If you're using your label maker a lot, or want a lot of different colour options, then be aware you may up spending a fair bit on tape.
Should you be the Brother PT-H110 label maker?
The Brother PT-H110 label maker is a decent option for anyone wanting to make sticky labels quickly and easily. It doesn't take long to get the hang of. The only things to consider are that you'll need six AAA batteries to get it to work, unless you want to pay extra for a power adapter, and that the tape can get quite expensive if you use it a lot, although this is the same for most label makers.
Also make sure you adjust the margins otherwise you will have a lot of excess tape either side of your text. Overall, we'd recommend this label maker for most users, although if you want more font options, then something like the DYMO Label Manager 500TS may be more suitable.
Read more: The best vinyl cutter machines

Thank you for reading 5 articles this month* Join now for unlimited access
Enjoy your first month for just £1 / $1 / €1
*Read 5 free articles per month without a subscription

Join now for unlimited access
Try first month for just £1 / $1 / €1
out of 10
This label maker is ideal for those who want to be able to make robust labels, fast. It's simple to use, although the UI can be a little hard to navigate and the screen is fairly small. It has a variety of options for customising your labels, too, although the three fonts on offer may not be enough for some people.

Rosie Hilder is Creative Bloq's Deputy Editor. After beginning her career in journalism in Argentina – where she worked as Deputy Editor of Time Out Buenos Aires – she moved back to the UK and joined Future Plc in 2016. Since then, she's worked as Operations Editor on magazines including Computer Arts, 3D World and Paint & Draw and Mac|Life. In 2018, she joined Creative Bloq, where she now assists with the daily management of the site, including growing the site's reach, getting involved in events, such as judging the Brand Impact Awards, and helping make sure our content serves the reader as best it can.
