The 10 most useful Photoshop blending modes
There are more than 20 different blending modes in Photoshop CS and Elements. Here are our 10 favourites, and what they do.
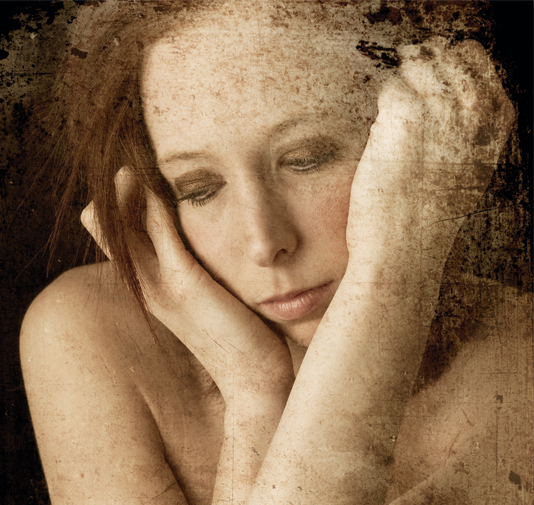
Photoshop blending modes enable you to blend layers together to create effects. Specified in the options bar, the blending mode controls how pixels in the image are affected by a painting or editing tool.
If you're aware of the varying blending modes, you'll be able create better images. Here we share with you the 10 we use most often, and explain what they do.
The images
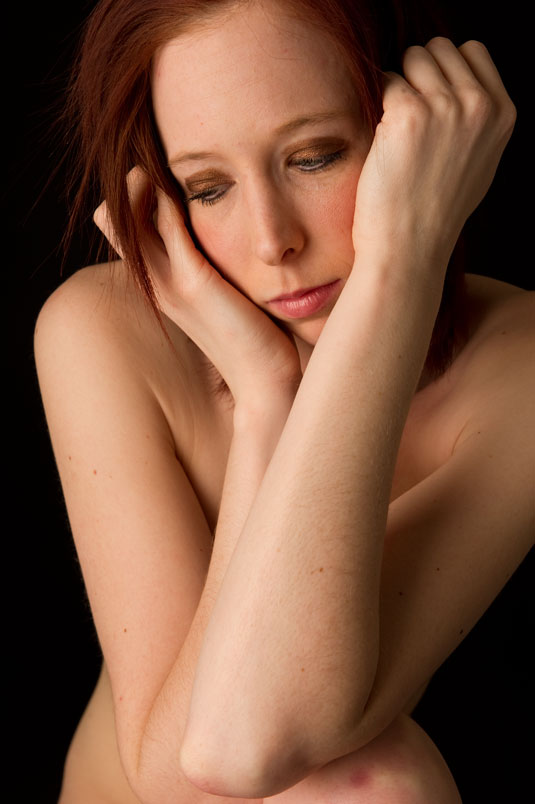
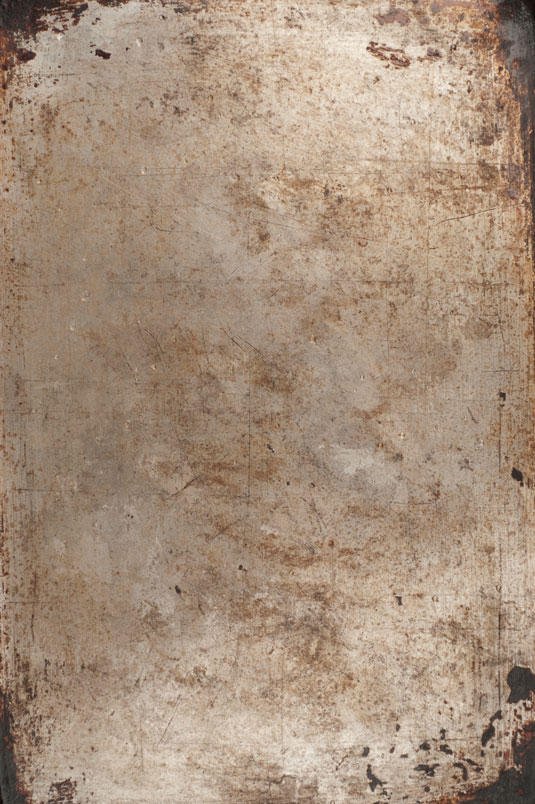
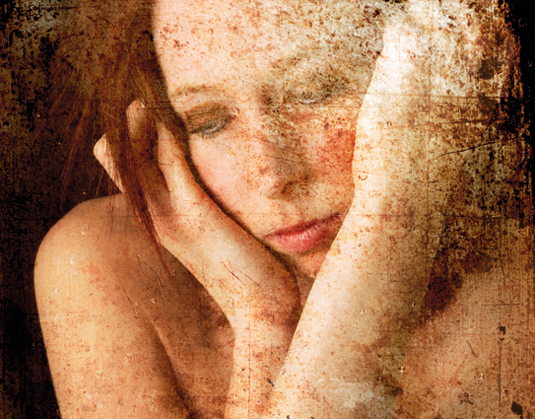
The images we'll feature show how different Blending Modes affect two layers used to create the image above: one layer is a portrait, the other a texture, as shown below:
Note that where we refer to 'base colour' we're talking about the original colour in the image, while the 'blend colour' is the colour applied with the painting or editing tool.
01. Darken
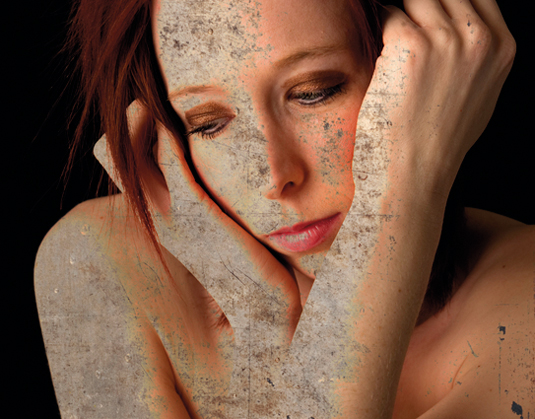
The 'Darken' blending mode only blends tones and colours where the original layer is darker. The tool looks at the colour information in each channel and selects the base or blend colour (whichever is darker) as the resulting colour.
02. Soft Light
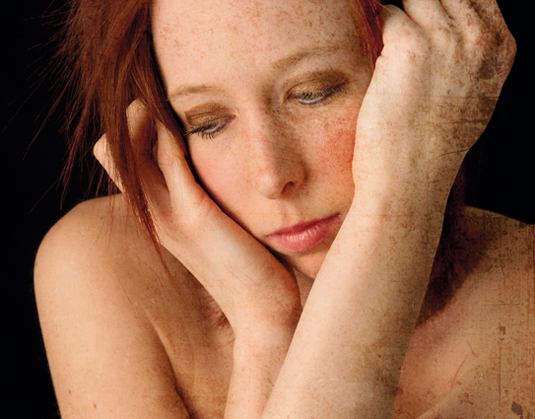
Depending on the colour of the original layer, the Soft Light blending mode will lighten or darken colours on the top layer. The effect is similar to shining a diffused spotlight on the image. If the blend colour (light source) is lighter than 50% grey, the image is lightened as if it were dodged. If it's darker than 50% grey, the image is darkened as if it were burned in.
03. Lighten
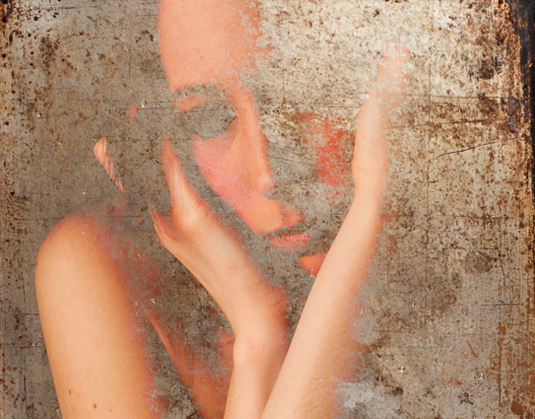
The Lighten blending mode will only blend tones and colours where the original layer is lighter. The tool looks at the colour information in each channel and selects the base or blend colour - whichever is lighter - as the result colour. Pixels darker than the blend colour are replaced, while pixels lighter than the blend colour are not changed.
Get the Creative Bloq Newsletter
Daily design news, reviews, how-tos and more, as picked by the editors.
04. Multiply
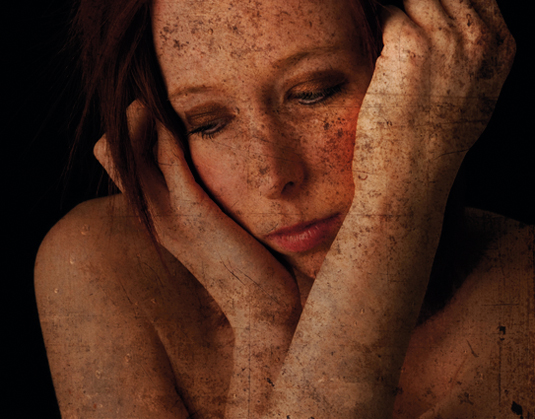
The Multiply blending mode behaves like an in-camera multiple exposure. The tool looks at the colour information in each channel and multiplies the base colour by the blend colour. Multiplying any colour with black produces black. Multiplying any colour with white leaves the colour unchanged. When you’re painting with a colour other than black or white, successive strokes with a painting tool produce progressively darker colors.
05. Screen
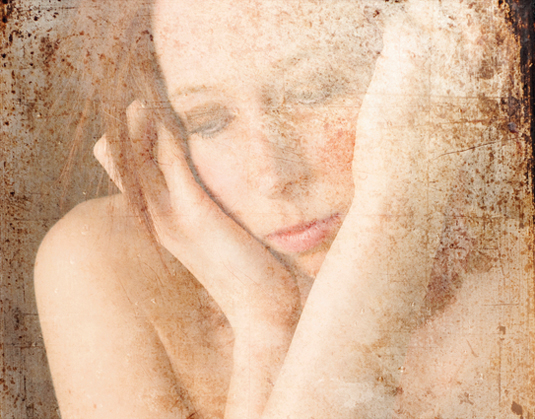
The Screen blending mode mixes the layers in a way that’s more or less the opposite of Multiply. The tool looks at each channel’s colour information and multiplies the inverse of the blend and base colours. The resulting colour is always a lighter one. The effect is similar to projecting multiple photographic slides on top of each other.
06. Overlay
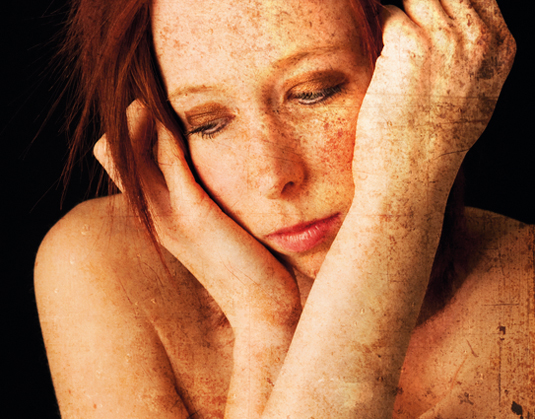
When you use the Overlay blending mode, the top layer maintains the light and dark areas of the original layer underneath. The base colour is not replaced, but mixed with the blend colour to reflect the lightness or darkness of the original colour.
07. Difference
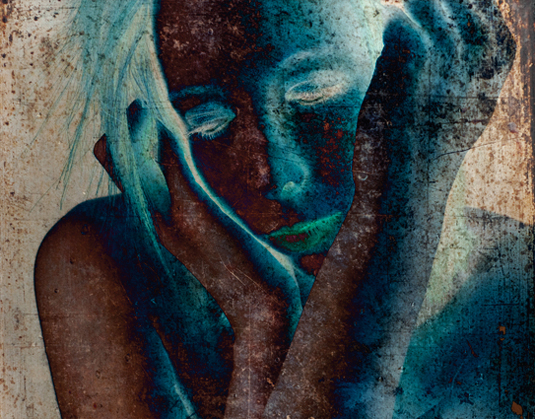
The Difference blending mode should be used to establish exact registration of two similar images. The tool looks at the colour information in each channel and subtracts either the blend colour from the base colour or the base colour from the blend colour, depending on which has the greater brightness value.
08. Luminosity

The Luminosity blending mode creates colour with the hue and saturation of the base colour and the luminance of the blend colour.
09. Hue
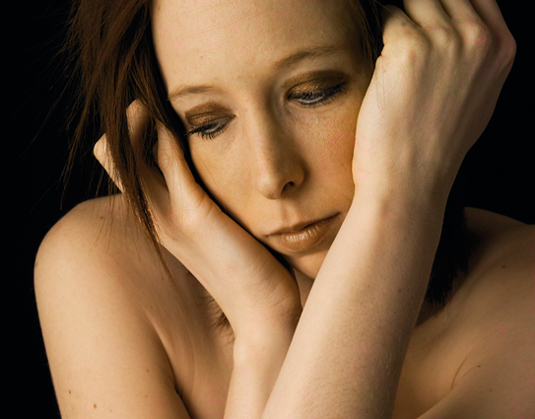
When you use the Hue blending mode, the hue is taken from the top layer, while the brightness and saturation of the original layer remain intact.
10. Hard Light
The Hard Light mode combines the Multiply and Screen modes. As the name suggests, the effect is similar to shining a harsh spotlight on the image. If the blend colour is lighter than 50% grey, the image is lightened, as if it were screened. This is useful for adding highlights to an image. If the blend colour is darker than 50% grey, the image is darkened, as if it were multiplied. This is useful for adding shadows to an image.
This feature first appeared in Portrait Photography Made Easy - a bookazine from the makers of PhotoPlus.
Now read:
- 30 free Photoshop brushes every creative must have!
- 101 Photoshop tutorials
- 20 best Photoshop plugins
Which Photoshop blending modes do you find most useful? Let us know in the comments!

Thank you for reading 5 articles this month* Join now for unlimited access
Enjoy your first month for just £1 / $1 / €1
*Read 5 free articles per month without a subscription

Join now for unlimited access
Try first month for just £1 / $1 / €1

The Creative Bloq team is made up of a group of art and design enthusiasts, and has changed and evolved since Creative Bloq began back in 2012. The current website team consists of eight full-time members of staff: Editor Georgia Coggan, Deputy Editor Rosie Hilder, Ecommerce Editor Beren Neale, Senior News Editor Daniel Piper, Editor, Digital Art and 3D Ian Dean, Tech Reviews Editor Erlingur Einarsson, Ecommerce Writer Beth Nicholls and Staff Writer Natalie Fear, as well as a roster of freelancers from around the world. The ImagineFX magazine team also pitch in, ensuring that content from leading digital art publication ImagineFX is represented on Creative Bloq.
