Painting distorted glass: 3 top tips
The artistic properties of glass are explained with these three quick tips.
Light travels fast. However, some transparent or translucent materials slow it down. Water and glass are like that. They refract light: that is, they bend it because of their comparative densities to air. Sometimes they can even splinter it into its components, which are pure colours. Remember those experiments in class with a prism? Sure you do!
All that said, the main thing to keep in mind when it comes to how to paint glass is that we can see what’s on the other side of it. When the surface isn’t flat like a window, refraction causes distortion. I’m working in ArtRage, mainly using Pencil, Chalk, Watercolour, Wet Blender and Eraser tools.
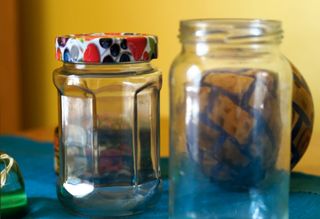
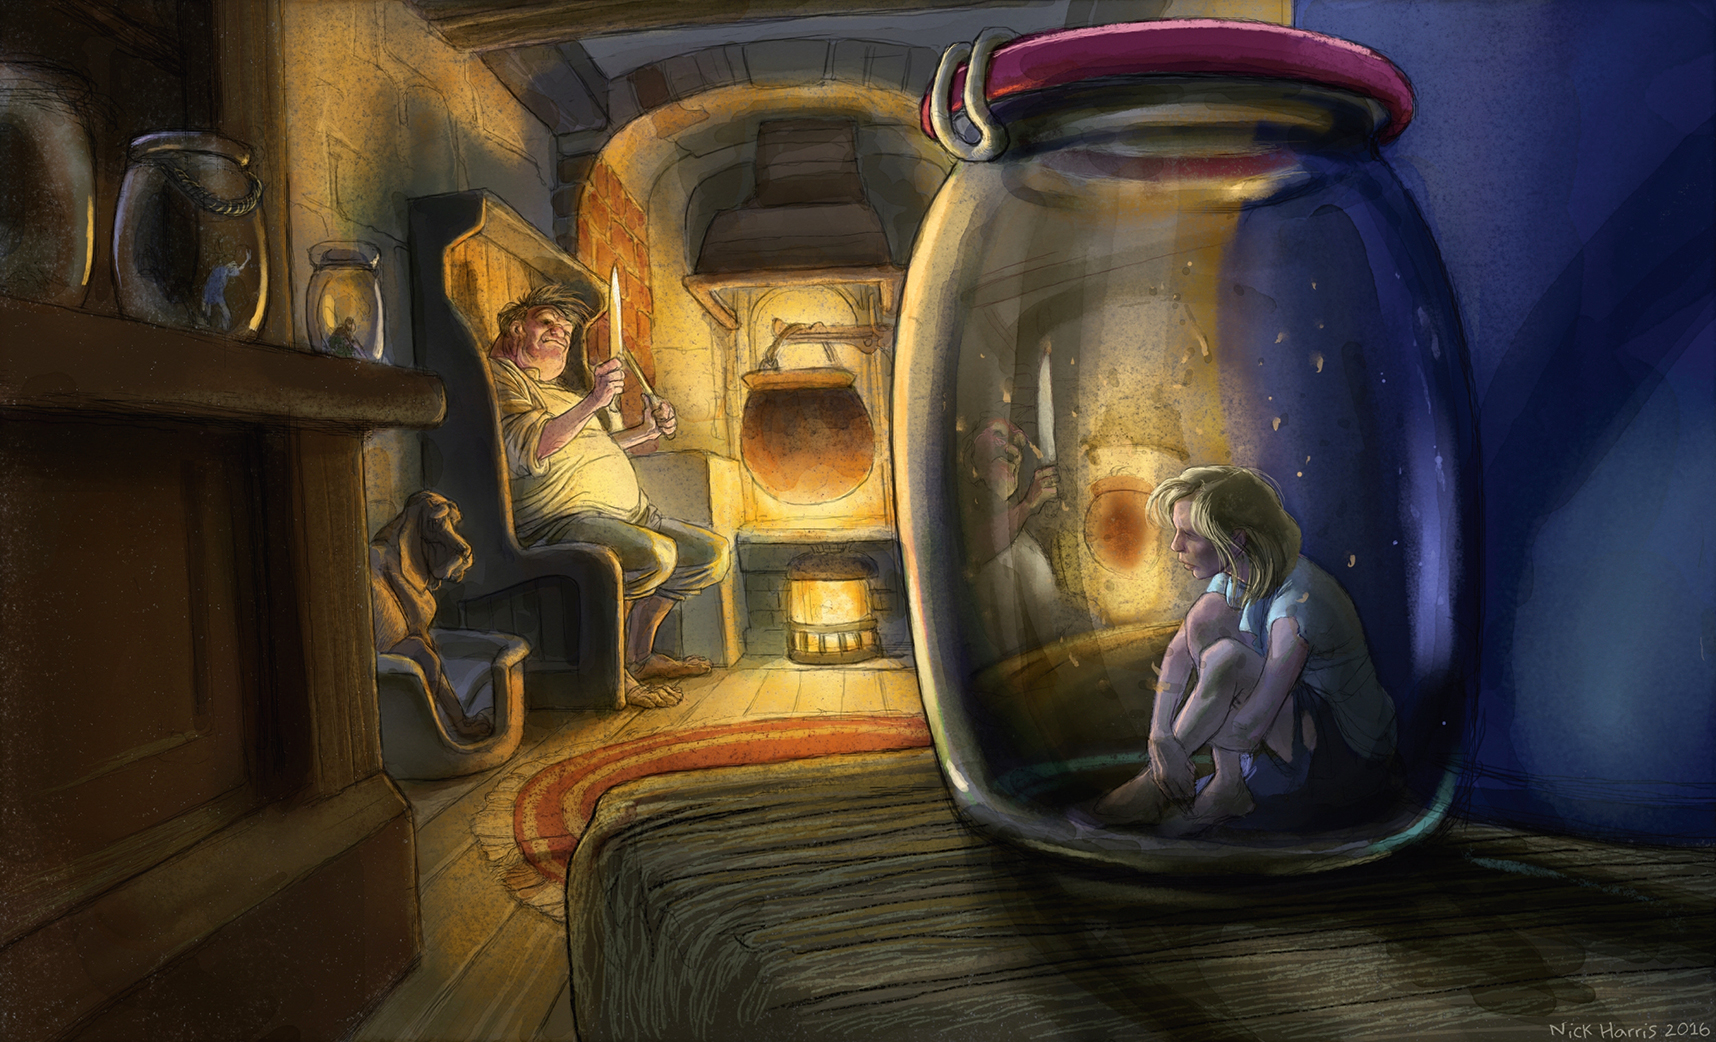
Our scene is a hungry ogre eyeing his next snack in a jar in the foreground. For reference, I take a couple of photos of empty jam jars with a few objects behind. I start drawing while referring to a few preliminary sketches. I want to contrast the background detail with the obscuring quality of the glass. I keep the background simple and clear. Don’t forget that reflections on the outer glass surface help describe the material.
01. Setting the scene
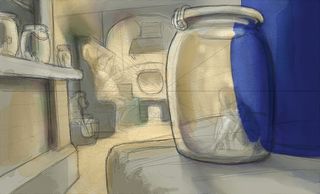
I lay out the composition with the glass jar prominent in the foreground, and lay some tonal washes over the drawing. I keep perspective lines on a separate layer so I can turn visibility off, when necessary. I include some other jars in the composition. The main light source will be the fire burning in the range near the ogre’s feet.
02. Lighting the jar
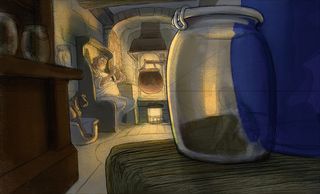
Before dealing with too many refraction effects, I work up the form of the jar, introducing a few reflections. My jar has bright reflection down its left side, but is darker down the other side. I block in some exaggerated distortion of the table top and blue jar, and have light coming through the middle.
03. Adjusting shapes and textures
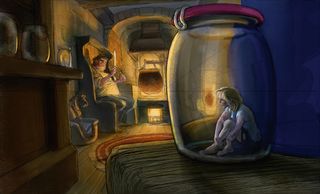
I work up the jar’s edges (translucent watercolour), bringing a few glints where the light catches the thickness of the glass, using an Opaque Chalk tool. I alter the shapes of what can be seen through the glass, and soften edges. I also add some water droplets and condensation to help define the surface nearer the viewer.
This article was originally published in ImagineFX magazine issue 139. Buy it here.
Related articles

Thank you for reading 5 articles this month* Join now for unlimited access
Enjoy your first month for just £1 / $1 / €1
*Read 5 free articles per month without a subscription

Join now for unlimited access
Try first month for just £1 / $1 / €1
Get the Creative Bloq Newsletter
Daily design news, reviews, how-tos and more, as picked by the editors.
English artist Nick Harris switched to a digital canvas in 2000, after 18 years of using traditional media. Most of his work involves creating artwork for children’s books, though he has also dabbled in animation, including some background work on the hit 1988 film "Who Framed Roger Rabbit?". He has supplied a wealth of advice and tutorial help for illustrators in ImagineFX magazine.
