7 cool CSS animation effects (and how to make them)
Clever CSS animation examples, and the code you need to create them yourself.

Daily design news, reviews, how-tos and more, as picked by the editors.
You are now subscribed
Your newsletter sign-up was successful
Want to add more newsletters?

Five times a week
CreativeBloq
Your daily dose of creative inspiration: unmissable art, design and tech news, reviews, expert commentary and buying advice.

Once a week
By Design
The design newsletter from Creative Bloq, bringing you the latest news and inspiration from the worlds of graphic design, branding, typography and more.

Once a week
State of the Art
Our digital art newsletter is your go-to source for the latest news, trends, and inspiration from the worlds of art, illustration, 3D modelling, game design, animation, and beyond.

Seasonal (around events)
Brand Impact Awards
Make an impression. Sign up to learn more about this prestigious award scheme, which celebrates the best of branding.
CSS animation can be very effective when it's employed well. Subtle CSS effects can be super engaging, generating interest and sometimes improving the user experience by giving direction or by explaining something quickly and easily.
It might seem like CSS animation is rather limited as a resource, but that can also be one of its advantages. In fact, it's that simplicity that makes some of the good CSS animation examples we've seen on websites and apps work so well. CSS can be used to create smooth 60fps animations, and best of all it's relatively easy to use
Looking for some CSS animation examples to try out for yourself? Below, we show how to create 7 cool CSS animation examples, some of them from commercial websites. And if you're looking at exploring user interface design in general, see our choices of the best UI design tools.
8 cool CSS animation examples
01. The big reveal
- Author: Adam Kuhn
Animated content reveal effects have proved popular, and used properly they can capture user focus and engage your audience. You’ve seen this before: a block of colour grows from one side or another horizontally or vertically, and then retreats to the opposing side, this time revealing some text or an image beneath. It’s a concept that might seem tricky but really relies on just a few things.
First, we’ll set up our element positioning (download the full code here) – define it as relative (only static will fail in this case). In text cases it’s best to allow automatic height and width, although a bit of padding doesn’t hurt. We’ll also define a transform origin, in the case of the parent element we want to use the starting position. Since we want the element hidden initially, we’ll use a scale transform along the appropriate axis to shrink it.
Next, we'll use a pseudo element to mask our parent, setting the transform origin to the opposing option. Finally, string together the animations, using either the timing functions or delays to offset each.
Note that we’ve offset the parent and pseudo element’s animations with a delay to tell the box that hides our text to reveal it only after the element itself has fully scaled into view. See the Codepen below.
Daily design news, reviews, how-tos and more, as picked by the editors.
02. Stagger on
- Author: Adam Kuhn
Once you’ve begun to accumulate a decent library of easing snippets, it’s time to look into other ways to enhance the depth of your CSS animations, and one of the best ways is to offset your animated elements.
It’s all too common that a JavaScript trigger is set to initiate a bunch of animations based on scroll position, only for all to move in tandem. Fortunately CSS itself provides a simple property that can make (or break) your animated experience: animation-delay.
Let’s say we have a grid of images we want to animate into frame when the user scrolls. There are a number of ways we could trigger this, most likely by adding classes to the elements as they enter the viewport. This can be quite a heavy lift on the browser, however, and can be avoided by simply adding a single class to a container element and defining animation delays on child elements.
This is a particularly good use case for preprocessors like SCSS or LESS, which allow us to use a @for loop to iterate through each element.
#parent{
.child{
     animation: animationName 1.5s ease-in-out 1 forwards;
@for $i from 1 through 20{
     &:nth-of-type(#{$i}){
animation-delay:#{$i/10}s;
                 }
}
    }
}
Here you’ll see with SCSS we are able to loop through each :nth-of-type selector, then apply an animation delay based on each child element’s numerical value. In this case you’ll note we divide up our timing to reduce each increment to a fraction of a second. While offsetting your animated elements can lend emotion to your animation, too much delay can make it feel disjointed. Check out this CodePen below.
03. Squigglevision
- Author: Adam Kuhn
SVG filters provide a great way to achieve a natural, hand-drawn feel and escape some of the flat-feeling rendering constraints of CSS alone. Animating them can further enhance the effect.
Squigglevision is a case in point. So no, this isn’t a technical term known to most animators, but you’ve surely seen it employed in cartoons. The idea is that the edges of these animated elements are somewhat jagged and rough-hewn and that these rough edges quickly variate, frame by frame, making them feel as though they've been ripped from the pages of a sketchbook and brought to life.
To achieve this effect, we can include an SVG on our page with multiple filters and slight variations in turbulence levels for each. Next, we’ll set up our animation timeline, calling each filter in its own keyframe. It’s important to play with the timing durations as we anticipate the animation will feel 'jumpy' but don’t want it so slow as to feel disjointed or so fast as to feel crazy.
To that end, it’s important to note that CSS lacks the ability to smoothly transition between SVG filters as there is no way to access properties such as turbulence and scale, so these types of animations should always be expected to be choppy.
04. Tumbling lettering

- As seen on: Game of the Year
- Author: Leon brown
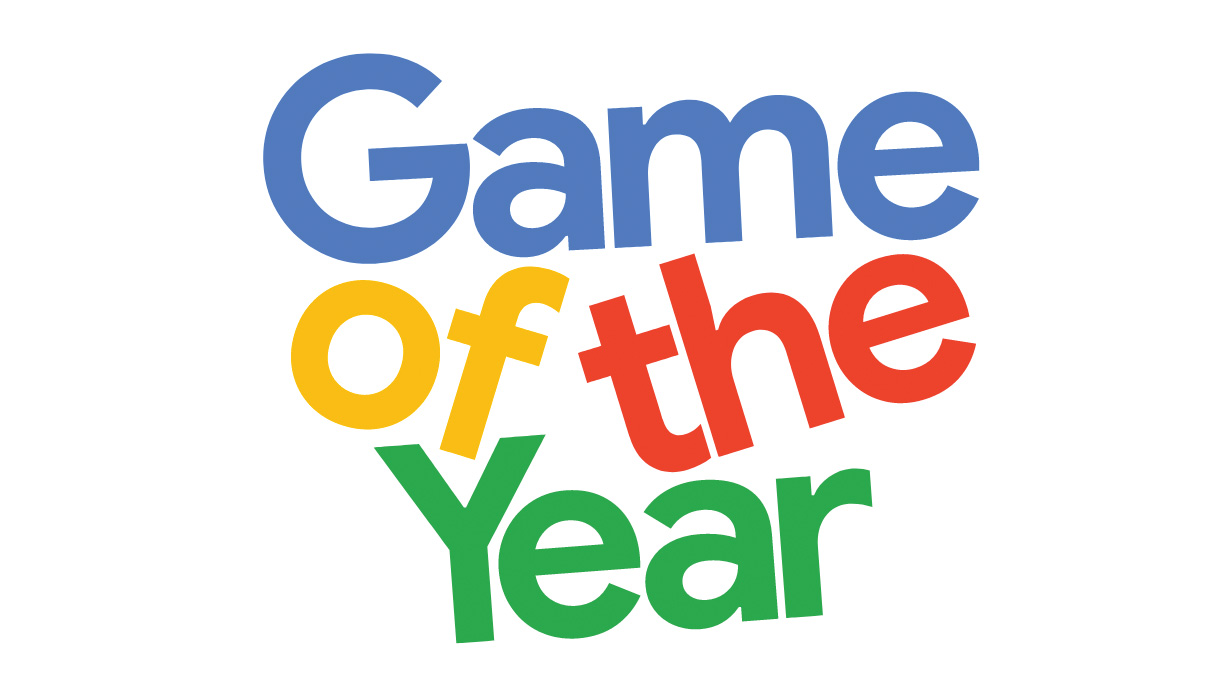
Google's Game of the Year features a playful CSS animation on the homepage, with the title words tumbling and bumping into one another. Here's how it was done.
The first step is to define the webpage document with HTML. It consists of the HTML document container, which stores a head and body section. While the head section is used to load the external CSS and JavaScript resources, the body is used to store the page content.
<!DOCTYPE html>
<html>
<head>
<title>Off Kilter Text Animation</title>
<link rel="stylesheet" type="text/css" href="styles.css"/>
<script src="code.js"></script>
</head>
<body>
  <h1 class="animate backwards">The Animated Title</h1>
  <h1 class="animate forwards">The Animated Title</h1>
  <h1 class="animate mixed">The Animated Title </h1>
</body>
</html>
The page content comprises three h1 title tags that will show the different variations of the animation effect. While any text can be inserted into these tags, their animation is defined by the names in the class attribute. The presentation and animation settings for these class names will be defined in the CSS later on.
Next, create a new file called 'code.js'. We want to find all page elements with the animate class and create an array list representing each word of the inner text. The initial animation delay is also defined in this step. Page content is not available until the page has fully loaded, so this code is being placed inside the window’s load event listener.
The word content of the animation items needs to be contained inside a span element. To do this, the existing HTML content is reset to blank, then a loop is used to make the word in the identified 'words' list a span element. Additionally, an animationDelay style is applied – calculated in relation to the initial delay (specified below) and the word’s index position.
window.addEventListener("load", function(){
	var delay = 2;
	var nodes = document.querySelectorAll
(".animate");
	for(var i=0; i<nodes.length; i++){
		var words = nodes[i].innerText.split(" ");
		nodes[i].innerHTML = "";
for(var i2=0; i2<words.length; i2++){
			var item = document.createElement("span");
			item.innerText = words[i2];
			var calc = (delay+((nodes.length + i2)/3));
	item.style.animationDelay = calc+"s";
			nodes[i].appendChild(item);
}
	}
});
Create a new file called styles.css. Now we'll set the presentation rules that will be part of every word element in the animation, controlled by their span tag. Display as block, combined with centred text alignment, will result in each word appearing on a separate line horizontally aligned to the middle of its container. Relative positioning will be used to animate in relation to its text-flow position.
.animate span{
	display: block;
	position: relative;
	text-align: center;
}
Animation elements that have the backwards and forwards class have a specific animation applied to them. This step defines the animation to apply to span elements whose parent container has both the animate and backwards or forwards class.
Note how there is no space between the animate and backwards class reference, meaning the parent element must have both.
.animate.backwards > span{
	animation: animateBackwards 1s ease-in-out
forwards;
}
.animate.forwards > span{
	animation: animateForwards 1s ease-in-out
forwards;
}
The mixed animation is defined using the same settings used for the forwards and backwards animations. Instead of applying the animations to every child of the parent, the nth-child selector is used to apply alternating animation settings. The backwards animation is applied to every even-number child, while the forwards animation is applied to every odd-number child.
.animate.mixed > span:nth-child(even){
	animation: animateBackwards 1s ease-in-out
forwards;
}
.animate.mixed > span:nth-child(odd){
	animation: animateForwards 1s ease-in-out
forwards;
}
The animations we've just created are made with an initial 'from' starting position, with no vertical position or rotation adjustment. The 'to' position is the final state of the animation, which sets the elements with an adjusted vertical position and rotation state. Slightly different ending settings are used for both animations to avoid the text becoming unreadable due to overlap in mixed animations.
@keyframes animateForwards {
	from { top: 0; transform: rotate(0deg); }
	to { top: .9em; transform: rotate(-15deg); }
}
@keyframes animateBackwards {
	from { top: 0; transform: rotate(0deg); }
	to { top: 1em; transform: rotate(25deg); }
}
05. Animated writing

- As seen on: Garden Eight
- View the code for the paths and text
- Author: Steven Roberts
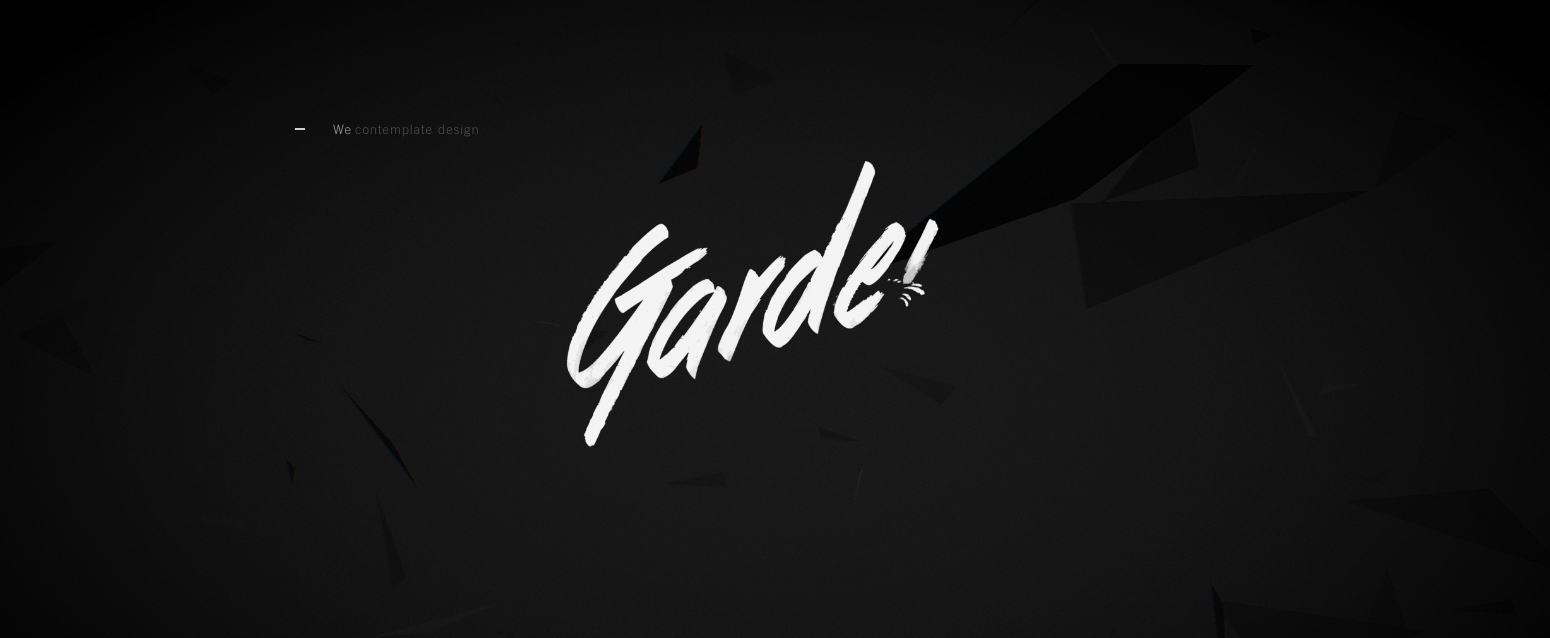
The Garden Eight website uses a common animation technique through which text appears to be written out. To achieve the effect, we'll again turn to SVG. To begin with, we’ll create the SVG. There are two approaches here: convert the text to paths to animate them or use SVG text. Both approaches have their pros and cons.
Start by creating our keyframe animation. The only function we need it to perform is to change the stroke-dashoffset. Now we’ve created our animation, we need to apply the values we want to animate from. We set the stroke-dasharray, which will create gaps in the stroke. We want to set our stroke to be a large enough value to cover the entire element, finally offsetting the dash by the length of the stroke.
The magic happens when we apply our animation. By animating the offset, we’re bringing the stroke into view – creating a drawing effect. We want the elements to draw one at a time, with some overlap between the end of drawing one element and beginning to draw the next. To achieve this we turn to Sass/SCSS and nth-of-type to delay each letter by half the length of the animation, multiplied by the position of that particular letter.
06. Off the beaten path
- Author: Adam Kuhn
SVG-related properties are becoming more and more usable within CSS. Two of the most uniquely capable animatable properties include paths: offset-path and clip-path. For instance, using offset-path we can define (and even hand draw) an SVG path and adjust our offset-distance (or in the case of legacy browsers, motion-offset) to allow our elements to move around our defined path.
Below, we’ll define an SVG path and tell our element to move from beginning to end.
animation:followPath 5s ease-in-out
infinite;
offset-path: path("M 40 0 C 75 170 160 140
  200 280 Q 220 400 340 400 Q 420 380 480 540");
motion-path: path(“M 40 0 C 75 170 160 140
  200 280 Q 220 400 340 400 Q 420 380 480 540”);
@keyframes followPath{
  from{ offset-distance:0%;
    motion-offset:0%;}
  to{ offset-distance:100%;
motion-offset:100%;}}
Keep in mind when drawing your path, it will fit itself within the SVG's viewbox, with all numerical values being translated to pixels. This can pose responsive challenges as offset-path animations do not accept relative units.
The other really neat animatable path property is clip-path. What’s great about animating clip-path is the ability to smoothly transition the positioning of path points. For instance, we can transition clip-path: polygon(0 0, 100% 0, 100% 100%, 0% 100%) to clip-path: polygon(50% 0%, 50% 0%, 100% 100%, 0% 100%); and smoothly transition a square into a triangle – a feat otherwise near impossible with CSS.
Important note on animating clip-path: the number of points on the path must remain equal for both the beginning and ending shapes. For an easy way to visualise how clip-path will animate check out Bennett Feely’s Clippy.
Check out this offset-path example Ghibli Slider:
And clip-path example First Light:
07. Underline from the centre
- As seen on: God of War
- View the code

The animation consists of positioning the ::after pseudo element to the bottom and then scaling it when the button is interacted with.
What is CSS animation?
CSS animation is a method of animating certain HTML elements without having to use processor- and memory-hungry JavaScript. There's no limit to the number or frequency of CSS properties that can be changed. CSS animations are initiated by specifying keyframes for the animation: these keyframes contain the styles that the element will have, and they're no difficult to create.
What makes a good CSS animation effect
The best CSS animation examples are normally very simple – just a small movement can have a big impact. At the other extreme, too much animation can be distracting and irritating for users – the opposite of what we want to achieve in a user interface, so it's best to avoid going for something too overblown.
