How to create repeat patterns in Illustrator
Five simple ways to design repeating patterns.
Once you've mastered the basics of object creation in Illustrator it's very easy to quickly fill a design with many vector elements, and pattern creation is a great way of doing this. Whereas once this would have involved a lot of time consuming, precise work, Illustrator now has a number of tools and tricks that make it easy to intricate repeating patterns.
Through the next five steps I'll run through my five essential tips and tricks that you need to know when embarking on pattern creation in Illustrator, including using the Patterns panel. This tutorial was completed in CS6, but the techniques we explore here can be applied to any version of the programme. To expand your vector skills further, take a look at these amazing Illustrator tutorials.
01. Create radial patterns
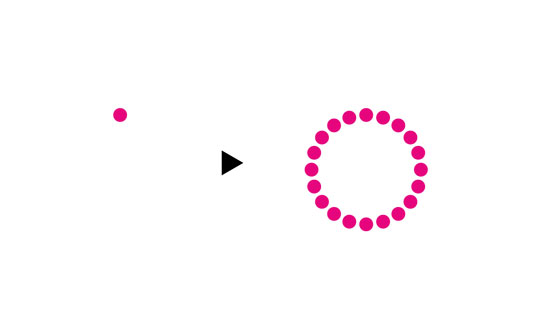
Creating radial patterns in Illustrator is quick and easy. Begin by simply creating a shape/graphic of any shape or size, in this case a simple round dot. With this selected hit 'R' for rotate and whilst holding alt+click on a point that will act as the centre of your radial pattern.
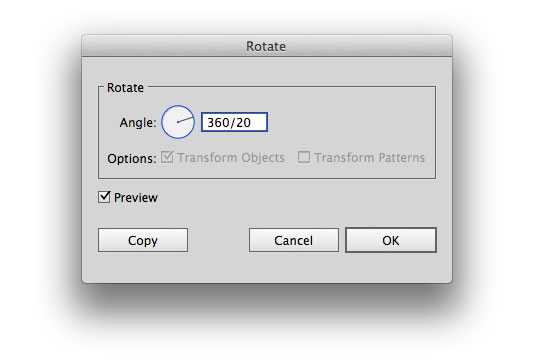
In the following dialog panel enter a fraction (e.g 360/20), preview it then hit copy. Once back on the art board hit cmd+D to repeat the pattern. Simple.
02. Use pattern fills

One easy pattern creation technique that is often overlooked is to draw a shape and drag it into the swatches panel. You can now draw any other shape and choose this as your pattern fill, as shown above. This technique only becomes tricky if you want there to be spaces between the elements within your pattern – for solid patterns, it's perhaps the simplest approach.
03. Try the Pattern panel
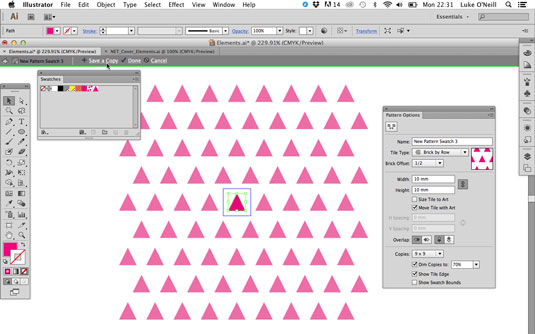
The Pattern panel (found under the Window menu) is where things start to get really interesting. To quickly jump to the Pattern panel simply double click on the pattern swatch – you now have a multitude of options to choose from including the tile type, brick offset, spacing and number of copies.
Once upon a time all of this would have to have been set manually. When you're happy with your pattern you can save it or save a copy if you want to retain the original design.
04. Work with blends

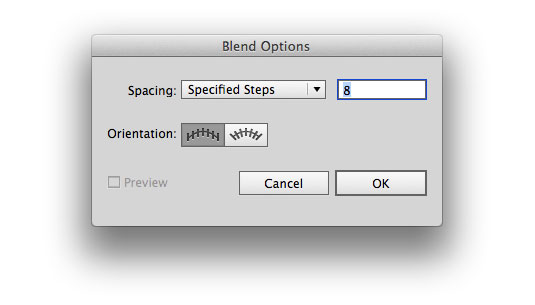
The blend options can be used to quickly create repeating objects and can then be used within the Pattern generator. Draw two simple shapes, in this case squares. Navigate to 'Object > Blend > Blend options' and select 'Specified steps'.
Enter the number of steps you'd like your blend to be, and then navigate back to 'Object > Blend' and select 'Make'. You can then drag this into your swatches panel and use it in conjunction with the Patterns panel to create some intriguing designs.
05. Apply patterns to 3D objects
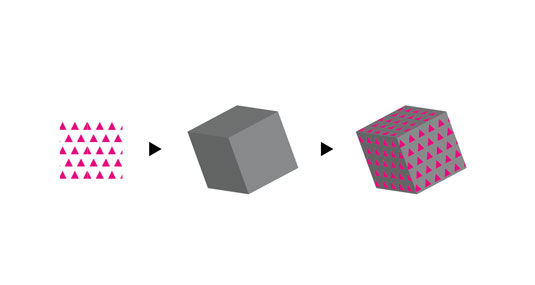
Once you have a pattern swatch set up its very easy to apply it to a 3D object. Start by creating a pattern fill on the artboard and drag this into the Symbols panel to be used later. We're going to make a cube, so we'll start with a square. Now create a cube by drawing another square and navigating to '3D > Effect > Extrude and Bevel'.
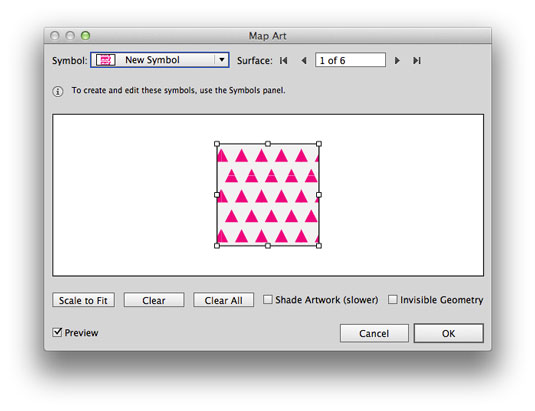
Hit Preview to see how the cube will look and then click 'Map art'. In the symbol drop-down, select your pattern swatch and apply it to one of the sides. Cycle through the different sides, applying your pattern until you're satisfied with the results.
Like this? Read these...

Thank you for reading 5 articles this month* Join now for unlimited access
Enjoy your first month for just £1 / $1 / €1
*Read 5 free articles per month without a subscription

Join now for unlimited access
Try first month for just £1 / $1 / €1
Get the Creative Bloq Newsletter
Daily design news, reviews, how-tos and more, as picked by the editors.
Luke is a creative director, visual designer and digital artist, who works at THG Studios in Manchester as creative director of beauty. He previously worked for Future Publishing, where he was art editor of leading magazines such as Guitarist, T3 and Computer Arts.
