How to draw light on metal surfaces
Concept designer Marcel van Vuuren shares his insights on how to create reflective metallic surfaces.
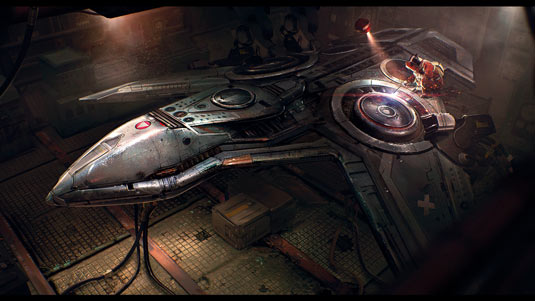
Metal has a reflective component that can appear shiny or matt. When rendering out metallic objects, balance both of these effects with Photoshop brushes to achieve realistic results.
The key difference between a shiny, new metal and a metal that's been worn is that when light reflects against worn metal, it'll diffuse that light. A polished surface will reflect light on its surroundings further, whereas a worn metal's matt bumps and scratches will scatter the light beams, resulting in a softer illumination.
You'll likely need to tackle lighting challenges in any scene where you have a variety of metal surfaces, and understanding the relationship between your light sources and your material is crucial. You can study how light behaves around you, but in a concept environment you don't always have access to real-life examples.
You can speed things up by using 3D software to generate accurate lighting information, ensuring a strong foundation for your painting. I like to mock up my subject in a 3D software package such as Modo, and use it to assist in the setup of light sources and material properties.
01. Concept sketches
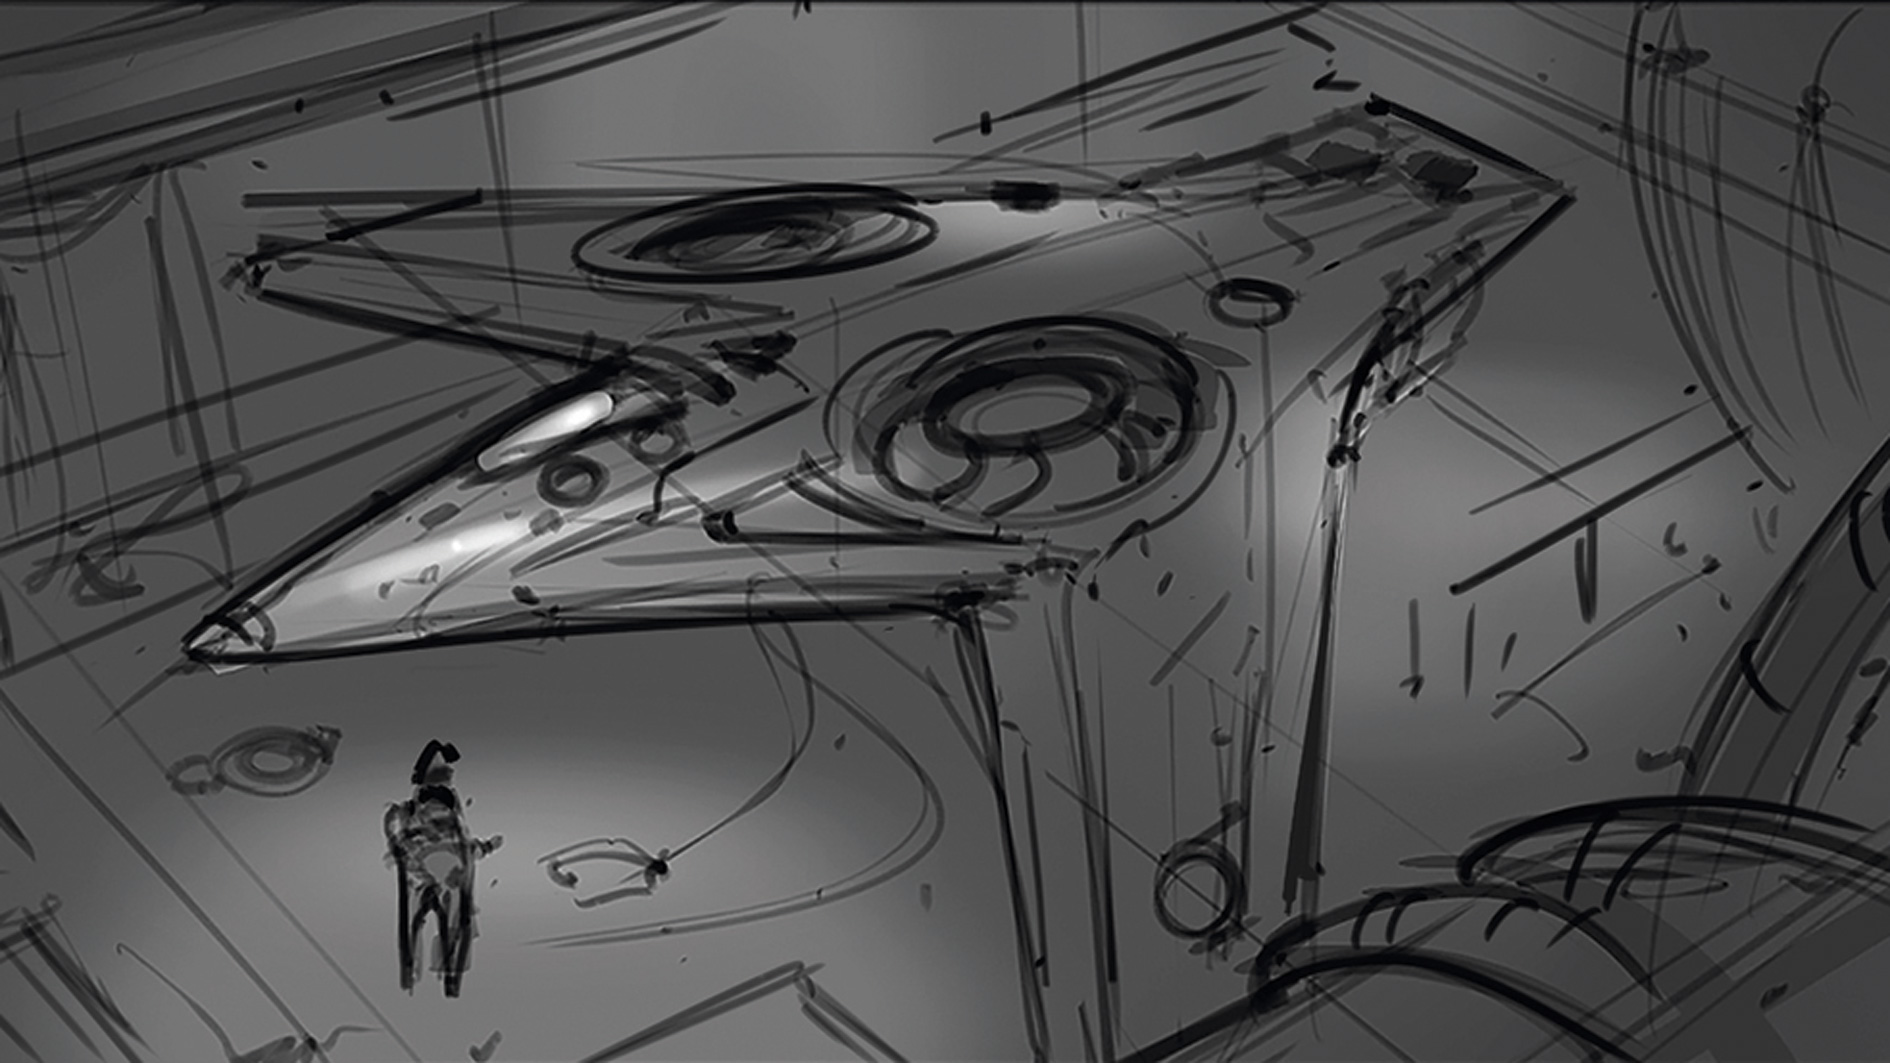
A quick sketch stage helps me to determine the subject matter and narrative angle. I like to do these as line art, which gives me more control over the lighting that will match the mood and tone of the piece. The next step is to add basic black and white values beneath my line art, and this enables me to determine the most suitable light sources for the final image.
02. Creating a light model
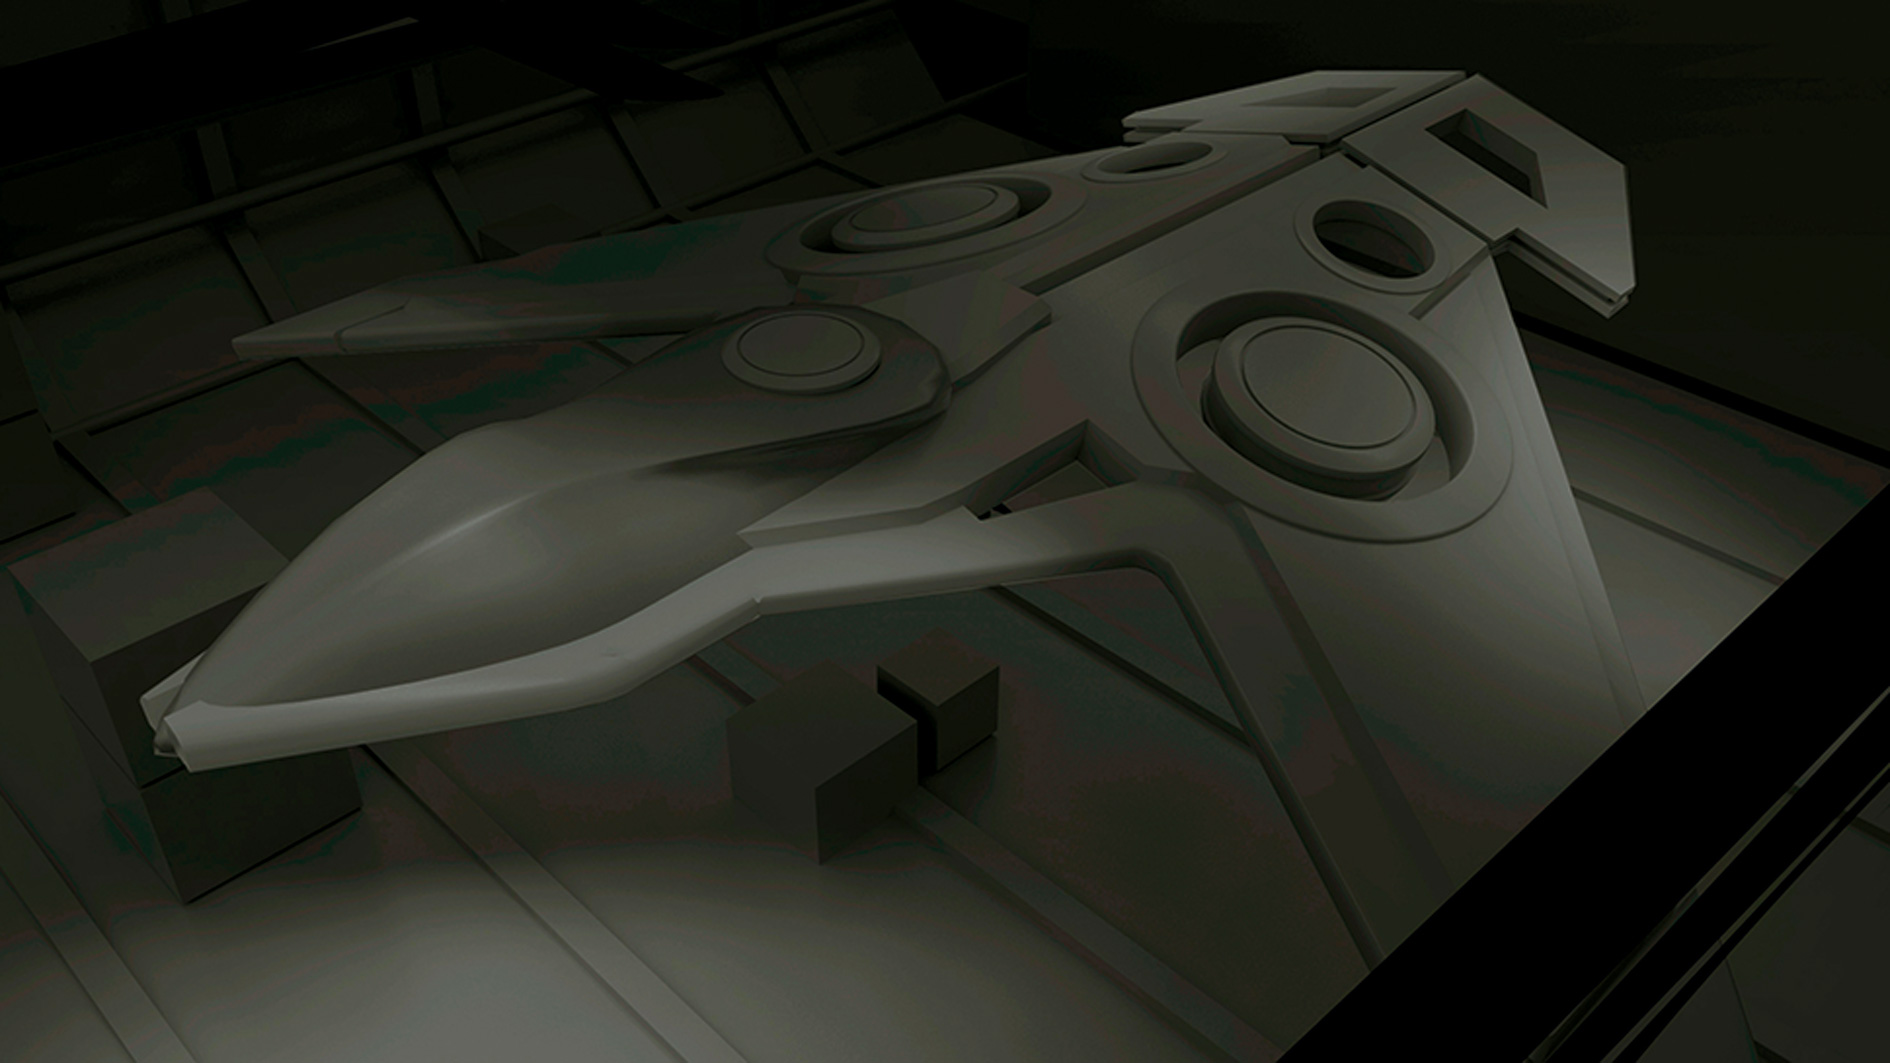
I develop and design the subject; using Modo enables me to quickly build a low-poly model, and set up accurate light and surface properties. I now have enough information to paint my image, and I use Photoshop to edit the lighting and basic colour scheme. I always keep a copy of this 'light model' on a separate layer, and refer back to it throughout the process.
03. Laying down textures
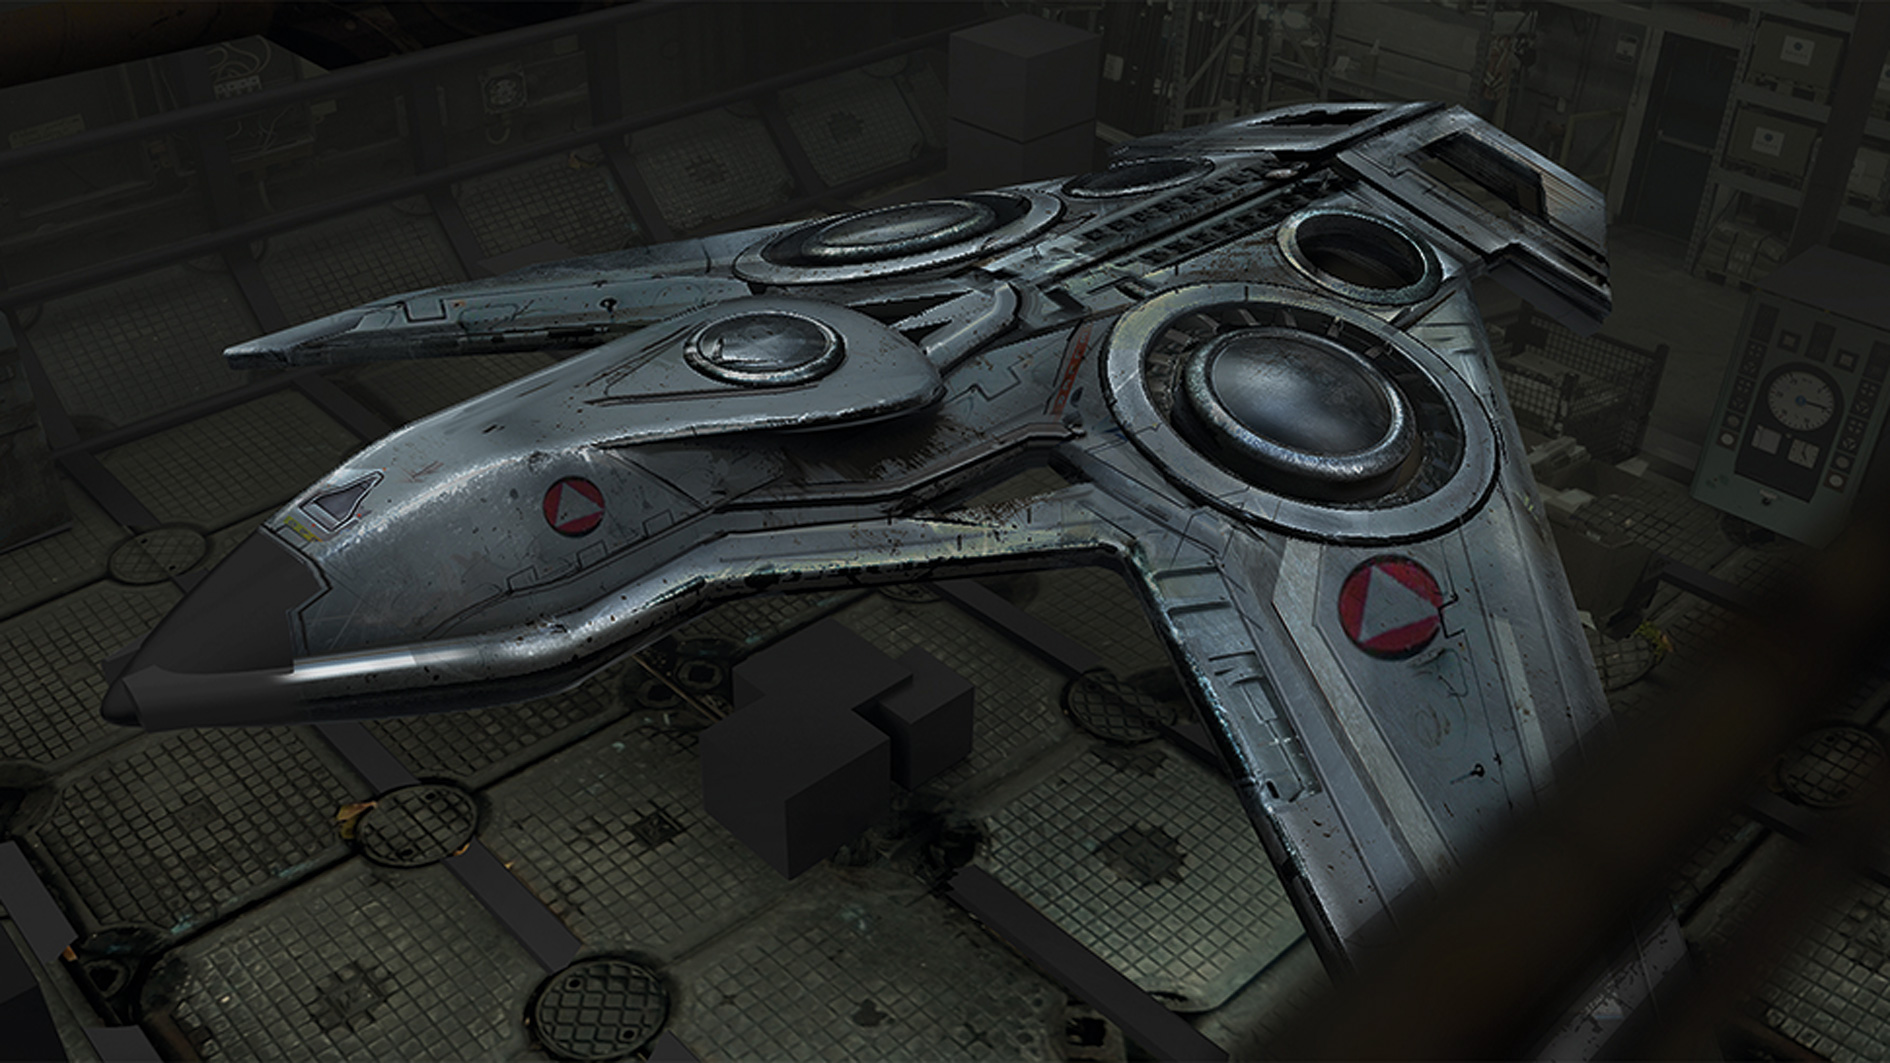
I use 3D-Coat to generate several texture and material passes, until I settle on the worn surface. As you work on texturing, you'll lose the lighting information previously set up, and this is why referring back to the light model layer you created ensures you stay true to your intended composition. Once your textures are in place, you need to reapply your lighting scheme.
04. Blending elements
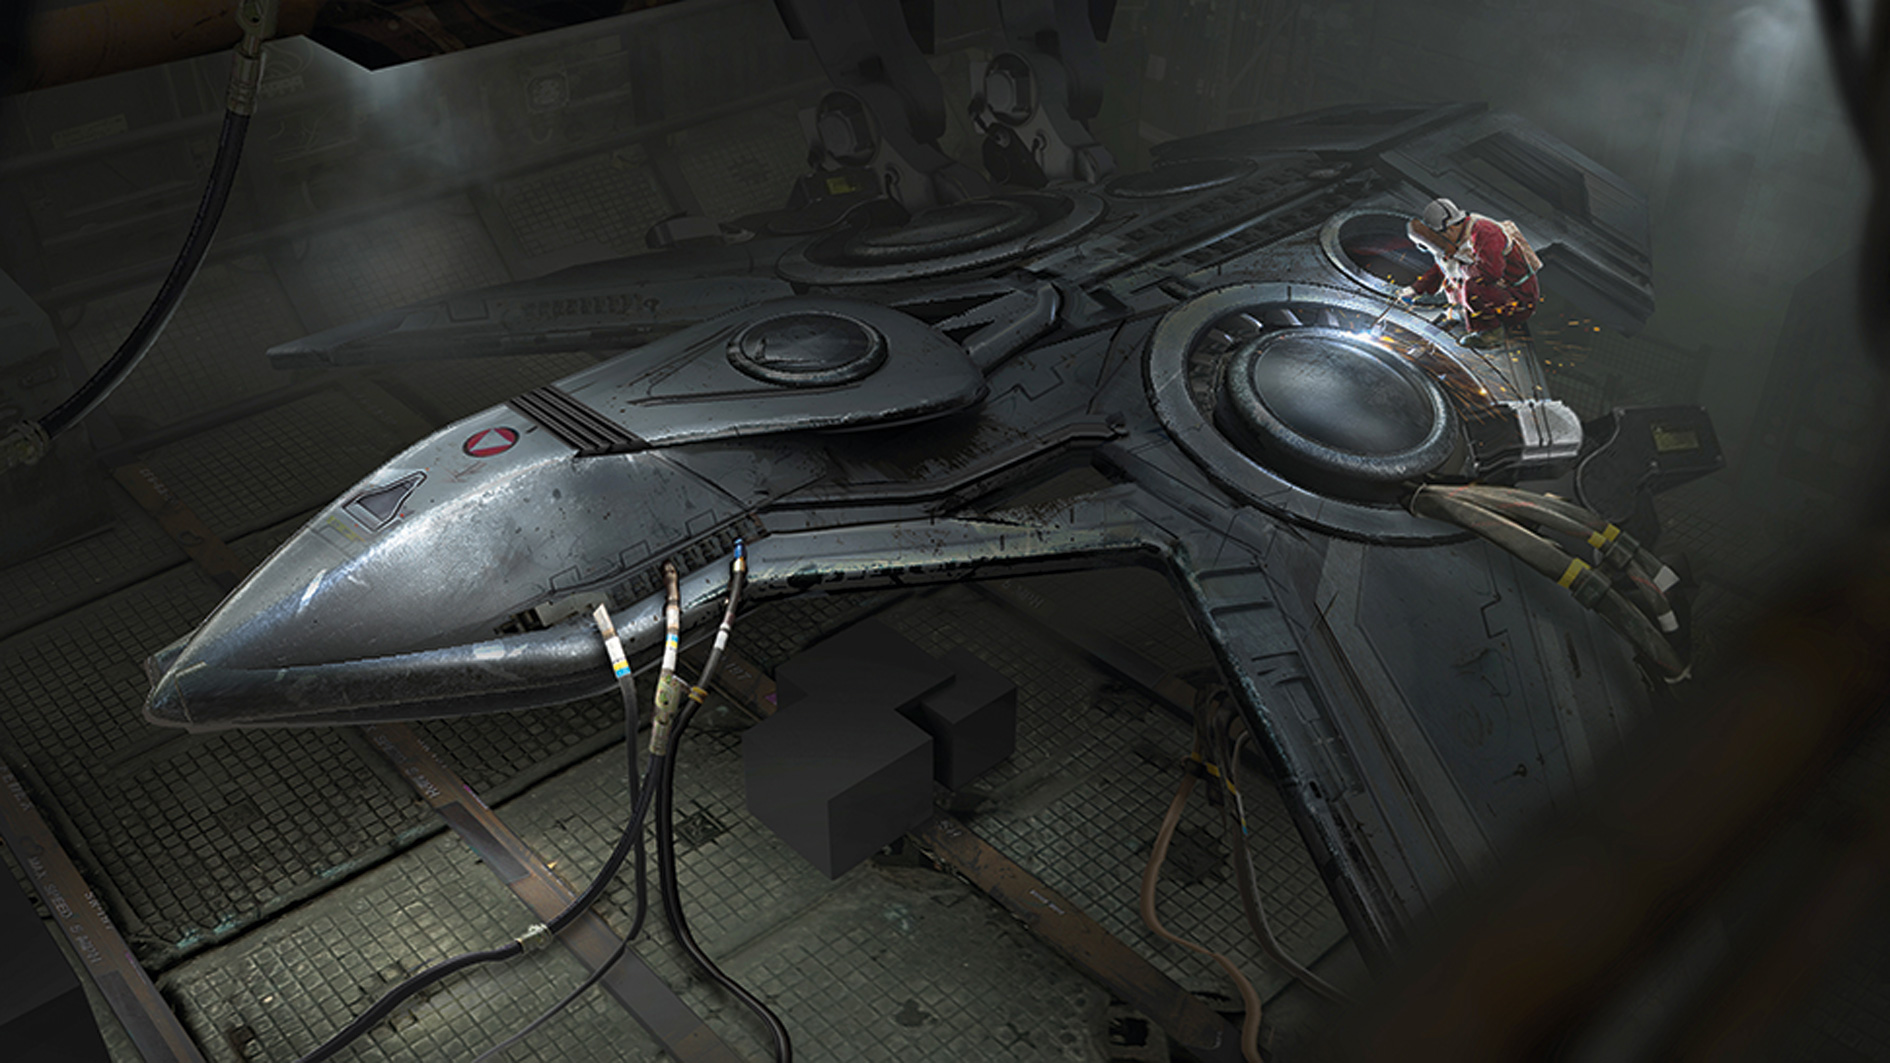
During the final stages you'll blend and integrate all the elements. Metallic surfaces will pick up light sources from across your scene: ask yourself where the light will bounce to once it's reflected by your metal components. It's easy to add too much shine everywhere, which can result in overly exposed surfaces. Be sure to only add highlights where they're needed.
Words: Marcel van Vuuren
Marcel has been working as a concept designer for over two years, mainly favouring subject matters such as sci-fi vehicles, environments and prop design. This article originally appeared in ImagineFX issue 131.
Liked this? Read these!
- Explore our brilliant collection of Photoshop tutorials
- How to draw a bear
- See these excellent examples of geometric design
- How to draw manga
- Download these free Photoshop actions

Thank you for reading 5 articles this month* Join now for unlimited access
Enjoy your first month for just £1 / $1 / €1
*Read 5 free articles per month without a subscription

Join now for unlimited access
Try first month for just £1 / $1 / €1
Get the Creative Bloq Newsletter
Daily design news, reviews, how-tos and more, as picked by the editors.

The Creative Bloq team is made up of a group of design fans, and has changed and evolved since Creative Bloq began back in 2012. The current website team consists of eight full-time members of staff: Editor Georgia Coggan, Deputy Editor Rosie Hilder, Ecommerce Editor Beren Neale, Senior News Editor Daniel Piper, Editor, Digital Art and 3D Ian Dean, Tech Reviews Editor Erlingur Einarsson, Ecommerce Writer Beth Nicholls and Staff Writer Natalie Fear, as well as a roster of freelancers from around the world. The ImagineFX magazine team also pitch in, ensuring that content from leading digital art publication ImagineFX is represented on Creative Bloq.
