How to use grid and guide tools in Photoshop
Using the grid and guide tools in Photoshop to paint a landscape illustration.
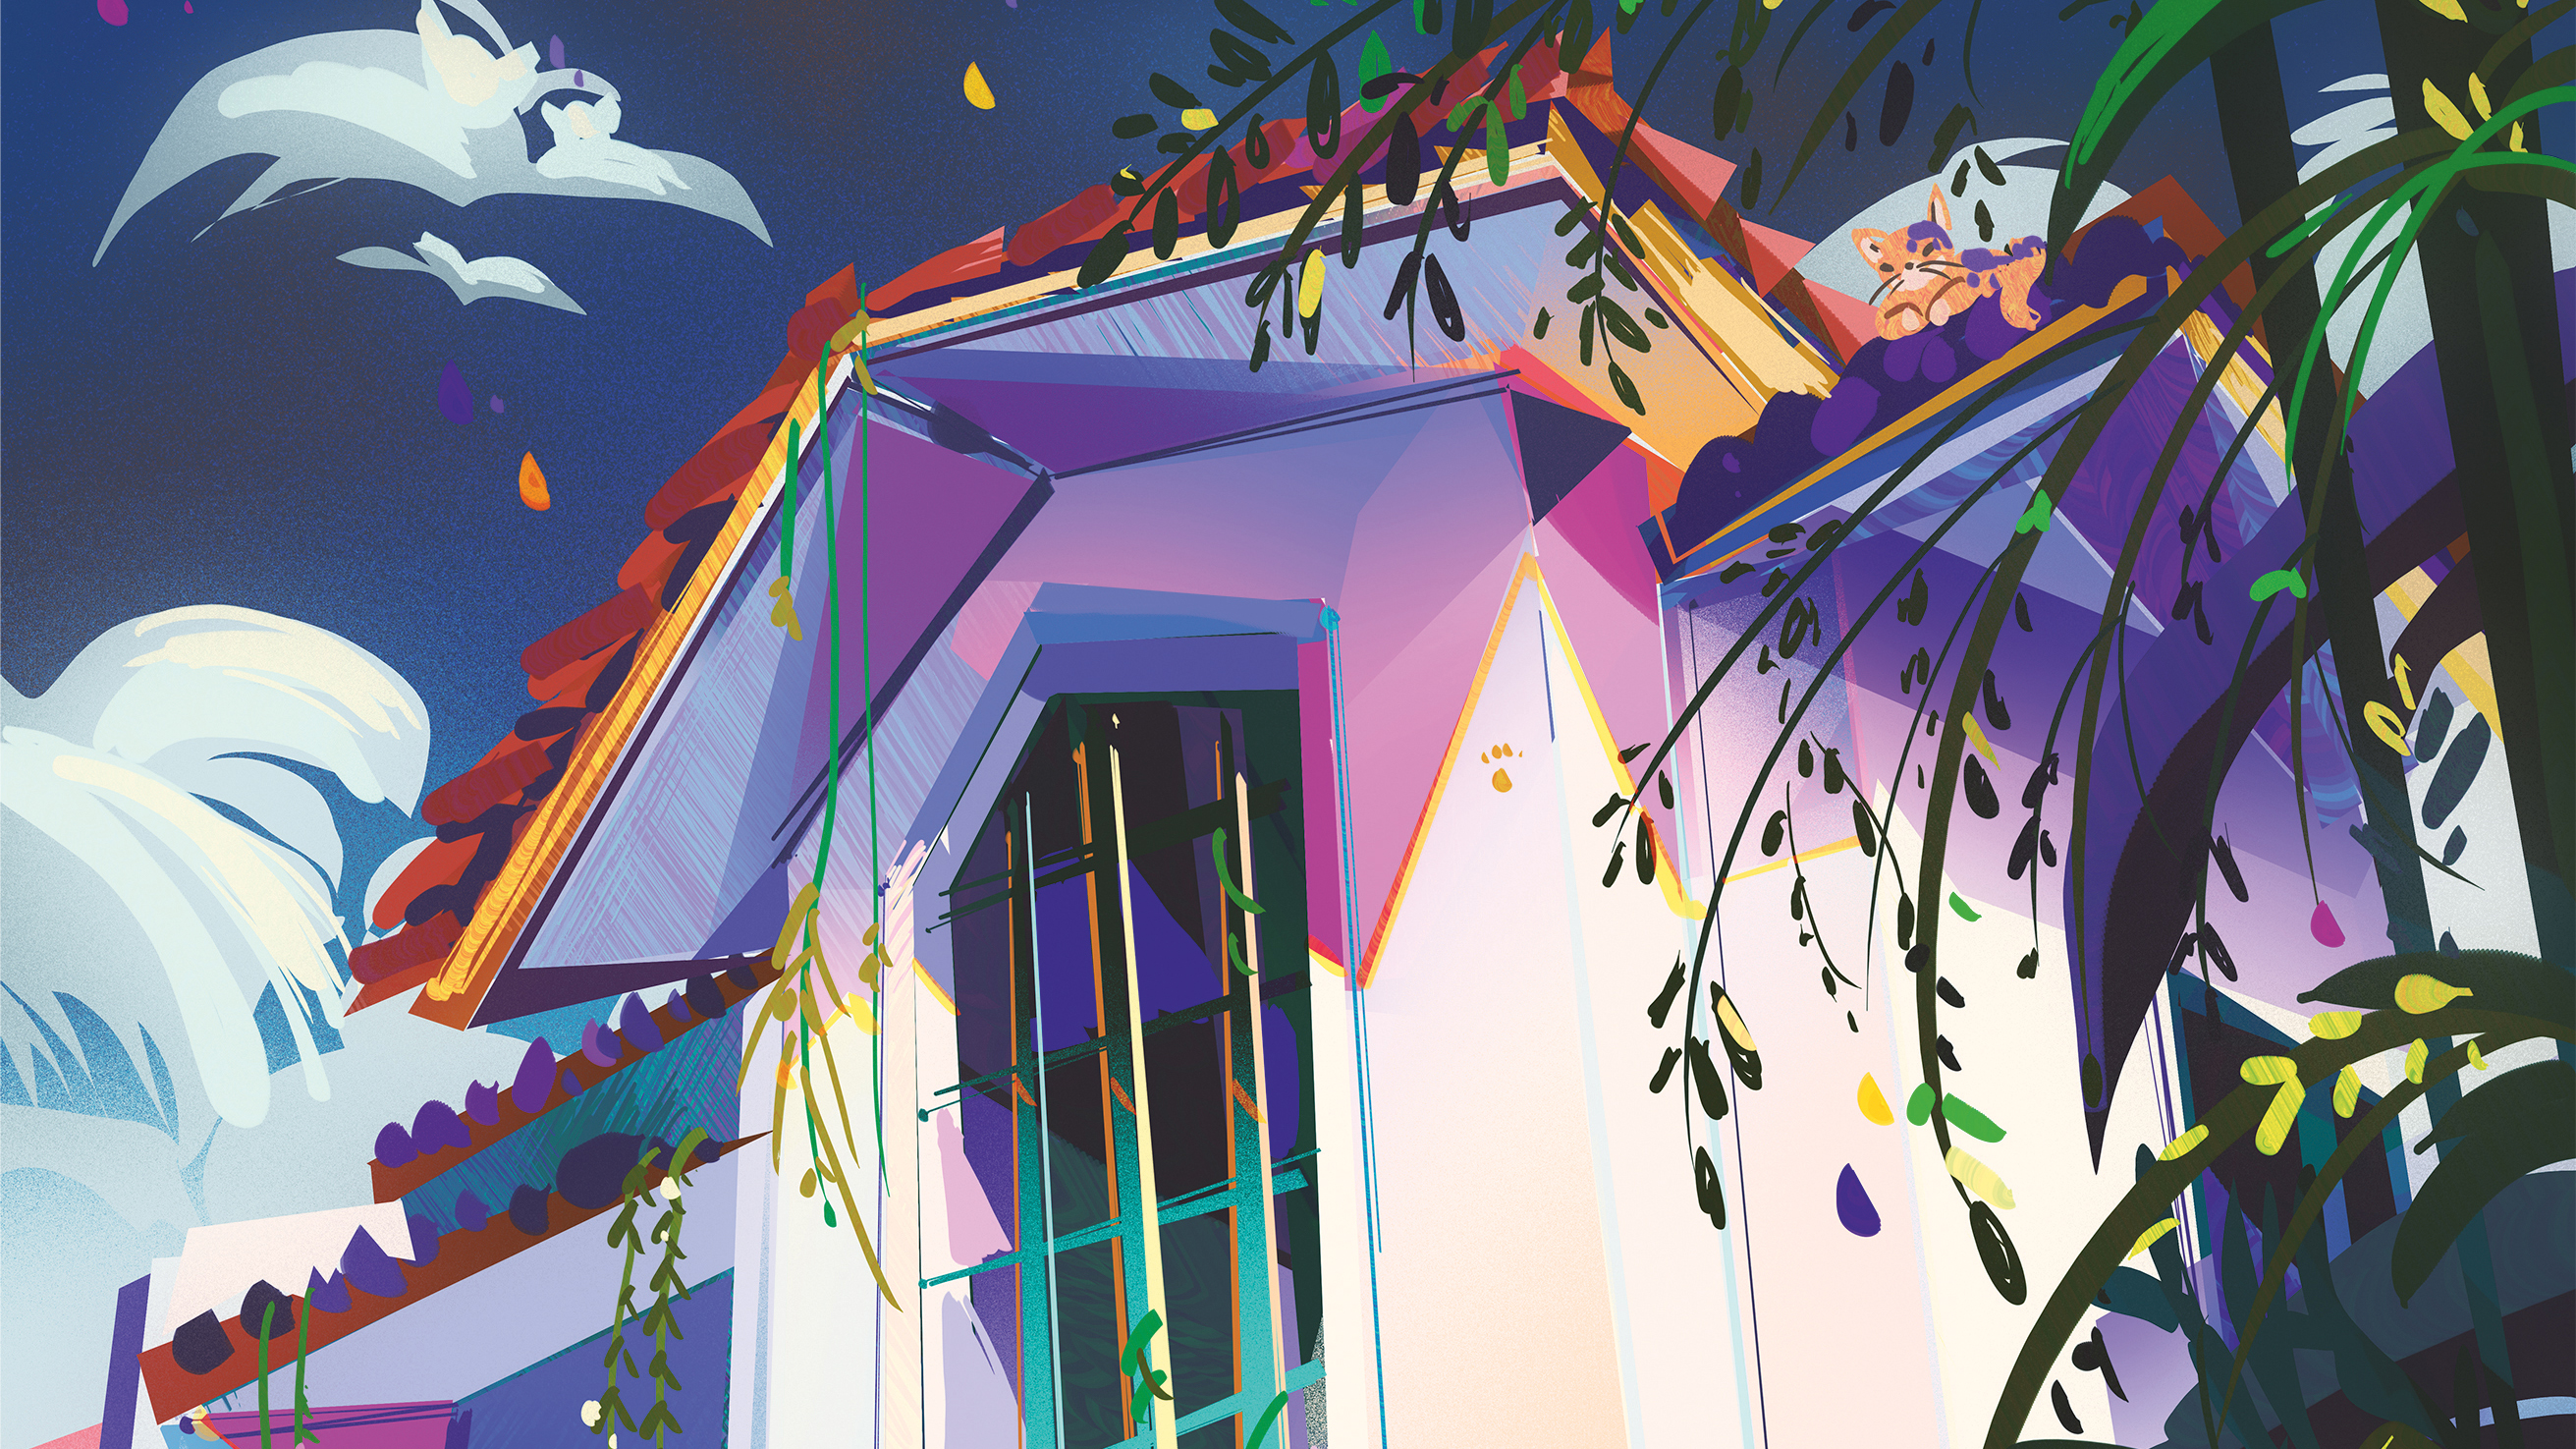
Painting a landscape is made much easier by using the grid and guide tools in Photoshop. Making a study of an environment, landscape or background is a great way to advance your painting skills, especially if you use Photoshop's guides.
In this free tutorial, freelance artist Gillian Galang shows you how she overcomes the daunting challenge of painting an outdoor environment. With many different elements in a scene it can be tricky, but below Galang shares how she uses Photoshop's perspective tools to make life easier.
Galang's goal here is to teach you that painting an environment isn’t scary, and it can become a fun project once you start to draw. In this workshop, she'll walk you through the process of how she observes her reference before starting to paint. Galang explains how she breaks down her painting process by moving from big shapes to small shapes, uses composition grids and guides to give her painting a strong structure, how she chooses colours, and adds her own ideas to make the artwork go beyond the source material.
Before you get started, have you downloaded the latest version of Photoshop? You can download a free trial version easily, and use this to follow along to the tutorial below. There are also plenty of free brushes to download and play with too.
01. Observing the reference
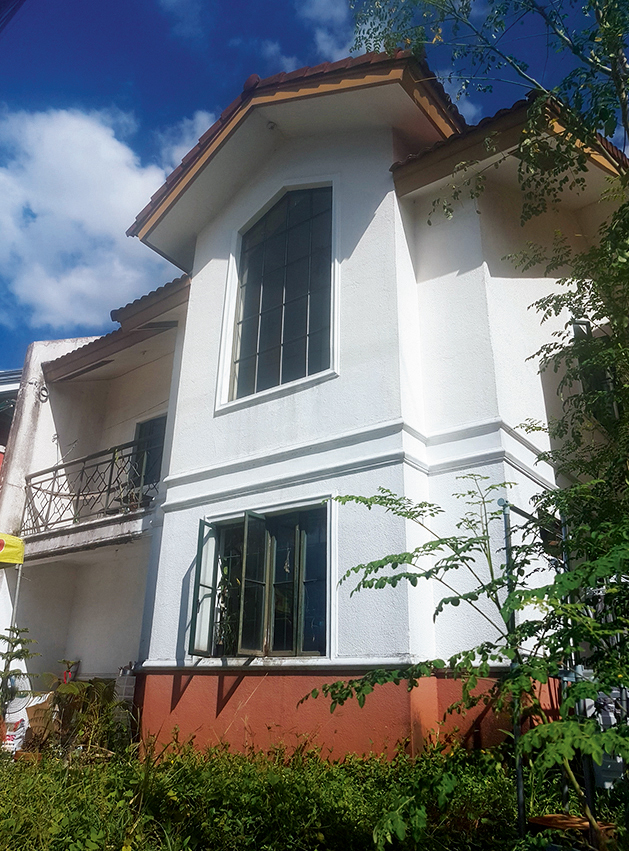
It's fun to paint environments that you've been to, or want to visit. This makes it a special piece to paint. I decide to paint my friends’ home. To capture the lighting and shapes of their house, my friend took this reference photo. From there, I proceed to brainstorm about its shapes and how I can enhance the design.
02. Overlaying a composition guide
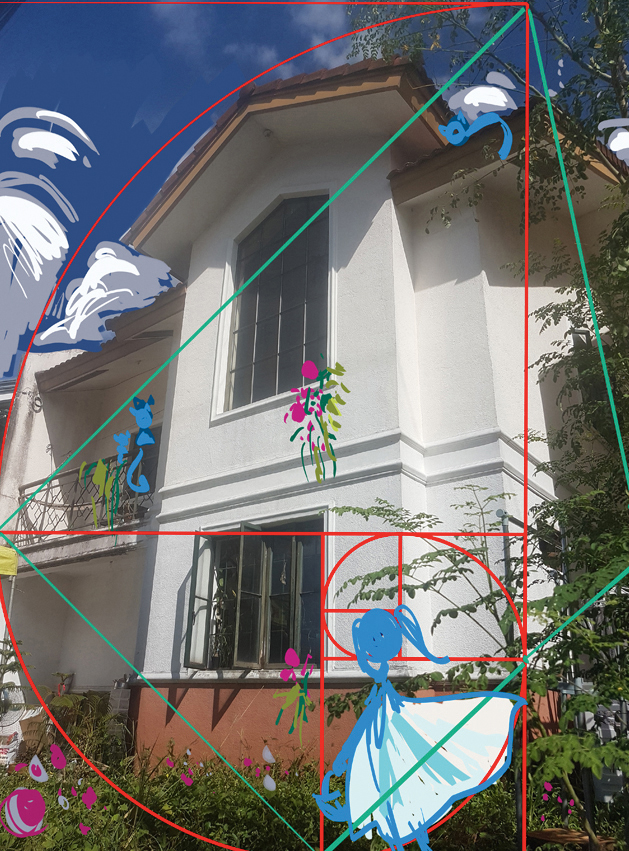
I paint over the reference so I can see what elements I want to develop. The Golden Ratio and a diamond-shaped guide act as a composition guide. This identifies where I can place certain elements. Their house has over 18 cats, so I want to show a few of them in this painting. Placing a girl in the foreground helps to create a story.
03. Preparing the canvas

I fill in the canvas with dark blue, to make a beautiful sky. Then I use my Soft Noise Textured brush to add clouds using different shades of light blue and touches of deep orange. Next, I lower the Opacity of my composition guide layer so I can still see it while I paint. I want the colours to be slightly loud, yet subtle enough to create balance and harmony.
04. Drawing the biggest shape
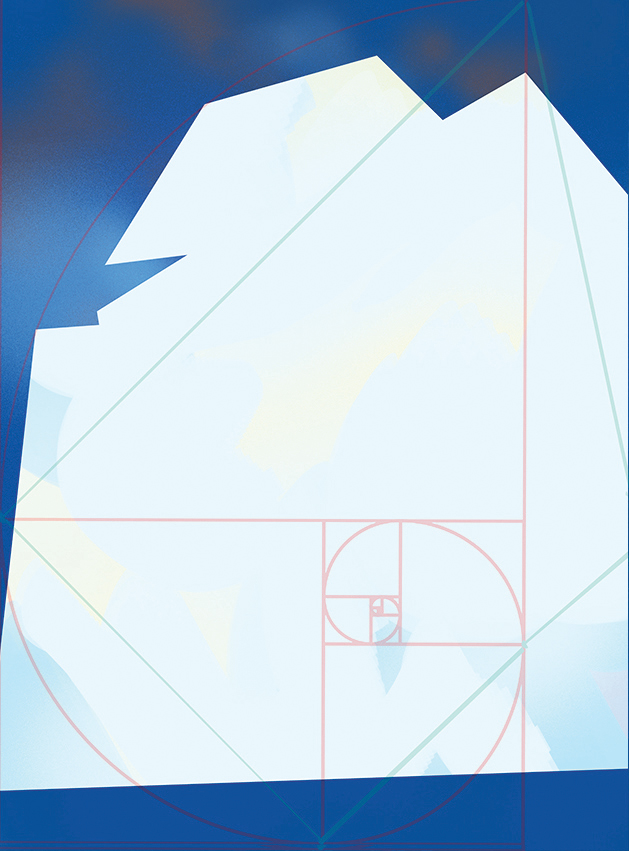
I use the Polygon Lasso tool to draw the biggest shape of the picture, which is the house. Then I start blocking this in with a solid colour. As I build up the painting I add a few colour varieties, such as yellow and blue. I don’t worry if the shape isn’t looking neat yet because I usually refine my shapes as I go along.
05. Developing the foreground
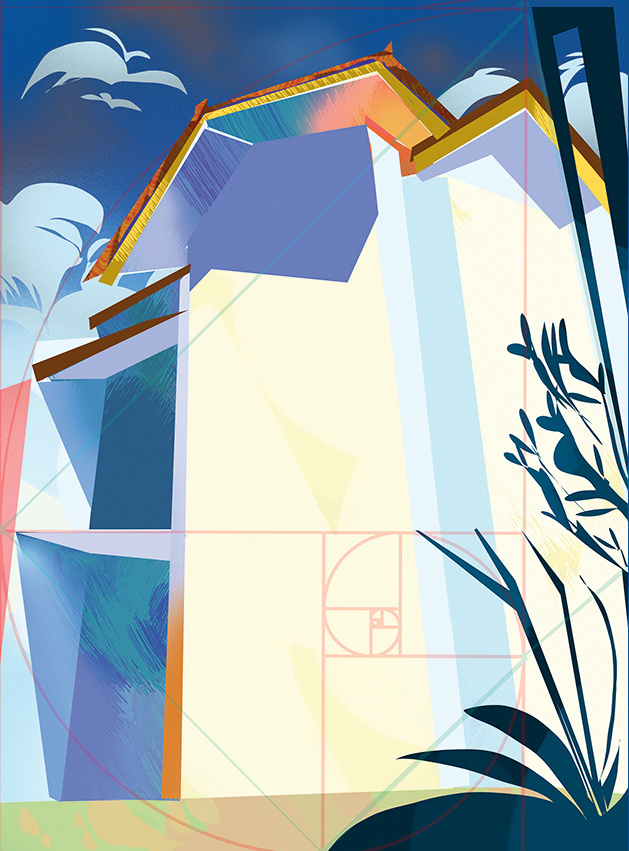
After drawing the biggest shape, I go back to my reference and decide which shape I need to draw next. I decide to paint the balcony of the main house. I use shapes to sculpt the balcony and entrance – specifically some rectangles and a triangle. Then I use the Polygon Lasso tool to sculpt the ground plane and foreground.
06. Drawing in the shadow shapes, roof details and windows
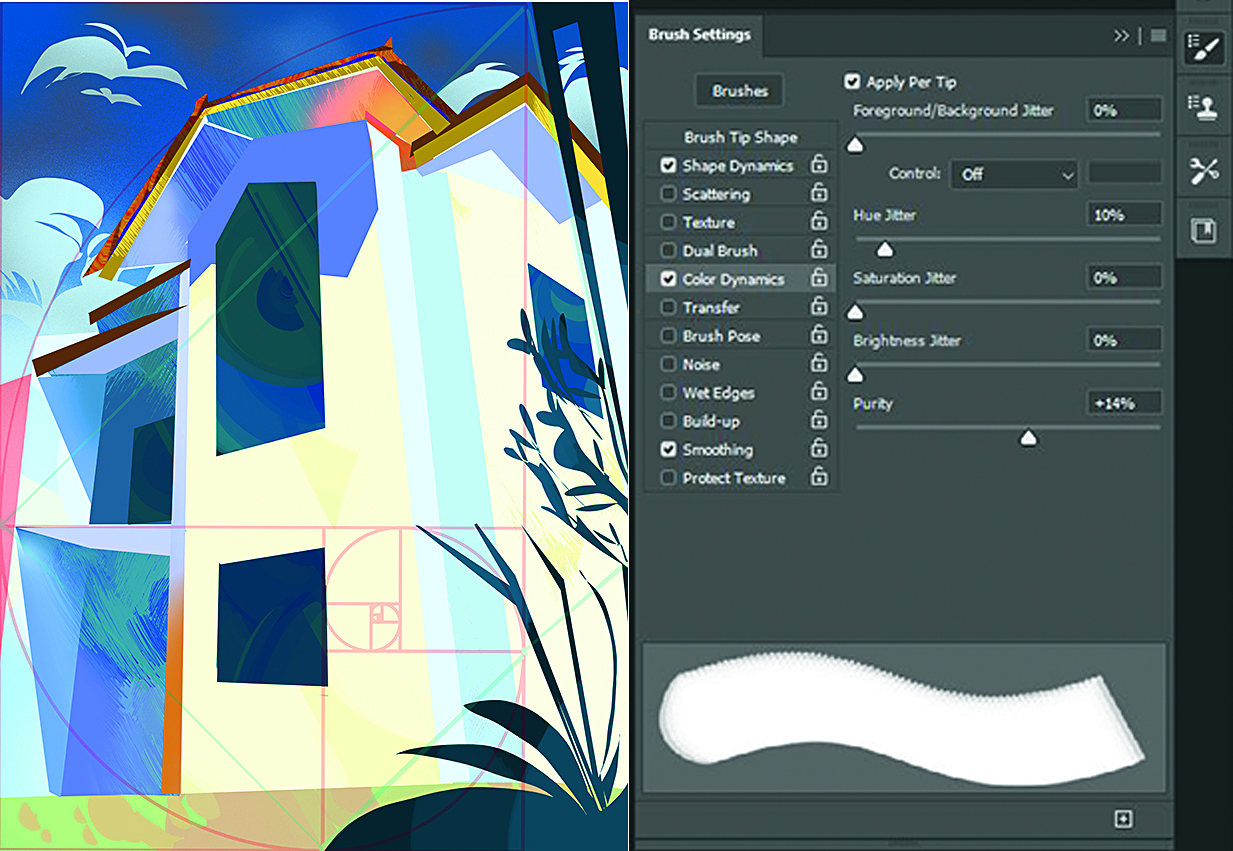
I base the shadows on the colour of my sky, which is a dark blue. This is because shadows reflect the colours of the atmosphere. My formula for this painting is cool versus warm, using cool colours for the shadow and warm colours for the light. I use my custom Coloring Textured Brush to add variety. On the Brush Settings panel I keep Color Dynamics turned on, then adjust the Hue Jitter setting to suit.
07. Designing abstract shapes to introduce details to the scene
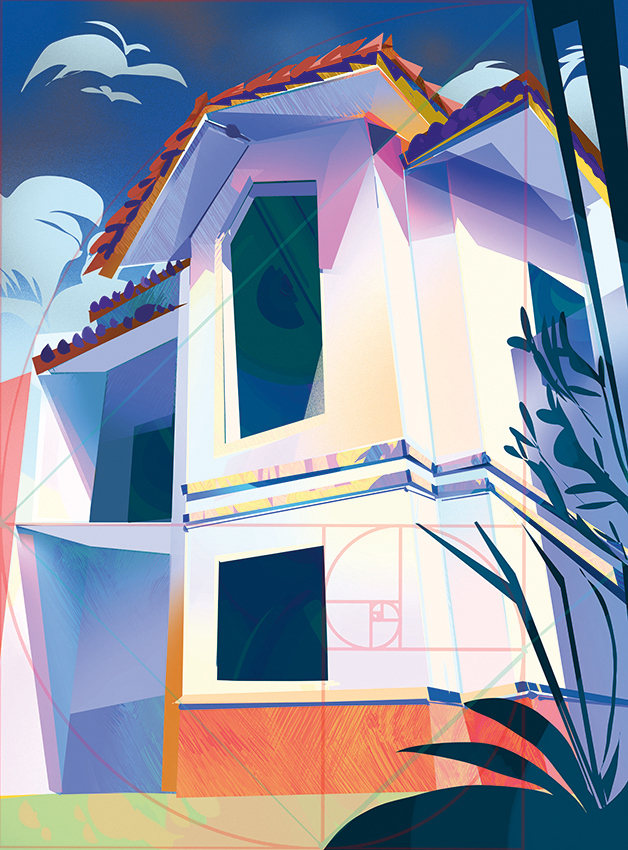
I paint over the shadows below the roof and the main window. I layer a variety of shapes and colours on this shadow shape to give it the feeling of a whimsical optical illusion. Then I make the shadows pop, by adding some warm lighting colours such as purples and magenta.
08. Adding visual interest to the building’s windows
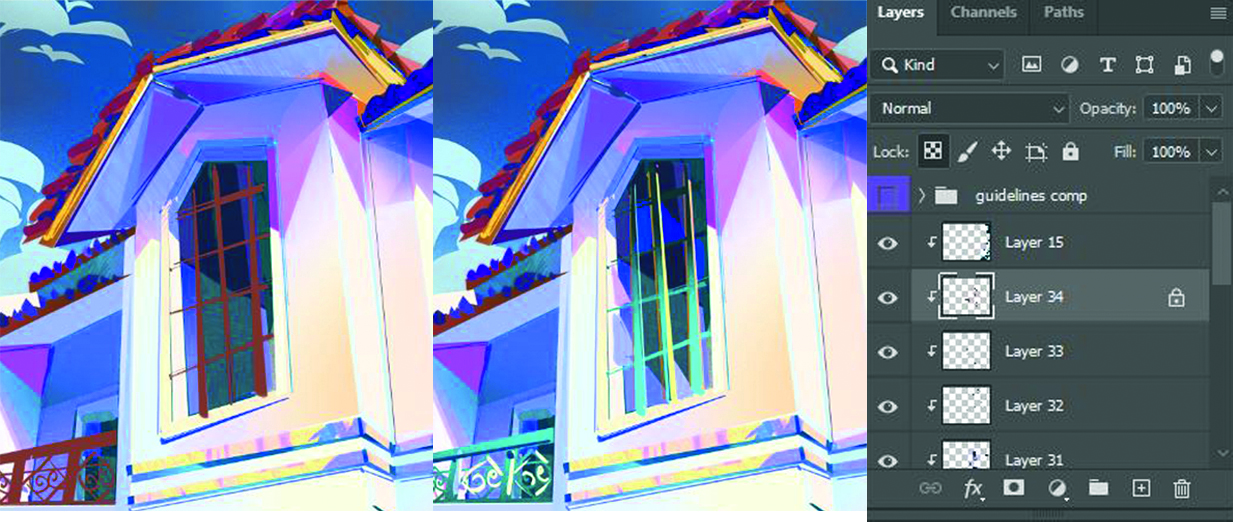
I draw the details of the balcony railings and window panels. I start off with a solid brown colour as a guide, Then I lock the layer (to lock a layer, go to the Layer panel and click the transparent box icon) so that I can paint within the shape or drawing within the layer, changing the colours freely until I find something I like. I then add more details to the house.
09. Painting the grass and objects from behind
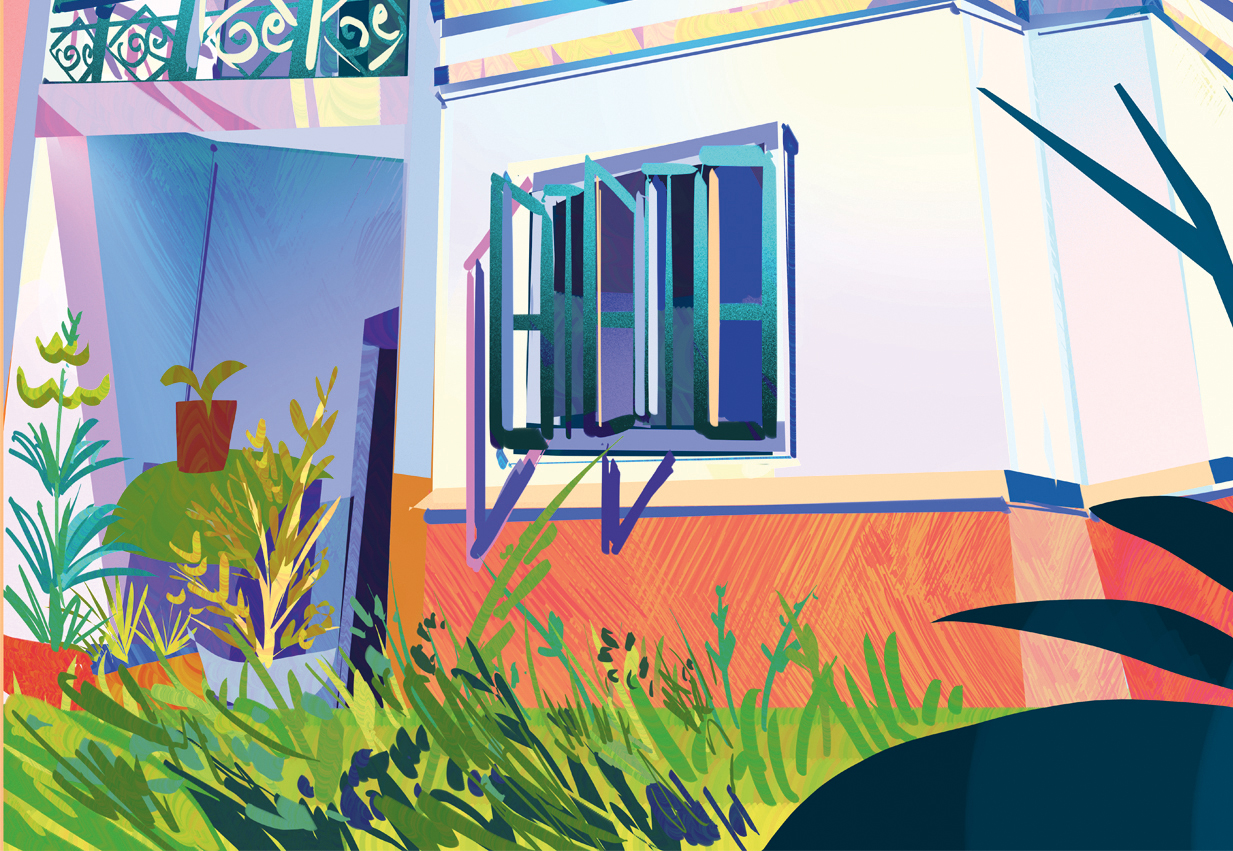
I use solid colours to paint the elements near the entrance of the house. Then I use my Coloring Textured brush to add variety with the Color Jitter option. I keep Color Dynamics turned on, then I adjust the Hue Jitter setting accordingly. I’m still figuring out how to colour the grass, so it’s okay if it doesn’t look right for now.
10. Painting the foreground
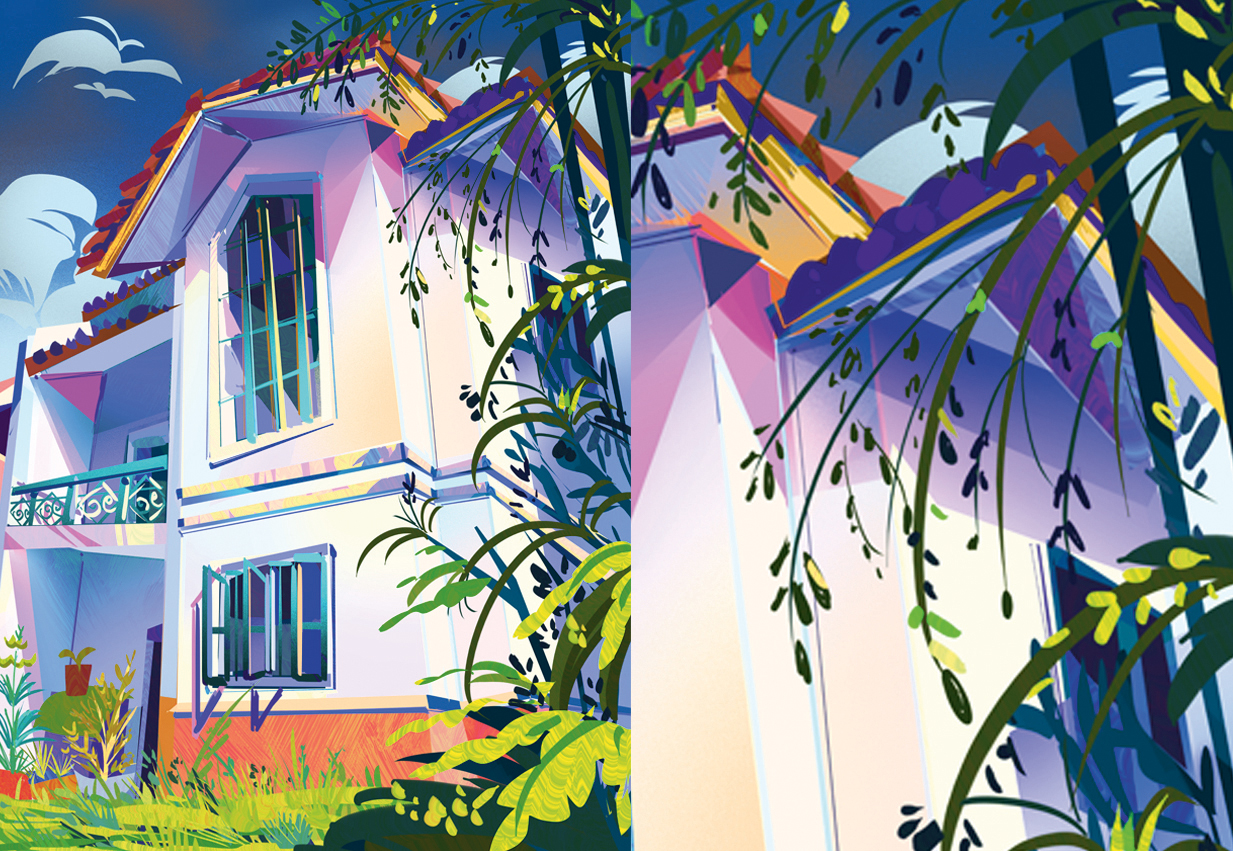
After I establish the grass area. I turn my focus to the Malunggay tree. Because it’s in the foreground, I decide to paint it in a darker colour. Not only does this add depth to the shape, but it also draws the viewer’s eye towards the focal point, which is the house. That’s why, for my foreground, I limit the use of vibrant colours only to some leaves, so they act as an accent.
11. Including the story details
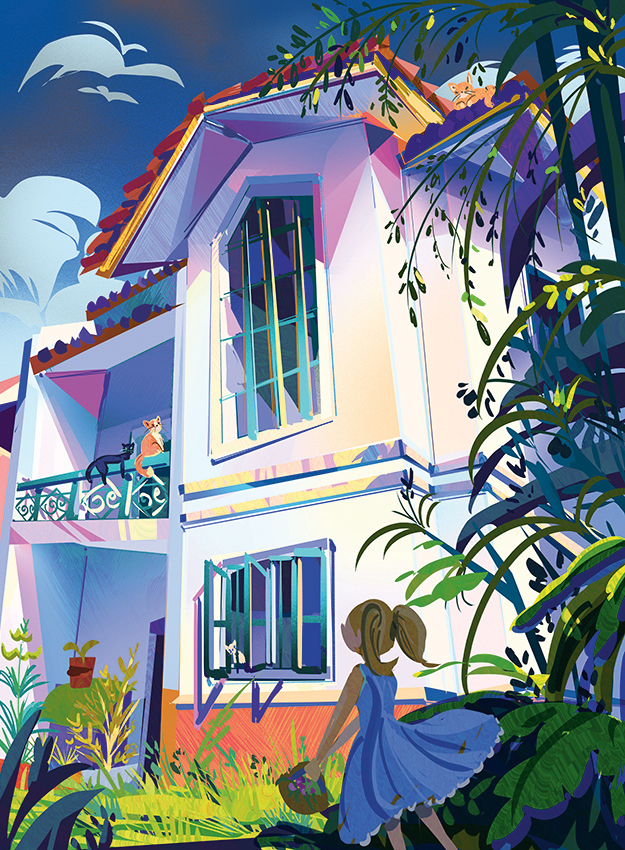
I already knew where to place the story elements, based on my paint-over plan and the composition guide. I envision the girl as a visitor. She’s holding a basket, perhaps bringing food not only for her friends, but also for the many cats who are chilling around the house. Notice that her colour values are similar to those found in the foreground. She’s stepping into a different world.
12. Adjusting colours with Curves
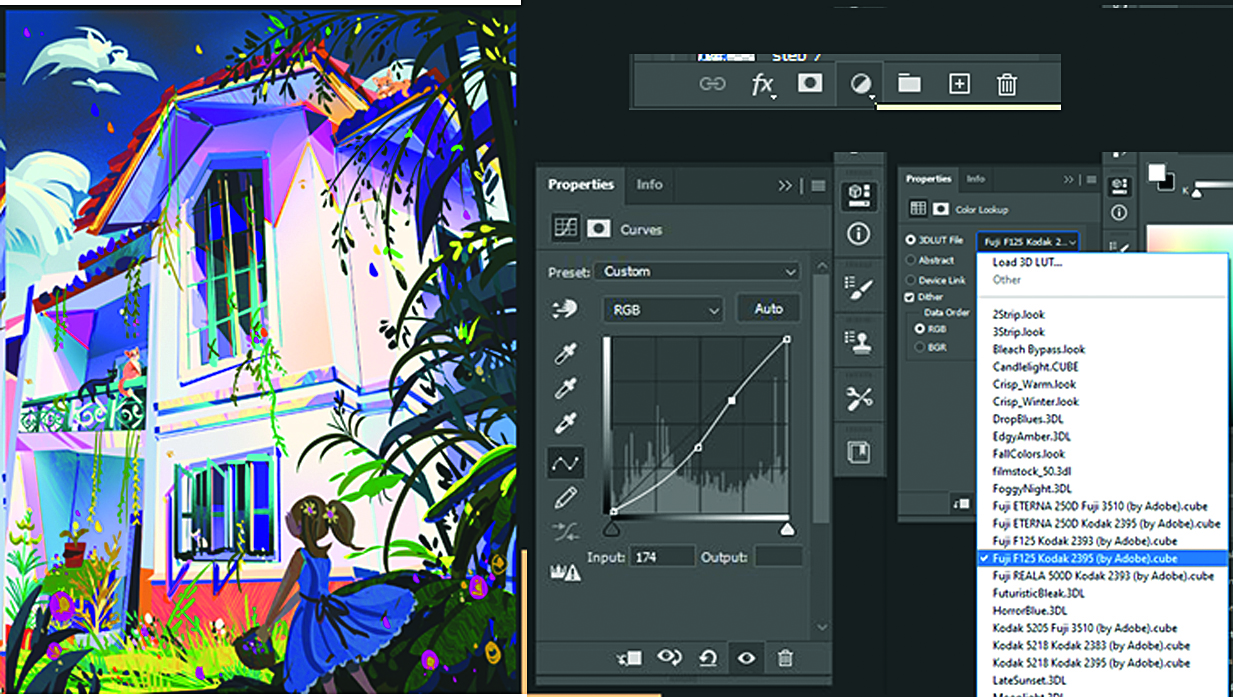
After finishing the foreground elements and quickly painting the small details, I start to adjust the colours using the Curves Properties panel, which can be accessed from below the Layers tab. With this I’m able to push my colours to become more vibrant and saturated. Then I add another adjustment layer, using a photo filter to soften the colours and create a sense of balance.
13. Correcting mistakes
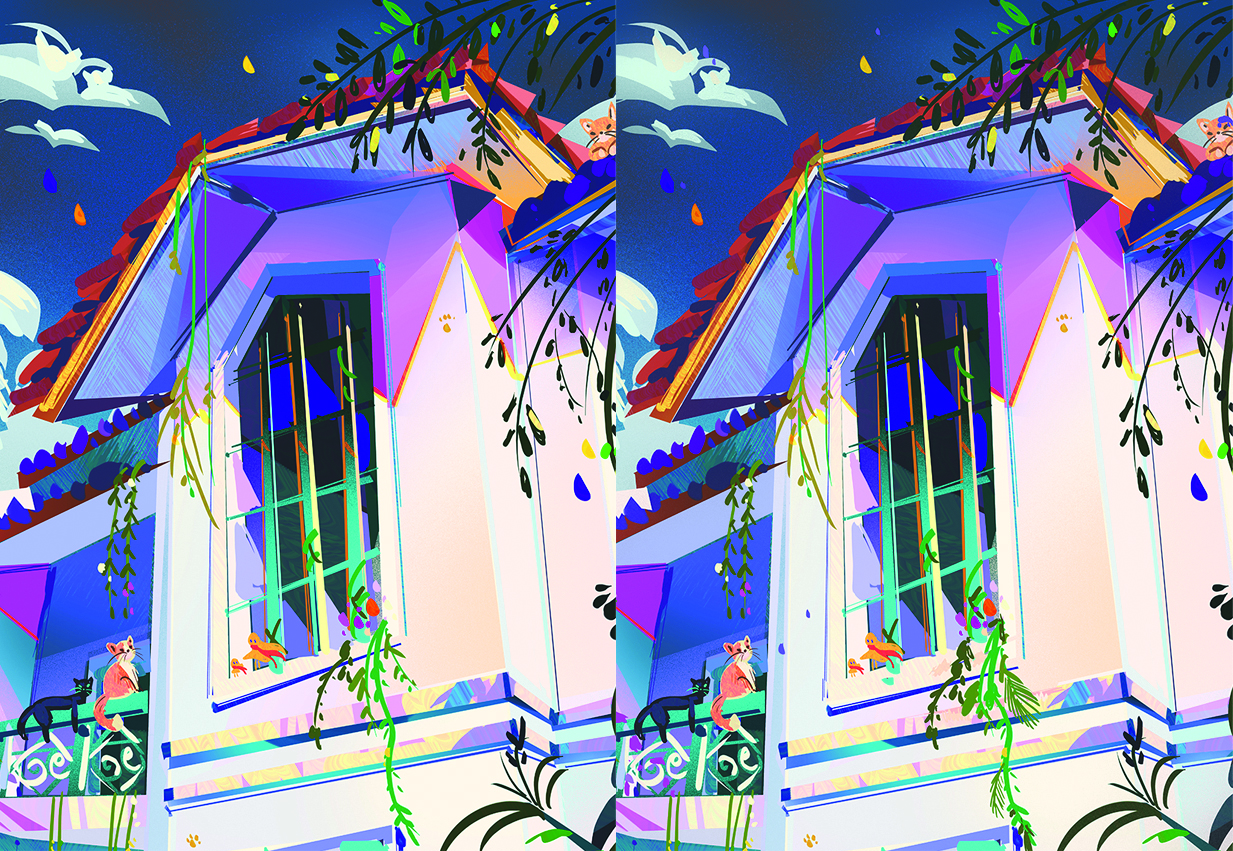
I make one last check to see if I need to fix certain elements or any details in the painting. My window perspective is incorrect. To rectify this, I make a new layer and paint over it. I also adjust some elements alongside it to balance out its perspective.
14. Final adjustments and finishing touches
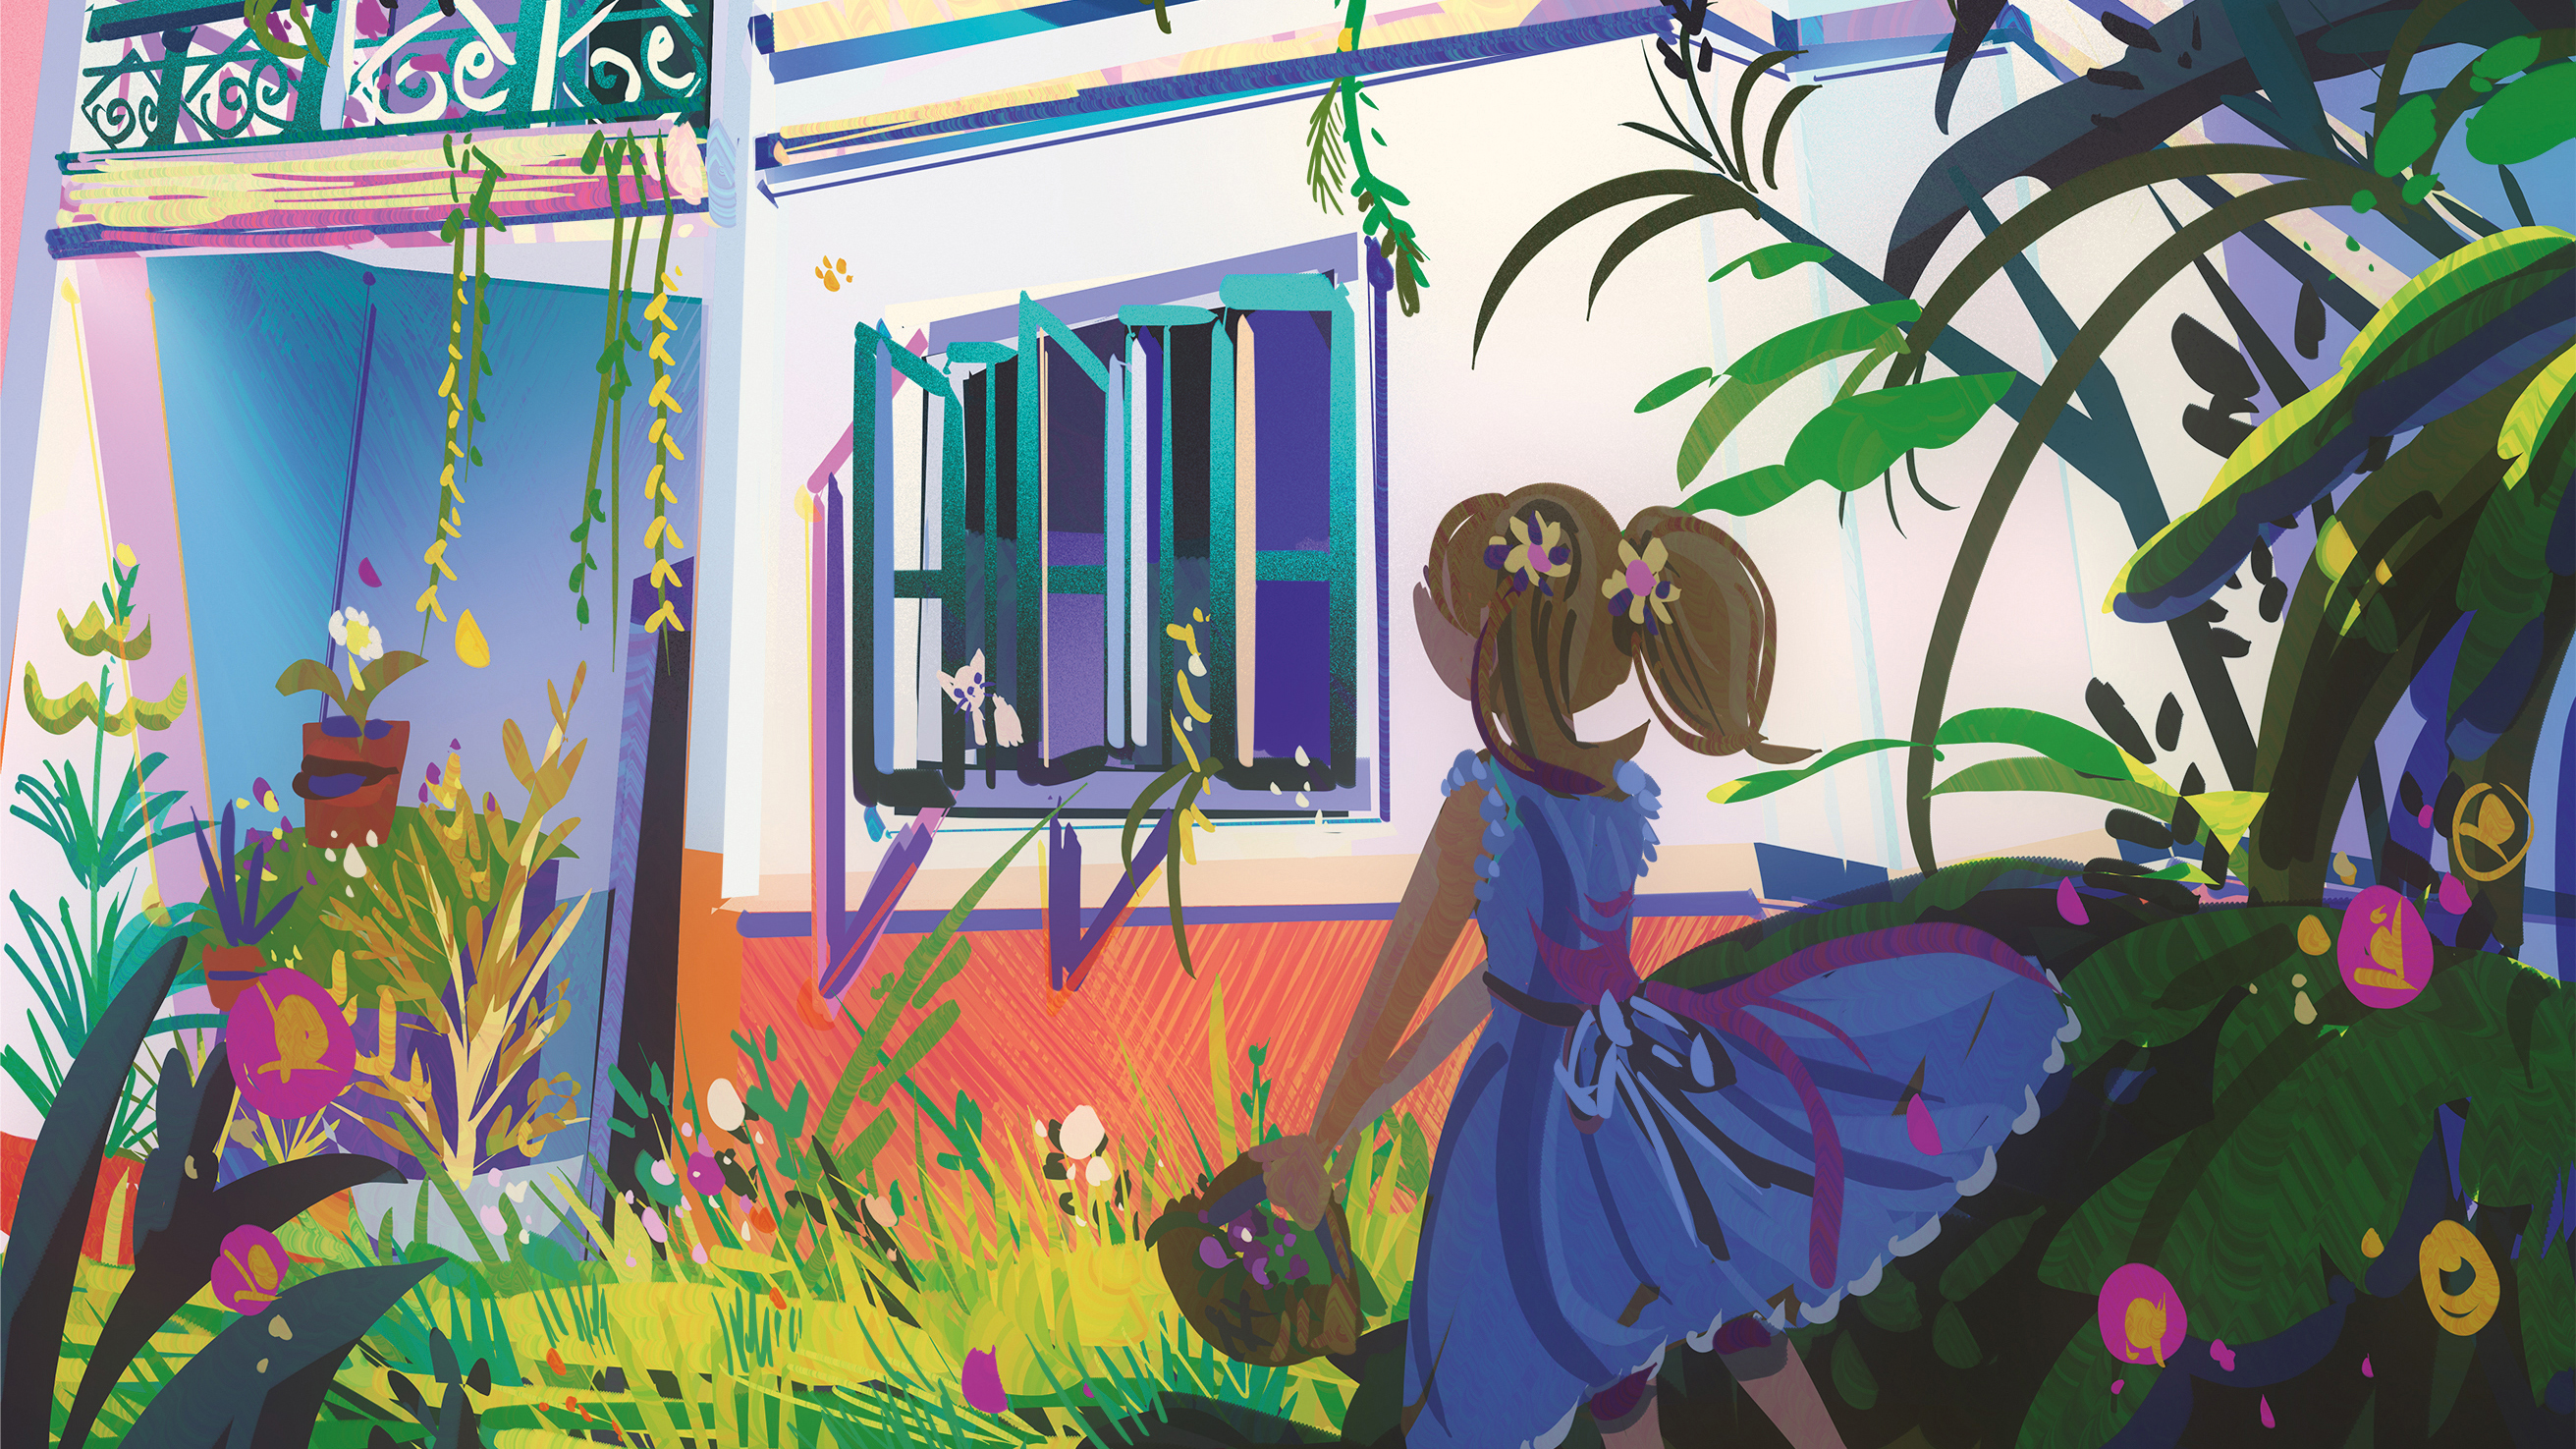
I finish up by adding more details to the entrance, the girl’s dress and the foliage. I also paint a chair on the balcony. Finally, I want this painting to glow! So I merge all layers and select the resulting merged layer. I click Filter>Blur>Gaussian Blur. I reduce the layer’s Opacity, then erase certain areas. The parts untouched by the filter look clearer, which in turn generates a glowing effect. Done!
This article was originally published in ImagineFX, the world's best-selling magazine for digital artists. Subscribe here.
Related articles:
- Try these top alternatives to Photoshop
- How to easily make a Photoshop collage
- How to flip a layer in Photoshop
Get the Creative Bloq Newsletter
Daily design news, reviews, how-tos and more, as picked by the editors.

Thank you for reading 5 articles this month* Join now for unlimited access
Enjoy your first month for just £1 / $1 / €1
*Read 5 free articles per month without a subscription

Join now for unlimited access
Try first month for just £1 / $1 / €1
Freelance artist Gillian paints backgrounds, environments and illustrations, and has worked for clients around the world. She aspires to become a background painter and vis-dev artist.
