How to use Smart layers in Photoshop
Use multiple adjustable layers without losing quality.

When incorporating repeating designs and patterns into an illustration, few tools will be as useful or as powerful as Smart layers. An invaluable feature in Photoshop CC, Smart layers enable you to create a separate layered PSD that can be embedded into your original PSD, enabling you to create a large-scale design element that can be resized without losing fidelity.
Copied Smart layers function as Instances: when you update one of them it populates the changes through all of them at once. They can also be warped and transformed like a standard layer while still maintaining their ability to be modified in their original format, and they save transform information, such as the scaling and rotation for more precise measurements for future tweaks. In short, they’re an incredibly valuable tool for many aspects of design.
In this Photoshop tutorial, I've used an almost completed design in Photoshop as a base to add some design flair. In this case, I’ll be using Smart layers to create a repeating spoked design around the figure’s head to frame her and add some additional visual interest and texture.
01. Design your repeating element

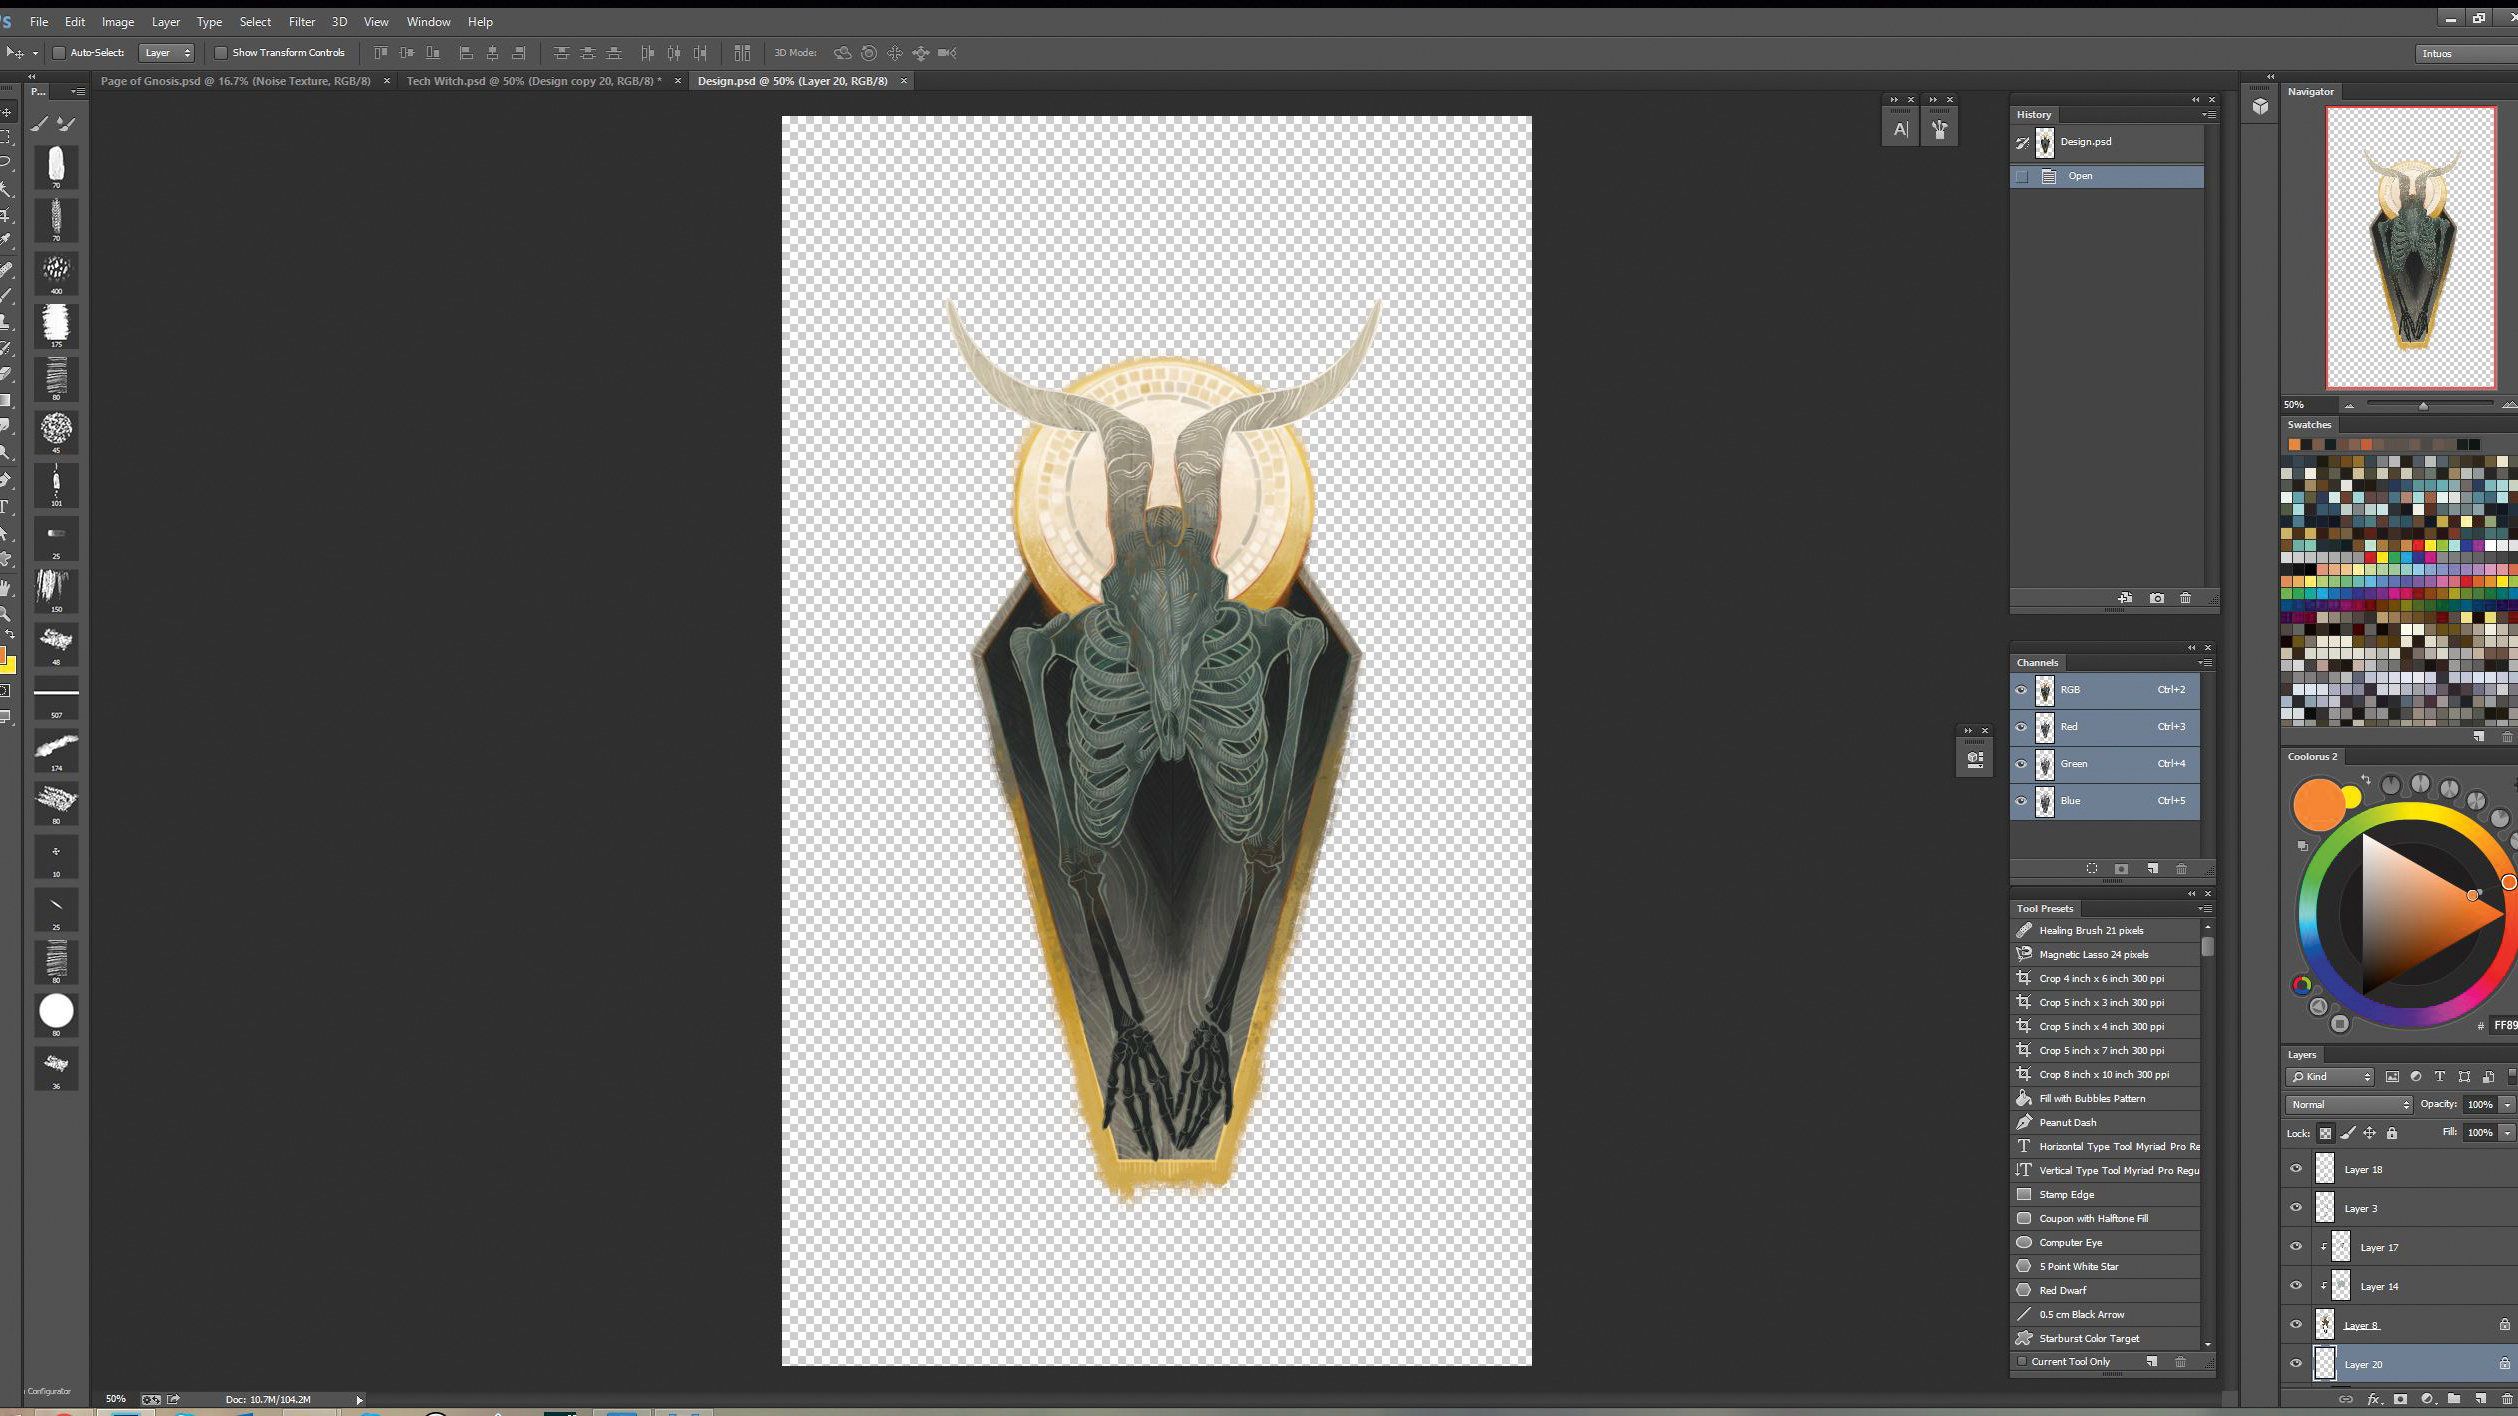
I start by developing a repeating element in a separate PSD file on a transparent background. This piece will be placed in a way that will spoke outward around the figure’s head in a circle, so I design a tapered vertical image with that in mind.
02. Put these elements in a folder

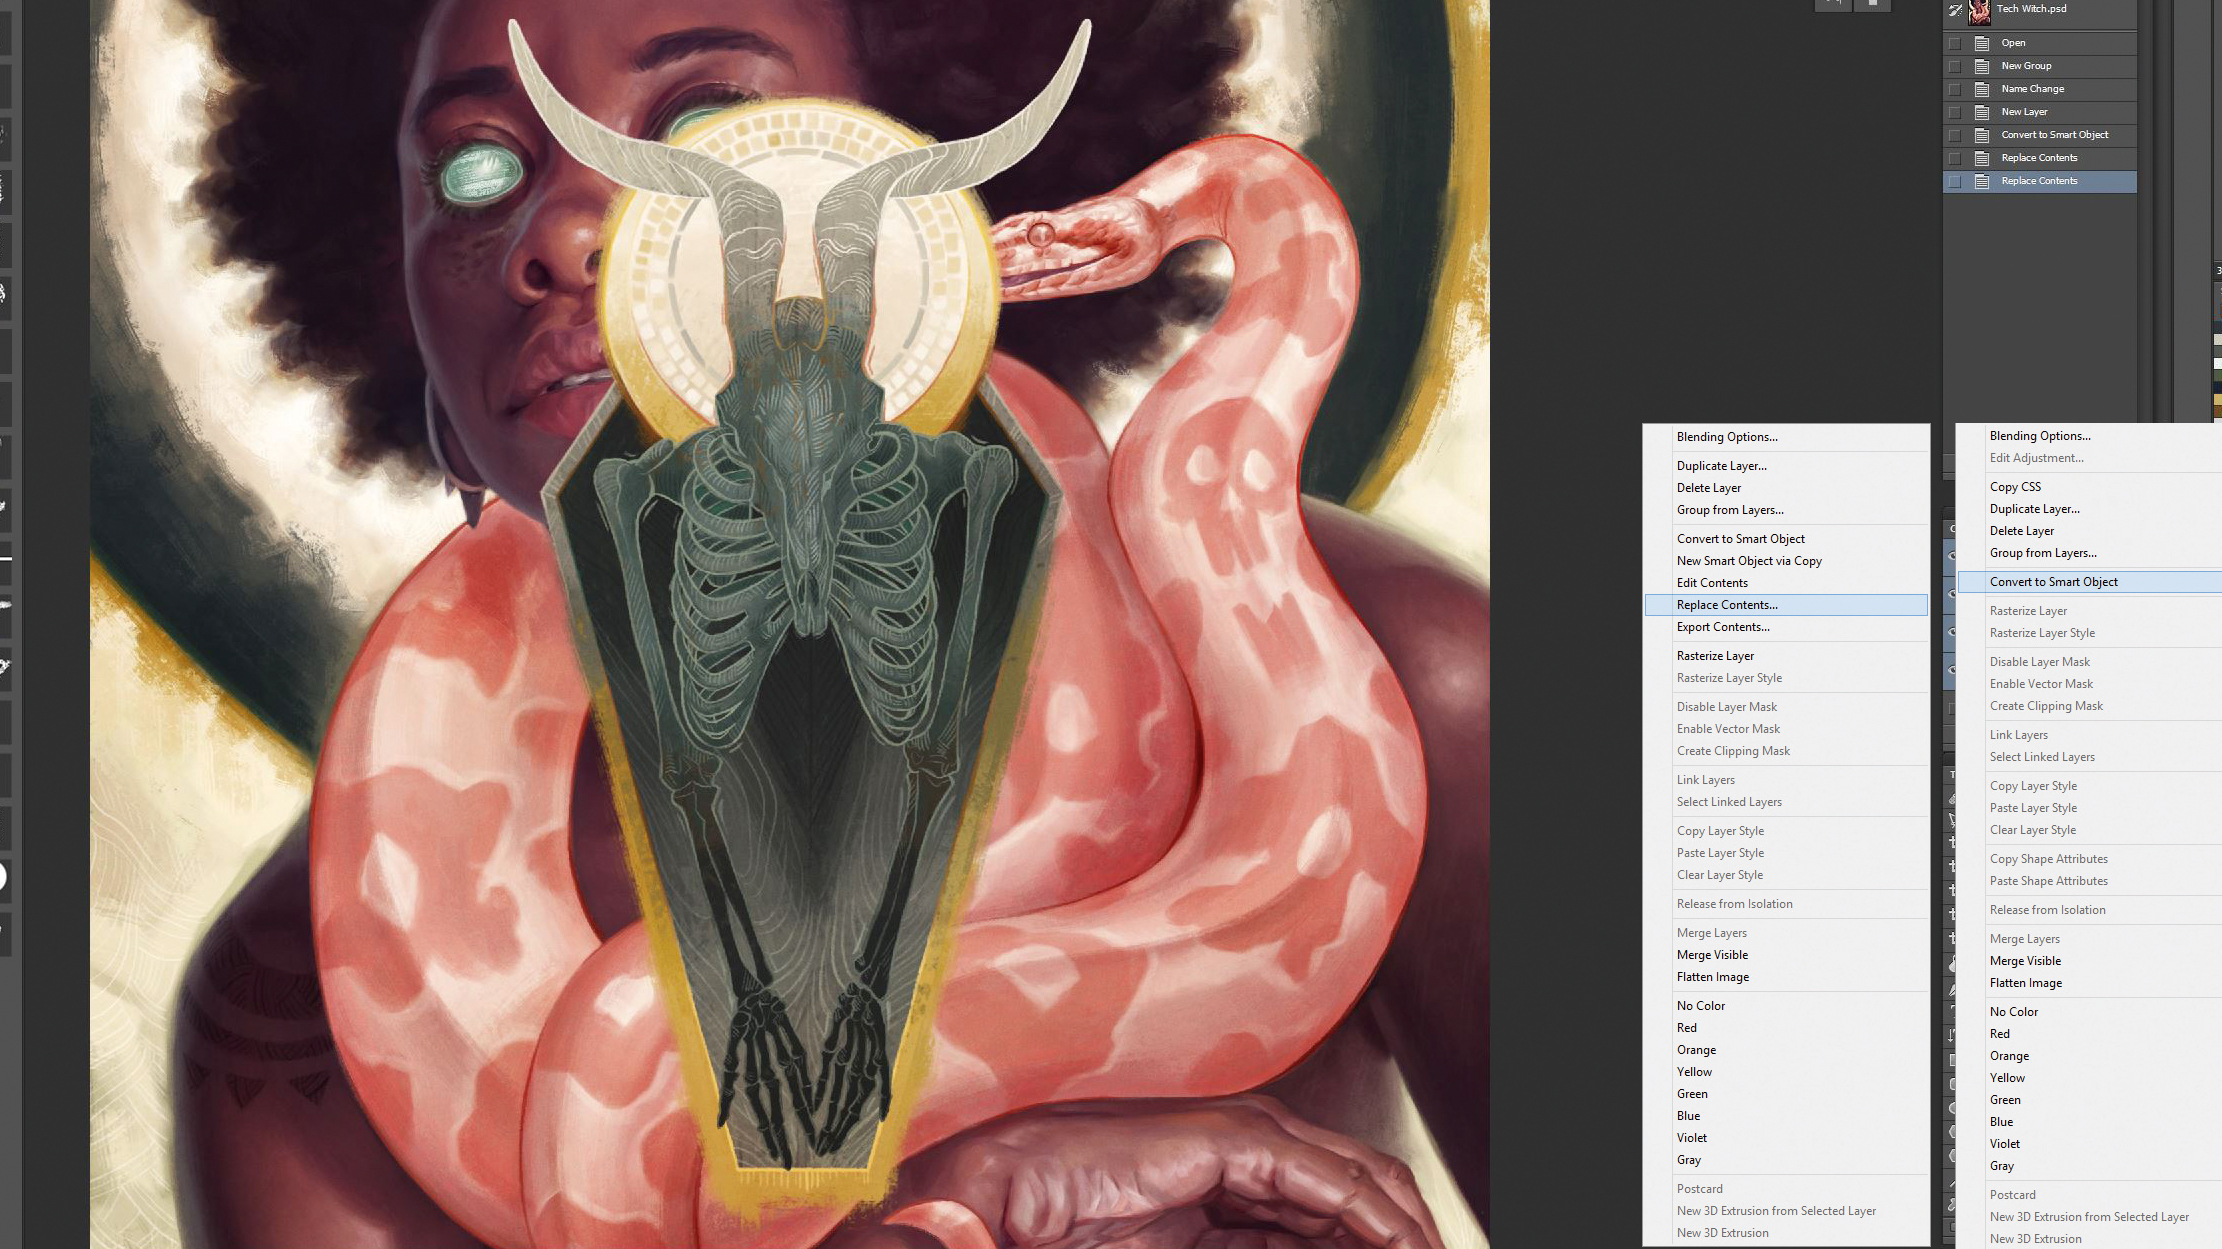
In my main file, I create a new folder specifically for these elements. I then create a new layer, and select Convert to Smart Object. I right-click the layer and choose Replace Contents to select the design PSD. I can now move the image into position.
03. Apply a layer mask

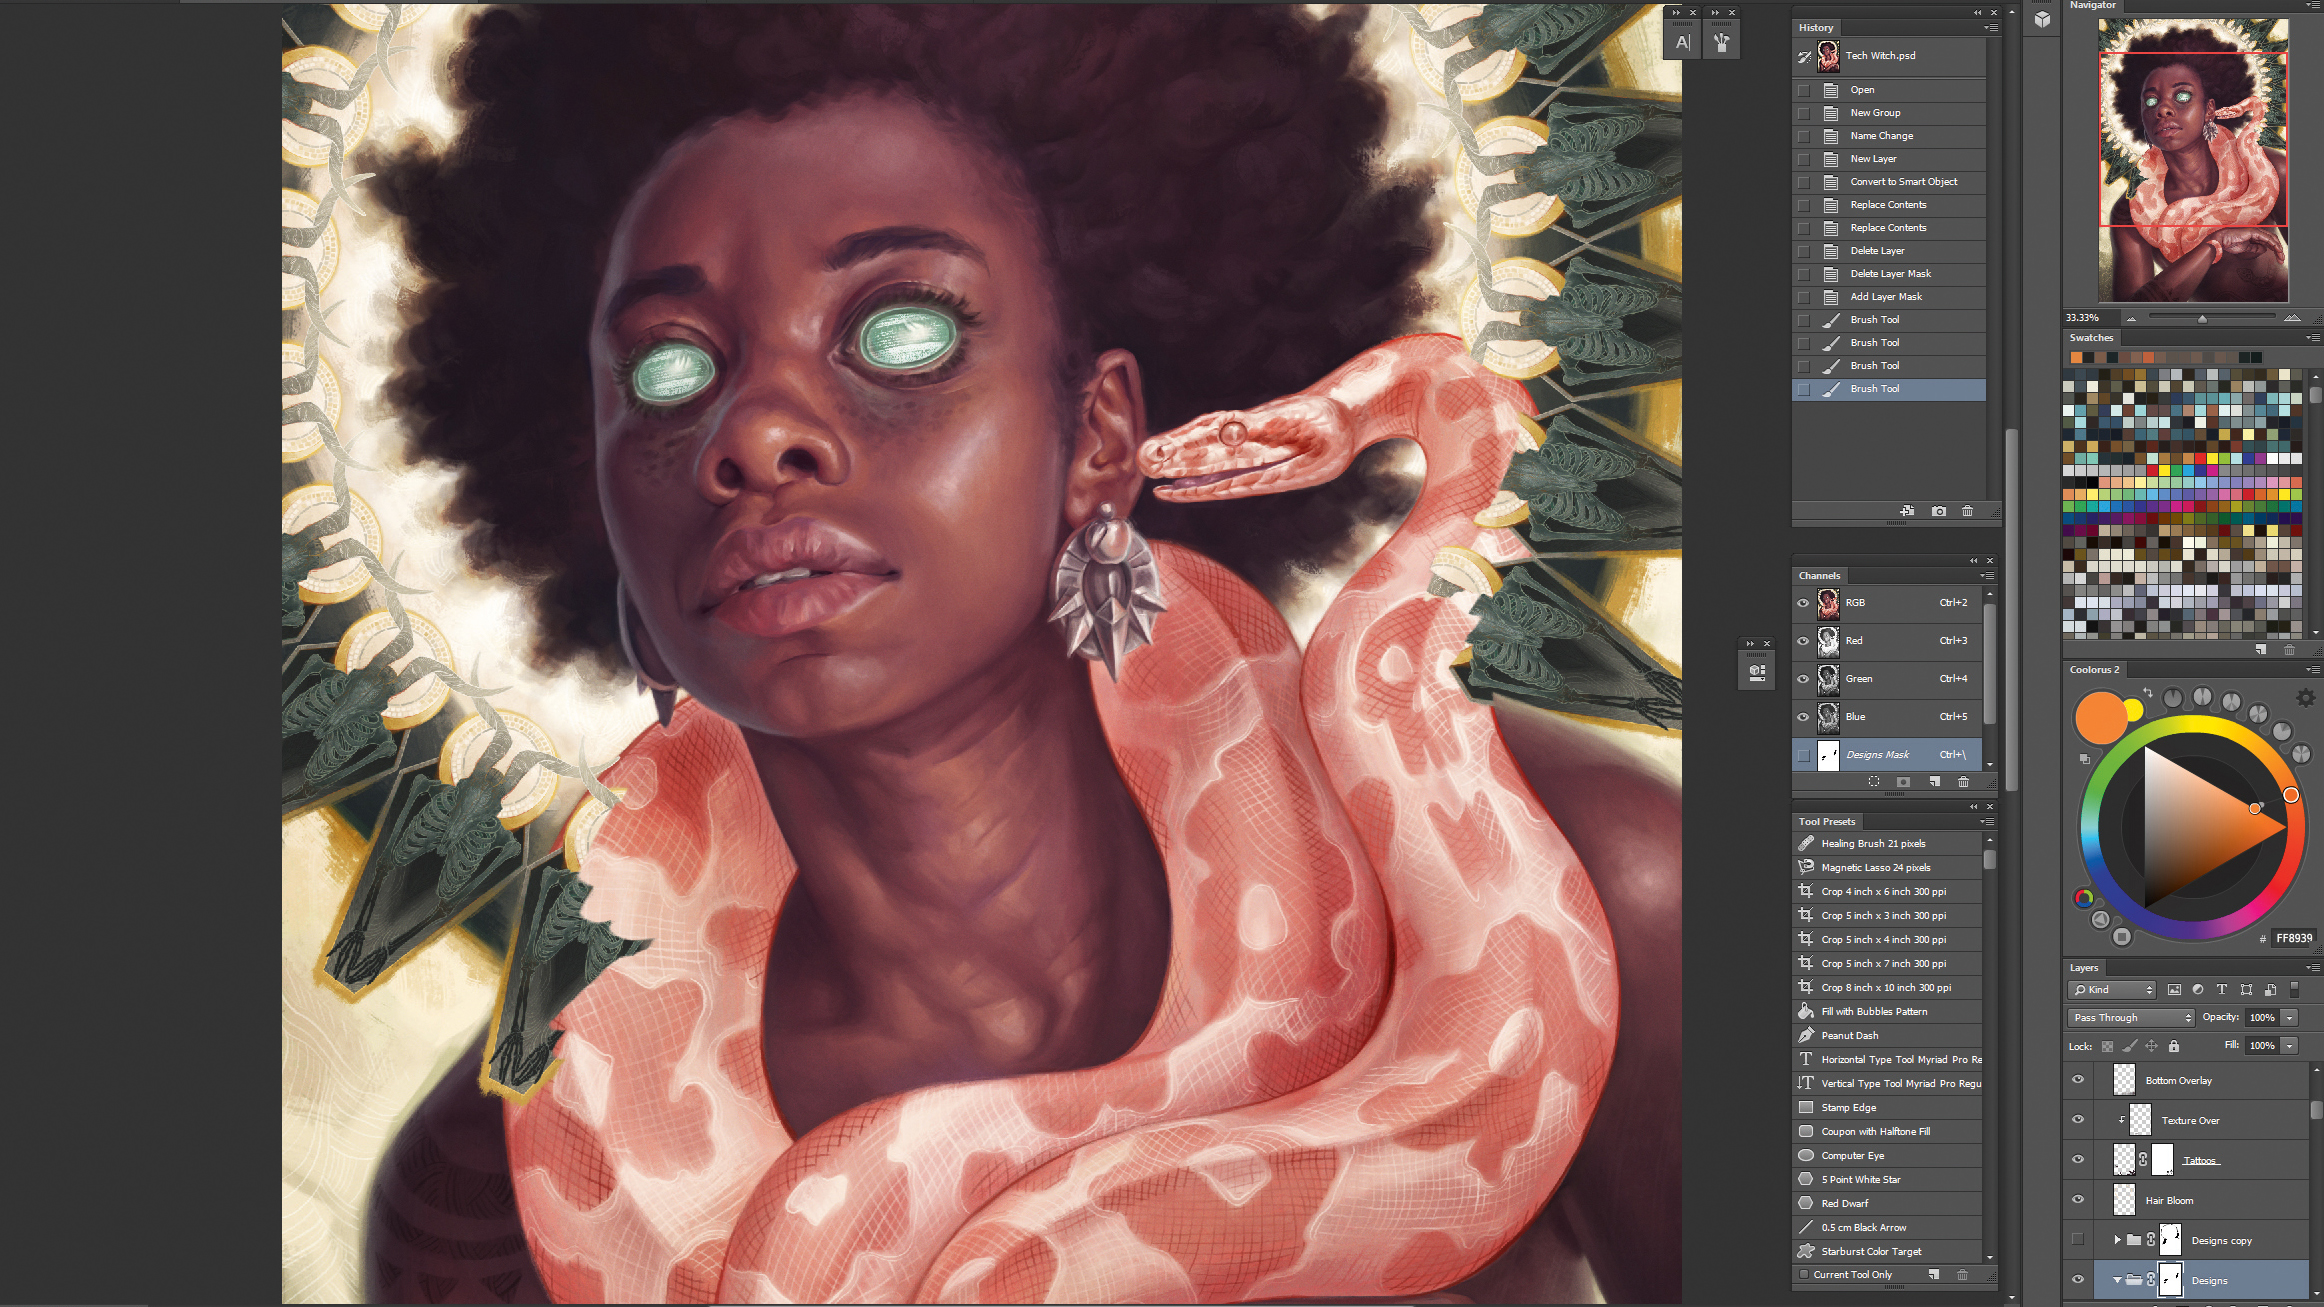
After the design elements are in place, I apply a layer mask to the folder that holds all of them. I mask out areas of the piece where my rendered figure will overlap the background designs and use a textured brush to soften some of the hard edges.
Bonus tip

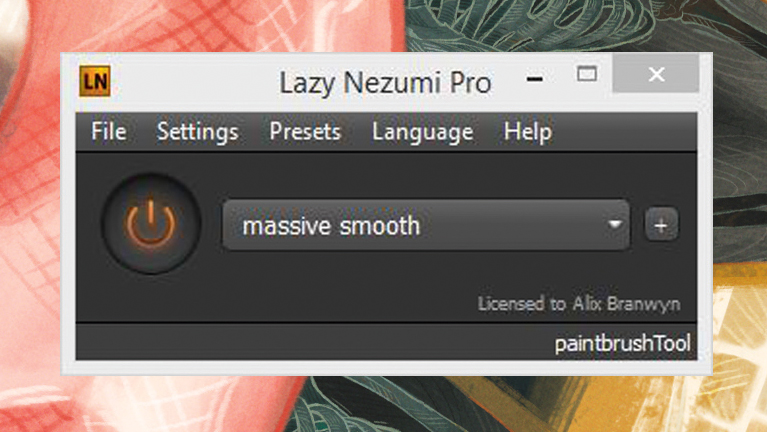
When creating line work in Photoshop, it can be tricky to achieve smooth, unwavering lines with sharp tapered ends. I use a mouse plug-in called Lazy Nezumi Pro to help pull clean, sharp lines and greatly speed up my workflow.
Get the Creative Bloq Newsletter
Daily design news, reviews, how-tos and more, as picked by the editors.
This article originally appeared in ImagineFX. Subscribe here.
Related articles:

Thank you for reading 5 articles this month* Join now for unlimited access
Enjoy your first month for just £1 / $1 / €1
*Read 5 free articles per month without a subscription

Join now for unlimited access
Try first month for just £1 / $1 / €1
