Upgrade your textures in Substance Designer
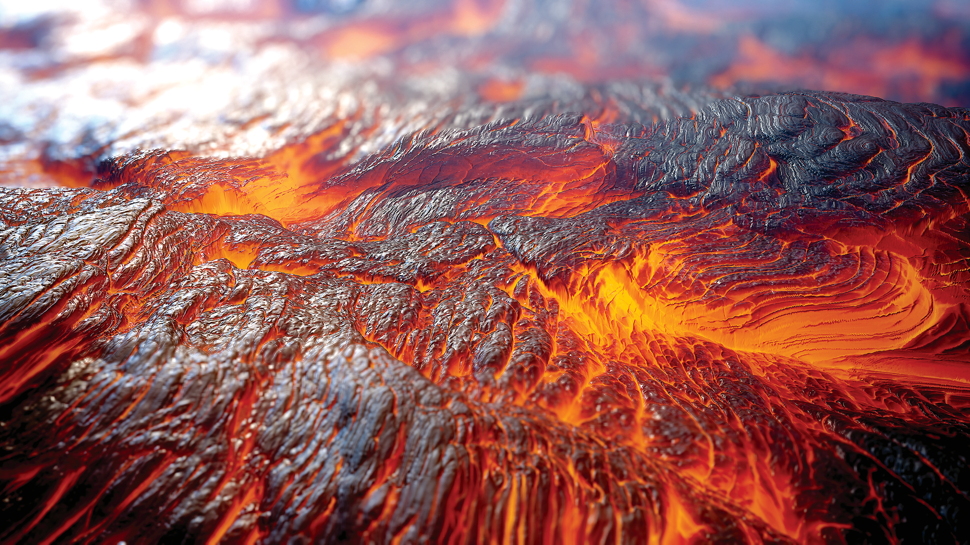
Bungie lead environment artist Daniel Thiger walks us through creating a detailed lava substance.

Bungie lead environment artist Daniel Thiger runs us through his techniques for producing realistic, compelling texturing materials with Allegorithmic’s Substance Designer.
Allegorithmic CEO and founder Dr Sebastien Deguy will be speaking at Vertex, our debut event for the CG community. Don’t miss out, get your tickets to his talk now.
01. Create an initial shape

To create this lava substance, I started with Perlin Noise 1 to define the mass and density of the material. This noise has a good mix of dark and bright values without too much detail. I then used directional warps and blur nodes to define the direction of the lava flow.
02. Refine the shapes

To make the shapes read as thick lava flows, I needed to reduce the dark values of the noise. The method I chose was slope blur. By setting it to ‘blur’ and using positive values, I inflated the shapes. Warping was then applied to break them up and add imperfections.
03. Add details to the shapes

The reference used for this project featured lots of banded layers running perpendicular to the flow. By using tiled gradient maps that I warped with my main shape, I made the layers appear tucked in underneath. Additional warping and slope blurs were used to add variation.
04. Composite

The last steps included blending the refined and detailed shapes together and then warping them for a more integrated look. I used Height Blend to blend the shape with an offset version of itself to create a few more layers. The final touch was to add micro detail noise with fractal sum base.
Don’t miss out on Dr Sebastien Deguy's talk, book your ticket now at vertexconf.com. There are still some amazing workshops we’ve yet to announce so keep an eye on our website, where you can also find out more about the other amazing speakers, workshops, recruitment fair, networking event, expo and more.
Get the Creative Bloq Newsletter
Daily design news, reviews, how-tos and more, as picked by the editors.
This tutorial originally appeared in issue 112 of 3D Artist, the magazine offering practical inspiration for 3D enthusiasts and professionals. Subscribe to 3D Artist here.
Read more:

Thank you for reading 5 articles this month* Join now for unlimited access
Enjoy your first month for just £1 / $1 / €1
*Read 5 free articles per month without a subscription

Join now for unlimited access
Try first month for just £1 / $1 / €1
