How to turn your illustrations into stop-motion animation: 10 expert tips
Experts share their advice to help you turn your ideas and illustrations into seamless stop motion pieces.
Stop motion animation creates the magic and illusion of objects and characters seemingly moving on their own, bringing a story to life in a way other animation forms fail to replicate. Its enduring popularity and traditional flip-book style charm is something that draws in all ages, and all ages can have a go at it.
For this piece, I have spoken to illustrator animators from two different backgrounds to share their advice on bringing illustration to life using stop motion. Note that if you want general animation advice, you'd be wise to check out Disney's 12 rules of animation and you may need to purchase some animation software, too (more on that later) - but one app features in our best free animation software.
Lorna Gibson is a children’s book illustrator who brought her children’s stories to life using self-taught needle felting and stop motion skills. Her story Mr Bear's Christmas was recently picked up by the BBC.
Gideon Bohannon is a fine art graduate with over 20 years' experience in model making. After working with several top-name brands and becoming best friends with Shaun the Sheep at Aardman Productions, he is now a senior lecturer in animation production at Arts University Bournemouth (AUB).
1. Create a world
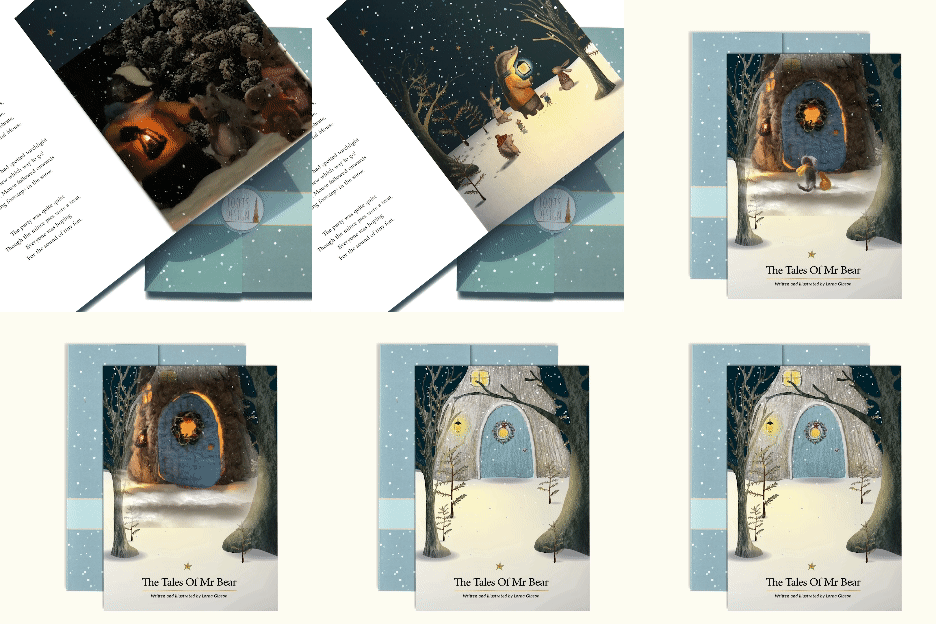
Seeing your ideas come to life through illustration is an exciting early stage of the animation process, but if you’re sketching intending to animate, what do you need to think about from the start?
“In your illustrations, try and create a complete world for your animation to exist in," says Gideon. "It [should have] colours, textures, light, shapes, and artistic rules. Most importantly make sure all your designs can be made in real life 3D out of everyday materials. This also applies to characters, have your illustrations be transferred into 3D without having to change the fundamental character of the original."
2. Think about your story
This is the first step towards creating your stop motion film, where you map out the scenes you want to create or work out how to bring an existing idea to life as Lorna did. She already had illustrated stories to base her films on, so for her, it was working out the key aspects to bring to life, and what needed to be created from scratch. “There was enough in there to create scenes and characters – Mr Bear’s house with the blue door, his armchair and lamp, and key things like that were in place to work from," she says.
If you are starting from scratch then be sure not to overcomplicate your ideas. “Start with a very simple narrative," recommends Gideon, "maybe based on a very familiar and everyday process. Think about what makes the subject interesting to you, and why would a viewer find that interesting. Good short films will not have complex plots, but in a quick snapshot of film will make the viewer look at the world around them in a way they hadn’t before."
A post shared by Lorna Gibson✨AuthorIllustratorAnimator (@tootsdesign)
A photo posted by on
3. Create a storyboard
Storyboarding is the actual process of getting ideas for each shot down on paper, and in its earliest stages starts with a beat board. As Gideon explains, "this illustrates the key points in your story. It’s really important at this stage to just have the vital shots covered, the moments the story can’t do without. The gaps between these 'beats' can then be explored. A beat board with all the gaps between beats filled with story detail is your first storyboard."
4. Build your own characters
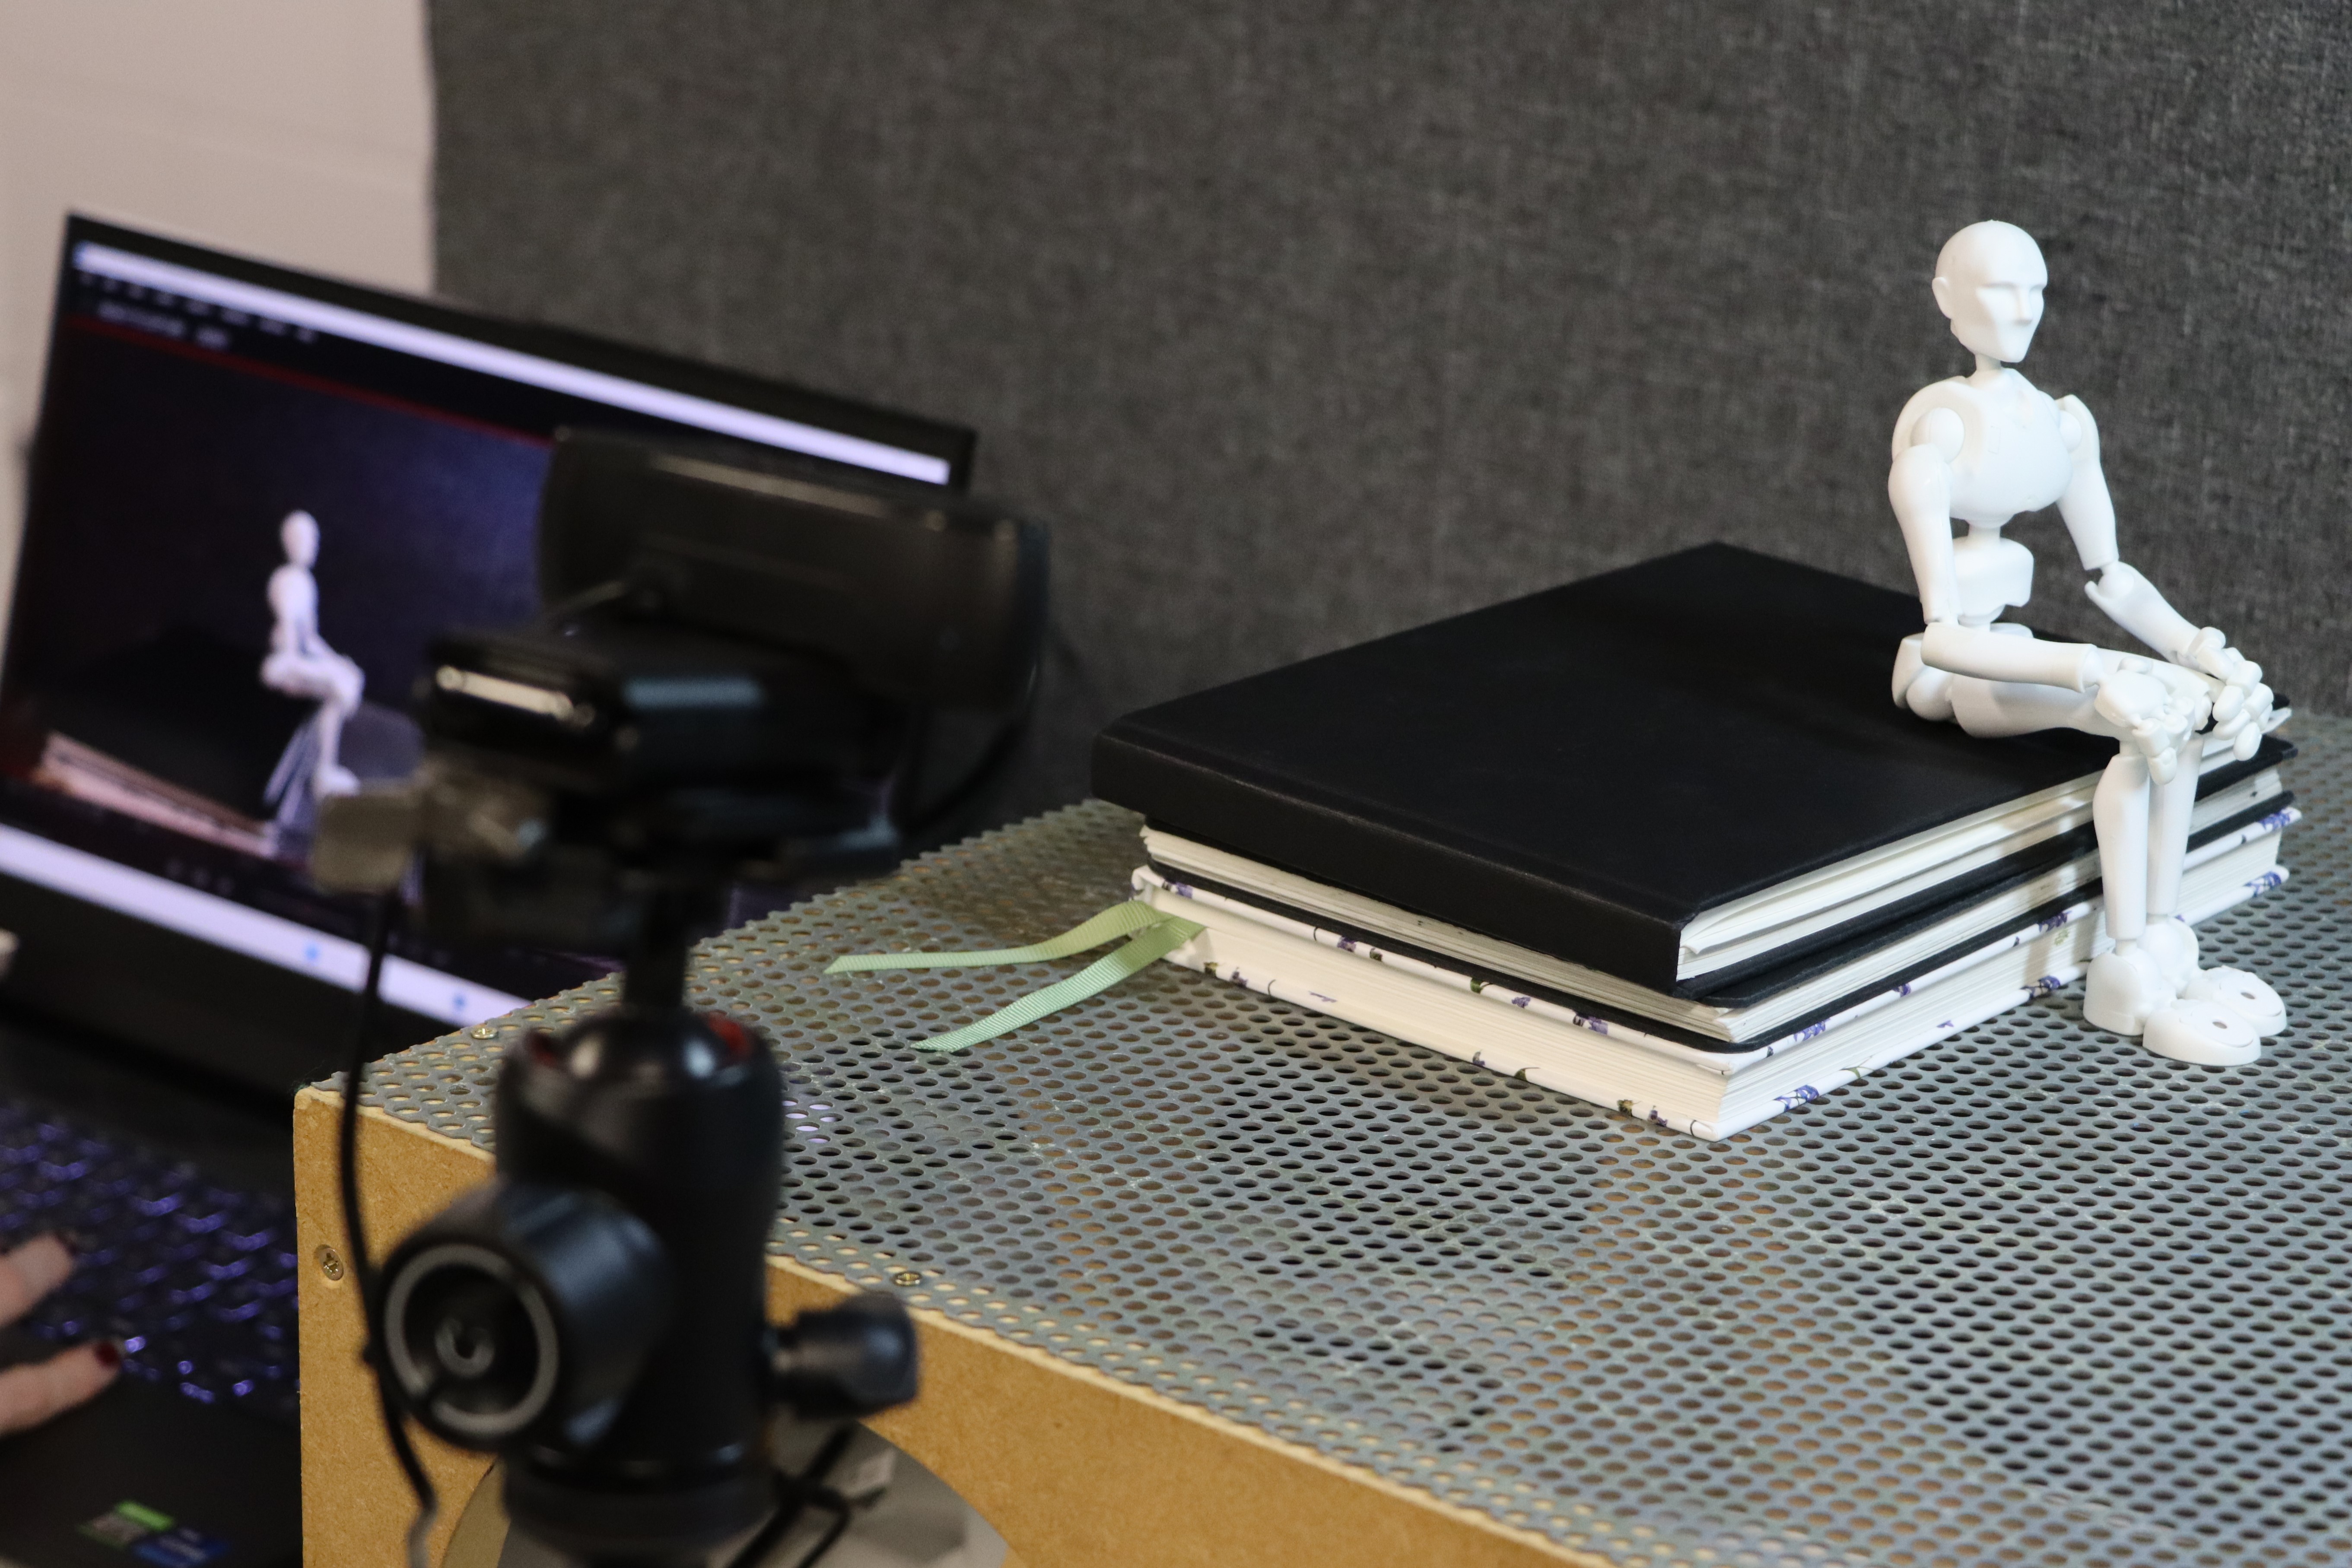
“Stop motion is really only governed by the materials that we can make it, if you ensure that the making part is straightforward, then you’ll be able to concentrate more on the performance and not the material limitations of the puppets and sets," says Gideon.
Gideon's tips on modelling and puppet-making include:
- Build your puppet form out of aluminium foil to get a basic shape, making sure all the joint areas are clear
- Use polymer clay for sculpted bits
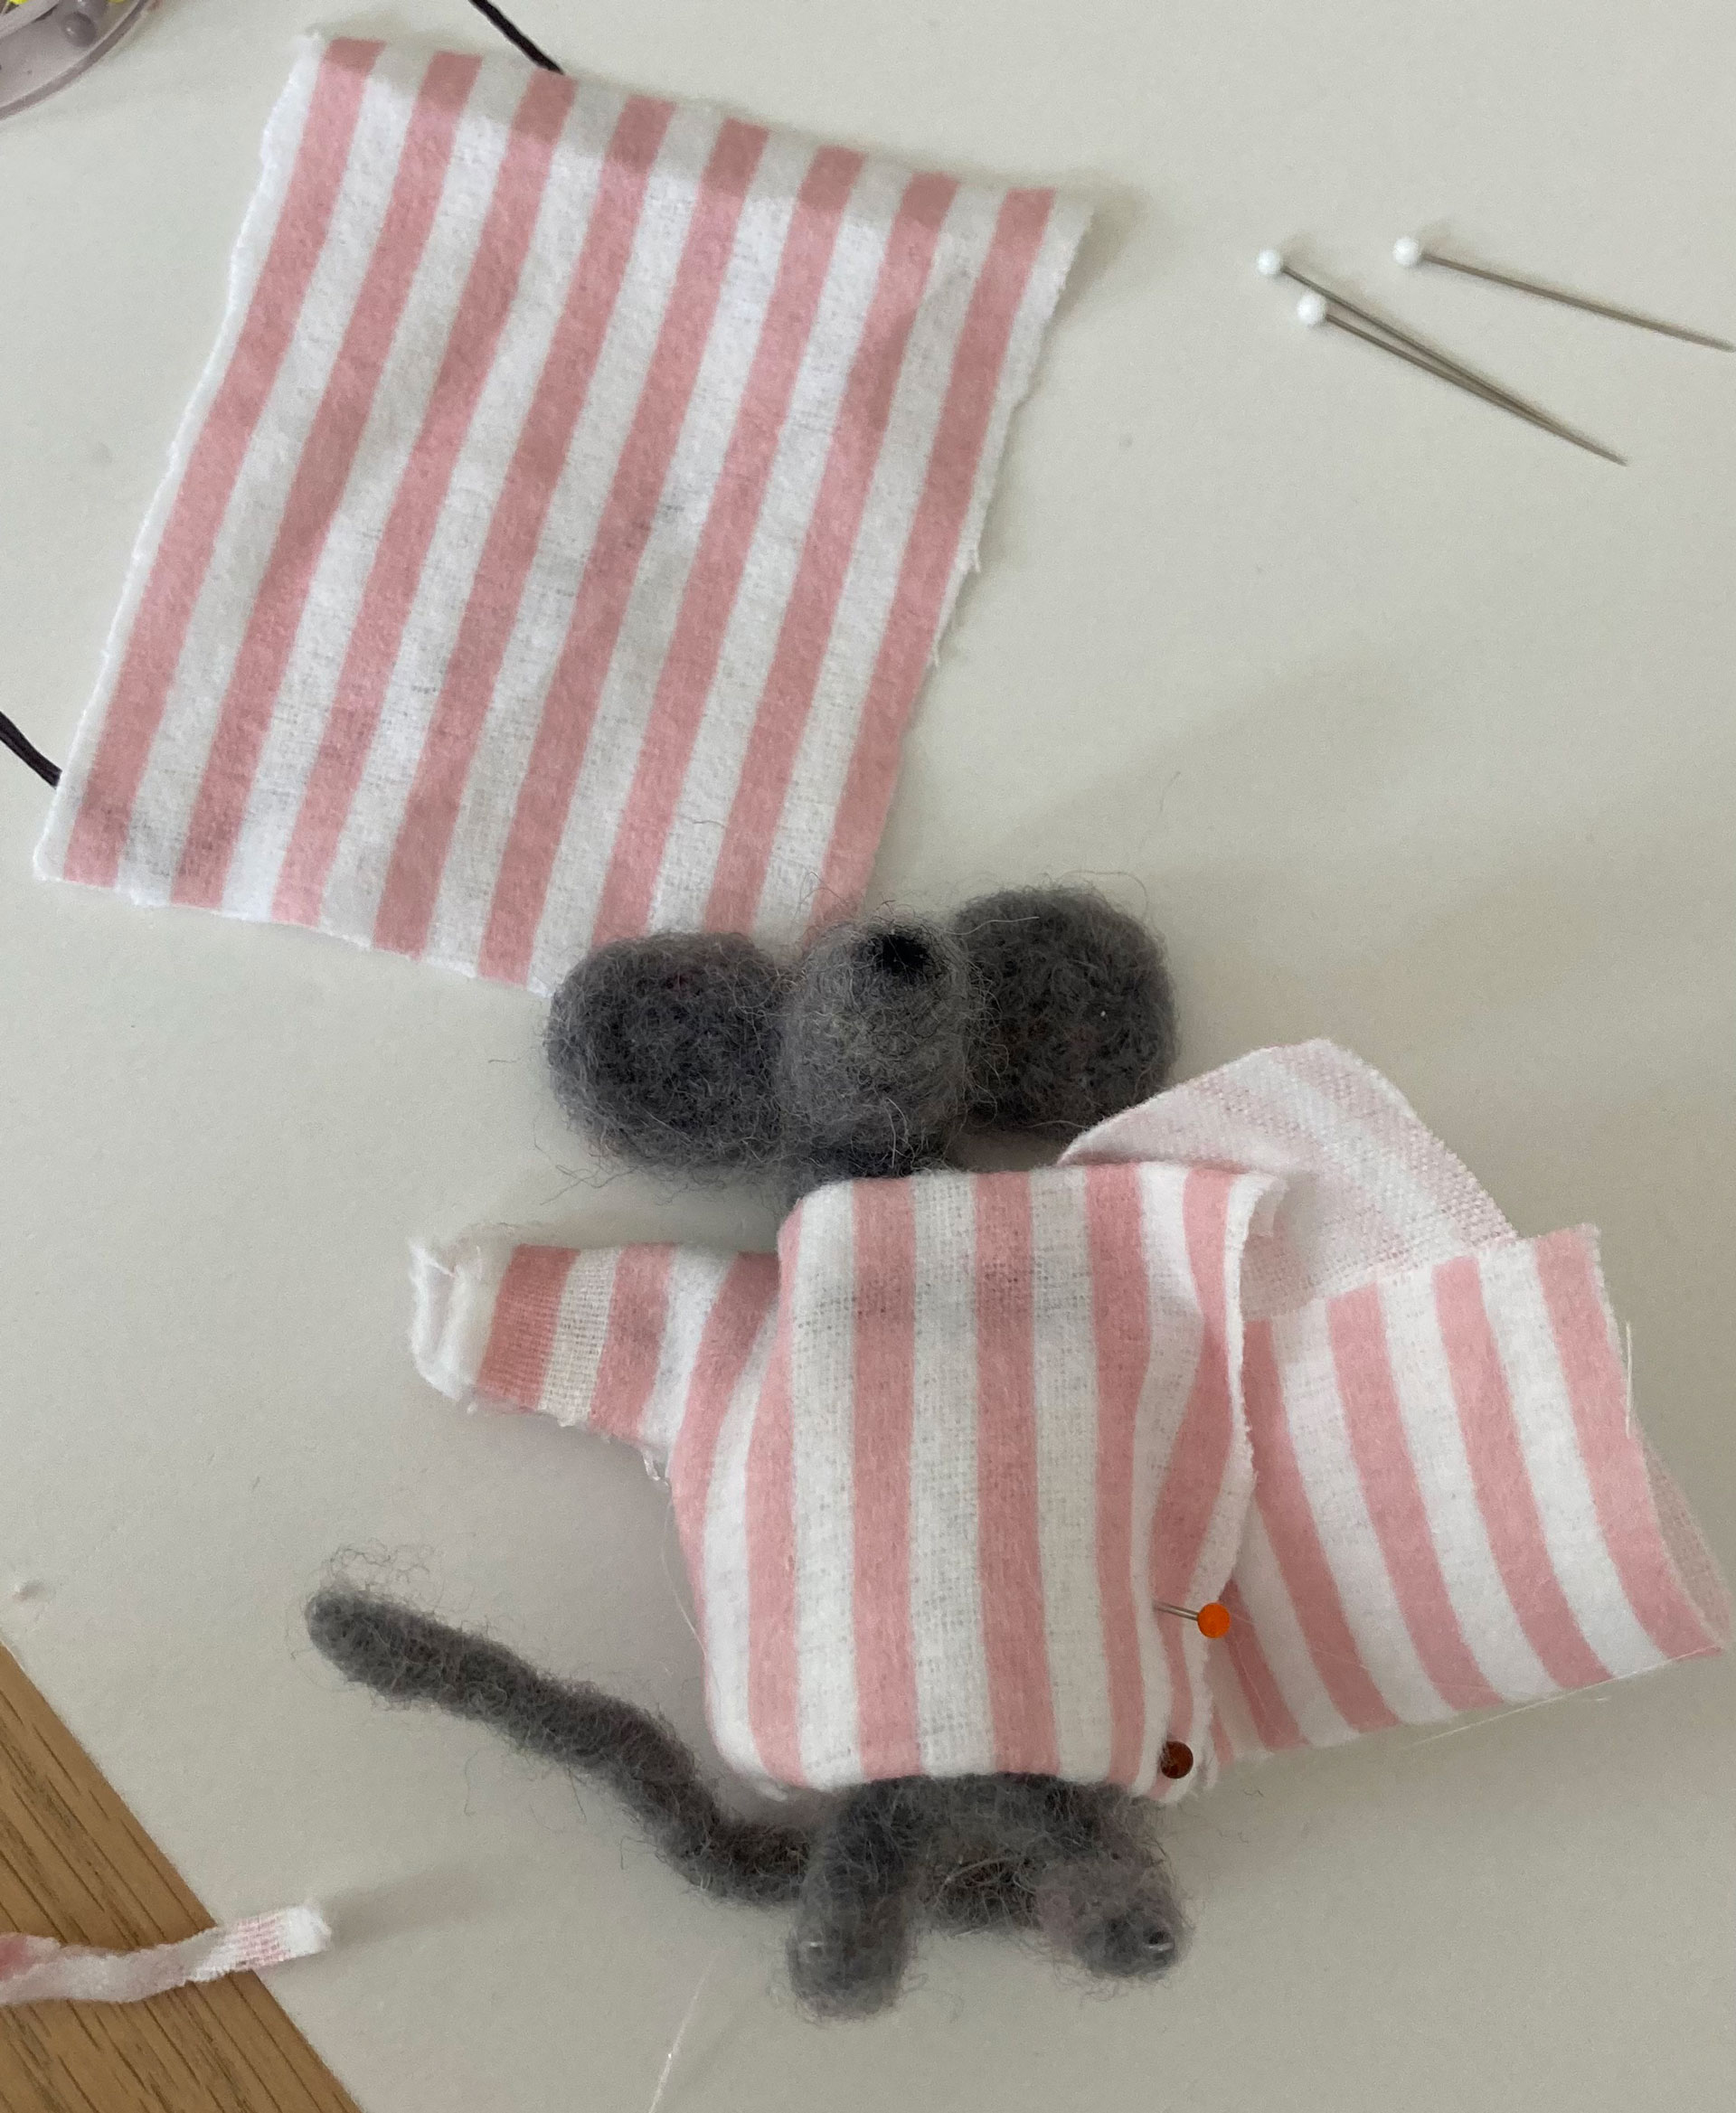
- Doll's clothes are good for dressing your puppet
- When choosing props think about scale. “The texture and surface of the material has to also be as small as the props. Use small stuff pretending to be big stuff, e.g. lolly sticks instead of wooden planks, and fine cotton socks as a big woolly jumper
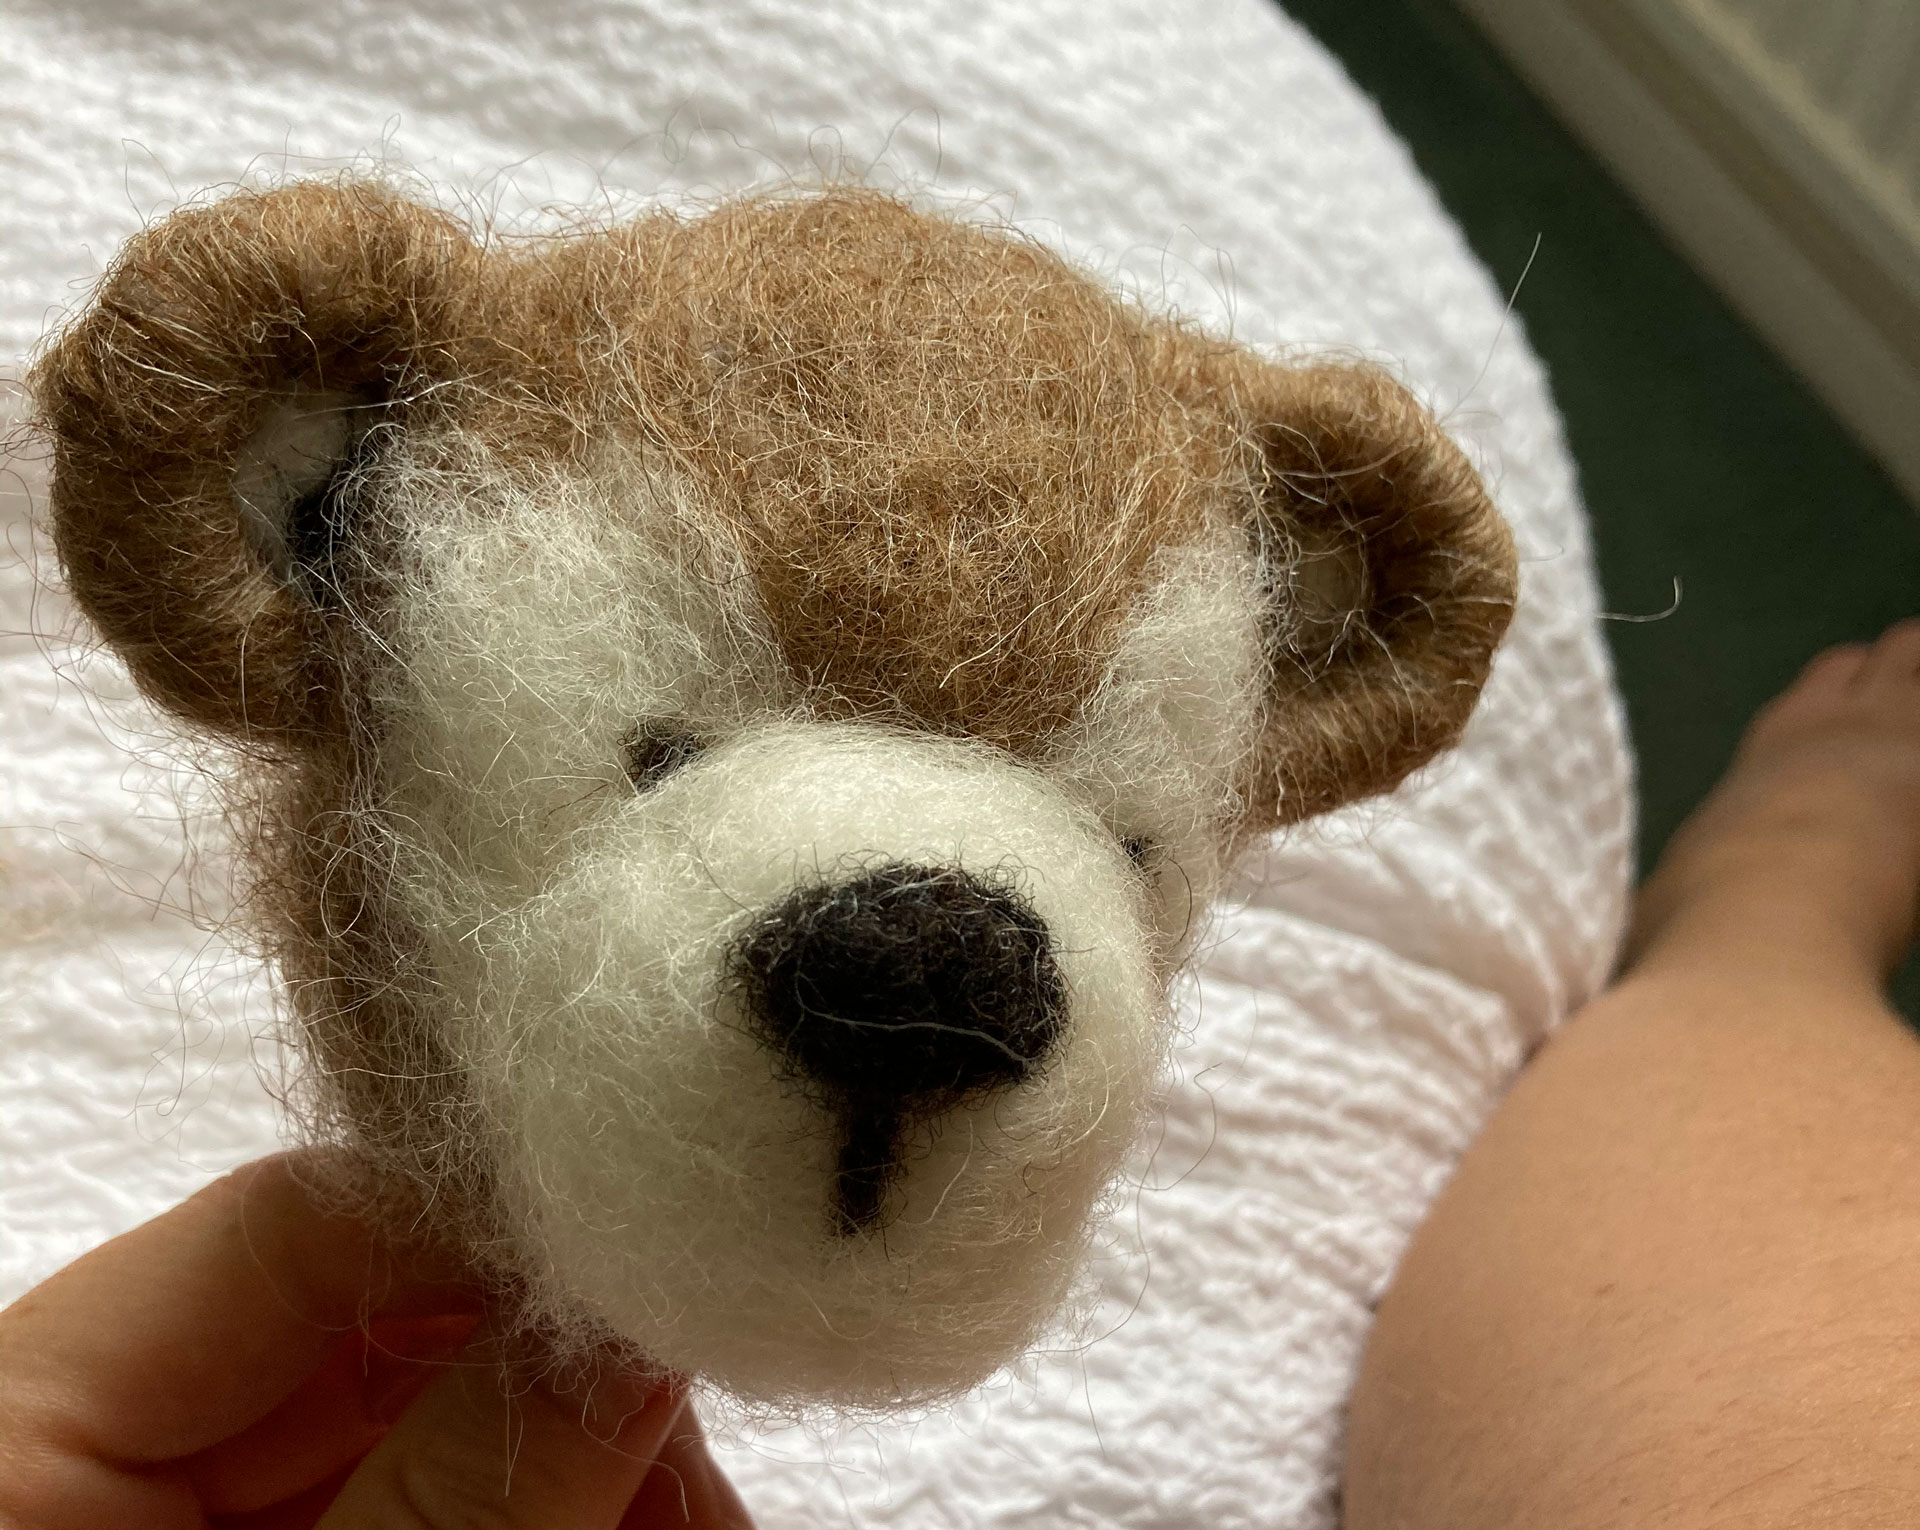
Lorna chose needle felting/wool for the majority of her characters and set items, and found it was a lot less complicated than she expected. Here you essentially poke wool with a needle until it takes its form but you must remember tha, "to animate a felted character you need to build a wire armature to go inside, this sounded complicated but pipe cleaners, or metal wire bent into arms, legs, ears, and tails was all it was."
5. Make your own set
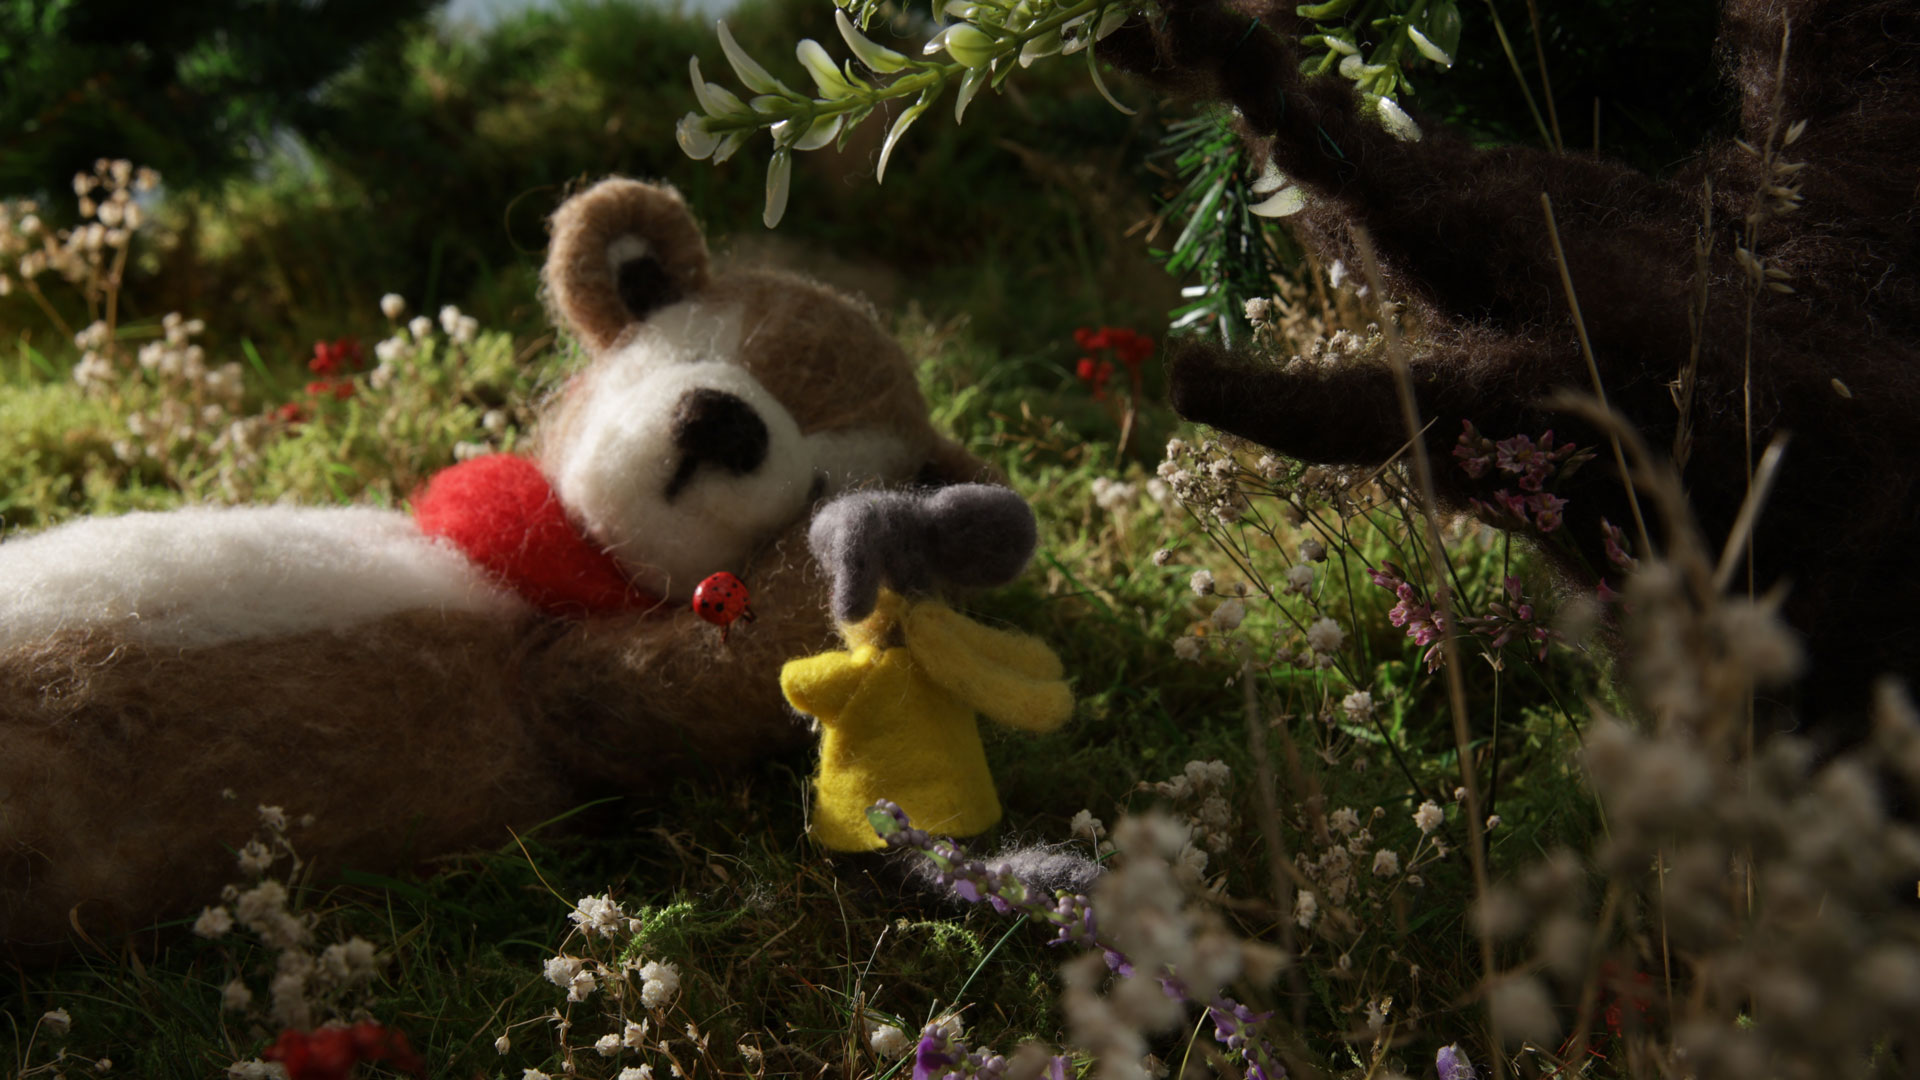
"For a stop motion set, it can truly be as basic or as grand as you like, and can afford. There is almost always a workaround to make something more affordable or simple. For instance, for the summer sets, I wanted to fill a space with grass and woodland. Fake grass, for the volume I wanted, would have been quite expensive. I pulled up bunches of grass and planted them in the oasis, the grass lasted for two months of filming," says Lorna. "The things I spent money on were often licensed overlays for snow effects or rain effects (up to £50 for an Adobe overlay), and they were really worth the money I think."
You can see from the images in this piece, how Lorna made good use of all she and her family members had to hand. Anything from 1970s fabric to real bread and butter has appeared in her stop motion films, but some items are off-camera and could prove very useful.
Gideon recommends “having a really good craft knife, or if you’re a confident maker, perhaps a scalpel. Also, a cutting mat to make things smaller, carve/make small props on, and some good lights that plug into a wall socket. I would recommend getting three so you can practice with some very versatile three-point lighting techniques.”
6. Get the scale right
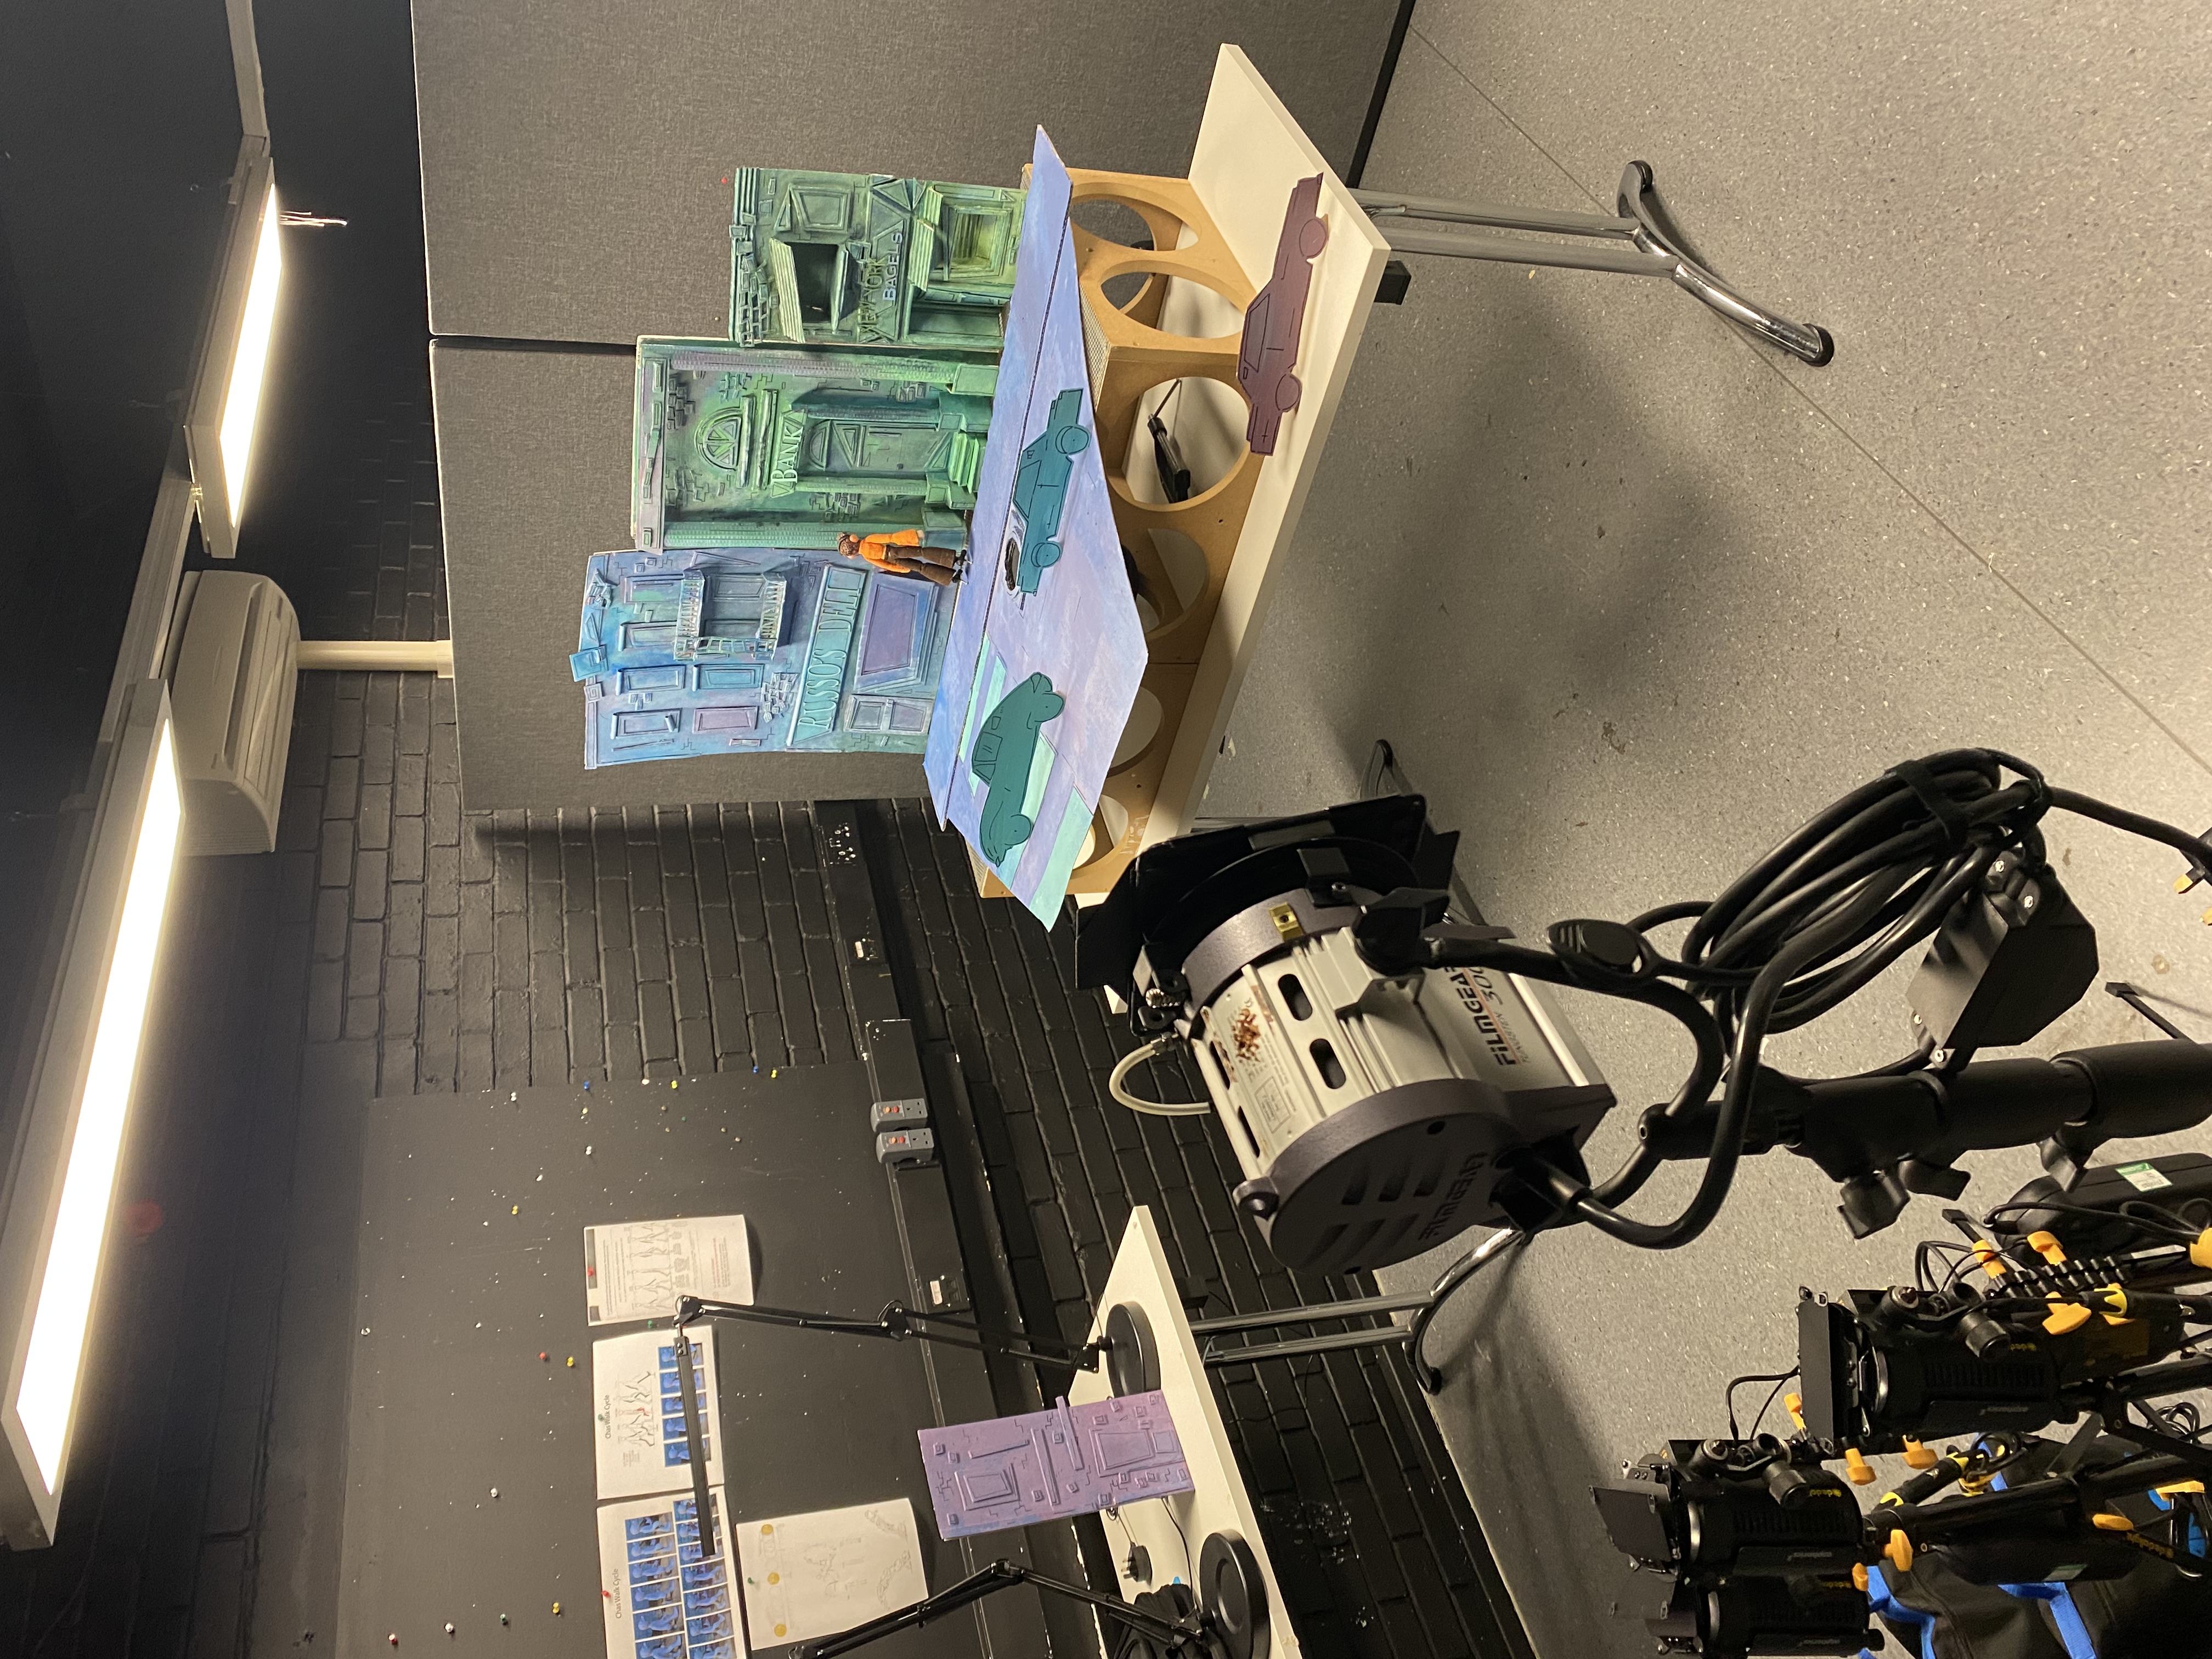
Simple is the common thread with stop motion animation, and sets and props are no exception. Gideon teaches his students to "keep your set to a simple construction. Consider a minimal aesthetic so that the concentration is on your puppets and performance. If you need scale objects then I would recommend hobby shops that stock dolls house objects and model railway supplies."
Pre-made miniatures can be ideal from a scale point of view, but if you are making from scratch, think about what character or object you need to scale things around. “The scale of my films was all based around how small Mouse’s character could be made, and from there, everything was scaled up," says Lorna. "The small details with food, cups of tea etc. are incredibly fiddly to film and often require lots of patience getting things to stay in place, but the small details add a lot of magic."
7. Use the right tools
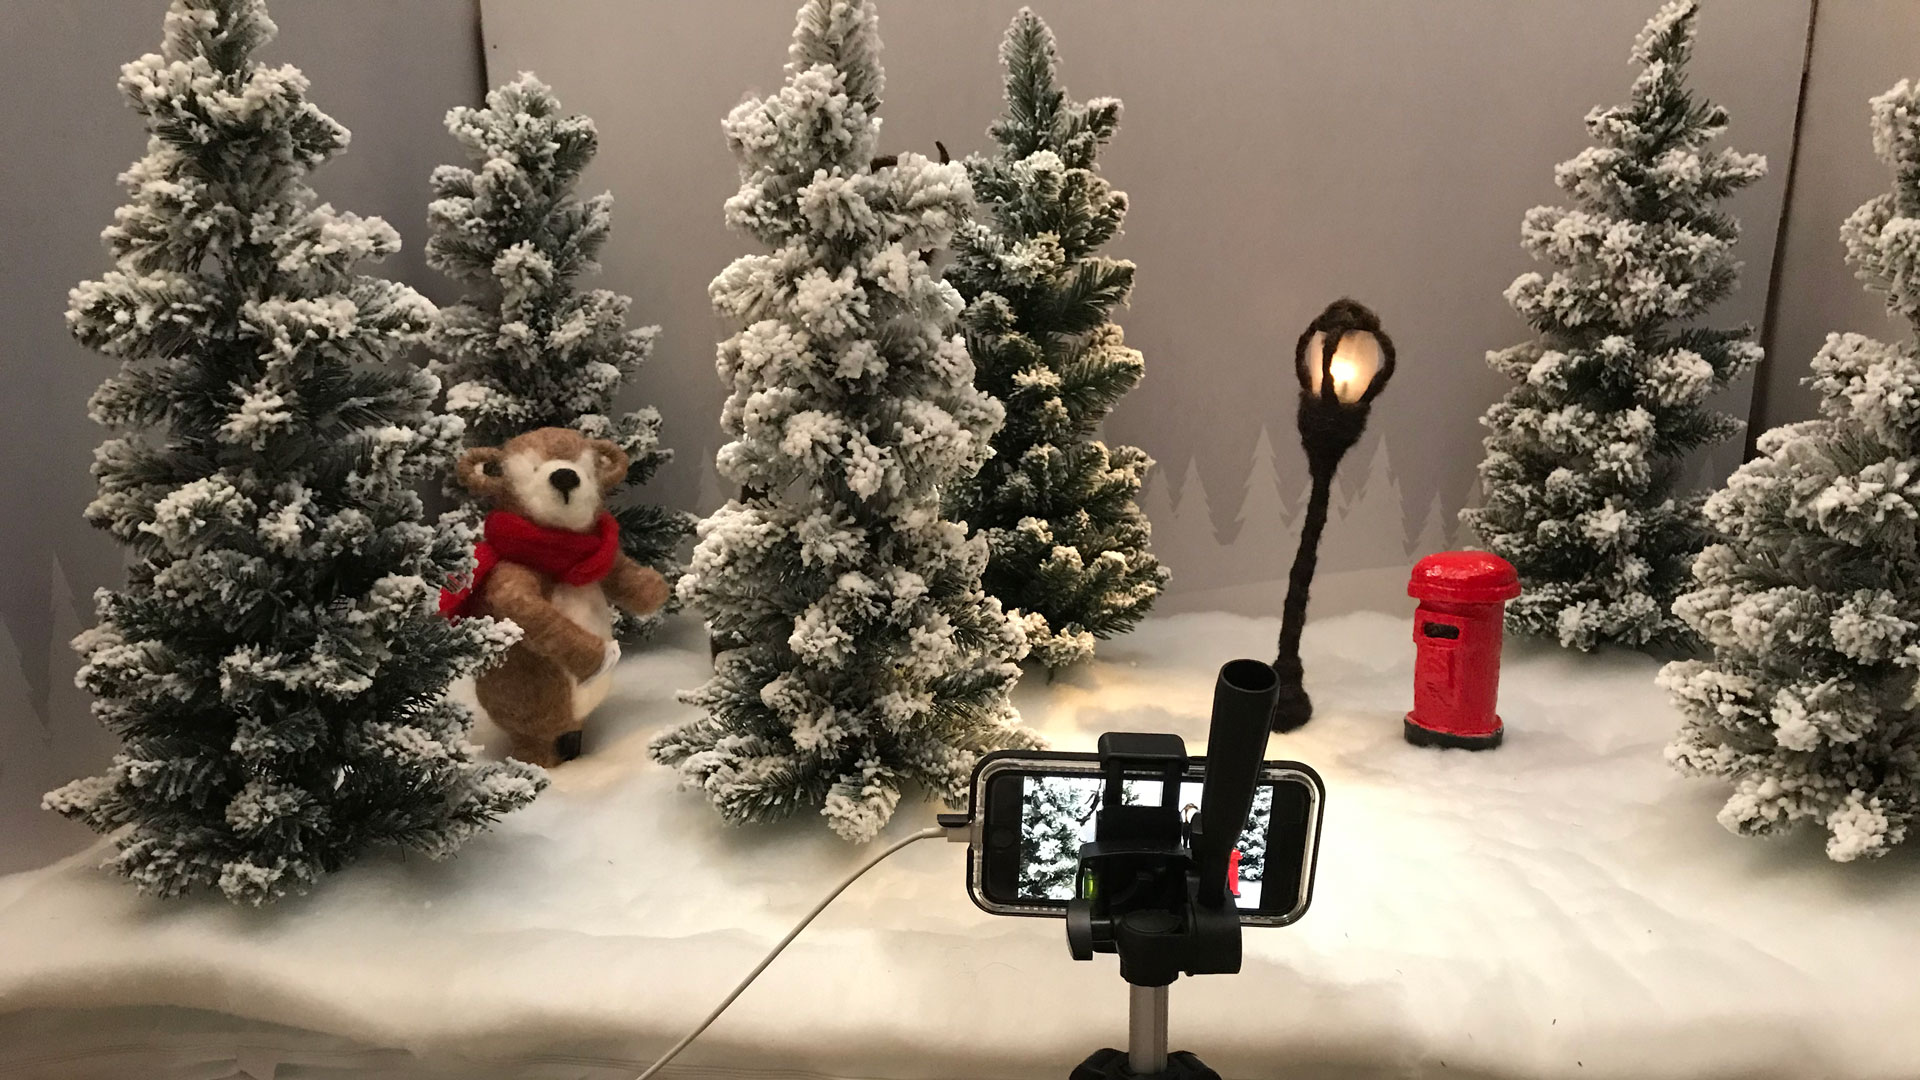
There are a few different ways to shoot a stop motion film, and the good news for those starting out, they don’t all require significant investment. The pricier rigs may be tempting but they’re not always necessary as Lorna has proved with her filming adventures.
“For a very basic set-up with no apps or equipment, you could shoot a series of photos with your camera propped up against something stable, and use a social media reels tool, uploading images and setting them to 0.3 seconds, then saving your short film," she says.
Lorna and Gideon recommend Stop Motion Studio/ or Stop Motion Studio Pro (phone or tablet app), and Dragon Frame, which is as close to industry standard as you can get and is used to teach animation production students at AUB. Lorna comments: "Dragonframe has amazing capacity which I’ve only scratched the surface of, but even for basic functions it has been great to use. It has lots of wonderful tools like the focus peaking which highlights the areas of your scene which are in focus which is handy."
A post shared by Lorna Gibson✨AuthorIllustratorAnimator (@tootsdesign)
A photo posted by on
8. Start moving
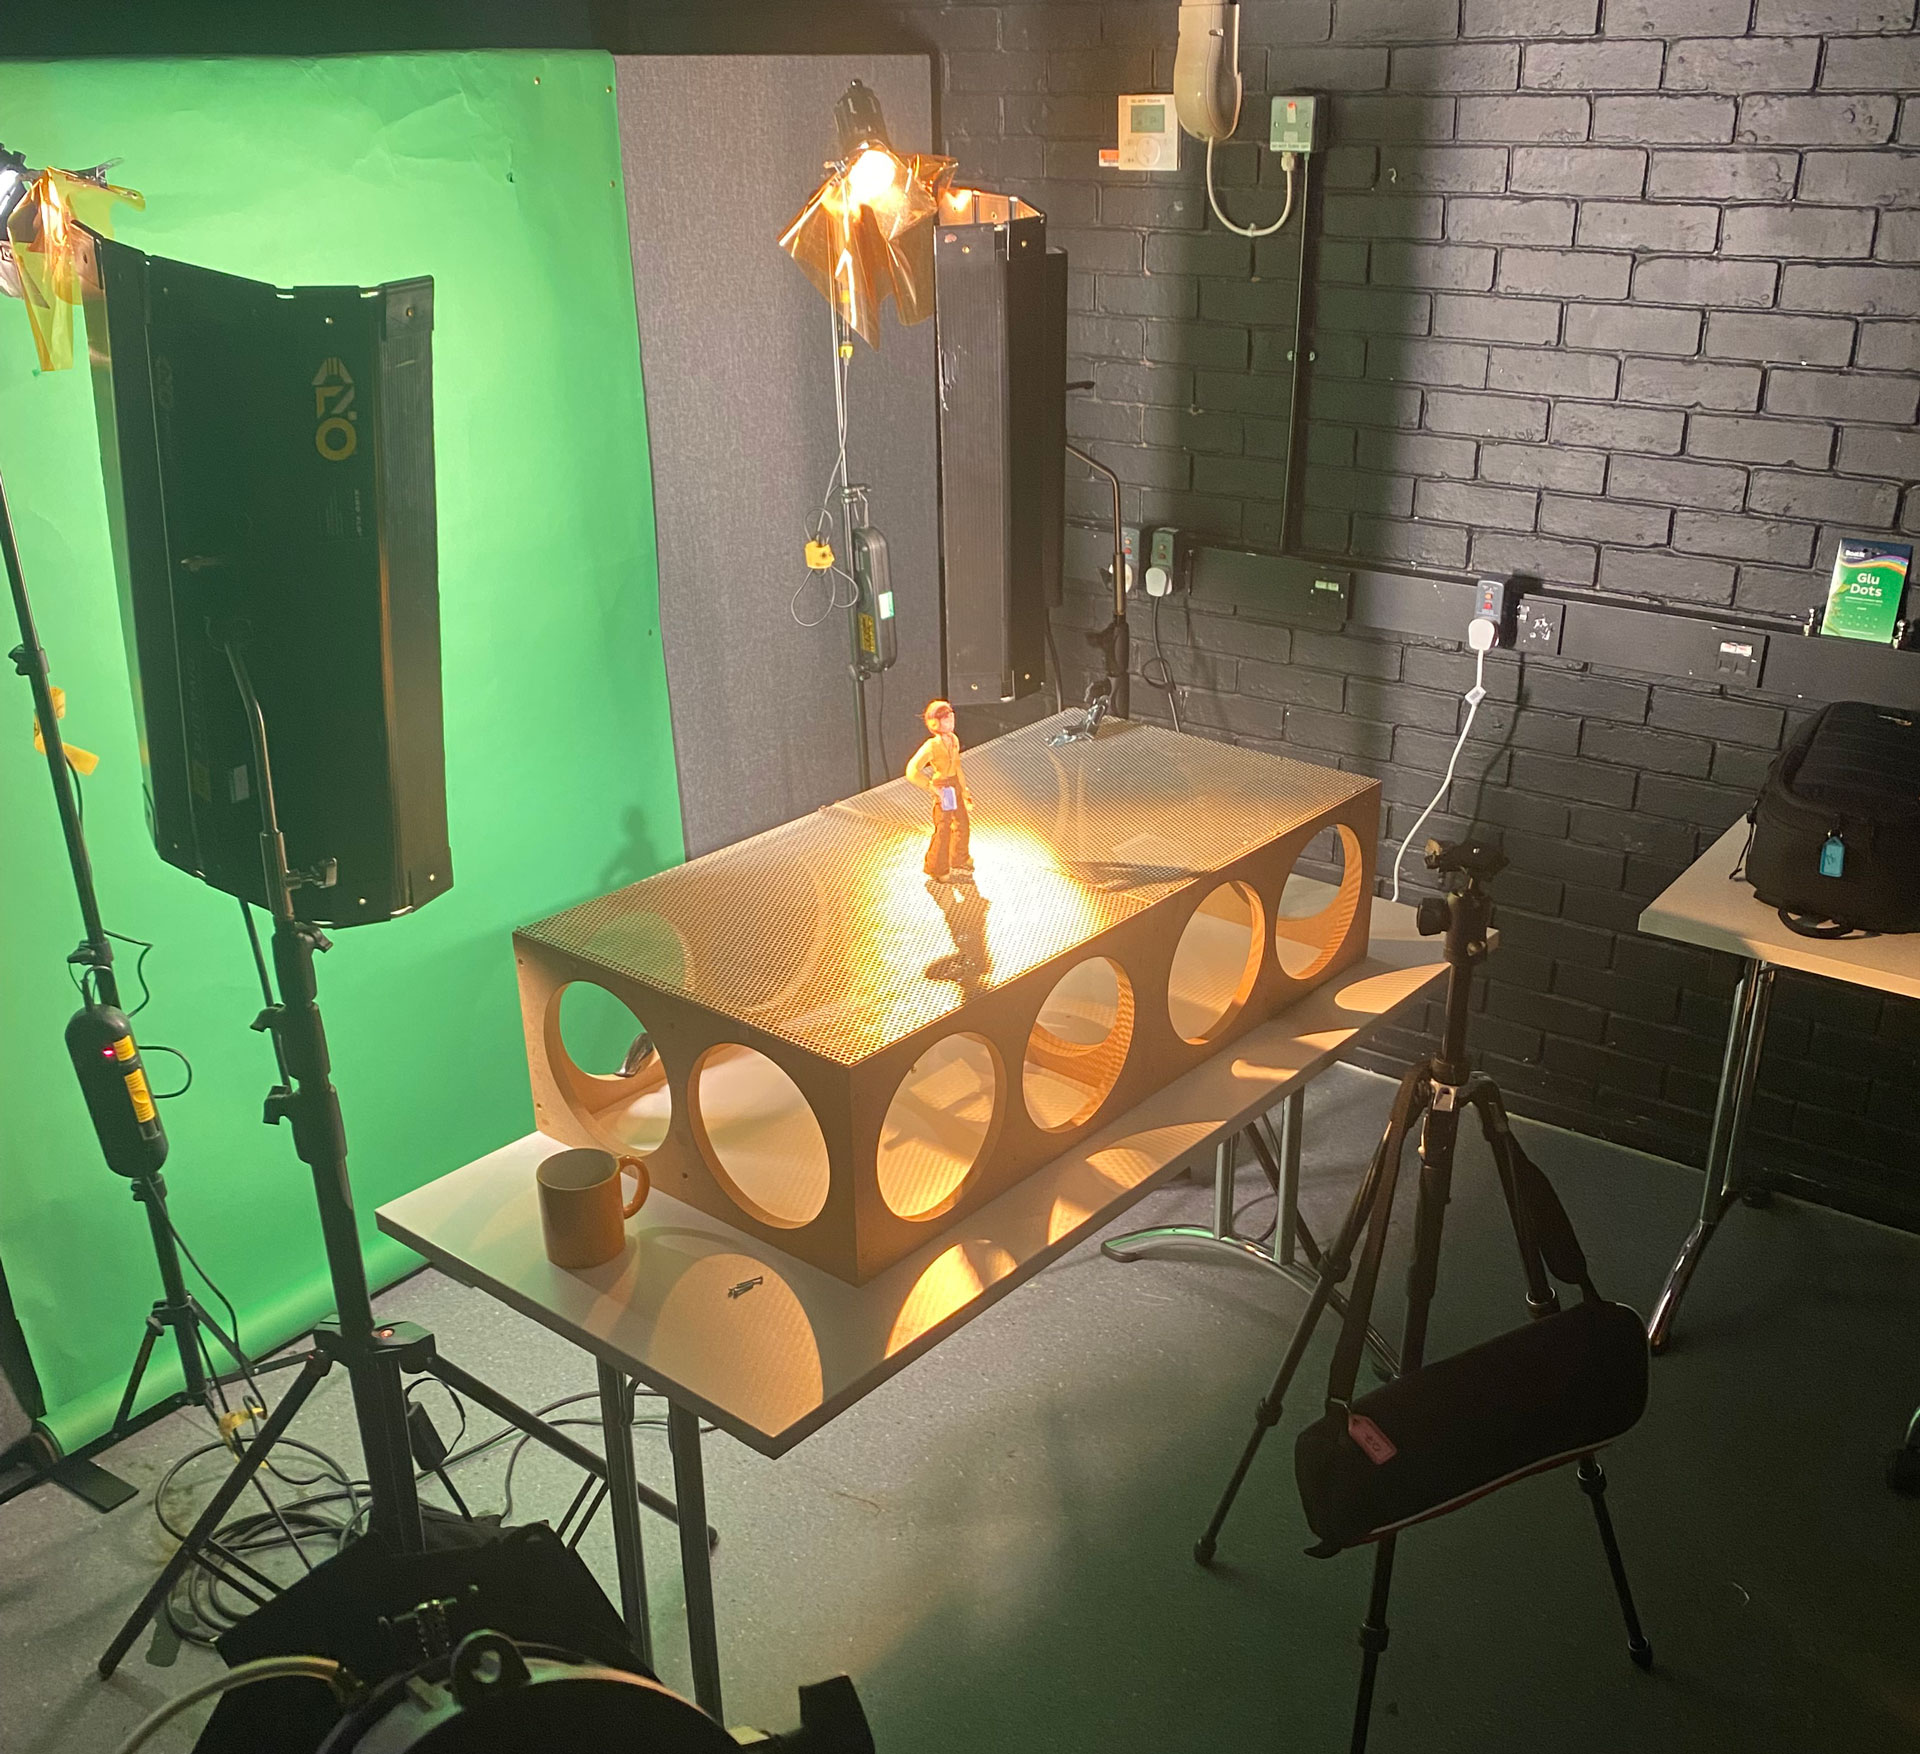
To get started is to get moving. Start moving your objects and understanding the process of making them move, and how they will appear on screen. "There are no soft ways into this process," says Gideon. "You just have to start moving an object in front of the camera and record it. Using toys is a good starting block, they already have character and some have very articulated joints. Trying something over and over again starts to train your hands and fingers to position things subconsciously."
“Keep it simple to begin with, shooting just one item or character until you feel confident, then you can add in more complexity, and vary the camera angles too," says Lorna. "A wave is a great start, but a little walk can be fun too if you have characters that can easily stand up. Many small movements will create a smooth animation. Aim for three images per second."
9. Avoid common pitfalls
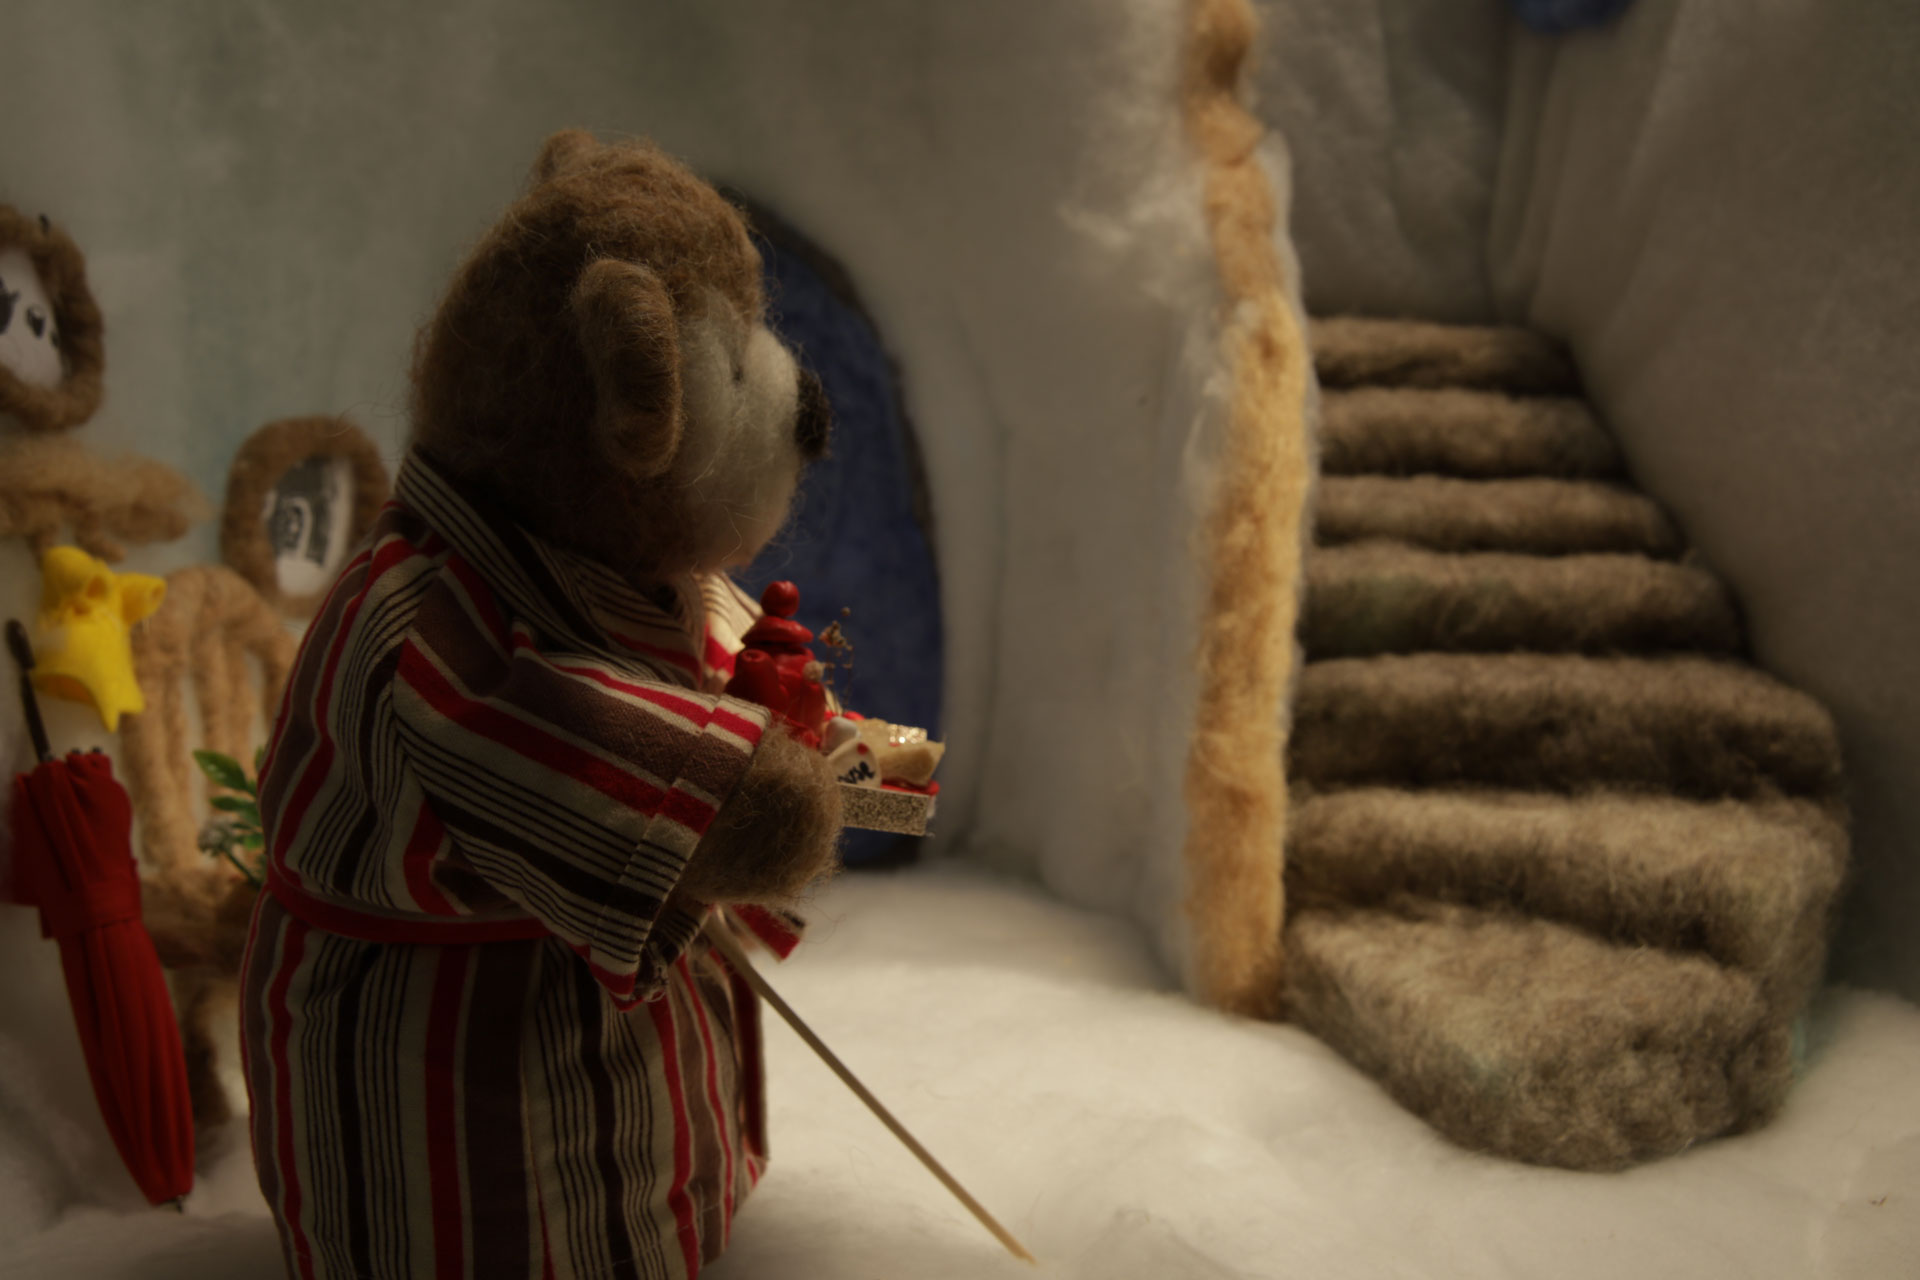
Experimenting, practice, and patience are essential to build up confidence as a stop motion animator, but there are some things you can think about right from the beginning to make the journey a bit smoother. A basic tripod or something to prop your camera up against to keep shooting steady is vital, and photo editing skills will be useful to remove anything you don’t want the viewer to see. Lorna comments “I propped up my characters with kebab sticks, and sometimes props had to be pinned onto the characters like a rather weighty birthday cake being carried by Mouse.”
Another common pitfall comes when dressing your puppets. “A common mistake is to cover your puppet in stiff, heavy materials that won’t bend or flex easily, this will make a great-looking puppet immobile and unable to perform well," says Gideon.
As you start to practice, you’ll also learn the importance of keeping all non-animated objects on your set steady and controlling lighting. Lorna advises that, “outside lighting can give you a variable background due to light changes, so to avoid this create a backdrop and shoot indoors in a dark room where you can control the lighting and keep everything stable."
10. Get the timing right
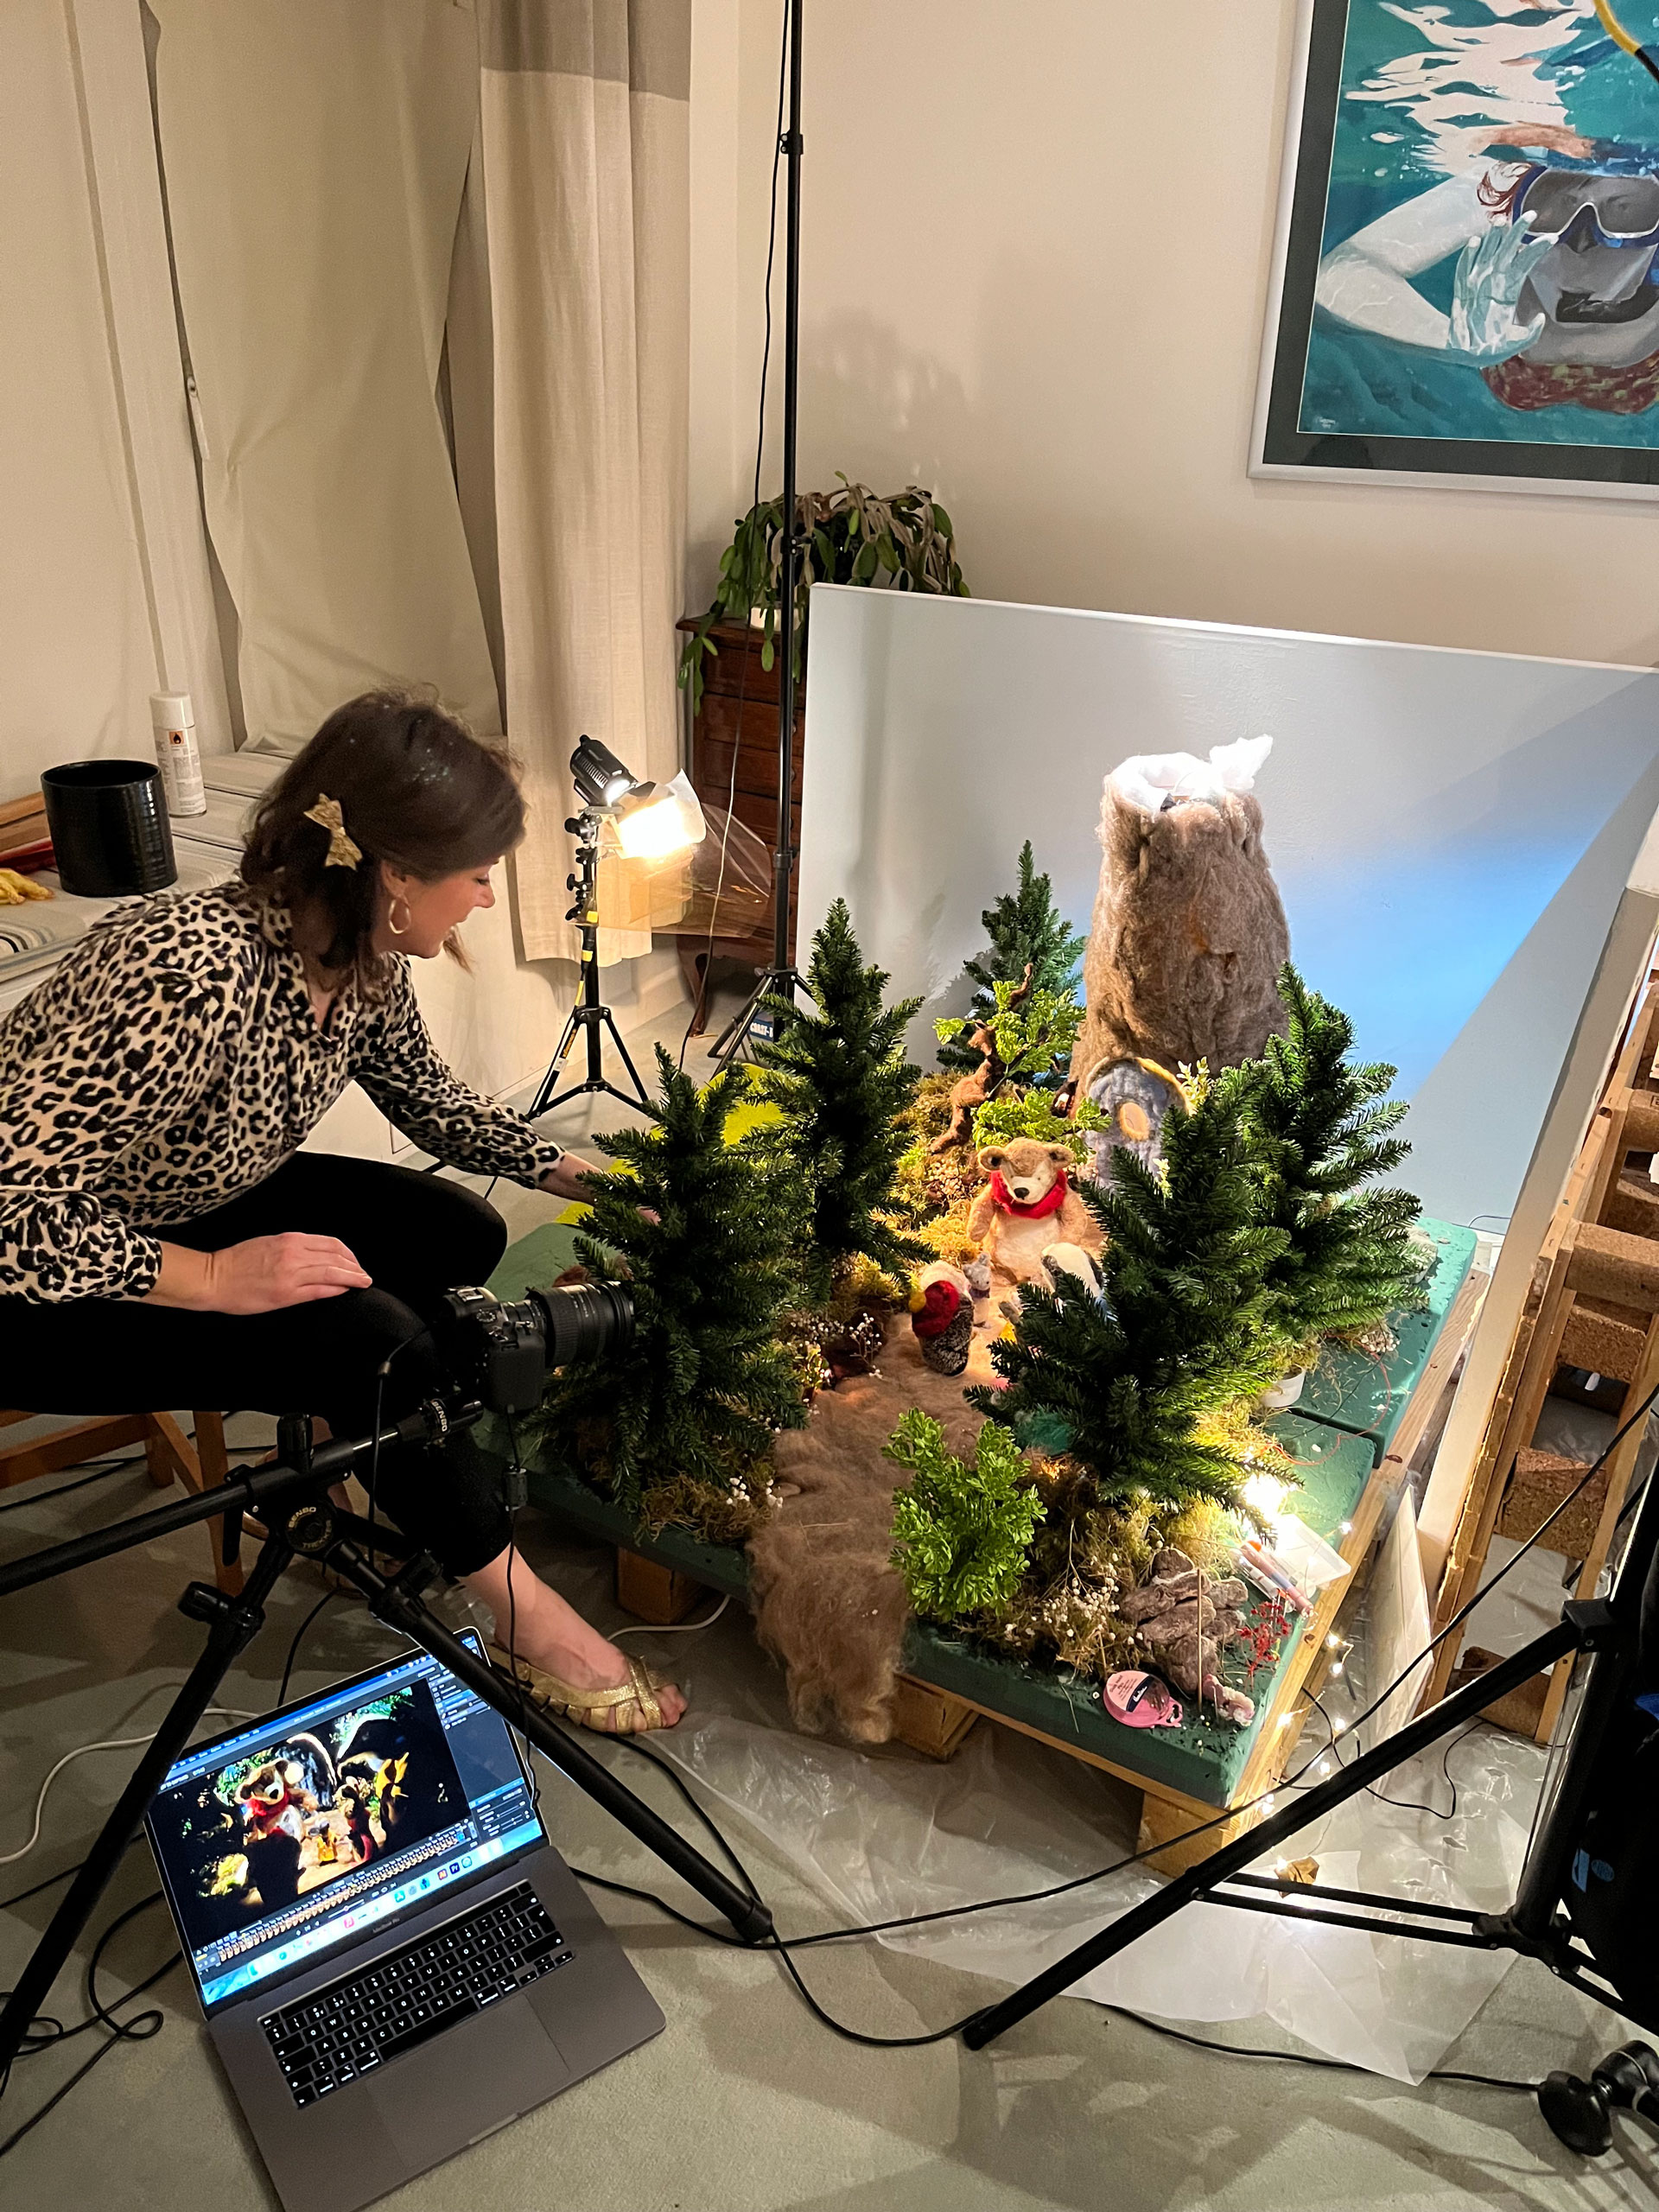
When you are ready to pull all you’ve learned together into a film or performance, timing will come into play. You’ll want your story to come alive with movement, audio, any music or humour all in sync. So where do you start? After years of experience in the industry and teaching animation production, Gideon has some interesting ideas to help you perfect your film. “To practice the timing of your animated performances, look towards musicals as a genre. Try animating scenes from musical films or famous dance sequences. This will help perfect your timing of movement, hitting beats, changes, and lyrics. Finally, a great source of narrative, humour, character, and performance comes from recorded conversation with people you know. Try and animate your characters to the soundtrack, it will improve your observations of human behaviour and perfect your character animation."
Get the Creative Bloq Newsletter
Daily design news, reviews, how-tos and more, as picked by the editors.

Thank you for reading 5 articles this month* Join now for unlimited access
Enjoy your first month for just £1 / $1 / €1
*Read 5 free articles per month without a subscription

Join now for unlimited access
Try first month for just £1 / $1 / €1
Lauren John is a journalist, copywriter and creative, with a background in craft, and a growing list of creative hobbies. She’s had art and craft content published in an RSPB children’s magazine and on the Prima Website, also writing on outdoor photography for Reader’s Digest. Lauren enjoys working on content from all creative industries, flying the flag for musicians, bands, artists and authors, and shining a light on some of the issues they face.
