Top tips for sculpting a creature in ZBrush
Learn how to use ZBrush's tools and brushes to build a cool creature.

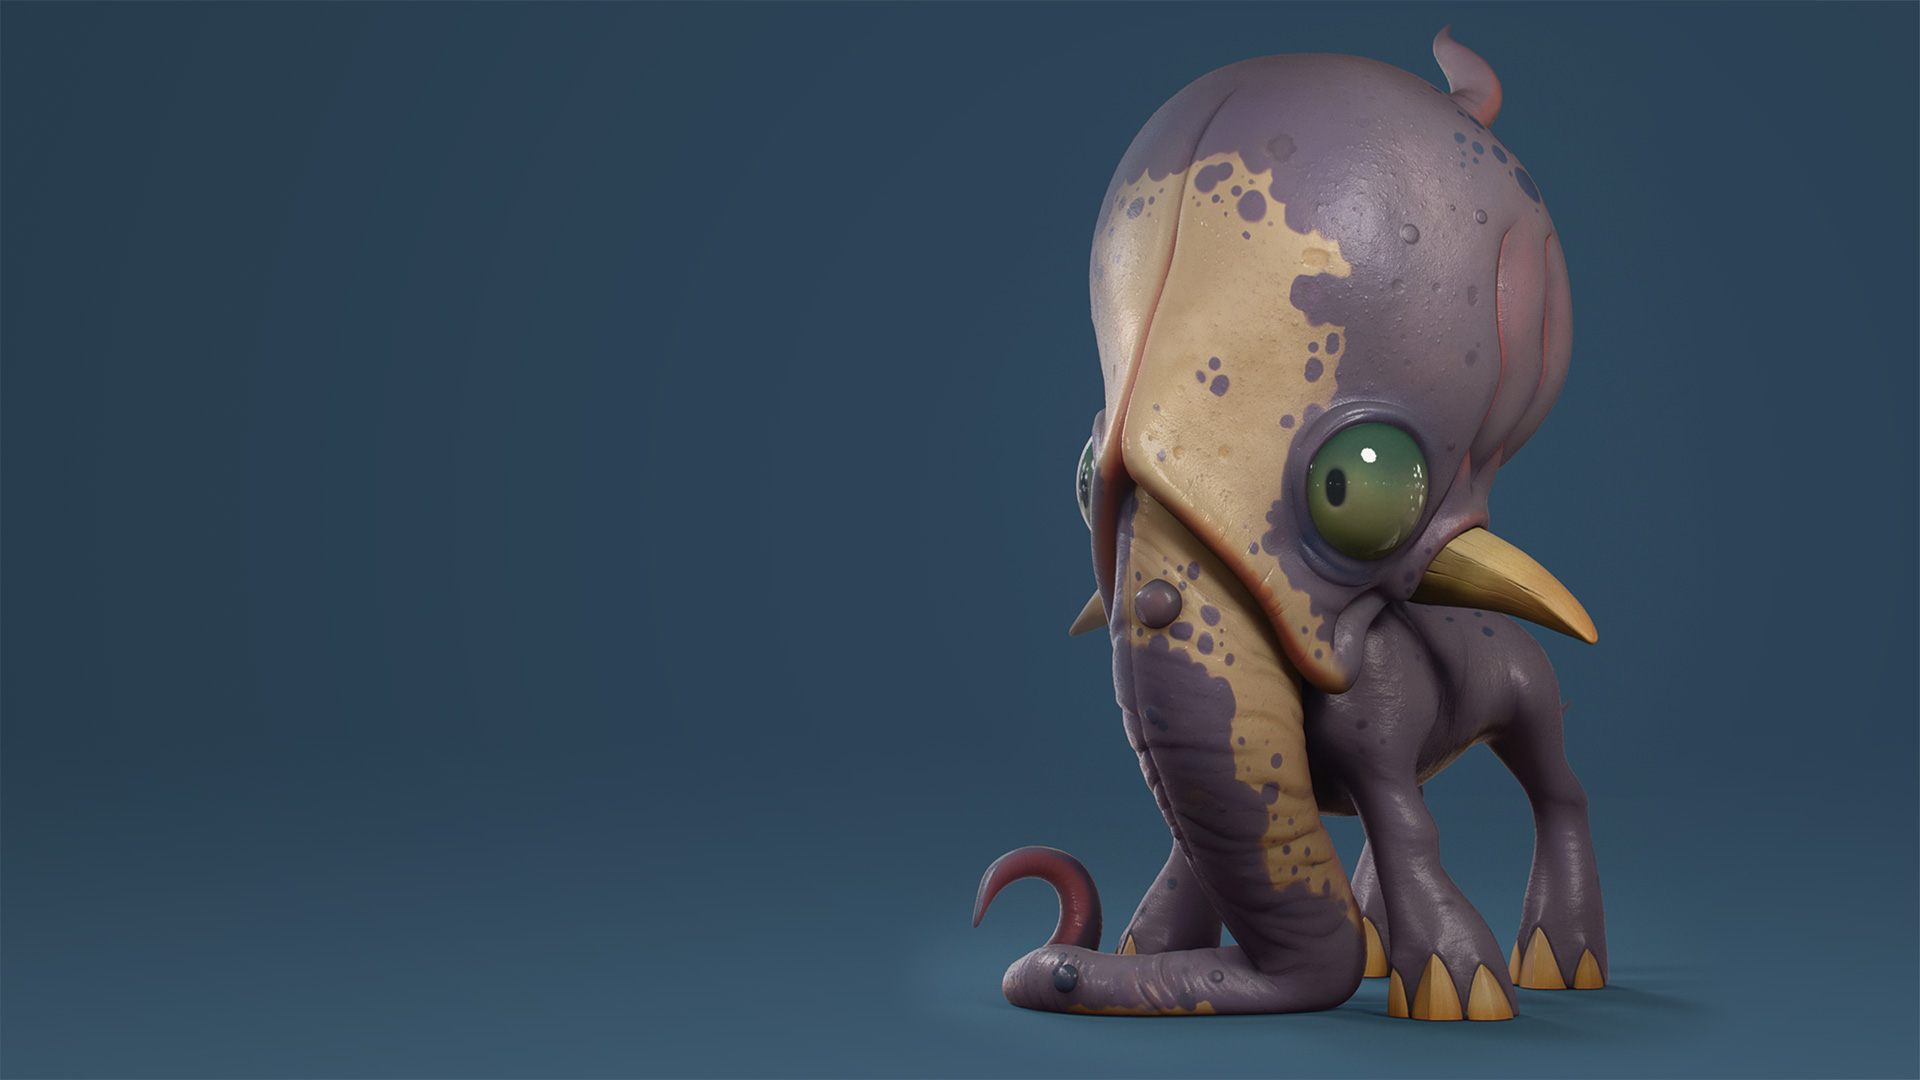
To demonstrate building a creature in ZBrush I'm using this piece of 3D art I'm working on, designed by CreatureBox. If you've never heard of them, check them out online. Their designs are awesome!
I start out by blocking in each element of the creature on different subtools; a sphere for the head, cylinder for the body and trunk and a couple of spheres for the eyes.
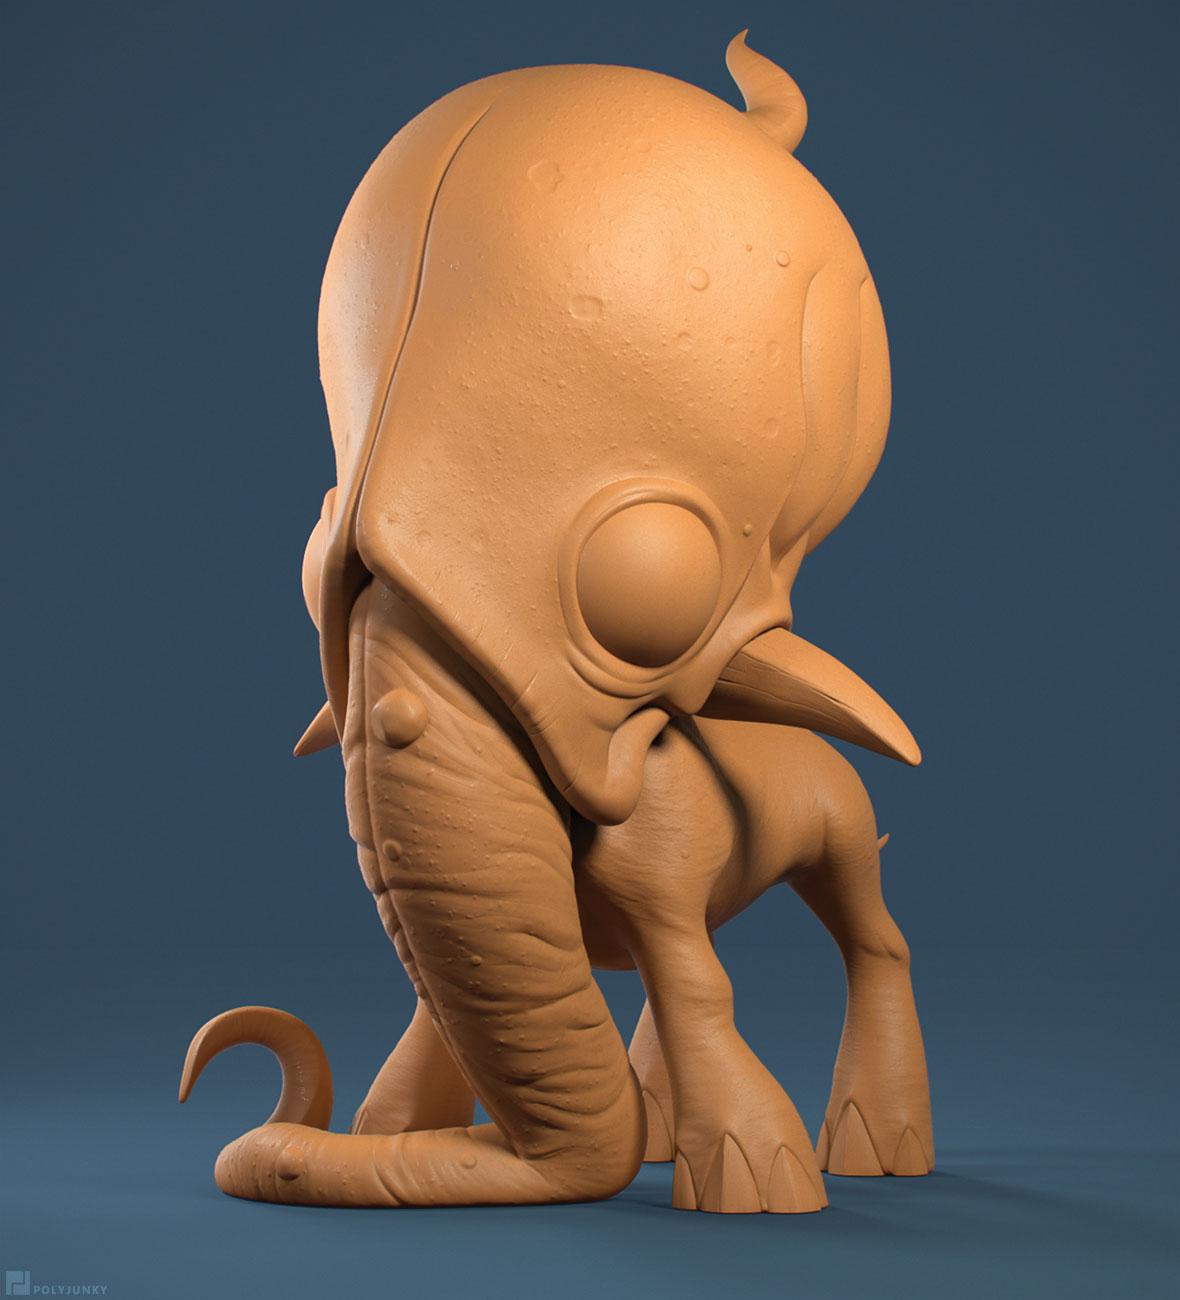
I then begin working on each element using Dynamesh. For the head, I use Move, the Clay Build up brush and Dam standard to get forms and make creases where I want, and then I use a Curve tube brush with the Size modifier on to get the tapering tip of his head.

For the body, legs and tail I use the Curve brush. Once I have established proportions with the move brush, I remesh by [Ctrl]-dragging. I use the head as the base for the trunk using the Curve tube brush, I tweak the shape and when I am happy, I split it into a separate subtool using Split Unmasked Points.
The sculpting is straightforward, Clay brushes for major forms and muscle groups, Dam standard for creases and Standard for eyelids and medium-sized ridges. Paying attention to how different forms relate is extremely important, so I use a combination of masking areas, and then use the Move brush with some Inflate to overlap areas.
The trunk has a lot of creases and I want to convey its weight; I first cut in creases where I want then use the Clay brush to build up the area around it. I then modifiy the Inflate brush; under the Brush menu and I increase the gravity, so when I sculpt, the folds will sag giving the impression of weight to the finish.

Horns and claws are done using the Insert Sphere brushes and shaped using the Move brushes. The eyes are split; one inner for the colour and an outer sclera. The details for the horns and claws are done using the Orb cracks and Trim Dynamic brushes, and for the body, after sculpting in imperfections with the Clay brush, I use and Spray Stroke with a dotted alpha for the details.
Get the Creative Bloq Newsletter
Daily design news, reviews, how-tos and more, as picked by the editors.
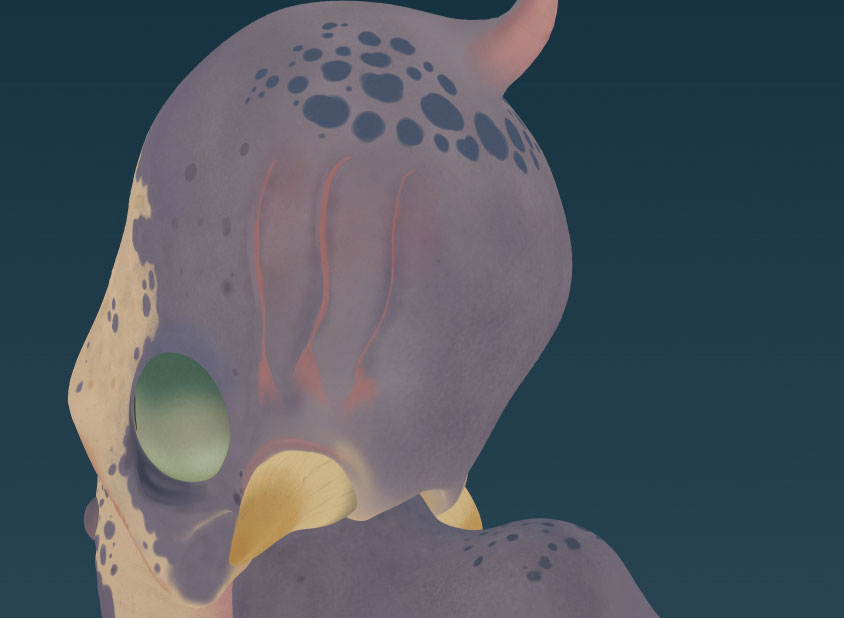
As for the matter of how to paint it, polypaint is done with a standard brush with Zadd turned off. I paint a base colour, then go over it with finer, smaller strokes. The model is decimated and sent to KeyShot for the final posed render.
This article originally appeared in 3D World issue 211; buy it here!

Thank you for reading 5 articles this month* Join now for unlimited access
Enjoy your first month for just £1 / $1 / €1
*Read 5 free articles per month without a subscription

Join now for unlimited access
Try first month for just £1 / $1 / €1
