Three steps to a sparkling night sky in watercolour
Use masking fluid and watercolours to create a stunning sky
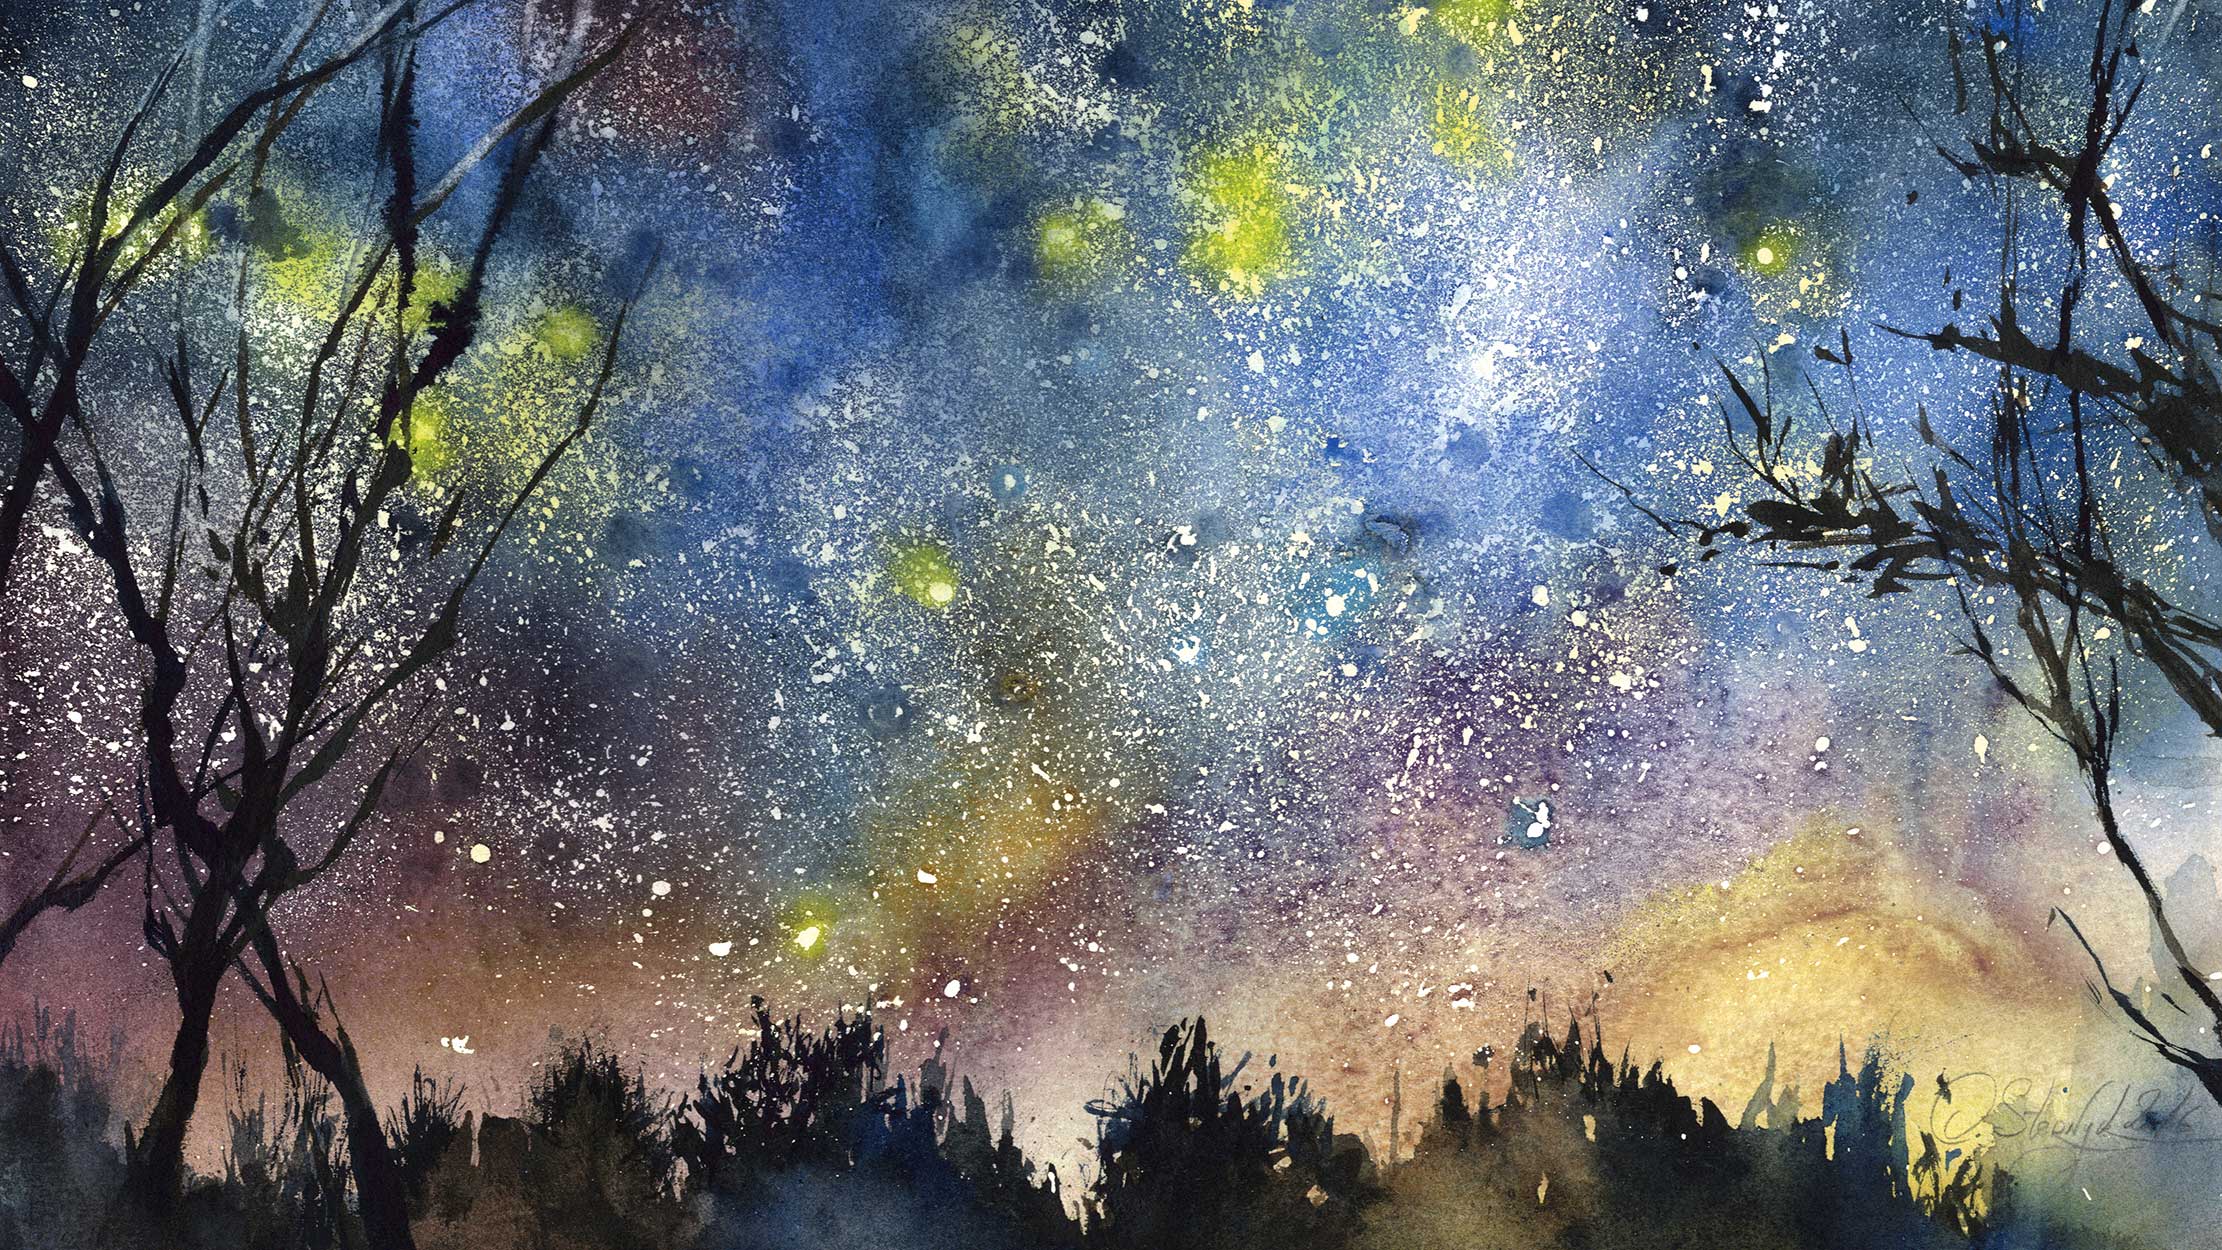
Watercolour is an incredible medium that, with the right art techniques can be used to make the most magical and unique images. It can create anything, from helping you with how to draw landscapes such as a bright sunny day as well as a deep dark night, or even with how to draw animals. Here, we'll create a mysterious starry night using watercolour and masking fluid.
To create the randomness of stars, I will spray it onto paper using an old toothbrush. When this stage is done, I can colour the sky with dark shades and different tones. The branches of trees will then cover some parts of the sky, especially near the horizon.
I'm using a wet-in-wet technique here, but note that masking fluid should be used on dry paper only. Any small details can be painted on the dry paper too. And, remember, to save time you can always use a hairdryer.
A word of warning: before you start using masking fluid for watercolour, cover your brush with soap. This will prevent the masking fluid from sticking to your brush. However, as a precaution, it's best not to use your favourite brush for it. You can also use the end of brush handle to apply the fluid.
01. Place spots on watercolour paper
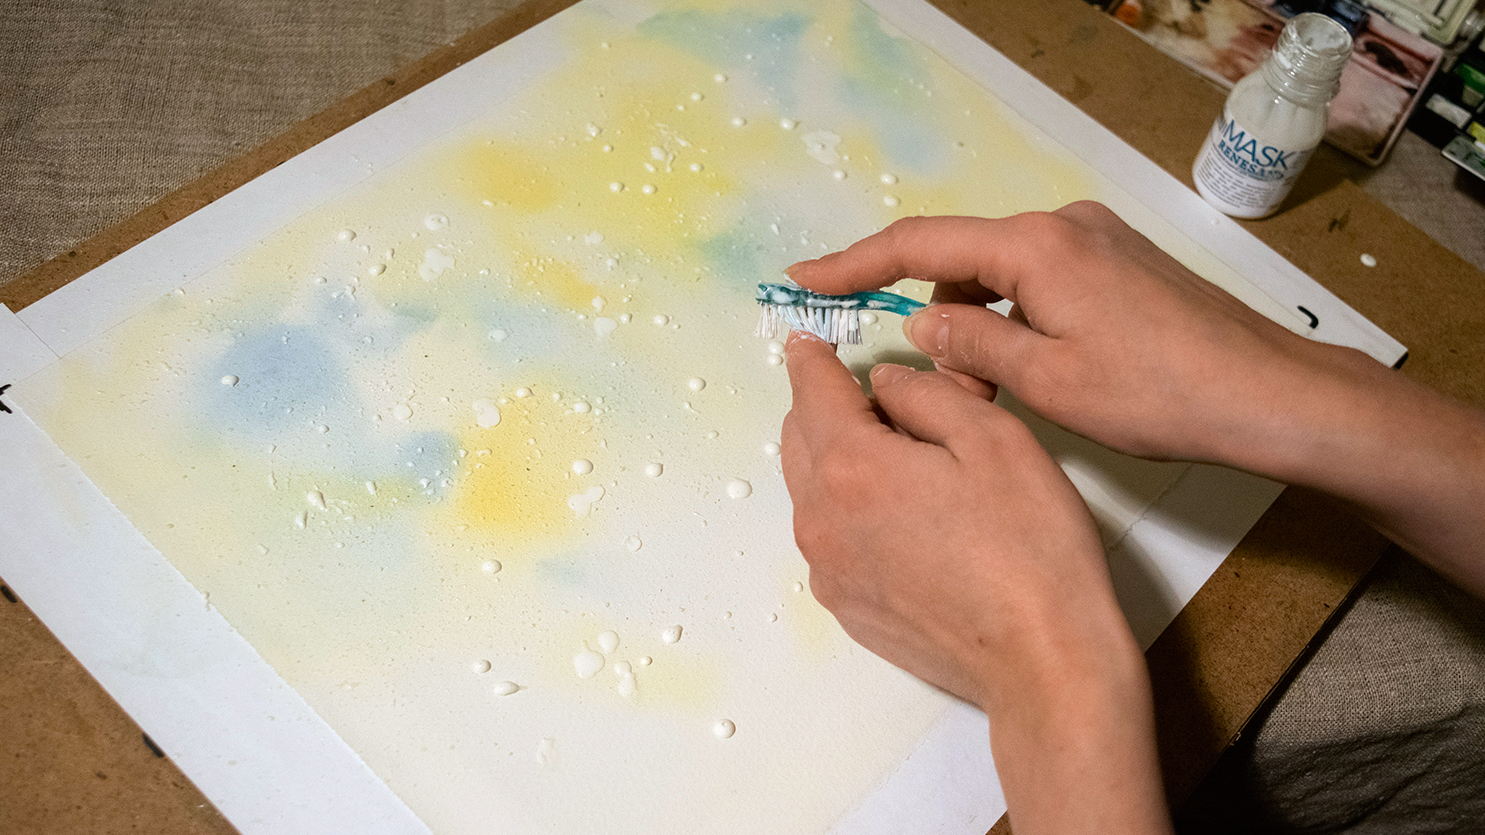
First, I place light yellow and blue spots on very wet watercolour paper. It will form the colour of the stars. I then dry the paper using a hairdryer. Then I add masking fluid using a toothbrush, as shown above. These spatters will soon be stars!
I remove any unnecessary drops and let the paper dry. Note that the masking fluid should dry completely before starting the next step.
02. Paint around the masking fluid
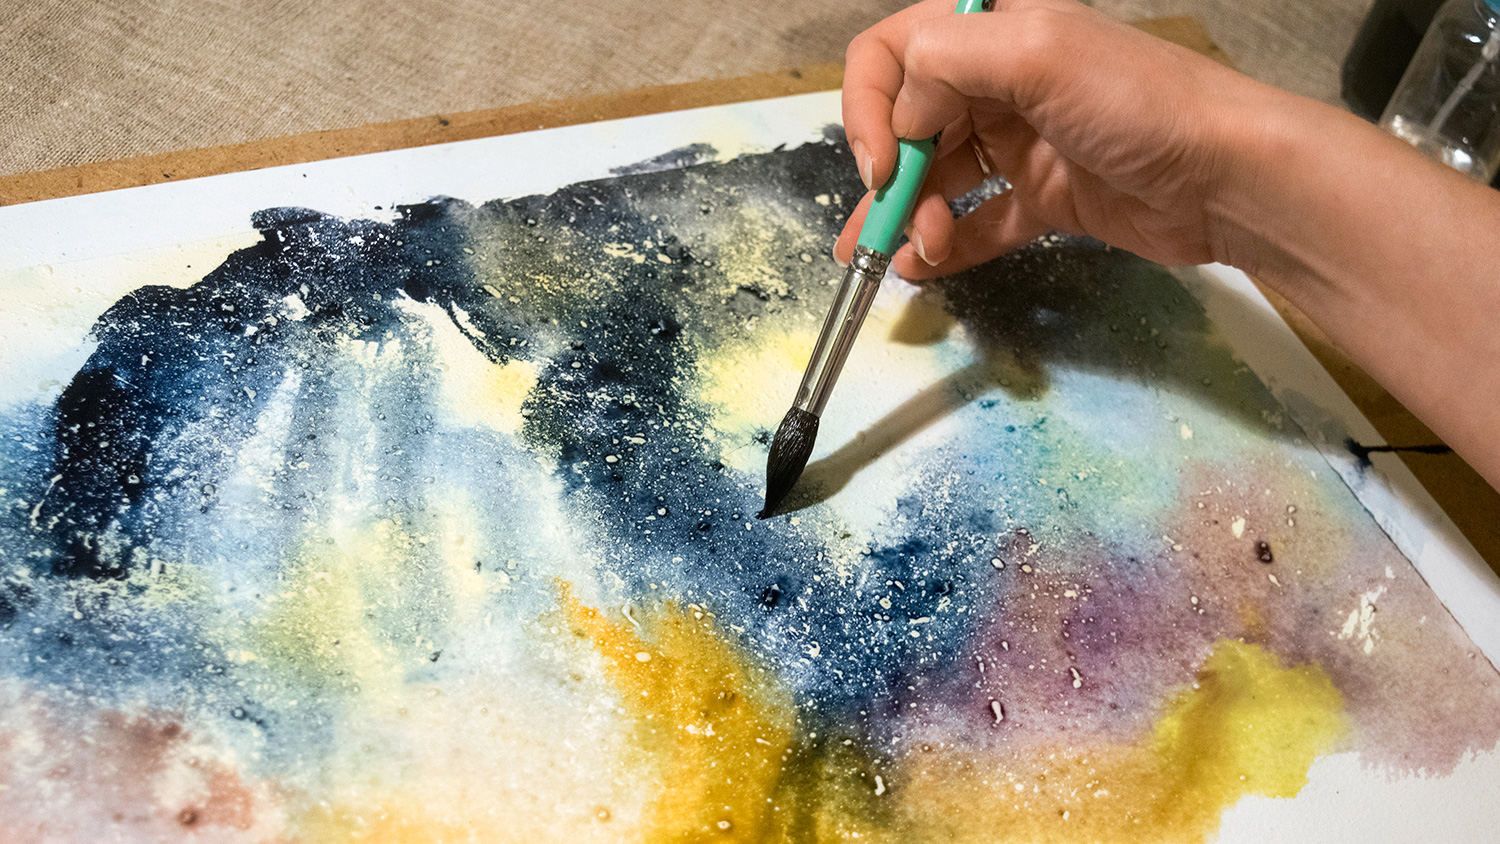
I then wet the paper again, to paint a gradient. I place the dark colours on the top and mix them with warm tones near the horizon. I use Payne's Grey, Perylene Violet, Permanent Mauve, Manganese Blue Hue, Ultramarine, Phthalo Blue, Orange and Lemon-Yellow colours. Then, I add a yellow and blue glow around stars. They are still masked, so I paint around the masking fluid.
Get the Creative Bloq Newsletter
Daily design news, reviews, how-tos and more, as picked by the editors.
03. Remove the masking fluid
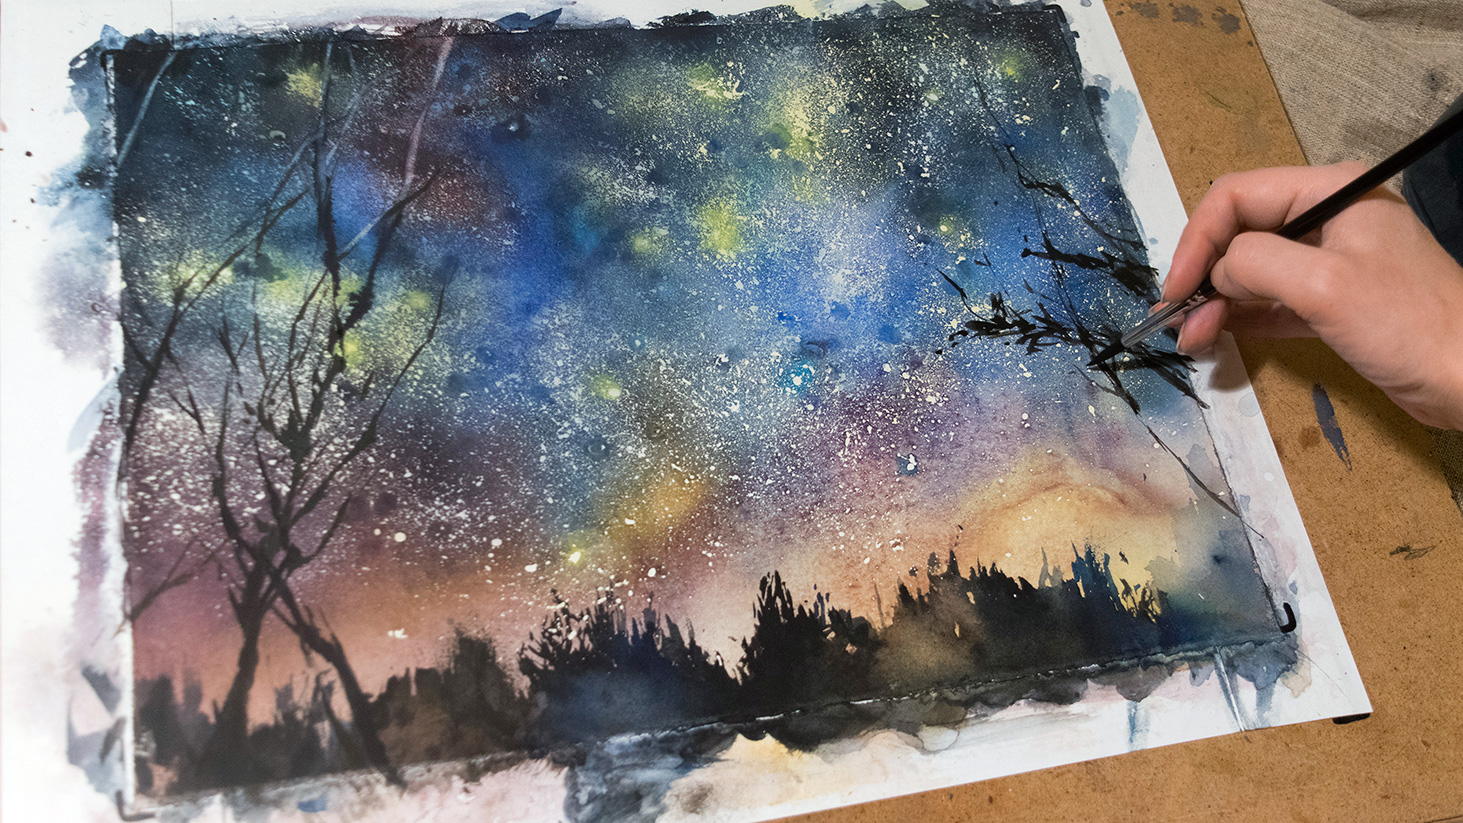
It's now time to remove the masking fluid using an eraser. I paint tree branches using dark tones, and wash out a few branches with a wet flat synthetic brush so they are visible on the dark background. Every time I erase masking fluid it feels like a miracle! We are now done.
Read more:

Thank you for reading 5 articles this month* Join now for unlimited access
Enjoy your first month for just £1 / $1 / €1
*Read 5 free articles per month without a subscription

Join now for unlimited access
Try first month for just £1 / $1 / €1
