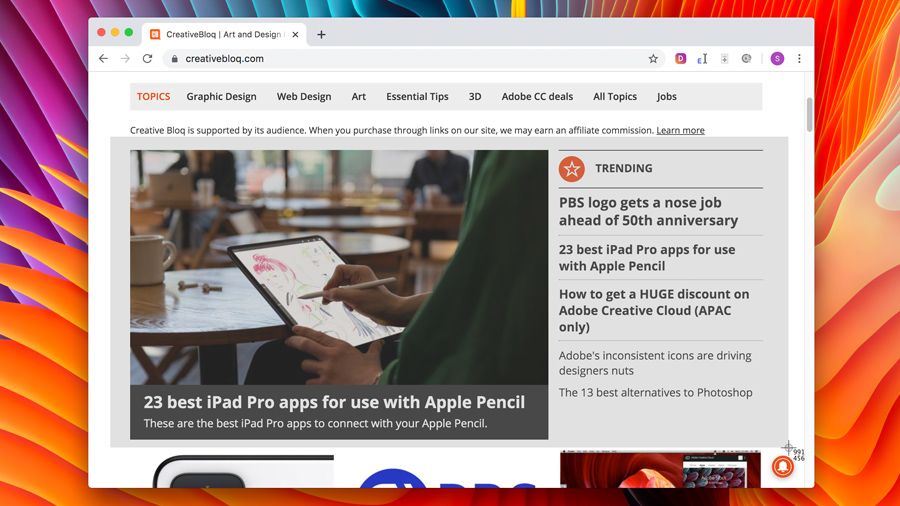
How to take a screenshot on a Mac
Here's how to screenshot on a Mac, whatever macOS you're using.

If you want to capture an entire screen, a window, or just a selected portion of your desktop, macOS has some quick, easy to remember shortcuts. Here we are going to kick off with the keyboard timesavers that work across all versions of macOS, before looking at the screenshot app that comes with macOS Mojave (v10.14) or later.
If you don't have the latest version of the macOS or are simply looking to upgrade to take advantage of its tasty new features then check how to get a great MacBook Black Friday deal. Or, if you just want to tart up your MacBook check our mac decals post to help add a personal touch.
01. How to screenshot on all macOS versions
Capture entire screen - To screenshot the desktop 'as seen' press Shift + Cmd +3. This will add the capture to your desktop. Click once to rename and then move to your chosen folder.
Capture a window - To screenshot a specific window press Shift + Cmd + 4 followed by the Space bar. This will turn the cursor into a camera icon. Now click the window that you want to screenshot. A top tip to remove the window's shadow is to hold down the Option key when you click.
Capture a selected part of the screen - To screenshot any part of the desktop first press Shift + Cmd + 4 and a cursor will appear. Now hold down the mouse button and drag to select the area of the screen to capture.
Capture a menu - The first thing to do is open the menu you want to capture. Now press Shift + Cmd + 4 and drag the cursor over the menu and release the mouse button to capture. Alternatively, press the Space bar to change the cursor to a camera icon and click the menu to capture.
02. How to screenshot on macOS Mojave or later
If your Mac has the Mojave OS (or later) installed you can take advantage of the Screenshot app to capture your desktop. You can open Screenshot by pressing Shift + Cmd + 5, or use Spotlight to find the app. Here you will see a collection of icons for capturing.

Capture entire screen - To screenshot everything click the Capture Entire Screen icon (first on the left) and the pointer will change to a camera. Click anywhere to capture.
Get the Creative Bloq Newsletter
Daily design news, reviews, how-tos and more, as picked by the editors.
Capture a window - Select the Capture Selected Window icon (second from the left) and the pointer will change to a camera. Click the chosen window to capture.
Capture a selected part of the screen - First select the Capture Selected Portion icon (third from the left). Now drag the cursor to select an area of the screen to capture.
Capture a menu - The first thing to do is open the menu you want to capture. Now use either of the Capture a window or Capture a selected part of the screen options to capture the menu.
03. How to capture the Touch Bar

If you own a MacBook with a Touch Bar, and have macOS Sierra (v10.12.2) or later installed, you can capture the Touch Bar by simply selecting Shift + Cmd + 6. This will add the capture to your desktop.

Thank you for reading 5 articles this month* Join now for unlimited access
Enjoy your first month for just £1 / $1 / €1
*Read 5 free articles per month without a subscription

Join now for unlimited access
Try first month for just £1 / $1 / €1
Steven Jenkins is a freelance content creator who has worked in the creative industry for over 20 years. The web and design are in his blood. He started out as a web designer before becoming the editor of Web Designer magazine and later net magazine. Loud guitars, AFC Bournemouth, Photoshop, CSS, and trying to save the world take up the rest of this time.
