Prepare a board for painting in 3 easy steps
Discover the fastest way to prepare a smooth panel for painting.
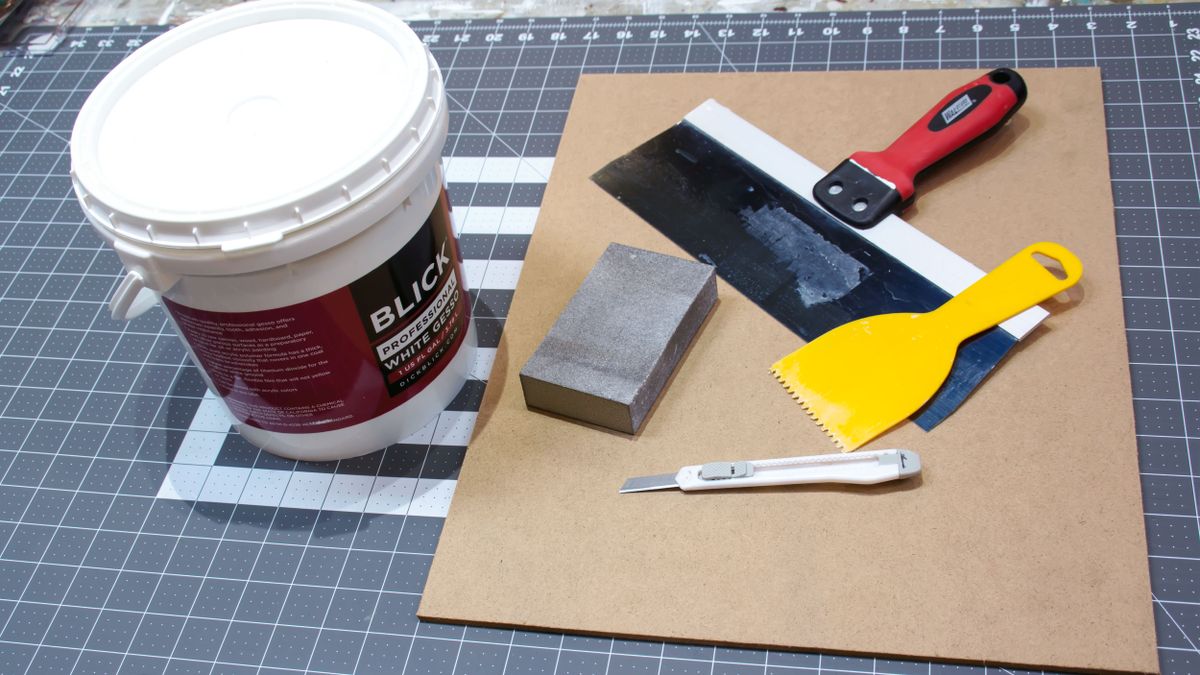
I'm going to share the fastest painting technique I use for 'gessoing' a panel and getting a smooth finish. This art technique can be used to prep a panel that you want to paint on, making it suitable for painting in oils or acrylics. You may want to prepare more than one panel at a time, so that you can be ready to paint whenever inspiration strikes.
To prep your panel, all it takes is a few tools from the DIY store and a little finesse. Overall the process is much like icing a cake – we’re just icing a panel with gesso!
Once your materials are ready, the whole process takes just a few minutes. Let the panel dry for an hour or so – as long as it’s no longer cool to the touch, it should be dry enough and ready to be sanded smooth and put into service.
If you're just getting started in oils, then don't miss our 10 essential oil painting tips and techniques post.
01. Smooth the surface
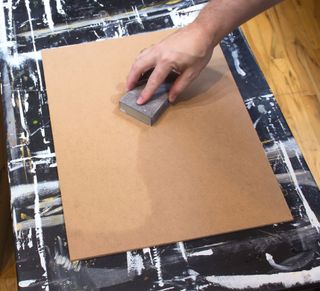
First I prepare my panel for the gesso. I use an extra-fine sanding block to rough up the surface, then wipe with a damp sponge to clean off the residue. My panel is smooth one-eighth-inch hardboard, which is smooth on both sides. I have my panels pre-cut to standard frame sizes.
02. Spread the gesso
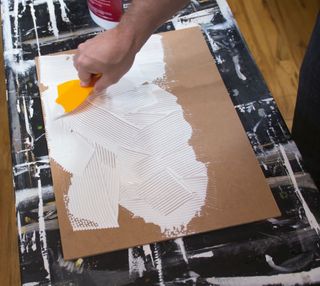
I use a grooved adhesive spreader to apply the gesso (I prefer the toothed kind but a flat one will work just as well). I make sure the whole panel is covered as this really helps with the next step. I use professional-grade gesso because it’s thicker, so I use less of it overall. It’s perfect for this technique.
03. Smooth the gesso
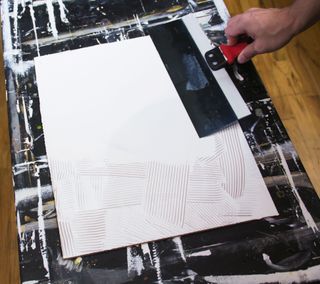
I now use a taping knife to smooth the gesso, pulling it first in one direction across the panel, then the opposite direction. A few passes will do the trick. Apply just enough pressure to smooth the grooved surface – too much and you’ll scrape off all the gesso.
Get the Creative Bloq Newsletter
Daily design news, reviews, how-tos and more, as picked by the editors.
If there are bare patches because you haven't spread the gesso across the whole panel in the previous step, you can tap the gesso with a taping knife to fill any voids (usually near the edges). If an edge appears from the blade on panels larger than the taping knife, a lighter pass in the opposite direction will usually smooth it all out. To finish, scrape any excess from the sides.
This article was originally published in Paint & Draw magazine.
Related articles:

Thank you for reading 5 articles this month* Join now for unlimited access
Enjoy your first month for just £1 / $1 / €1
*Read 5 free articles per month without a subscription

Join now for unlimited access
Try first month for just £1 / $1 / €1


