How to paint like a 19th-century master
Draw inspiration from artists like Alma-Tadema to create a portrait in the old style.
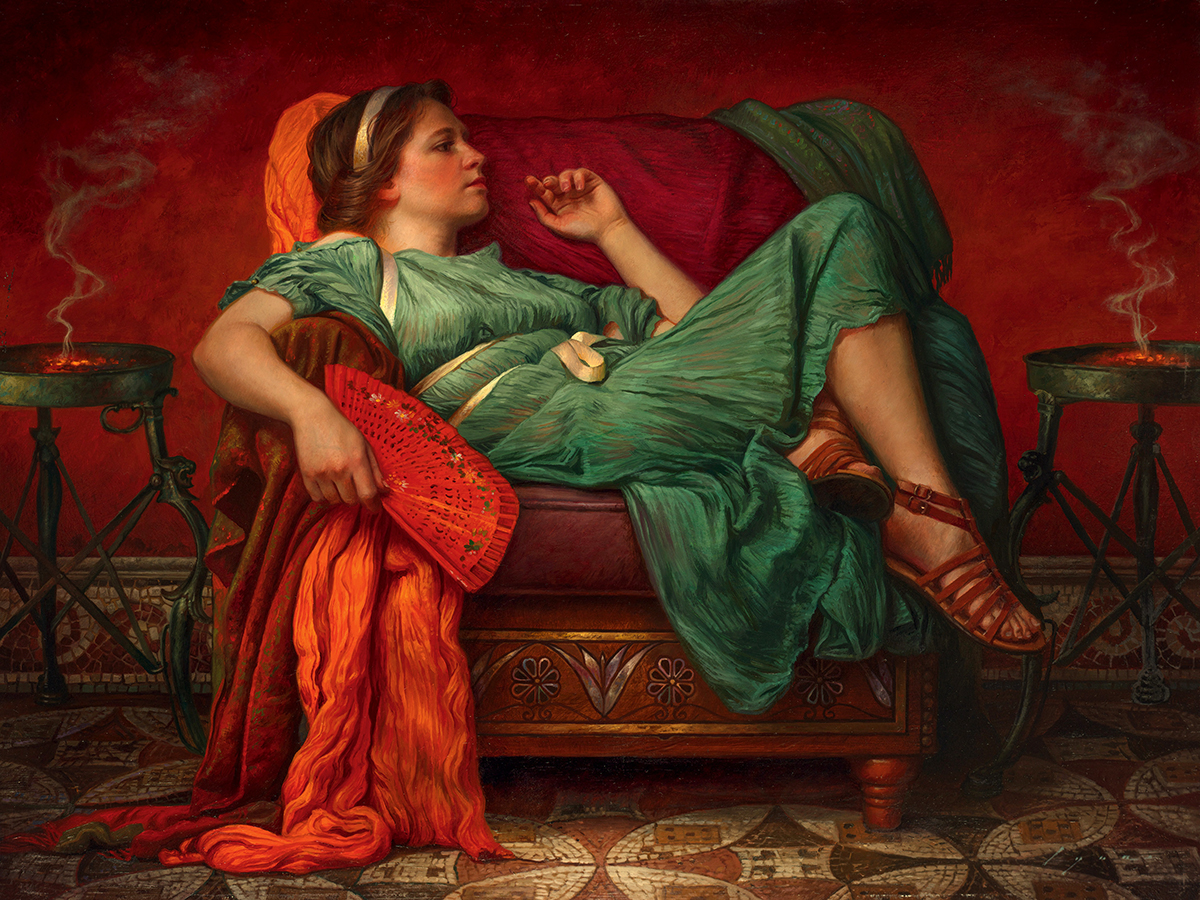
The 19th century was a wonderful time for art. Artists were held in high regard and the public were educated about art. There was a very high level of skilled technique on display thanks to the rigorous academic training available.
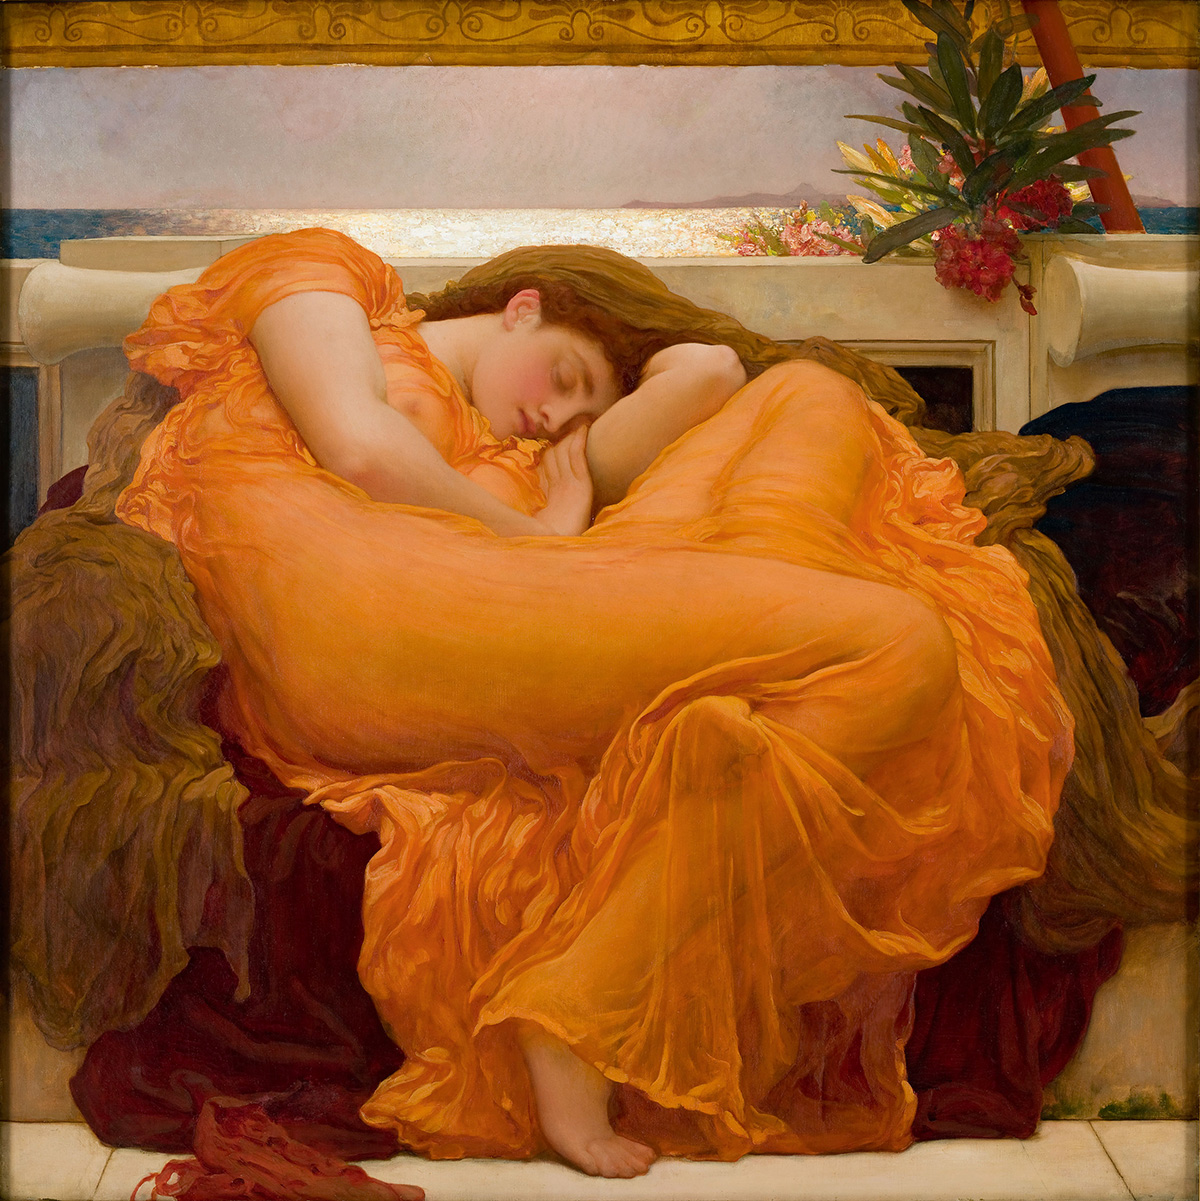
Artists such as Lawrence Alma-Tadema, Frederic Leighton and William-Adolphe Bouguereau created works of great beauty, classicism and elegance and drew upon inspirations found in contemporary life, but especially antiquity.
They all followed a similar process, creating thumbnails, detailed drawings, life studies, colour studies and then the final painting. A great amount of planning and effort was expended before brush ever met canvas.
We can learn a lot from these masters and not hurry through the process of creating an oil painting. Do not rush through the thumbnail stage. This is the best and easiest place to explore your composition.
If you can, let your sketches sit for a day or two and then come back with fresh eyes. Once the thumbnails are completed, you can spend a little more time refining a sketch to flesh out the idea.
For this project, Birgitte Smoot not only modelled but also helped with the costume. Erin Bjorn made us a costume that was historically accurate, which helped elevate the whole effort from the beginning. We used Blue Ridge oil paints on a wood panel, using Rosemary & Co brushes, and a New Wave Art Expressionist Confidant arm palette.
Paint what delights you and you will find an audience that feels the same way about your work. Follow these steps as we attempt to create a painting that echoes the masters and then go and create your own painting inspired by your favourite artists. You will learn more about them, and yourself, in the process.
Get the Creative Bloq Newsletter
Daily design news, reviews, how-tos and more, as picked by the editors.
01. Find inspiration
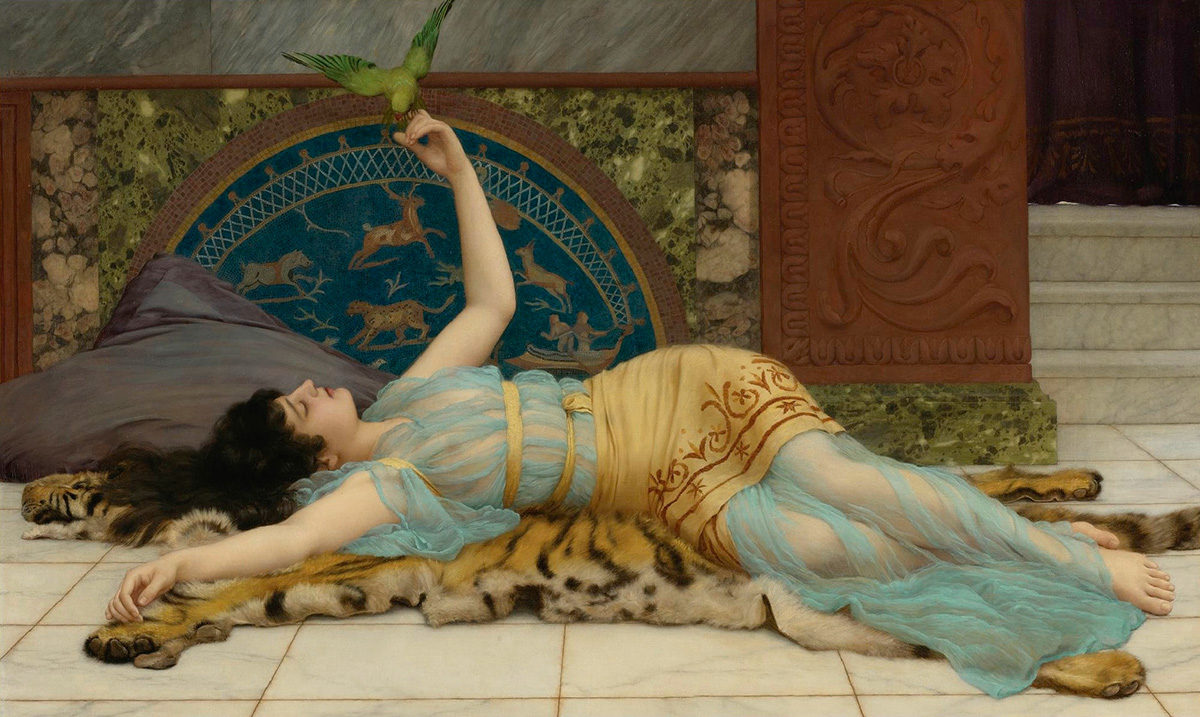
Study examples of the art you love from 19th century masters such as Leighton, Godward and Alma-Tadema. At this stage you're looking for inspiration for your painting.
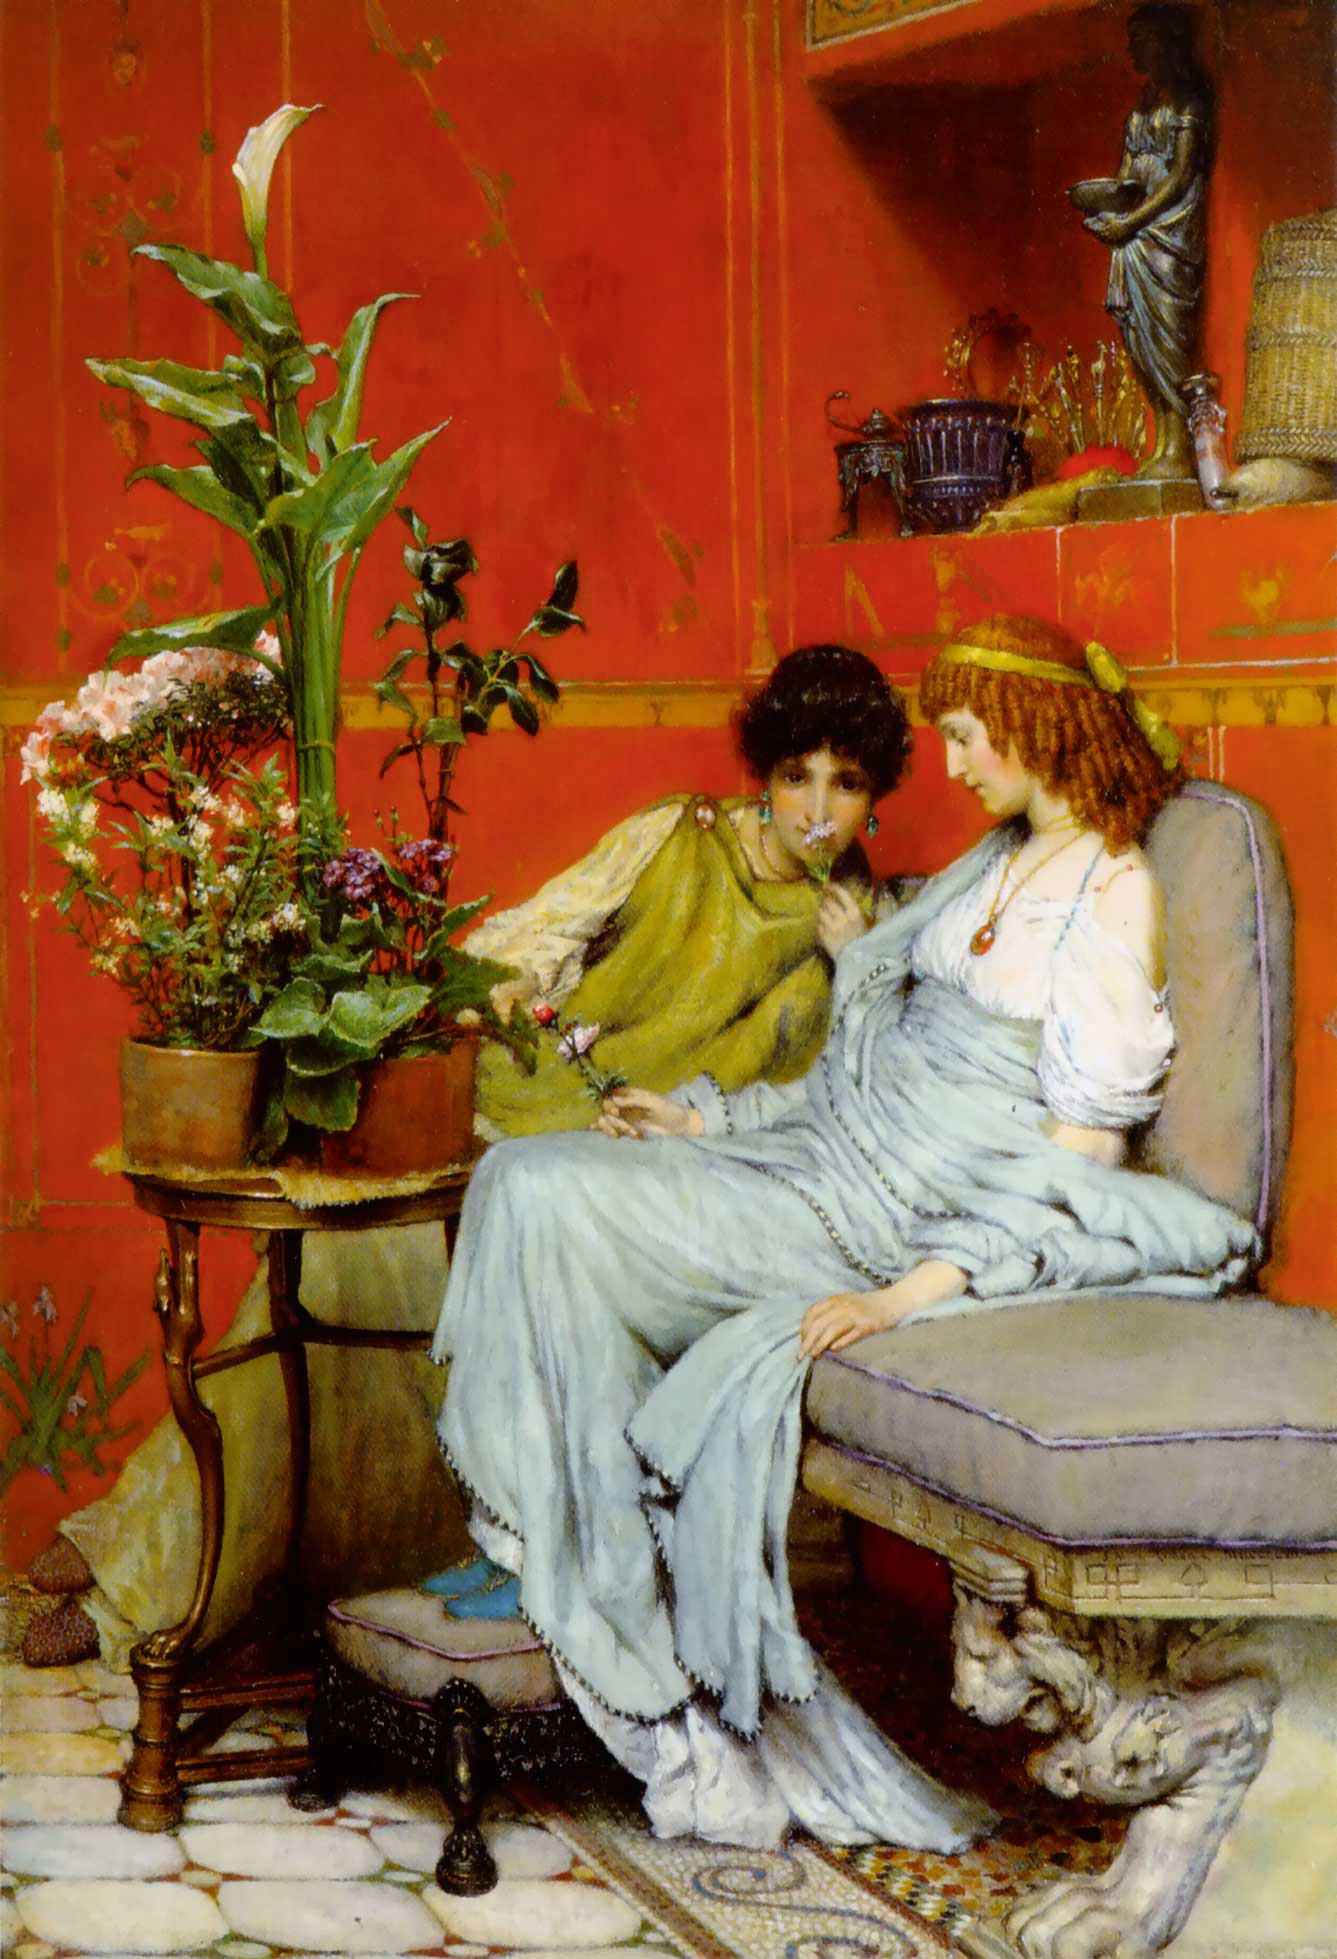
There is a richness in palette and a refinement of line that is very exciting in these paintings. How can you not be inspired by such beauty?
These inspiring artworks will also help you to add some historically accurate details to your painting. The internet is another wonderful tool. You can find references for mosaics on the wall and floor as well as a bronze brazier online, giving you authentic details to put into the painting to add significant visual richness.
02. Test possible compositions
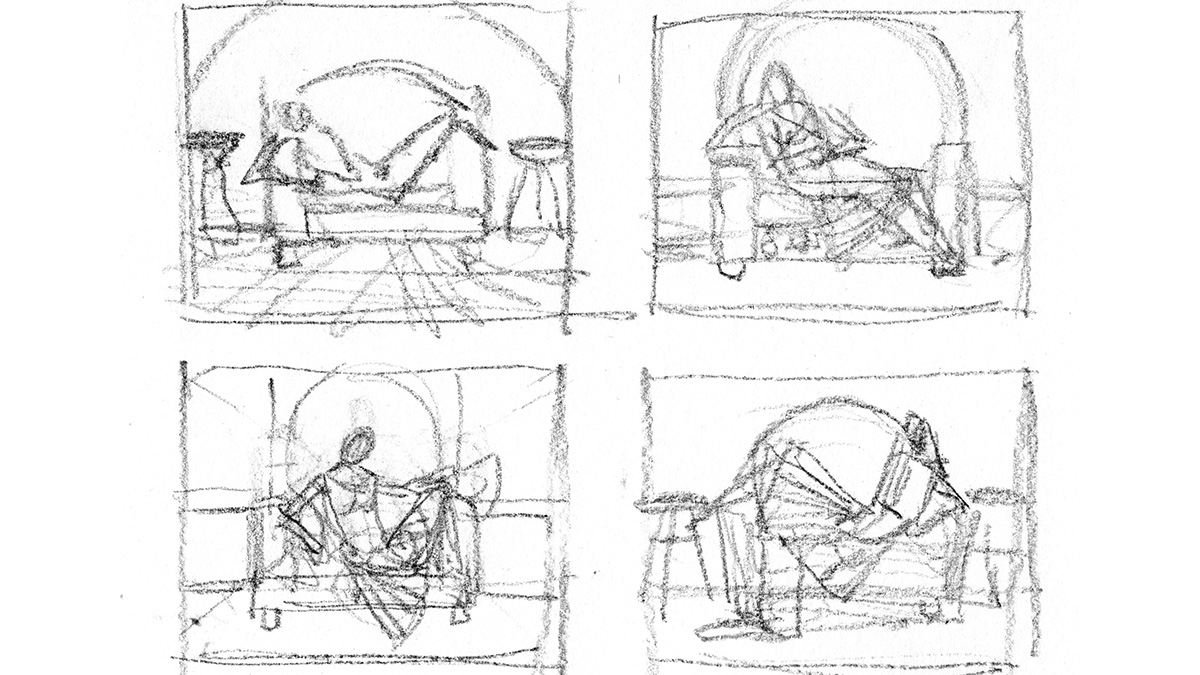
Explore how to compose your painting by sketching thumbnail images. We created many thumbnails for this painting – here are four of them. You can see they aren’t very pretty or particularly meaningful to others.
A quick line or mark can represent a piece of furniture or figure. Imagination is important at this stage and adds a thrill as one imagines the possibilities.
03. Create a sketch to solidify ideas
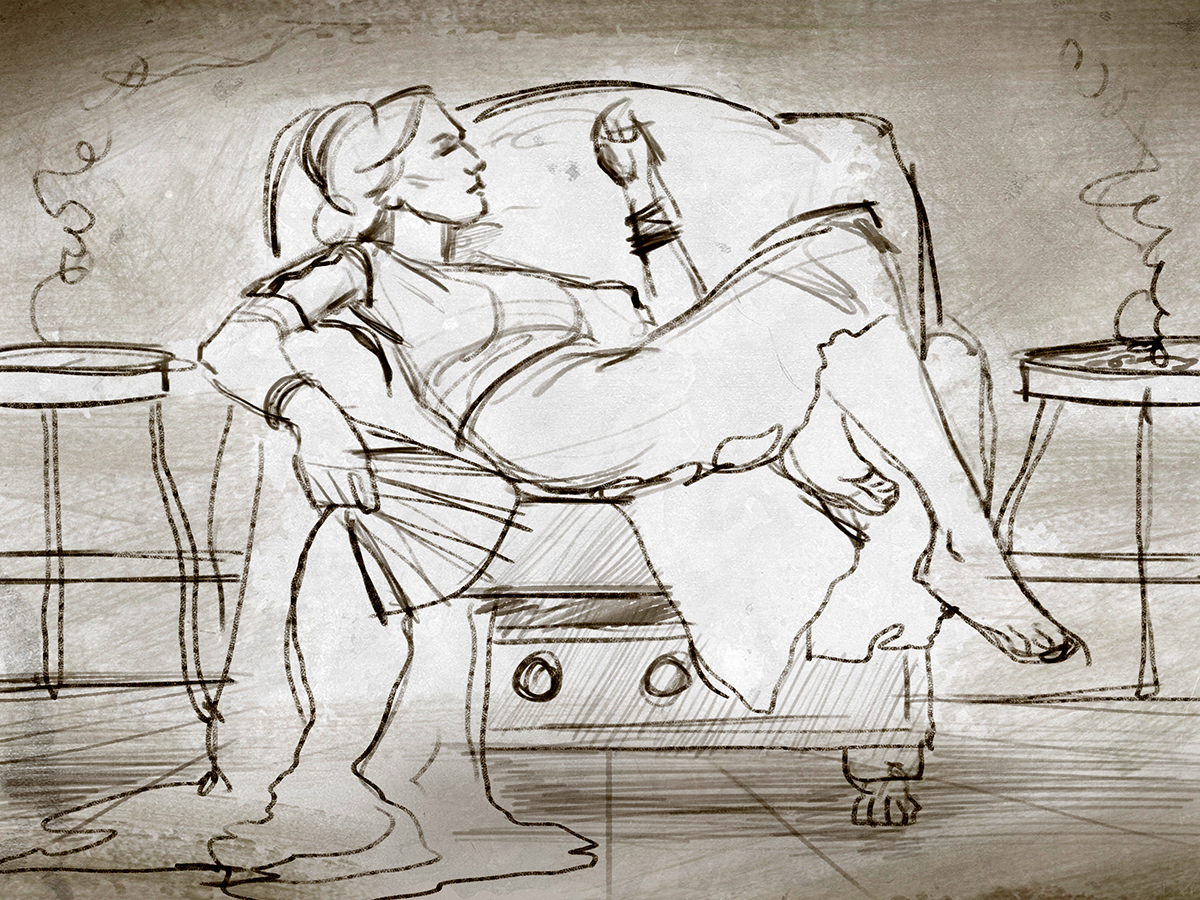
Take one of the thumbnails and take it further as a sketch. We did this one in Photoshop, but you could also use charcoal or pencil. The goal at this stage is to solidify the idea so that you can gather proper references and direct the model.
04. Use photography as a tool
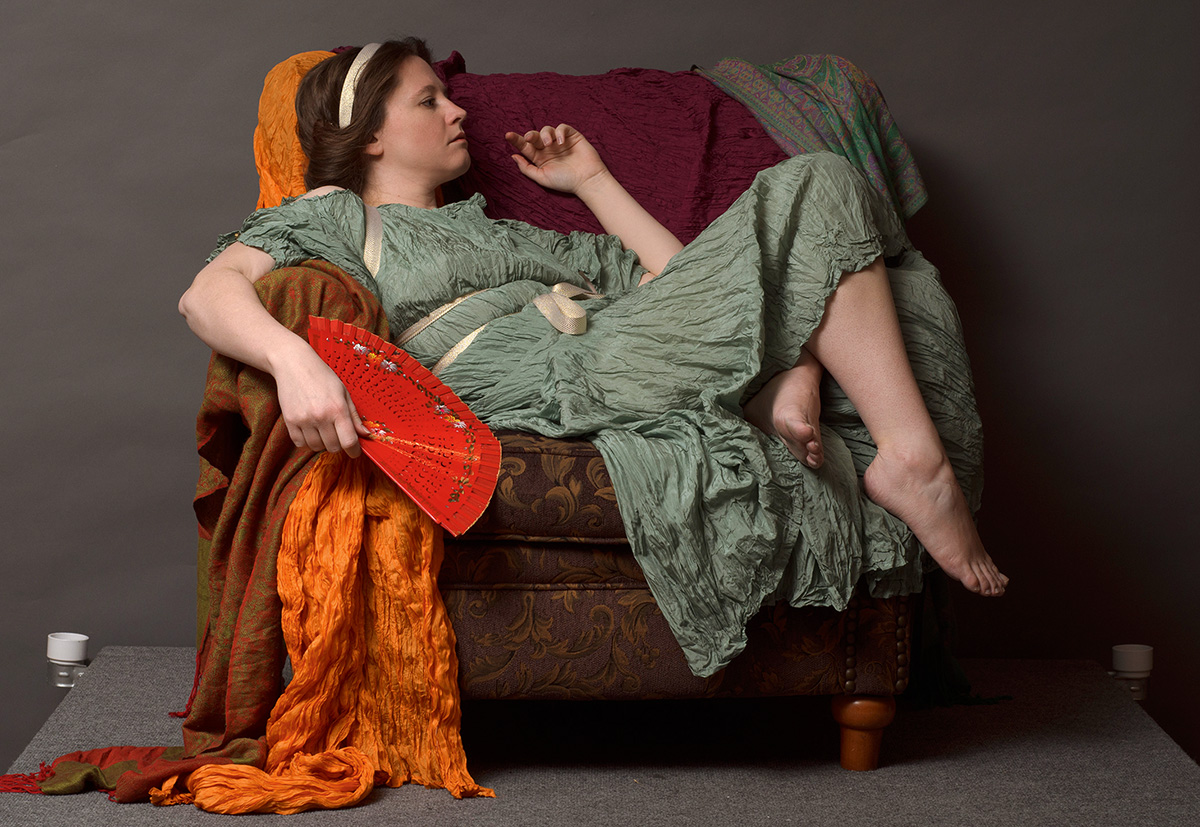
Unless you have the enviable means to have a model in your studio full-time, photography will most likely be an invaluable tool. Do what it takes to get the very best photo reference possible, but don’t be a slave to your photographs. You are the artist, not the camera. Trust your creativity and use all the tools at your fingertips.
05. Draw out the composition
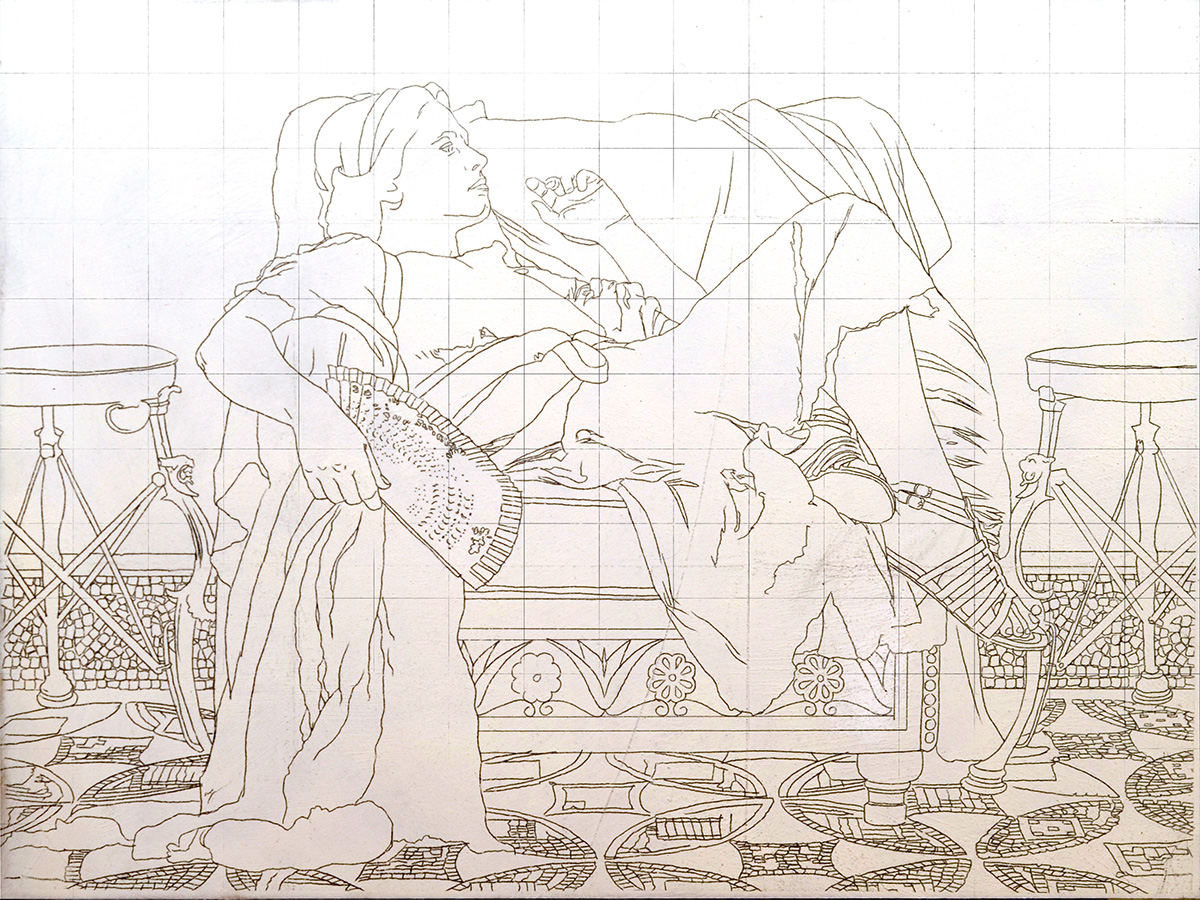
This painting is 12 x 16in so we made a 1-inch grid on the panel to draw our final composition onto. You don’t need to draw every detail, though we drew in much of the mosaic, hoping to take advantage of the dark lines in the final pass. Once it was drawn in, we inked the critical lines with a Pigma Micron pen.
06. Tint the canvas
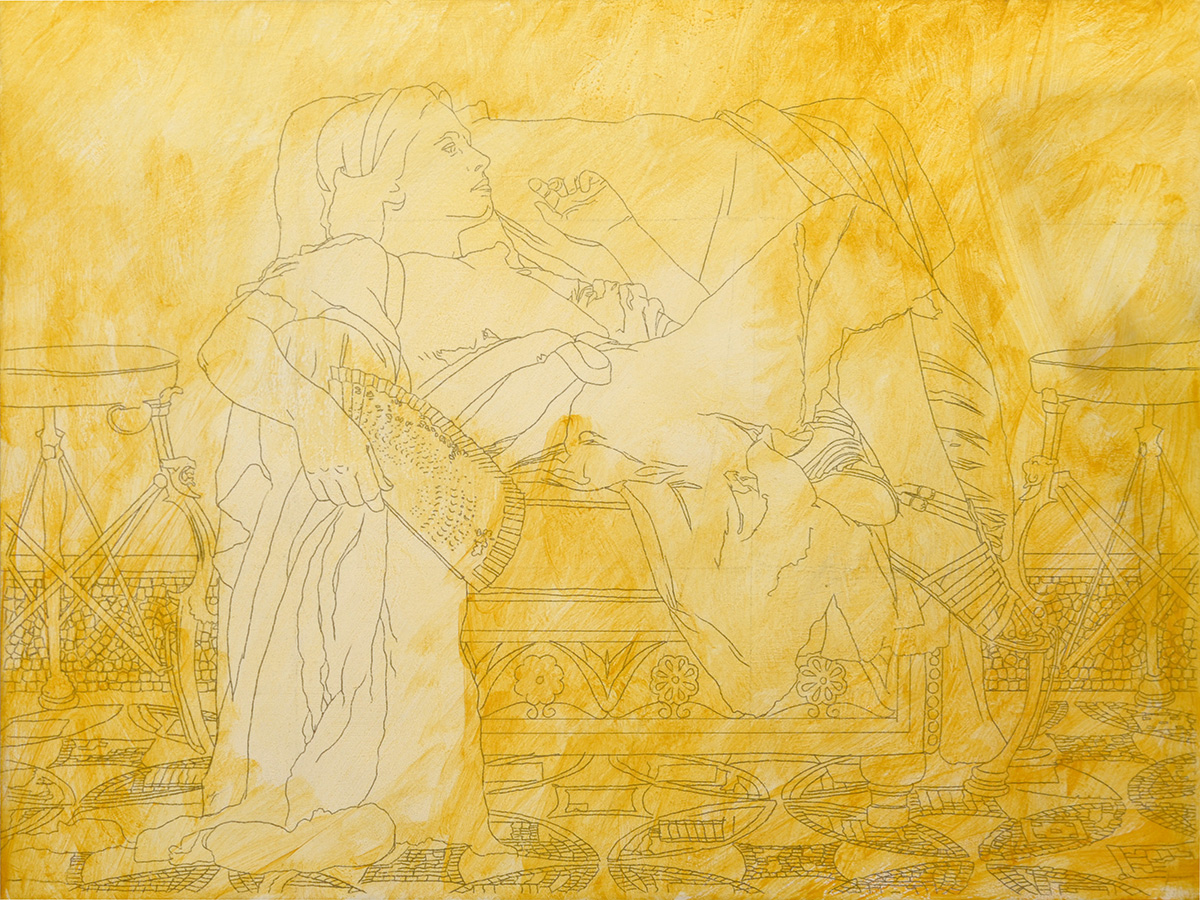
Erase the pencil grid and start the imprimatura, or tinting the canvas with colour. This does a couple of things. It make it easier to judge the accuracy of subsequent layers of paint, and the warm colour will show through in places and help to add warmth and vibrancy in a subtle way.
07. Apply a colour wash
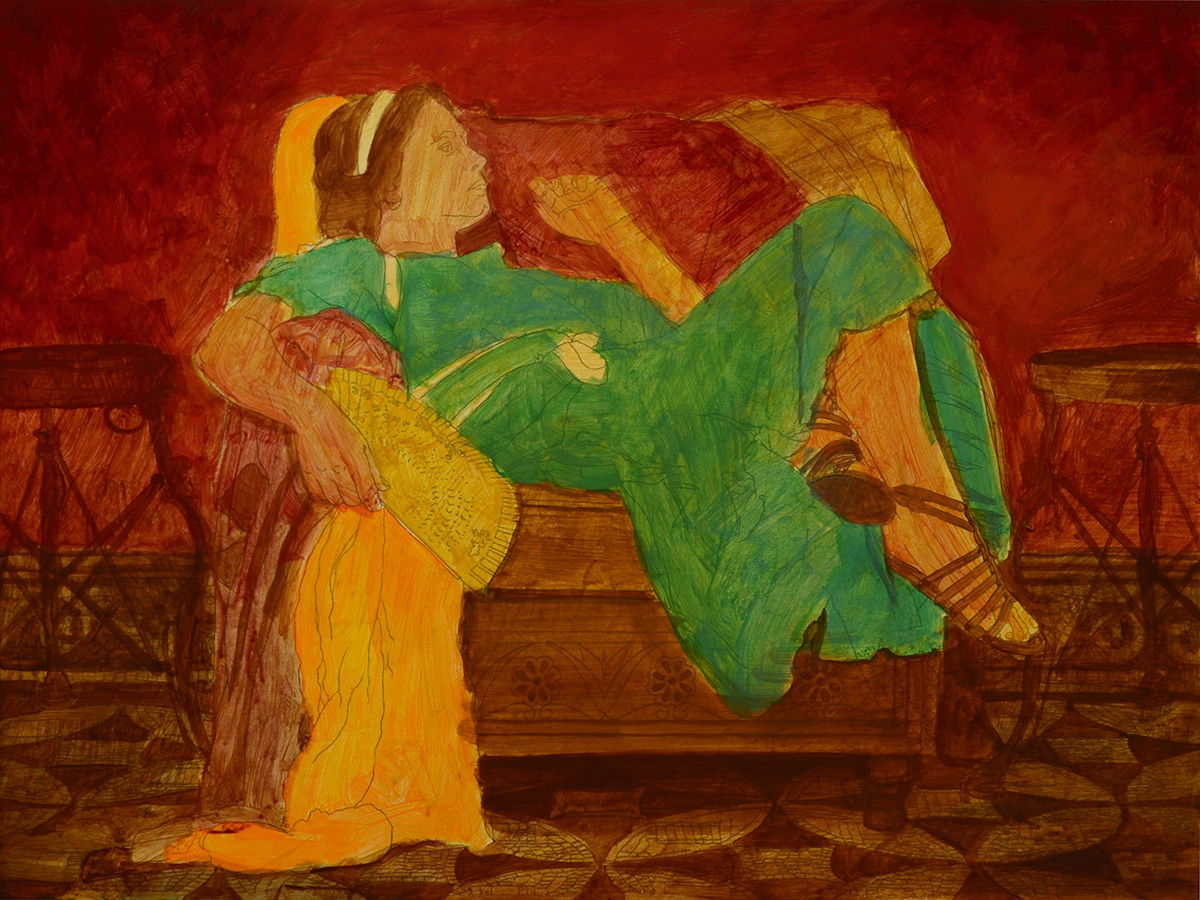
Now apply a thin colour wash over the whole painting. A medium composed of five parts Winsor & Newton distilled turpentine, one part Winsor & Newton Dammar Varnish and one part Winsor & Newton stand oil makes the oil paint seem almost like watercolour, and it dries quickly. It also keeps the paint semi-transparent, to allow the drawing to show through.
08. Make the first pass
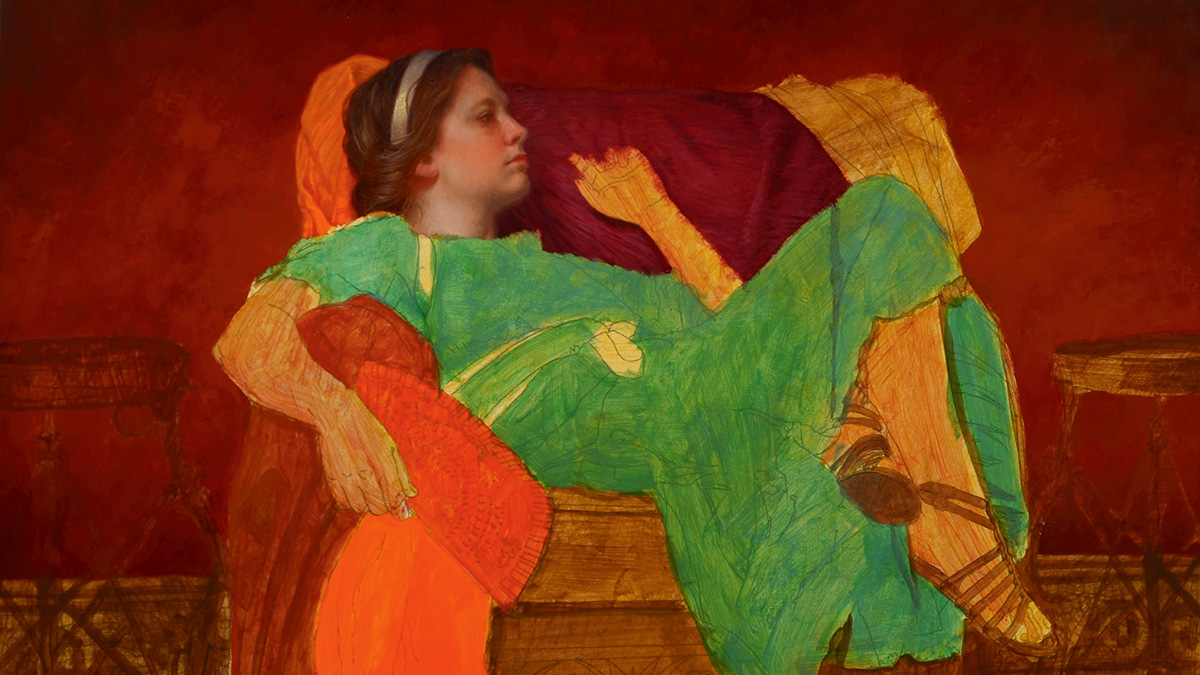
The first pass of the painting is underway. Starting with the head and hands lets you establish the quality and value range on what is usually the most important part of a painting containing figures. When painting flesh under cool daylight, keep the shadows warm and lively.
09. Pace your effort
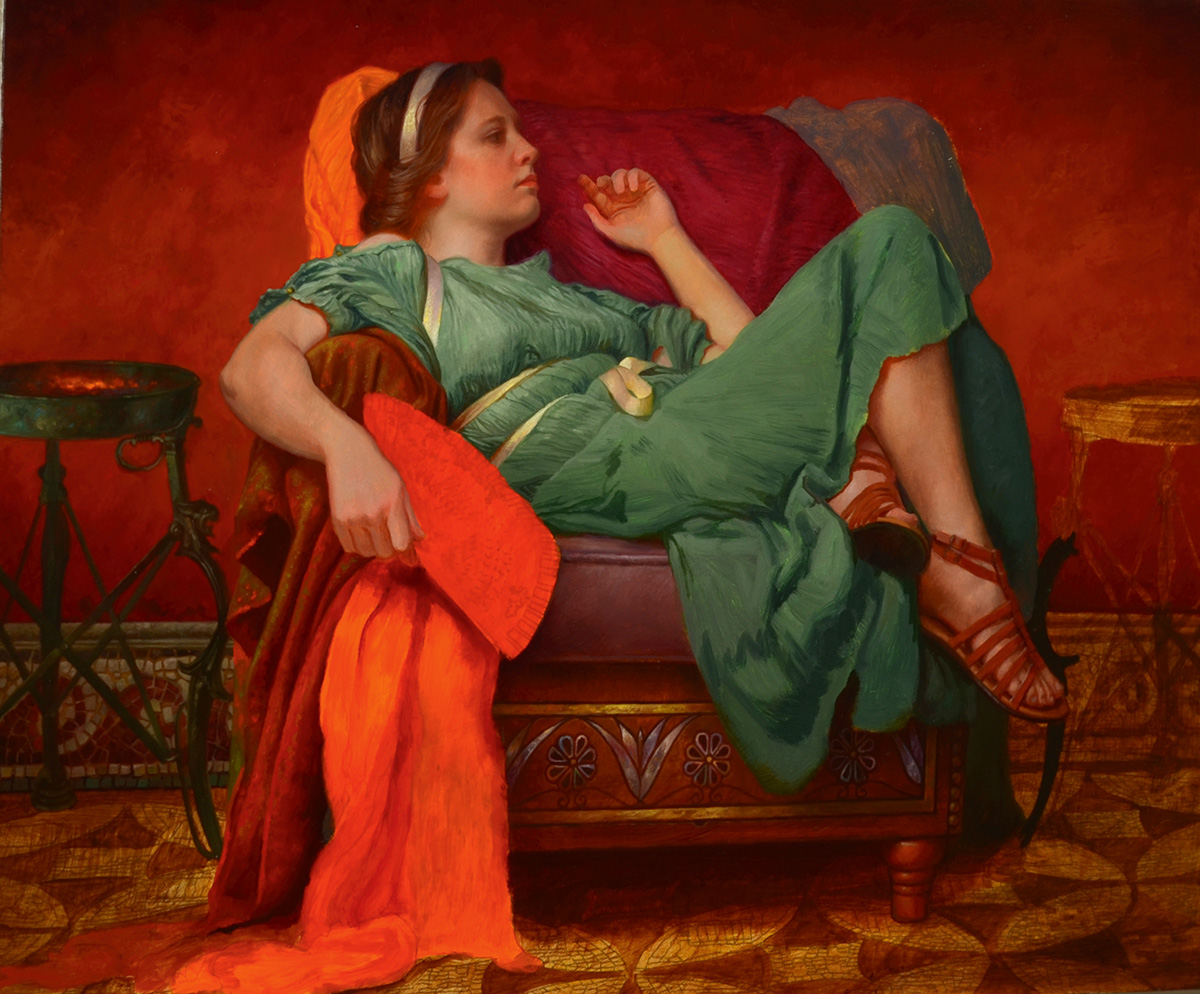
When working through the first pass, it is important to remember that you will have the chance to go over everything again once it dries. Don’t fall into the trap of trying to add all the polish and finish in the first stage. It takes some experience but you will soon learn when you are just pushing paint around and when you are actually making progress.
10. Complete the first pass
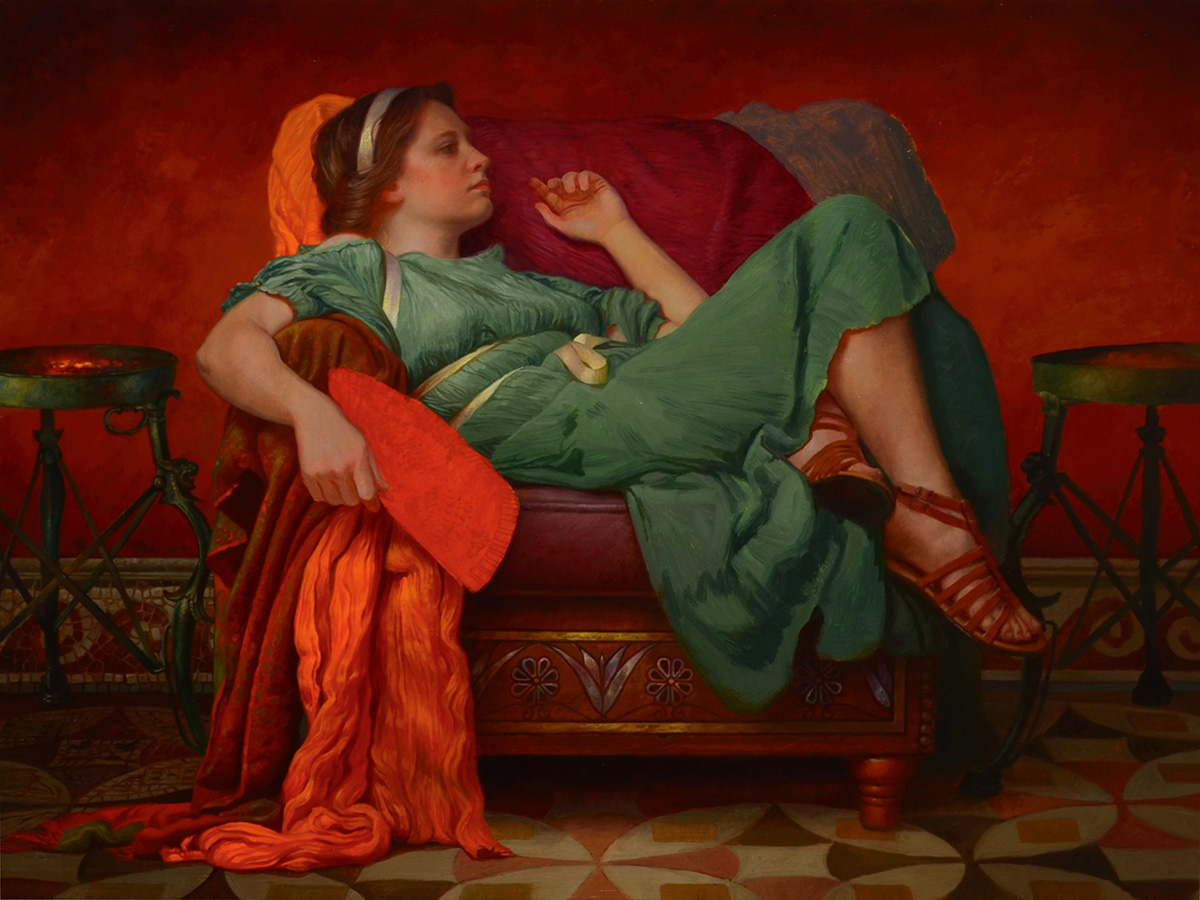
The first pass is now complete. Notice that areas are still flat and washy, but the values and colours are well established. The fun part really begins where each stroke seems to make a big impact and you can choose what parts you want to focus on. We're about 80% of the way towards the finish at this point.
11. Start the second pass
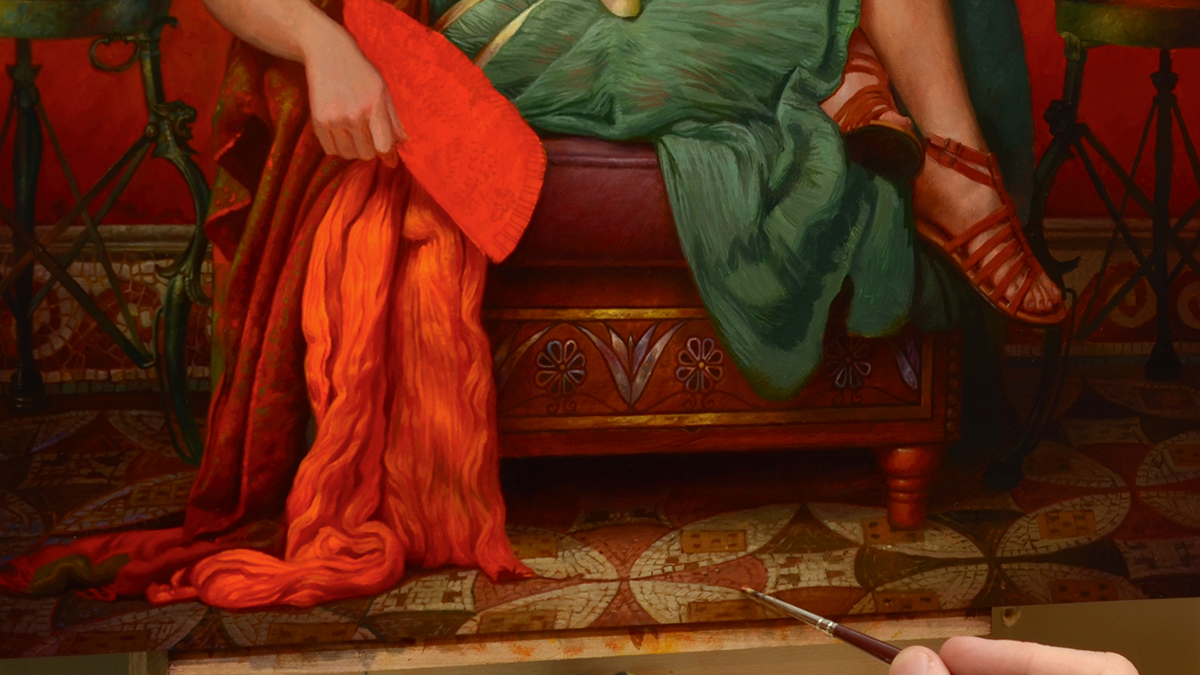
In an effort to paint like art heroes, it pays to be meticulous with the details. For the smallest details, buy a Bristle medium sized round brush with a very fine tip. This will let you get all the detail you need and the brush will hold a good amount of paint.
Don’t just make marks, be thoughtful about how you are applying paint. Think about the correct colour, value and shape with each stroke.
12. Apply the final touches
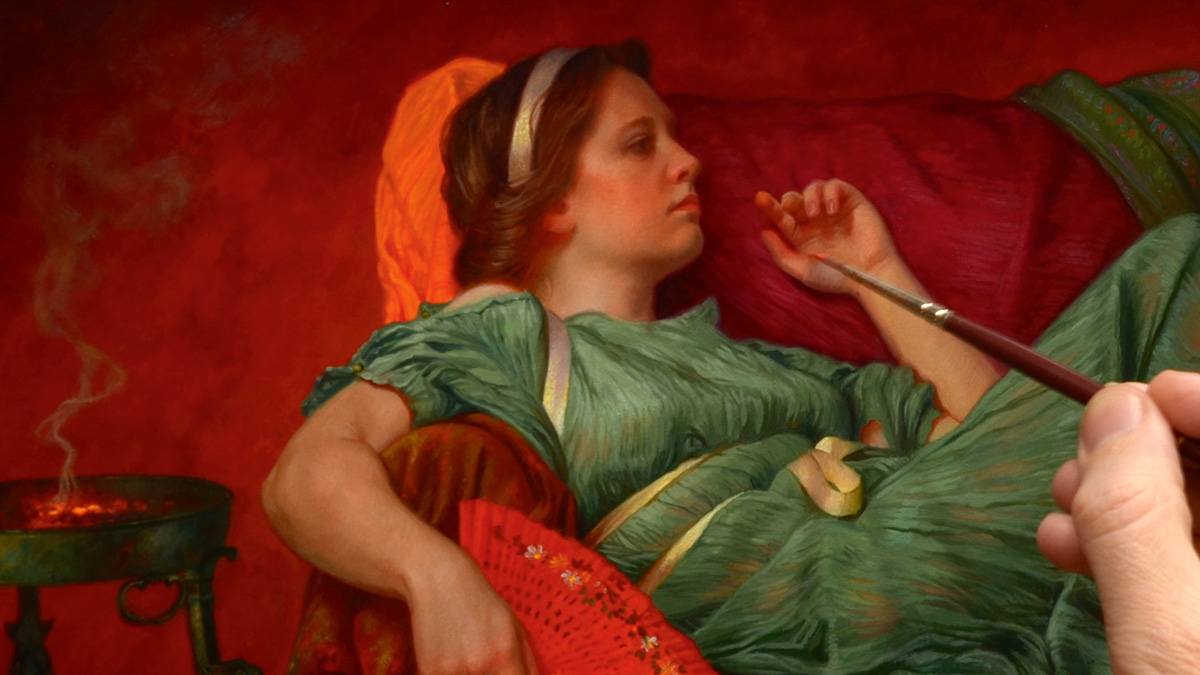
We're almost at the end of the painting. This is the stage to refine the delicate transitions and add in subtle details such as the wrinkles in the hands and veins underneath the skin. You can also glaze and intensify colours, using transparent colours and no medium.
The entire process for this painting, from the idea to finish, took 48 hours, with 44 hours of painting time.
13. Frame your work
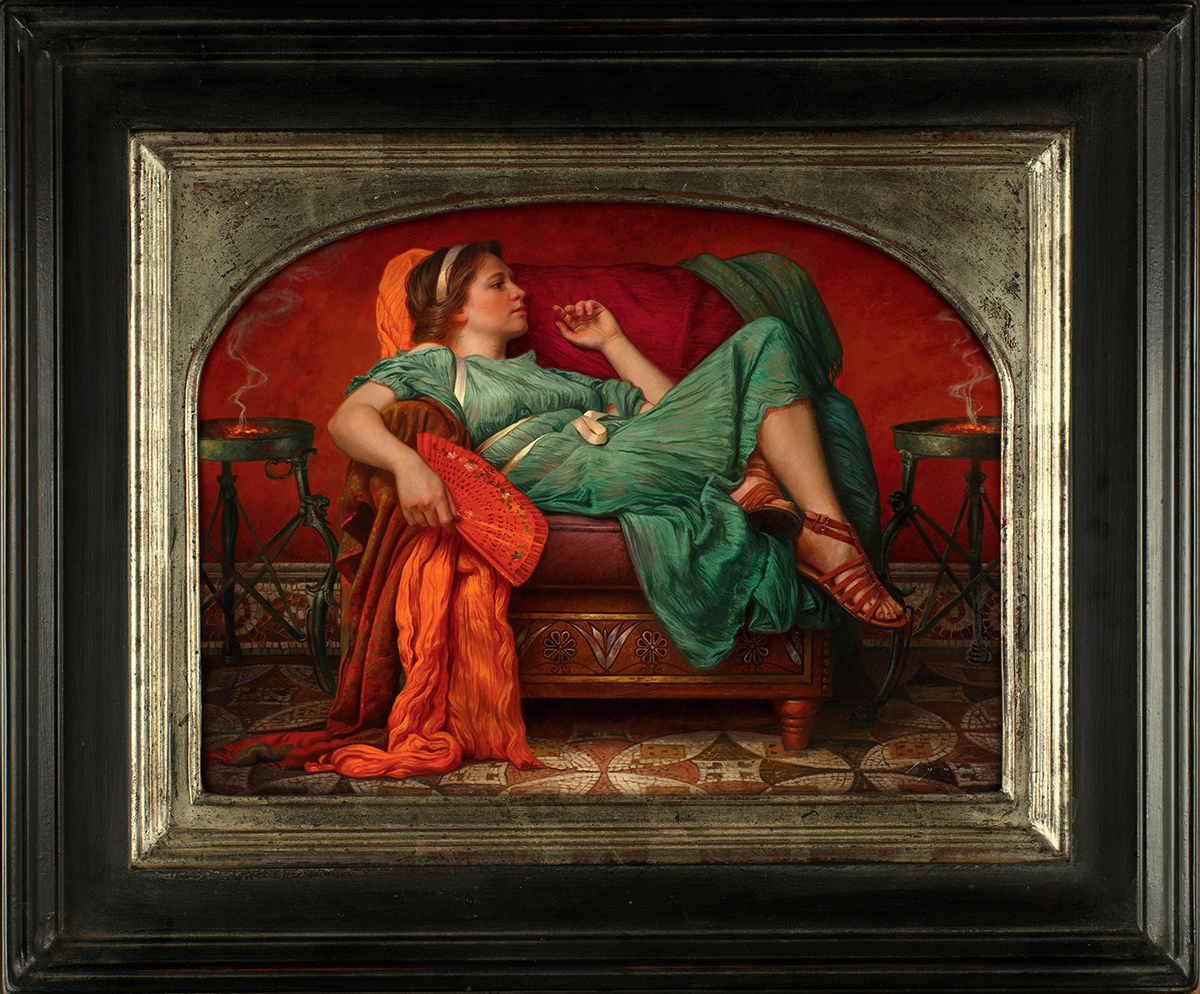
Don’t forget to find a frame to enhance your artwork (or make your own frame). This frame, from Masterworks Frames, is handmade and uses 16k gold leaf for a sense of history and grandeur. The arch of this frame influenced the composition of the painting.
This article originally appeared in Paint and Draw magazine.
Related articles:

Thank you for reading 5 articles this month* Join now for unlimited access
Enjoy your first month for just £1 / $1 / €1
*Read 5 free articles per month without a subscription

Join now for unlimited access
Try first month for just £1 / $1 / €1
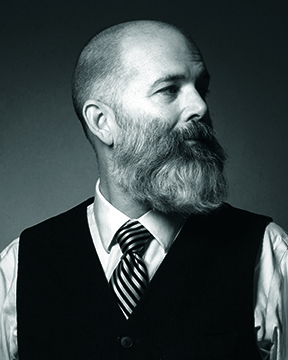
Howard has worked in the video game industry as a concept artist and art director. He has also freelanced on properties like Magic: the Gathering and Warcraft, as well as worked as a fine artist for galleries.
