How to paint butterflies
Learn how to paint butterflies with watercolour, gouache and unusual printing techniques.
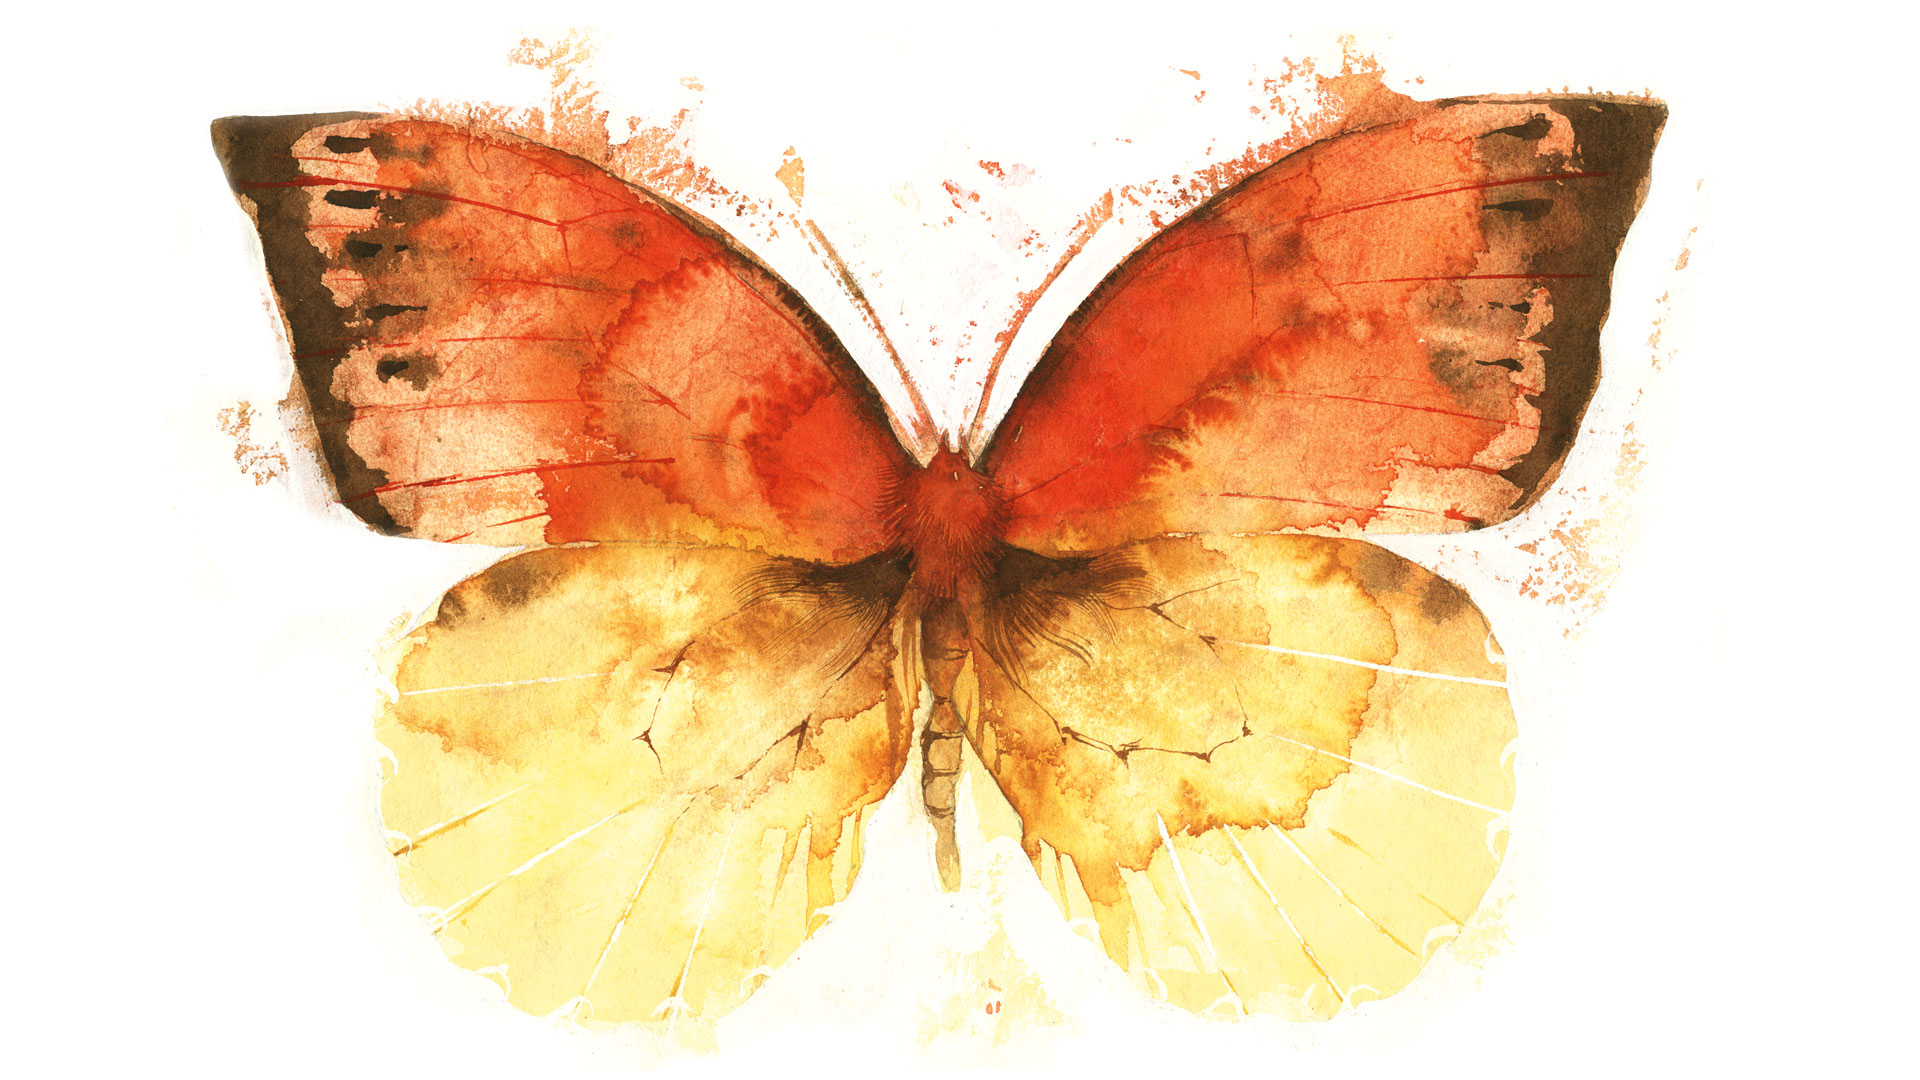
Nature offers so much inspiration for art. I began painting butterflies after a visit to my local natural history museum in Brighton, where I was able to access drawers and drawers of beautiful and fragile specimens.
After seeing the butterflies up close, I felt particularly inspired to recreate some of the interesting textures. There are many ways to do this, and one way is to paint through tissue. This conveys some of that less-than-perfect, crumbling texture at the edges of the wings. It’s also fun, and like the best how to draw tutorials, has results that are a little unpredictable and exciting.
Working small does not necessarily mean working dry, and remember that puddles of paint can dry in a very dynamic way. This workshop encourages you to keep it simple, taking a risk by allowing the paint to do its own thing, and find new ways to make marks and textures, and enjoy the dynamic results!
If you need to stock up on materials, you'll need some tracing paper, kitchen roll, masking tape, watercolour paper, watercolour paints and gouche paints.
1. Create shape, colour and texture
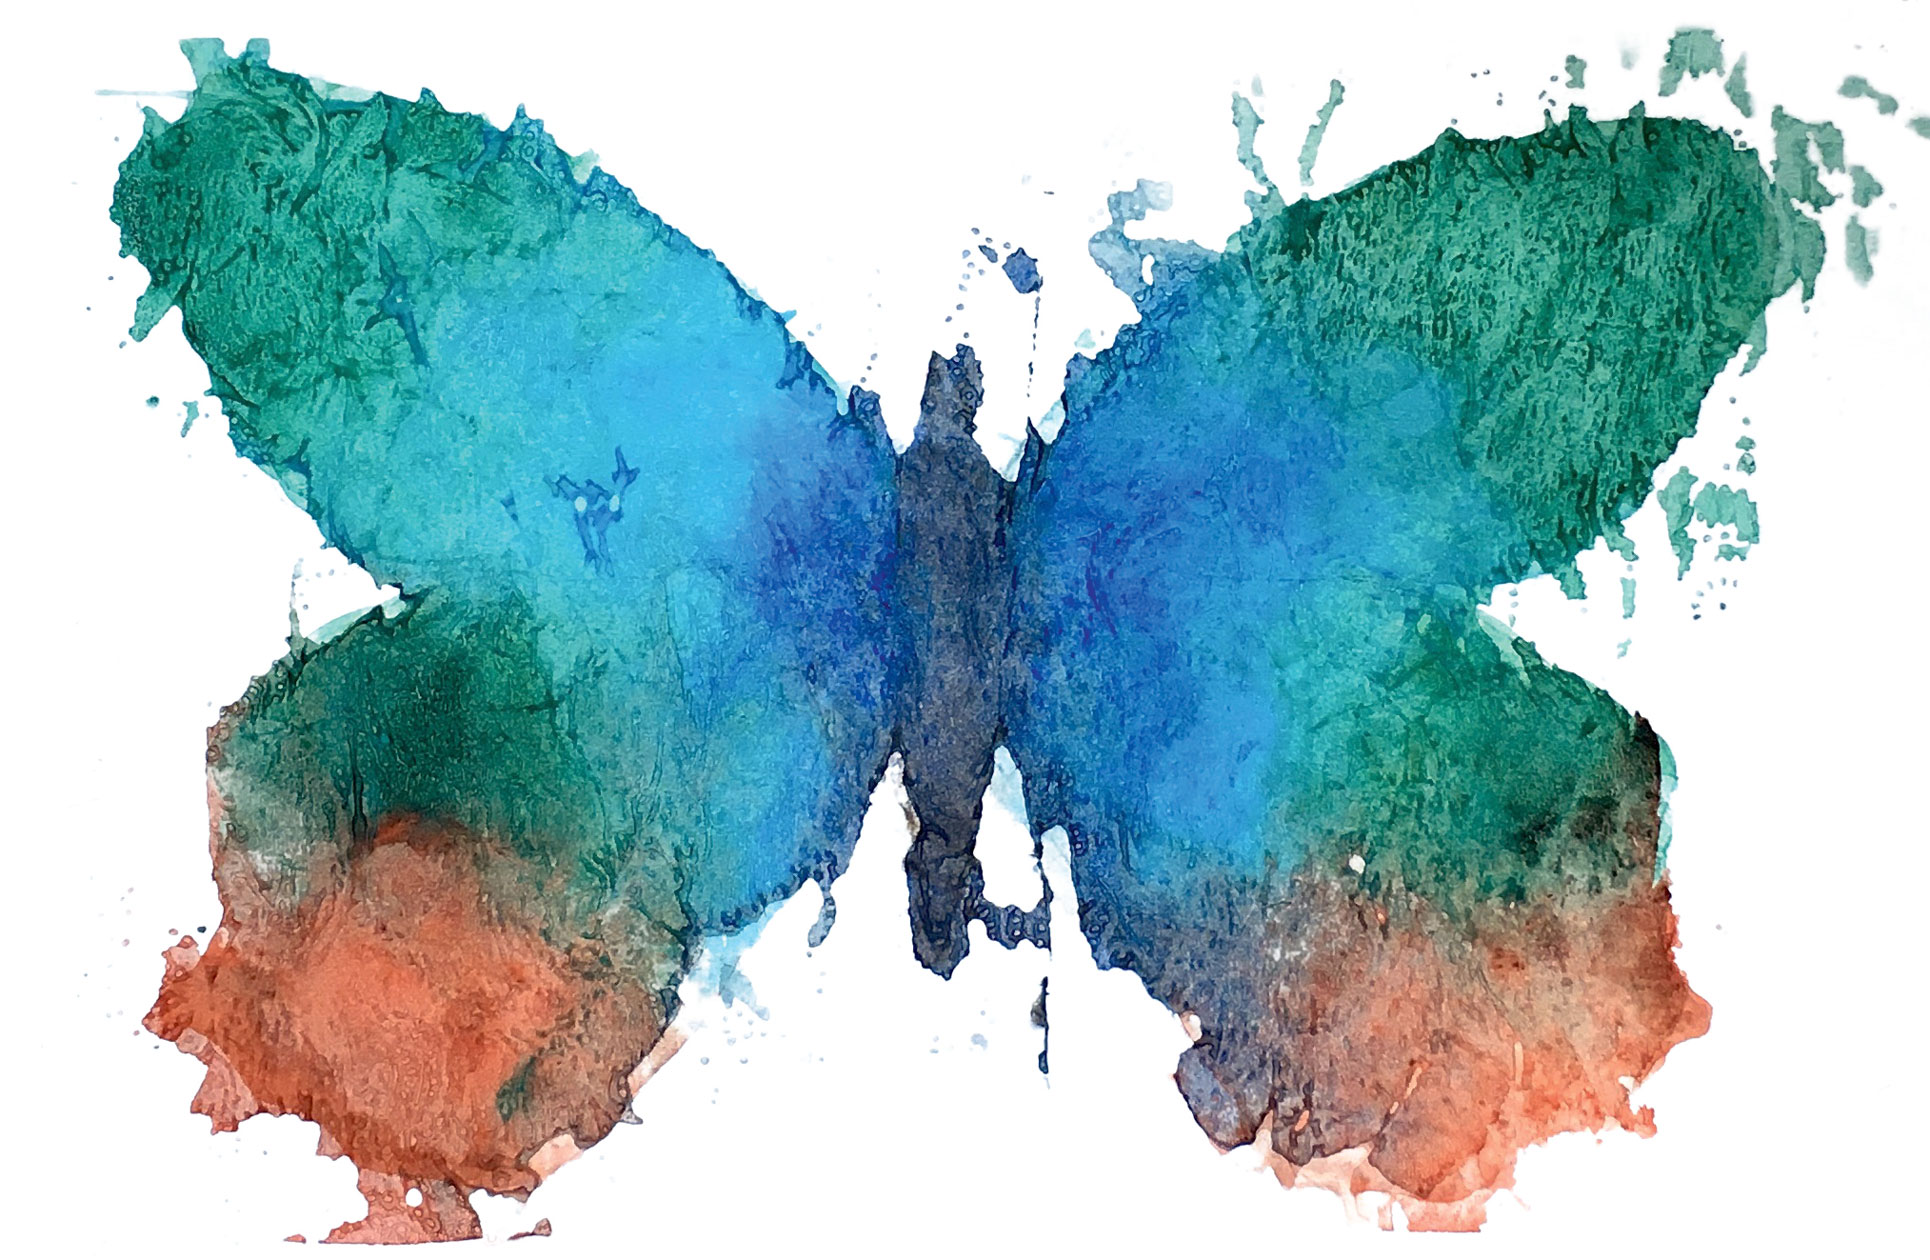
Because butterflies are symmetrical, you can draw one half onto a folded sheet of tracing paper, turn it over and trace onto the other half. Once you’ve transferred the outline onto watercolour paper, create the initial stage of your painting, using some nice puddles of paint – make sure the whole area is covered.
Before it has a chance to dry, place a layer of kitchen roll over the image and let it absorb the paint. You can now add rich, vibrant (and very wet!) colour on top. I’ve used mixes of Cobalt Teal, Perylene Red, Viridian and Indigo. Leave the tissue on until it is a little short of dry, before peeling it off for some lovely textures.
2. Add in the detail
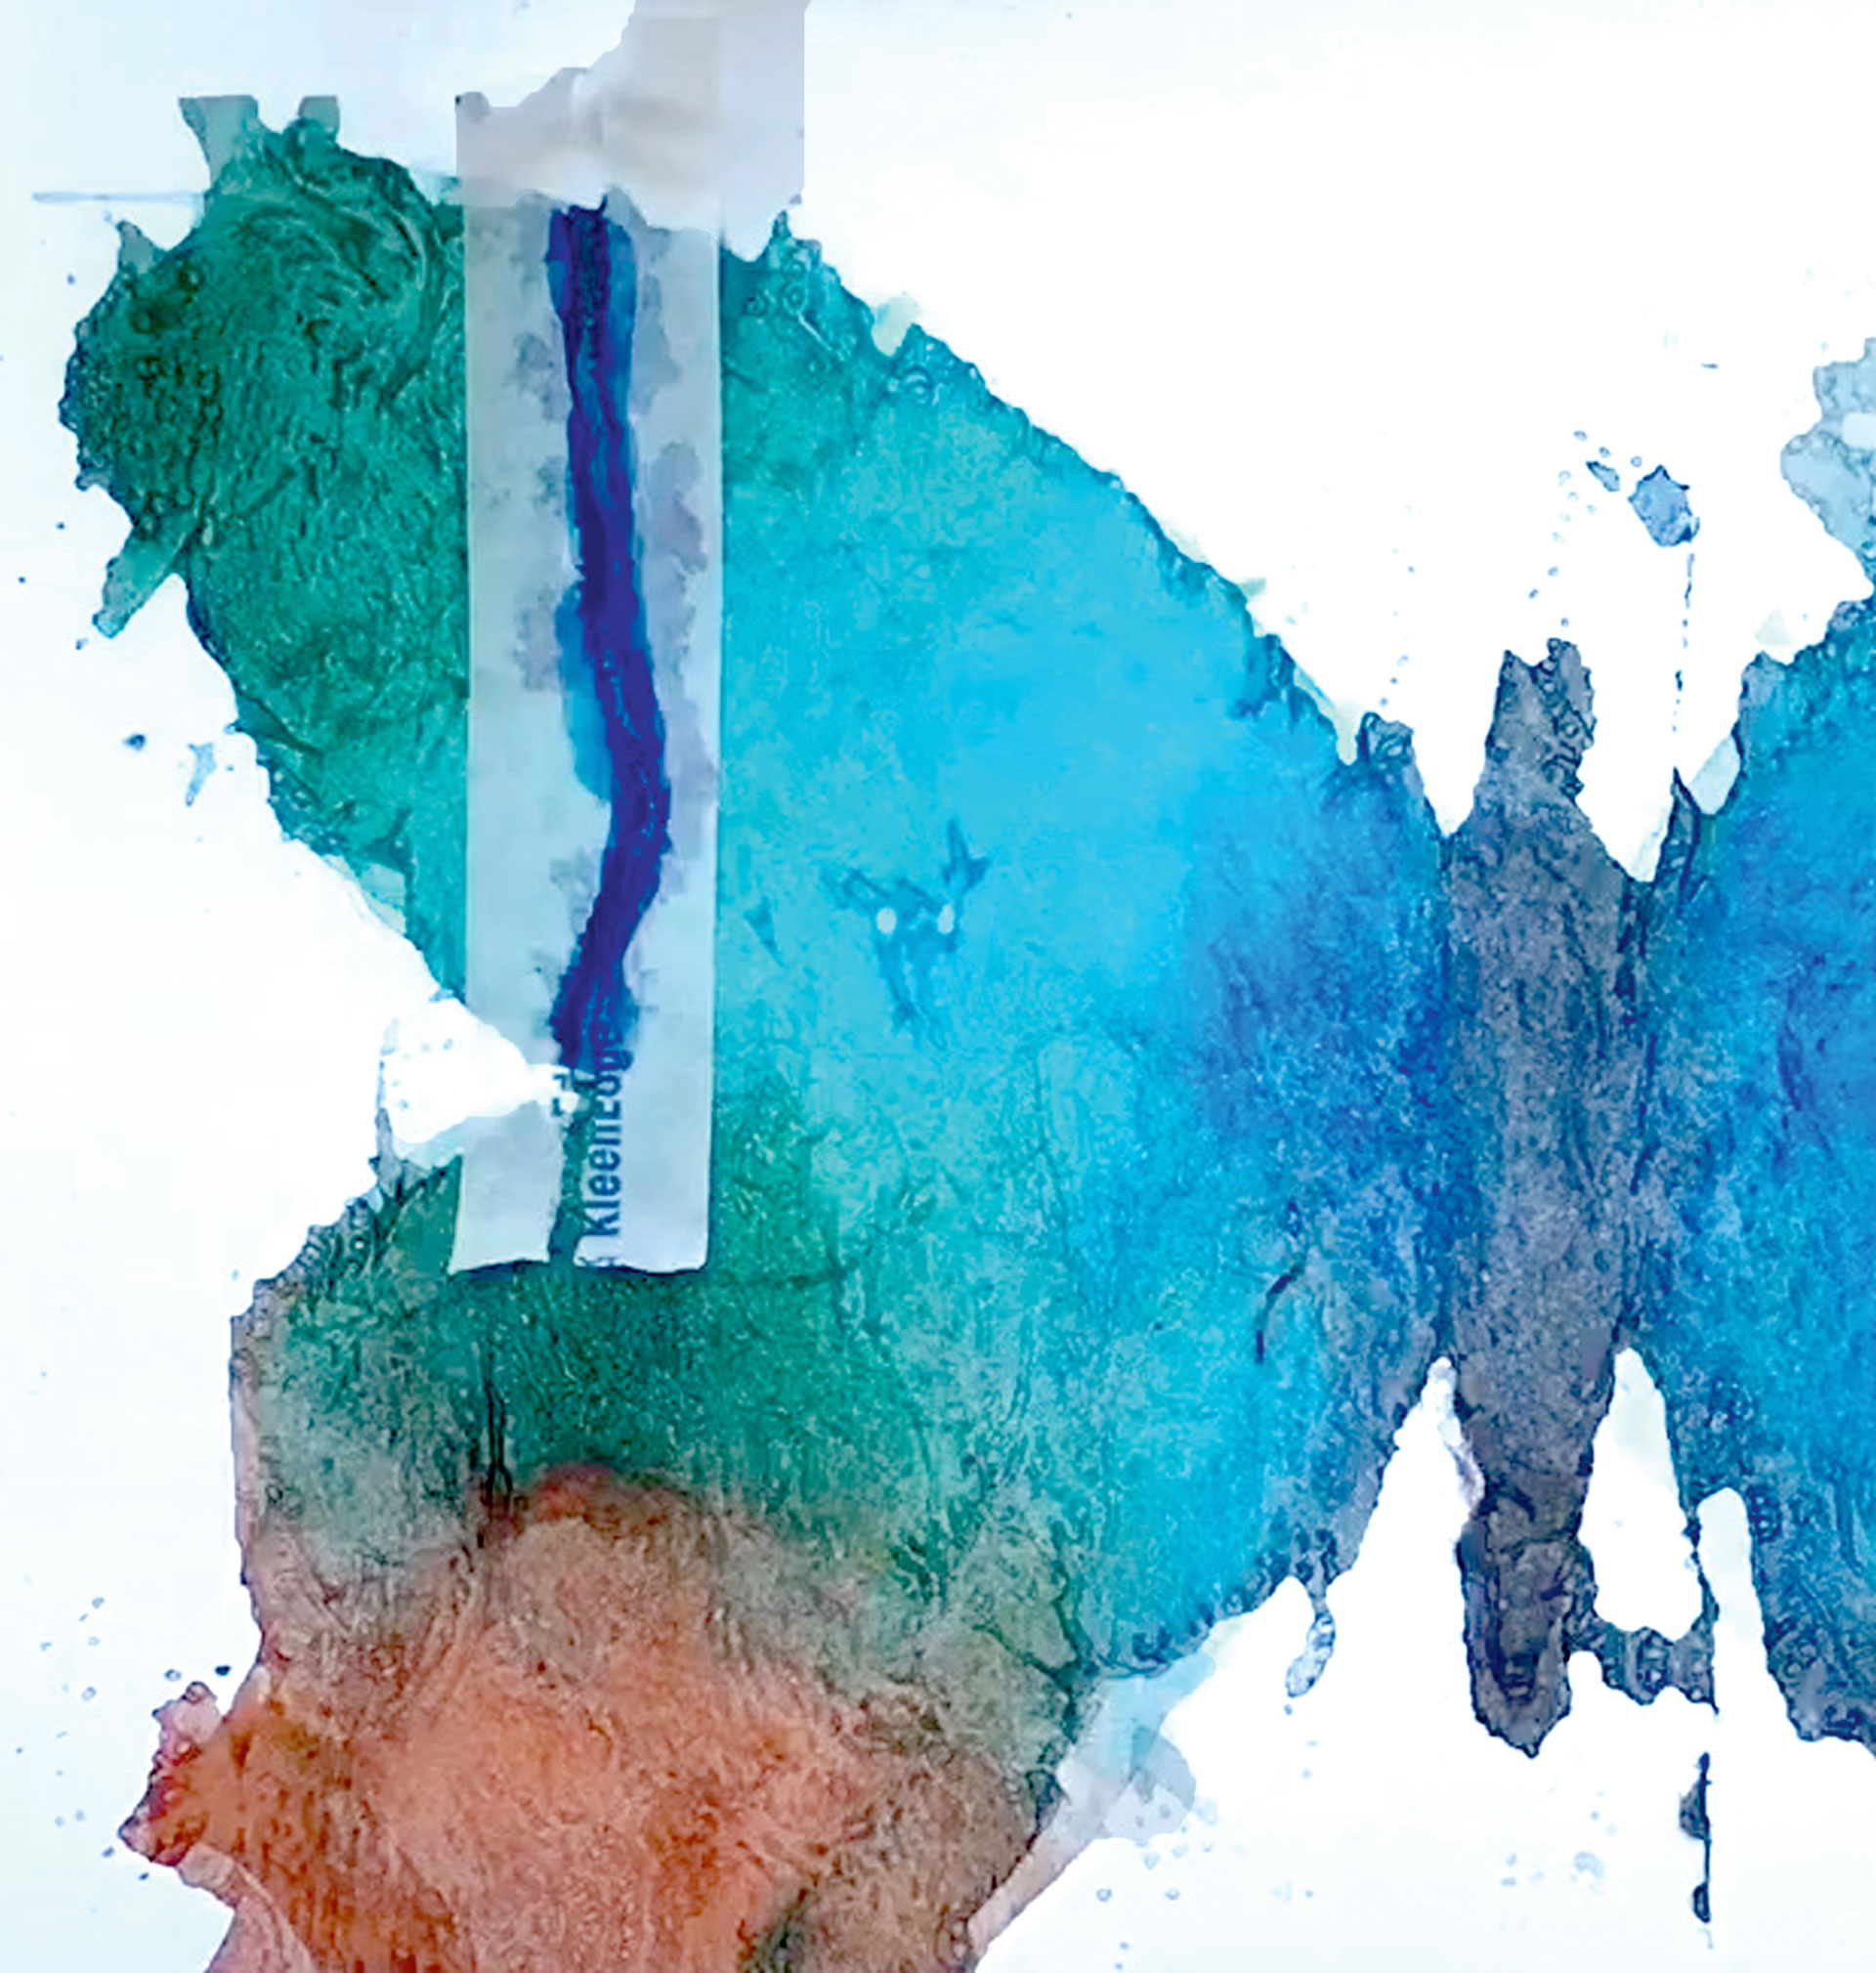
I take a strip of masking tape and tear it down the middle, before sticking it onto the image, leaving a small gap. I then paint over the gap with blue gouache. When the tape is removed, it will leave an irregular-edged blue stripe for detail on the wing. I then make another longer stripe, this time running the entire length of the wing. There are now two stripes on the top wing, and just one on the bottom wing. I repeat this on the other side.
3. Find your edge
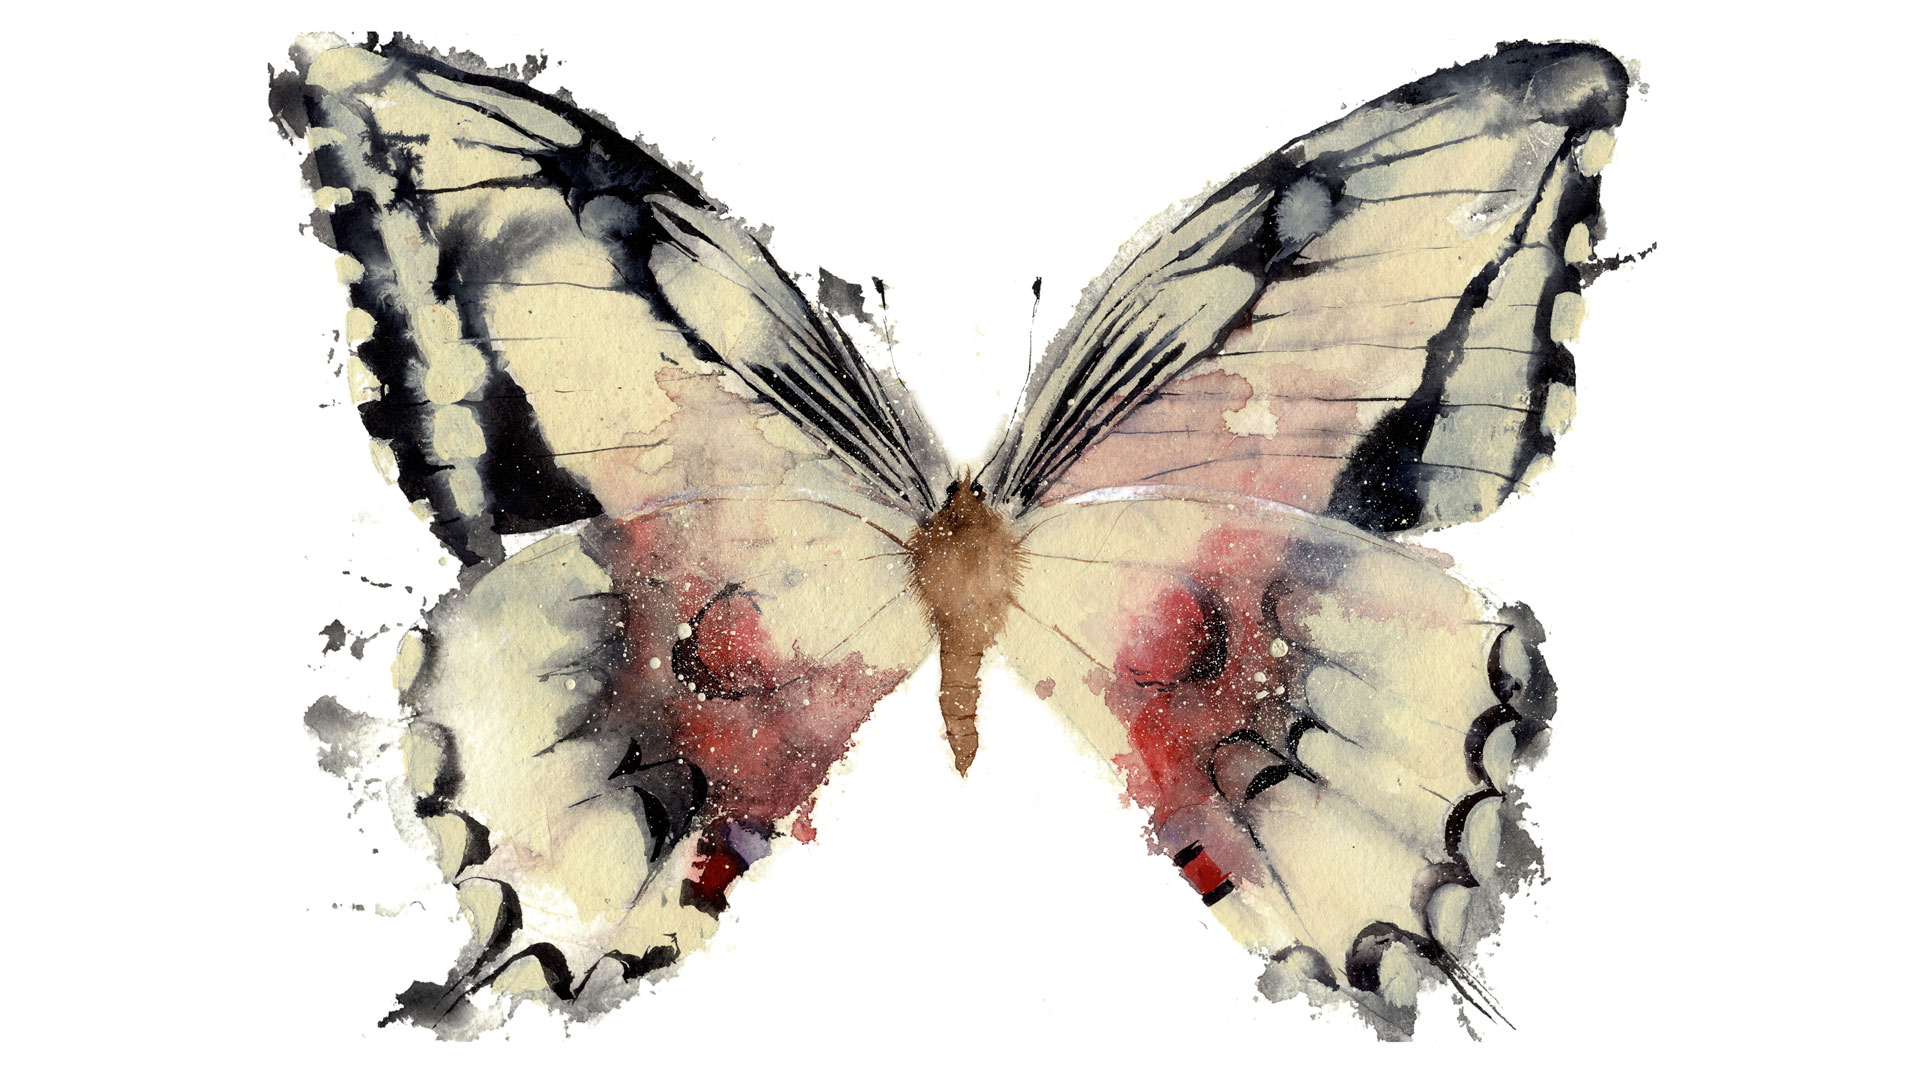
If the outline of your butterfly has been lost in the painting-through-tissue stage, find it again using opaque gouache that more or less matches your paper colour (add a little Yellow Ochre to the white if you need to). Just paint around some of the outline, such as the areas where the wings meet, where the tail and wings meet and around the butterfly’s head.
4. Add in more detail
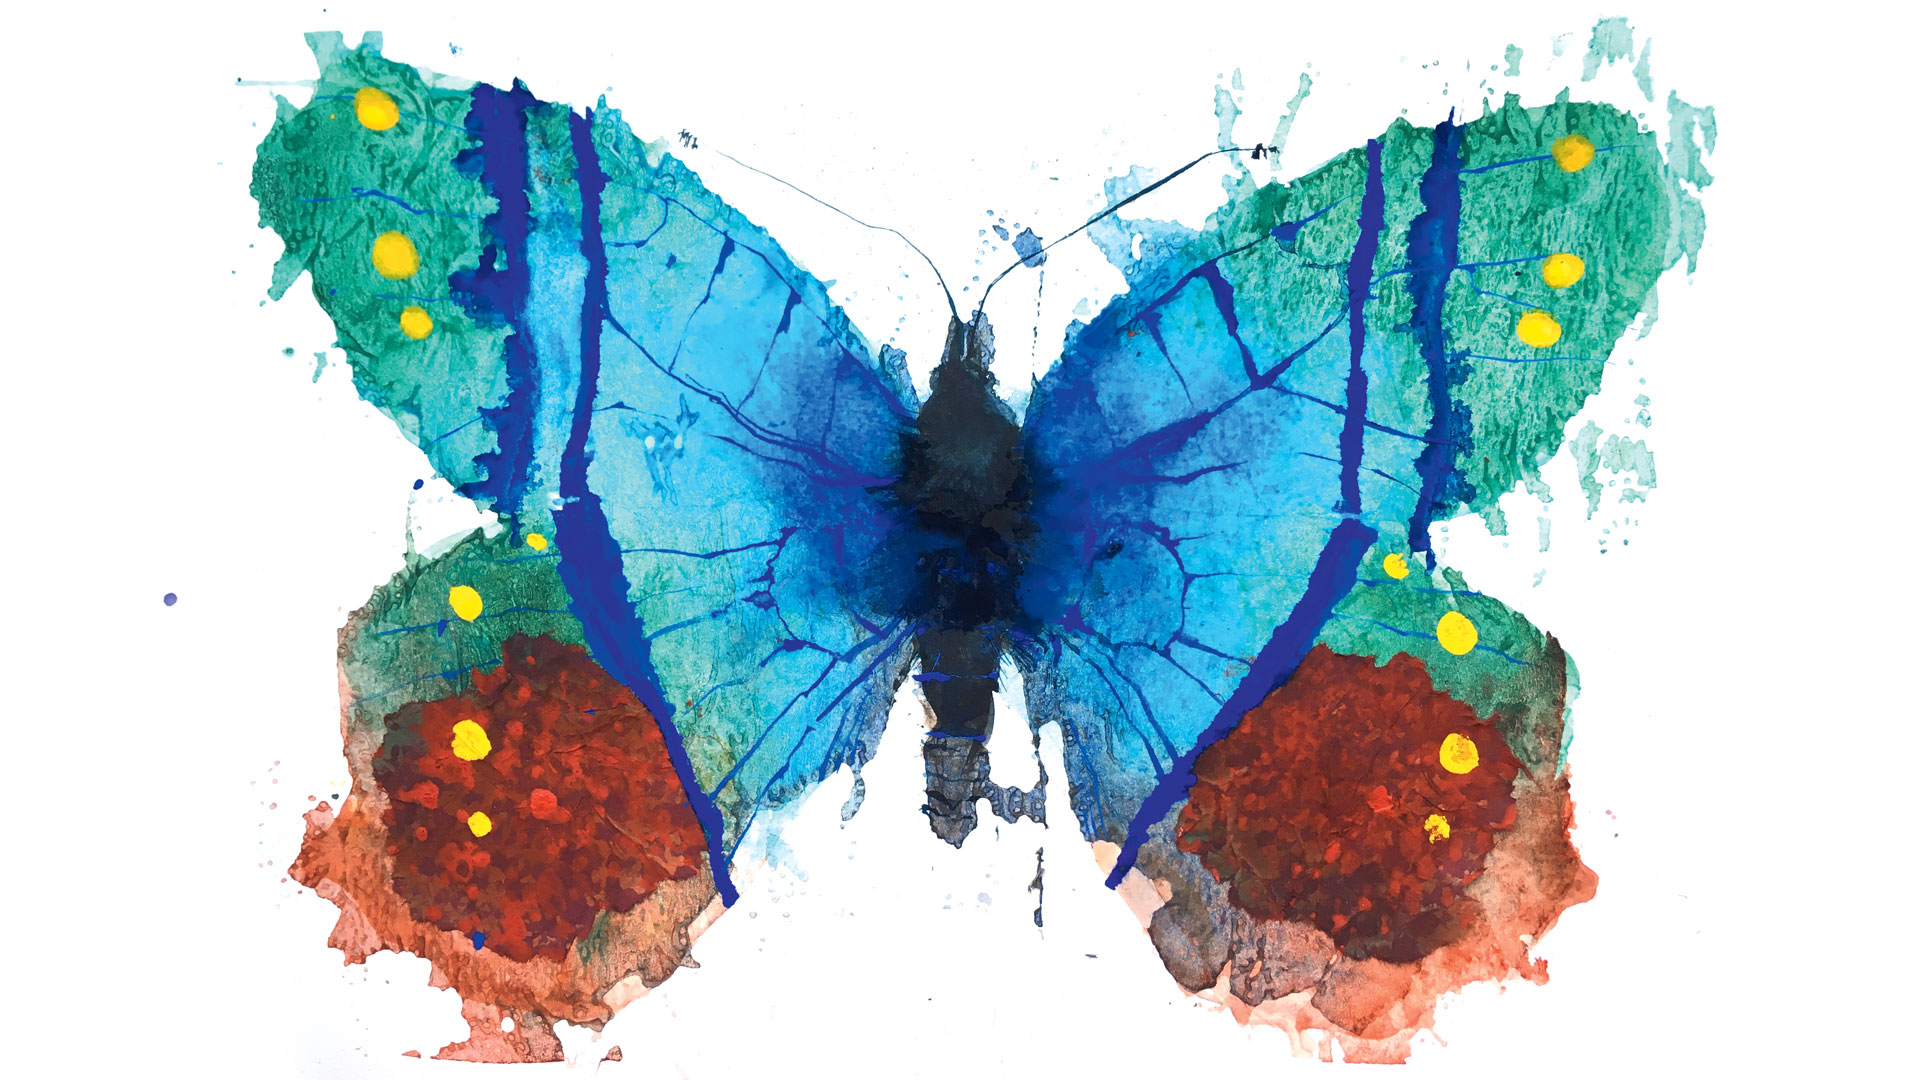
The hairs of the butterfly’s body can now be painted on with a round brush flattened into a ’comb’. The wing veins are painted with a sword brush. For the red part of the wings, I’ve taken some Chinese/tissue paper and painted it with a rich mix of red paint. Once dried, I tear it into two circles. Next,
I paint some textured craft paper with bright red gouache, and use this to print onto the tissue. The circles are then stuck onto the wings with glue. Finally, I print on the yellow gouache dots using my finger.
You are looking to get the pattern as near symmetrical as possible, so it may be worth using your tracing paper again to ensure this if you’re not confident doing it by eye.
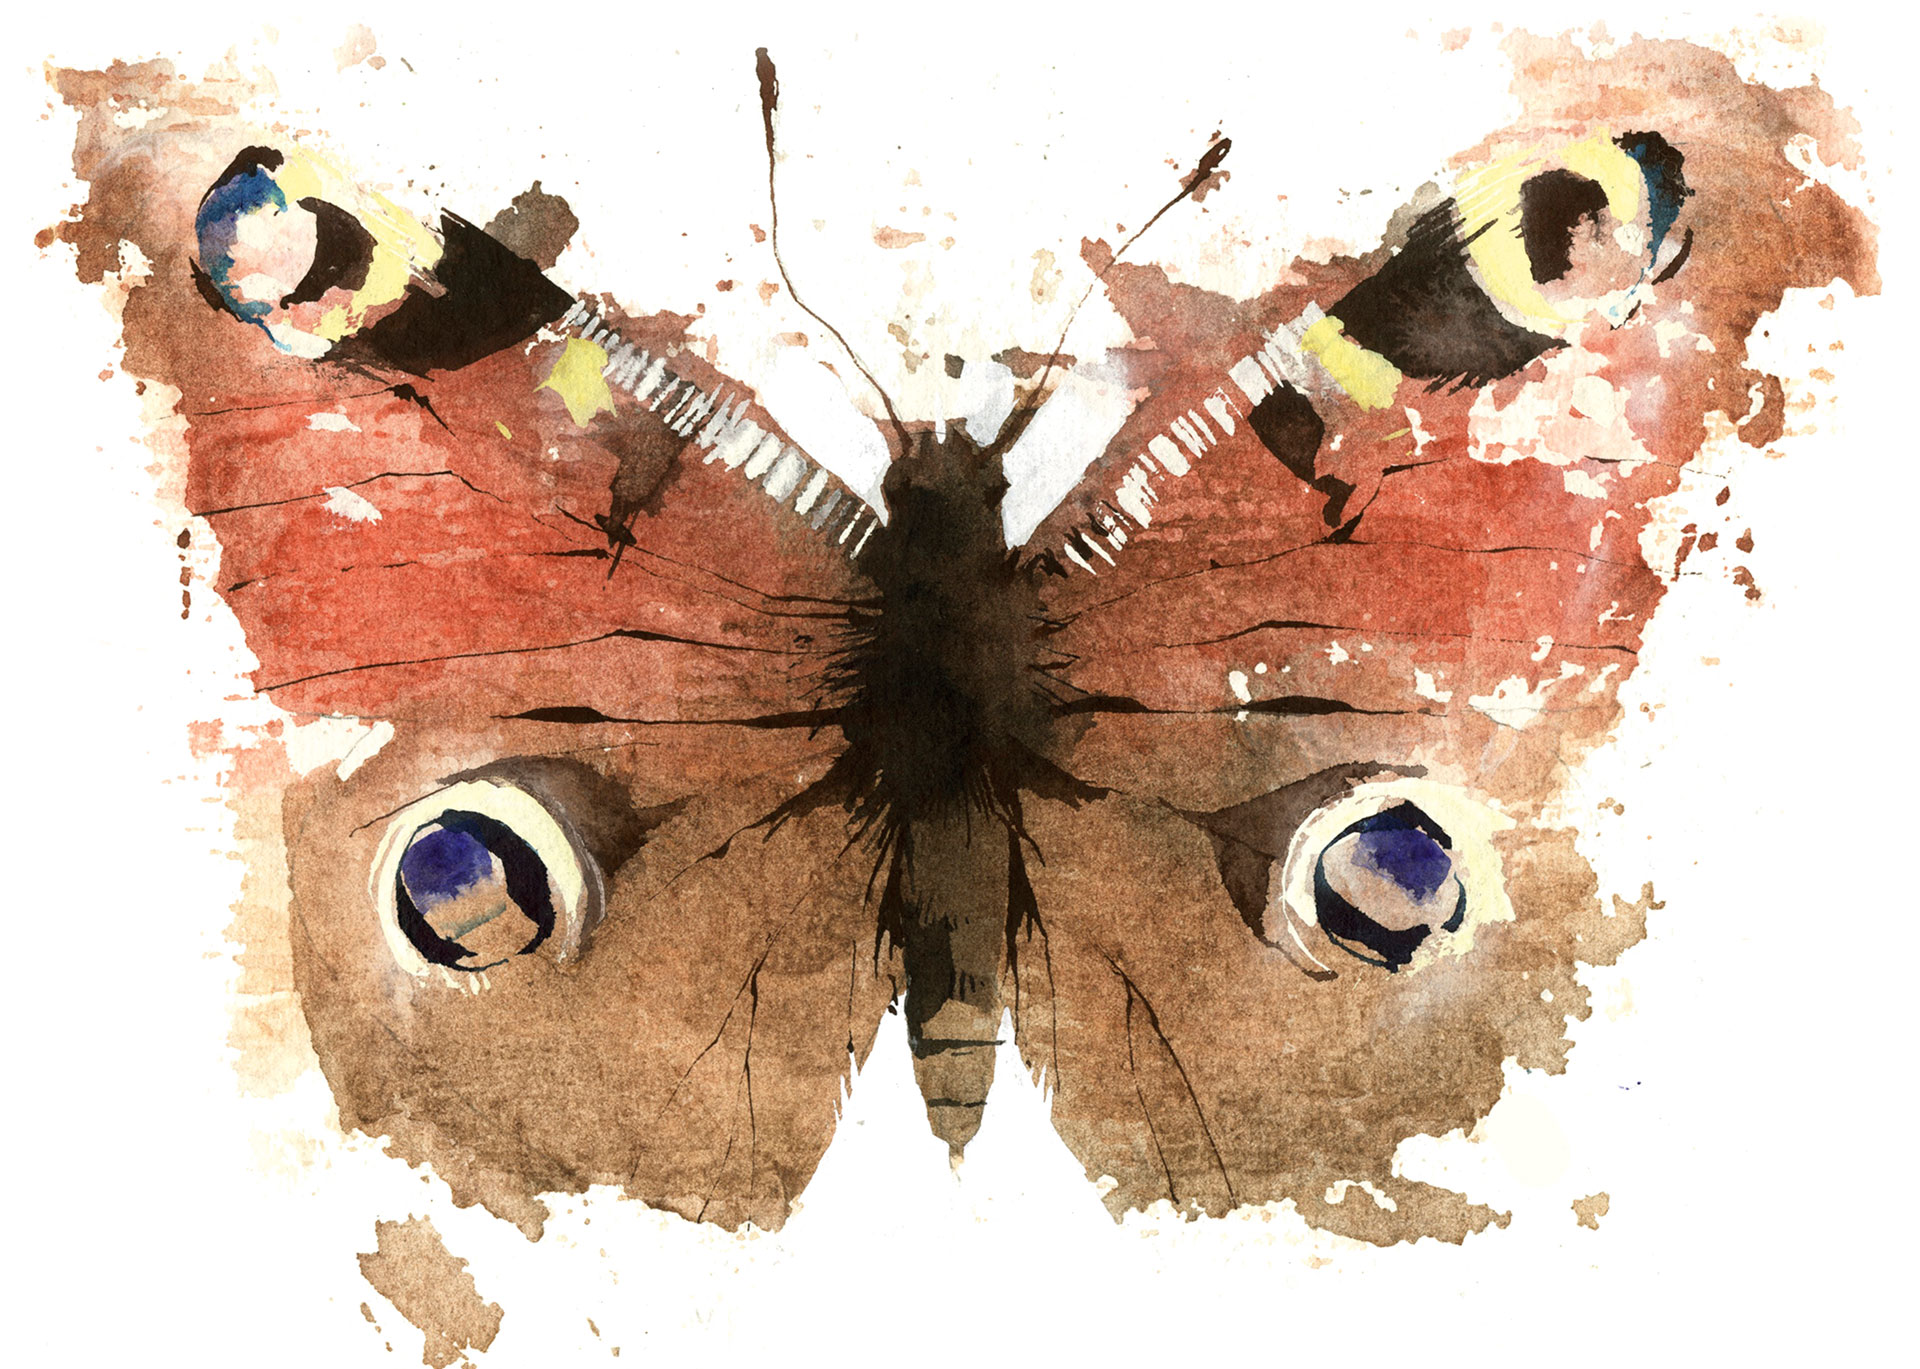
This article originally appeared in Paint & Draw: Animals. Buy the full bookazine at Magazines Direct.
Get the Creative Bloq Newsletter
Daily design news, reviews, how-tos and more, as picked by the editors.

Thank you for reading 5 articles this month* Join now for unlimited access
Enjoy your first month for just £1 / $1 / €1
*Read 5 free articles per month without a subscription

Join now for unlimited access
Try first month for just £1 / $1 / €1
Painter Kate is also a textile designer and figurative artist whose subject matter is the natural world.

