Model Darth Vader in ZBrush
Discover how to create a Darth Vader illustration using 3D and 2D techniques.
11. Refine the shapes
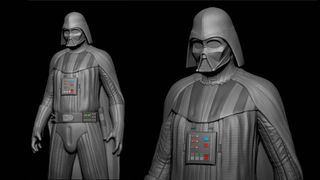
Spend more time refining the overall shapes and lines of the design with the Move brush to modifying proportions of the sculpt. The Smooth brush softens areas of the mesh, and you can use the Dam Standard brush with LazyMouse activated to refine the etched lines of the surfaces. Use the Inflate slider in the Deformations tab with masked selections to created recessed surface details down the uniform.
12. Add surface detail
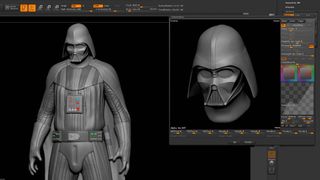
With the sculpting details complete, it's time to go through the various parts of the sculpt and prepare the character for posing. Merge and remesh some features using ZRemesher, rename the meshes accordingly and apply colour values and materials to various elements. Then apply surface detail using Surface Noise and custom textures created in Photoshop.
13. Pose the model
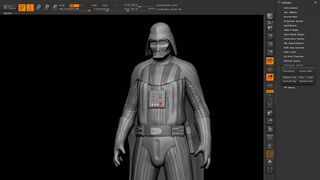
Using Transpose Master plugin in ZBrush, pose the figure. Clicking TPoseMesh activates posing and merges all the subtools into one subtool. Use the different Polygroups to isolate mask selections and the Transpose tool to move or rotate the various parts of the character, testing out poses until you're satisfied with the result. Clicking the TPose Transfer button will transfer the pose to the high-resolution subtools.
14. Adjust KeyShot settings
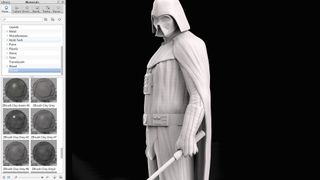
Use the KeyShot Bridge in ZBrush to transfer the sculpt from ZBrush into KeyShot for material setup, lighting and rendering. In KeyShot, work out and visualise different materials, textures, and environment lighting setups.
Apply a material by dragging it from the Material tab onto the different parts of the model. The Environment tab works the same way. Experiment with different materials and environment lighting setups to see what suits your character.
15. Light the model
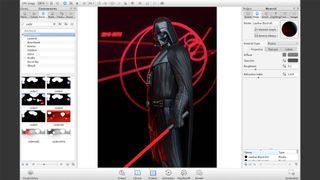
Try out various lighting setups with the HDR Environment tab – simply select a thumbnail from the Environment menu and drag it onto the background to apply the environment to the scene. Also experiment with different lighting settings for Gamma, Brightness, and Contrast – you're looking for a good balance of dark and light tones that compliment the design and background. Using the HDRI Editor create additional pin lights, you can highlight features that will pick out the character's form.
16. Move into Photoshop
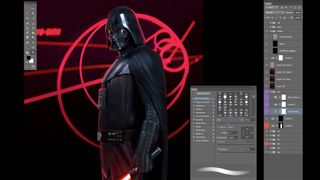
Import the renders from KeyShot into Photoshop, where you can enhance the overall image and add in post-effects. Use the clown pass render to help establish which parts of the character need work. Go through the image refining elements, painting in details, adding additional texture and light effects with Layer Blending modes. You can also modify the shapes of the character using the Image Warp function and Liquify filter.
Get the Creative Bloq Newsletter
Daily design news, reviews, how-tos and more, as picked by the editors.
17. Make some final tweaks
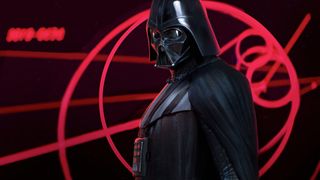
For the final step, add grunge textures in Overlay mode at a low opacity with Screen and Soft Light blending modes. Create Color Balance and Levels adjustment layers and modify the values and colours of the image. Then, using merge layers, apply Lens Correction, Blur, Noise and Sharpen filters at various opacities to finalise the illustration.
This article was originally published in 3D World magazine issue 216; buy it here.
Related articles:

Thank you for reading 5 articles this month* Join now for unlimited access
Enjoy your first month for just £1 / $1 / €1
*Read 5 free articles per month without a subscription

Join now for unlimited access
Try first month for just £1 / $1 / €1
