Tackle portrait painting with oils
Tips for creating a portrait using an academic approach.
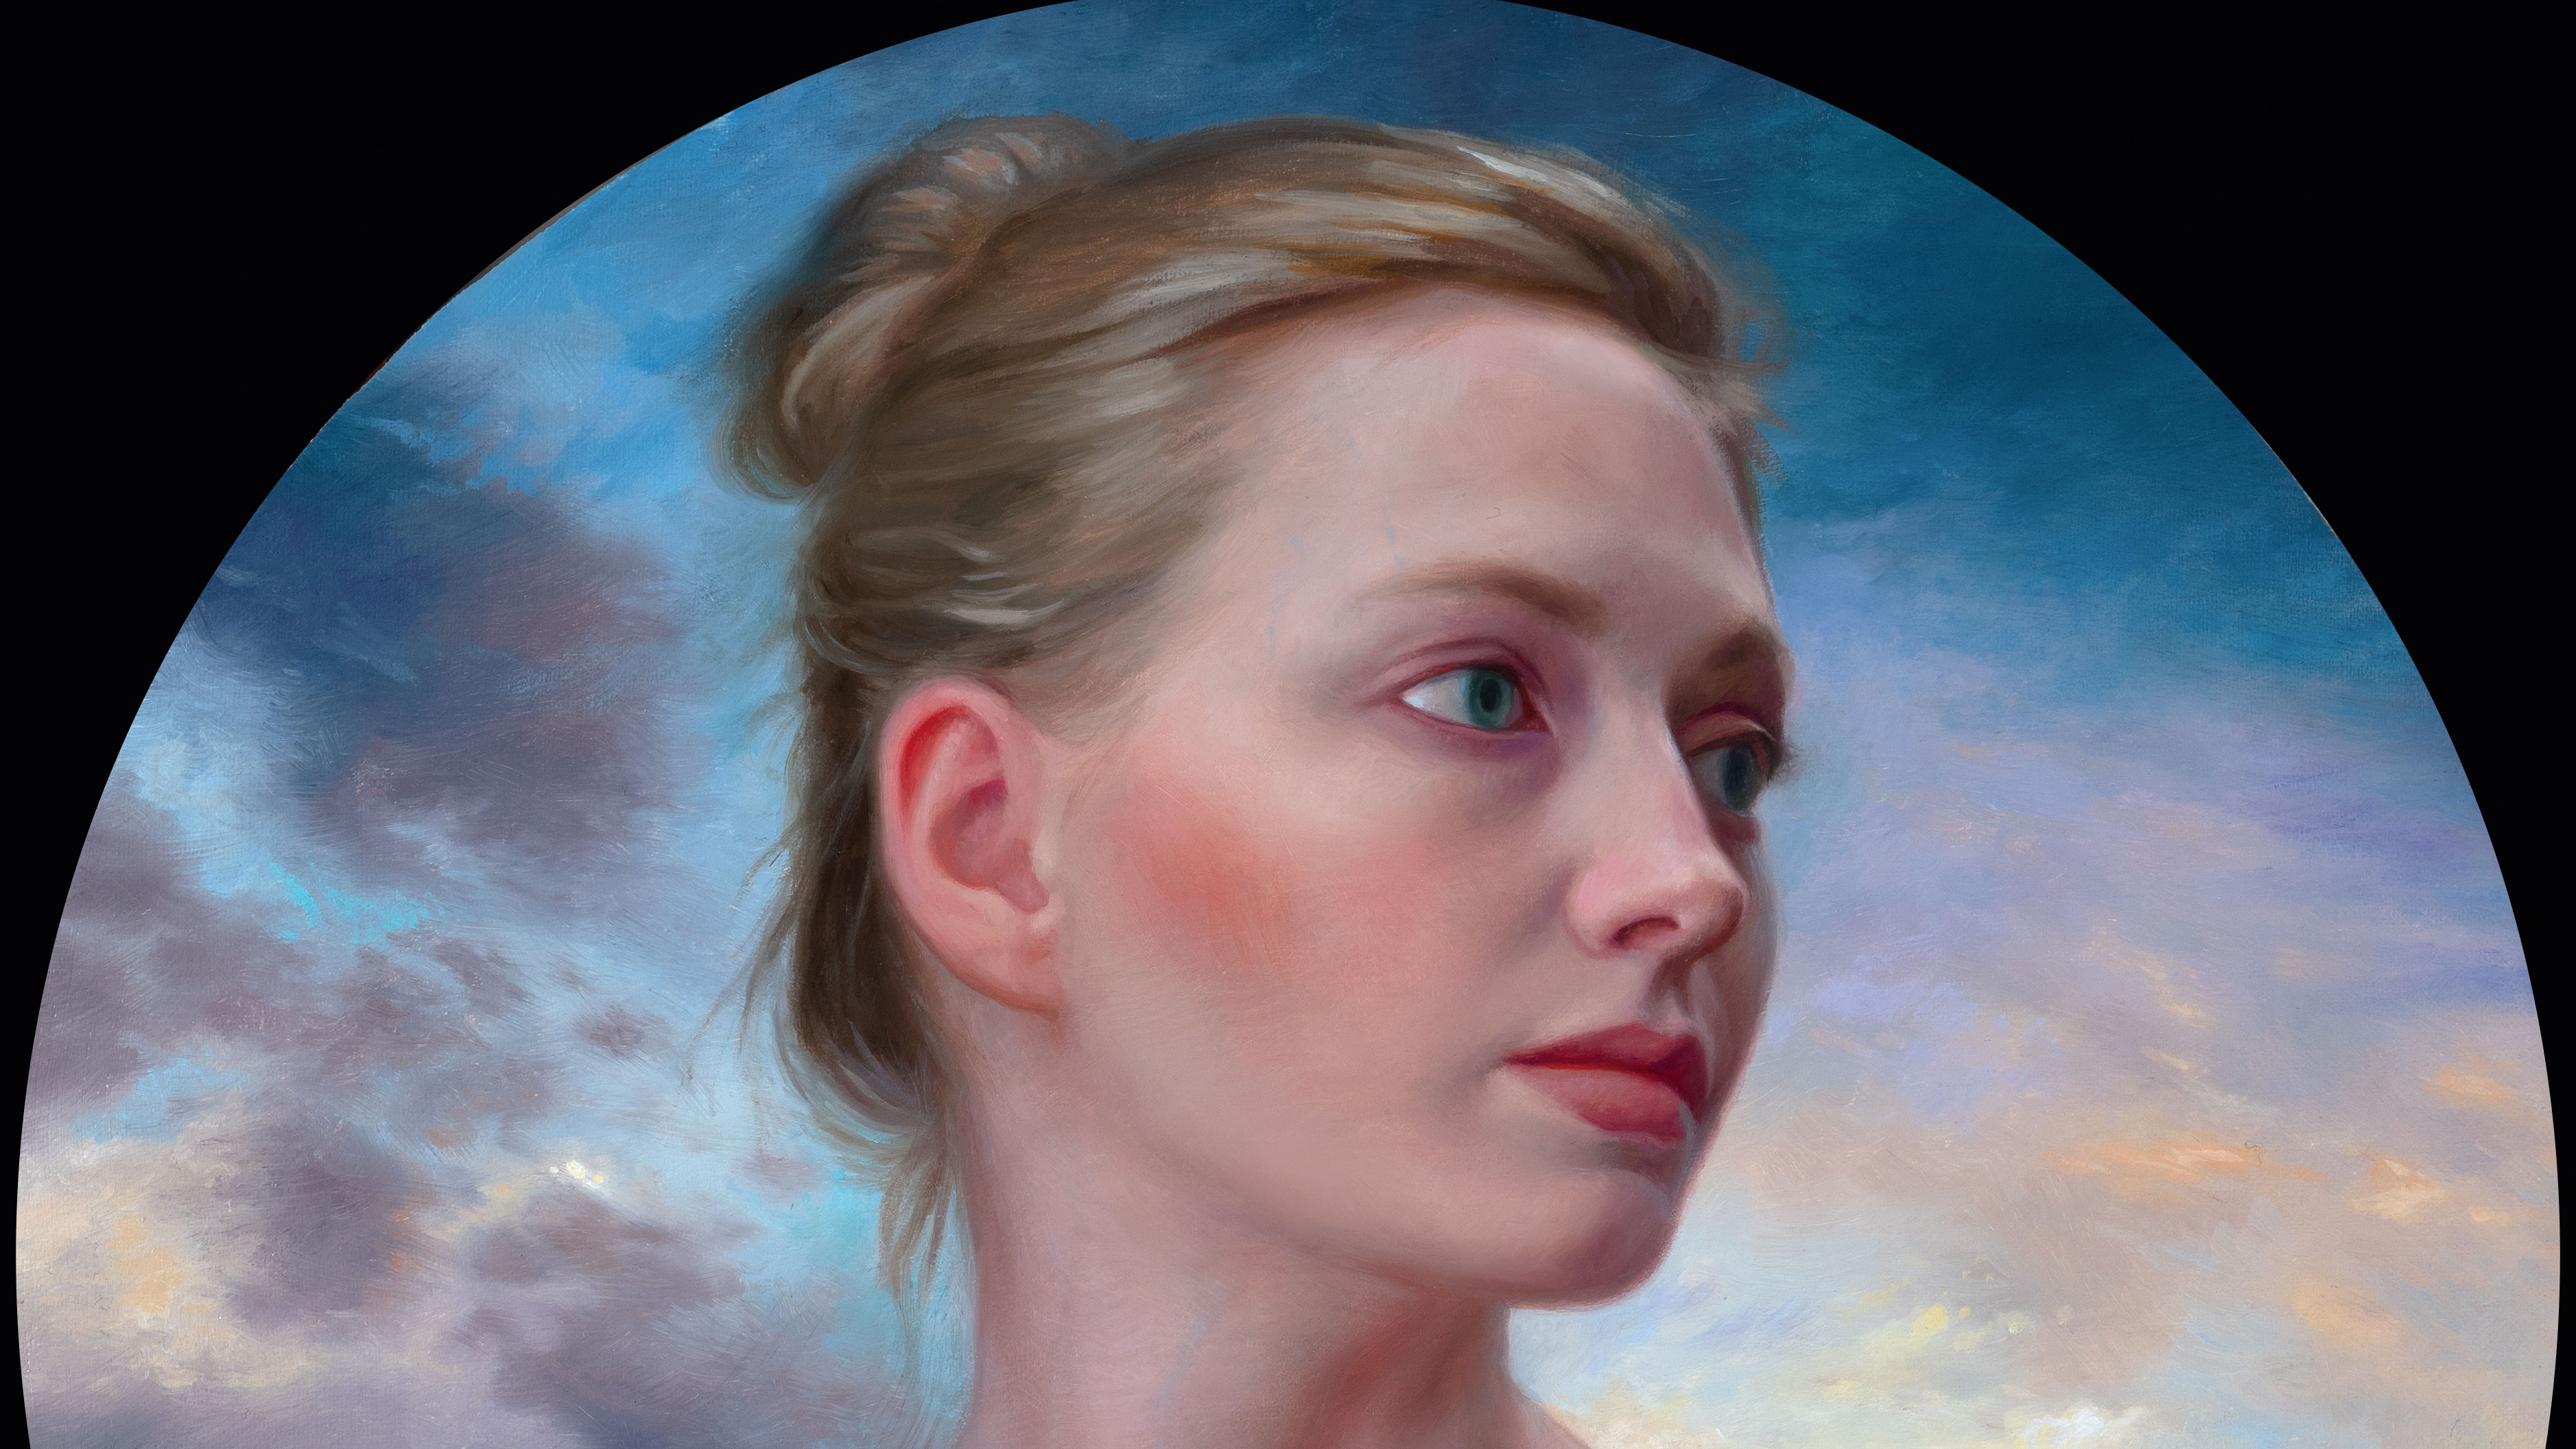
In this workshop, we will be learning how to create a portrait oil painting with meaning, as well as exploring the idea that academic principles and beauty in art has seen a decline. For me, the idea started with a painting titled After the Dance, done in 2017.
- Acrylic canvas primer
- Oil paints
- Wooden palette
- Unprimed linen canvas
The ‘dance’ referred to the amazing period of artistic creation at the end of the 19th century, when Sargent, Bouguereau, Waterhouse and Leighton were all at the top of their game. The 20th century saw some incredible innovations and diversity in art but, for me, didn’t offer as much beauty or skill as the 19th century. I wanted to express my passion for the principles espoused by the artists I love and apply it to a series.
First, you'll need the right materials. This guide to the best oil paint will start you off, and for other materials head over to this pick of the best oil paint supplies (and the deals listed below).
Master portrait oil painting
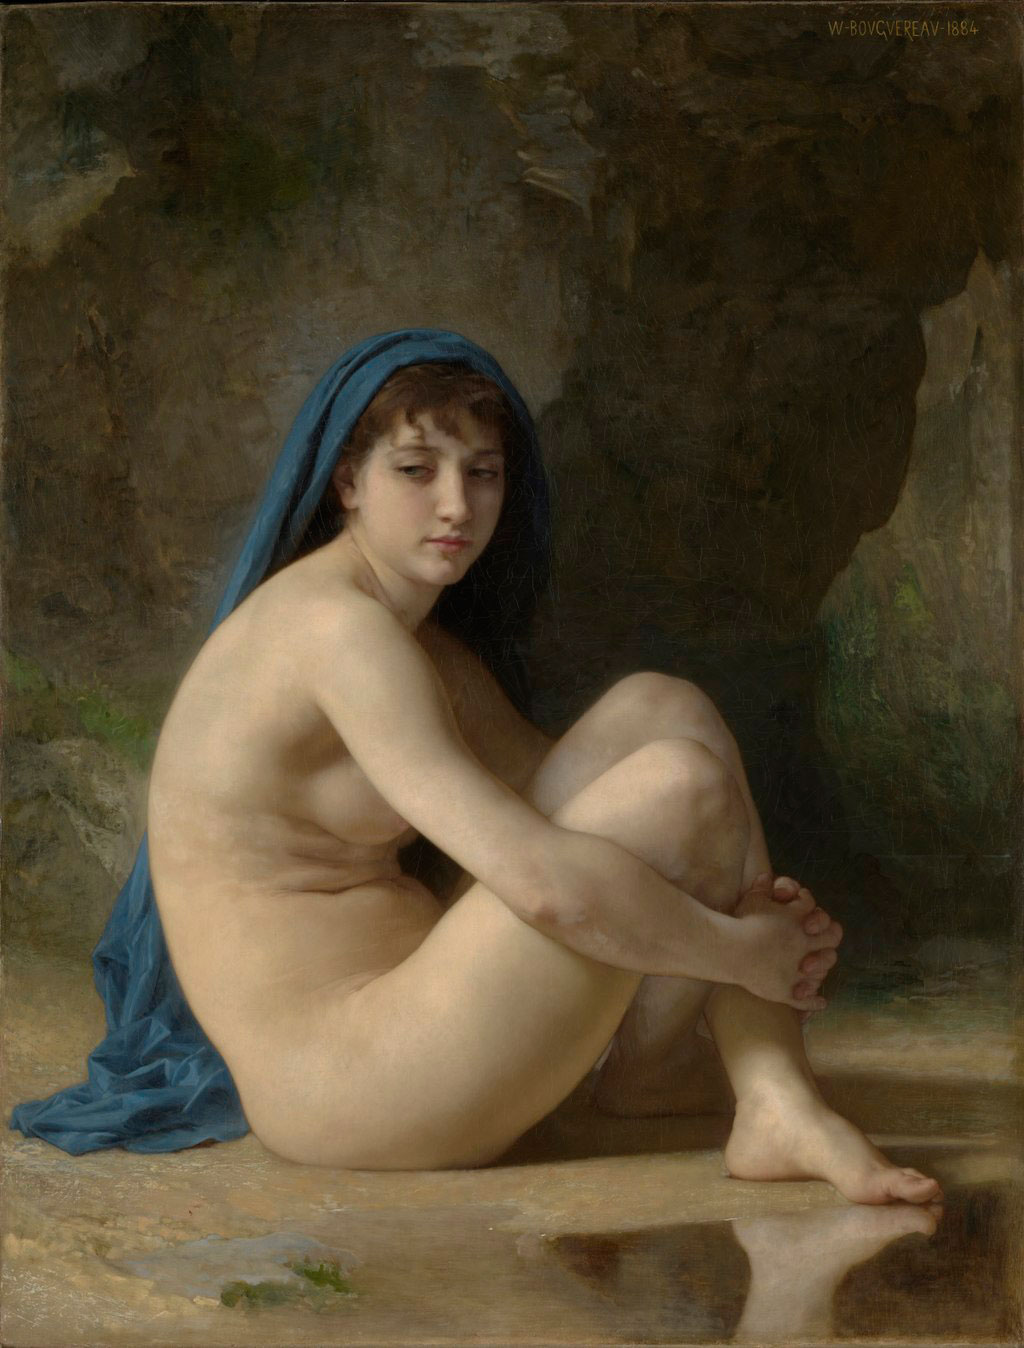
I like to start the day going through photos I’ve taken of inspiring paintings or browsing my books. I have always been drawn to William-Adolphe Bouguereau and in this case the face of the woman in his painting Seated Nude stood out as something I wanted to study further.
I love the subtlety in the way Bouguereau painted flesh. The palette of this painting is designed to complement the way the skin is painted. As you look to develop your own paintings, identify the images that inspire you and try to break them down into the elements that are most important.
01. Prepare the linen
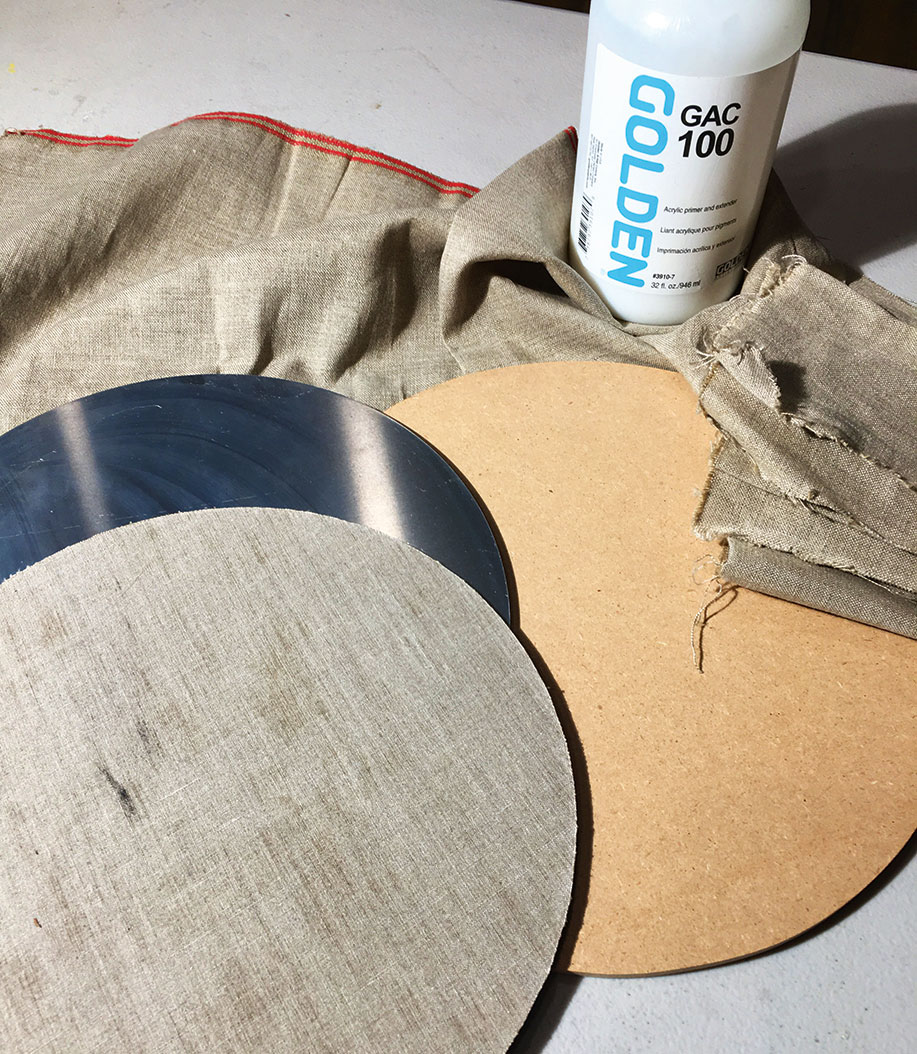
I purchase a large roll of raw linen. It’s a cost-effective way to work on linen, but it does take some time and effort to prepare. Golden’s GAC 100 is a great adhesive and comes in a decent-sized container, and will glue linen to wood, metal and plastic. (You can also create on one of the best oil paint canvas options, if linen isn't your thing.)
02. Apply a ground
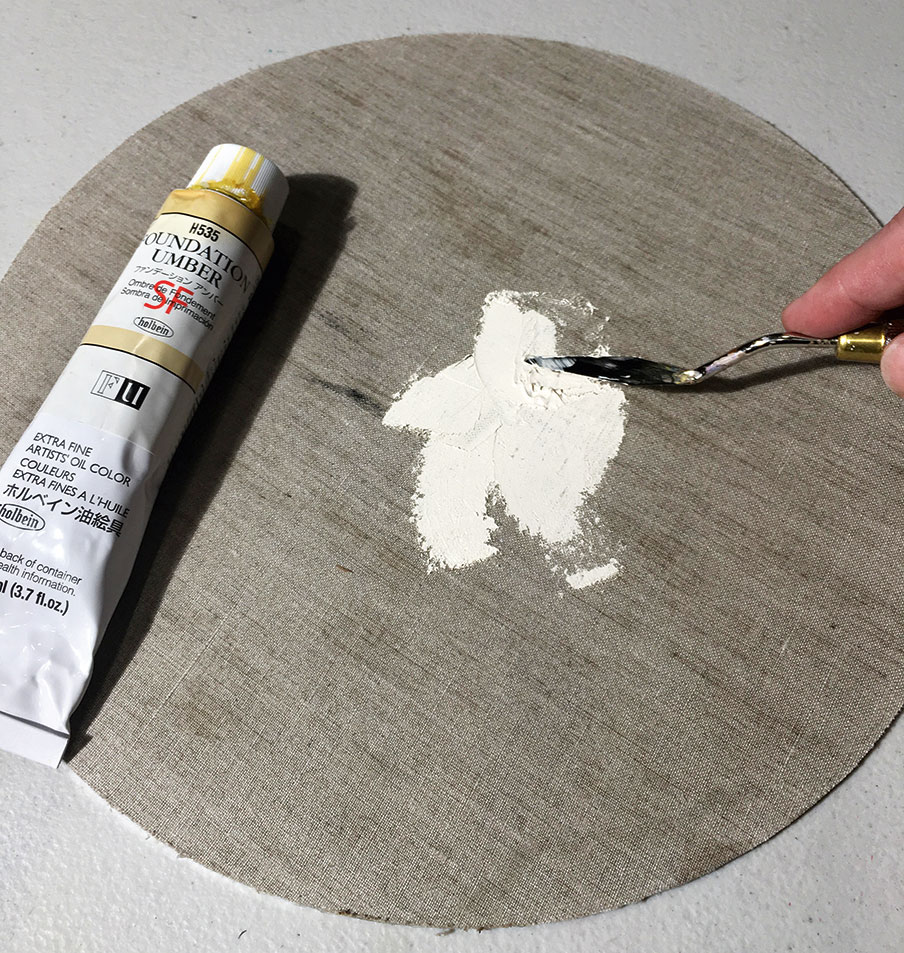
Once the linen is glued down to the panel, I coat it with GAC 100 as well to protect the linen from the acidity of the oil primer. I like the slight tinting of Holbein’s Foundation Umber. It’s lead based, so use with care. I apply it with a palette knife to achieve the texture I want.
03. Thumbnail the idea
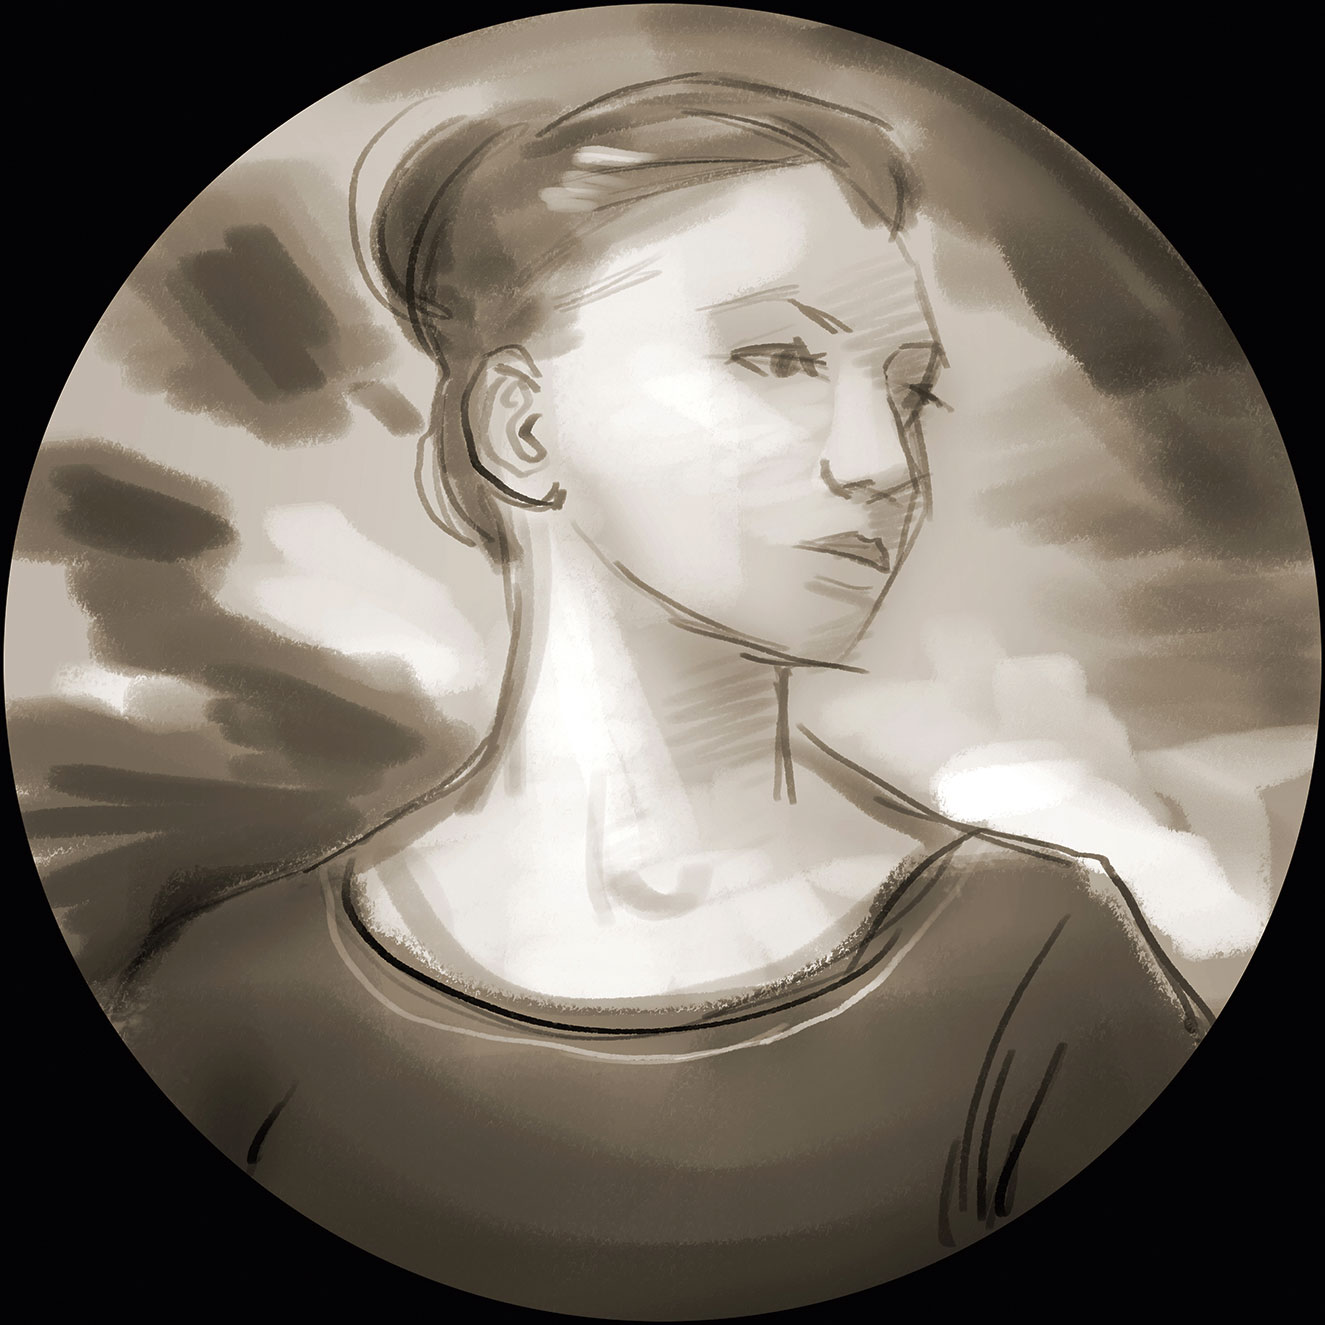
I think the thumbnails might be the most important step in the process. Don’t skimp on this step. Do dozens of thumbnails as you explore your idea. Don’t worry if they’re ugly. Just get your ideas down. You can produce simple line drawings or work with big shapes. I tend to do a combination of both.
04. Gather references
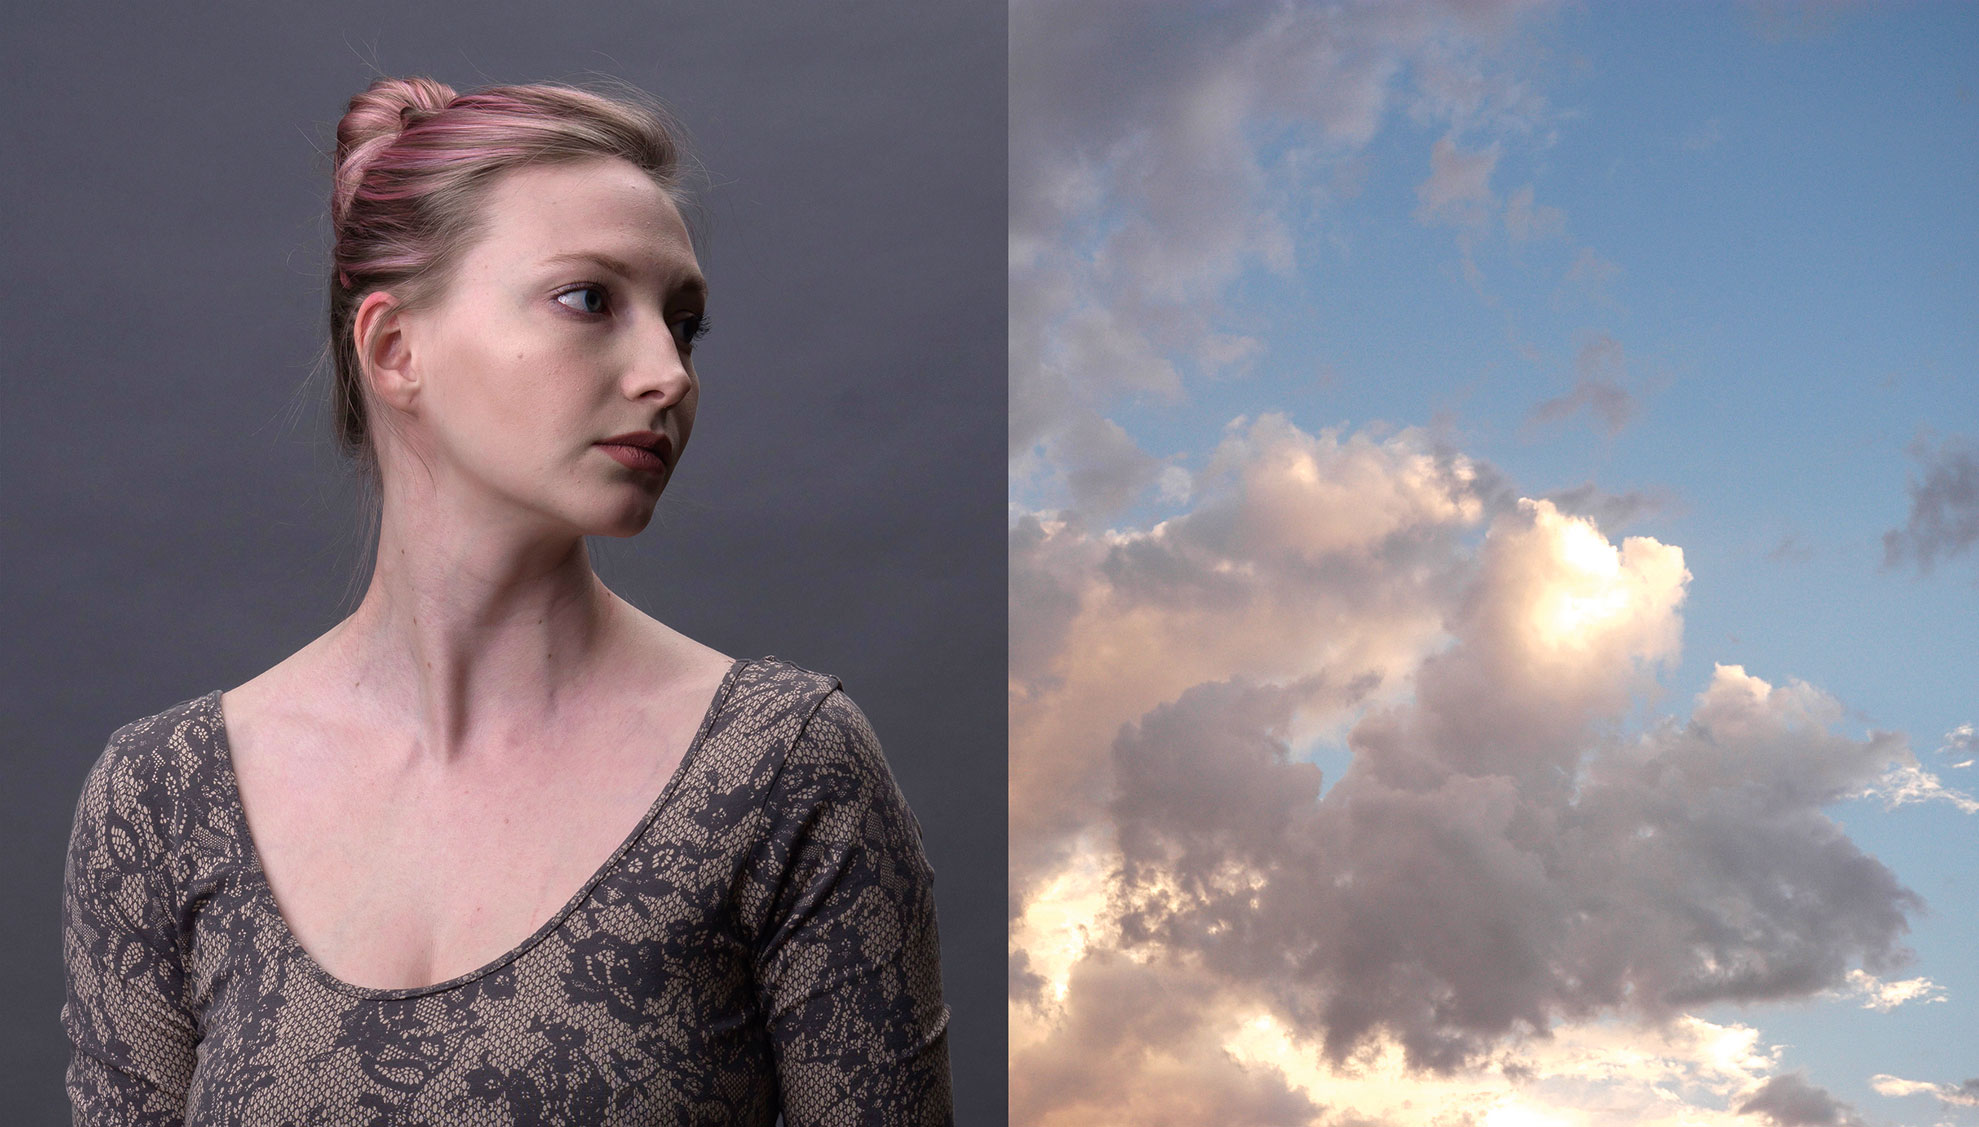
I’m always looking for models and references, which means bringing my camera with me as much as possible. You never know when you’ll see the perfect cloud, tree or texture. I used two flashes in this shoot to provide a subtle rim light in addition to the main light.
05. Create a digital comp
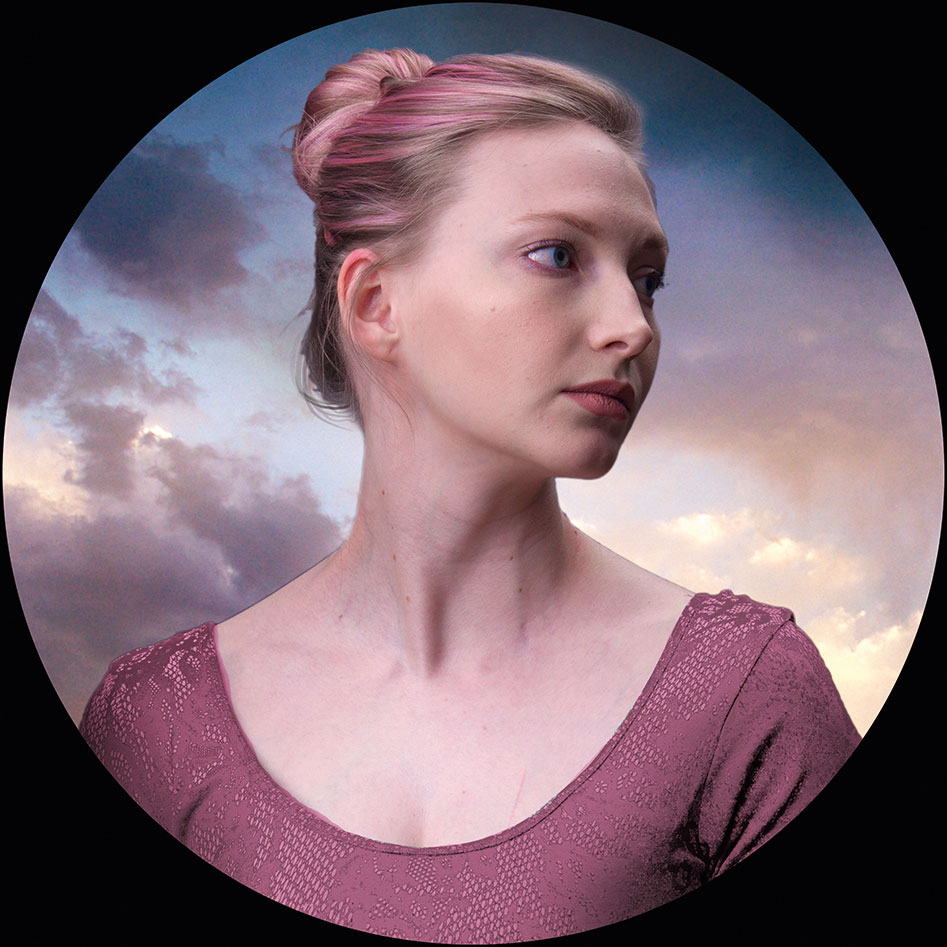
Photoshop is ideal for exploring your composition. It’s based on my thumbnail, but brings together the images from my photoshoot and reference. I don’t think you can overdo this stage. The better the reference, the stronger your foundation will be for your final work.
06. Choose your tools
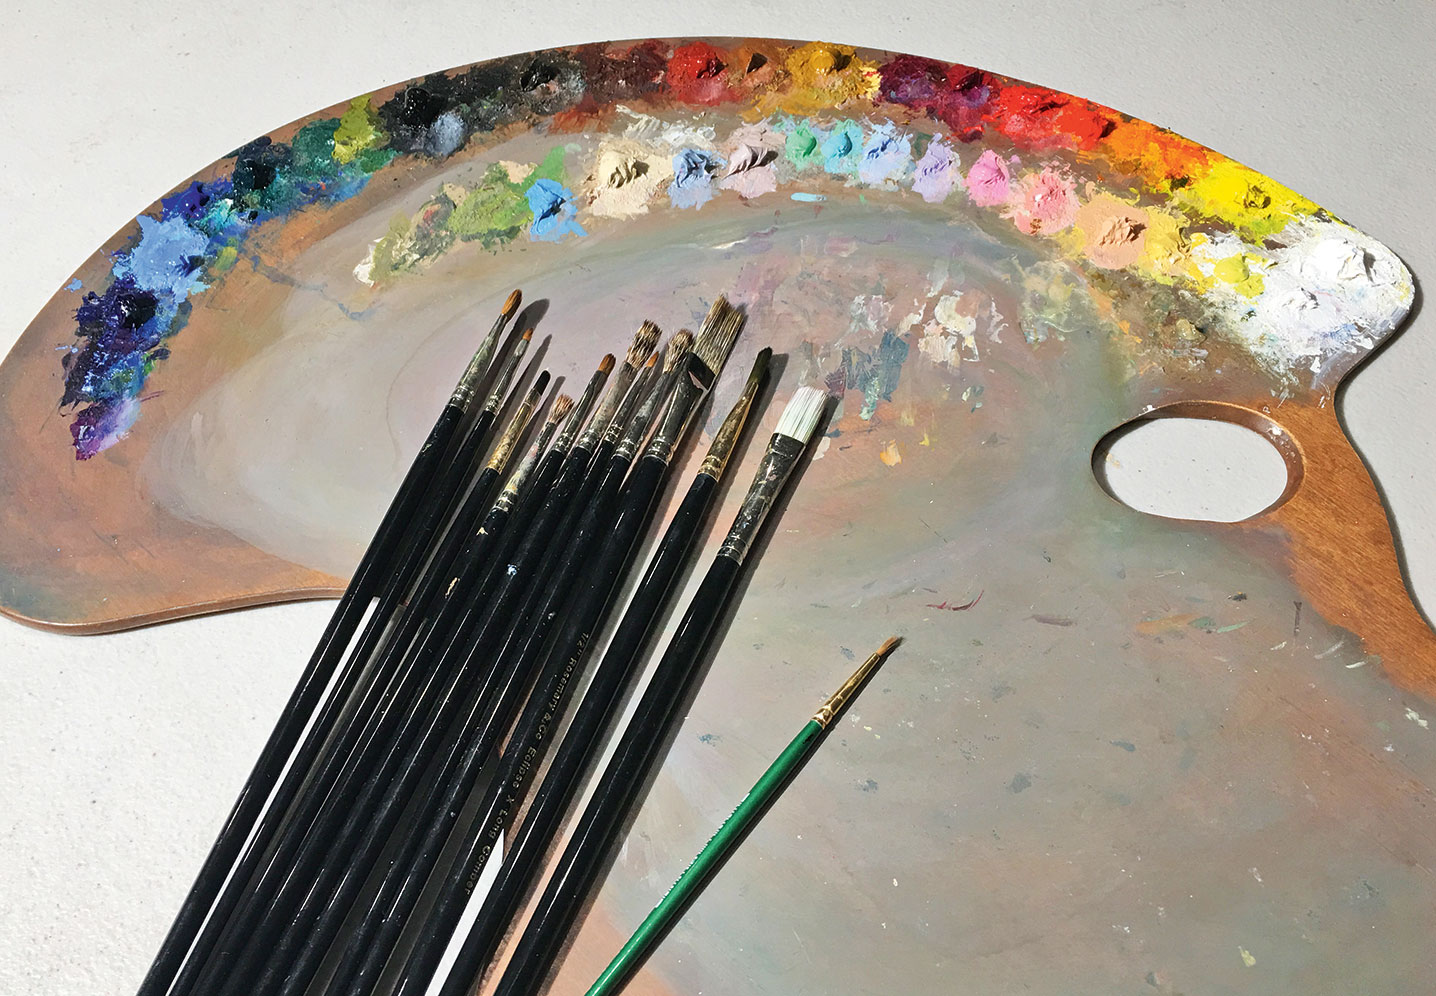
With a few exceptions, almost all my brushes are from Rosemary & Co, and my artist’s palette is from New Wave. It enables me to hold a nice range of colours including the Radiant colours produced by Gamblin. I try to have warm and cold versions of each colour and the Radiants are convenient for the higher values.
07. Block in the sky
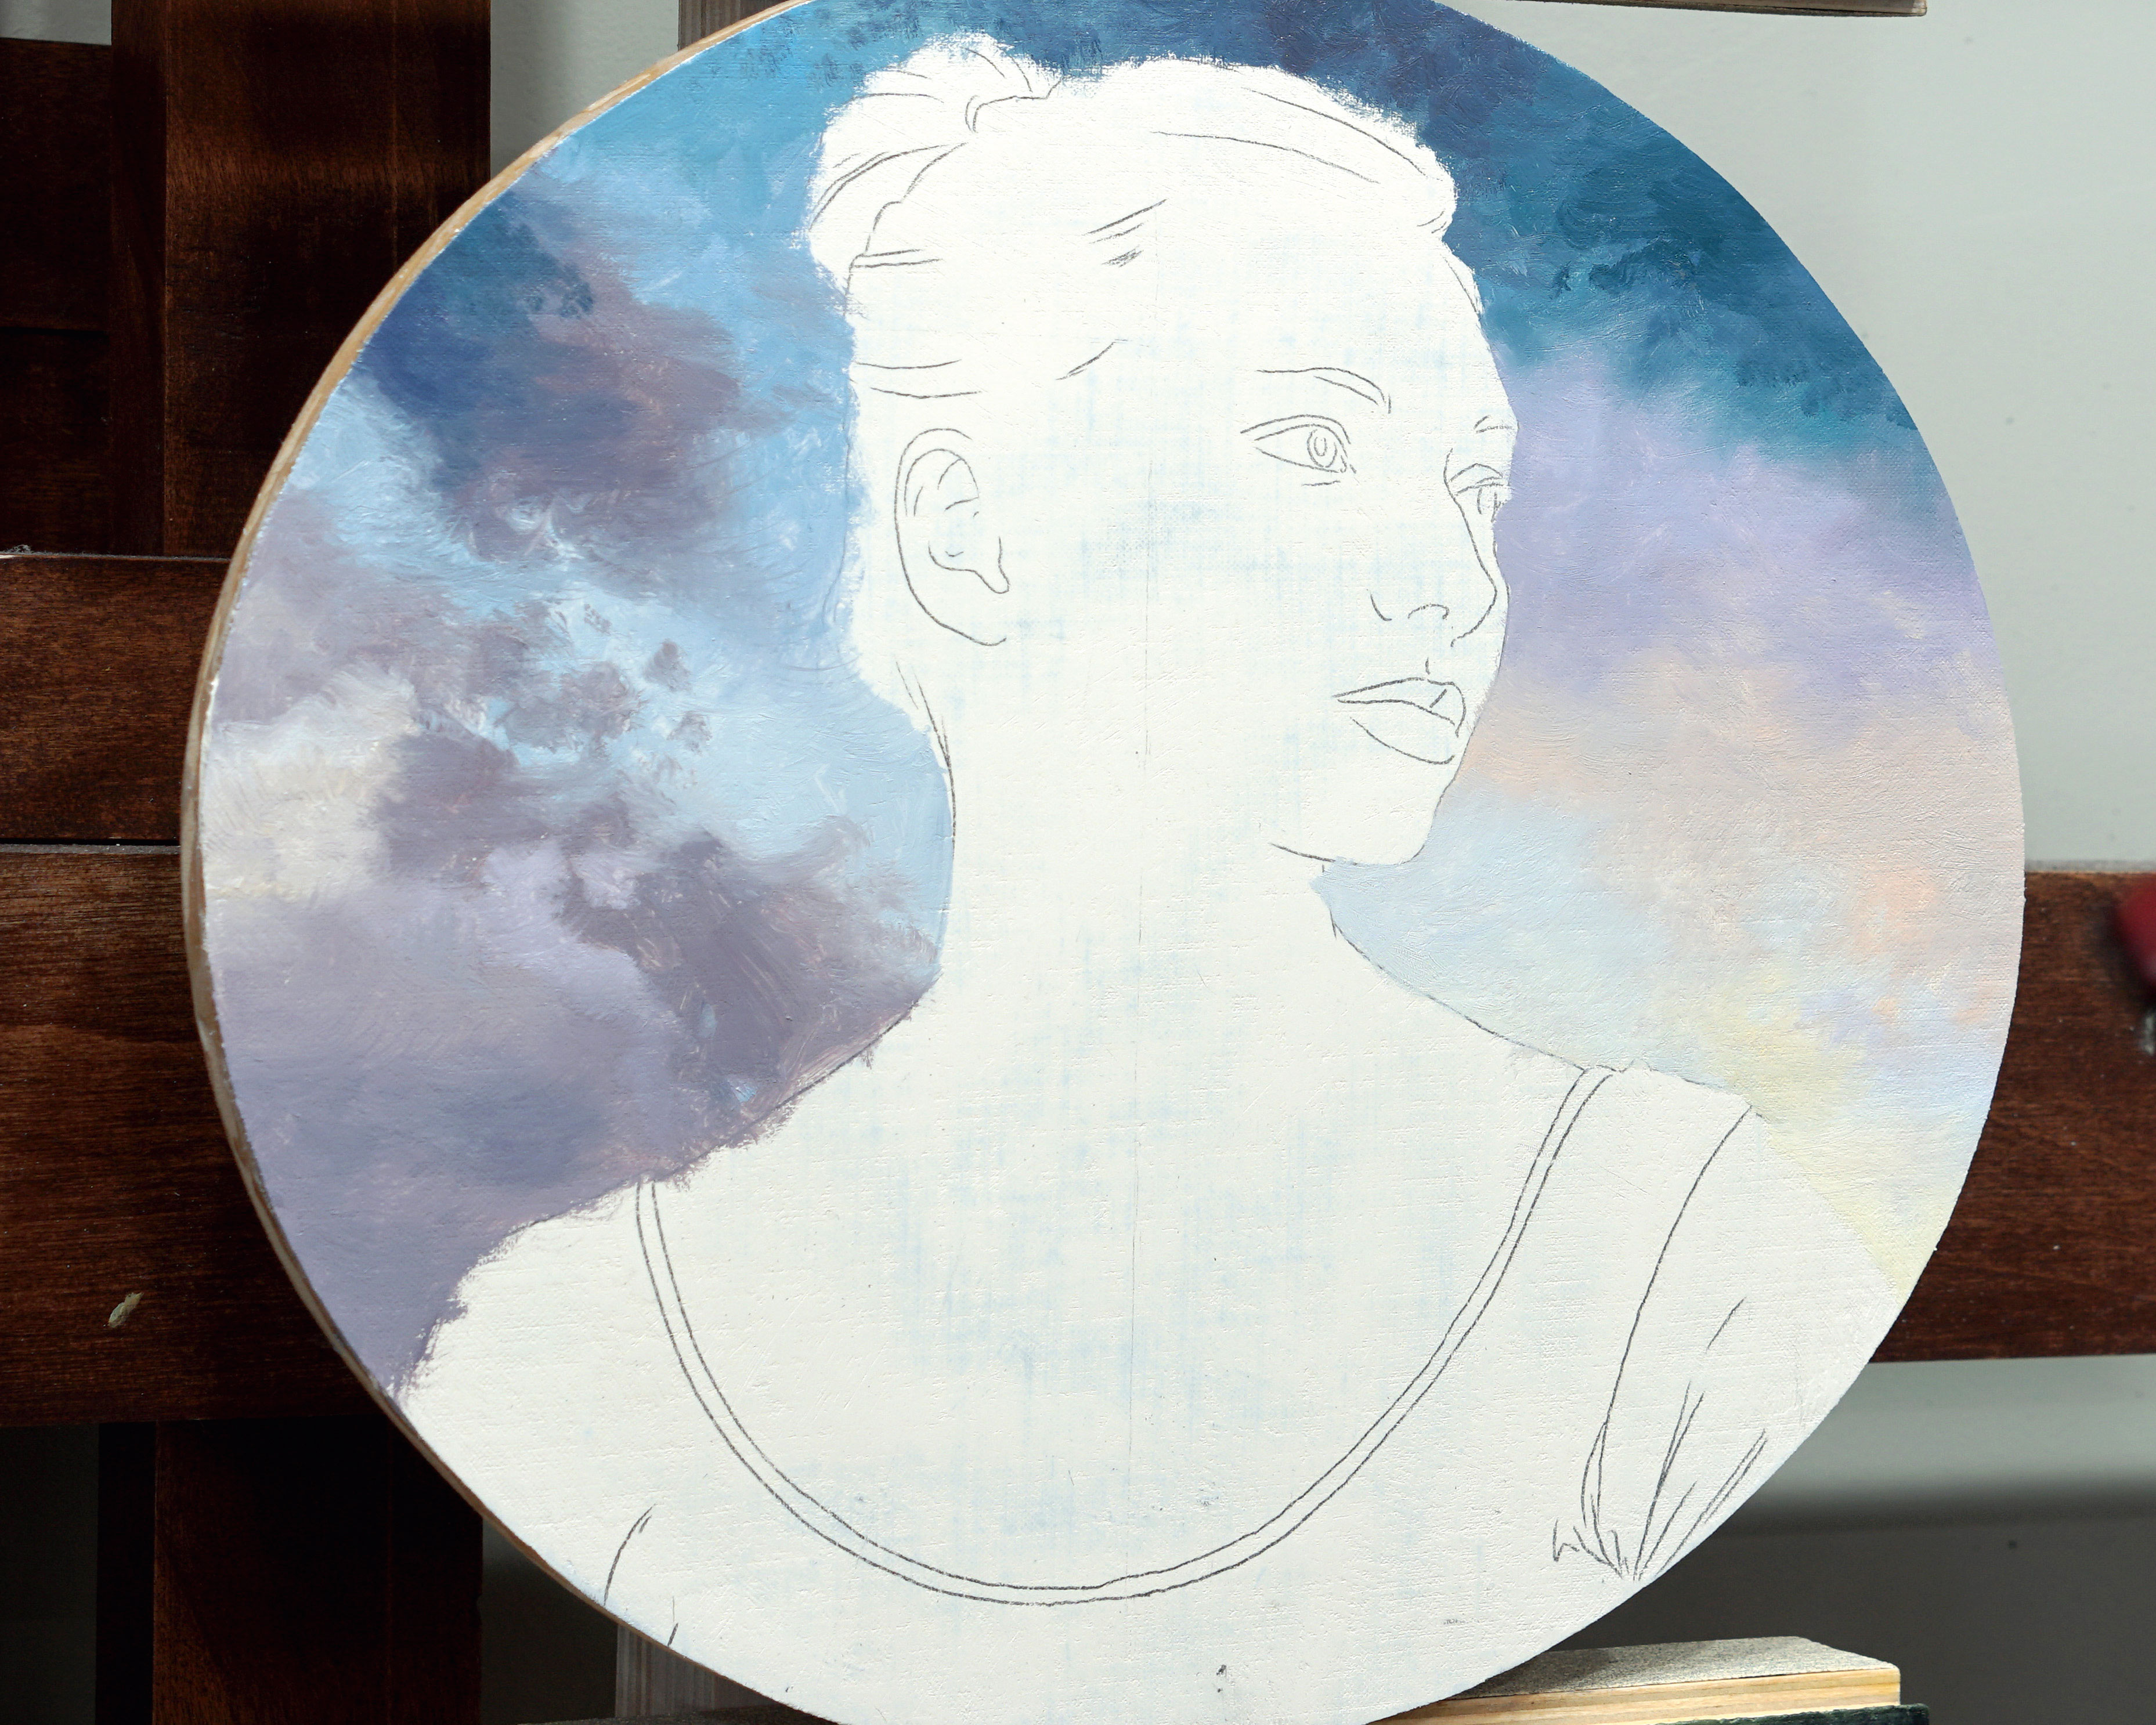
Once I’ve drawn the composition directly on the canvas, I start by doing a quick colour block-in. I try to be very accurate with my colour, but I hold back just a bit with the darkest and lightest values, saving those for the finishing stage. This enables me to make ongoing decisions about where I want the most contrast.
08. Put the parts together
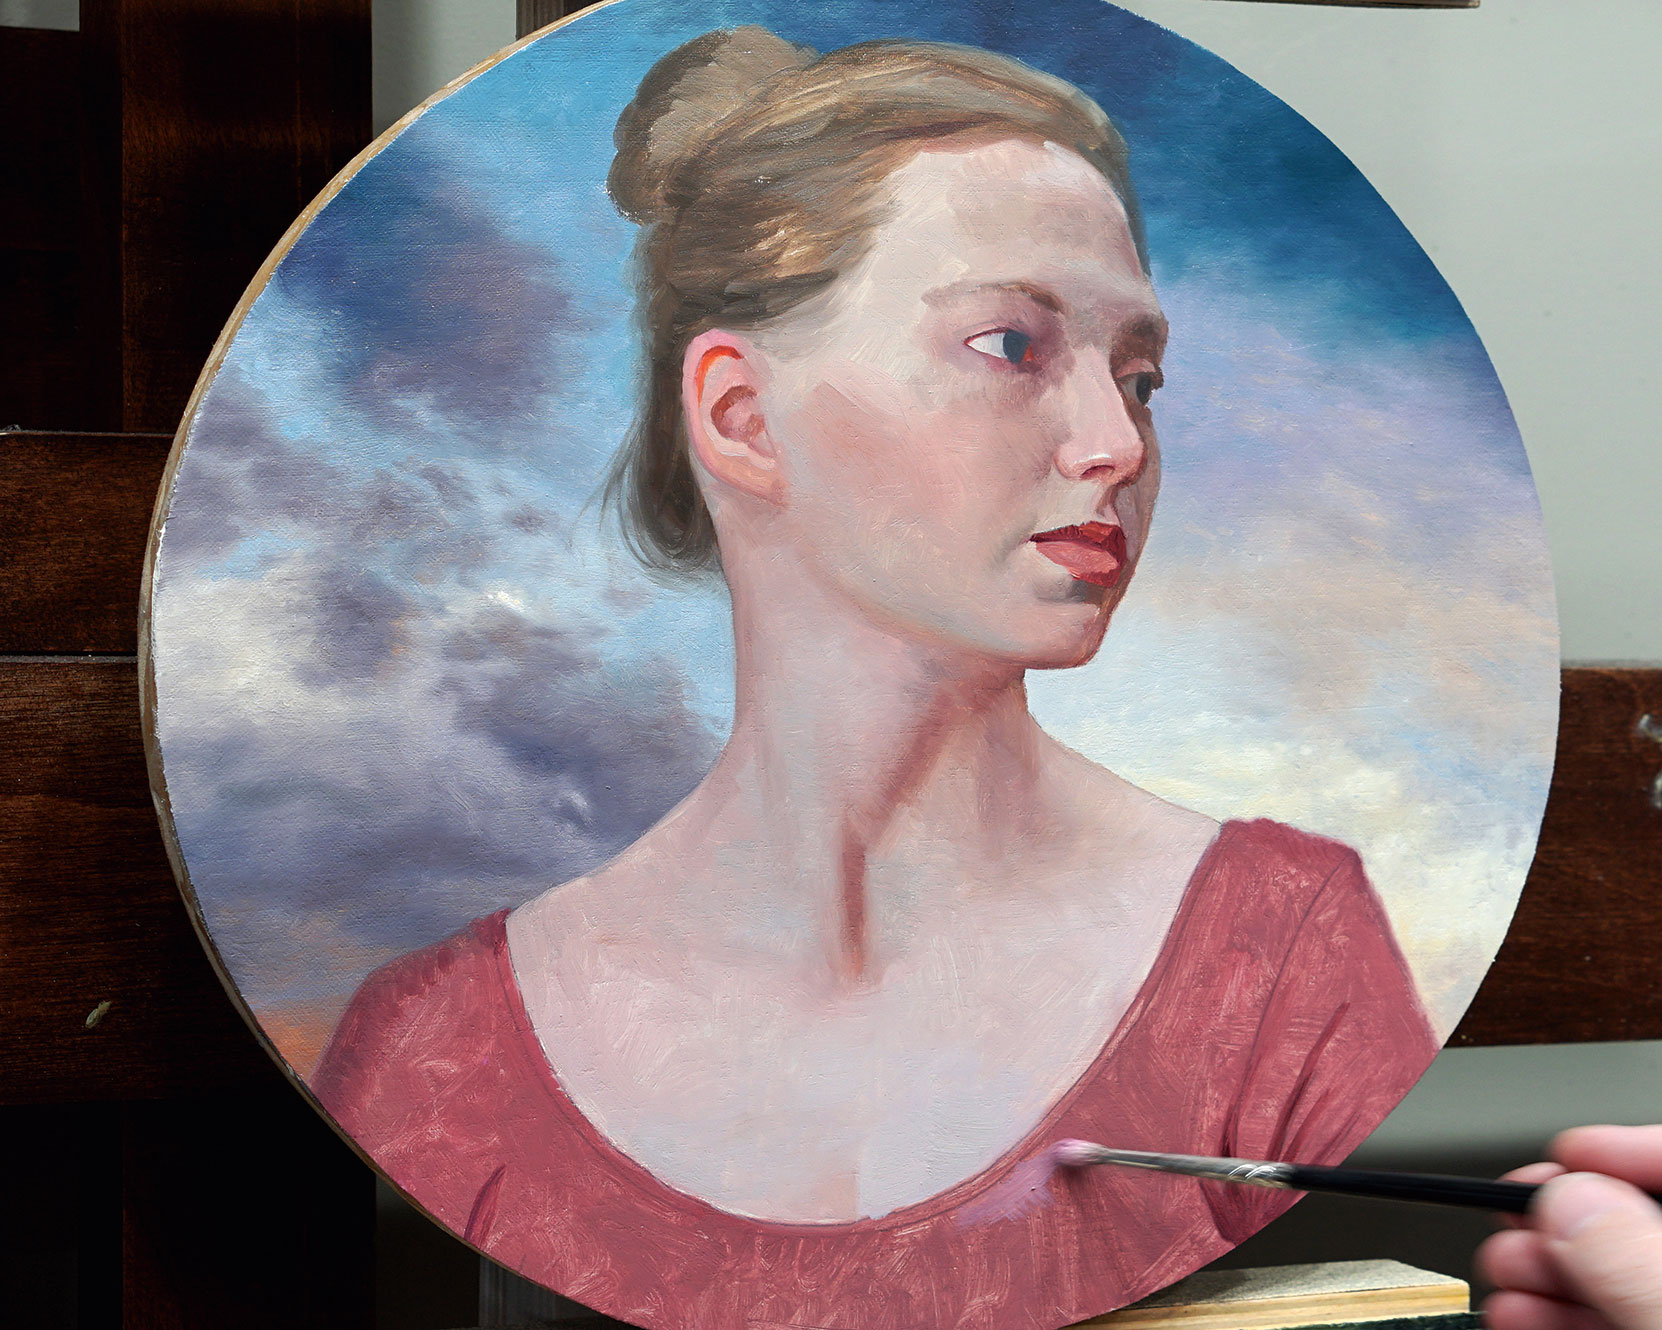
I call this the Frankenstein stage, because all the parts come together, but it isn’t pretty. Don’t panic! Don’t overwork this stage. Layering oils will add depth and richness, but you don’t want to try and finish the painting in the first pass. Learn to be efficient by doing this pass quickly and then build on it.
09. Make second pass refinements
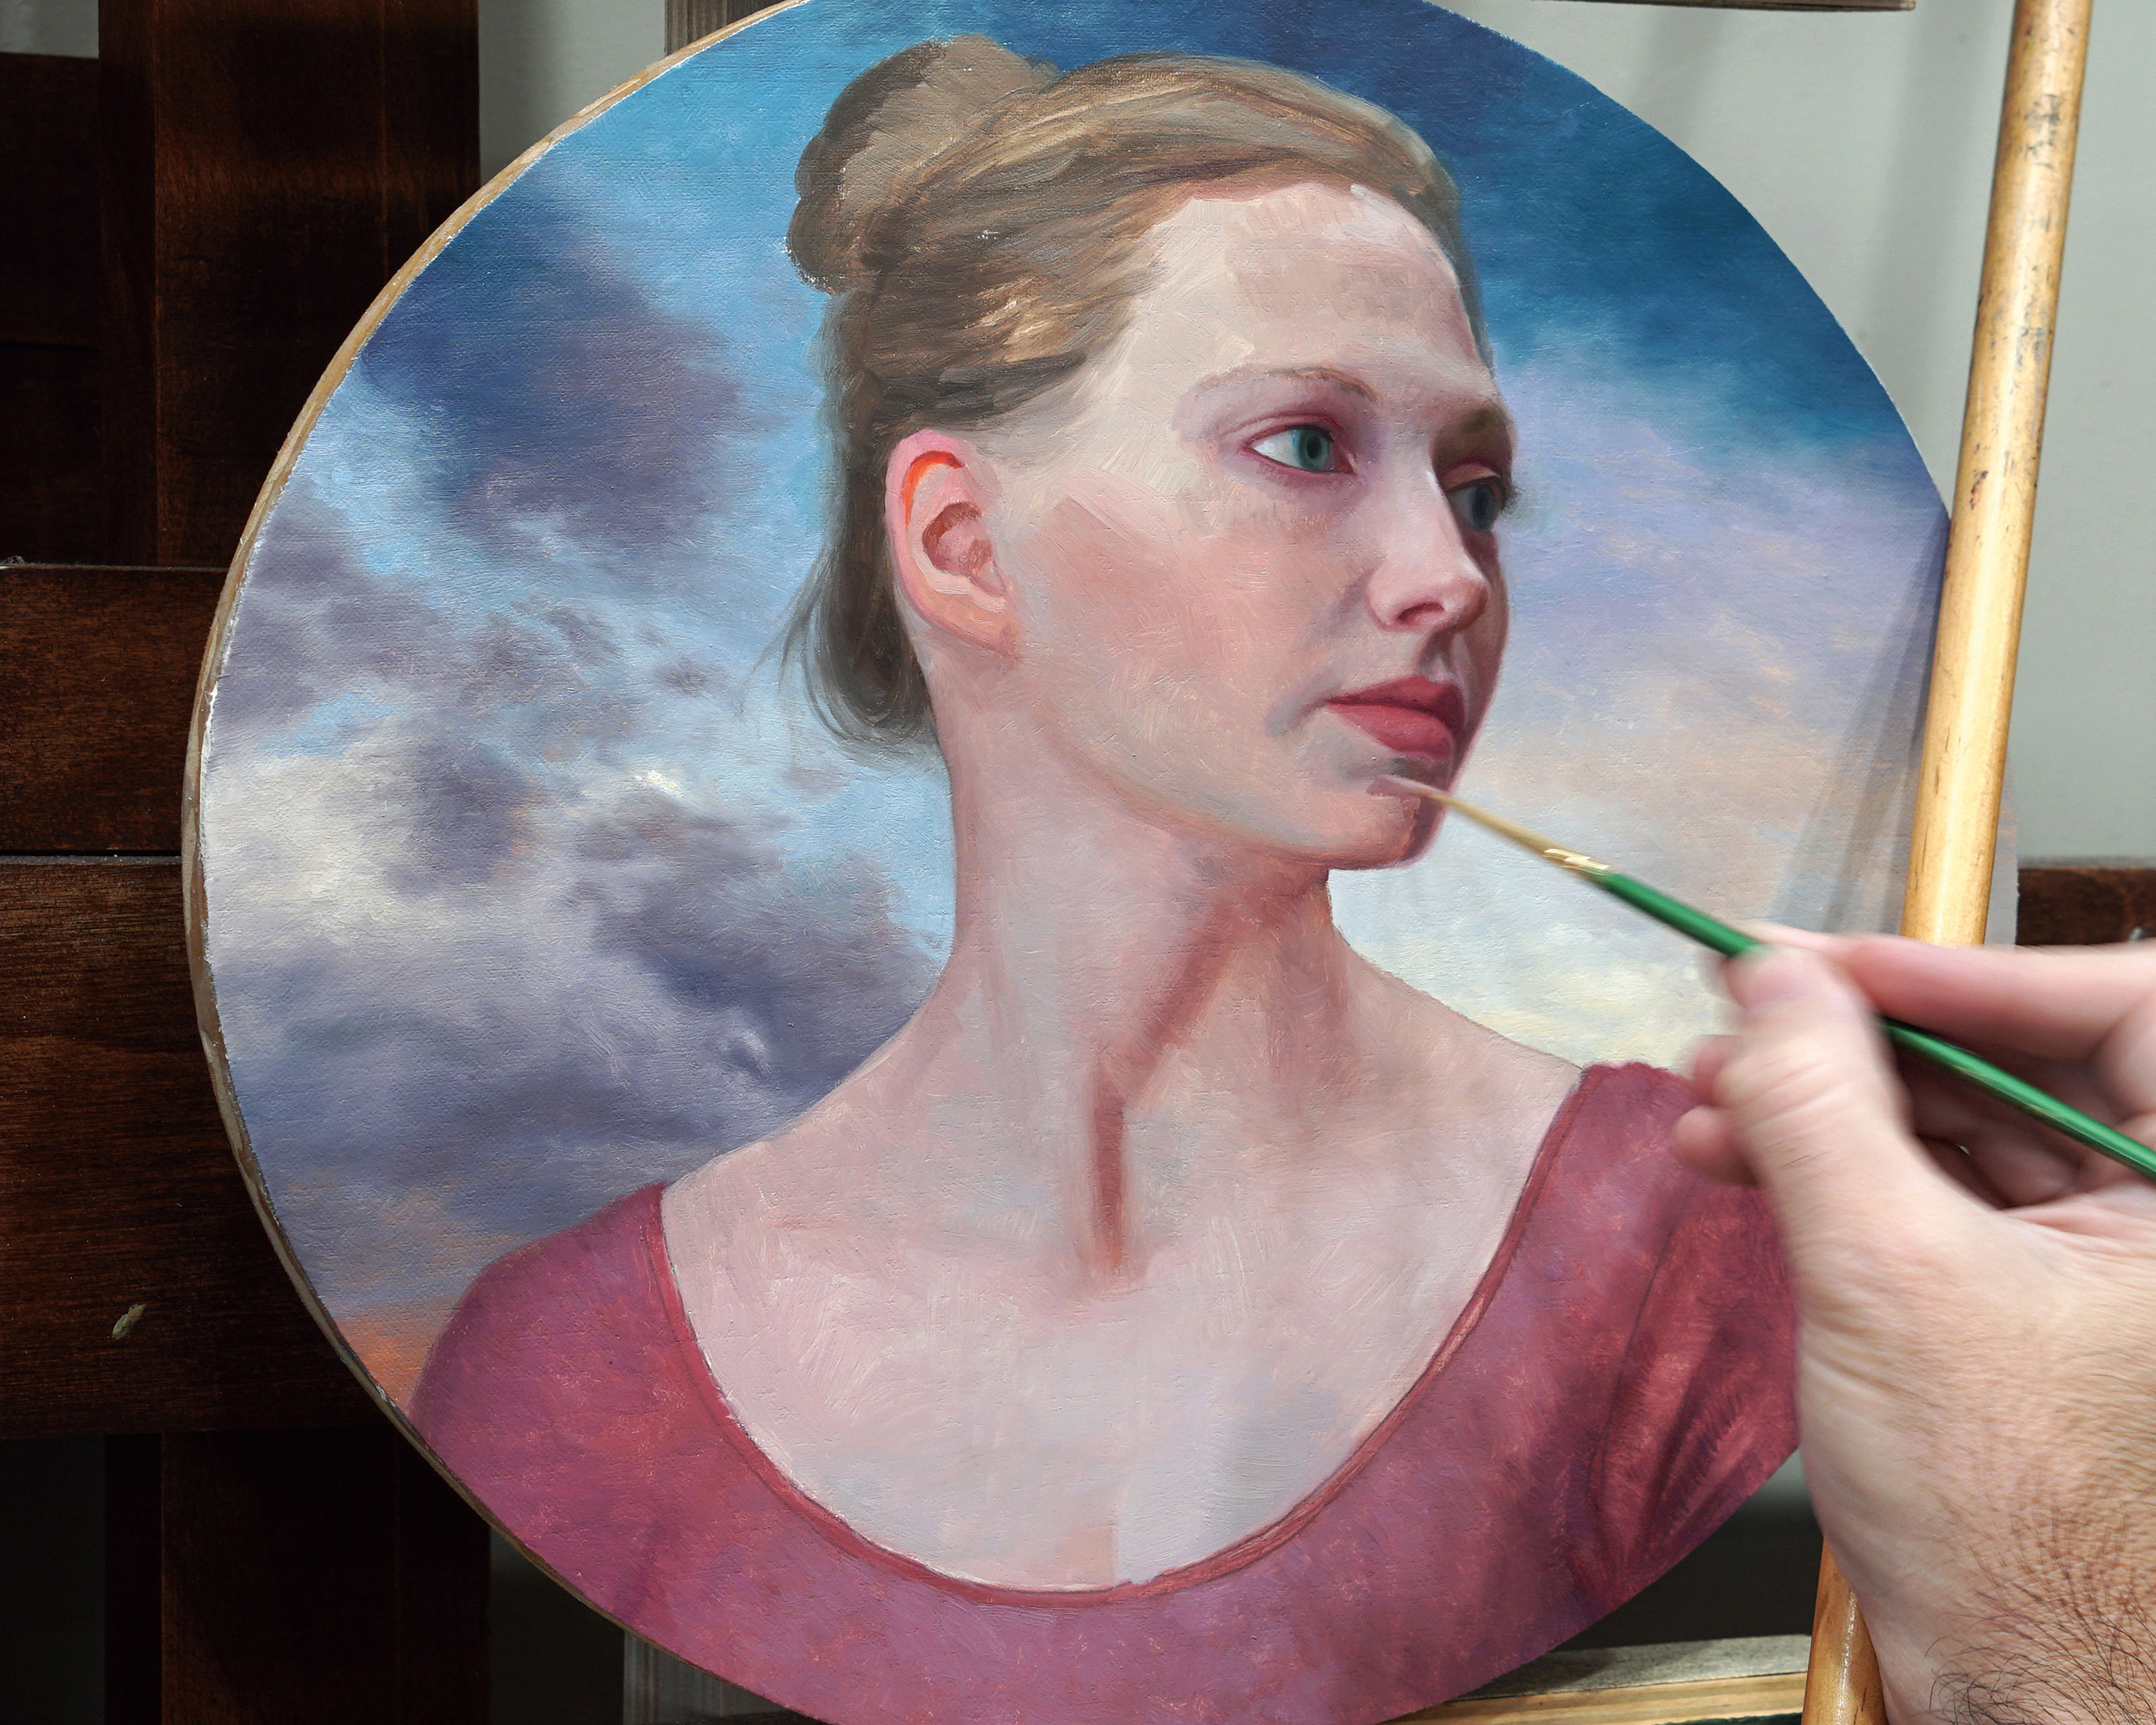
Now the fun begins and I start to push values to their full range. I like to do the first pass in one day if possible and let it dry overnight. Then you can work over the first pass without removing it. I love the second pass because each stroke, put down over the rougher first pass, brings polish and finish.
10. Shape your edges
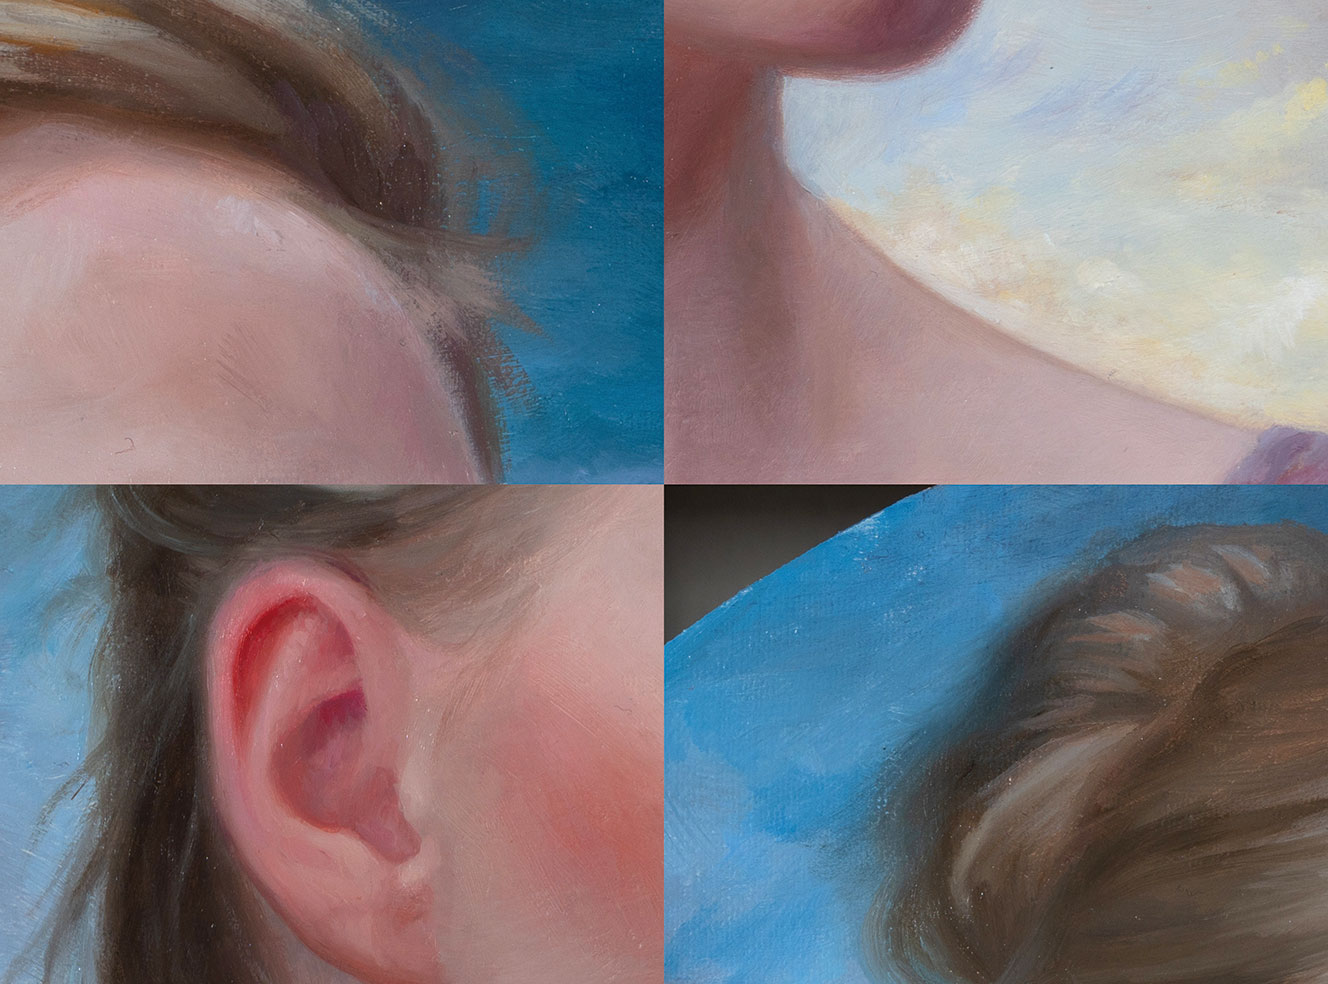
Don’t let all your edges be hard or soft. Contrast creates interest. Use soft edges to ensure your forms merge and turn, and use hard edges to advance forms and draw the eye. Note the softness of the hair generally, but there are a few harder strokes. The ear has a soft outer edge, but some harder internal edges.
11. Detail the clouds
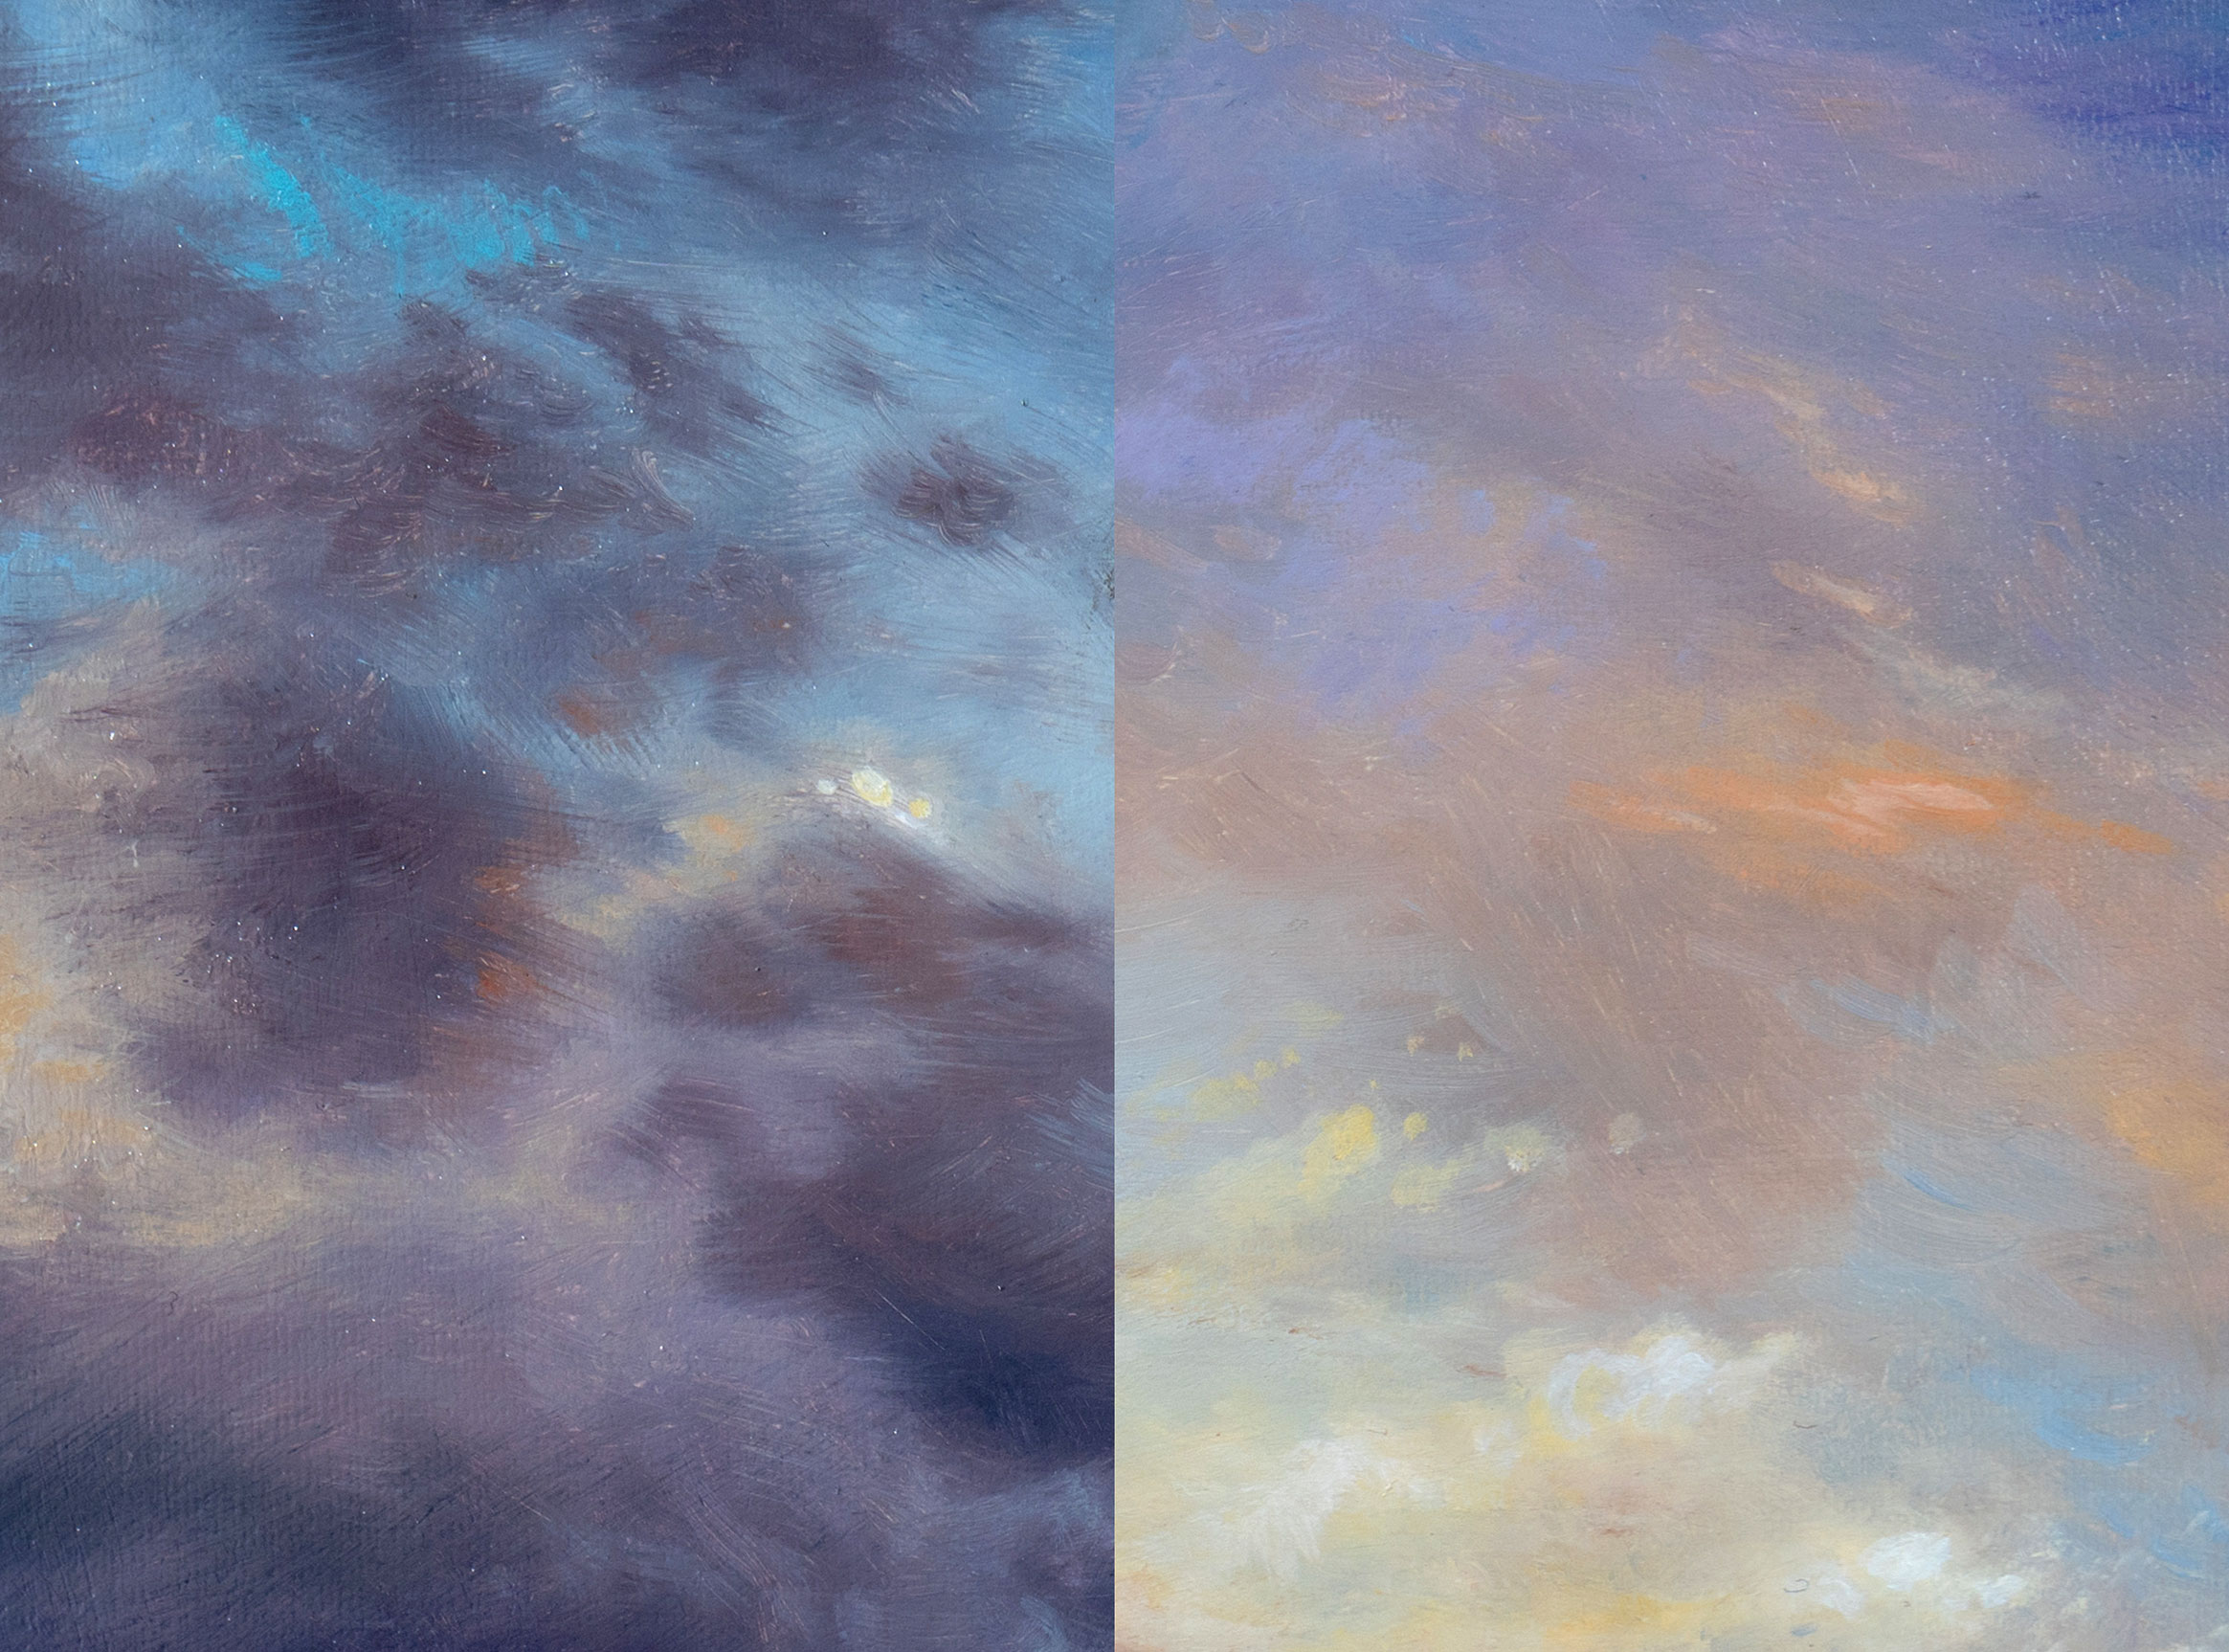
I love painting clouds. You can make them almost any colour and value. They can create whatever shape you need to complement your design. I put them in rough at first and then use a soft brush, like Rosemary & Co.’s Masterstroke long flats to blend them.
12. Render the face
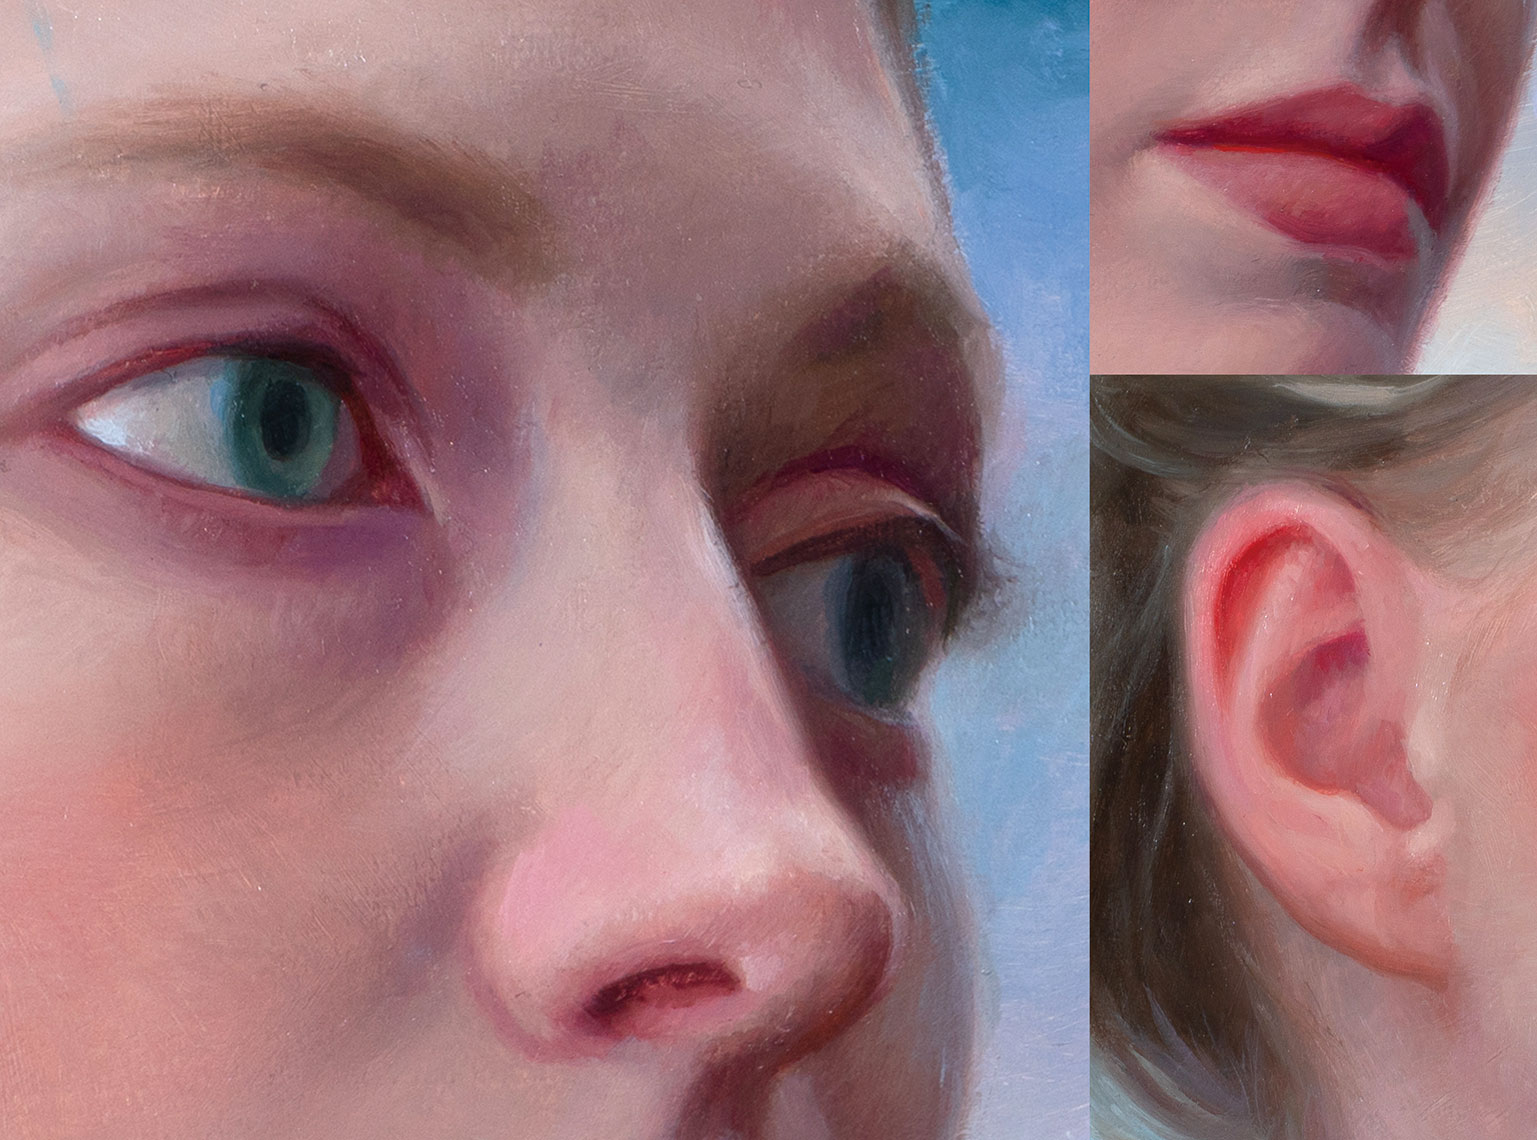
Keep the warmth in the skin. Note where skin touches skin, or is translucent. This is where you’ll get your highest points of saturation in flesh. Look at the light bouncing through, or within the ear and nose. In addition, the line where the lips meet can often have very intense warm and cool reds.
13. Add the finishing touches
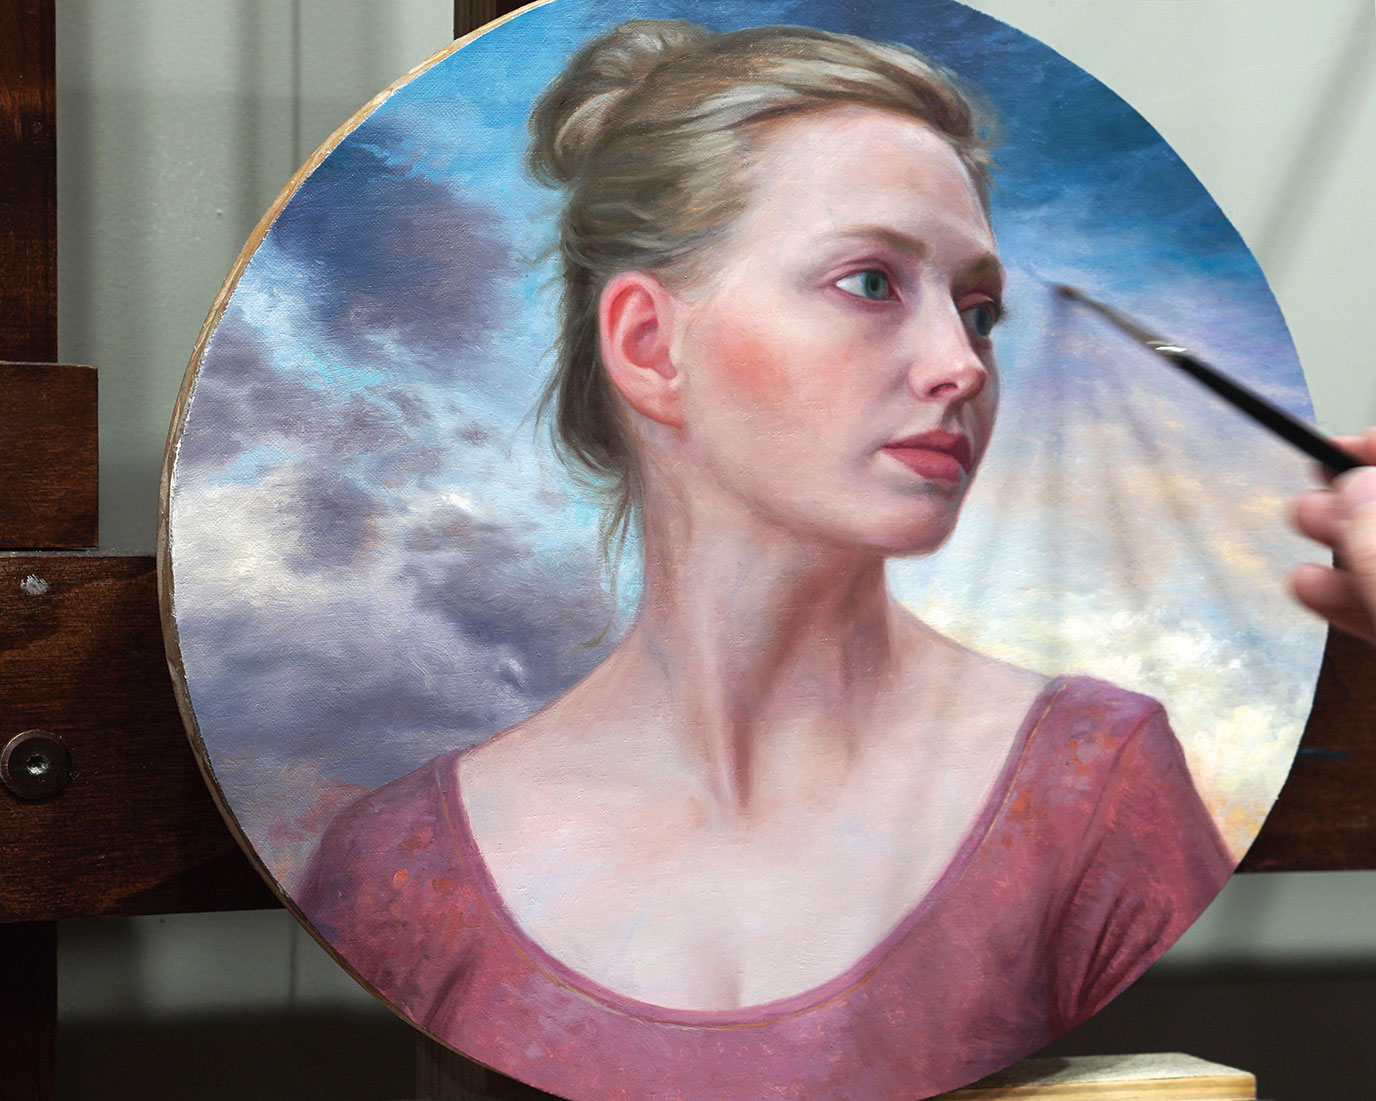
At this stage I like to put my reference away and make my decisions based on what I think would enhance the painting. It’s often this last five to 10 per cent of work that really makes the painting come together. I like to add spots of intense colour, and refine edges and values.
14. Make an assessment
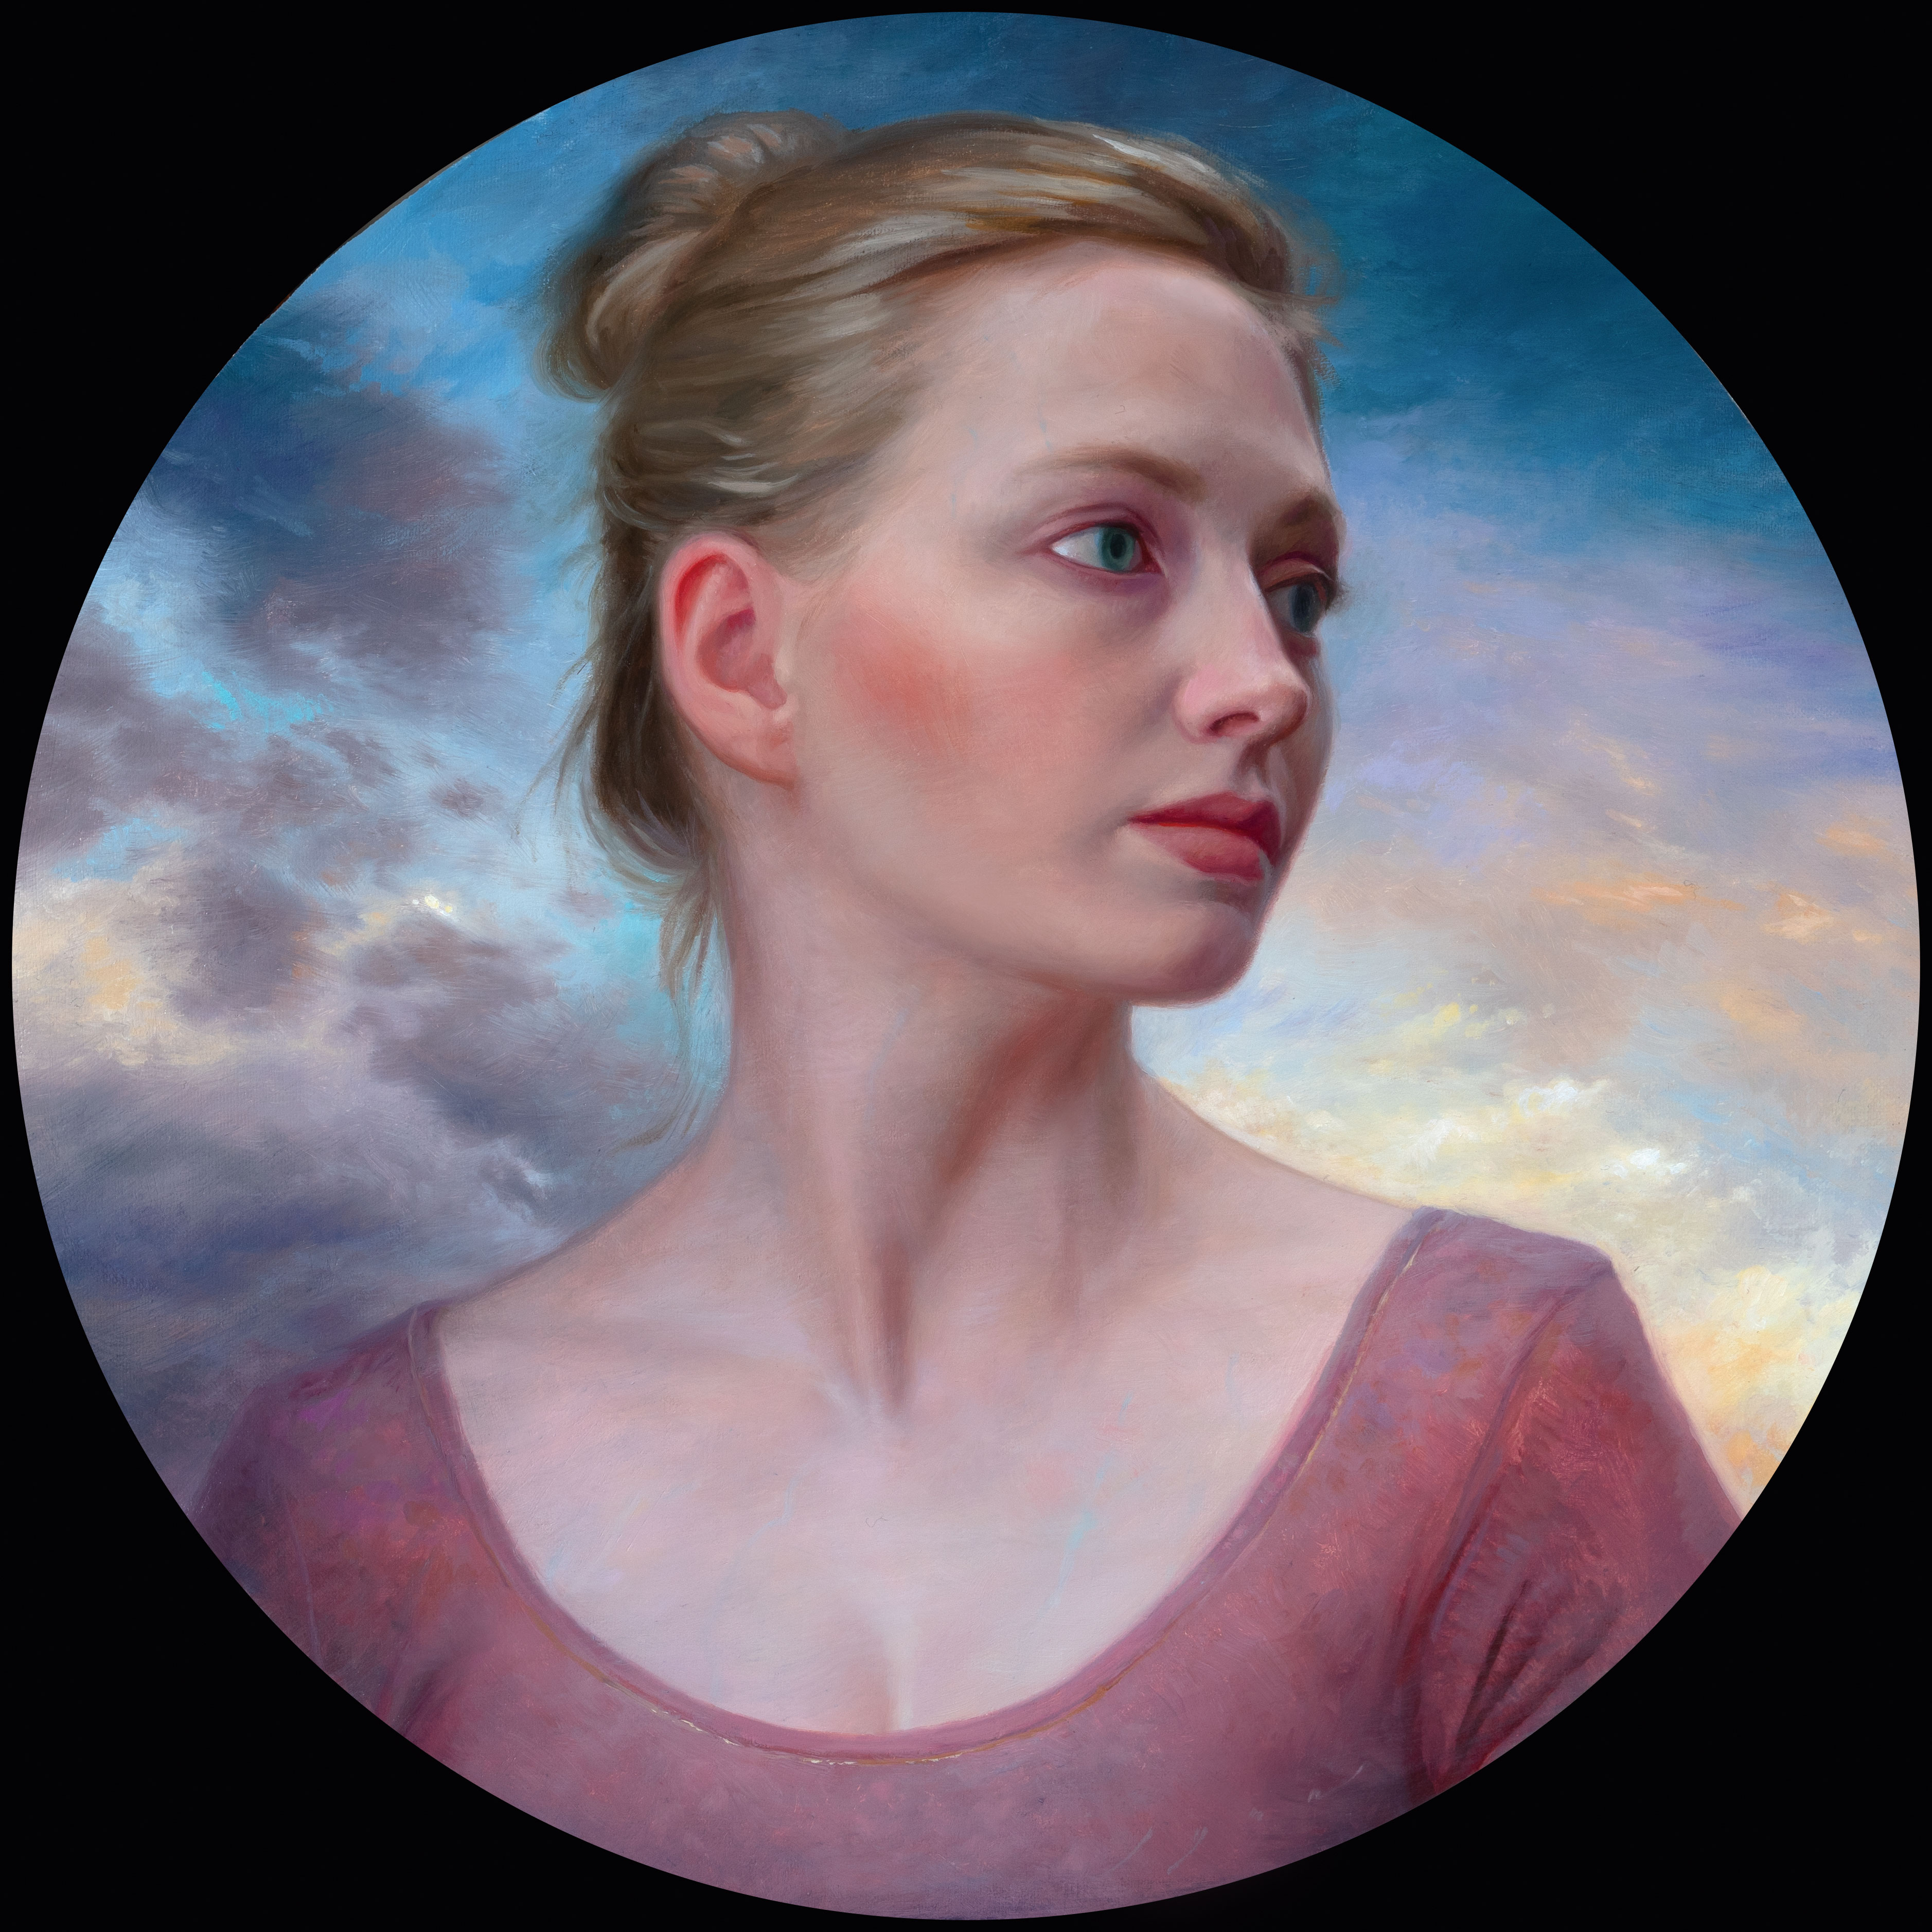
When you decide that the painting is complete, take some time to review your efforts. Compare it to your inspiration and let yourself be critical and kind. Identify your successes and shortcomings so that you can apply that experience to your next painting. Learning and improving is one of the great pleasures in life!
15. Set it off with a frame
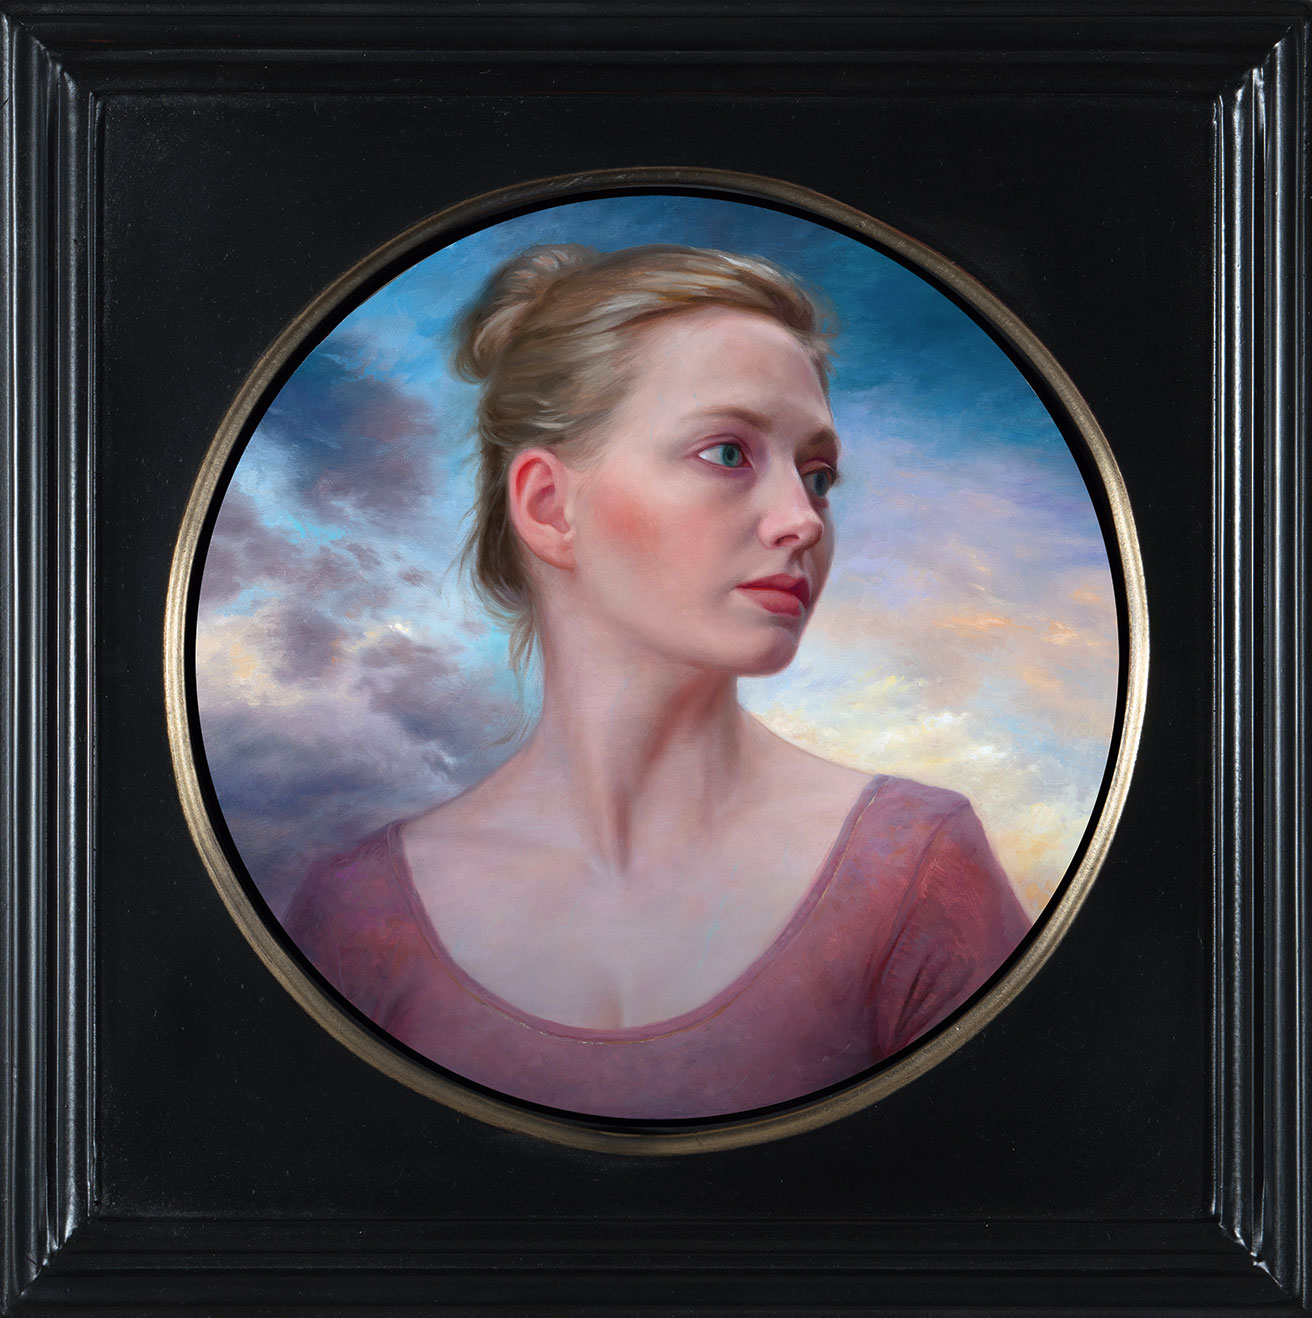
Nothing is sadder than a great work, poorly framed. Find a good framer and they can take a good painting and make it great. In this case, Michael Graham at Masterworks Frames created this beautiful custom frame with 16k gold leafing. He also cut the panels for the frame where they ‘float’ when mounted with velcro. If you need other materials to make your work sing, check out this selection of the best art supplies.
This article was originally published in issue 169 of ImagineFX, the world's best-selling magazine for digital artists. Subscribe to ImagineFX.
Related articles:
Get the Creative Bloq Newsletter
Daily design news, reviews, how-tos and more, as picked by the editors.

Thank you for reading 5 articles this month* Join now for unlimited access
Enjoy your first month for just £1 / $1 / €1
*Read 5 free articles per month without a subscription

Join now for unlimited access
Try first month for just £1 / $1 / €1
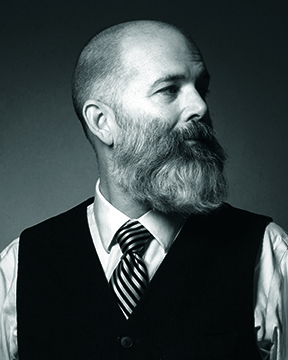
Howard has worked in the video game industry as a concept artist and art director. He has also freelanced on properties like Magic: the Gathering and Warcraft, as well as worked as a fine artist for galleries.
- Georgia CogganEditor
