How to make your own character bible
Turbo-charge your character designs with key advice from Pictoplasma's workshops.
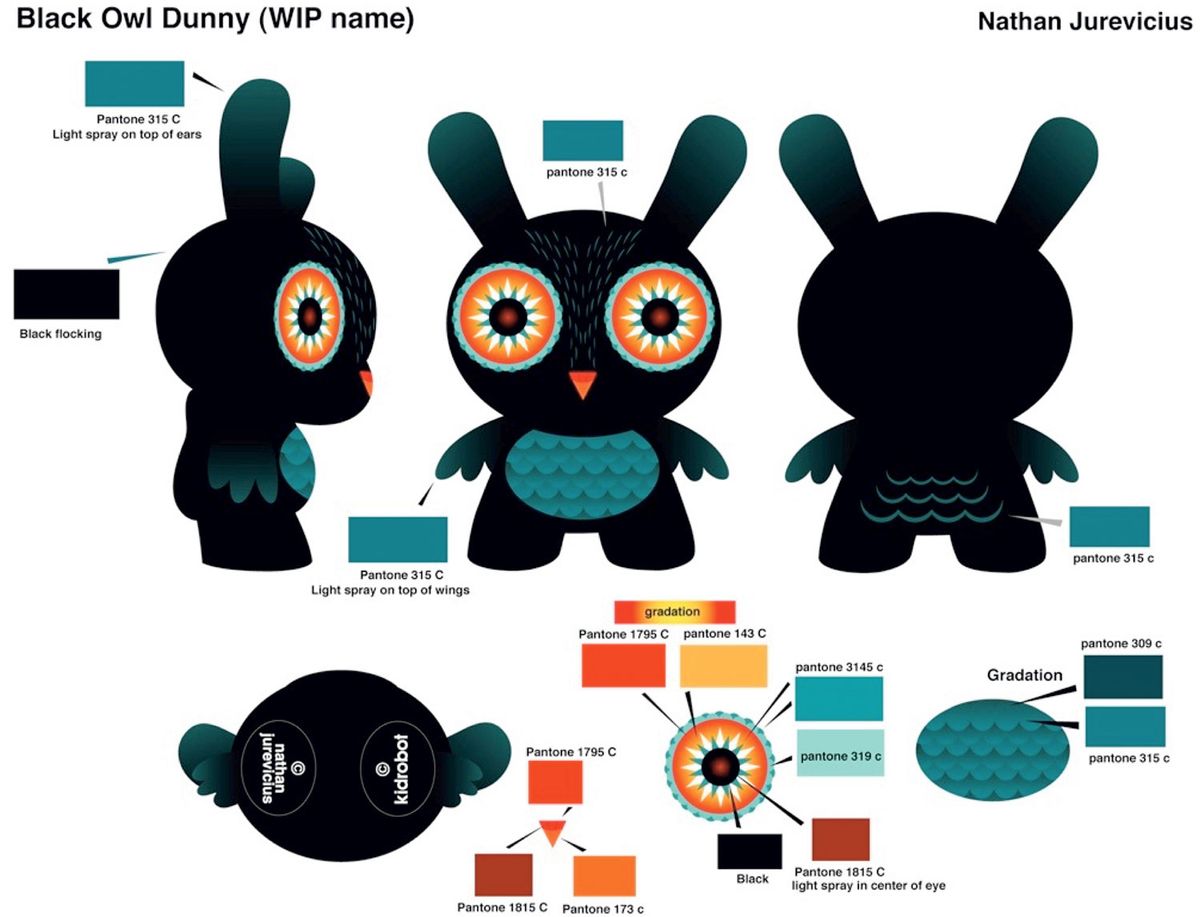
For anyone working professionally in character design, a character bible is one of the most essential elements of your workflow. A character bible is the document that gathers the subject's design, turnaround, biography, hero poses, colour schemes, props and worlds in a precise, easily understood package. It's used in numerous fields of work, including animation, game development and book creation.
A well-crafted character bible is the key to opening new doors, and is something you can hold in your hand to help you communicate your ideas to any potential collaborator or producer.
In Pictoplasma Academy workshops, tutors Rilla Alexander and Nathan Jurevicius pay a lot of attention to all of the different aspects of the character bible, with the aim of encouraging attendees to take their ideas and concepts to the next level. Here, Pictoplasma shares some tips from the character bible workshop, to help you learn how to make your own character bible document.
Workshopping characters
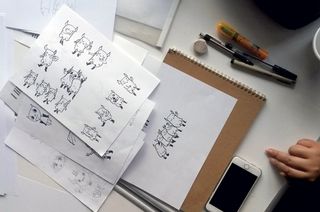
The very first thing our tutors get the students to do is obsessively draw their character over and over. Despite having drawn a character for years, attendees are challenged to look at new ways of seeing their design. The idea of this exercise is to break away from old habits and open up possibilities of what could be revealed if pushed.
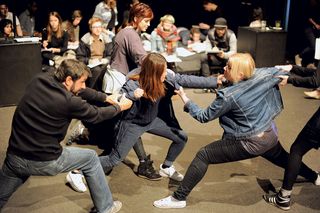
Some of the most enjoyable and fruitful exercises involve mirroring facial expressions, human puppetry and a mind-bending fan art session. In this last exercise, everyone comes together for an intense speed-drawing event, interpreting the entire group's characters. You learn a lot from the interpretation and exaggeration of others!
Character poses
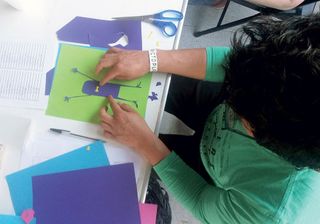
Alexander and Jurevicius also ask attendees to work just on the silhouette of their character and cut it out from board paper. When it comes to the silhouette of your character and its most characteristic poses, it is good to reflect on basic psychological rules, such as a triangular shape standing for danger, a circle for friendliness and a rectangular form for strength.
Stressing one or combining two in your design will influence how your character appears to others. The fun part is when they take this to the next step and ask students to create paper masks of their characters. Students then act out and embody their creation through a number of interactive exercises.
Get the Creative Bloq Newsletter
Daily design news, reviews, how-tos and more, as picked by the editors.
This leads directly to exposing the personality of your character. As much as you work on the outer qualities, you should also think about the inner ones. We have found it practical to do a lot of brainstorming and free association – for example, filling in lists of things you like to draw, writing short biographies for your character and reading them to fellow attendees, putting your characters in a defined situation and deciding how they will react.
The more you can imagine your character as a being that is independent from your creation, the more you will instinctively find out about its personality.
Material world
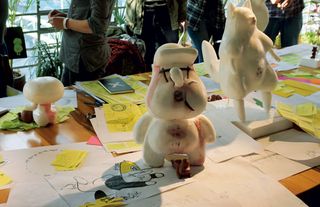
All this is done without a computer – attendees will just need a pencil or pen and paper, and occasionally some board paper, scissors, glue and staples. Next is plasticine, as you need to put your character in front of you to get a 360° vision of it. As you hold your creation in your hands, touch it and take a look at it from all sides, it's a great moment that feels like you've created a new life. You will find out a lot at this stage. Things that look great in 2D don't necessarily translate well or easily into the third dimension.
If the medium you want to take your character into will remain flat, you might feel you don't need this information, but even if you aim for a two-dimensional illustration, it's good to know about your creation's volume and corporeality. Working with your own plasticine model will often give you a new understanding.
It is also essential for you to draw the turnaround – six views that show your character from front and back, both sides, bottom and top. Again, you might never want to feature your character from these perspectives, but it helps to understand how it could look from different angles early on.
Alexander and Jurevicius encourage attendees to document all this material on the wall, gradually building up a collection that tells the story of their character. It's at this point that we get students to transform their sketches into vector graphics, doing clean up, deciding on the most important poses, and making turnaround views precise.
Background stories
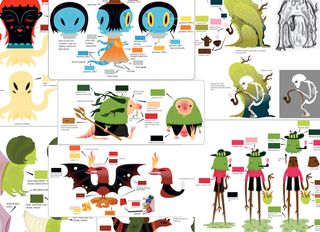
At this stage, the character bible is finessed and polished by adding short biographies of your main character(s), a synopsis of the project and a definition of colour schemes in precise values (such as CMYK, RGB or Pantone). This process could potentially also include sidekicks, props that are important to the character or a map of the world the project is set in.
Even if you never reveal these aspects of your character to the wider world, doing these exercises will better inform you of your character and the world it inhabits, and in the long-term, help you to create a more personal and rewarding final project.
Once you start pitching, communicating to others or passing your character on for production, the character bible will be an essential tool for any collaboration.
Book a Pictoplasma Academy workshop here
This article originally appeared in Computer Arts issue 264; buy it here!
Related articles:

Thank you for reading 5 articles this month* Join now for unlimited access
Enjoy your first month for just £1 / $1 / €1
*Read 5 free articles per month without a subscription

Join now for unlimited access
Try first month for just £1 / $1 / €1
