Make vehicle animations with iClone 7
Discover an easy method for creating four-wheel vehicle animations.
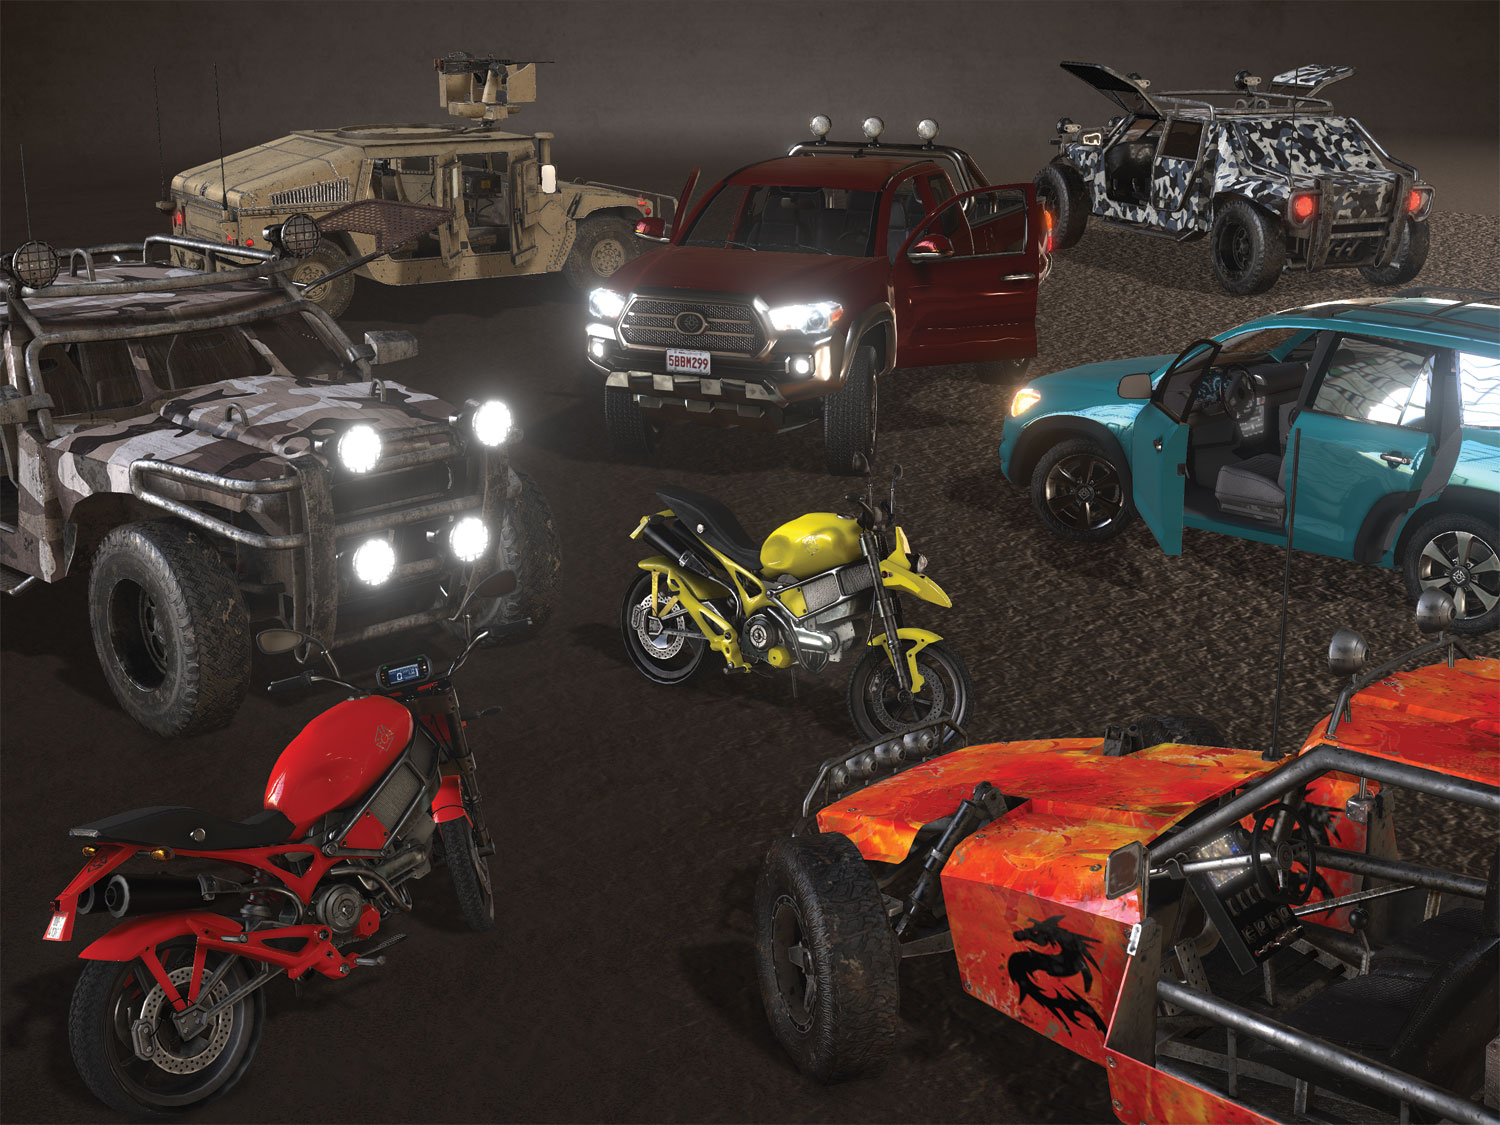
Creating animations or 3D movies involving vehicles with wheels can present some complications, as the motion of the model has to be synchronised with the rotation of its wheels. Depending on the speed of the vehicle, the wheels have to spin faster or slower in order to create a convincing effect.
Other factors like friction and inertia have to be considered, as occasionally the wheels can drift over the terrain when the vehicle accelerates or suddenly brakes. In the first example, the wheels start spinning fast but the car's body motion is more gradual, gaining speed and inertia until it's fully synchronised with the wheel's rotation. In the second case it happens just the opposite, as the wheels stop spinning but the car keeps moving while drifting over the terrain until it gradually stops.
In addition, if the models are moving over uneven terrains, then they have to follow the slopes and also react to obstacles like bumps or cliffs. For example, if the vehicle goes fast through a significant level difference then it should jump and fly over the terrain, varying the length and duration of the jump depending on the speed of the vehicle.
A while back, developer Reallusion provided an iClone content pack called Physics Toolbox, which offers multiple solutions for adding forces and structures to iClone animations. In this tutorial, I will focus on a 'four-wheel base' structure, which will serve to solve all the scenarios mentioned previously in a very easy way. Watch the video and/or follow my step-by-step process below.
Download the files for this tutorial.
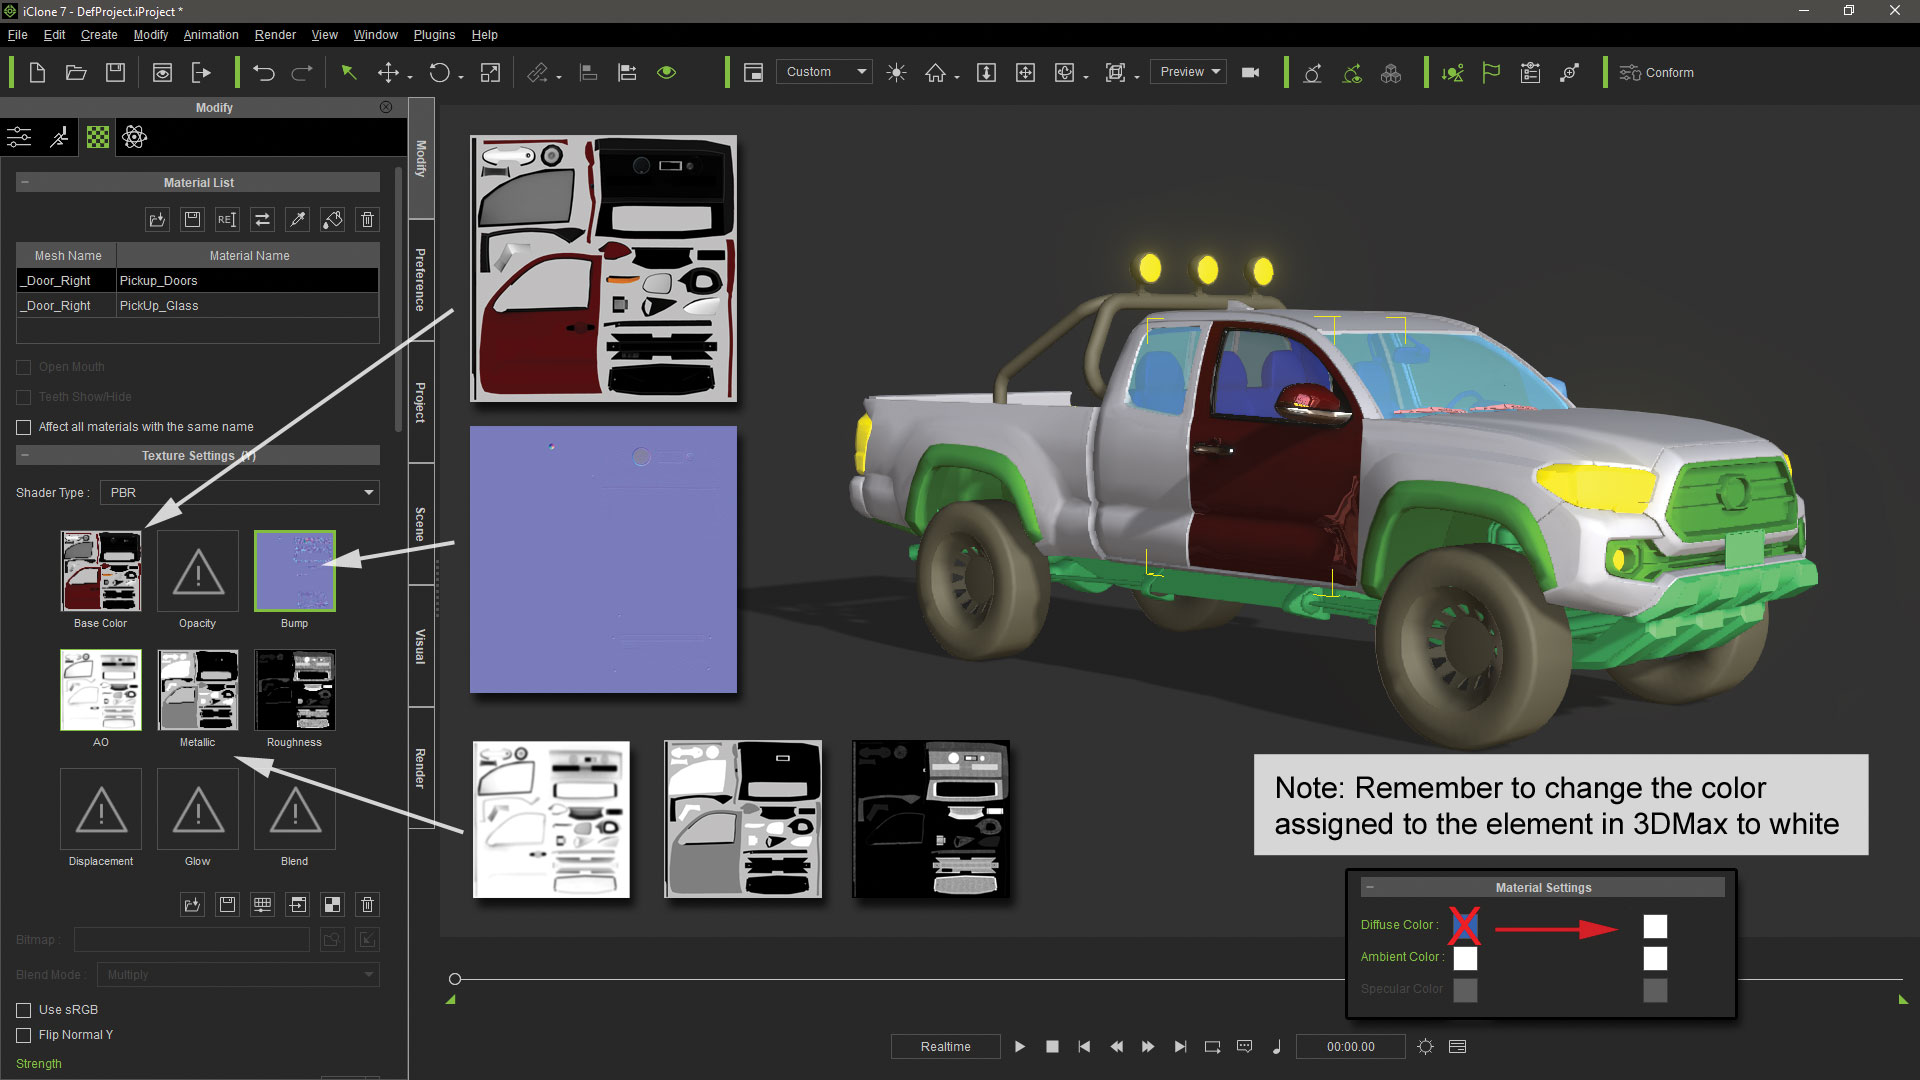
01. Prepare the car model
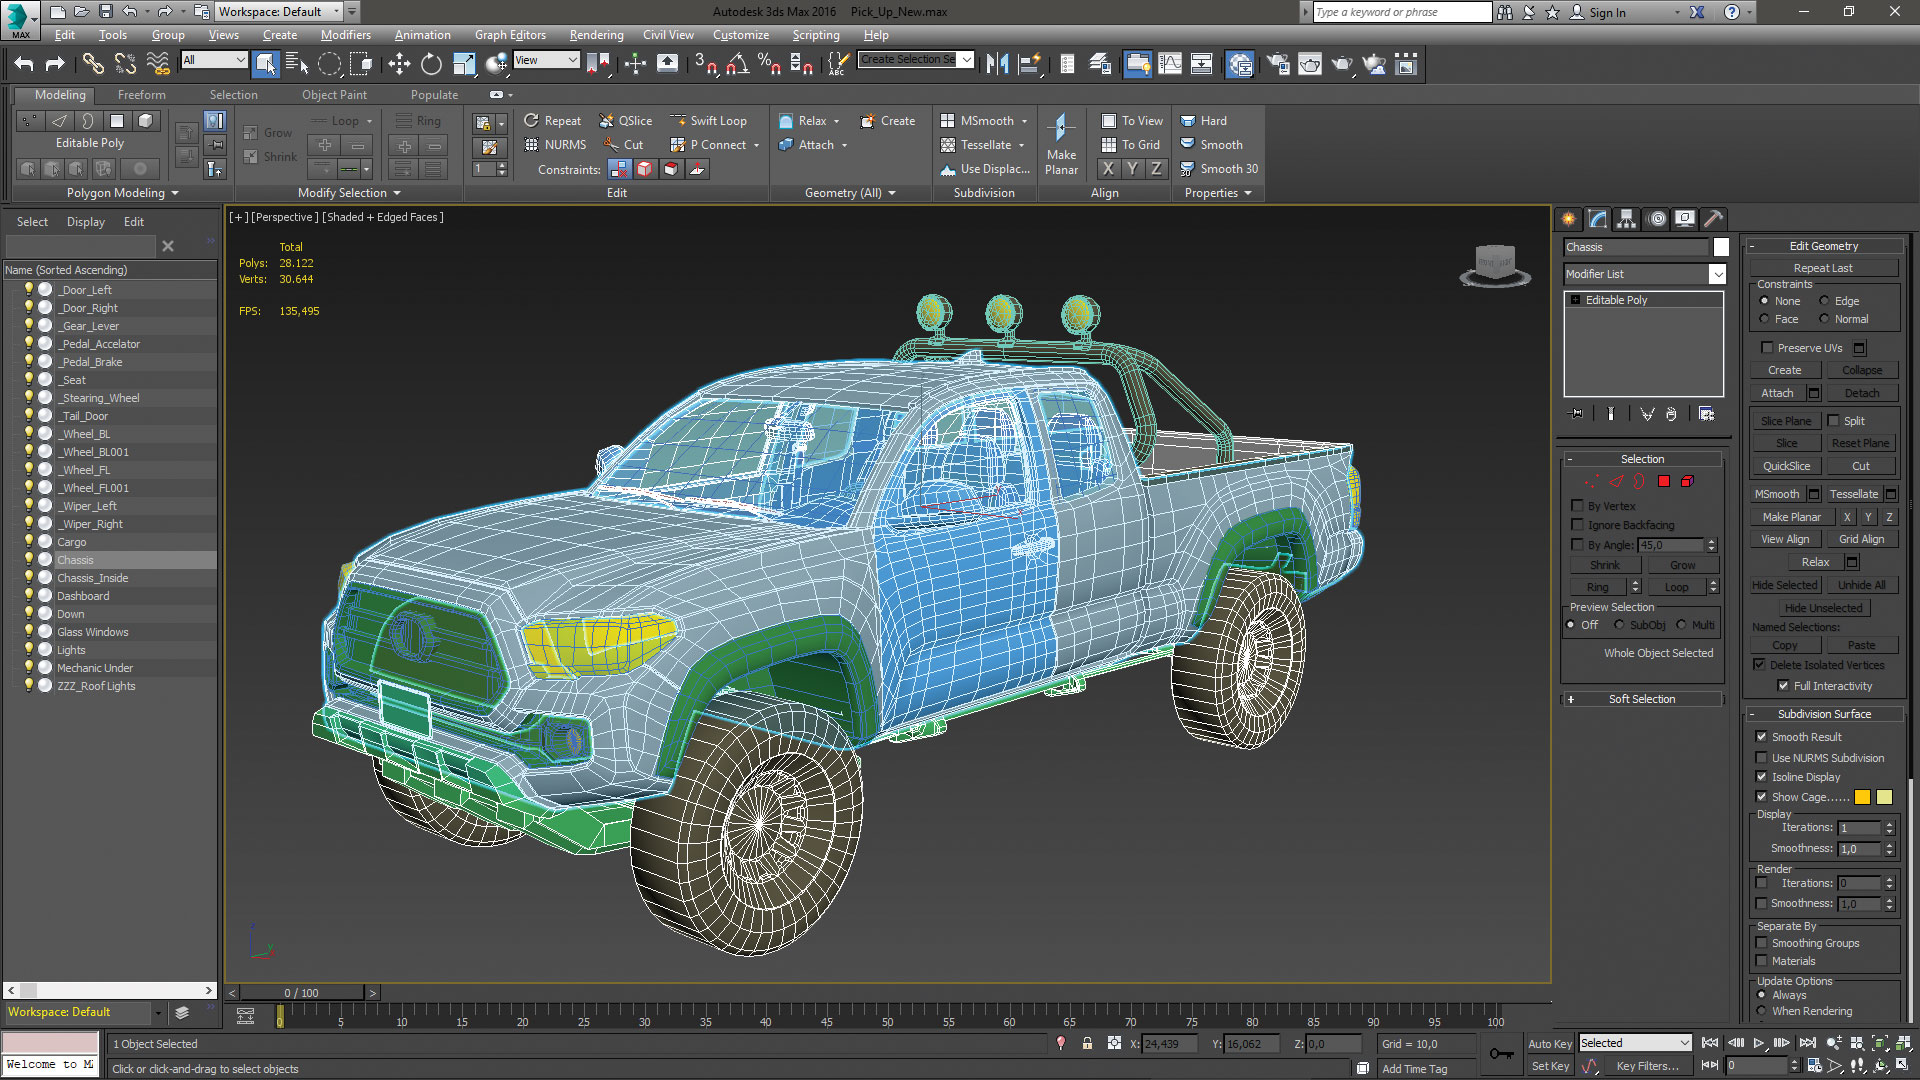
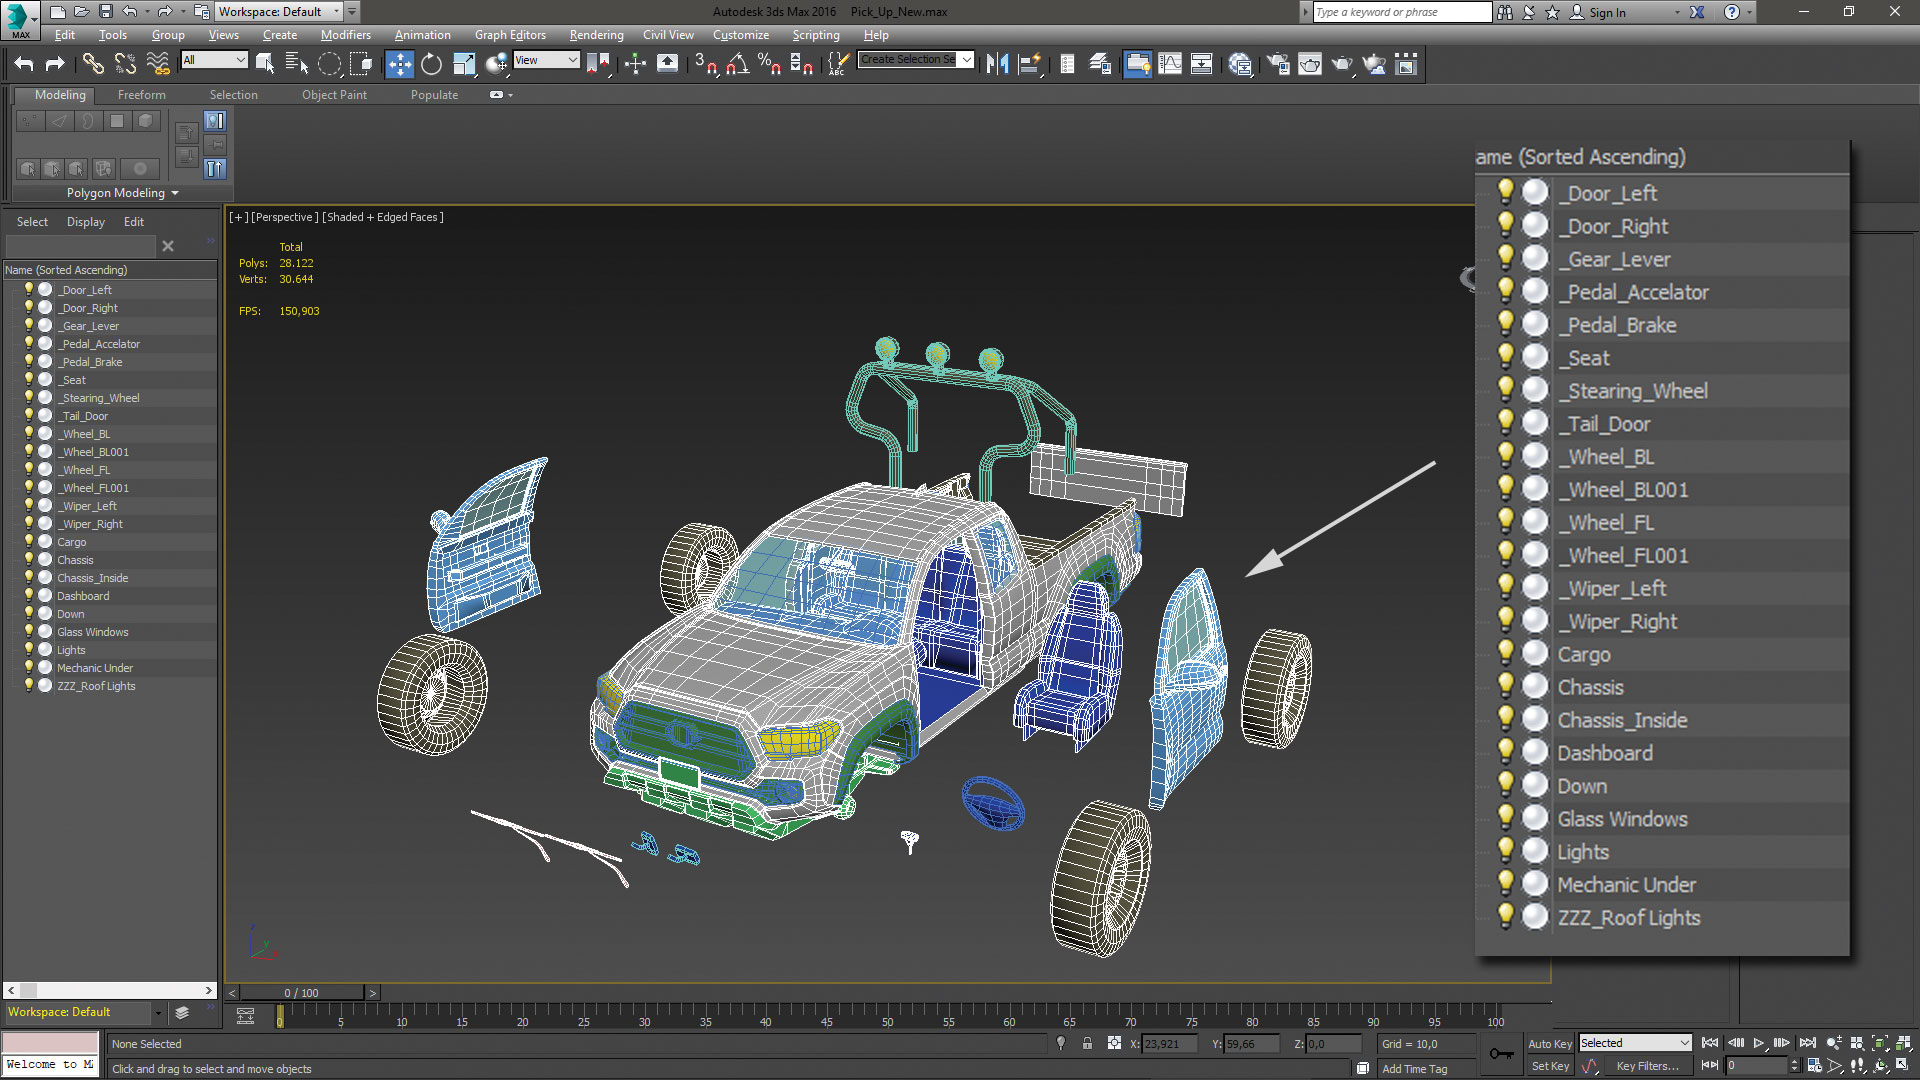
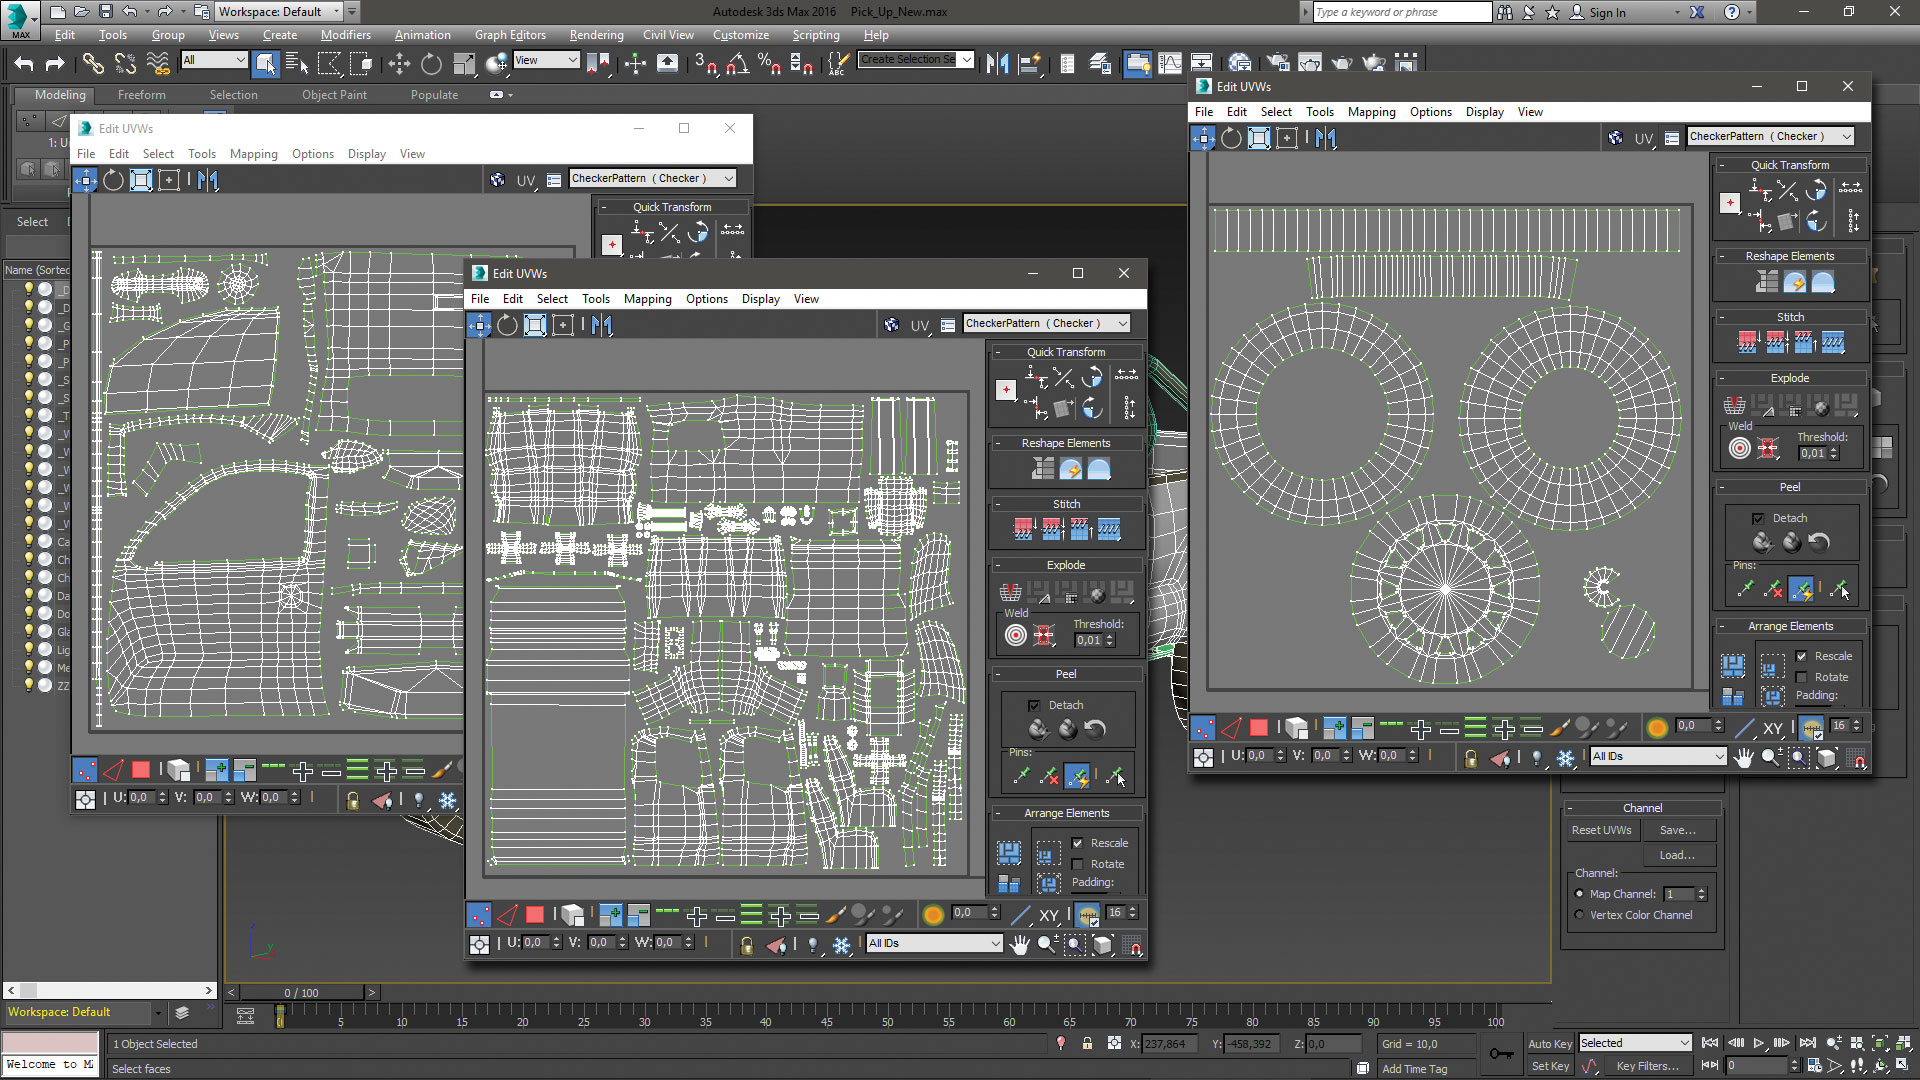
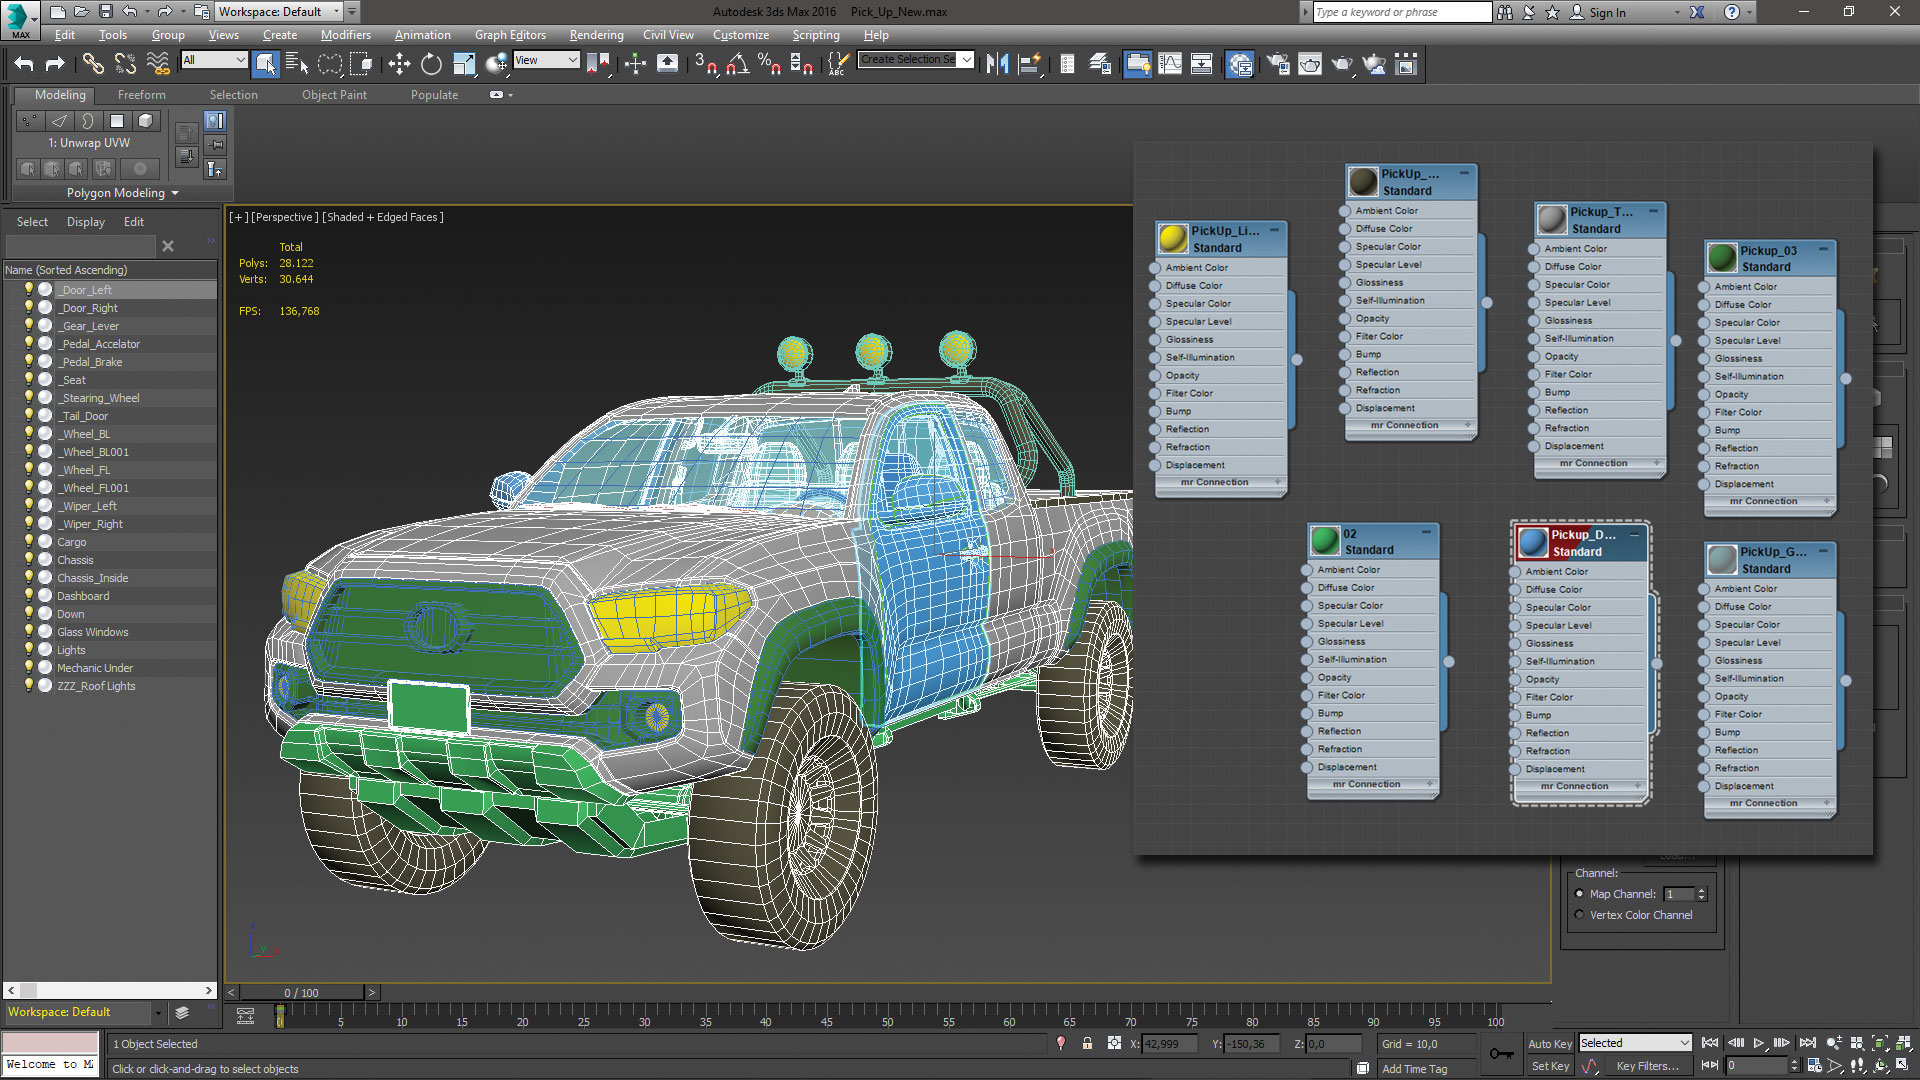
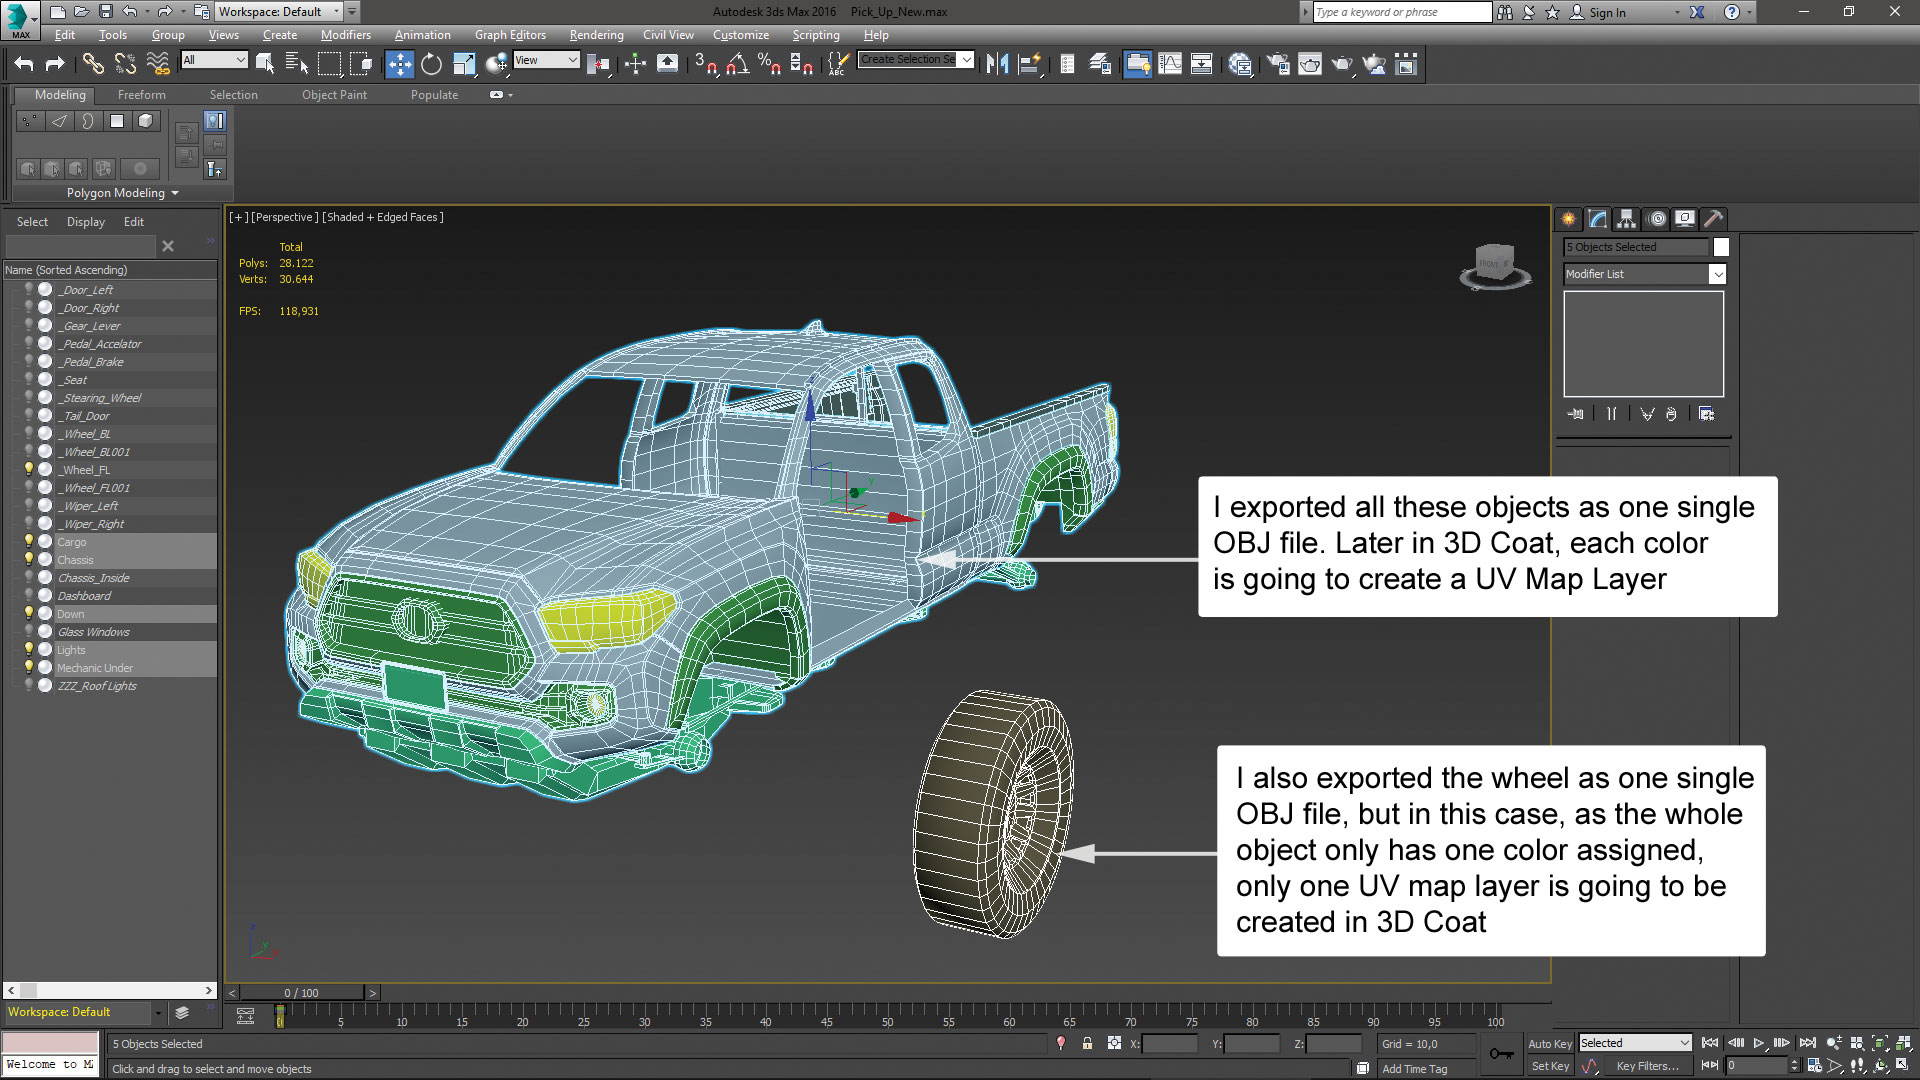
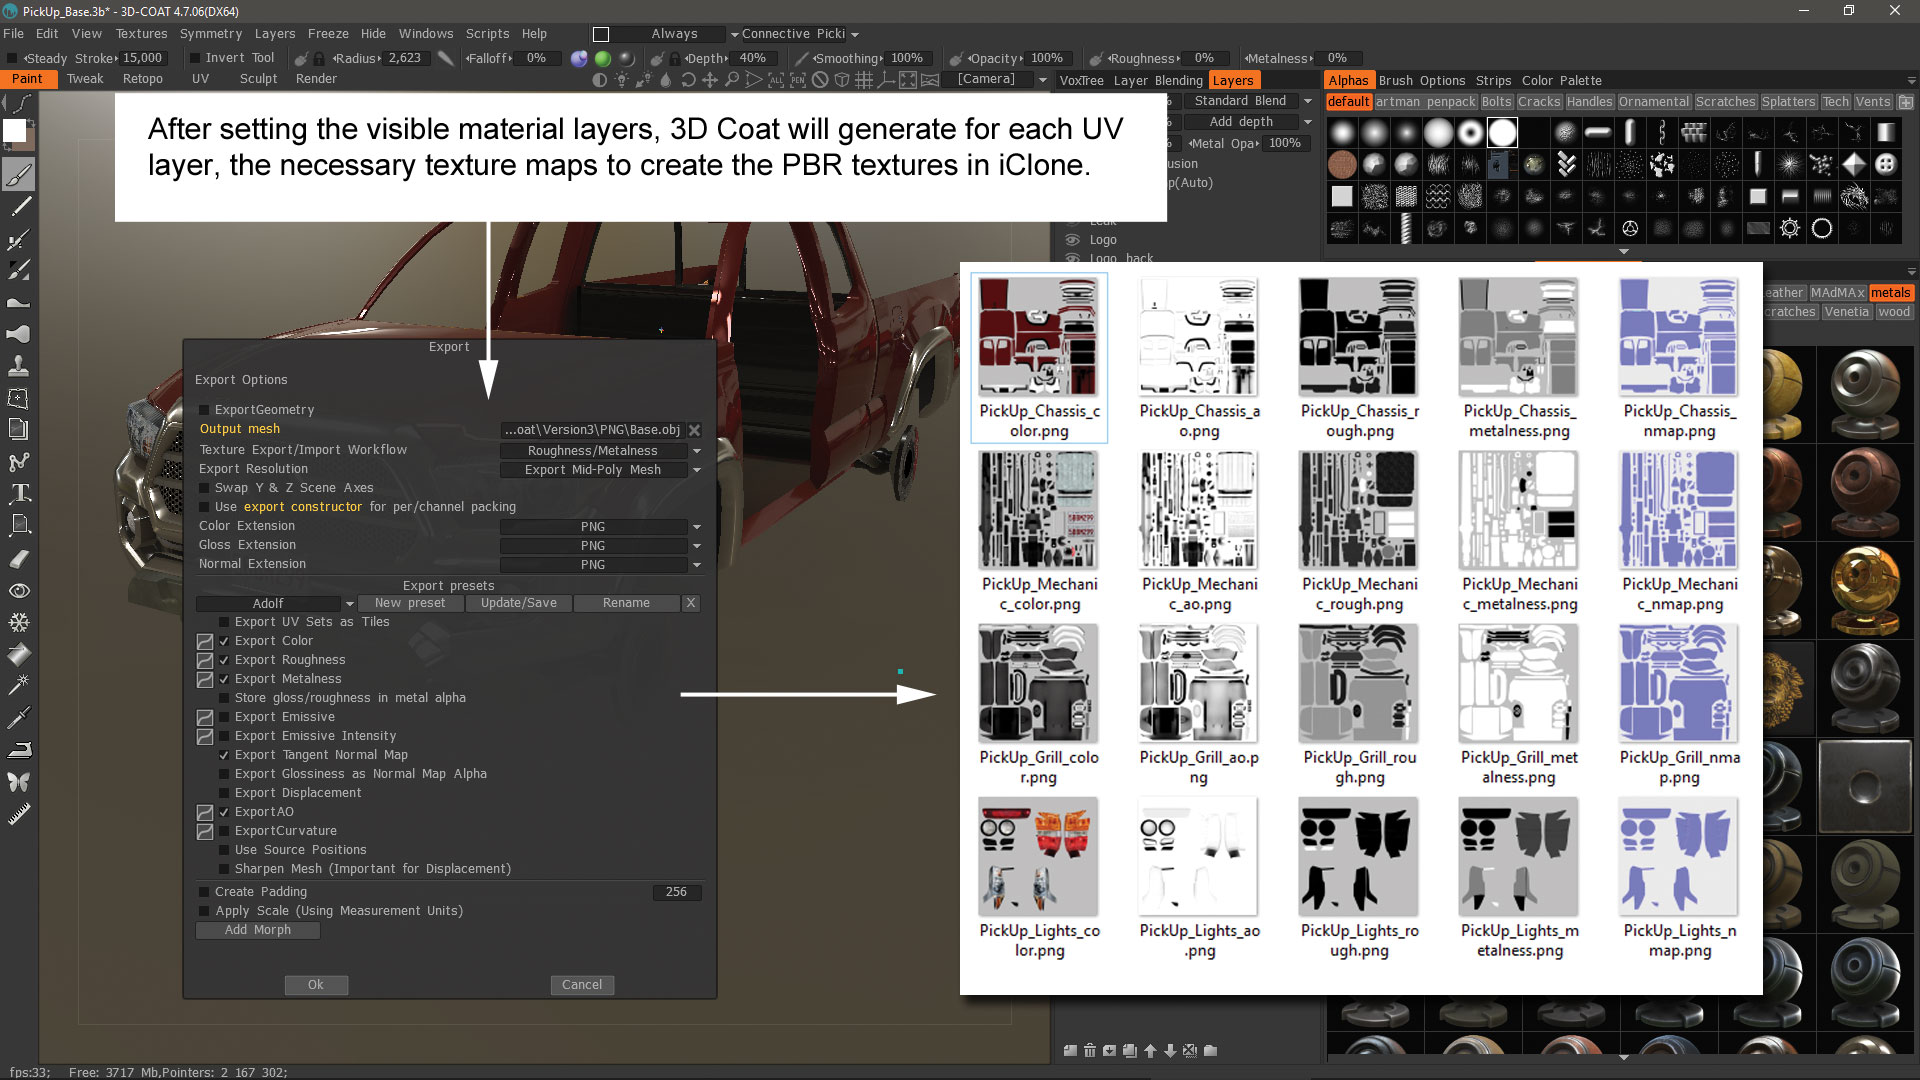
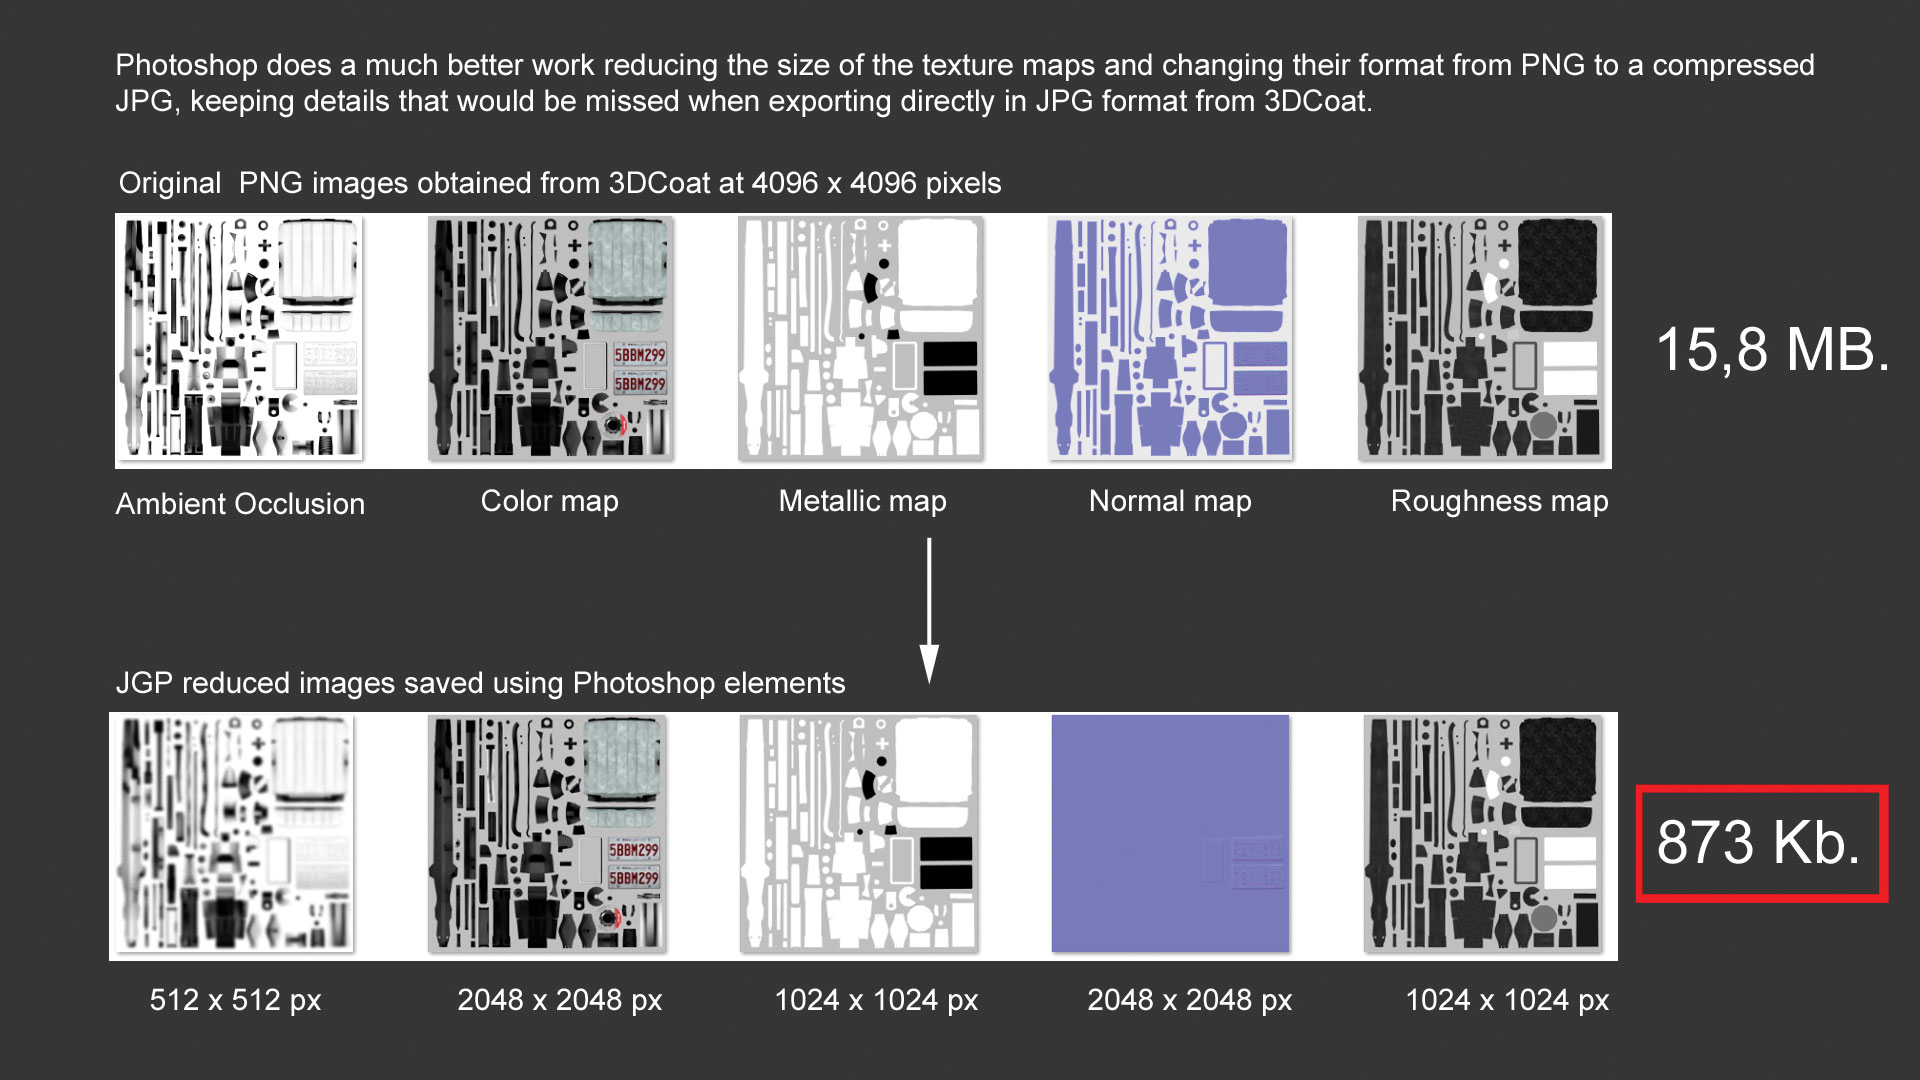
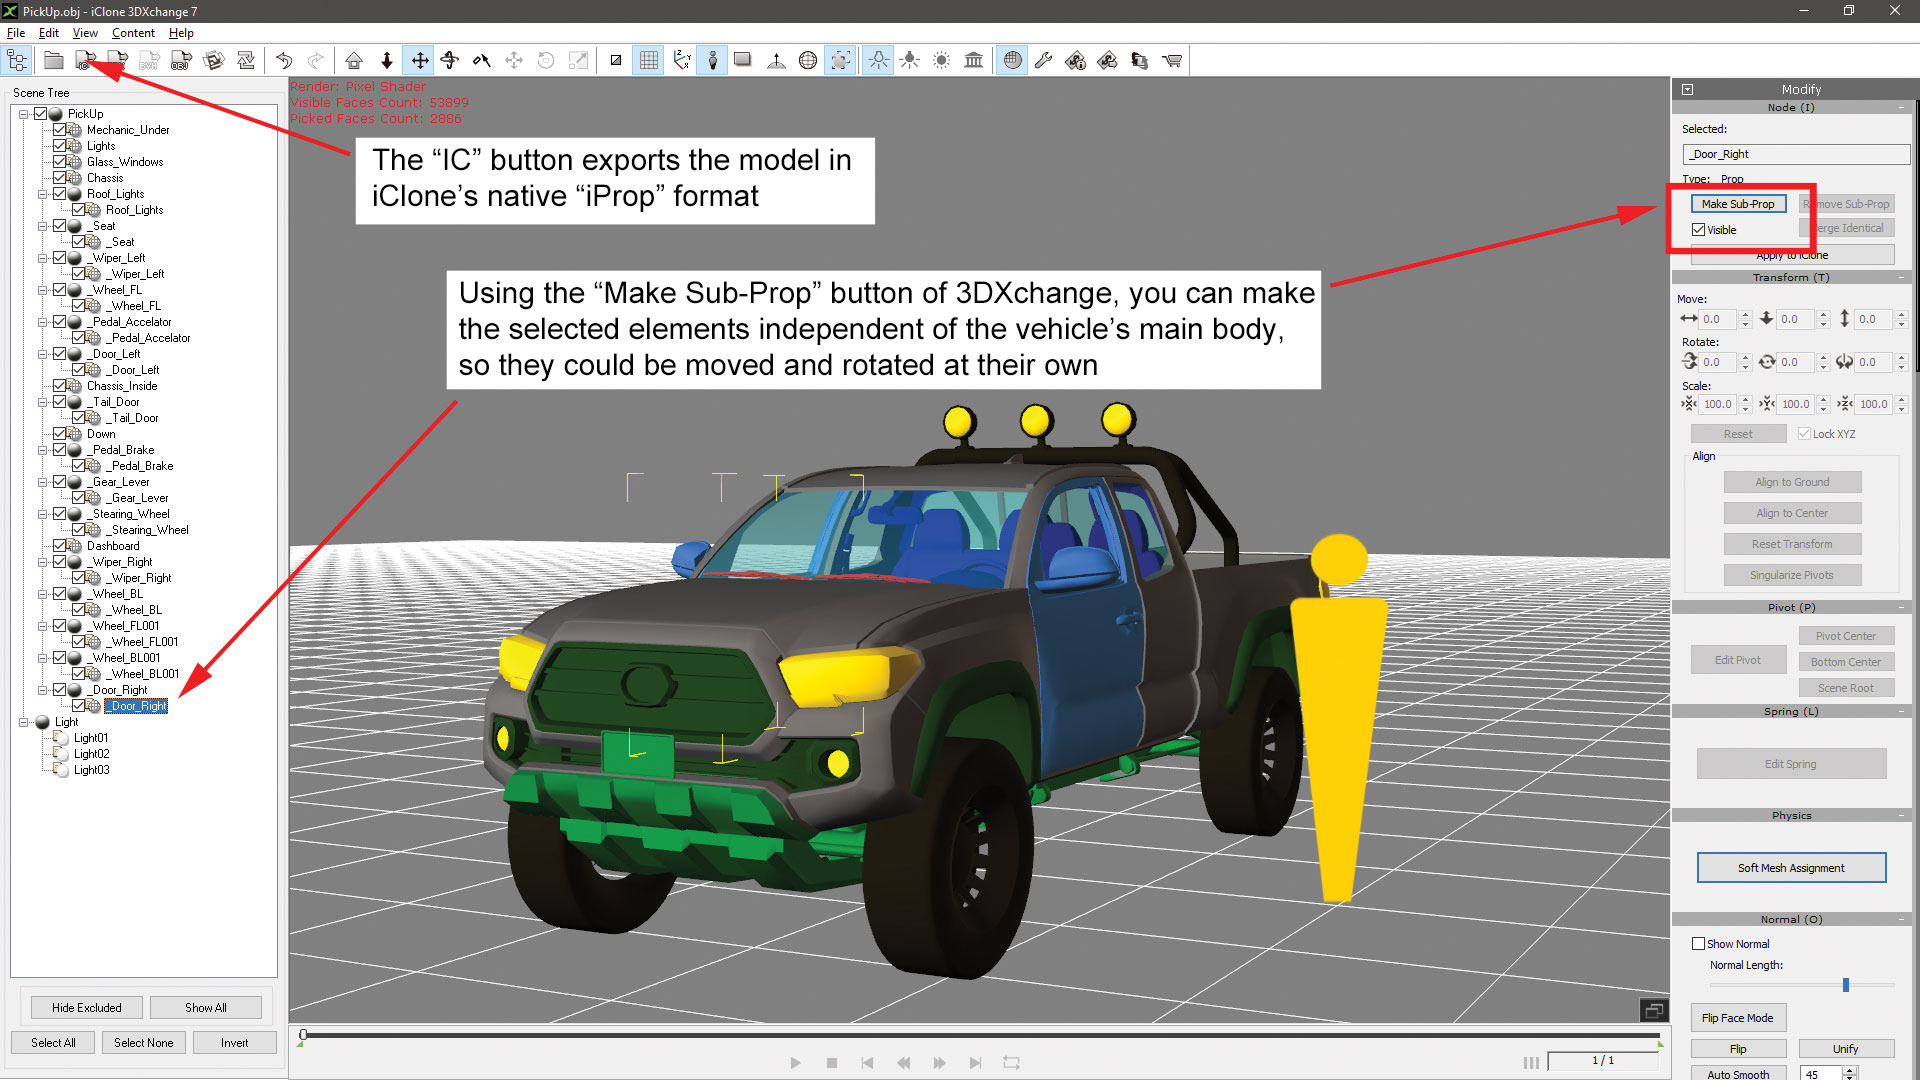
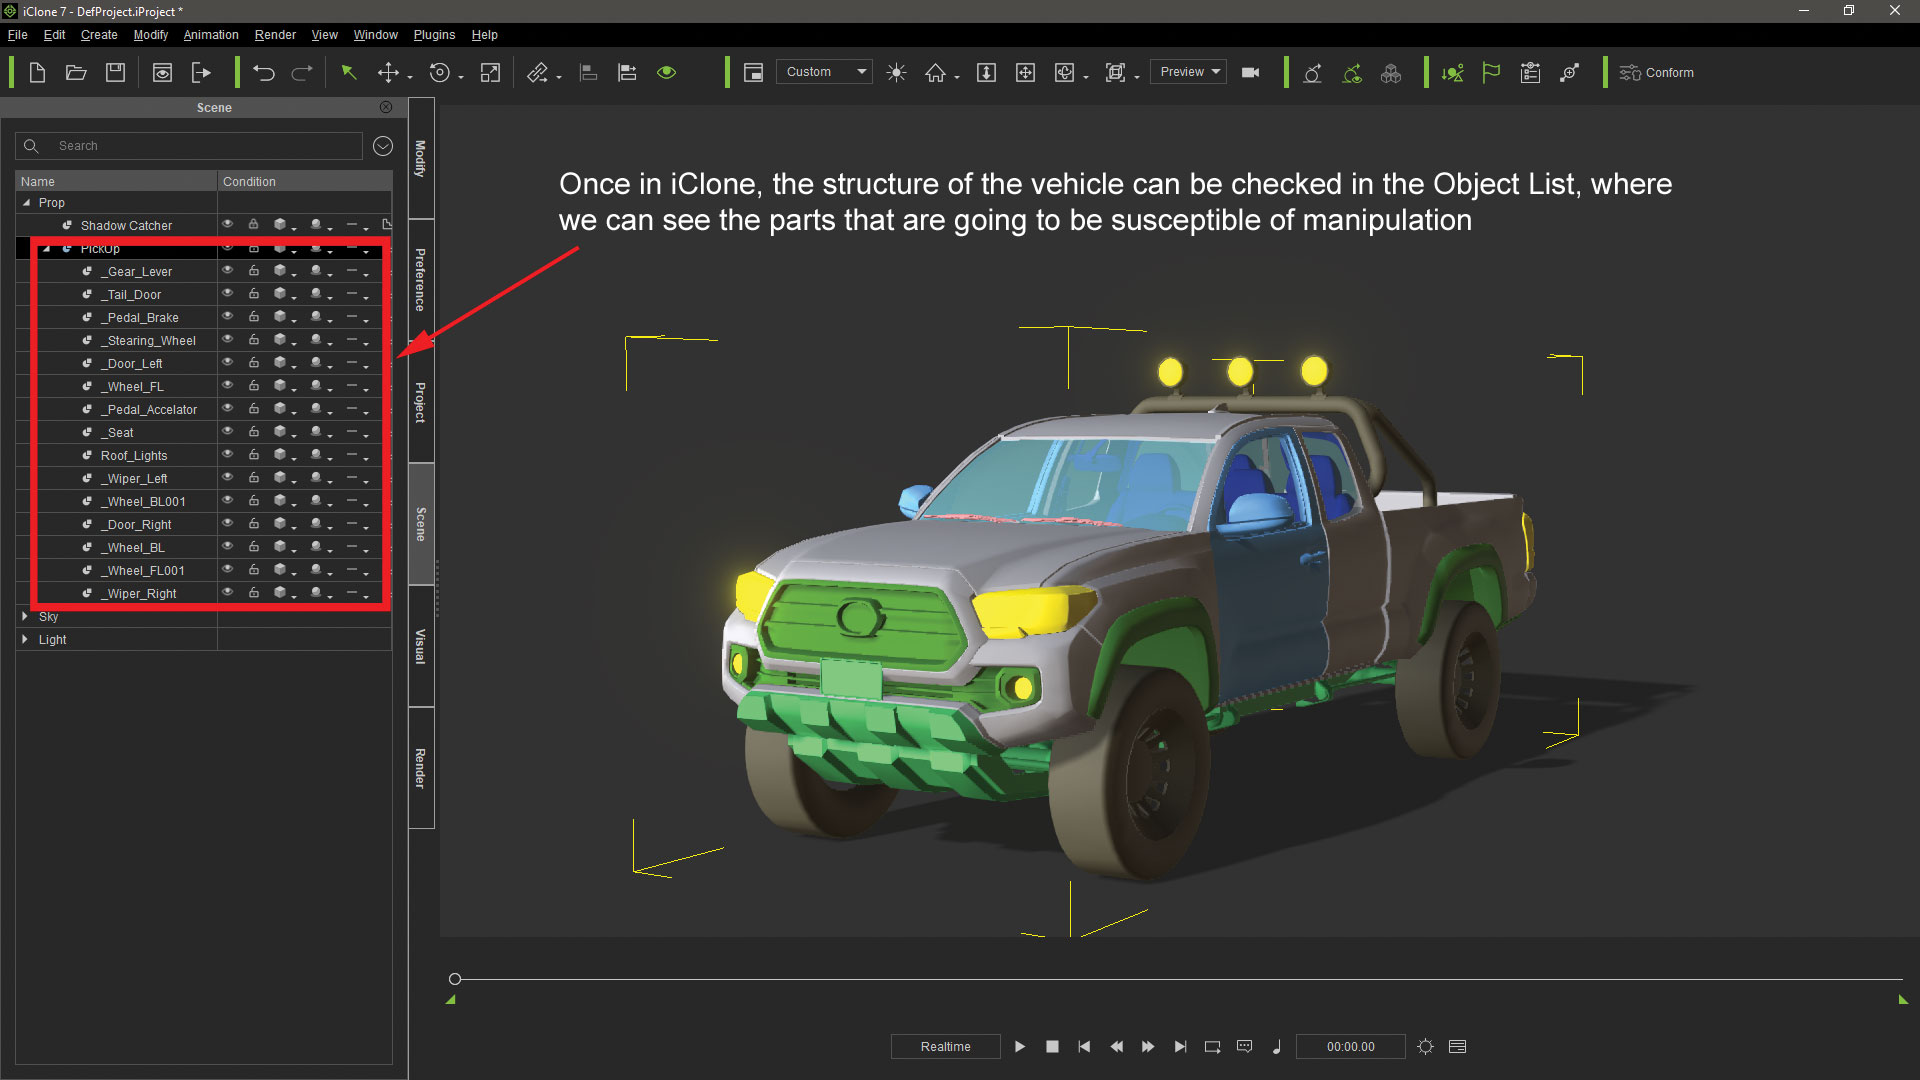
The first obvious step is to get a 3D car mesh. You can use one of the cars provided by Reallusion in its Content Store, or use free 3D models and import with Reallusion's 3DXchange tool, which can convert any model in 3DS, OBJ, SketchUp or FBX format into an iClone native iProp file. The only requirement is that its wheels need to be independent objects as they have to rotate. For this tutorial, I'm going to use the model I made in 3ds Max and exported to iClone using 3DXchange.
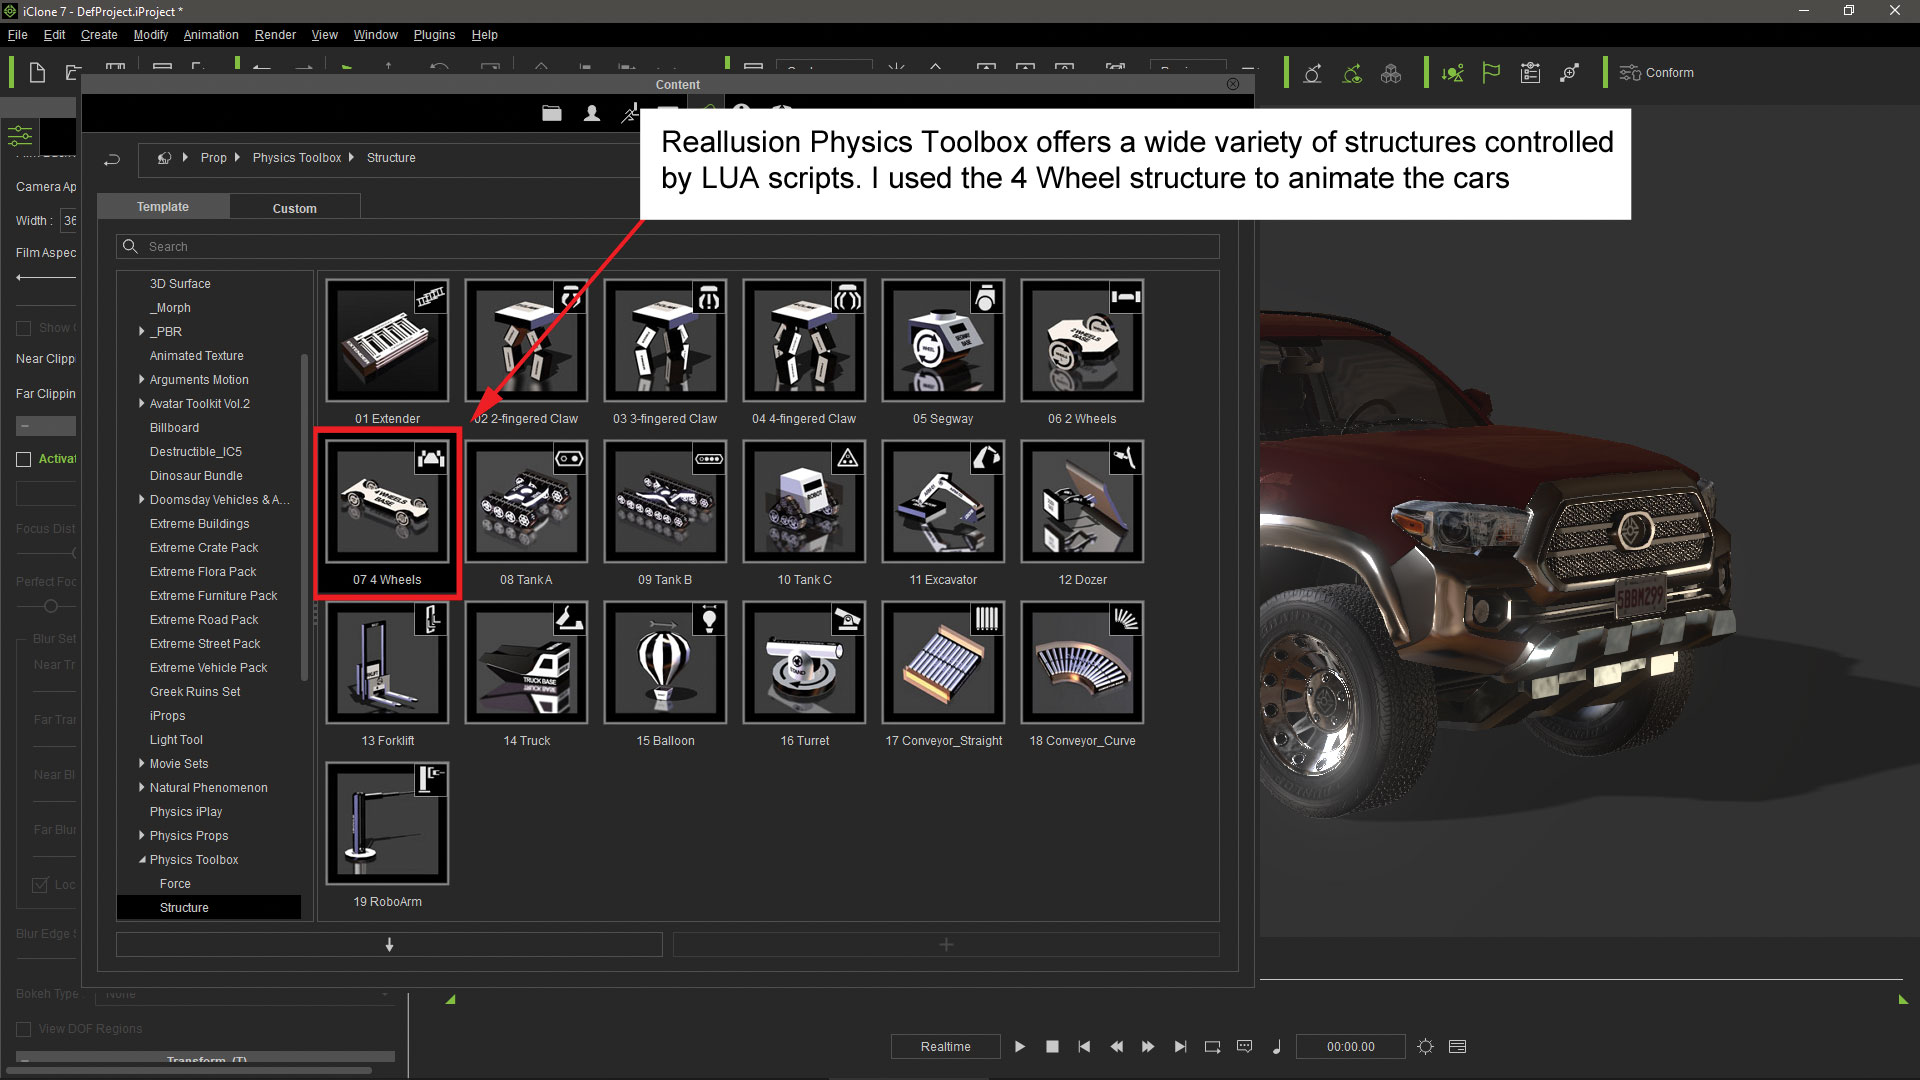
02. Select the four-wheel structure
The Physics Toolbox pack provides a lot of predefined structures with real-time controllers. For this tutorial I'm just going to need the four-wheel structure, but they also provide interesting solutions for other kinds of vehicles like caterpillars, segways and excavators. In fact, all the structures can be combined to create complex machinery that can be controlled in real time.
Get the Creative Bloq Newsletter
Daily design news, reviews, how-tos and more, as picked by the editors.
03. The structure objects
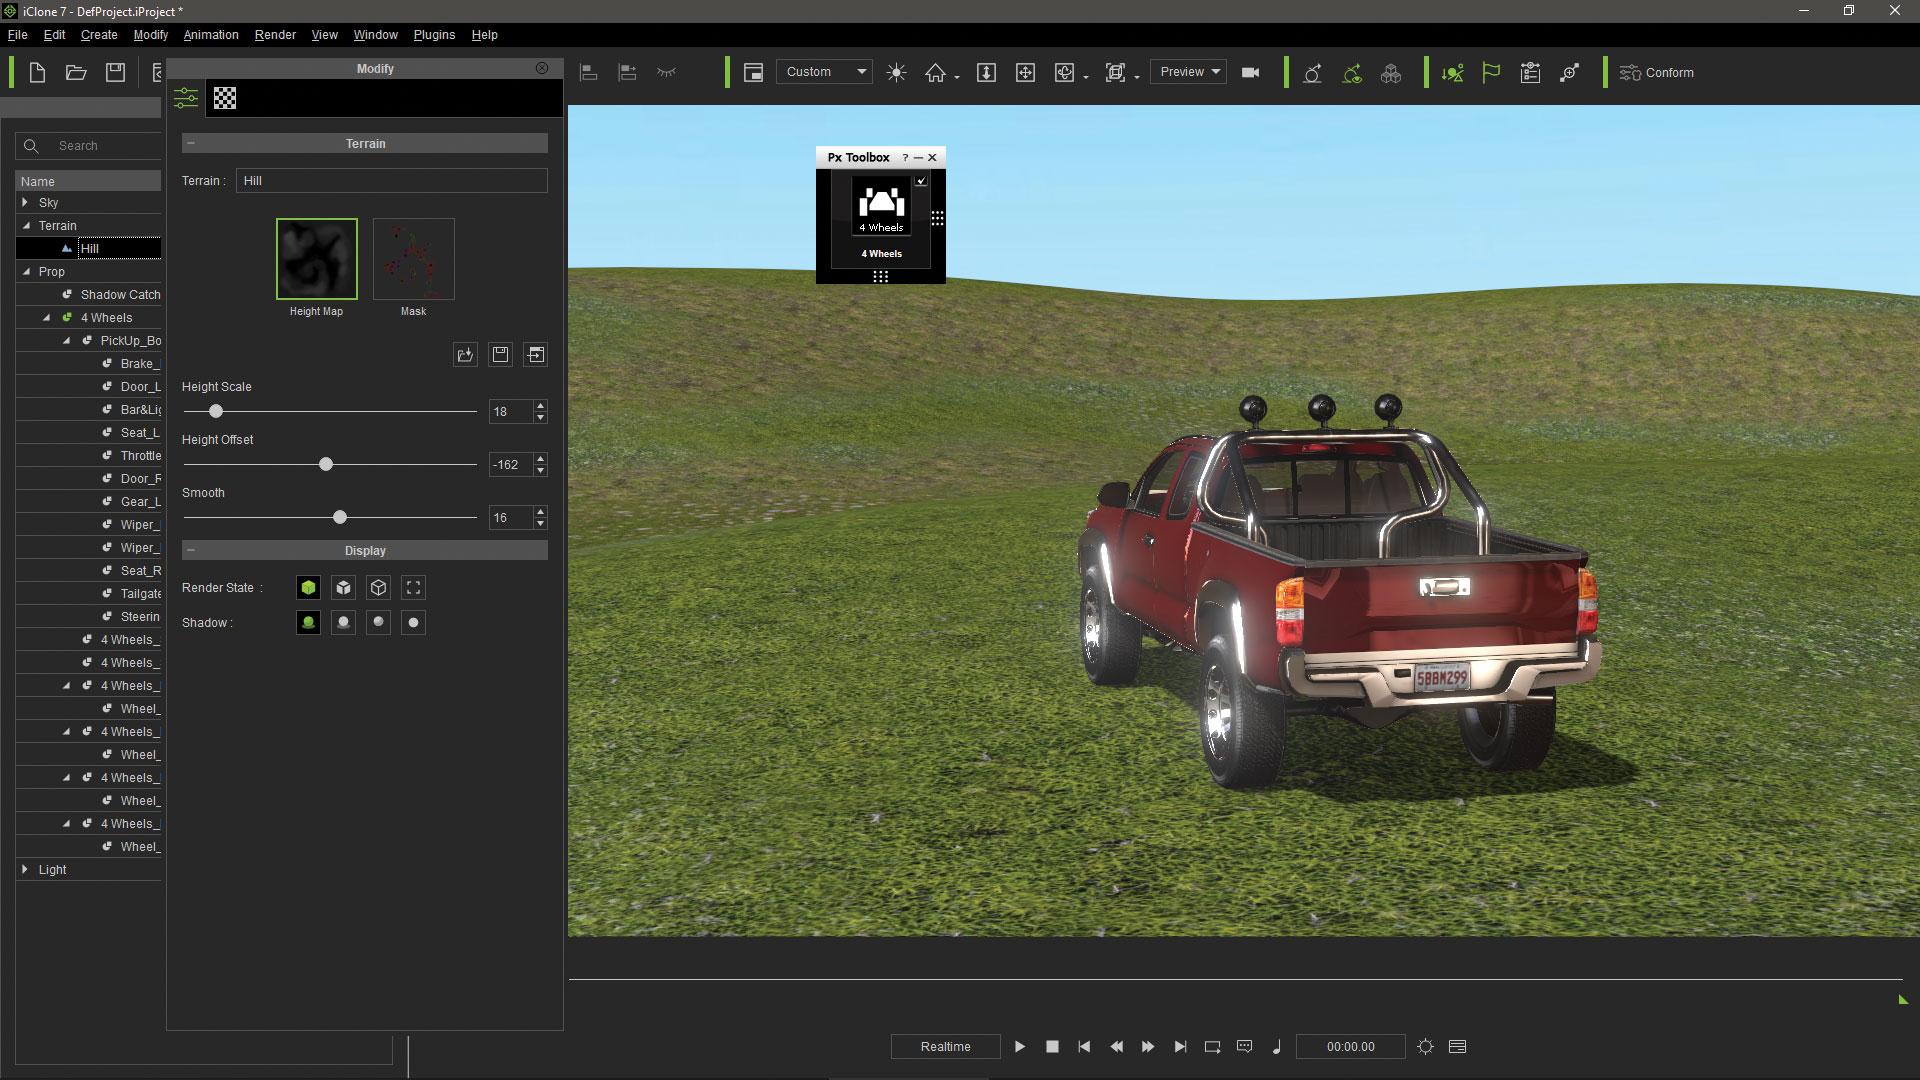
After double-clicking the icon, the dummy objects that make up the structure will appear as well as the real-time controller. Make sure the Dummy Object option is activated in the Project tab. The structure is composed of a main body element with the four wheels and two steer controls for the front wheels attached. These elements are commanded by the floating Control Panel.
04. The driving controls
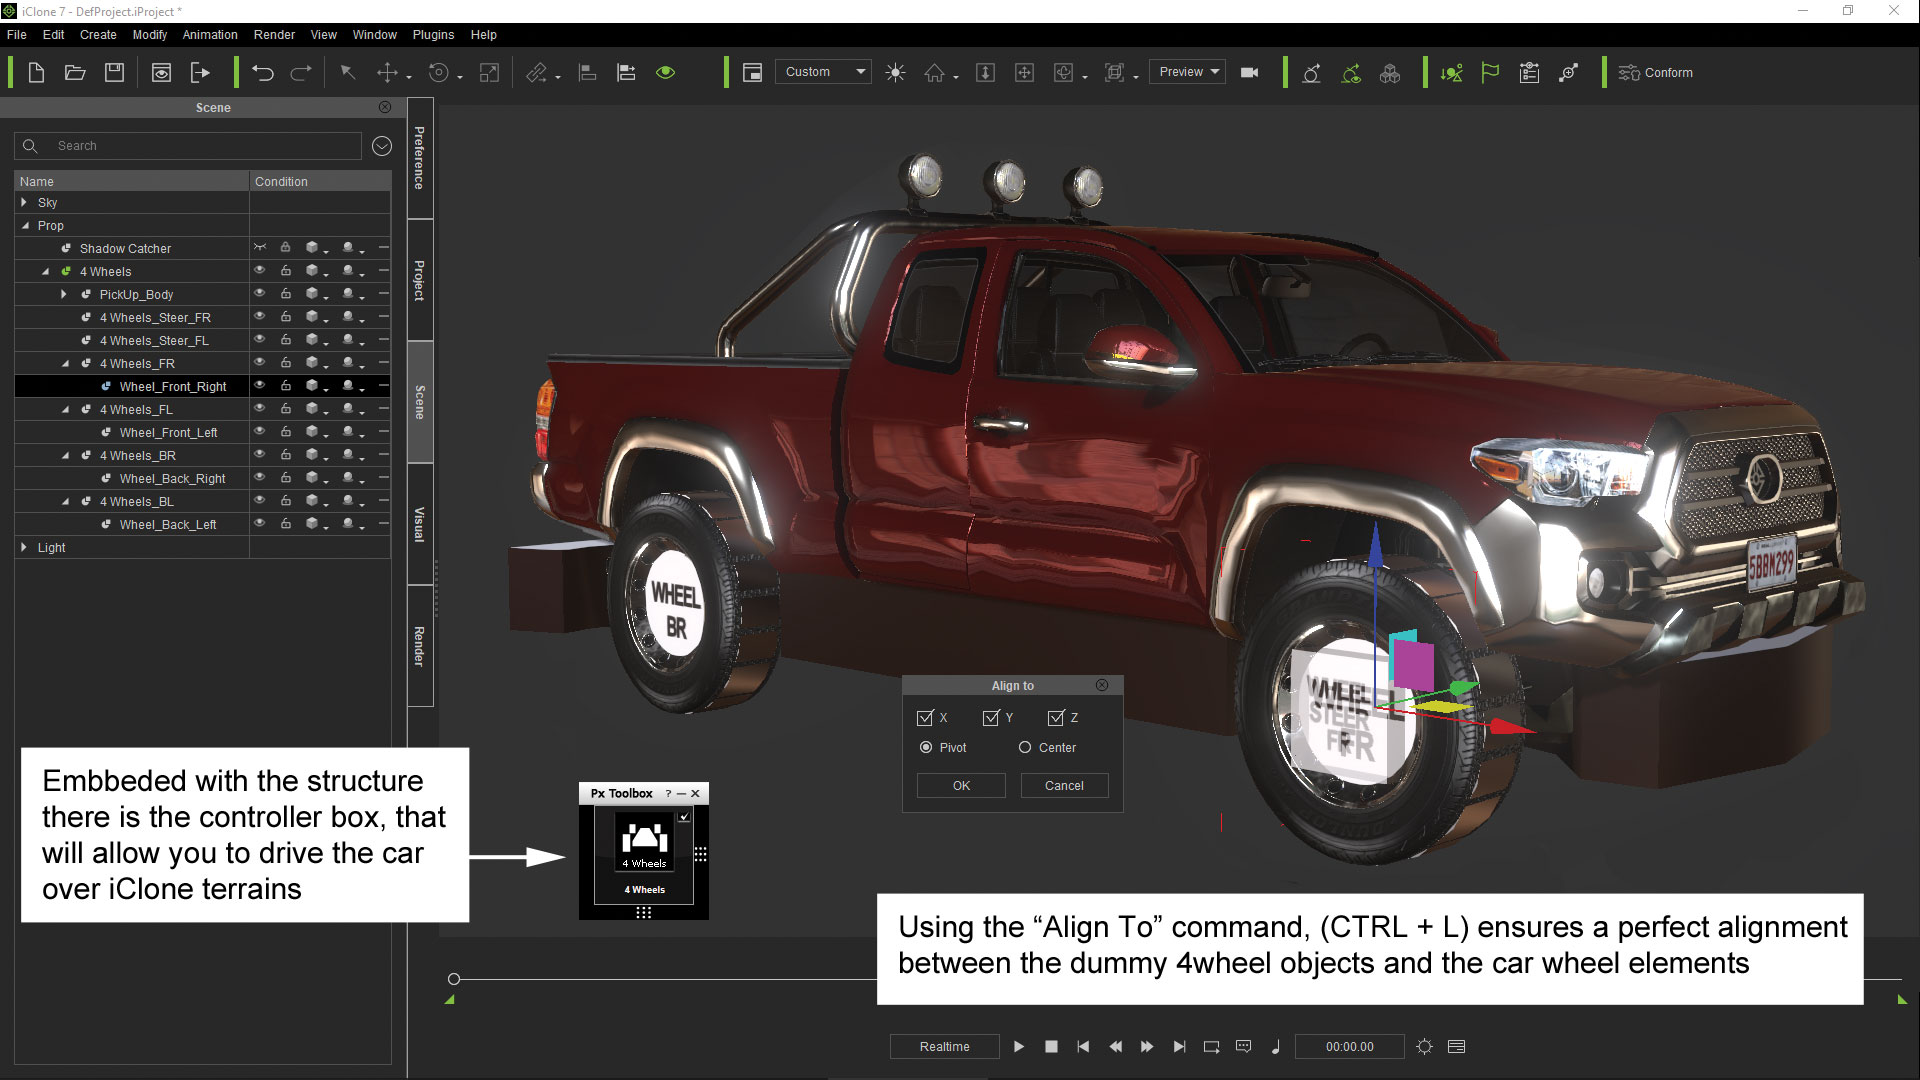
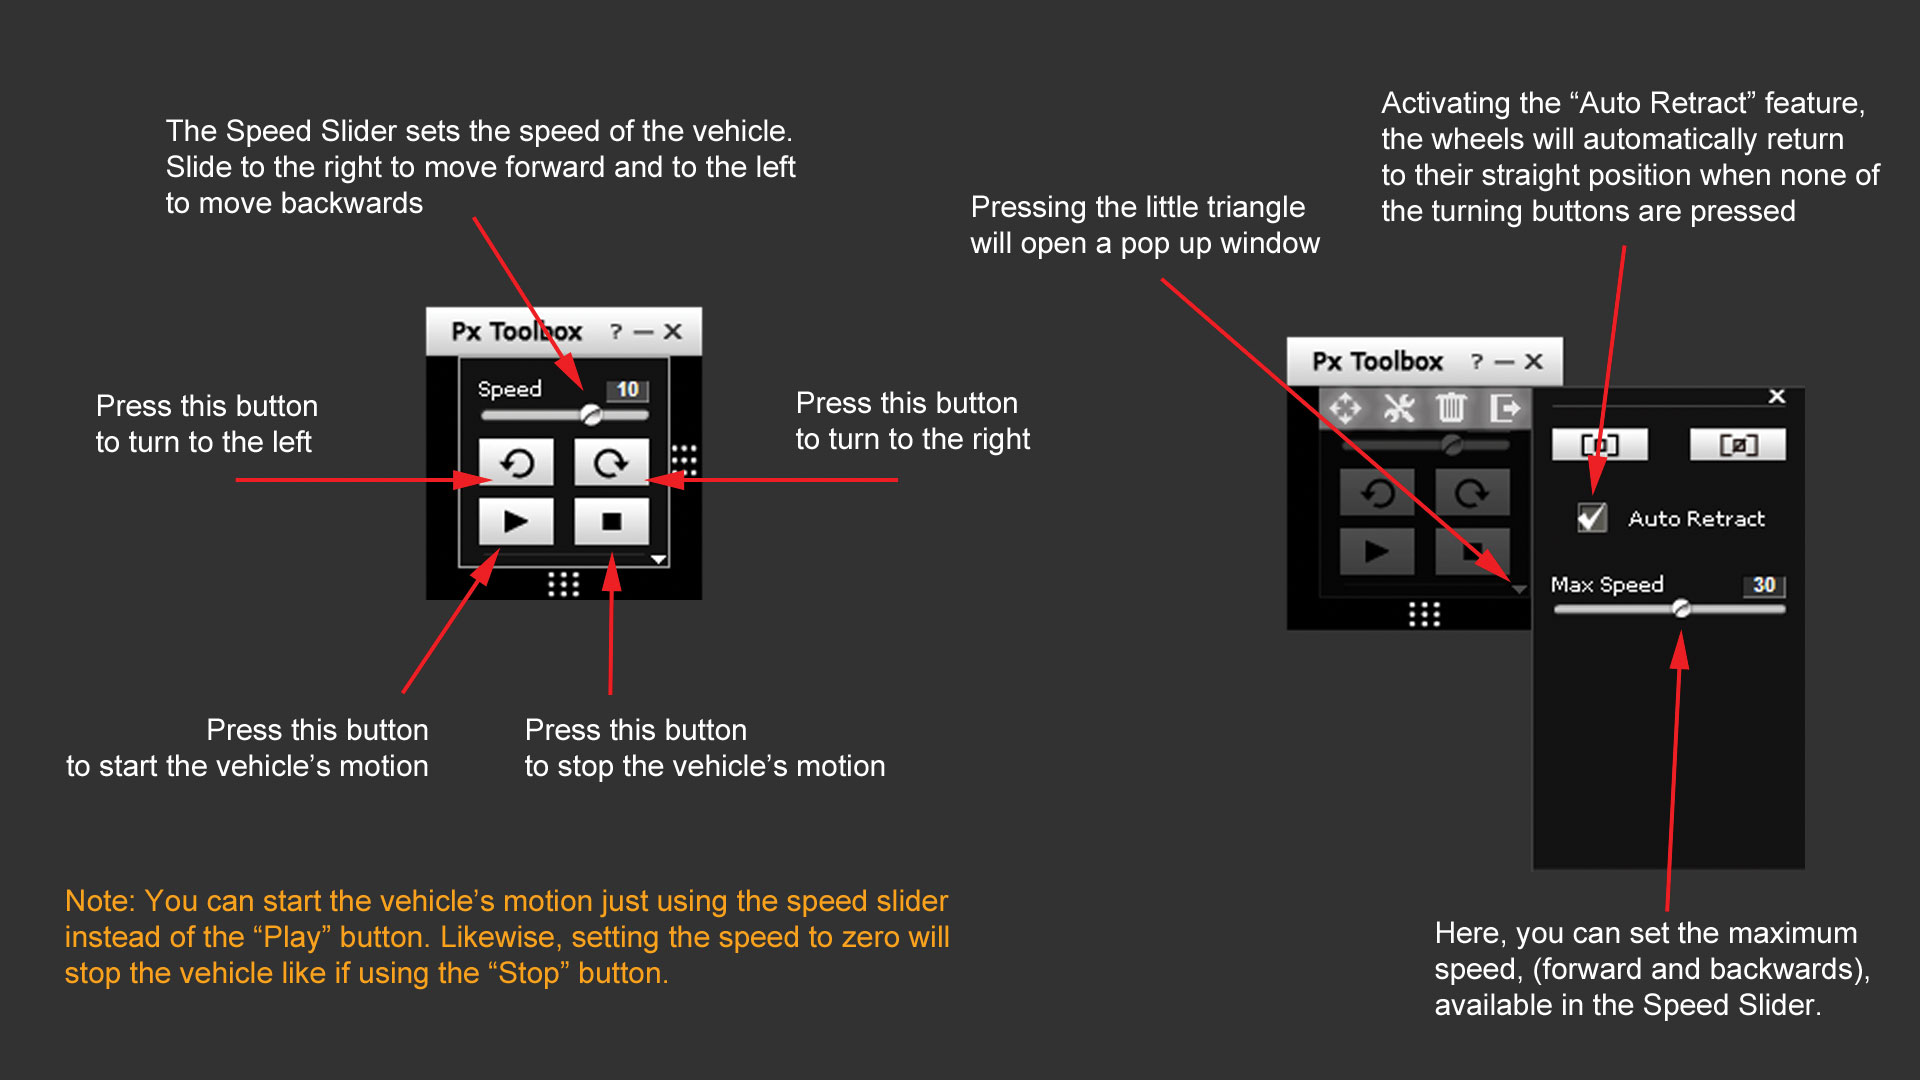
When passing the mouse over the Control Panel, it will show a slider that sets the speed of the vehicle. Pressing the little triangle in the lower-right corner will enable you to set the maximum speed available in the Speed slider, and turn ON the Auto Retract feature that causes the steering wheels to automatically return to their straight position when no 'turning' buttons are pressed.
05. Align the structure with the model
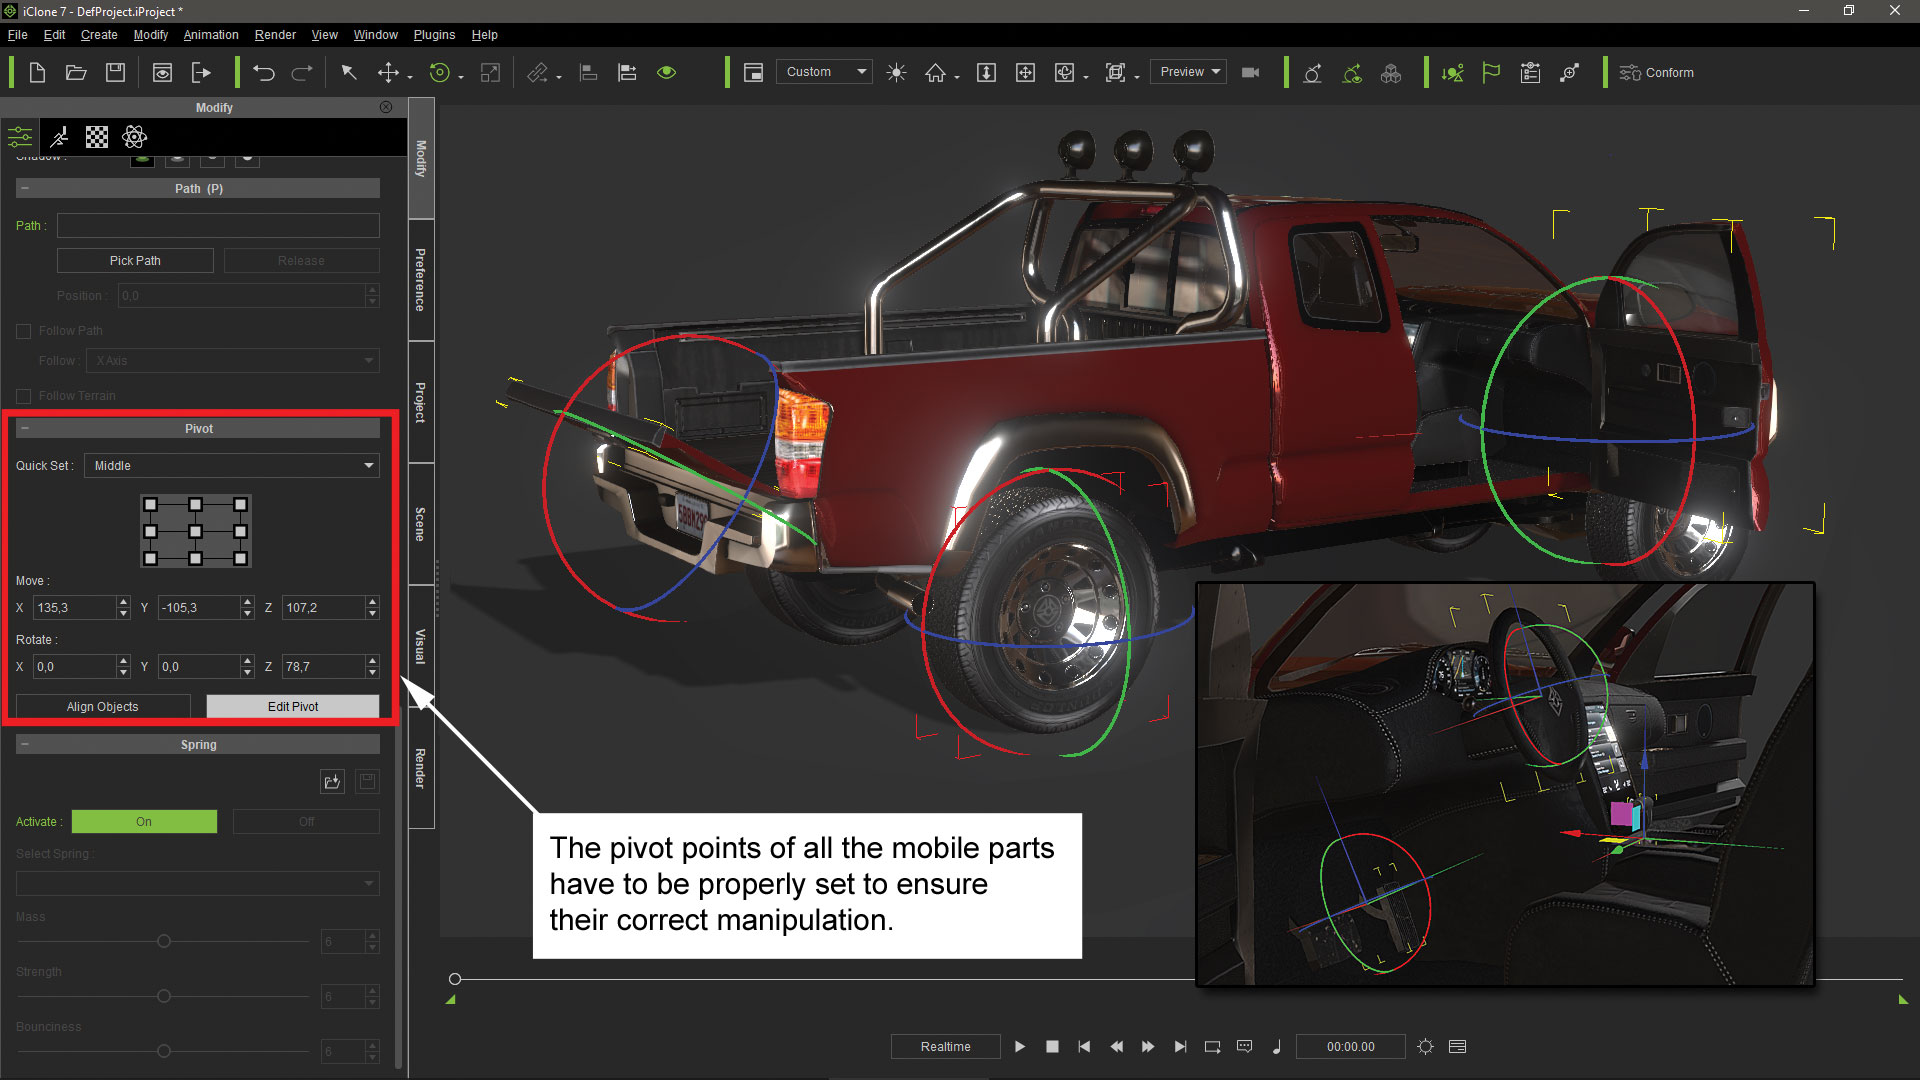
The four-wheel structure has to be resized and aligned to the model. The structure wheels can be moved in order to adapt them to the model wheels. It's essential that the diameter of the structure wheels and their pivots have a perfect match with the model wheels. Also, the Steer structure elements must remain centred with their respective front structure wheels. Press ctrl+L to ensure a perfect alignment between objects, but remember to have the pivot points of the model wheels properly set in their centre first.
06. Attach the model to the structure
The car chassis must be attached to the '4 Wheels' main object while each wheel of the model needs to be attached to its corresponding wheel in the structure. The front-right model wheel will be attached to the '4Wheels_ FR' object, the back-right model wheel will be attached to '4Wheels_BR' and so on. Notice that the '4Wheels_ Steer_F' objects remain with nothing attached to them.
07. Add a terrain
The car needs a surface to drive over. iClone provides a prop called Infinite Plane that can be used as a flat ground, but the large height map terrains also provided in iClone allow for a better show of the physics of the structure. I selected the Canyon Terrain, reduced its height scale and smoothed it a little to facilitate the motion of the buggy over any part of the terrain.
08. Prepare iClone to start recording
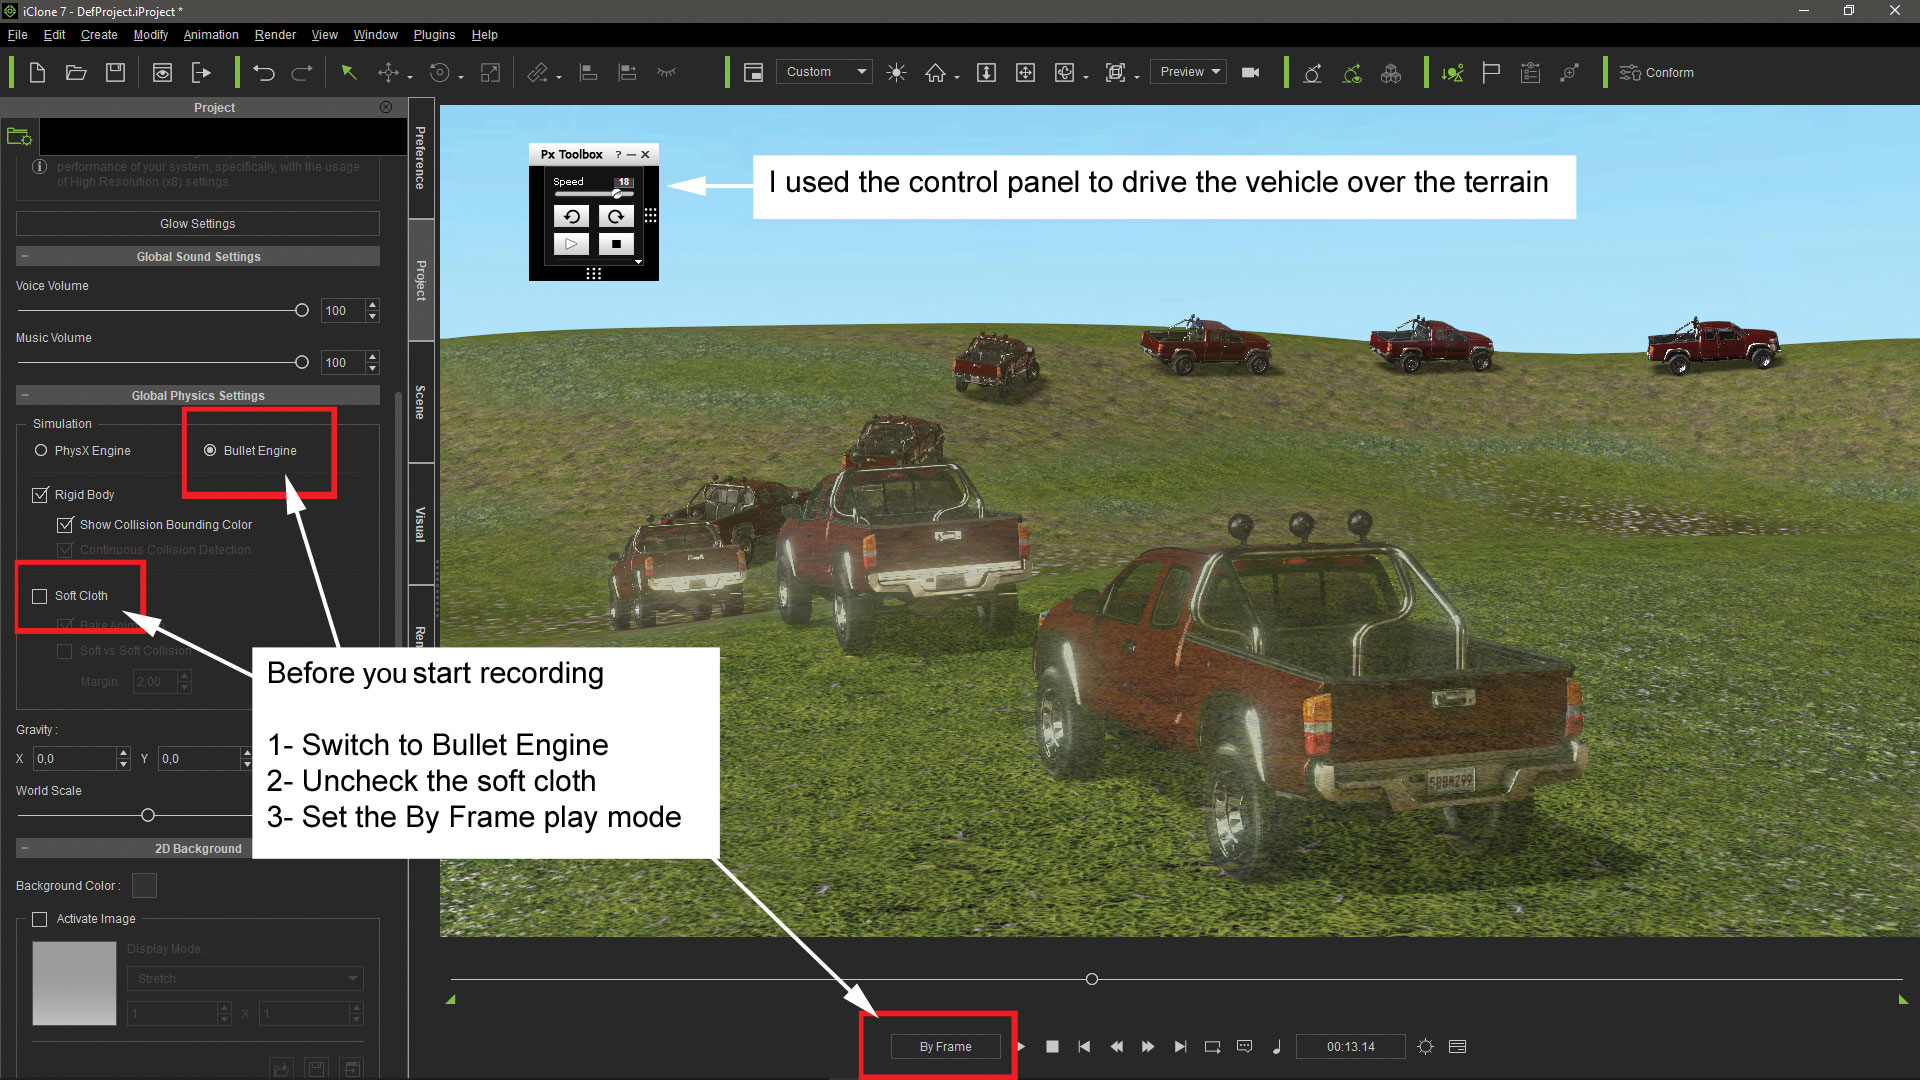
Now you can select the four-wheel base structure and place it in any part of the terrain facing the direction you want to start moving in. I also uncheck the Dummy Object box to hide the dummy objects. Before recording you must be sure that the Bullet Engine is selected in the Project label of iClone. Also, it is highly recommended to have the Soft Cloth physics deactivated and change the playing mode to By Frame, to let iClone take all the necessary time to make the physics calculations between frames.
09. Record the motion
Now it's time to start driving the car over the terrain using the controller. Keep in mind that the speed shown while recording is going to look slower due to all the calculations the computer has to do. If you make a mistake, you can overwrite your previous motion by just driving again from the beginning. Remember that this is going to happen while the Bullet Engine is selected.
10. Check the recorded motion
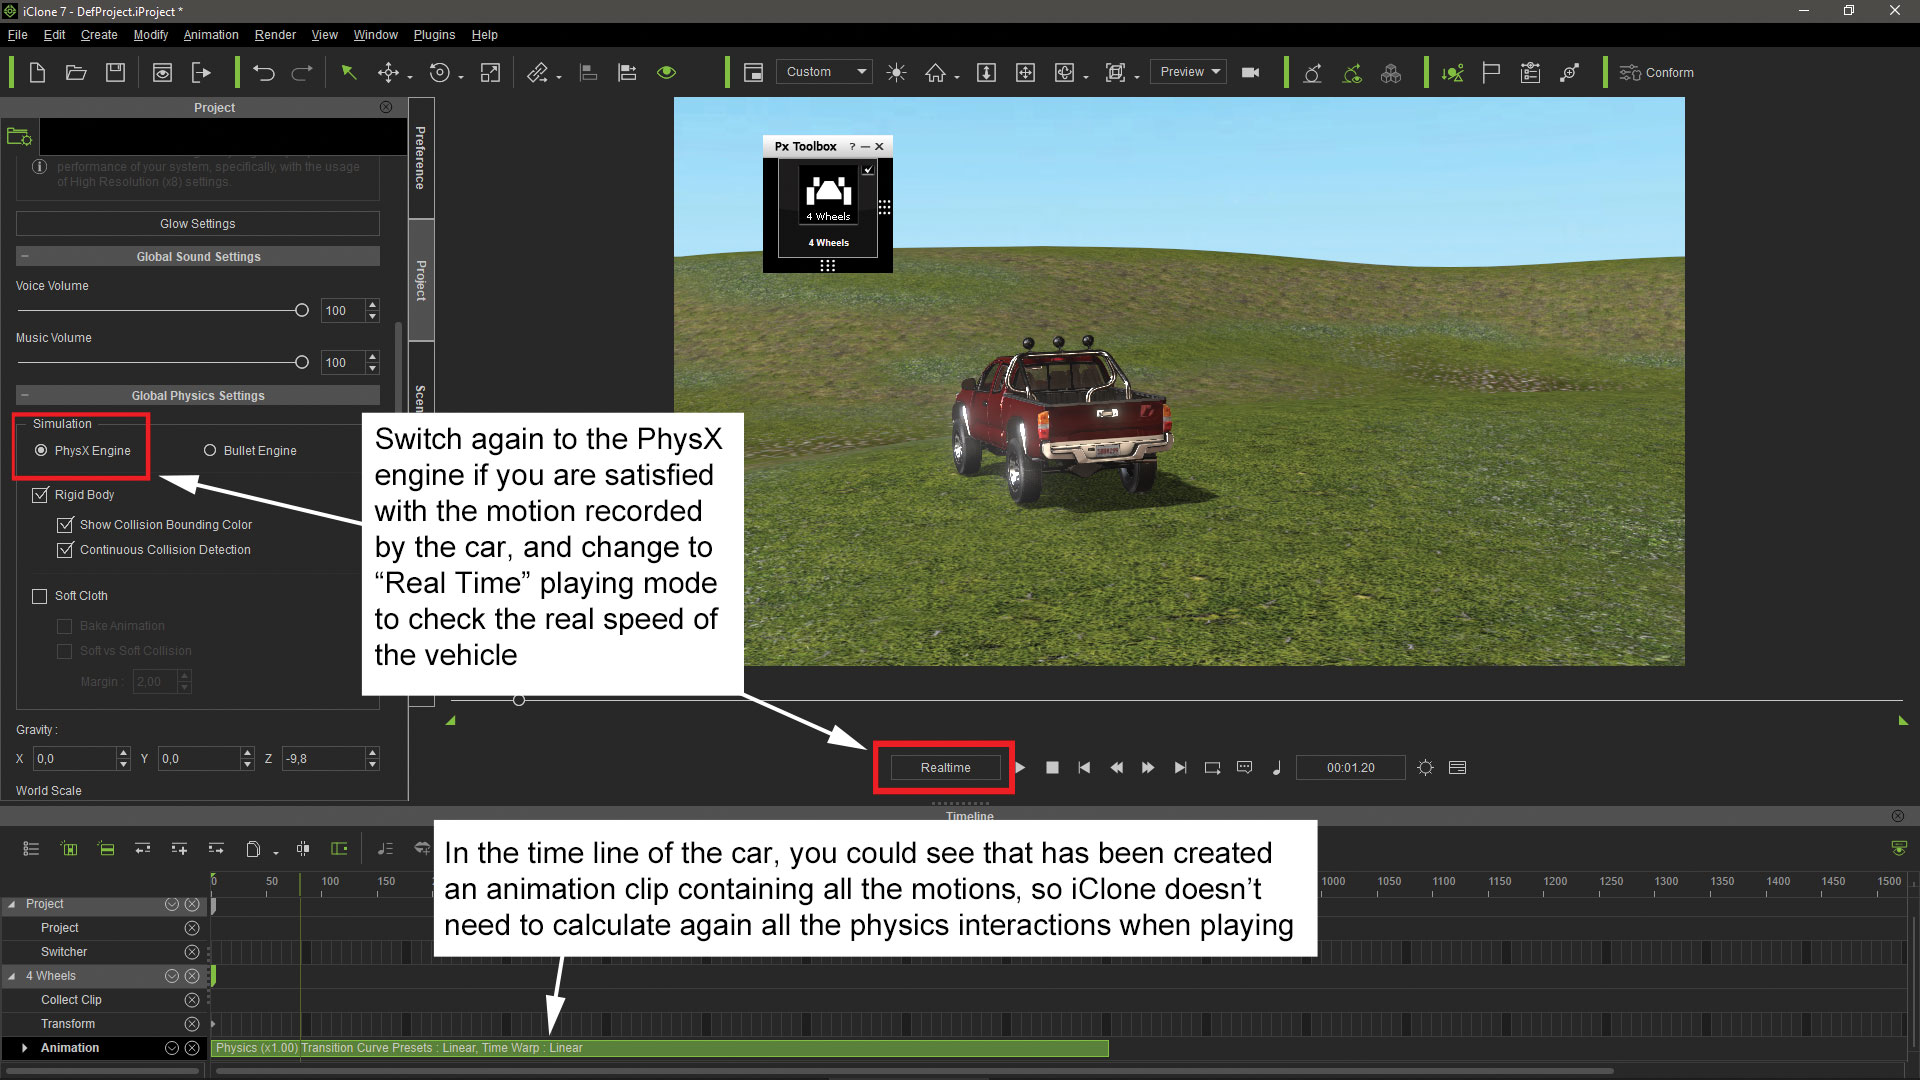
If you feel satisfied with the recording, switch again from the Bullet Engine to the PhysX Engine. It will ensure that the recorded motion is not altered, even if you activate the Soft Cloth and the Rigid Body physics to create collisions between the car and other objects in the scene. Opening the timeline in iClone will enable you to see the recorded animation clip associated to the vehicle.
11. Add a second vehicle to the scene
You can drive more than one vehicle in the same scene but it's easier to record one vehicle first, and the other one after. To do that you have to deactivate the Bullet physics engine for the first car, because if not the previous recording will be overwritten. Reallusion supplies a Bullet Engine Switcher that lets you activate or deactivate the Bullet physics to the selected prop.
12. Deactivate the first vehicle simulation
After clicking with the right mouse button over the Bullet Engine Switcher, a menu will appear. There the Script option will ask you whether you want to turn On or Off the Bullet simulation for one of the props in the scene. After selecting Turn Off the cursor will change for you to click over the object you want to deactivate. In order to ensure that you are selecting the four-wheel structure and not any of the objects attached to it, I strongly recommend selecting the object from the prop list instead of the scene window.
13. Record the second vehicle motion
Now you can repeat the process, ensuring you have the Bullet Engine selected. As the simulation in the first yellow car has been deactivated, the only controller that is going to work is the one linked to the new red car. However, the first recorded yellow car motion will be performed while you are driving the second car. This is actually very convenient, as you can now use the first car's movements as reference while you are driving the second car in the scene.
14. Add elements to the terrain
The Bullet Engine Switcher can be used to add geometries to the terrain and make them interact with the vehicles. I placed a prop simulating a ramp and I wanted the car to run over and even jump if the vehicle passes at enough speed. First I had to activate the Bullet physics in that prop. I used the Bullet Engine Switcher to turn on the Bullet physics simulation in the prop.
15. Convert the prop in terrain
It would be enough to simply make the object interact with the car, but I also wanted the ramp to actually be a part of the terrain, so I clicked on the prop with the right mouse button and then selected the Convert to Terrain option from the contextual menu. From now on, this prop is going to be considered as part of the terrain.
16. Run over the added prop
Once again, I checked that I had selected the Bullet Engine and I started driving the car straight towards the ramp, noting that it runs over the added shape. Depending on the speed applied to the vehicle the motion is going to be smooth, as it will follow the slopes of the terrain. It will also cause the car to jump and catch air as it goes over the ramp.
17. Add interacting props
Once the driving motions have been recorded using the Bullet Engine, it's possible to create further interactions with other props in the scene by using the PhysX Engine. I placed a group of oil drums with Rigid Body physics attributes, and a curtain with Soft Cloth properties. I also linked a dummy cube to the buggy structure, assigning Rigid Body properties to it as well.
18. Set physics to the props
The Rigid mode of the dummy object has to be set to Kinematic as it is linked to the car. This doesn't need to be affected by gravity. For the oil drums, it's better to set their rigid mode to Frozen in order to avoid jittering effects and unnecessary calculations before they get hit by the dummy. In collisions between Rigid Objects and Soft Cloths, it's best to use simple collision shapes like cubes; and depending on the speed, the collision margins in both objects must be increased to avoid penetration of the Rigid Object into the Soft Cloth.
19. Set the project physics
After hiding the dummy linked to the car, select the PhysX Engine. All the calculations involving the PhysX Engine are not going to modify the Bullet recordings. Make sure to have the Rigid Body and the Soft Cloth boxes activated in the iClone Project label. I also recommend activating Bake Animation for the Soft Cloth, especially if you intend to export the motion in Alembic format. Finally, select the By Frame mode, which will allow iClone to take the necessary time to perform the physics calculations between frames.
20. Record the props interaction
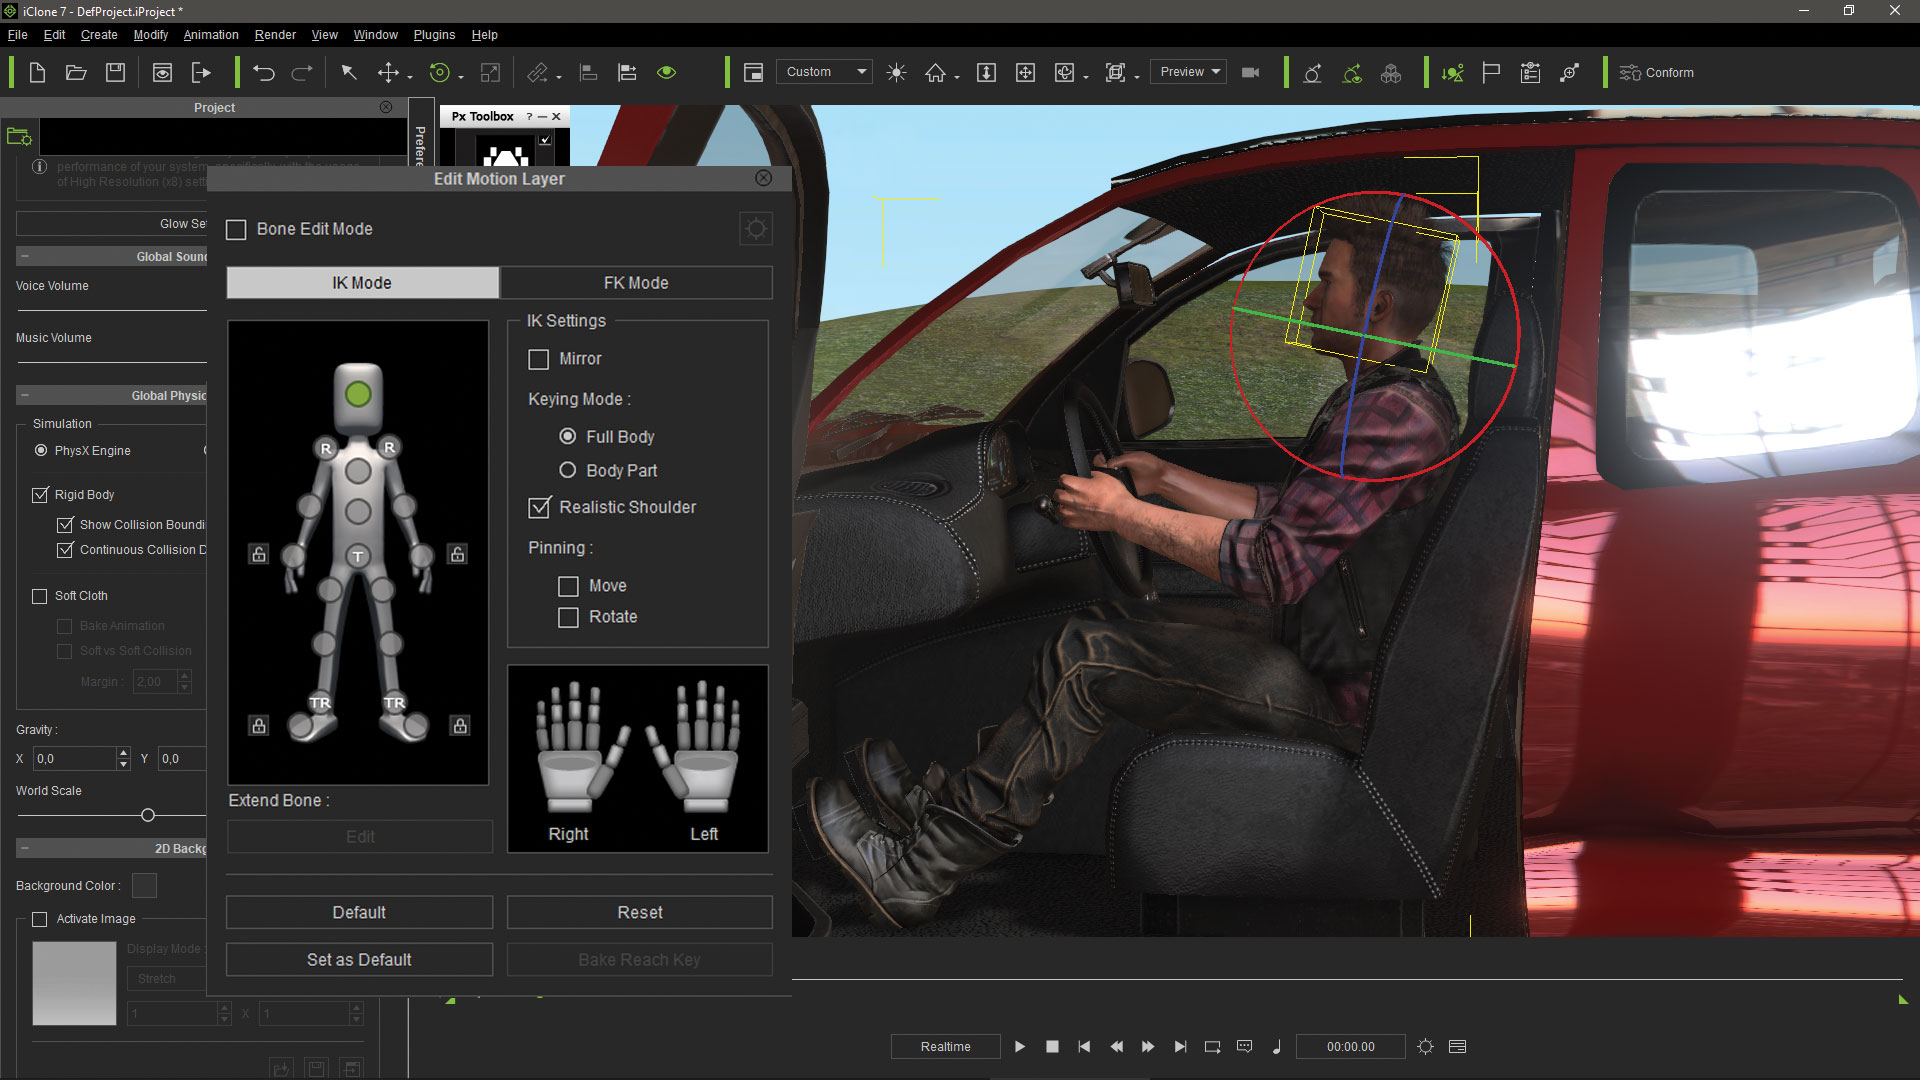
Now all that I have to do is press the Play button and the car will perform its previously recorded animations using the Bullet Engine. In the meantime iClone will calculate all the physics interactions between the objects controlled by the PhysX Engine, and will automatically generate an animation clip for each one of these objects.
21. Check the complete animation
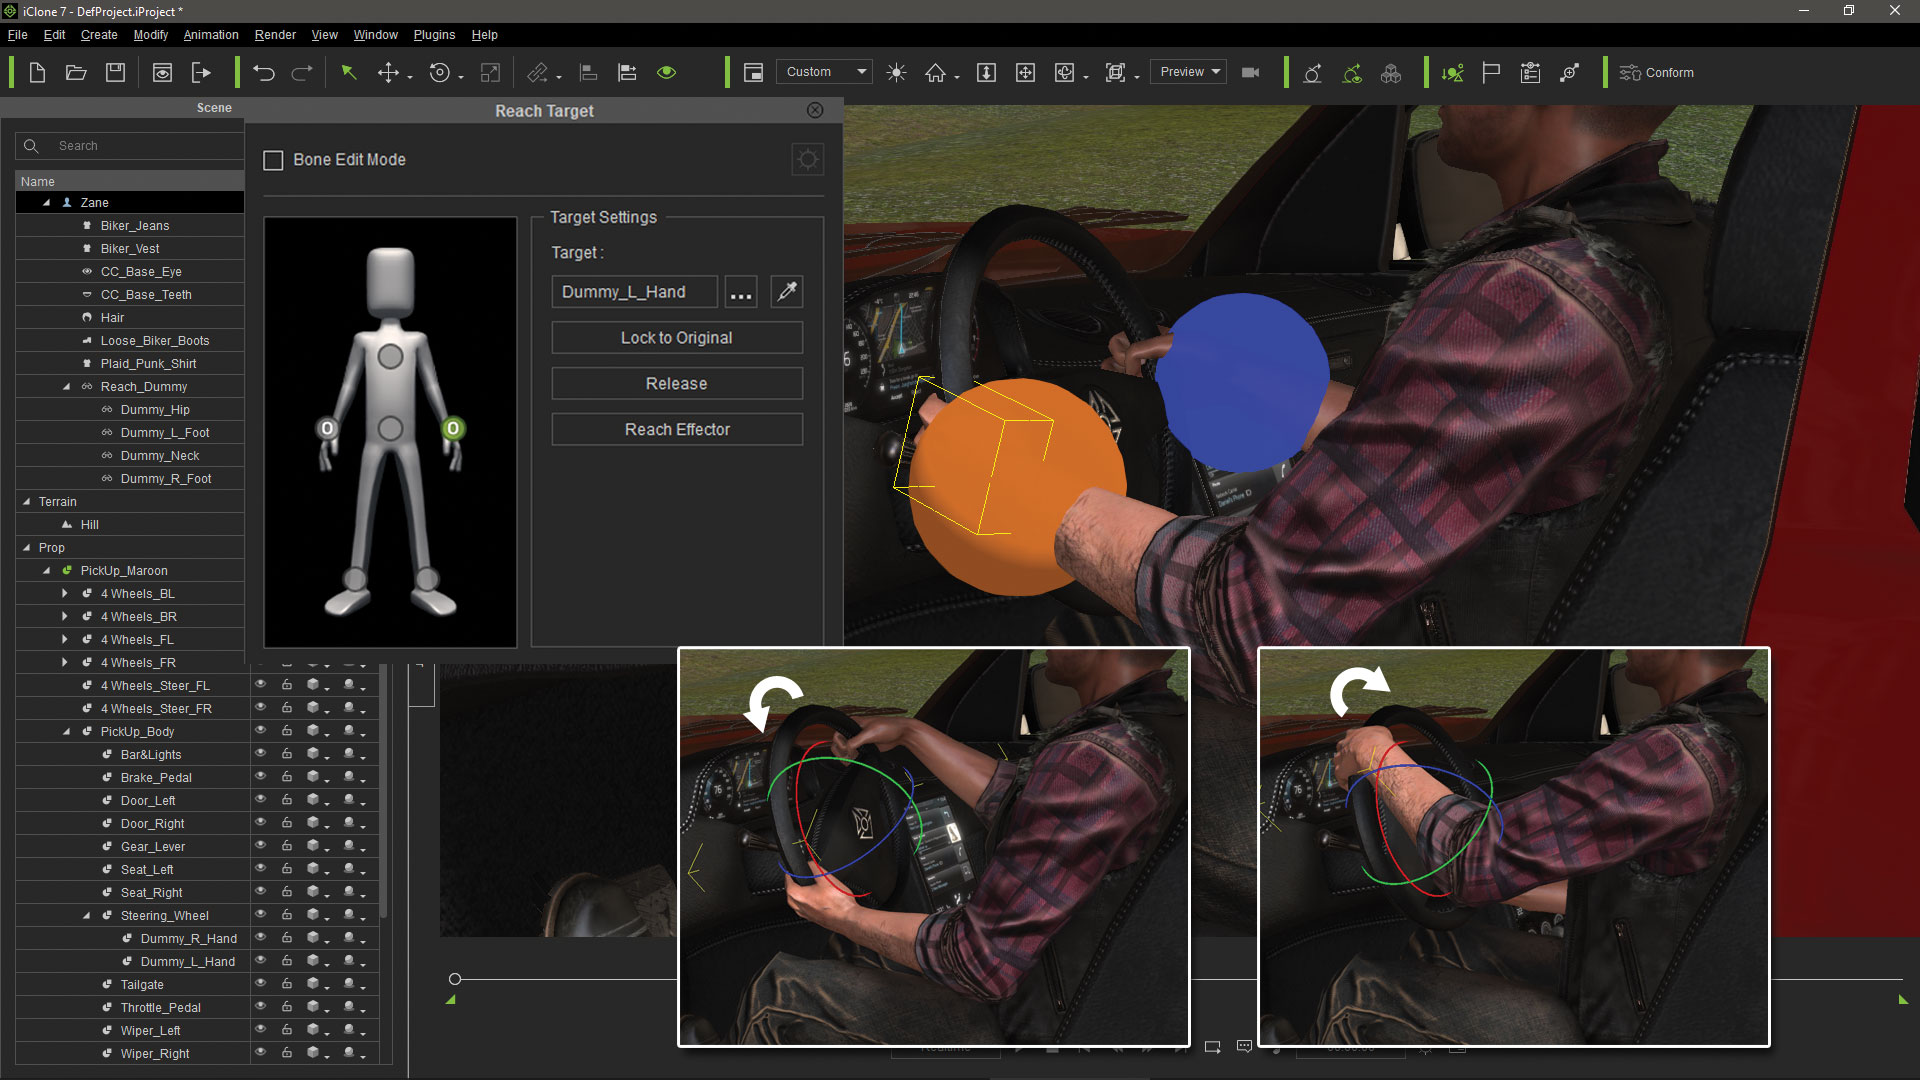
At this point I can deactivate all the physics in iClone. The animations of all the objects have been recorded as motion clips. We can press the Play button and check how the animations look in real time because iClone doesn't need to make the calculations again. This would be the moment to put and animate the occupants of the vehicle, simulating the driving.
22. Export the animations
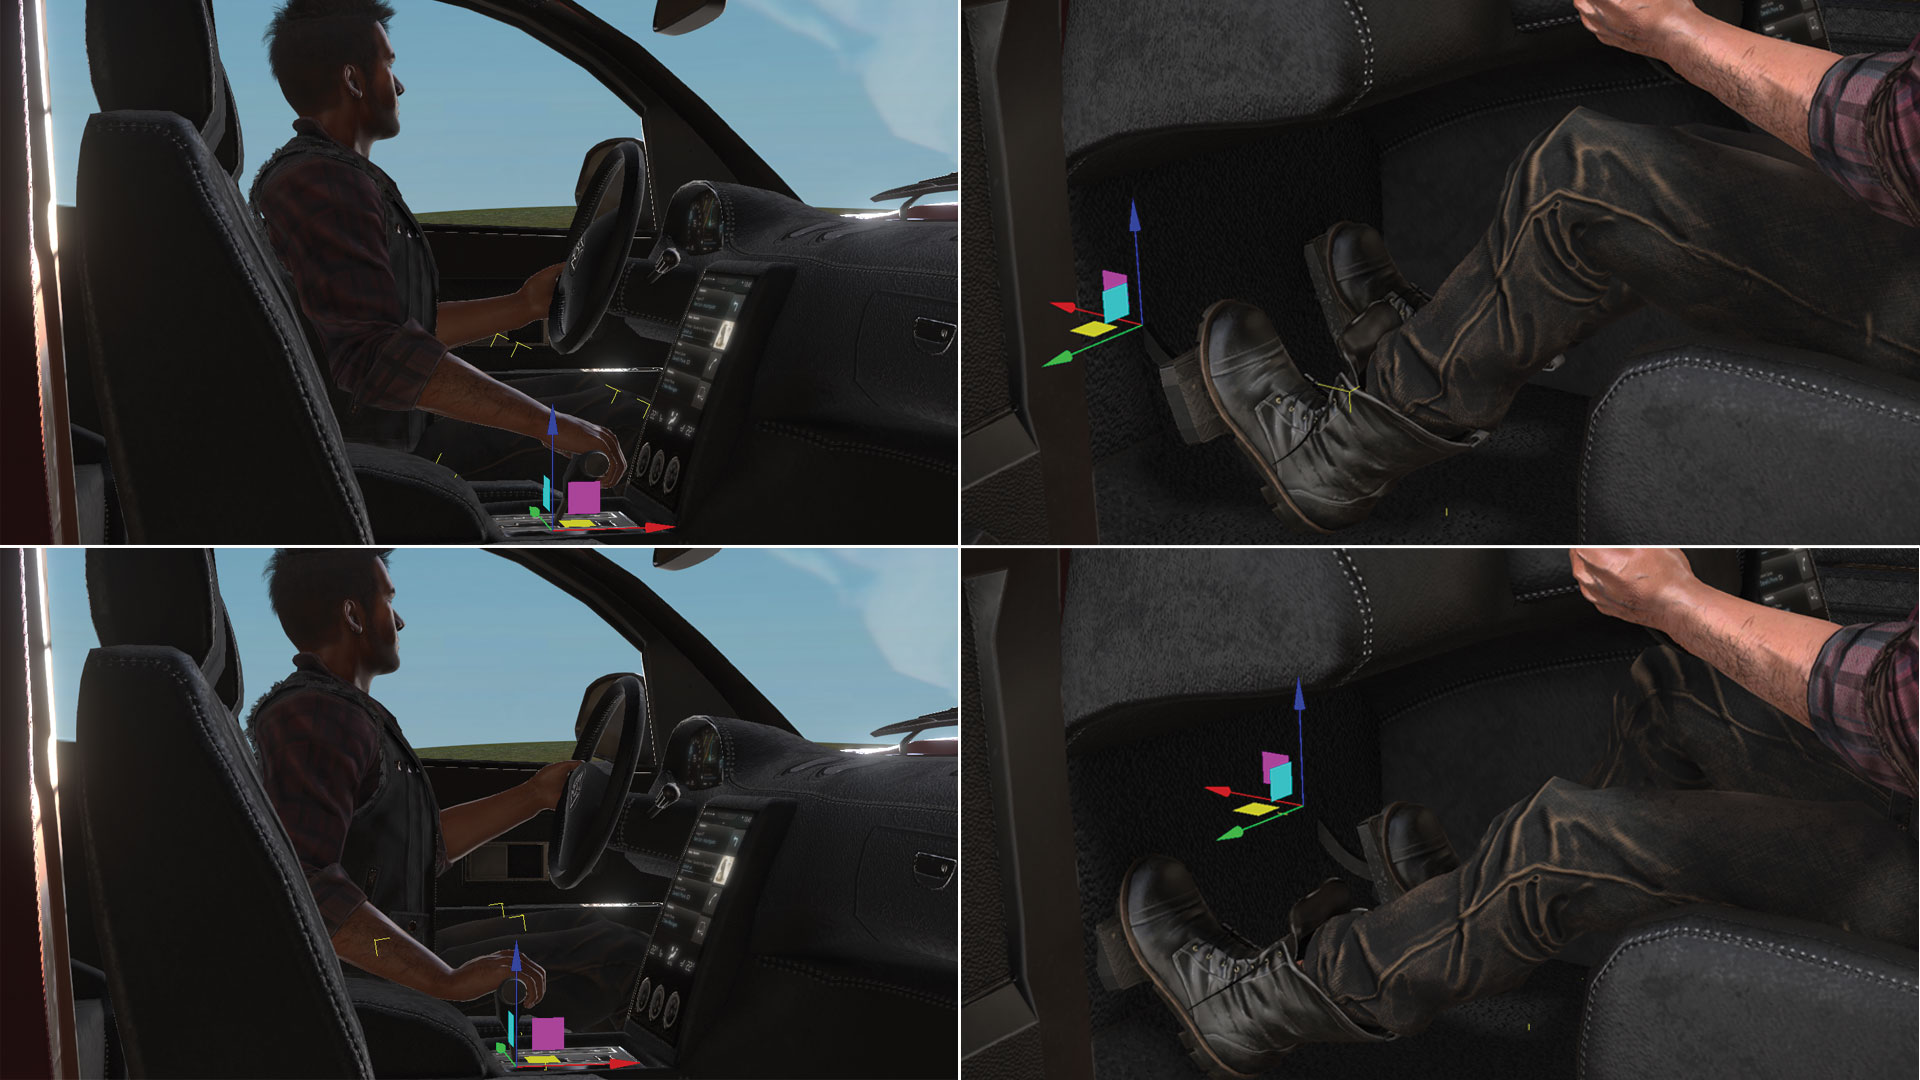
The objects containing Soft Cloth physics and the vehicle structures have to be exported in Alembic format, while the objects with Rigid Body physics can be exported in Alembic or in FBX format. The objects exported in Alembic have to be selected one by one, so I exported the car and the curtain in two Alembic files, while I exported all the drums in a single FBX file.
23. Import the files in 3ds Max
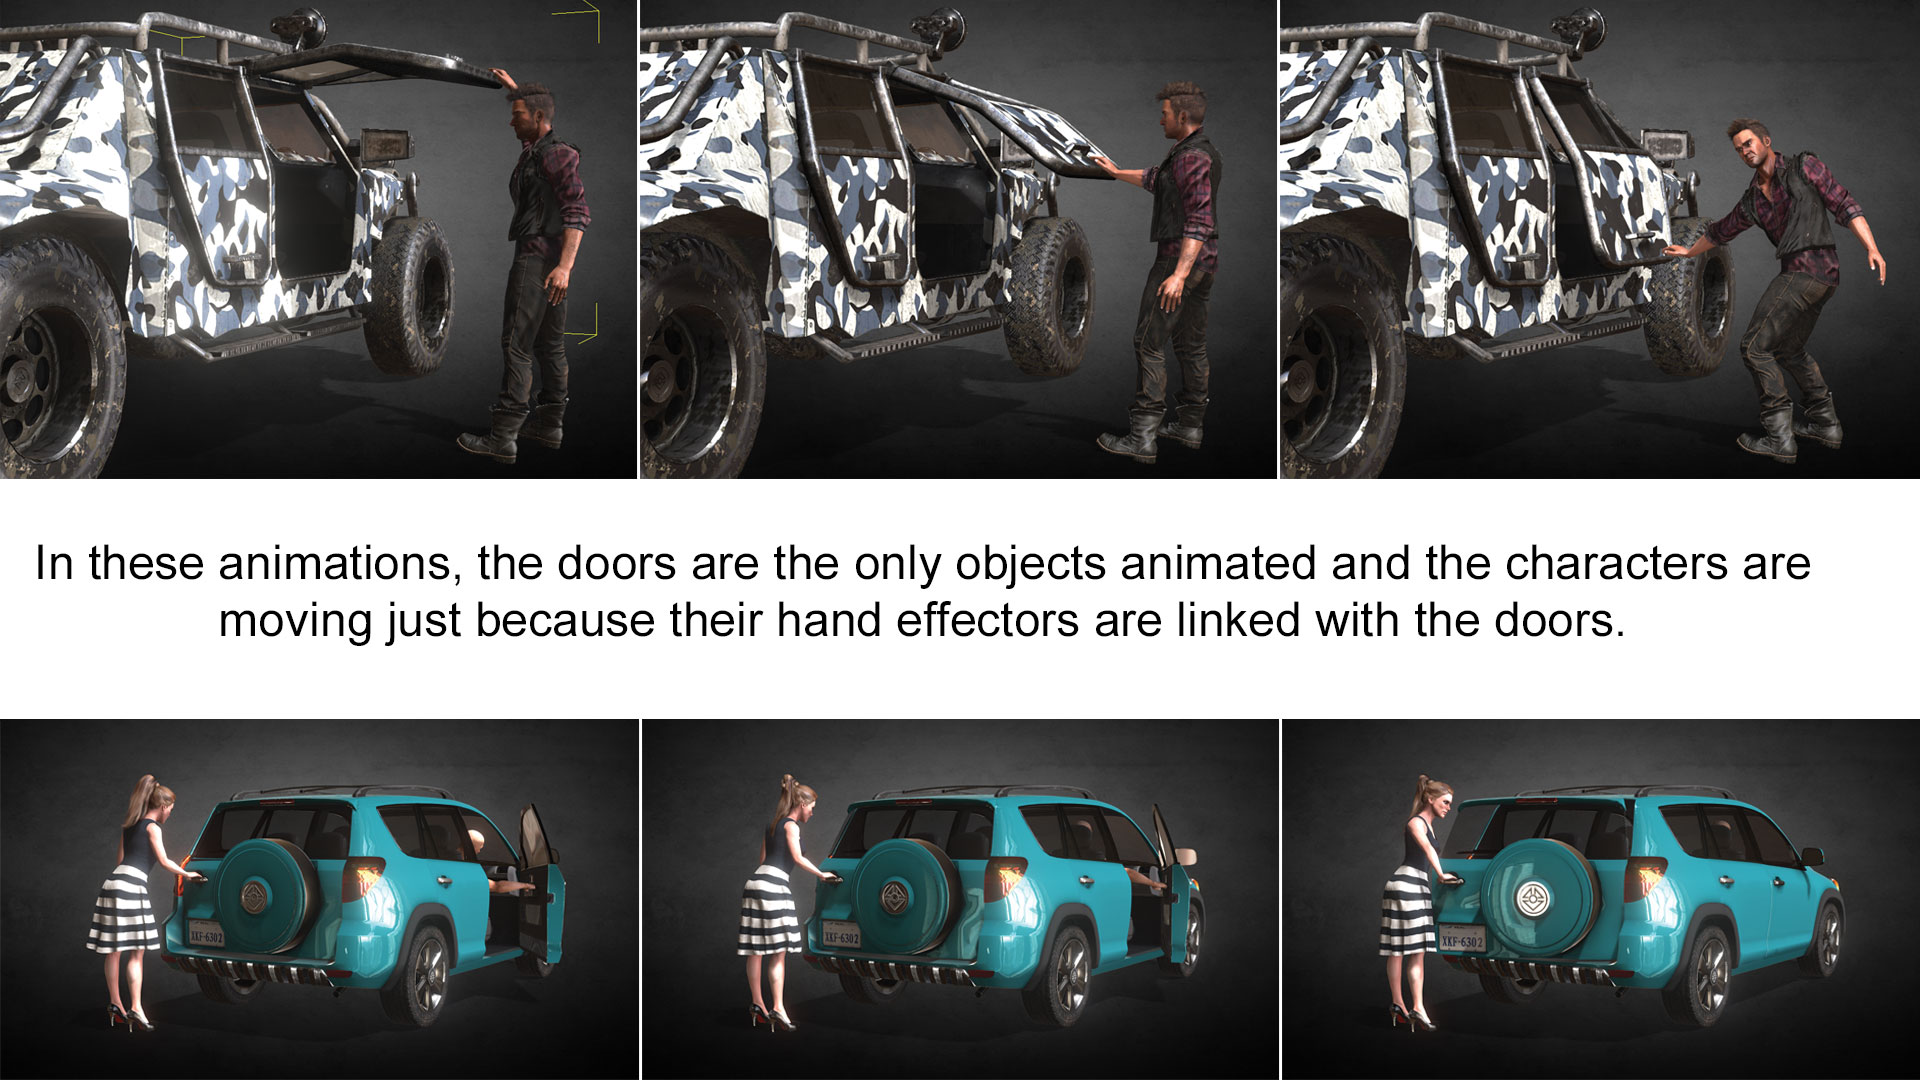
This is the aspect of the animated objects loaded in 3ds Max. The models have to be placed in their original positions. I deleted the vehicle structure as it was no longer necessary, but all the objects and animations look pretty good in the 3ds Max scene. Here the doors are the only objects animated; the characters are moving because their hand effectors are linked with the doors.
24. Final considerations
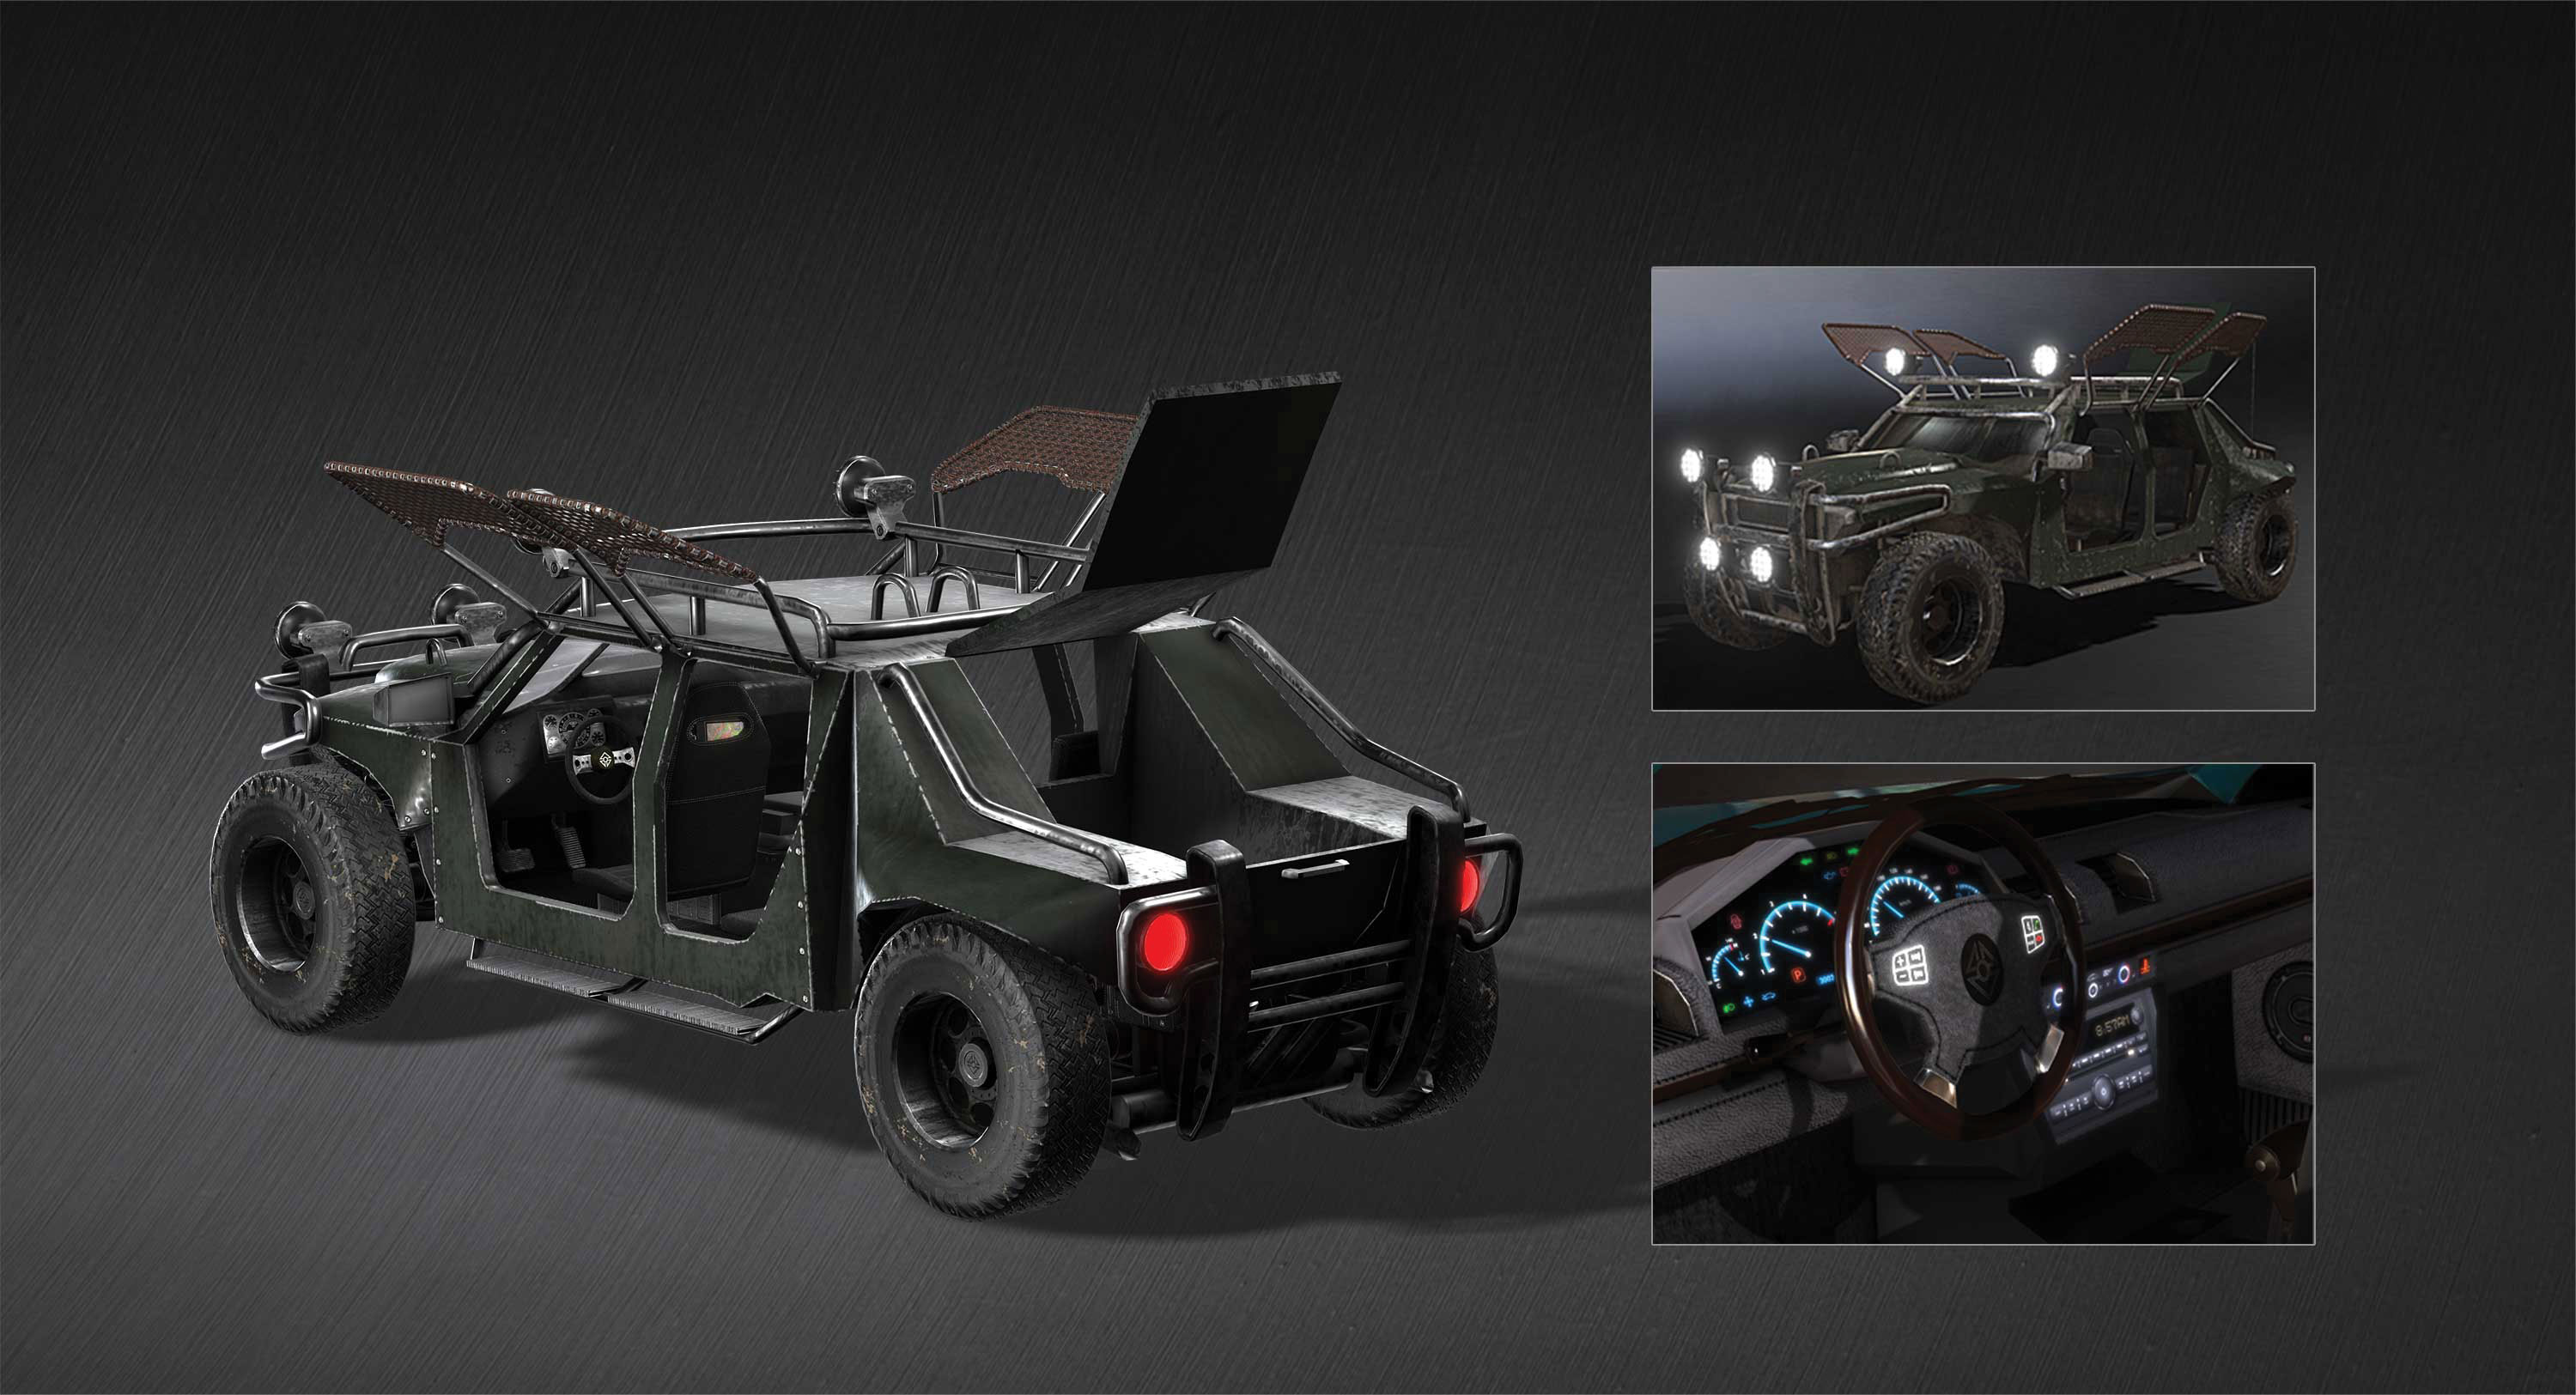
The four-wheel structure provided by Reallusion proves to be a very useful tool to animate many different types of vehicles in an easy and very quick way. It can be applied to a wide range of vehicles as the structure wheels can be resized and accommodated to any vehicle type, despite their dimensions. Even motorbikes can be animated using this tool, simply by using the wheels of one of the sides and then attaching the handlebar to the '4 Wheel_Steer' object.
This article was originally published in issue 235 of 3D World, the world's best-selling magazine for CG artists. Buy issue 235 here or subscribe to 3D World here.
Related articles:

Thank you for reading 5 articles this month* Join now for unlimited access
Enjoy your first month for just £1 / $1 / €1
*Read 5 free articles per month without a subscription

Join now for unlimited access
Try first month for just £1 / $1 / €1
