How to improve your character art
Struggling to bring your original character concepts to life? These professional tips will help.
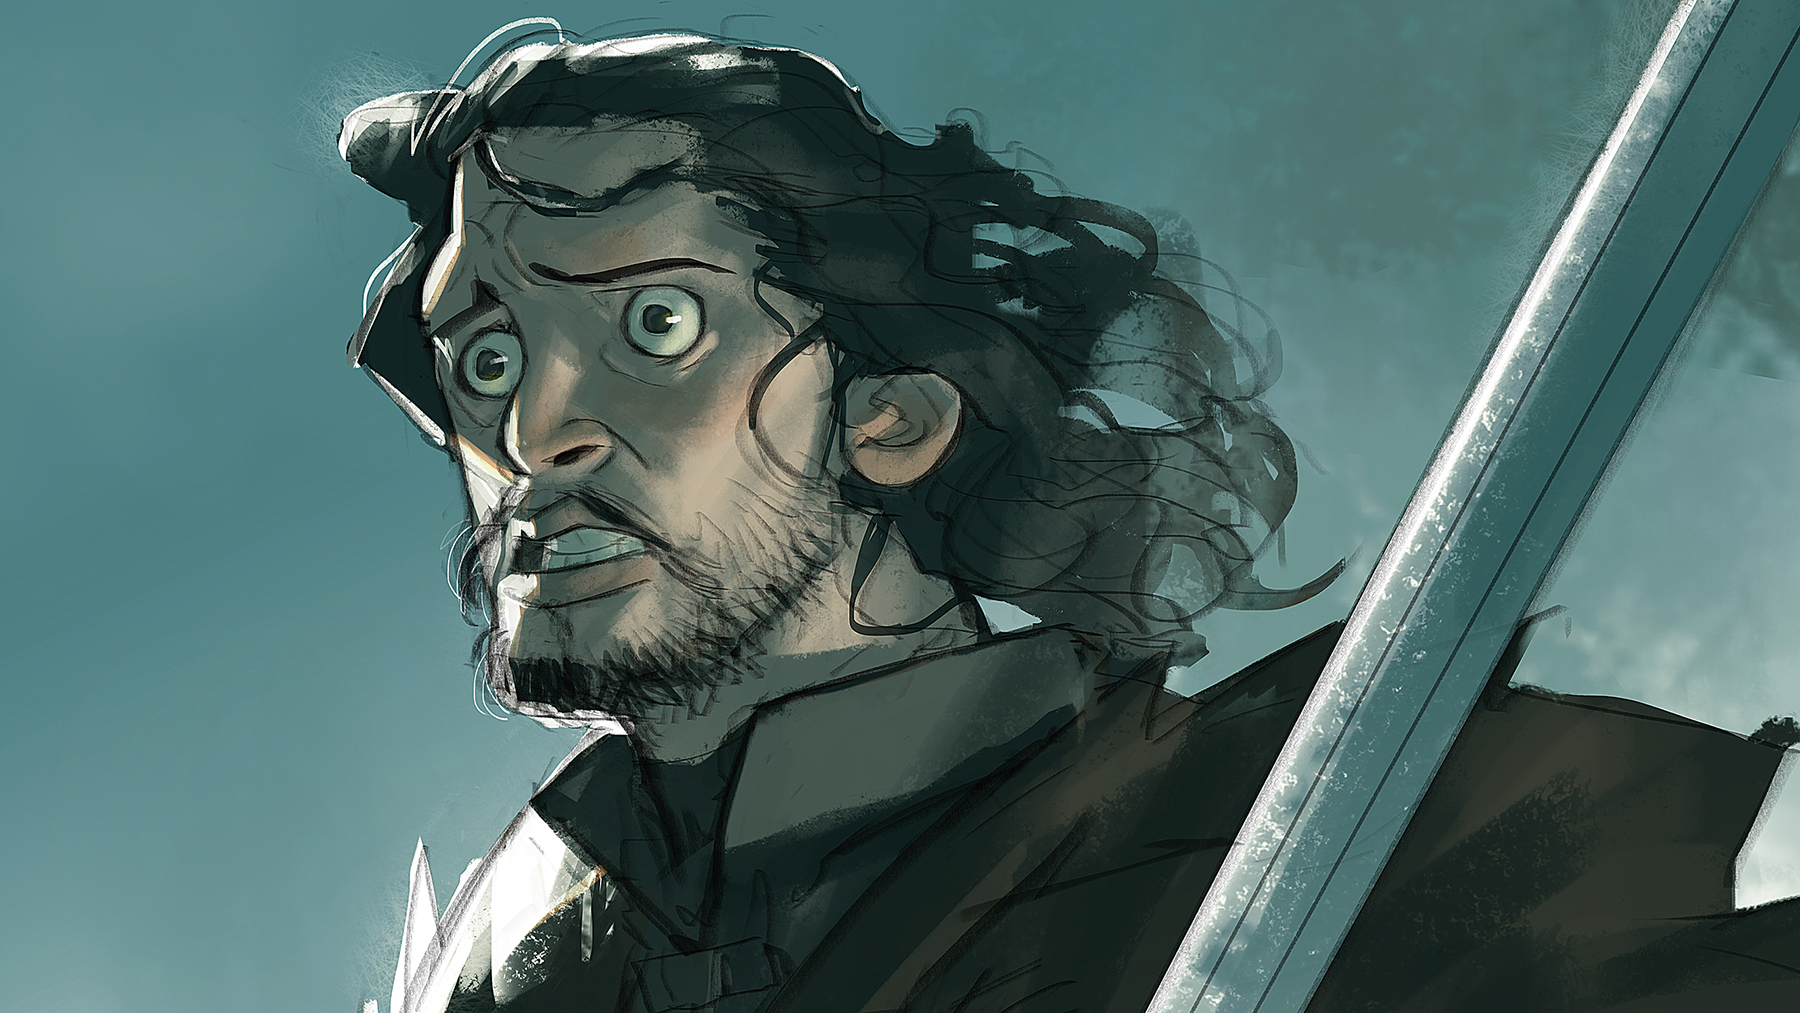
When you're tasked with creating a character design from scratch, think about that figure’s personality. Put yourself in their mindset and identify their motivations, their talents and their ambitions. It’s not just about how to draw an interesting shape or a beautiful face. You need to inform the viewer of the stories behind that face. Ensure that a character’s expression – even just their eyes – speaks volumes about them.
The creative process is personal, so every artist has their own approach to the workflow. I'm sharing mine here, but you can always find a way to adapt these ideas to your own creative process rather than using it wholesale, if you prefer.
A disciplined approach towards self-improvement also goes a long way if you want to improve your character art. Yes, talent and classes help, but you can also achieve a lot just by staying focused on your goals.
01. Get into the habit of drawing
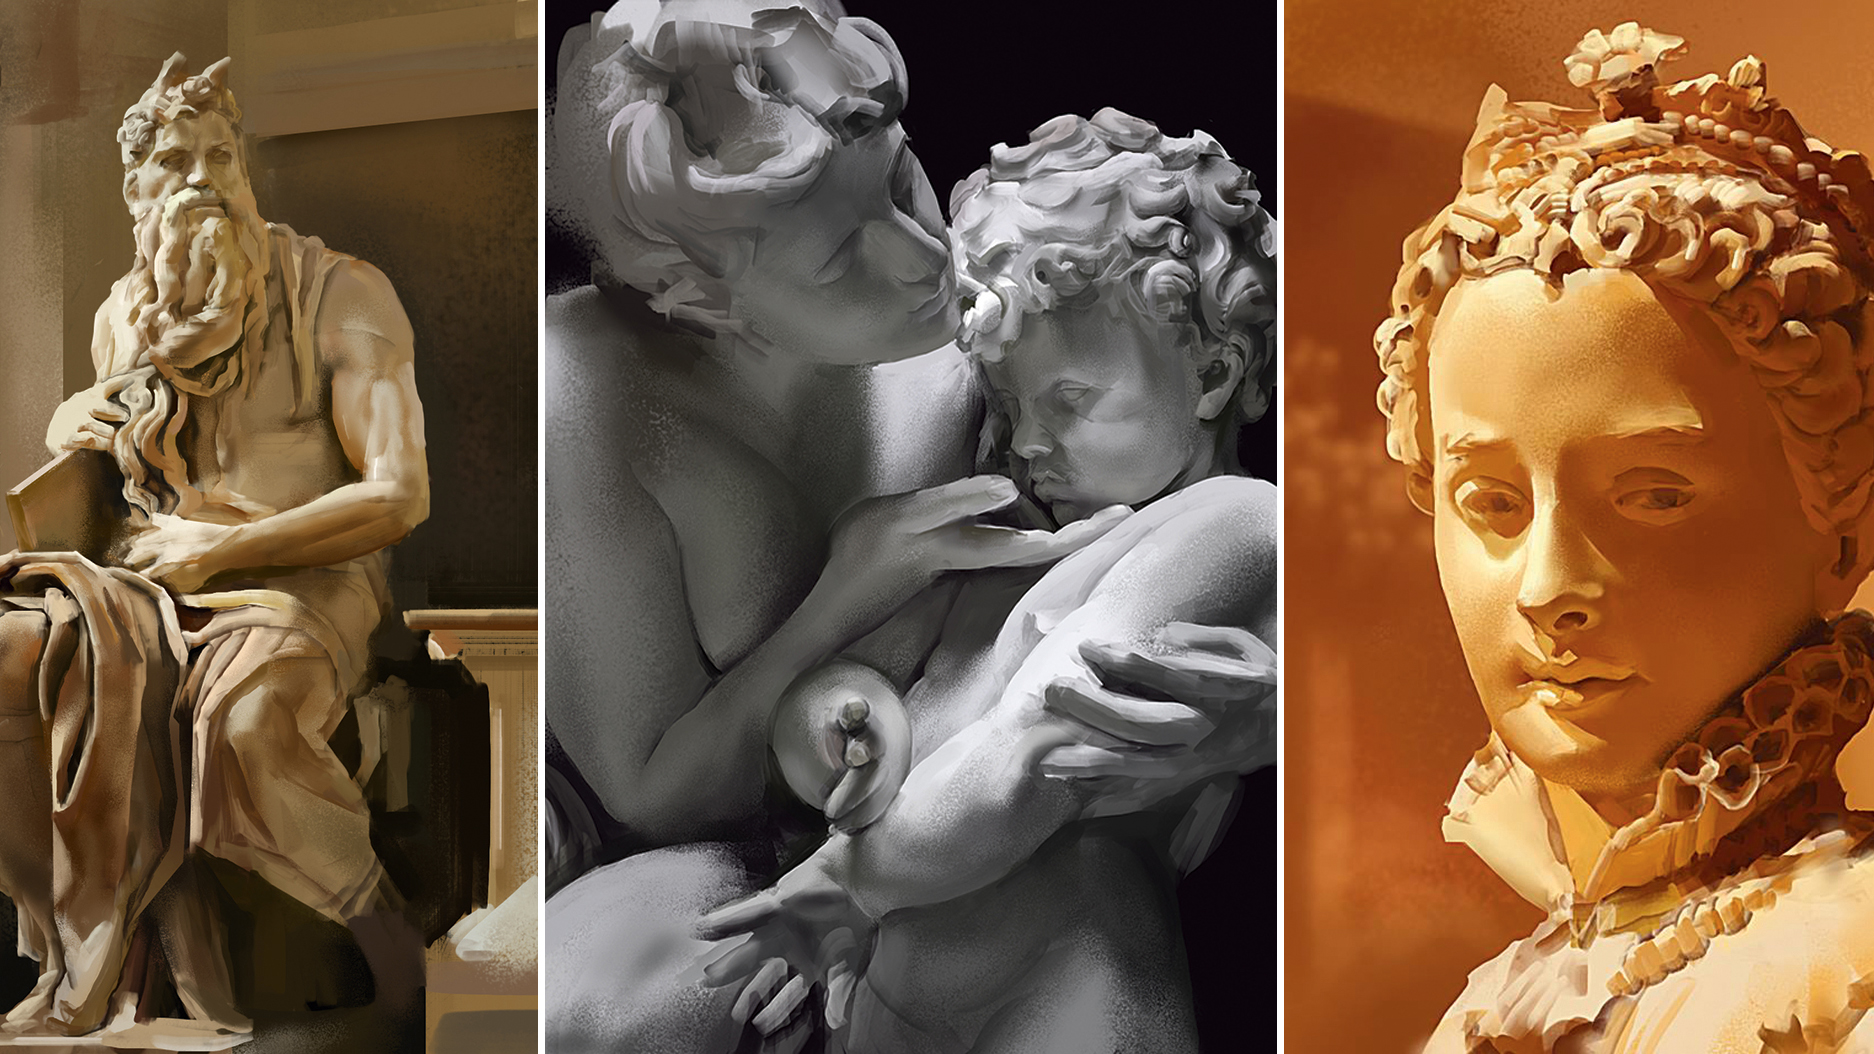
Drawing is a skill that will improve the more time you spend doing it. Pick a subject and then spend at least three hours depicting it. It’s a great way to grasp the fundamentals of art: anatomy, composition, colour and values. Drawing statues helped me to learn about lighting and shading.
Study references for an hour, then try to draw them from memory. This will help to enrich the visual library on your brain. But don’t waste time memorising small details. Instead, focus on the larger, geometric shapes, because these will be easier to remember. Don’t make things hard for yourself.
02. Study characters from pop culture
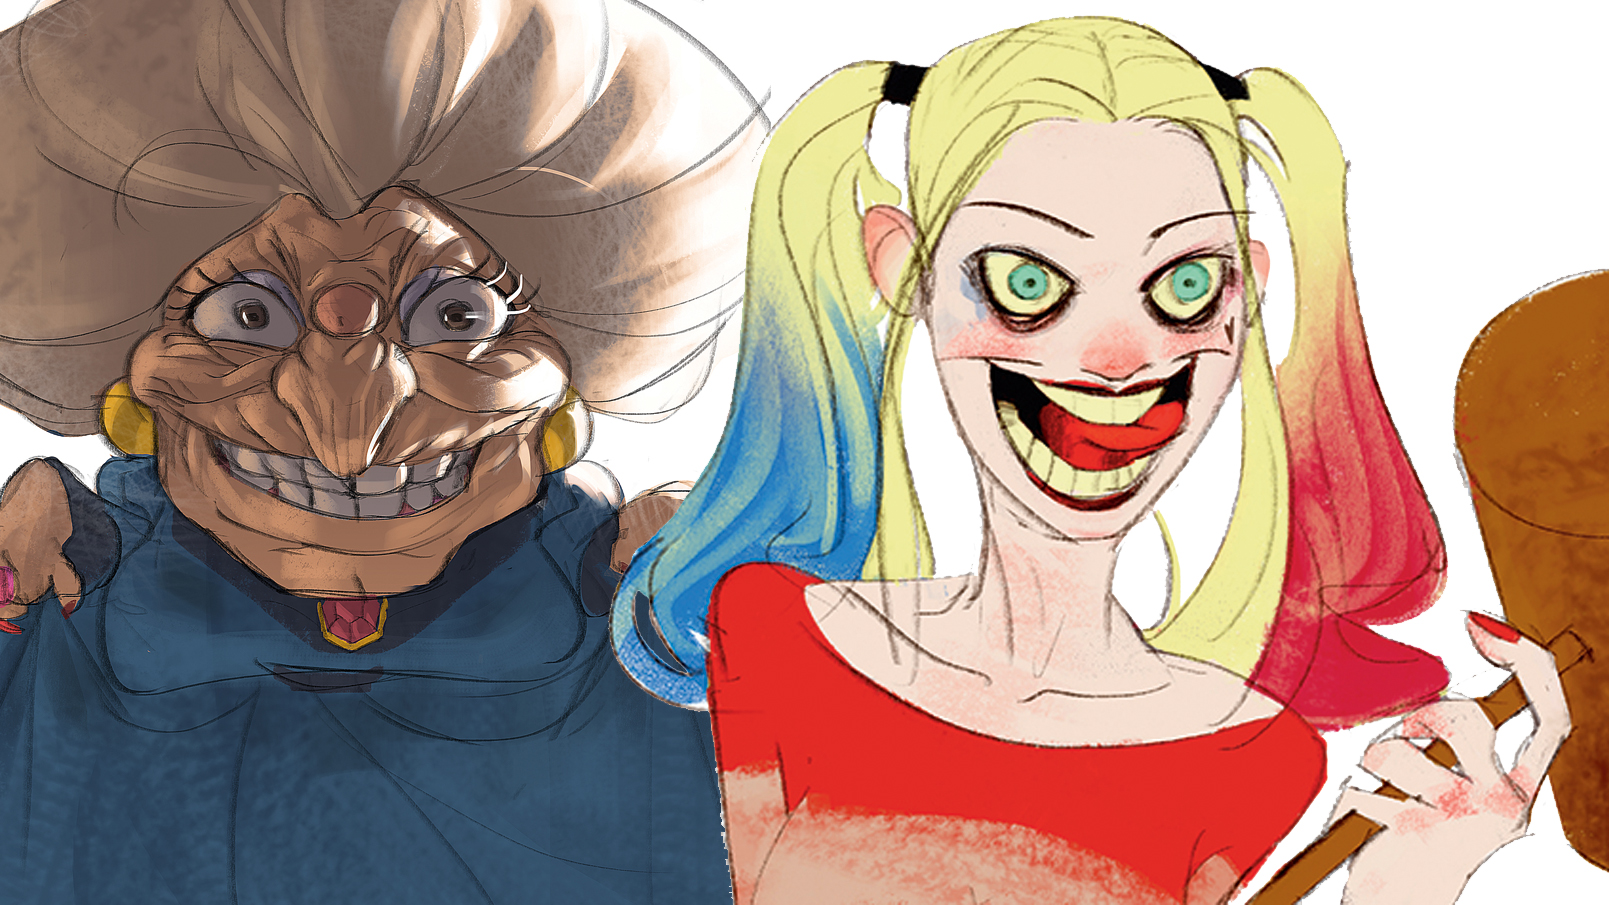
Books or films provide easy access to worlds that are full of inspiration and references. In particular, they’ll be characters – all with different back stories – that will help you bring your own characters to life. I take a lot inspiration from films and animation.
For example, when I want to create an evil character I watch films that feature my favourite villains. Then I try to understand why they look creepy, scary or simply how they exude 'badness'! Maybe it’s the eyes, smile or shape of the head? I take notes and then examine another villain. This approach helps me to build up my own bad guy. Draw up a list of characters from popular culture that you can dip into whenever you need to develop your own ideas.
Get the Creative Bloq Newsletter
Daily design news, reviews, how-tos and more, as picked by the editors.
03. Build your own visual library
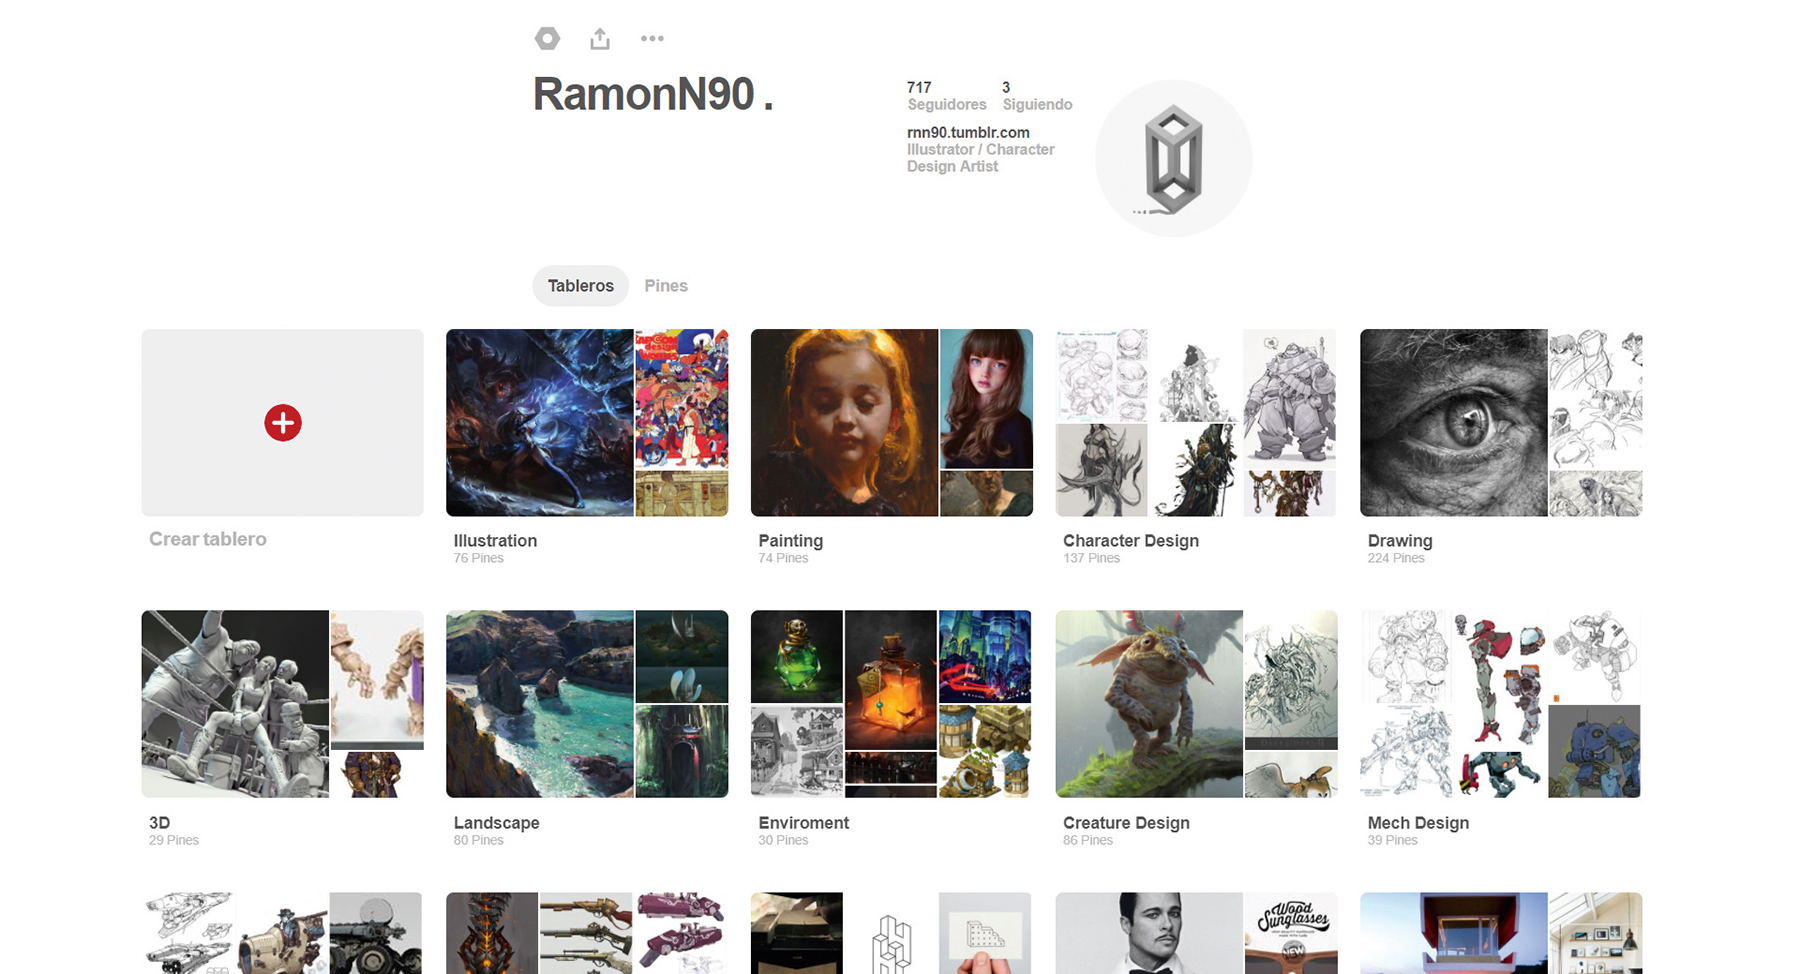
While it’s useful to study characters from pop culture, it's also useful to spend time creating your own file of visual references.
I usually use Pinterest to save my images of real-life photos, screenshots from video games, actors in costume, game production art, and even examples of imagery from artists that I follow online. I’m always adding to my Pinterest pages so that they don’t become stale. Being organised is an important part of your reference routine.
04. Choose your tools
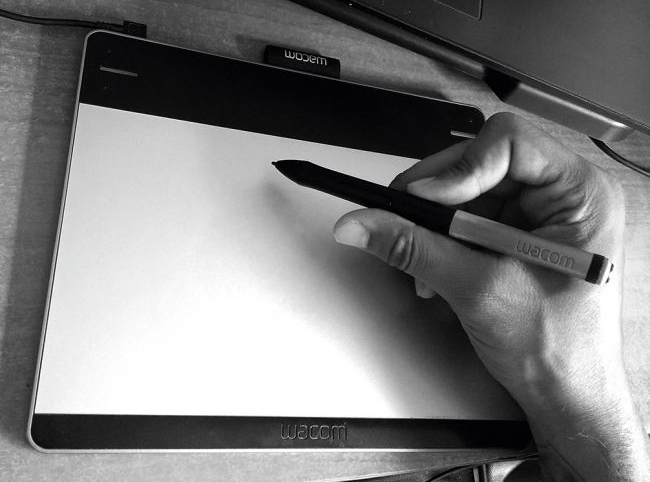
Don’t let your tools define you. Yes, it helps to have a fast computer, but beginners should stick to the basics. As your skills improve and you start making money, gradually invest in newer, better kit. When I started I had a normal PC and a small Genius tablet. A sketchbook enabled me to practise anywhere.
My other key tool is Photoshop CC, but the only aspects that I’ve personalised are the brushes and some shortcuts. Digital tools won’t help you improve on their own, but can be a benefit if you feel comfortable using them. From experience, I’ve noticed that a more relaxed artist will be more productive.
05. Start by drawing curves
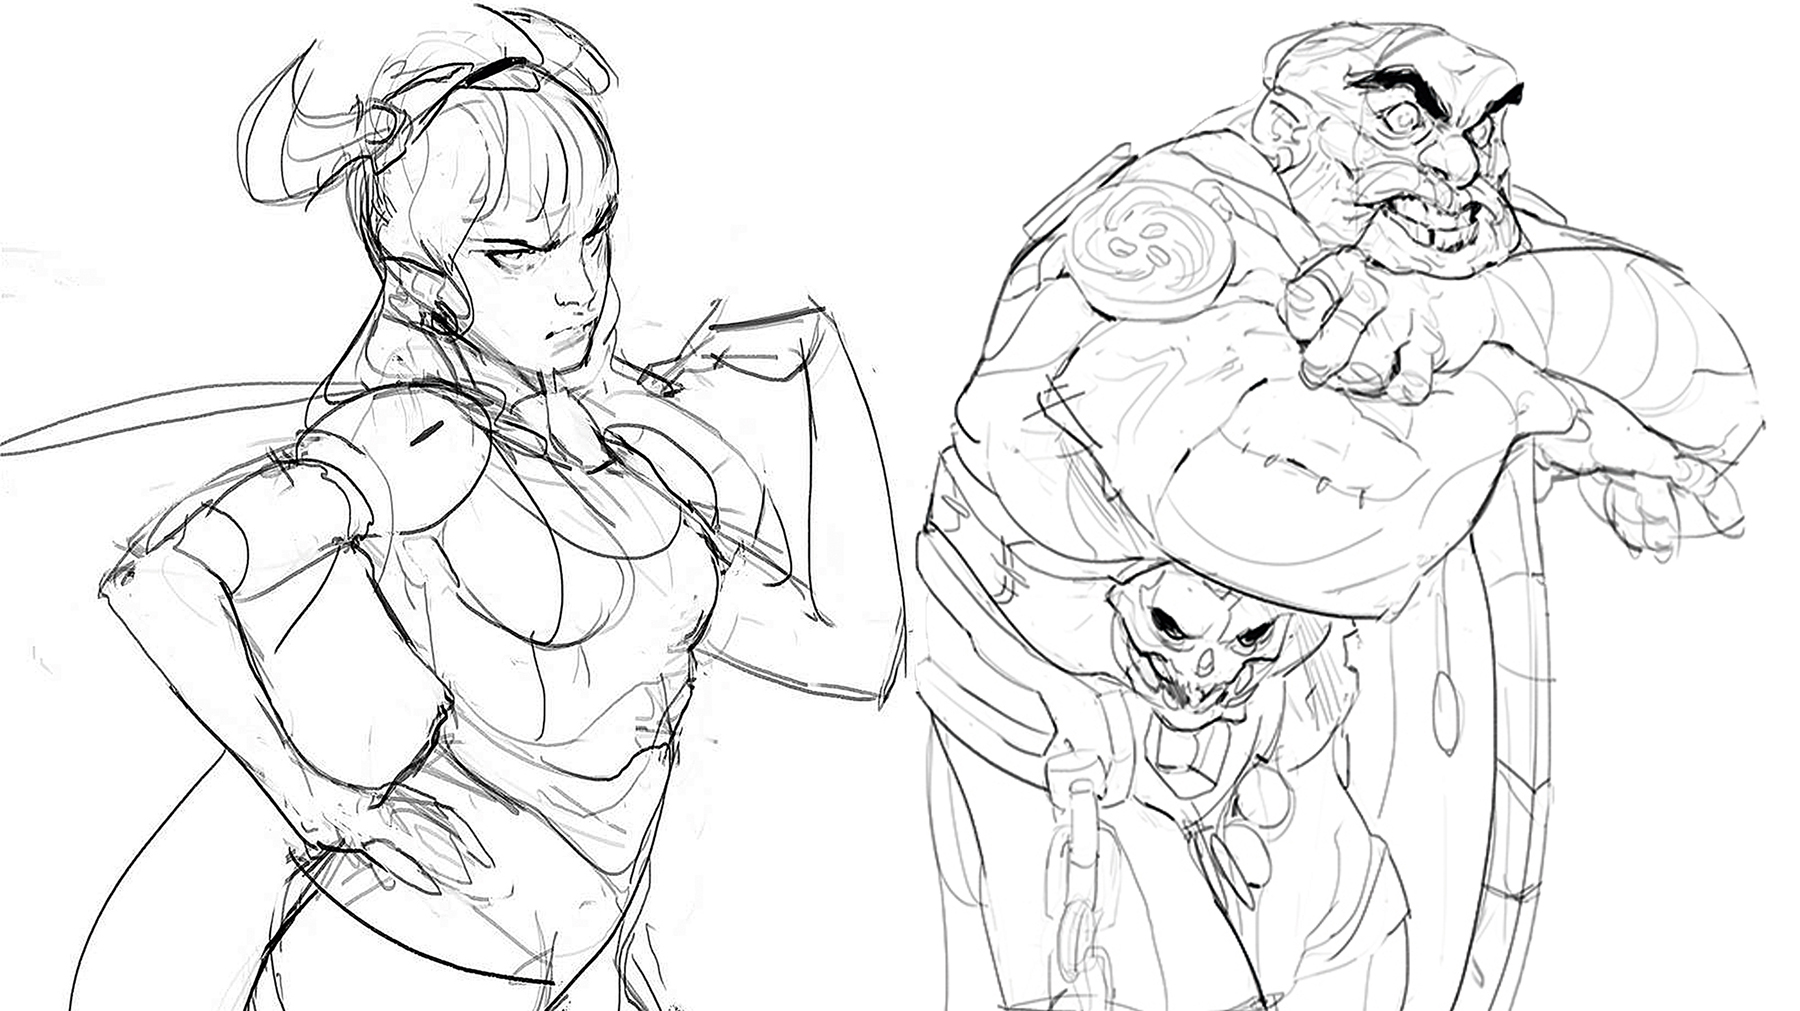
Once you have an idea of how your character should look, it’s doodle time! Begin by producing some thumbnails. Ignore details for now and instead put down the larger shapes.
I always start with curves rather than straight lines so that I can warm up my hand and keep things loose and organic, which is a key factor in my art. If you’re painting female anatomy, then curves are a priority. In contrast, a figure made up of mostly straight lines usually means that they’re a strong, stable character.
To be honest, I don’t feel comfortable starting with a rough concept, but this stage is crucial. You need to be happy with your idea, because you’ll be working within this space and inside these lines as the concept develops.
06. Draw the face and eyes
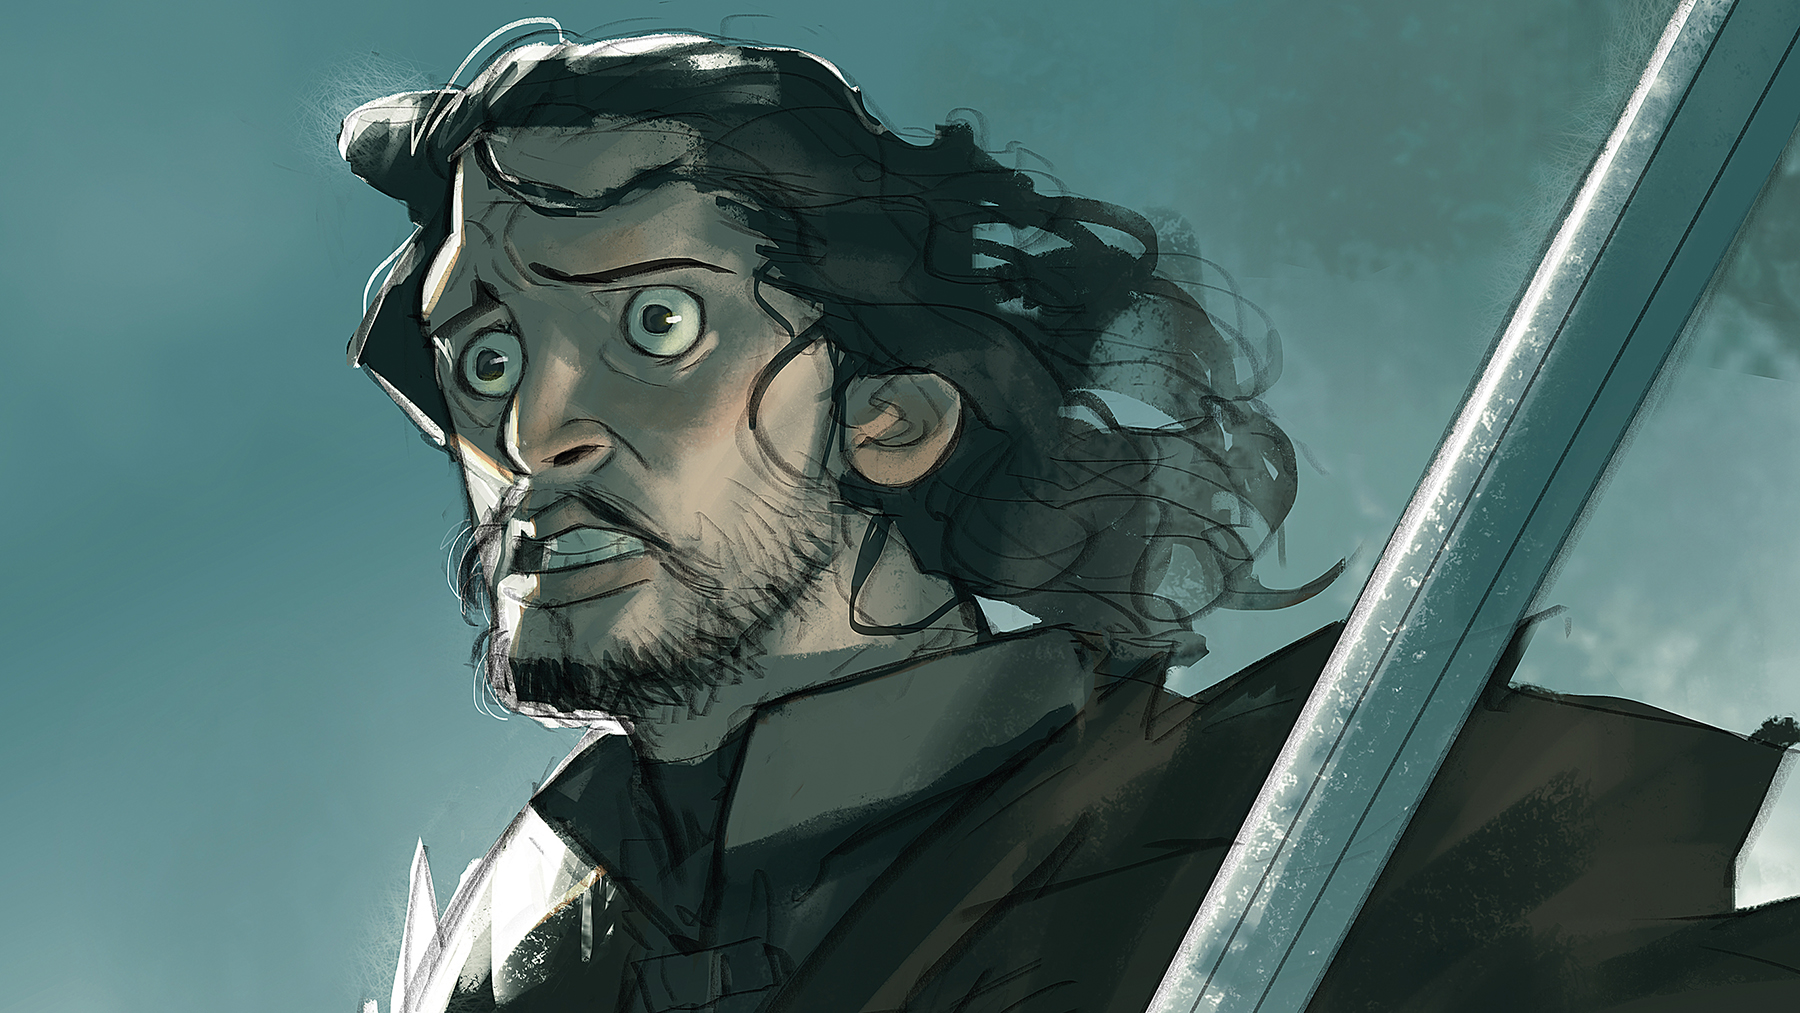
A key aspect of my characters is their facial expression, and the most important feature is the eyes. They’re the first thing that your viewer will notice, so you want them to make the correct impact.
Small pupils will indicate feelings such as anger, surprise, fear and excitement, while large pupils will help you to convey emotions of sadness or happiness. Downcast eyelids can mean they’re trusting, arrogant or tired, depending on how you paint the eyebrows. A good expression will always start with the eyes. I tend to draw the face before defining the shape of the head.
07. Create poses and body language
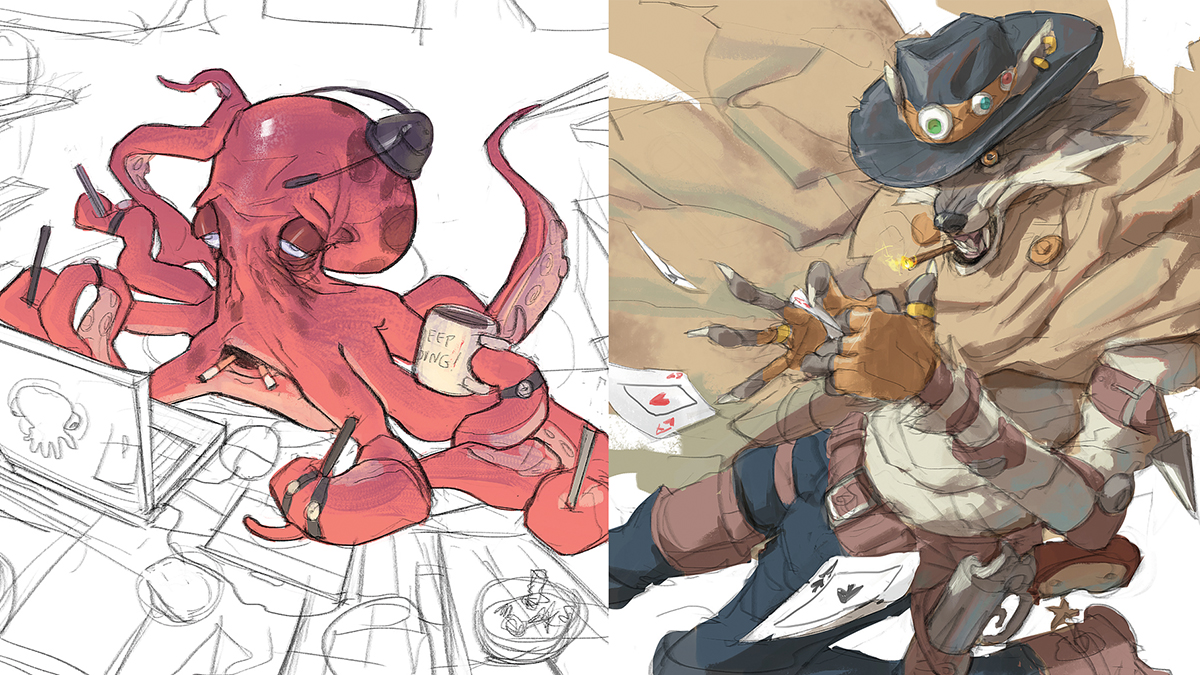
It’s important that a character’s body pose complements their facial expression. For example, you can achieve so much with interesting hands. I realise it’s tricky to draw hands, but they’re a great way to convey emotion, and will always catch the viewer’s eye. Hands can help exaggerate an arm gesture, interact with the character’s body or even relay a stronger emotion than a facial expression.
Then I think about the shape of the body. I always try to create a tangible feeling of weight. All aspects of a character’s body – the nose, hair, hands, shoulders, costume, arms, legs and so on – must be affected by gravity. This helps to enhance the realism of the design.
08. Retain the best aspects of a sketch
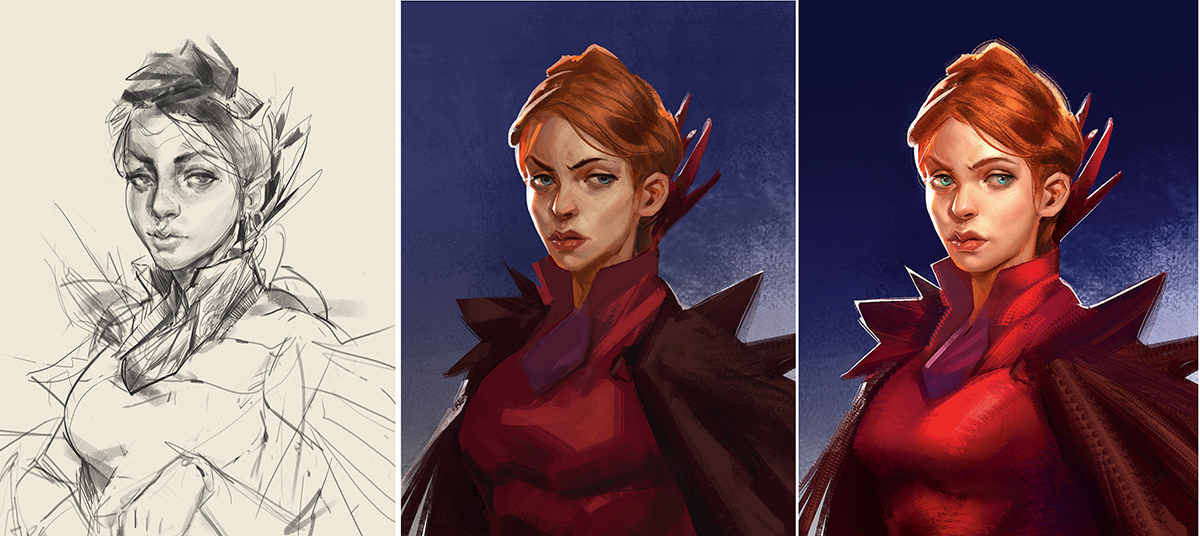
I sketched this character some time ago. My aim was to improve my knowledge of the female anatomy while maintaining a loose sketchbook look. I kept it simple, and concentrated on the values and depicting key anatomy landmarks. Her face was my main focus, with the looser lines suggesting a dress from the Renaissance period.
The ImagineFX team ask me to work up the sketch for the magazine cover. Before painting, I redo the line work to remove the distraction of the existing values. I try to recreate the volumes and the mood with simple brush strokes, paying more attention to the eyes and face, and play around with textures. I want my character to have a stern outlook.
I smooth down the shapes within the silhouette, such as the face, hair and dress, which helps to create volume. Adding textures accentuates the forms in selective areas of the face and body. Once I’m comfortable with the bigger shapes, I move on to detailing. I fix the values, increase the saturation and then call it finished.
09. Use costume design as a complementary device
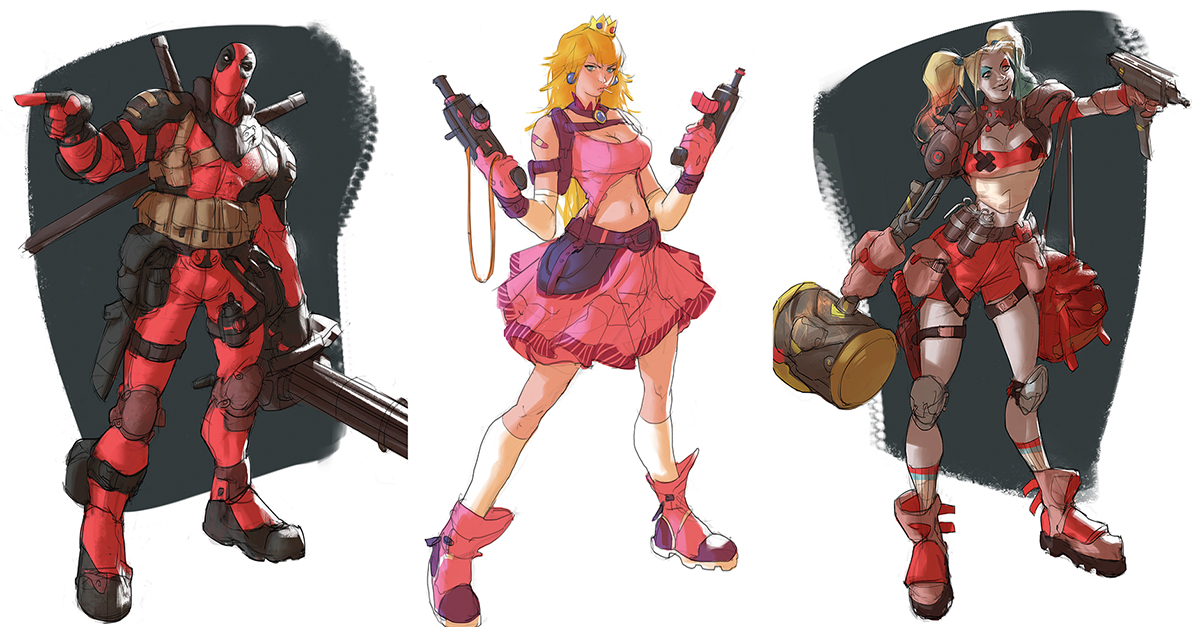
Think of a character’s body as a book. The viewer will start to read from the face and then move on to the body. Take care to be accurate with the visual information that you’re supplying about their outfit. It must add to your character, not detract from it. A costume must complement a character.
Once I’ve roughly illustrated my figure in full I start to add large and small geometric forms, but avoid detailing for now. I’ll often dip into my visual library and look for interesting shapes and references that match the subject matter.
10. Add personality with colour
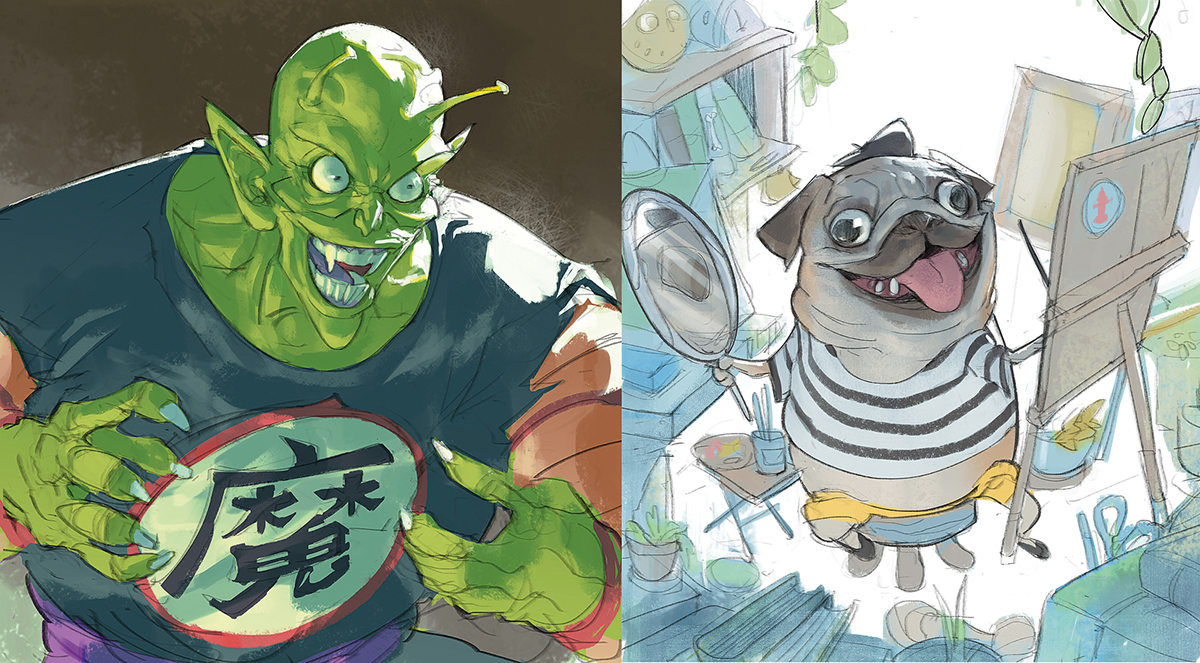
My approach to colours is simple. I start with grey tones because I don’t want to be distracted by the effects of saturation. Then I try to maintain the character’s 'message' by choosing colours that help to convey their nature. A darker personality would feature cold, destaturated colours such as blue, green and violet. I’d use warm, saturated tones like red, orange and yellow for more lively characters.
Sometimes I create a little contrast by mixing cold and warm tones, although not in the same amounts: perhaps 80 per cent of desaturated blue and 20 per cent of its complement, such as a saturated orange. These proportions will be dictated by your character’s design.
11. Build up mood
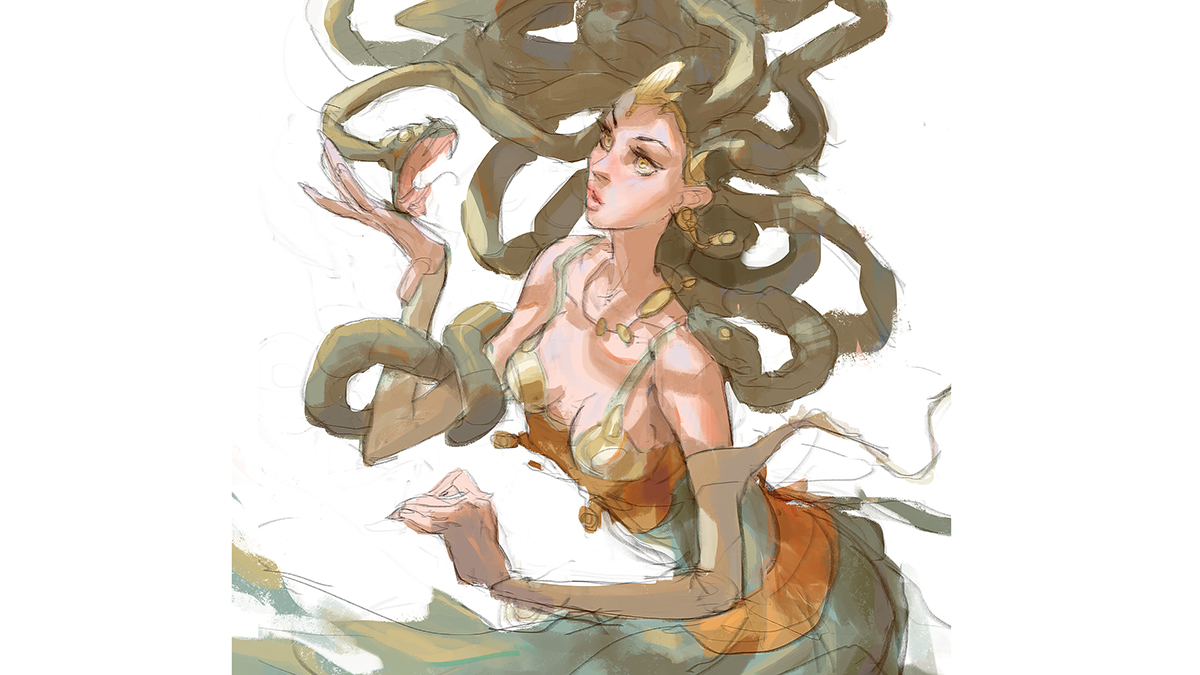
Not every evil character needs to feature dark, cold and desaturated colours. Yet it’s common to associate this palette with feelings of sadness, fear and loneliness, much like red is linked with danger and yellow with a warning. There are similar colour associations in the animal kingdom.
Many of the decisions made by a character designer will be based on making the viewer react in a certain way. If you’re going to do something different, such as apply bright colours to an evil character, there must be elements that reinforce their dark nature, such as outlandish anatomy or a torn costume. This will ensure that the warmer colours won’t act as a distraction.
12. Simplify through light

After I’ve finished my drawing I paint the local colour – or in the case of the images above, the halftone. This will act as my base. I define shapes with this halftone as well as the silhouette of my shape (the character’s head and body).
I decide on the direction of my primary light source by adding a darker tone to my base, which helps me bring in the shadows. How I paint the shape of my shadow will help me to generate the volumes in the face.
Finally, I bring in white tones in the darkest areas of my character’s face, which helps me create contrast and make it looks more interesting. I limit the use of white tones, because too much can be a distraction.
13. Control the values
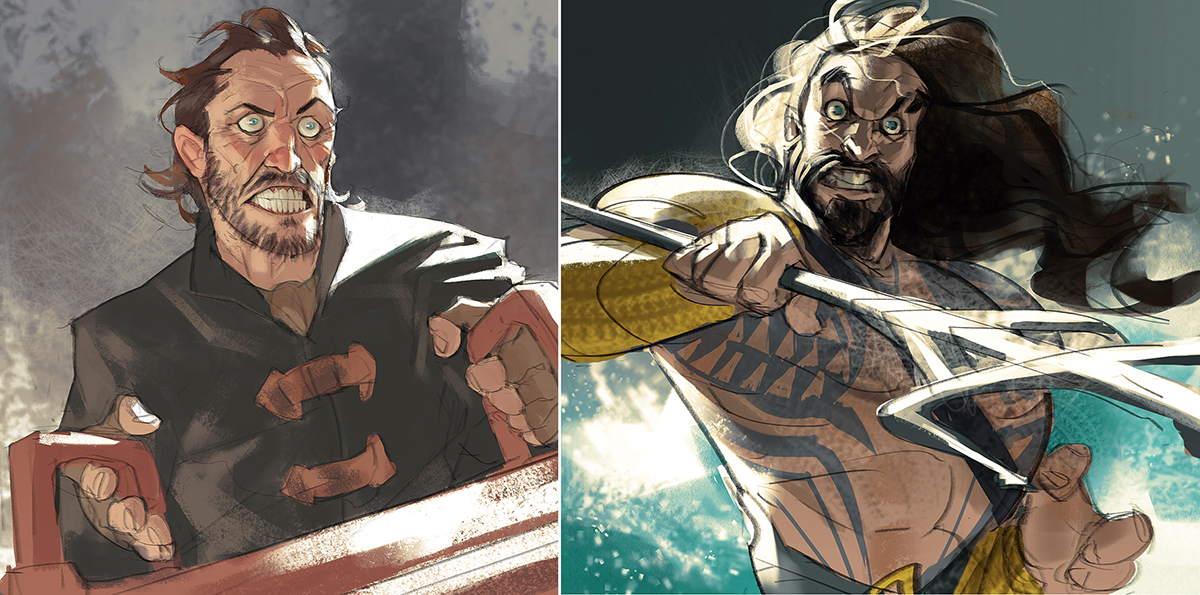
Early on in my learning process I produced lots of painting studies. Each day I’d find an interesting reference image that was full of shapes and contrast, and then try to reproduce it using my art tools. I learned how to create volume with values, but also how easy it is to drift away from the original sketch. If you don’t control your values then you can distort your character’s anatomy.
The face in particular is very delicate. One simple line can change the expression completely, let alone several brushstrokes. So keep it simple and work with just three values. If you feel comfortable you can always add more.
14. Play with textures
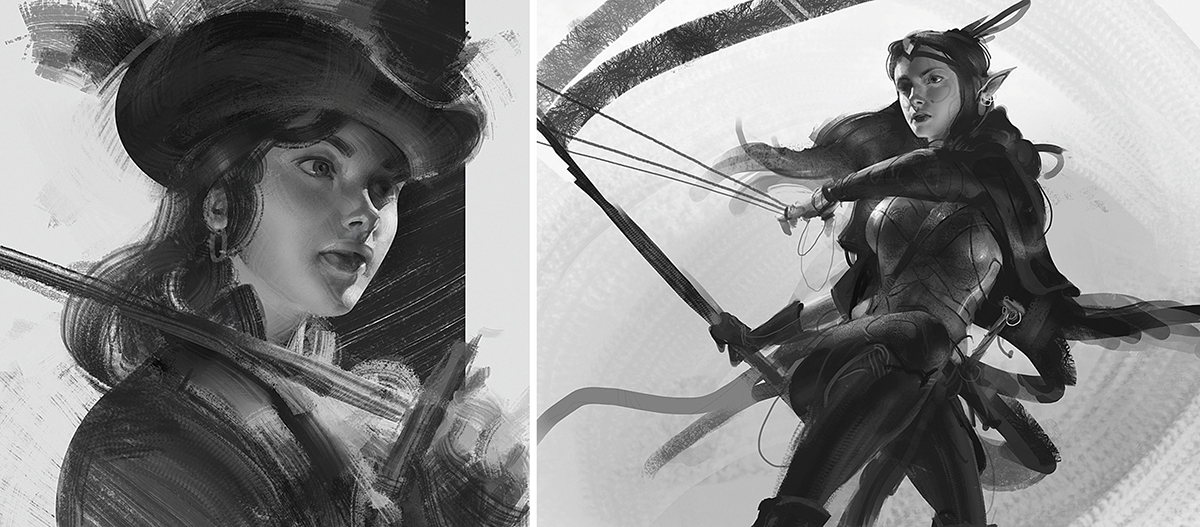
I can use soft brushes and make a clean render on my characters, but I like to play with brush strokes and add a little more interesting information to the render. I study the work of artists who produce amazing digital paintings: they emulate the traditional look of the Old Masters but with digital brushes. To me that’s an incredible skill. I’m still a fan of oil on rough canvas, so that’s why I try to capture that look using just a handful of brushes.
I only use them for the detailing stage, because my main goal is always to produce a decent drawing.
15. Be disciplined
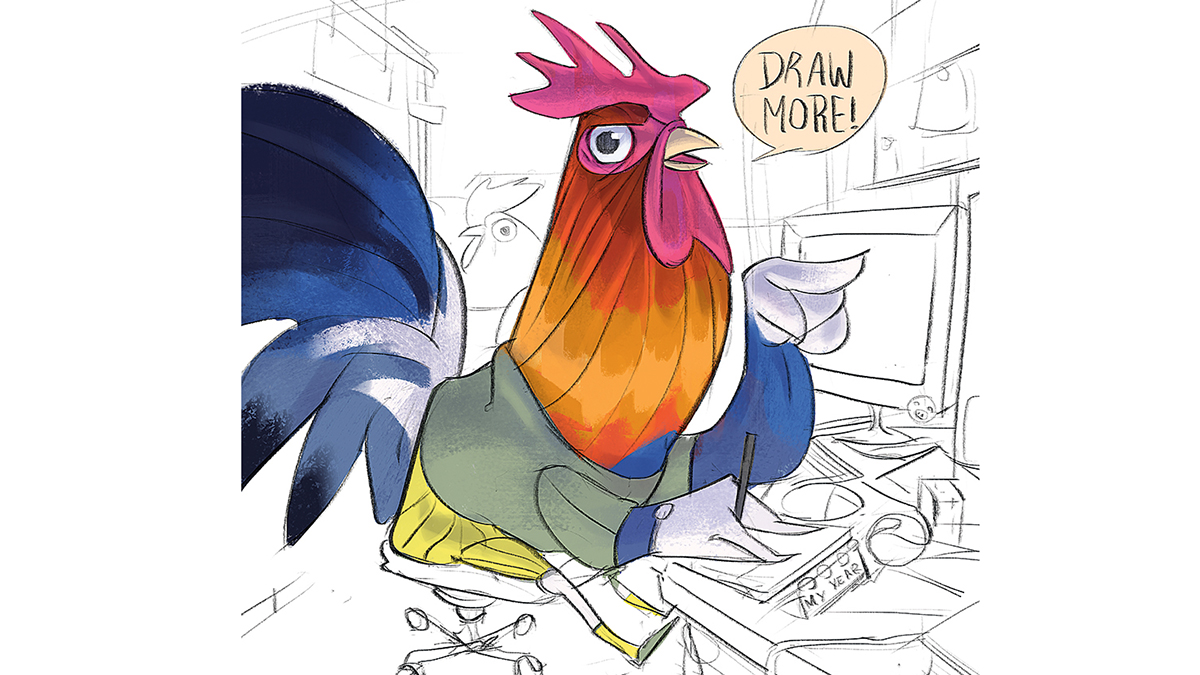
There’s only one way to grow better as an artist and it’s with discipline. If you set yourself goals, organise your tools, produce clean studies and practise regularly, then you’re sure to improve. And finally, enjoy painting! You’ll run into difficulties from time to time, but if you like what you do then you’ll always find a reason to continue.
This article was originally published in issue 153 of ImagineFX. Subscribe here.
Related articles:

Thank you for reading 5 articles this month* Join now for unlimited access
Enjoy your first month for just £1 / $1 / €1
*Read 5 free articles per month without a subscription

Join now for unlimited access
Try first month for just £1 / $1 / €1
