How to use Photoshop’s ‘Match Font’ feature
Art editor Luke O’Neill runs through how to use the new Match Font feature in Photoshop.
Designers and creatives from all fields are like magpies in their appetite for collecting bright and shiny things. We’ve probably all got an Instagram account, Pinterest and Tumblr for documenting and showcasing the things we see and the pictures that we take. If you’re anything like me, then collecting type samples probably forms part of that exercise, with the intention of digging out that font that you've seen either online or out in the wild that would be perfect for a project that you're working on.
With the new addition of the Match Font feature in the latest version of Photoshop, Adobe has taken the leg work out of the laborious task of scouring font book, your type client, or online foundries to get the closest match to the typography sample you’ve seen. With Match Font, Photoshop will analyse the type specimen and suggest the nearest match from your licensed fonts and also make suggestions for fonts that can be licensed that match the specimen.
Over the next five steps I’ll explain how to use the Match Font feature, how to get the best results from it, and also some considerations that will help achieve a better match.
01. Collect source material

This is the fun bit. No doubt you already have an ample supply of trendy typography taken from the signage of the local hipster coffee shop, but if not, get out in the wild and get snapping any pieces of type that you like the look of or you think might work in a project. Above is a quick sample that I took whilst walking around Bath one sunny lunchtime.
Of course this doesn't just work with photos. It may be that you have a piece of work that you no longer have the original document for or even the PDF but have the flat jpeg. Or you may have seen something online that you like the looks of, simply take a screen grab of it and save it.
When taking photos, try and ensure that the type is framed clearly and as straight on as possible so that the type is not distorted. The cleaner the shot and the clearer the background then the better the results will be.
02. Open the image and adjust
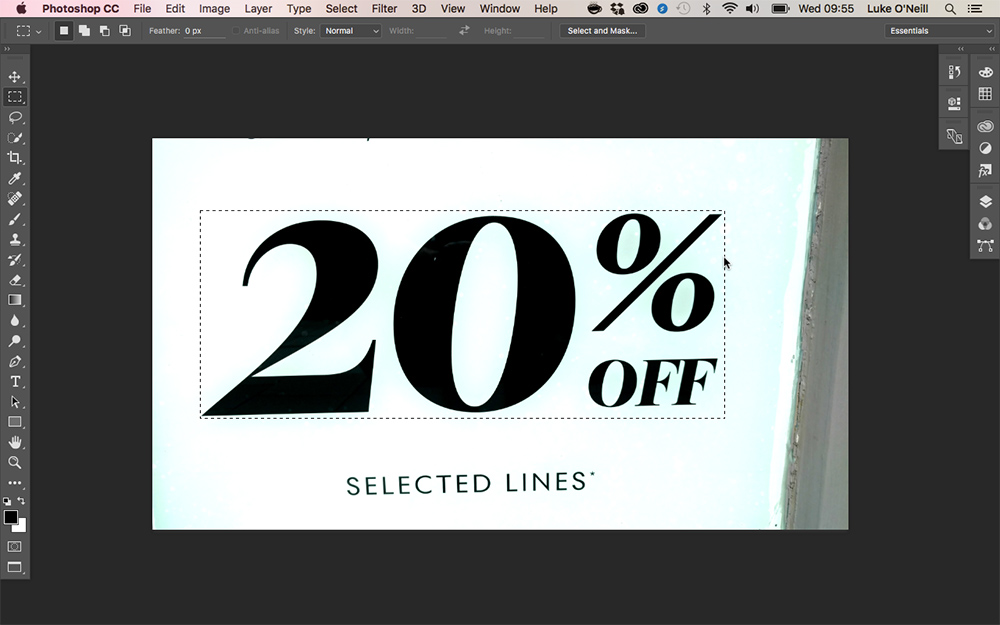
Open the image in Photoshop. If the type is a little distorted then you may want to adjust it before trying to match the font. Simply duplicate the background layer in the layers panel then use the Edit > Transform > Distort function to adjust the typography and any distortion that has occurred when taking the photo. You may wish to drag guides on to the document to help with this. You may also wish to clean up the background surrounding the type at this point.
Get the Creative Bloq Newsletter
Daily design news, reviews, how-tos and more, as picked by the editors.
Once you're happy with the look of the type, simply use the rectangular marquee tool to draw a box around the type that you want to match. This will work best if you keep the selection to one word or line of type, keep the selection close to the edges of where thew type begins and ensure that the selection area is as clear from dust and scratches as possible.
03. Match Font
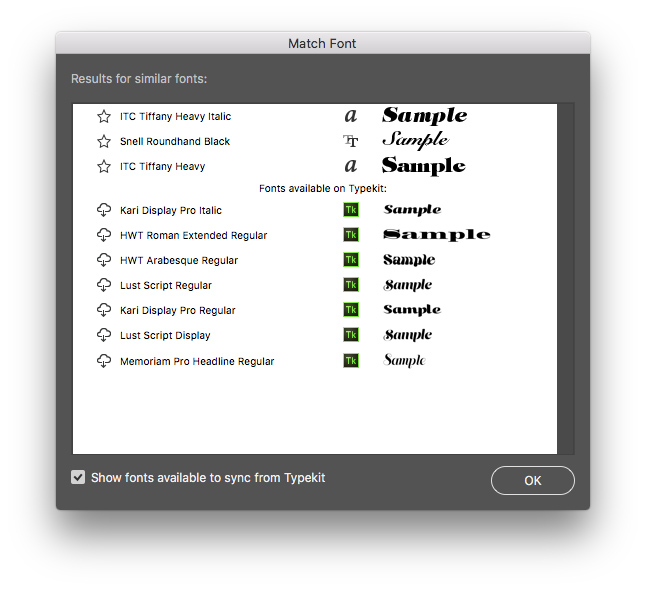
Now simply navigate to the type menu and hit the 'Match Font' function. It may take a few moments but Photoshop will eventually launch a new window showing the best matches in your library and similar matches from the Typeset font library that you can then download.
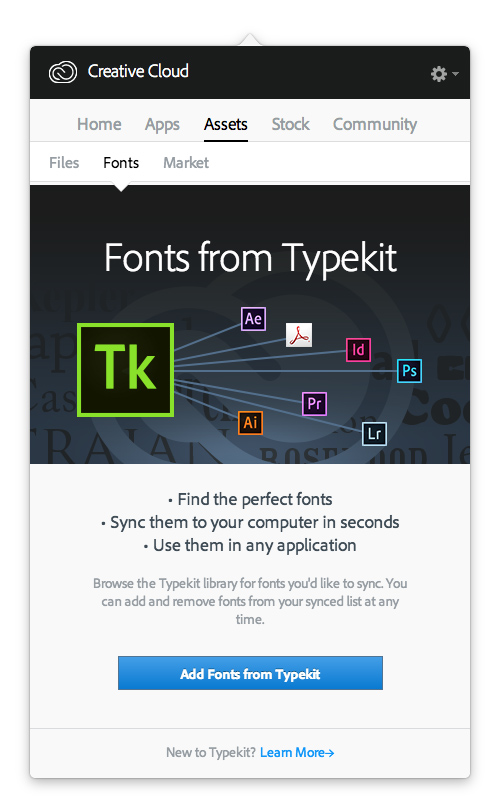
To see the Typeset matches, make sure that you have an internet connection and that you're signed into Adobe Creative Cloud. You’ll also need to make sure that “Add fonts from Typekit” is elected from the Fonts tab found within the assets tab in the Adobe Creative Cloud desktop app.
04. Select the font and apply it to your design
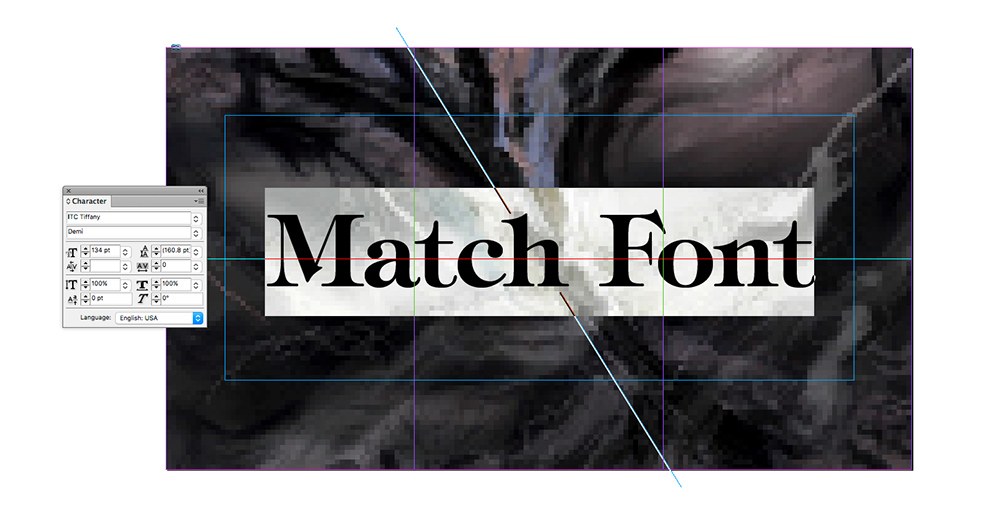
Now simply choose one of the suggested fonts, draw a text box and start typing. You can, of course, set up a new document or indeed use Match Font simply as a type finder tool and then use the suggested fonts in other programmes such as Illustrator or InDesign as I have done in the above example.
To use the suggested Typekit fonts, ensure that you are logged in to Typekit using your Adobe ID and then simply click the cloud icon next to the suggested font and it will automatically be downloaded and added to your font set. Simple!
05: Considerations to bear in mind
While the Match Font function is pretty straightforward in the way that you activate it, there are some considerations to bear in mind in order to get the best results from the tool:
- Ensure you photograph type specimens as straight on as possible
- Photograph samples with clear areas around the type you want to match
- Adjust any distorted type in photoshop and clean up
- Make sure your selection sits as flush to the type you wish to match as possible

Thank you for reading 5 articles this month* Join now for unlimited access
Enjoy your first month for just £1 / $1 / €1
*Read 5 free articles per month without a subscription

Join now for unlimited access
Try first month for just £1 / $1 / €1
Luke is a creative director, visual designer and digital artist, who works at THG Studios in Manchester as creative director of beauty. He previously worked for Future Publishing, where he was art editor of leading magazines such as Guitarist, T3 and Computer Arts.
