How to simulate explosions in Maya
Create explosive effects using Maya’s nParticles and FumeFX.
16. Caching the particles
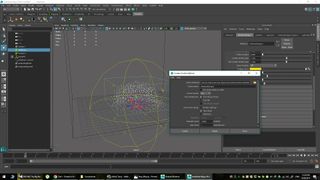
Select the nParticles Object from the Outliner and go up to the nCache bar. Select Create New Cache>nObject. This will re-simulate the particles you created and store them in the computer to make them easier to use again and make sure nothing changes in the simulation over time. If you want to delete a previous Cache, you can do so via nCache>Delete Cache.
17. The first bang
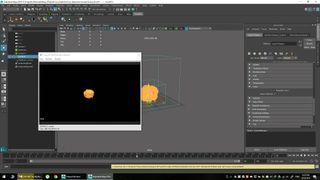
Select the fumeFXShape node again. You should see some icons: a picture frame and a play button. Click the picture frame to open the simulation display, then click the play icon to start the simulation. If your explosion looks more like burning debris than an explosion, you need to go to the particle_source object and change the Radius to give it a bit more oomph. Experiment until it looks right.
18. Create sparks
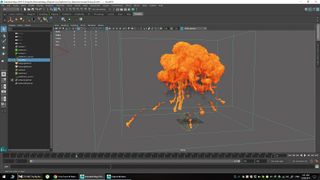
To create sparks flying off the explosion, create another Emitter. You’ll need to go through all the steps again but this time, generate fewer particles, speed them up, and make them live longer. Create a second particle_source and connect it to the main FumeFX node by going to the relationship editor in the node and selecting the second particle_source as well. This is optional, though.
19. Burn rate
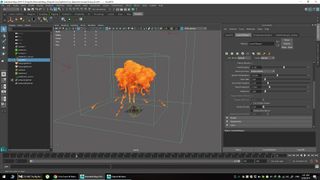
If the explosion seems to end too quickly, go into Simulations>Fuel>Burn Rate and edit that. If you’re playing with settings, run a simulation after every single tweak.
20. Adjust Turbulence Noise
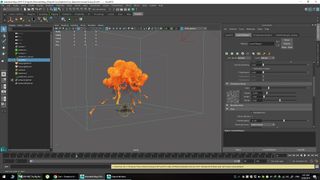
If your explosion looks too small you can use two settings: Vorticity and Turbulence. In the FumeFX node, under Simulation>Turbulence Noise, make the Scale smaller and play with the Detail slider. This brings more detail into the explosion, making it appear bigger. You may find that you need a larger or smaller number for your scene.
21. Adjust vorticity
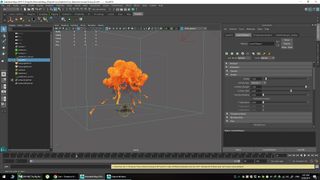
In FumeFX node under Simulation>System, you’ll find the settings for Vorticity. This means the small orbiting bubbles that form due to the rising hot air. Change the Vorticity type to Vorticity II and play with the Vortices Scale to find a good look for the explosion.
22. Tweak smoke
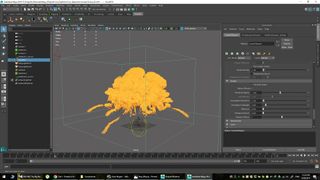
Mosts explosions won’t look right without the smoke. To tweak this, go to Simulation>Fuel and turn on Fire Creates Smoke. You’ll also find Smoke Density under that, plus a tab dedicated to Smoke. The settings in there are fairly straightforward. Smoke Buoyancy, for instance, makes the smoke rise up. while Dissipation Strength controls how quickly the smoke disappears.
Get the Creative Bloq Newsletter
Daily design news, reviews, how-tos and more, as picked by the editors.
23. Prepare for Render
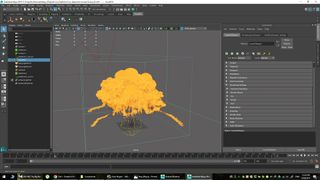
At this point, you probably have a nice explosion that runs perfectly but doesn’t look all that good. Some settings still need editing before rendering. In the FumeFX node, you’ll find a tab called Rendering Settings, which contains sub-tabs for Fuel, Smoke and Fire. Explore these settings to learn more.
24. Experiment with fire
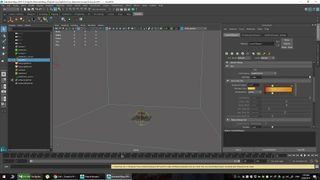
The colours of the fire generated from the explosion are driven by a gradient by default. You’ll find it in FumeFX>Rendering Settings>Fire>Fire Color Tab. From left to right, the colours show how the fumes will progress. The ideal look is hotter at the centre. Experiment to see what looks best. Also, the Intensity setting in Fire affects the alpha channel.
25. Edit smoke
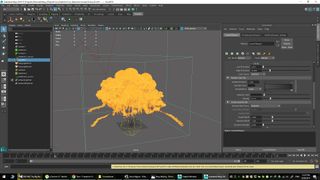
Making changes to the Rendering Settings doesn’t mean redoing the entire simulation. You’ll even see the impact of your changes in real-time in the FumeFX Preview window. To edit the gradient of the smoke, go to FumeFX>Rendering Settings>Smoke>Smoke Color Tab. Try darker colours – from 20 to 40 – as explosions usually have dark smoke.
26. Remember to simulate
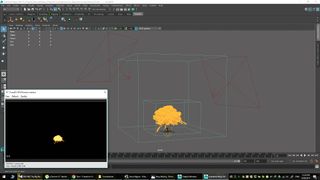
Rendering the explosion is fairly simple. You can use lights from your rendering engine of choice to make the explosion more realistic. If the explosion doesn’t cast shadows by default, you can find these settings in the Rendering Settings tab as well. You can create a number of amazing things using these techniques, just remember to simulate after every single tweak. Continue tweaking until you’re happy with the outcome.
This article originally appeared in 3D World issue 223. Buy it here.
Related articles:

Thank you for reading 5 articles this month* Join now for unlimited access
Enjoy your first month for just £1 / $1 / €1
*Read 5 free articles per month without a subscription

Join now for unlimited access
Try first month for just £1 / $1 / €1
