How to paint a vibrant floral still life
Creating a "free" floral painting with vibrant colours and rich textures, using brushes and a palette knife.
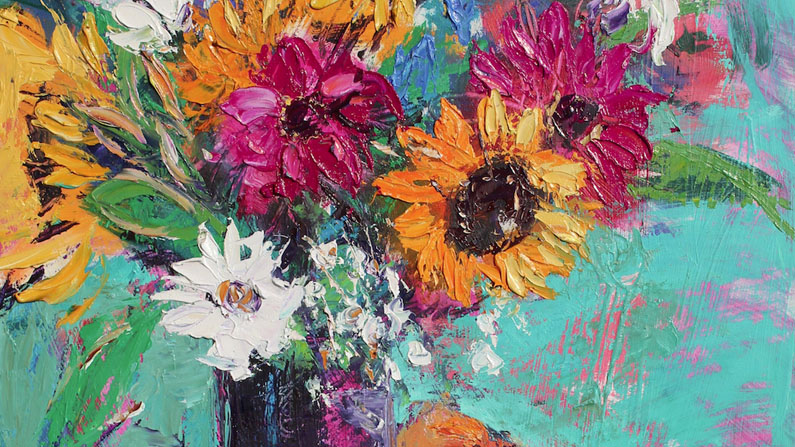
Colour and texture offer a perfect way to give vibrancy to a floral still-life. This demonstration shows how I use acrylic paint to create an underpainting, which I then work over in oils with a palette knife. My paintings, both the oils and mixed-media collage, are worked in layers. I find this approach brings real depth to the work.
The setting up of the still life is important and I see this very much as part of the painting process. I can choose the flowers, their colour and shape, as well as the drapes and the composition.
I will also prime some MDF board roughly with gesso to create a lovely textural surface before I start the painting. There are no preparatory drawings, I start the painting with a broad brush and vibrant acrylic colour, blocking in the shapes of the composition. The acrylic stage is worked freely, the aim being to create an interesting surface over which I can paint with oils.
When the acrylic stage is dry, I switch to oils, applying the paint with a palette knife, to keep the work free. The oil paint picks up the texture created with the gesso and the acrylic. In some areas, the acrylic shows through, and in others it's covered with thick oil paint.
Throughout the process I work at speed, keeping the colours fresh. As I paint, I keep moving from one area to another, balancing the colour throughout the painting, trying not to overwork the details. I want the finished work to be alive with colour, expressive and bold.
01. Make some marks!
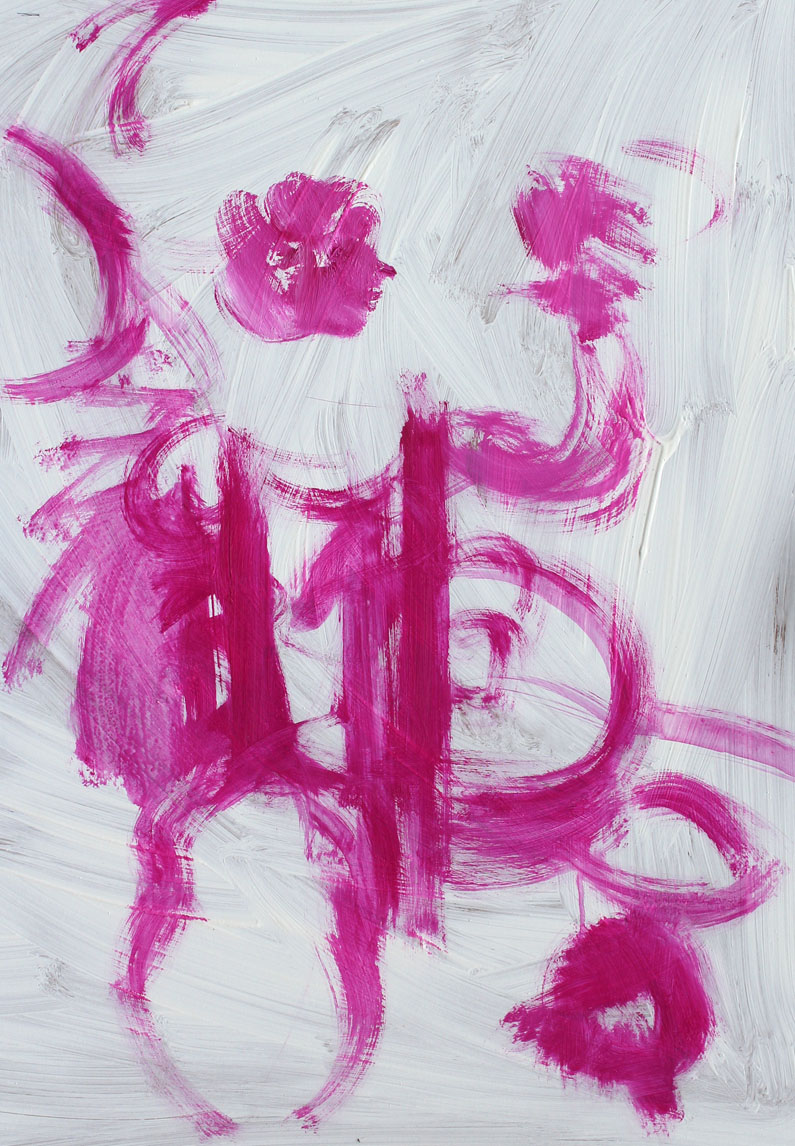
Using a viewfinder, I select the composition and with a broad brush I mark some of the key points. The objects in front and behind create depth. The viewfinder is two L-shaped pieces of card taped together to make the desired rectangle. I shut one eye and then select the view I want to paint. I choose an informal and close view, so the flowers extend beyond the picture-frame.
02. Blocking in
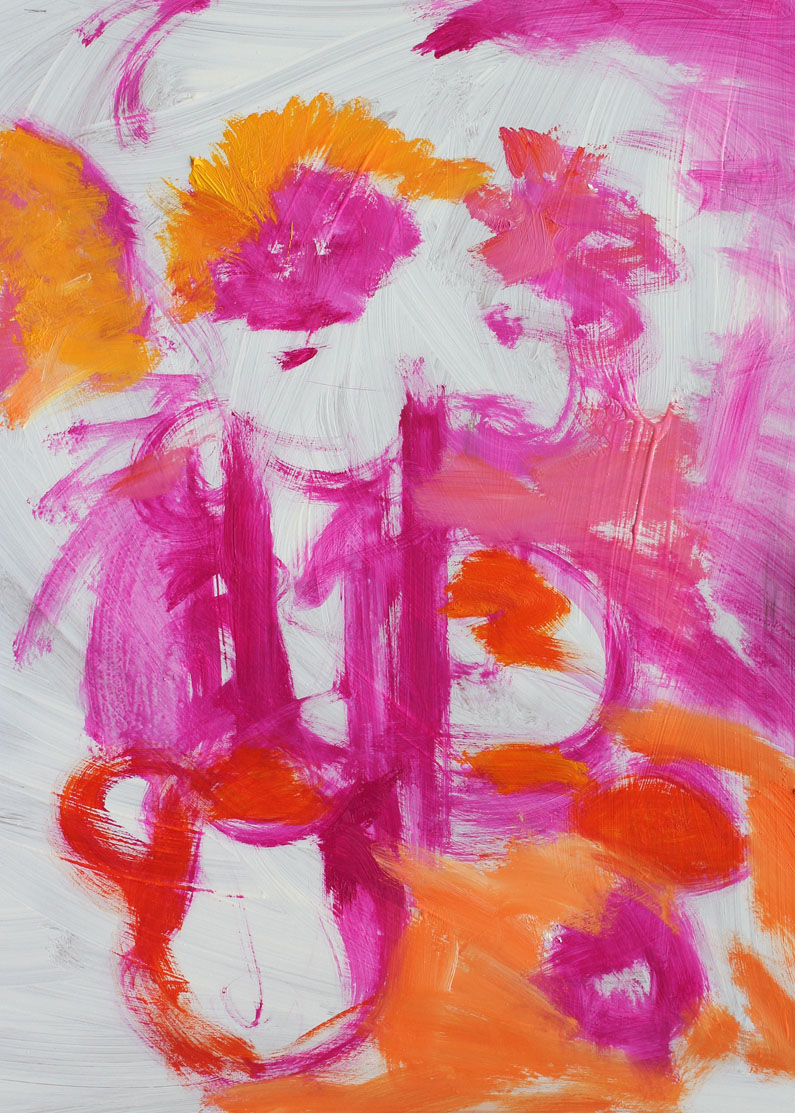
I block in with vibrant colour, looking at the negative shapes between the objects, working confidently and quickly. The colours will provide a warm background to paint over later with the oils. Nothing is set in stone and I can refine the shapes as I work at every stage. Remember this is the underpainting, so I'm after something colourful that doesn't need detail.
Get the Creative Bloq Newsletter
Daily design news, reviews, how-tos and more, as picked by the editors.
03. More colours/texture
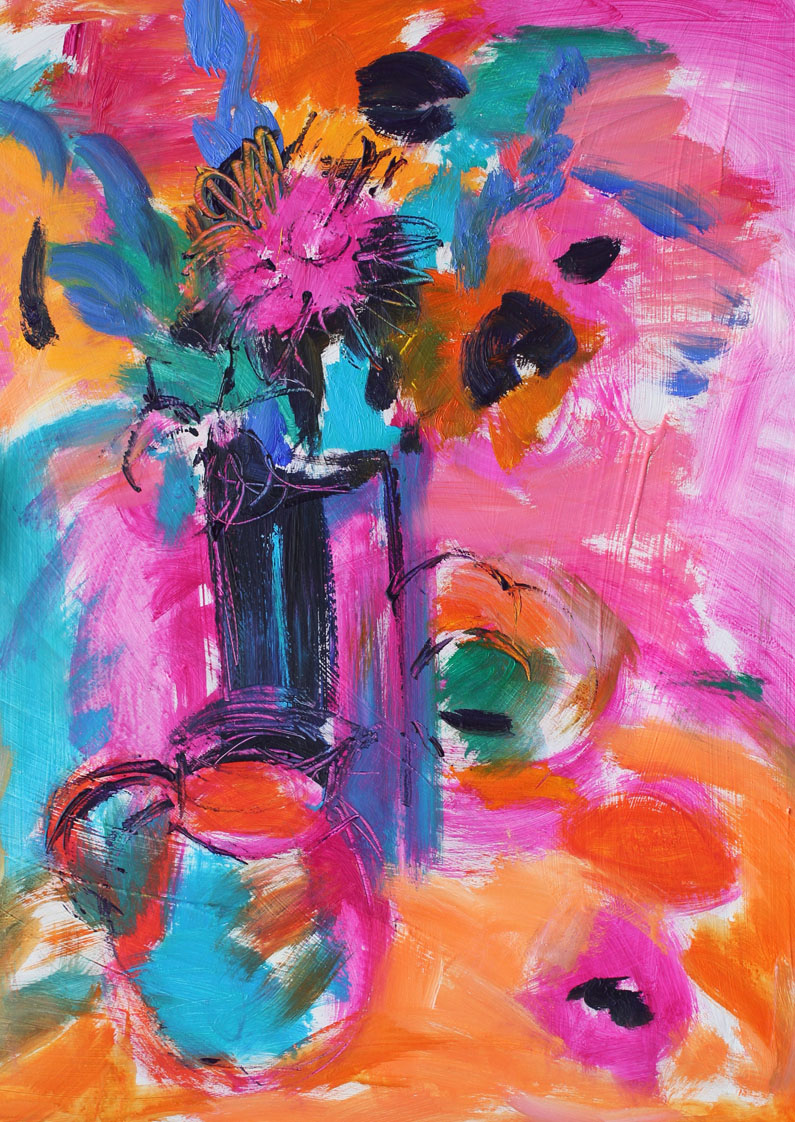
The white board is mostly covered. I add dark areas using some Paynes Grey for contrast. The paint is thicker and I scratch into it using an old brush that has dried up. The scratching-in provides more texture and I also use it to redraw some shapes. Because it is just scratching-in I won't get any detail, which I don't need. It's another way of keeping the work free.
04. Finishing underpainting
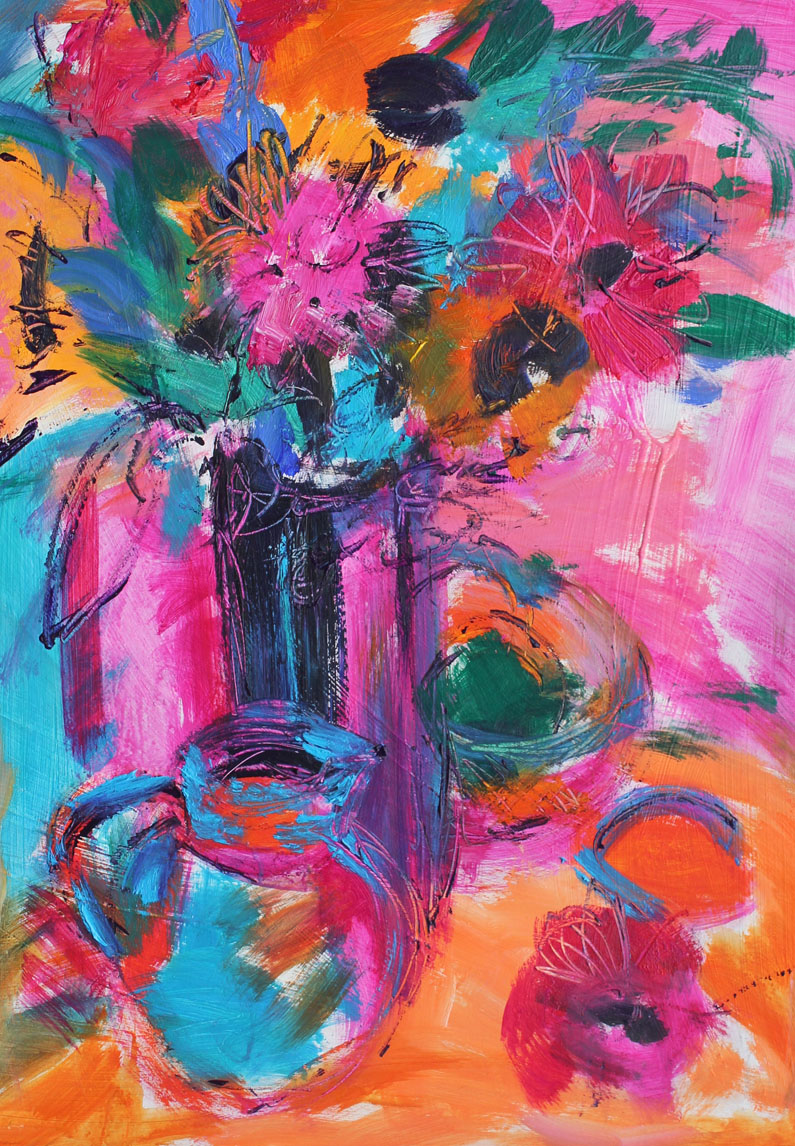
With both brushes I add thicker paint and more scratches. There are already layers of paint that builds the texture. I add more flower and foliage shapes and scratch in petals. I give more definition to the jug, basket and fruit, without too much detail. I dry the painting by hairdryer (but it can dry naturally).
05. Background (oils)
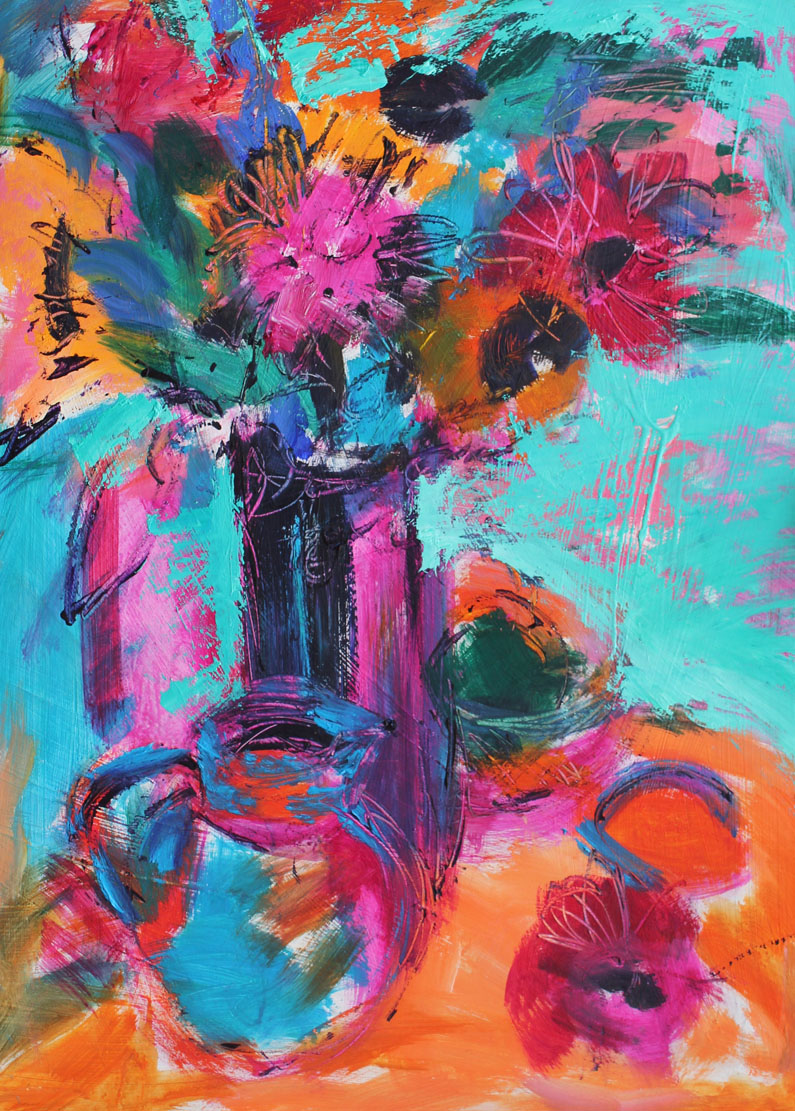
Mixing Cerulean Blue with a little Viridian Green and white, I start by painting the background. As I mix the colours, I also mix in a little impasto medium for oils to speed the drying. Using a palette knife, I paint around the flowers and the vase, concentrating on the negative shapes.
06. Keeping it moving
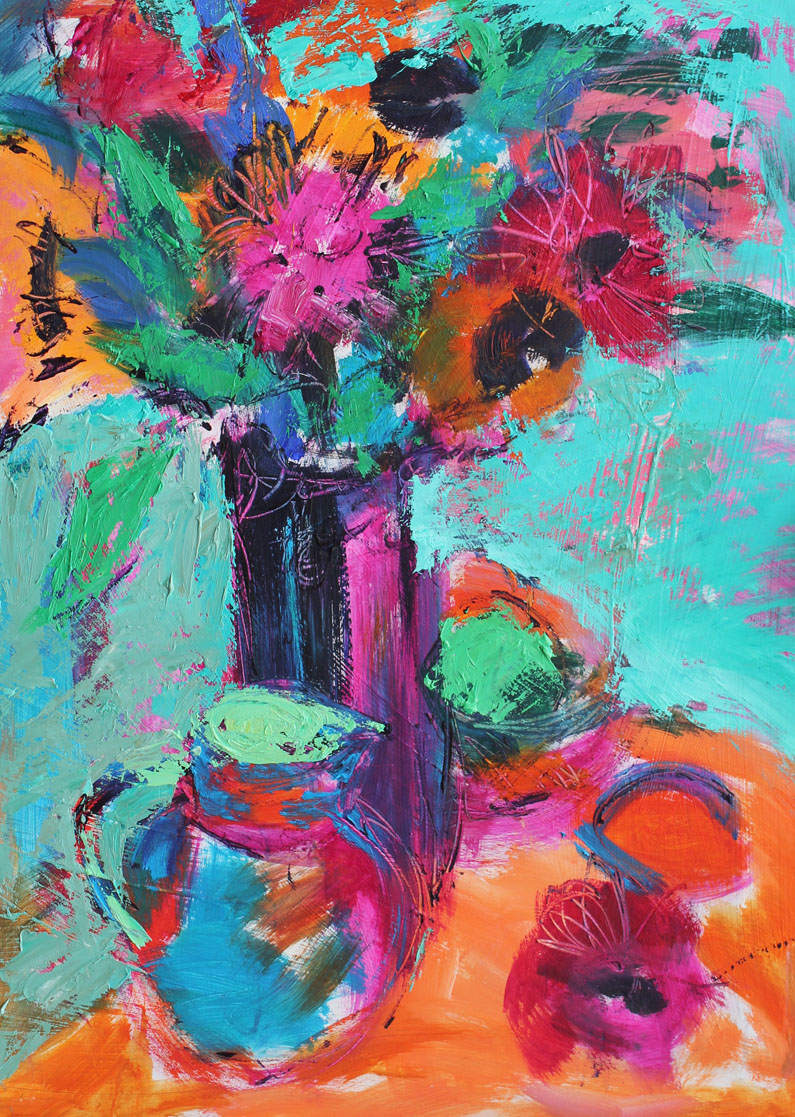
I start to define the shape of the jug and the handle and then, using a darker green, add some leaf shapes and fruit. I keep the colours moving around the painting and try not to linger on a particular object. I want to build the painting in layers rather than finishing one area and then moving on to the next.
07. Warm show-through
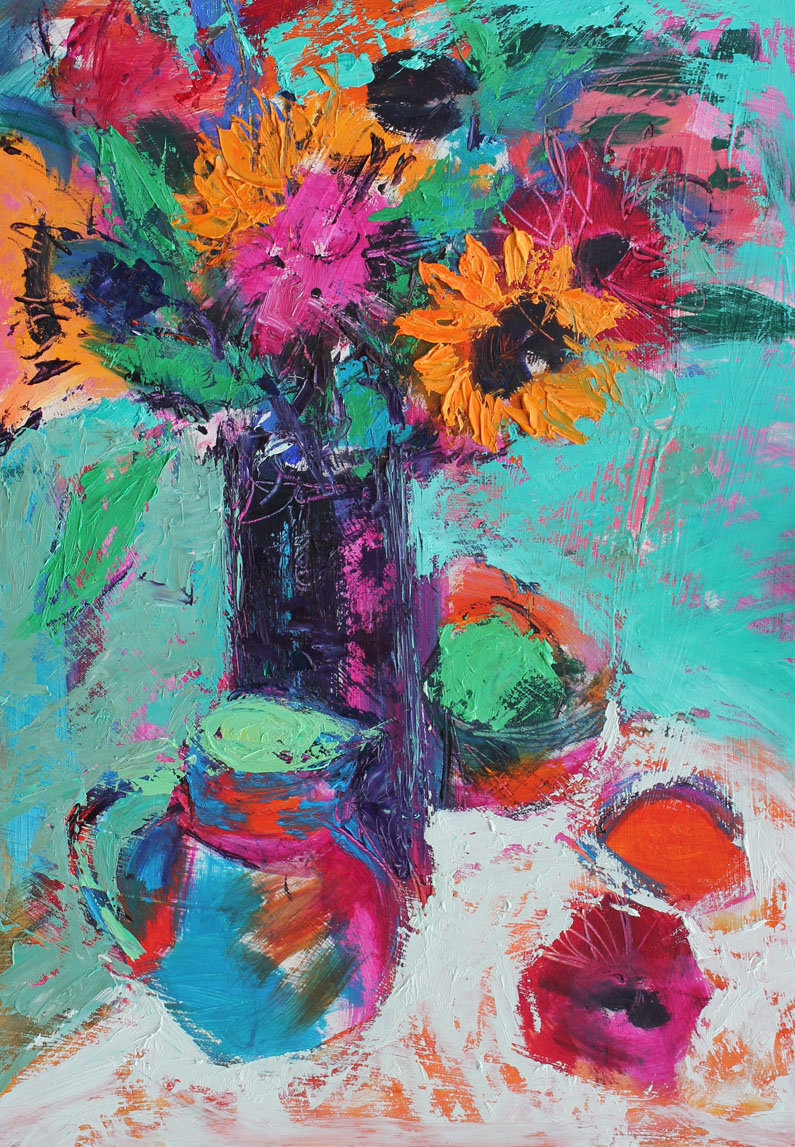
I paint the tablecloth with white paint mixed with a little colour to grey it slightly. The warm colour of the acrylic is still showing through, which creates an interesting texture. Now I start to paint the flowers using thicker paint. I keep moving around the painting and work quickly and confidently.
08. The jug appears
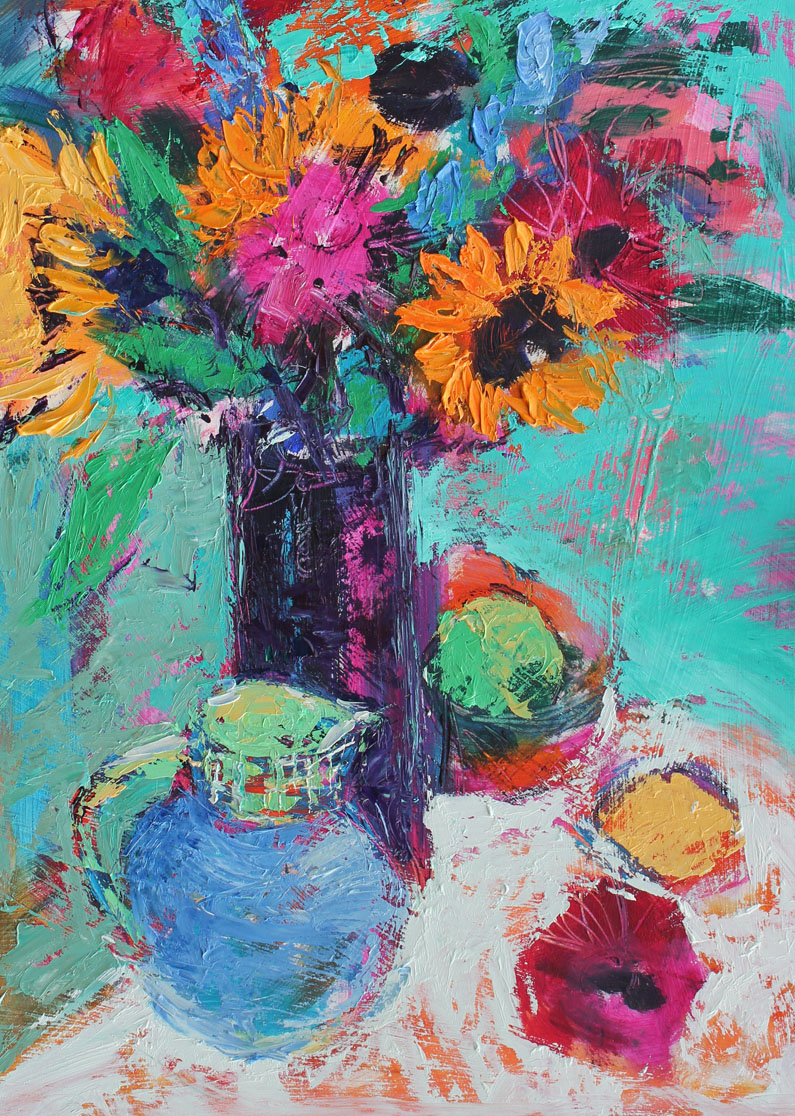
I paint the blue jug with soft edges and a little light and shade. It has a green pattern at the top, so I just hint at this with a little detail. The light colour of the jug stands out against the dark of the vase – this was something intended when I set up the still-life. I also work a little more on the flowers and fruit.
09. Leave the paint thick!
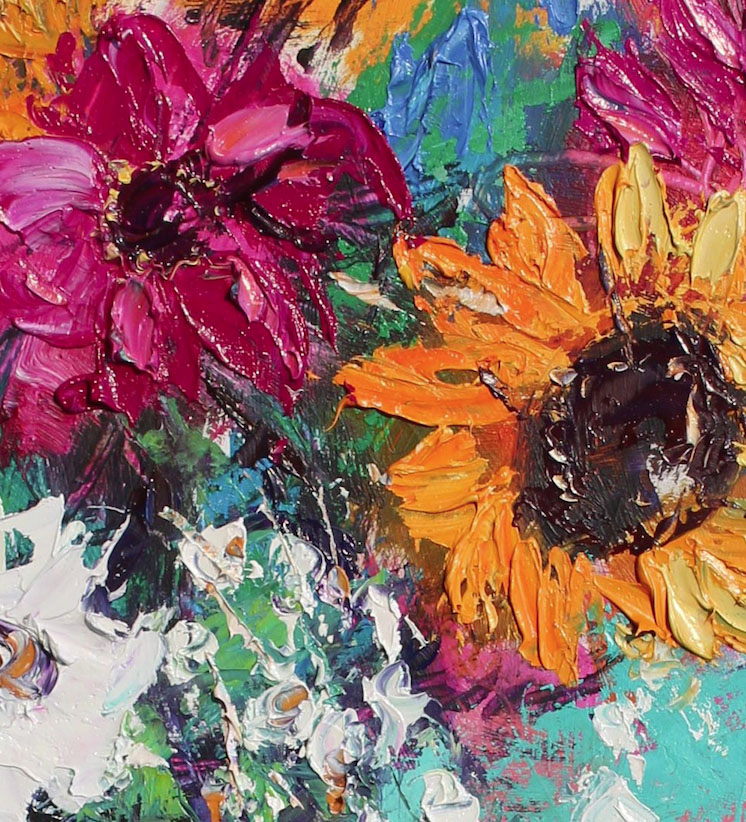
The flowers are the main part of the painting, so I want them to stand out and be bold. I use thick paint and the knife, working directly, keeping the colours clean. I can work quickly with the knife and when the paint is down I leave it alone. Fiddling with it would make it muddy and lose the fresh and lively feel.
10. Is it finished?
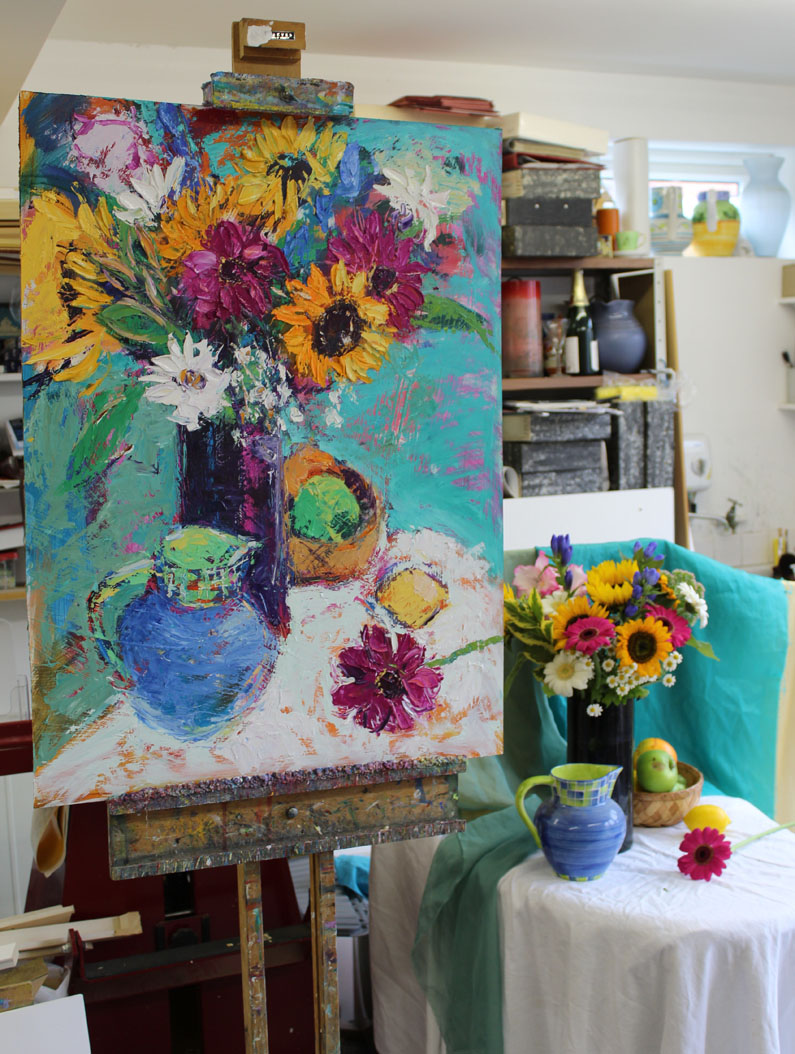
Finally, I paint the white flowers and finish painting the fruit basket. I don't want to add too much detail, so I very simply hint at the basket texture. I stand back and take a look. Is it finished? I think so. I could add more detail, but I prefer this very free and expressive style.
Watch the video:
This article originally appeared in issue 01 of Paint & Draw magazine, buy it here.
Related articles:

Thank you for reading 5 articles this month* Join now for unlimited access
Enjoy your first month for just £1 / $1 / €1
*Read 5 free articles per month without a subscription

Join now for unlimited access
Try first month for just £1 / $1 / €1
