How to code an augmented reality marker
Explore augmented reality in the browser.
Sign up to Creative Bloq's daily newsletter, which brings you the latest news and inspiration from the worlds of art, design and technology.
You are now subscribed
Your newsletter sign-up was successful
Want to add more newsletters?

Five times a week
CreativeBloq
Sign up to Creative Bloq's daily newsletter, which brings you the latest news and inspiration from the worlds of art, design and technology.

Once a week
By Design
Sign up to Creative Bloq's daily newsletter, which brings you the latest news and inspiration from the worlds of art, design and technology.

Once a week
State of the Art
Sign up to Creative Bloq's daily newsletter, which brings you the latest news and inspiration from the worlds of art, design and technology.

Seasonal (around events)
Brand Impact Awards
Sign up to Creative Bloq's daily newsletter, which brings you the latest news and inspiration from the worlds of art, design and technology.
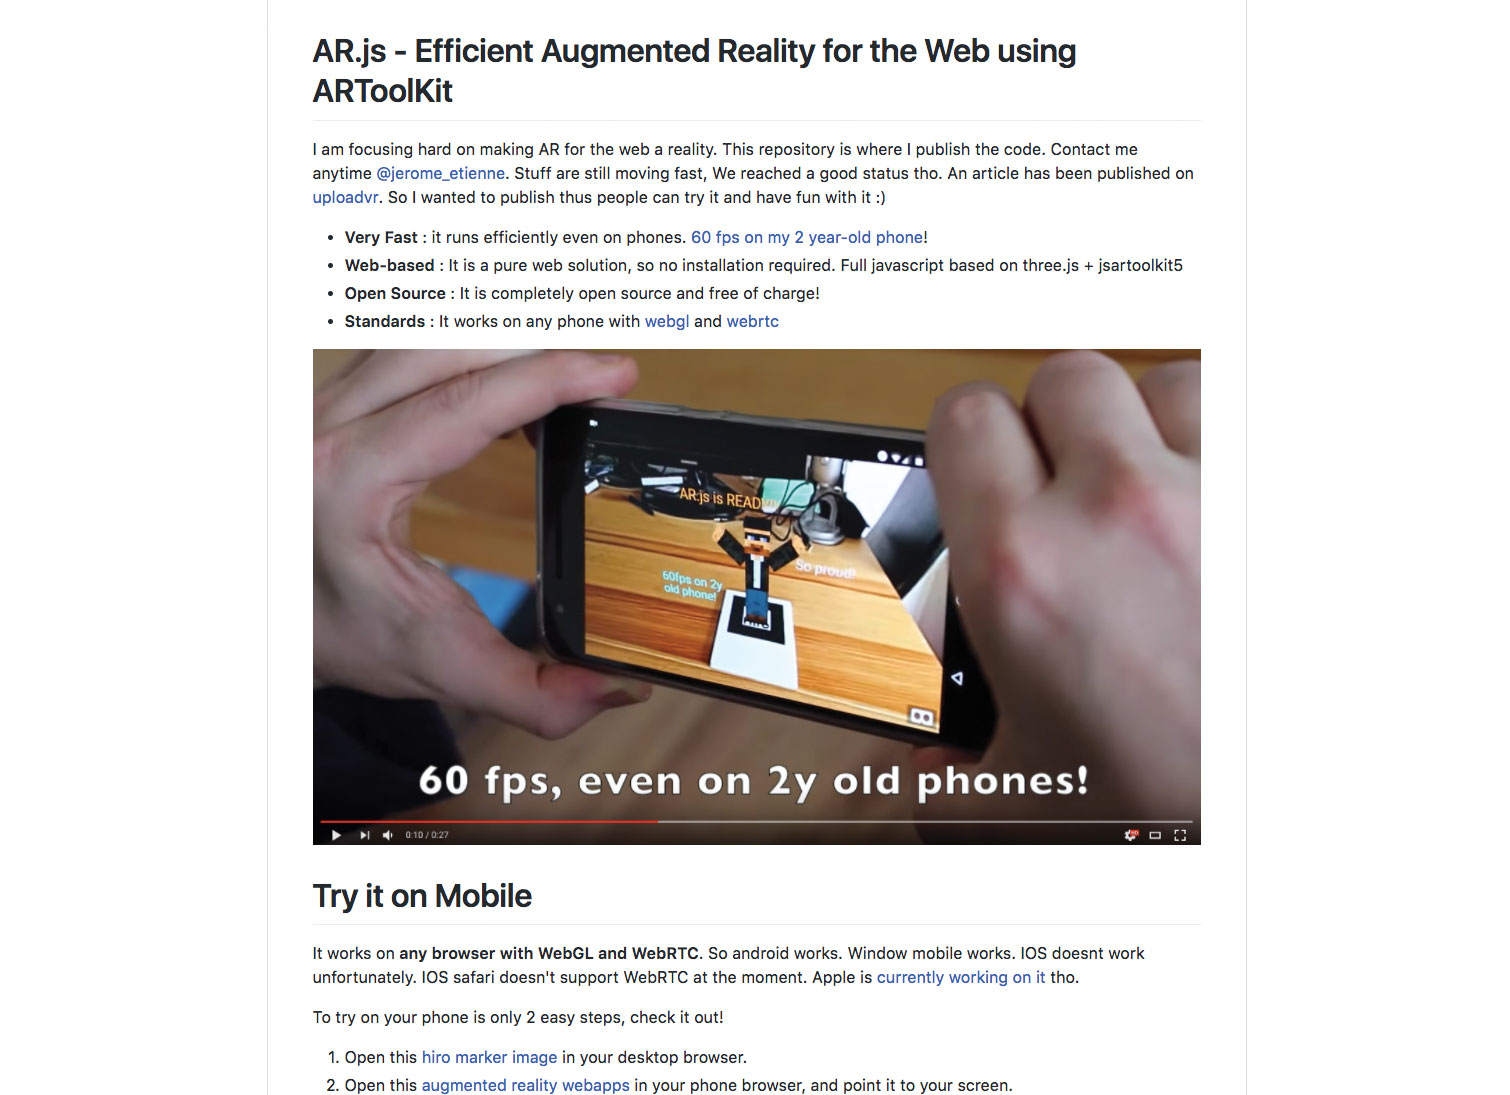
Augmented reality has been around for a while now, but with the support of WebRTC (real-time communication), it is possible for users on Android and desktop devices to access a phone's camera.
At present, iOS can't support this as it hasn't been implemented in the WebKit browser that powers Safari, but it is in development and you can check the status here. If you do have an iOS device, you don't have to miss out, as you can still use the webcam on your desktop computer.
Note: To get this working on the mobile Chrome browser, the content must be served by a secure socket layer (i.e. over HTTPS rather than standard HTTP). Desktop currently works with regular HTTP though.
Searching for web design resources to make life easier? Our guides to the best website builder and web hosting service will help.
- To download the files you need for this tutorial, go to FileSilo, select Free Stuff and Free Content next to the tutorial.
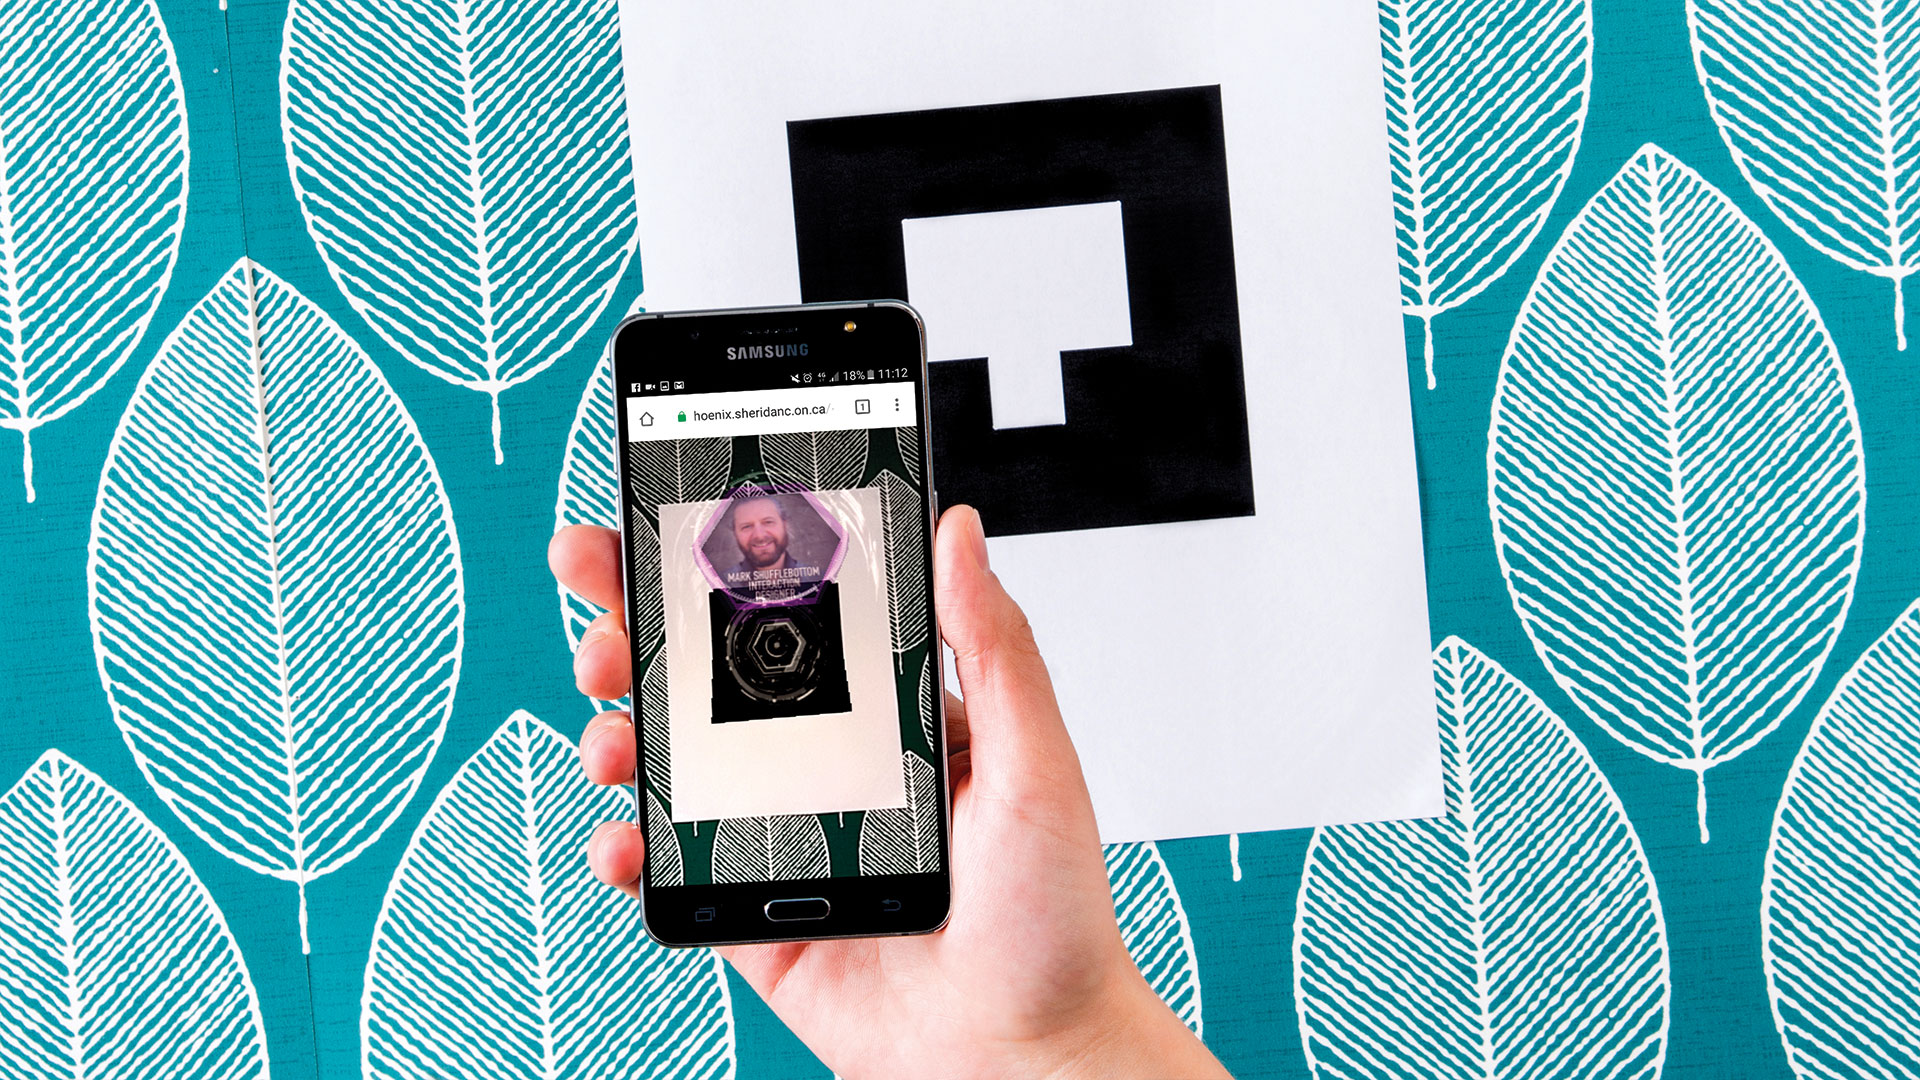
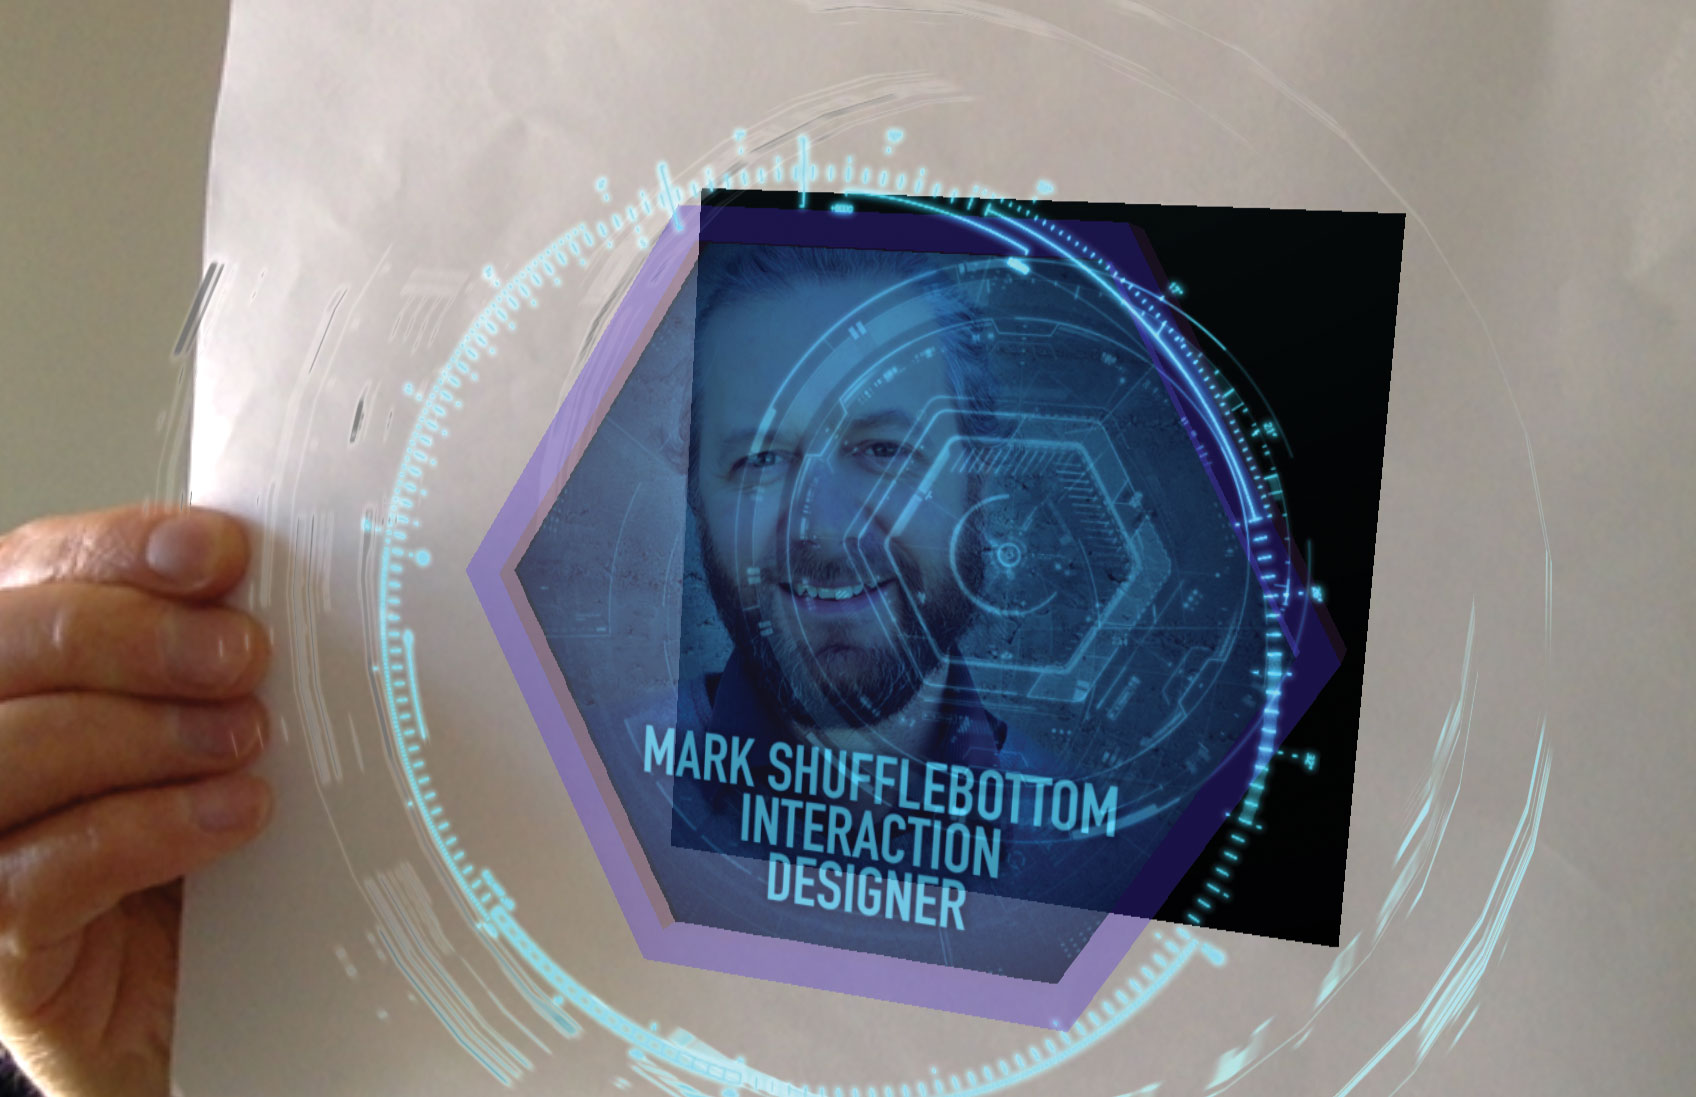
In this tutorial I'm going to show you how to place an augmented reality marker in front of a phone camera. This will be picked up by the browser and AR.js, and content will be mapped over the top in 3D, sticking to the AR marker.
There are lots of possible uses for this technique. For example, you might want to create a simple 3D creative resume, and then the AR marker could be printed on your business card. Because you can walk around the marker, this is great for content that you might want to see from different angles – think of a certain Swedish furniture manufacturer giving you animated steps that can be viewed from any angle! There are so many possibilities that this can be useful for.
01. Add the libraries
Once you've downloaded the tutorial files (and saved them in cloud storage) go to the project folder, open the start folder in your code editor and then open up the index.html file for editing. At this stage the libraries need to be linked up – and there are quite a few for this project! The libraries are in three sections: Three.js, JSARToolKit, and the Three.js extension for the ARToolKit and marker.
Sign up to Creative Bloq's daily newsletter, which brings you the latest news and inspiration from the worlds of art, design and technology.
<script src='js/three.js'></script>
<script src="js/ColladaLoader.js"></script>
<script src="vendor/jsartoolkit5/build/artoolkit.min.js"></script>
<script src="vendor/jsartoolkit5/js/artoolkit.api.js"></script>
<script src="threex-artoolkitsource.js"></script>
<script src="threex-artoolkitcontext.js"></script>
<script src="threex-armarkercontrols.js"></script>
<script>THREEx.ArToolkitContext.baseURL = '/'</script>
02. Take care of CSS styling
In the head section of the page, add some script tags and drop in the style rules for the body and the canvas element. This ensures they are placed correctly on the page without the default margins added by the browser.
body {
  margin: 0px;
  overflow: hidden;
}
canvas {
  position: absolute;
  top: 0;
  left: 0;
}
03. Add global variables
In the body section of the page, add some script tags where the remaining JavaScript code for this tutorial will go. There are a number of variables needed: the first line is for Three.js, the second for the AR.js, the third for the model and then a variable to load the model.
var renderer, scene, camera;
var arToolkitContext, onRenderFcts, arToolkitSource, markerRoot, artoolkitMarker, lastTimeMsec;
var model, tube1, tube2, mid, details, pulse;
var loader = new THREE.ColladaLoader();
04. Load the model
Before the scene is set up the model will be loaded so that it can be displayed when markers are detected. This is scaled down by 10 to fit exactly onto the AR marker. The model is 10cm for the width and height, so the marker is 1cm which translates to 1 increment in Three.js.
loader.load('model/scene.dae', function(collada) {
  model = collada.scene;
  model.scale.x = model.scale.y = model.scale.z = 0.1;
  details = model.getObjectByName(“details", true);
05. Fix some display issues
Still inside the Collada loading code, once the model is loaded there will be a couple of tubes that spin around so they are found in the Collada scene. The first tube is found and its material is grabbed. Here the material is set to just render on the inside of the model, not the outside.
tube1 = model.getObjectByName(“tube1", true);
var a = tube1.children[0].material;
a.transparent = true;
a.side = THREE["BackSide"];
a.blending = THREE[“AdditiveBlending"];
a.opacity = 0.9;
06. Repeat the fix
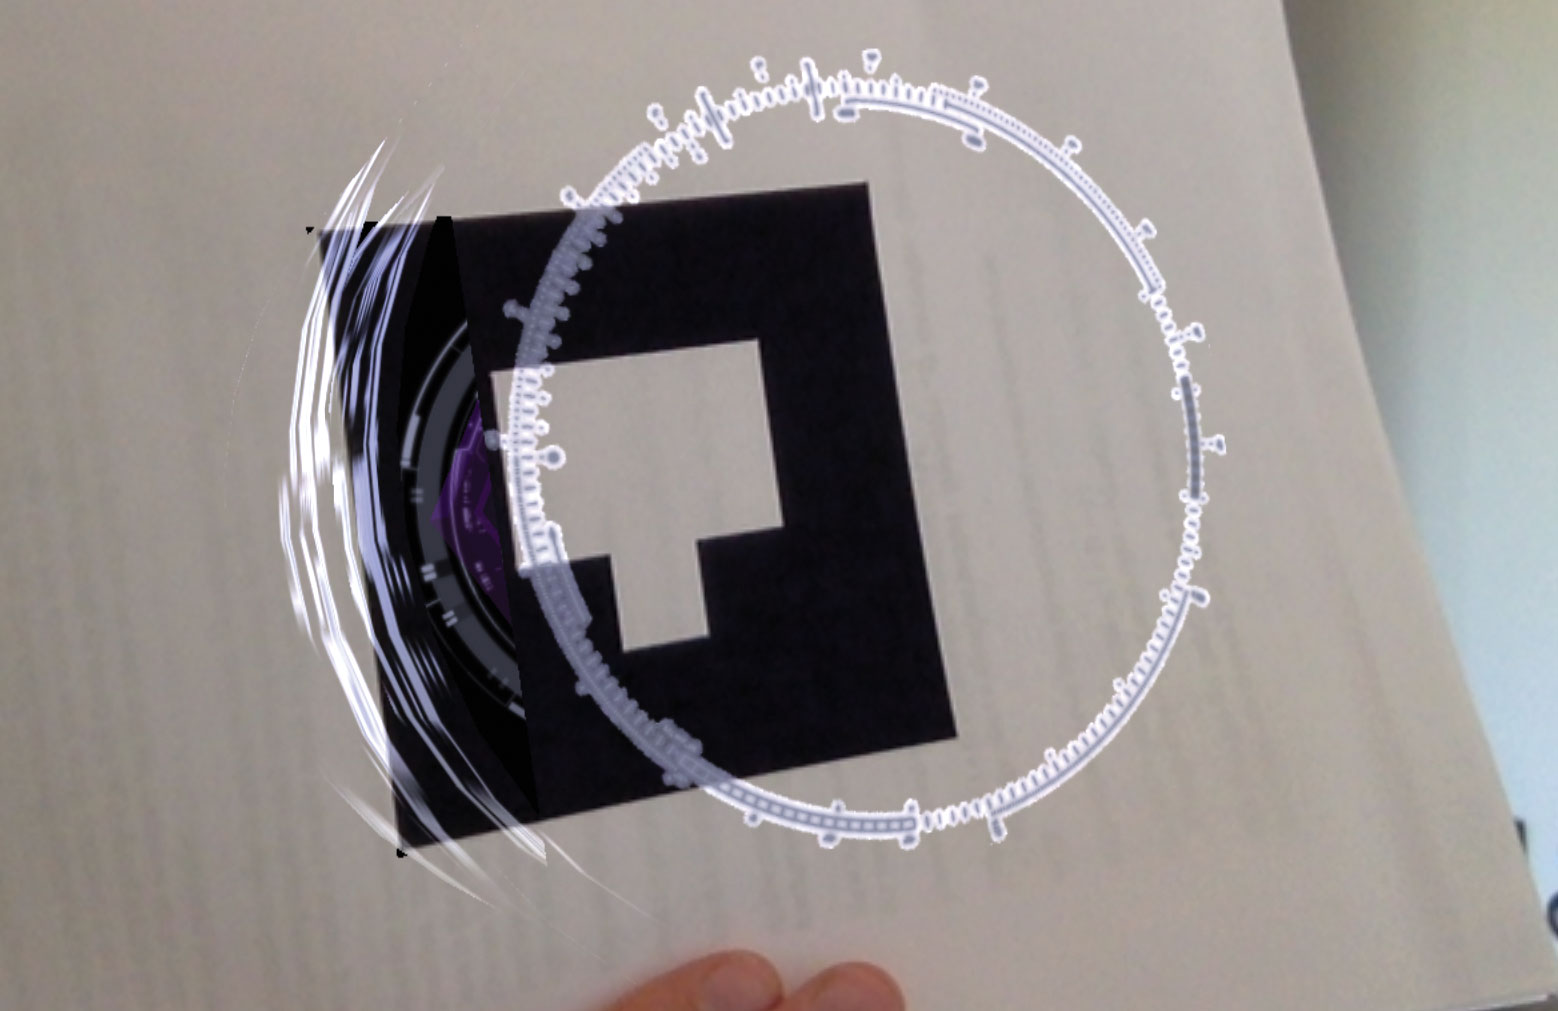
As in the last step, this same principle is repeated for the second tube and the blending mode, similar to those found in After Effects and Photoshop, is set to be an additive blend. This enables the outside of the pixels to have a softer transition to the camera image.
tube2 = model.getObjectByName("tube2", true);
c = tube2.children[0].material;
c.transparent = true;
c.side = THREE["BackSide"];
c.blending = THREE["AdditiveBlending"];
c.opacity = 0.9;
07. Final fix
The last model is a spinning circle just at the middle of the design. This follows the same rules as before but doesn't render the back of the object, just the front. The opacity of each of these materials has been set to 90 per cent just to make it slightly softer. Once the model is loaded the init function is called.
  mid = model.getObjectByName("mid", true);
  b = mid.children[0].material;
  b.transparent = true;
  b.blending = THREE["AdditiveBlending"];
 b.opacity = 0.9;
  init();
});
08. Initialise the scene
The init function is set up and inside here the renderer settings are created. The renderer is using WebGL to give the fastest render speed to the content, and the background alpha value is set to transparent so that the camera image can be seen behind this.
function init() {
  renderer = new THREE.WebGLRenderer({
  alpha: true
  });
  renderer.setClearColor(new THREE.Color('lightgrey'), 0);
  renderer.setSize(window.innerWidth, window.innerHeight);
  document.body.appendChild(renderer.domElement);
09. Create the scene display
The renderer is made to be the same size as the browser window and added to the Document Object Model of the page. Now an empty array is created that will store objects that must be rendered. A new scene is created so that content can be displayed inside of this.
onRenderFcts = [];
scene = new THREE.Scene();
10. Light up
To be able to see content in the scene, just like in the real world, lights are needed. One is an ambient grey light while the directional light is a muted blue colour just to give a slight tint to the 3D content on display in the scene.
var ambient = new THREE.AmbientLight(0x666666);
scene.add(ambient);
var directionalLight = new THREE.DirectionalLight(0x4e5ba0);
directionalLight.position.set(-1, 1, 1).normalize();
scene.add(directionalLight);
Next: Finish up your AR marker

Mark is a Professor of Interaction Design at Sheridan College of Advanced Learning near Toronto, Canada. Highlights from Mark's extensive industry practice include a top four (worldwide) downloaded game for the UK launch of the iPhone in December 2007. Mark created the title sequence for the BBC’s coverage of the African Cup of Nations. He has also exhibited an interactive art installation 'Tracier' at the Kube Gallery and has created numerous websites, apps, games and motion graphics work.
