Get started with WebVR
The WebVR API makes it simple to create VR experiences in the browser. Here's how to use it.
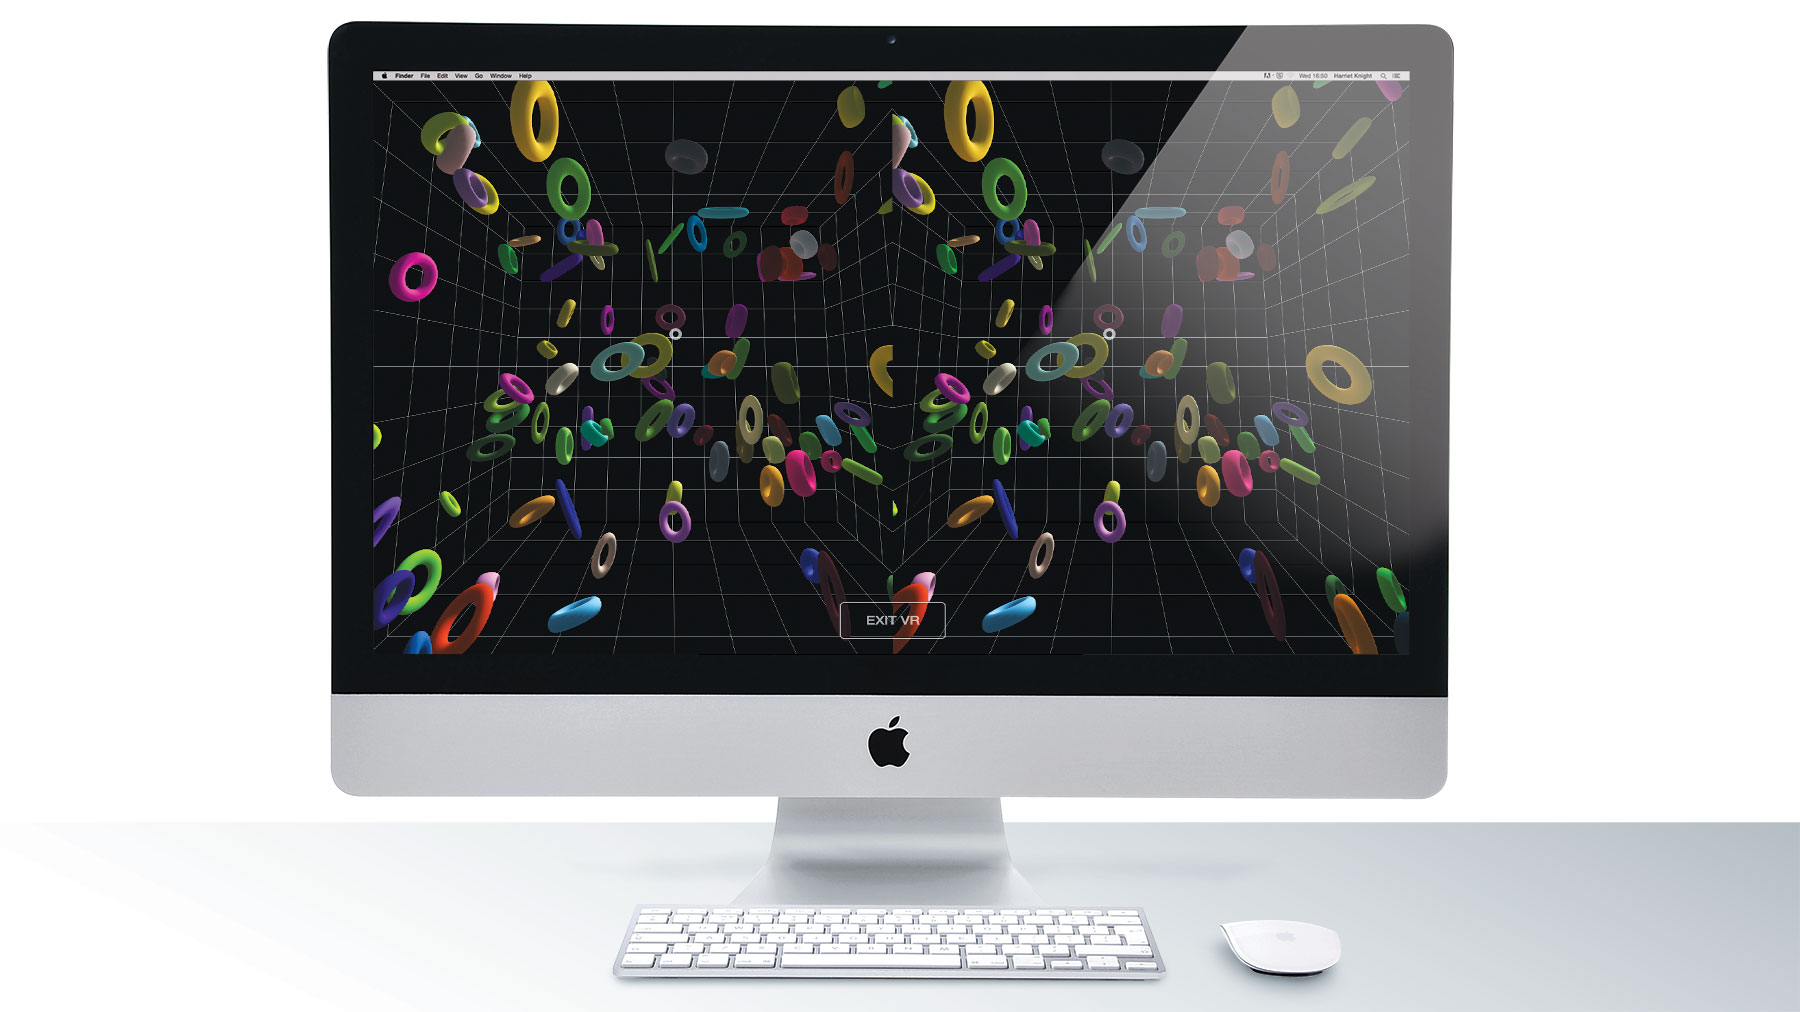
WebVR is a JavaScript API for creating 3D virtual reality experiences in the browser. This requires low latency, high frame rate and excellent performance. Its aim is to make it easier for anyone to get into VR experiences by lowering the barriers to entry.
WebGL enables developers to create rich, console-quality experiences that render in real time on mobile devices and desktop browsers (just make sure you get the web hosting right for optimum capability). Almost universal browser and device support makes it a perfect approach for web developers wanting to create incredible VR experiences. Here, we show you how to get started with WebVR. At the bottom of this article, you'll find some helpful resources to further your knowledge.
In our tutorial, we'll be using WebVR in combination with three.js – a go-to option of the many web design tools available for 3D and VR on the web. It’s free and open source, lightweight, and countless award-winning websites use it. Other than having a JavaScript background, you can dive into this tutorial with no prior knowledge and create your first WebVR experience. The goal of this tutorial is to get you started and inspire you to continue exploring this very exciting technology. Want something simpler? Try a website builder.
01. Enable WebVR flag in Chrome
WebVR is still an experimental technology and requires HTTPS to run on your server. It won’t run on mobile devices without a polyfill.github.com/immersive-web/webvr-polyfill. However, you can run content locally in Chrome for testing and building. Be sure to enable the Chrome WebVR flag. Type chrome://flags/enable-webvr into your URL browser, and then click enable to activate it. You may need to restart Chrome as well.
02. Install the WebVR API Emulation plugin
In order to test locally on your desktop and avoid the need for a device, there is a great plugin that you can use on Chrome by clicktorelease. The plugin will emulate a VR headset for you and allow you to move and rotate the headset virtually (get it here).
03. Open device toolbar in developer tools
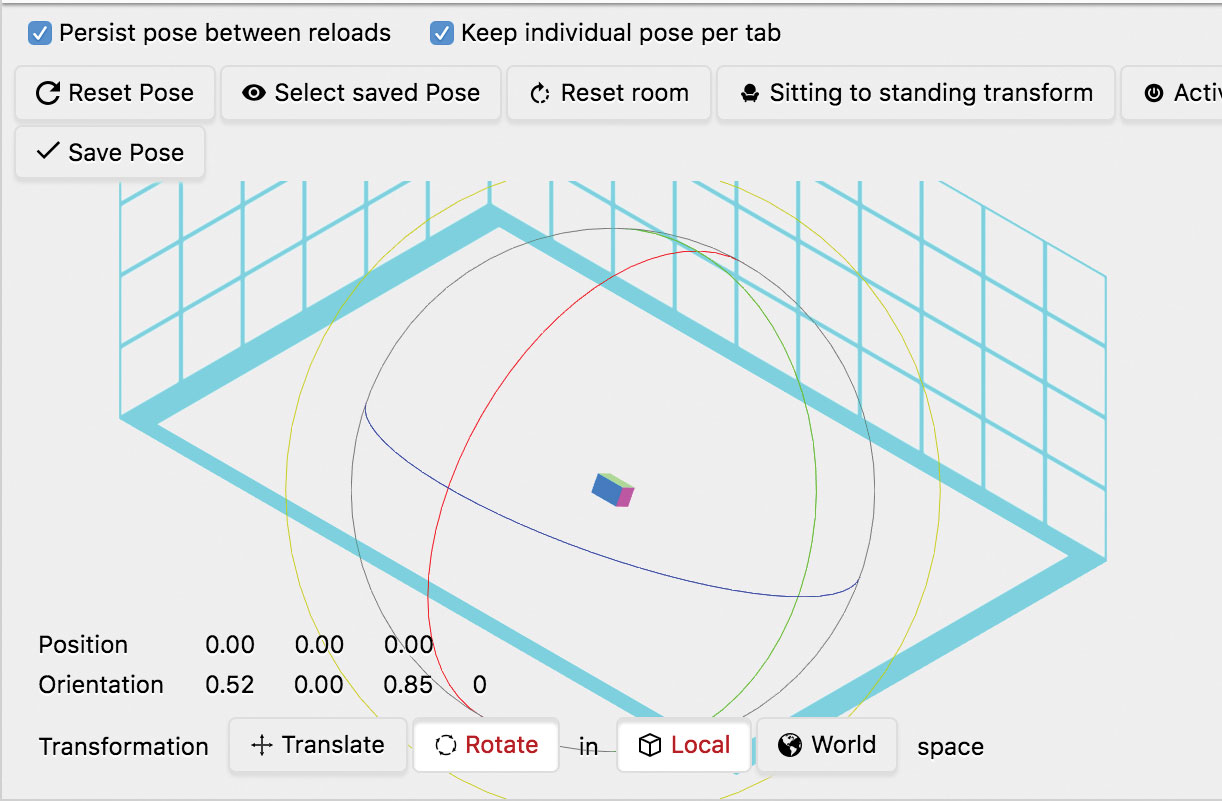
To emulate a mobile device or headset, it works best to use the device emulation in Chrome tools. Open the developer tools in Chrome, and toggle on the device toolbar to see mobile view, rotate to landscape and select favourite phone emulation.
04. Create a basic HTML file
Next, you need to set up a basic HTML file. You can set up external CSS and JavaScript files or include inline for simplicity. Three.js’ renderer class will create a <canvas> element for you. Add the following code to your index.html file:
Get the Creative Bloq Newsletter
Daily design news, reviews, how-tos and more, as picked by the editors.
<html lang="en">
	<head>
		<title>WebVR Demo</title>
		<meta charset="utf-8">
		<meta name="viewport" content=
		"width=device-width, initial-scale=
		1.0, user-scalable=no">
		<style>
			html, body { margin: 0; padding:0;
			overflow: hidden; }
		</style>
	</head>
	<body>
	<script>
		// Code will go here
	</script>
</body>
05. Include three.js classes
Include a link to the three.js library in the head of your file – either hosted externally, or download it from the three.js repository. You’ll also need the new WebVR class and BoxLineGeometry class for this tutorial. You can find the library and supporting classes here. Note: the code in this tutorial has been tested on the latest release of three.js v99.
<script src="libs/three.min.js"></script>
<script src="libs/WebVR.js"></script>
<script src="libs/BoxLineGeometry.js">
</script>
06. Add global variables
Between the script tags for the code, add the following global variables to globally access the camera, scene, renders, objects and raycaster. Also add a HIT variable to keep track of objects that are intersected by the gaze of the camera. This will demonstrate how to know what a user is looking at in VR.
var clock = new THREE.Clock();
var container, camera, scene, renderer, room,
crosshair, HIT;
var objects=[]; // collection of objects
var num=100; // number of objects
var raycaster = new THREE.Raycaster();
07. Create a 3D scene
You’re going to add a basic 3D scene, which will be the container for your objects. The scene is the stage that will render with the camera. All 3D presentations will have a scene or stage of some form. What is in that stage and in view of the camera is what the user will see. Add the following code to add a scene:
// create a scene object
var scene = new THREE.Scene();
08. Add a perspective camera
Next, you need to add a camera. You’ll use the perspective camera, meant for 3D scenes. The first attribute is the field of view of the camera. The second is the aspect ratio (width/height). Then you can indicate the near clipping plane and the far clipping plane distances, which define what is to be visible to the camera.
// create camera
camera = new THREE.PerspectiveCamera
( 70, window.innerWidth/window.innerHeight,
0.1, 1000 );
scene.add( camera );
09. Add a renderer and canvas element
The renderer handles the drawing of the objects in your scene that are visible to the camera. Set the antialias property to true to get smooth edges on the object. The renderer creates a domElement, which is actually an HTML <canvas> element. You can then append to the body. Note the use of the new VR-enabled flag of the renderer.
renderer = new THREE.WebGLRenderer(
{antialias:true});
renderer.setPixelRatio( window.
devicePixelRatio );
renderer.setSize( window.innerWidth, window.
innerHeight );
renderer.vr.enabled = true;
document.body.appendChild( renderer.
domElement );
10. Add camera crosshair
To help users orient to the camera's point of focus, it is good practice to add a crosshair or targeting icon in front of the camera. You can add it directly to the camera object so it’s always where it should be.
crosshair = new THREE.Mesh(
new THREE.RingBufferGeometry( 0.02, 0.04, 32 ),
new THREE.MeshBasicMaterial( {
	color: 0xffffff,
	opacity: 0.5,
	transparent: true
} )
);
crosshair.position.z = - 2;
camera.add( crosshair );
11. Create a VR room object (optional)
Next, create a simple room object. This is nice to give the user a sense of orientation in the VR world. It creates a simple room box with lines to indicate the walls, floor and ceiling.
room = new THREE.LineSegments(
new THREE.BoxLineGeometry( 6, 6, 6, 10, 10, 10 ),
new THREE.LineBasicMaterial( { color:
0x808080 } ));
room.position.y = 2;
scene.add( room );
12. Add lights to the scene
To light the scene, we’ll use a simple hemisphere light and a directional light. It’ll give a nice ambient visibility and some realistic shading from a uniform light source as well.
scene.add( new THREE.HemisphereLight
( 0x806060, 0x404040 ) );
var light = new THREE.DirectionalLight
( 0xffffff );
light.position.set( 1, 1, 1 ).normalize();
scene.add( light );
13. Create some objects
You’re going to fill the room with objects next. Apply them randomly around the room. You will also set the rotation and scale randomly for variety. You can add a little bit more code in the next step, where it says create orbit attributes to enable some custom orbit paths.
var geometry = new THREE.BoxBufferGeometry
( 0.15, 0.15, 0.15 );
for (i=0;i<=num;i++){
	var material =new THREE.MeshLambertMaterial
	( { color: Math.random() * 0xffffff } ) ;
	var object = new THREE.Mesh
	( geometry, material );
	object.position.set(Math.random()*4.0
	- 2.0,Math.random()*4.0 - 2.0,Math.
	random()*4.0 - 2.0 );
	object.scale.set(Math.random()+.5,Math.
	random()+.5,Math.random()+.5 );
	object.rotation.set( Math.random() * 2 *
	Math.PI, Math.random() * 2 * Math.PI, Math.
	random() * 2 * Math.PI );
	// create orbit attributes 		}
14. Add orbit attributes to objects
To enable some nice random orbiting motion, and to keep the objects from ‘escaping the room’ we’ll assign some initial angle data (in radians) and a distance. It enables a simple way to animate the objects in the render loop after.
// create orbit attributes
// calc distance as constant and assign to
object
var a = new THREE.Vector3( 0, 0, 0 );
var b = object.position;
var d = a.distanceTo( b );
object.distance = d;
object.radians = Math.random()*360 * Math.
PI/180; // initial angle
object.radians2 = Math.random()*360 * Math.
PI/180; // initial angle
object.radians3 = Math.random()*360 * Math.
PI/180; // initial angle
room.add( object );
objects.push( object );
15. Add a window resize handler
As we test our WebVR app, we’ll be resizing the screen, moving it around, and so on. It’s a good idea to have a handler that adjusts the dimensions of the render area and updates things to keep it filling the screen properly and looking nice.
window.addEventListener( ‘resize’,
onWindowResize, false );
function onWindowResize() {
	camera.aspect = window.innerWidth / window.
	innerHeight;
	camera.updateProjectionMatrix();
	renderer.setSize( window.innerWidth,
	window.innerHeight );
}
16. Create the WebVR button
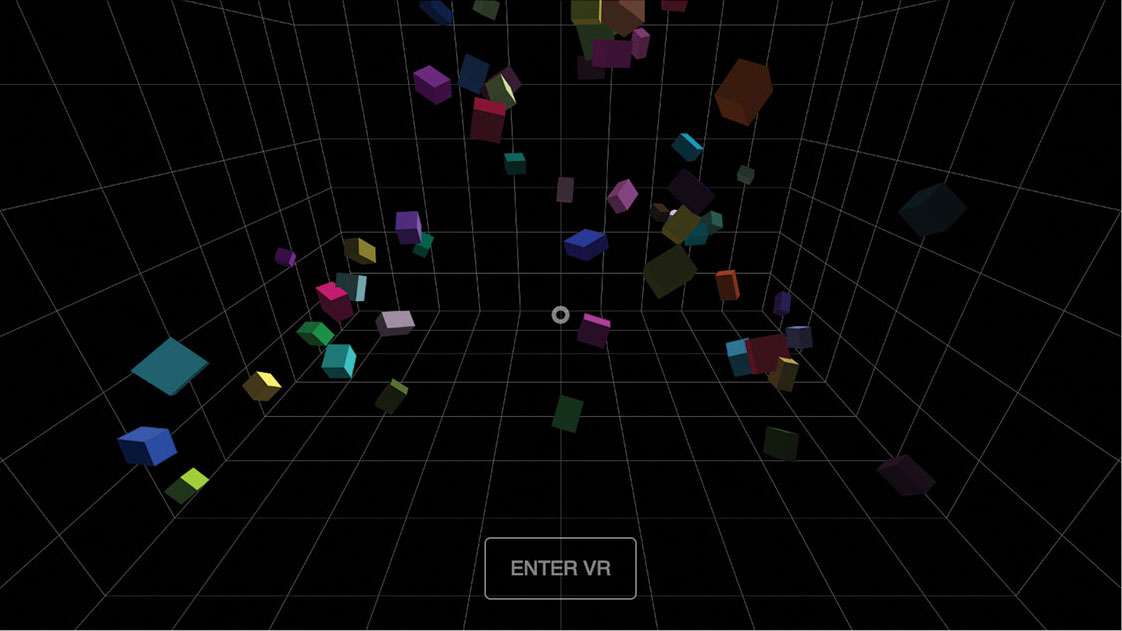
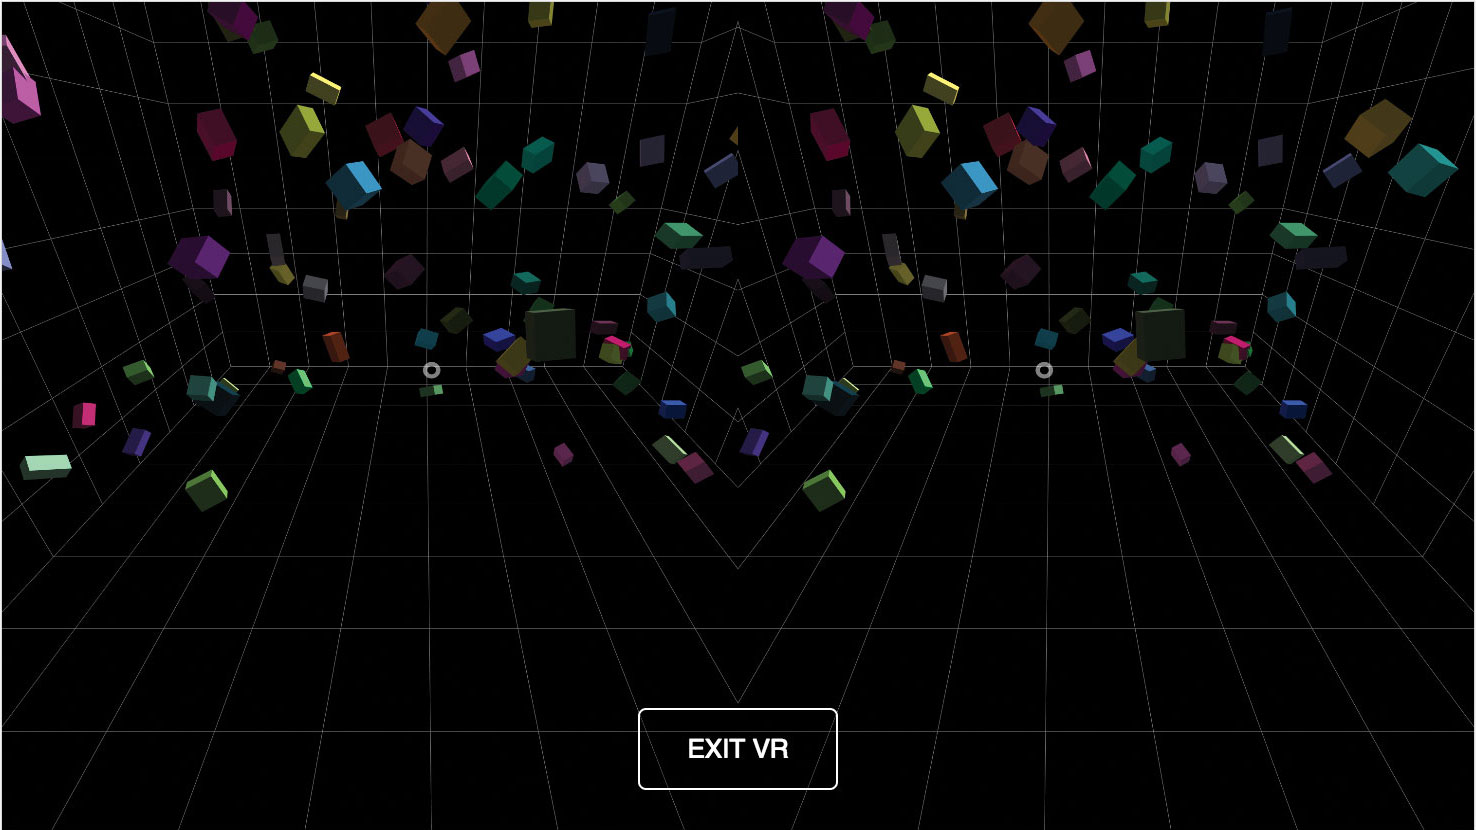
Three.js’ new WebVR class includes a WebVR button, which handles toggling in and out of VR mode for us. It also handles if the device doesn’t support VR mode. You can include it with this simple code:
// three.js webvr button to enter/
exit vr mode
document.body.appendChild( WEBVR.createButton
( renderer ) );
17. Start the VR animation loop
Typically, you’d be using the requestAnimationFrame to handle the render loop, but in VR you have to use a different loop handler to ensure everything is ready to render and that you avoid latency and render issues. Instead, use the new setAnimationLoop and pass in your render function.
// start the VR animation loop
renderer.setAnimationLoop( render );
18. Create the render function
Next, create a render function. If you didn’t want to animate your objects or test for the camera/crosshair intersecting with objects, you could just use the following code:
function render() {
	// find intersections
	// animate the objects
	// render the scene
	renderer.render( scene, camera );
}
19. Test for intersections
To enable testing for objects intersecting the ray traced from the camera into Z space, add the following code to your render loop where you commented it in the last step:
raycaster.setFromCamera( { x: 0, y: 0 },
camera );
var intersects = raycaster.intersectObjects
( room.children );
if ( intersects.length > 0 ) {
	if ( HIT != intersects[ 0 ].object ) {
		if ( HIT ) { HIT.material.emissive.
		setHex( HIT.currentHex ); }
		HIT = intersects[ 0 ].object;
		HIT.currentHex = HIT.material.emissive.
		getHex();
		HIT.material.emissive.setHex( 0x00ff00 );
	}
} else {
	if ( HIT ){ HIT.material.emissive.setHex
	( HIT.currentHex ); }
	HIT = undefined;
}
20. Animate objects along orbits
Next, you can animate your objects along their orbit paths using this code:
for (i=0;i<=num;i++){
	var o = objects[i];
	o.rotation.y+=.01;
	if( i % 2 == 0) {
		o.radians+=.004;
		o.radians2+=.005;
		o.radians3+=.008;
	} else {
		o.radians-=.006;
		o.radians2-=.005;
		o.radians3-=.003;
	}
	o.position.x = (Math.cos(o.radians) *
	o.distance);
	o.position.z = (Math.sin(o.radians3) *
	o.distance);
	o.position.y = (Math.sin(o.radians2) *
	o.distance*.5);
}
21. Render the WebVR scene
Finally, you can render out your scene using the usably render functions. If you haven’t added this line already, do it now. Once you’ve added this, you can test it all out and should see a WebVR scene rendering in your browser. You can also check it out on your mobile device or VR headset.
// render the scene
renderer.render( scene, camera );
WebVR resources
Getting started in WebVR can be overwhelming. We’ve assembled some examples of sites using WebVR and resources to help you get rolling.
SketchFab
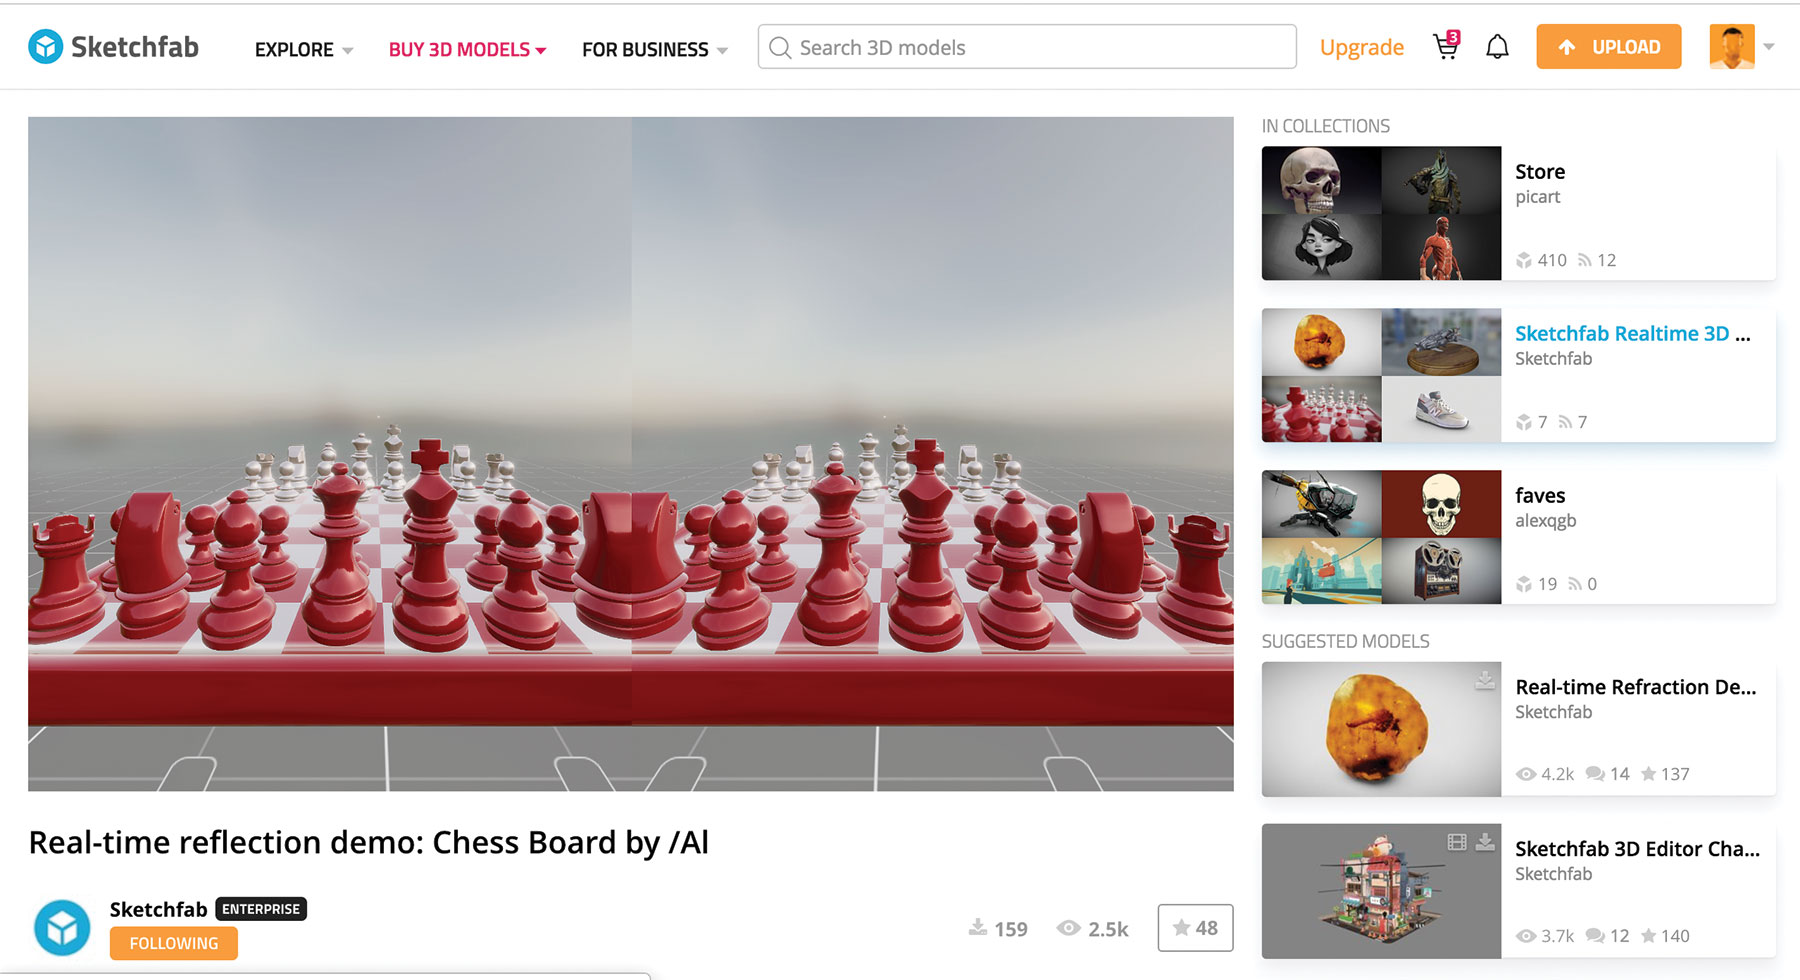
You probably already know this site because of its amazing gallery of assets, but it also has a WebVR mode that enables you to navigate in VR.
A-Frame
This is a rock-solid framework for AR and VR. It handles the pains of fallbacks and device support for you, including enabling you to render in your browser for testing. It even abstracts away creation of common 3D objects.
Three.js
This library has numerous examples with source code to help you to get going with WebVR. It's a perfect starting point.
WebVR
Since WebVR is an emerging technology it is a good idea to keep up with the latest developments. You need to know which devices are supported and under what conditions. This site will help you stay up to date. There's a page dedicated to examples, too.
And it always helps to have the right cloud storage, too.
This article was originally published in issue 283 of creative web design magazine Web Designer. Buy issue 283 or subscribe.
Read more:

Thank you for reading 5 articles this month* Join now for unlimited access
Enjoy your first month for just £1 / $1 / €1
*Read 5 free articles per month without a subscription

Join now for unlimited access
Try first month for just £1 / $1 / €1

Richard is an award-winning interactive technologist, designer and developer. He specialises in creating interactive worlds with science-fiction themes, exploring the synergy between human and machine. He has also written regular articles for Net Magazine, and Web Designer Magazine on a range of exciting topics across the world of tech, including artificial intelligence, VFX, 3D and more.
