Foundry Katana tutorial: Master this brilliant lighting tool
Learn to develop your visual style with our Foundry Katana tutorial.

We bring you this Foundry Katana tutorial, as learning a new tool can often be challenging. At the beginning of the learning journey, it’s hard to know which features are important or how you can improve your workflow. Alternatively, you might have previously used the tools in a studio environment and find yourself in a similar position as I was – struggling to build my own projects from scratch. It’s easy to overlook the basics when you’re eager to get started quickly. To see a major project using Katana, check out Creative Bloq's feature on the Lion King.
In this guide, we will go through some of the core concepts that can help you get started on your learning journey with Katana, Foundry’s look development and lighting tool.
For more info on all things 3D, see these guides to 3D modelling software, and Blender tutorials.
How to use Foundry Katana
01. Build your projects efficiently

The main thing to know is that this Foundry Katana tutorial helps you at the end of the 3D pipeline process. As a result, Katana is not only a look development and lighting tool, but also a scene management tool where we are assembling elements that came before (i.e. in modelling, layout, animation, fx, groom, etc). Being flexible at this stage is key because your projects are prone to many changes, including asset updates, optimisations; the list goes on. Katana is ideal for working with adapting projects as long as you build them with the assumption that certain elements will be subject to change.
Think about what main sections you want to keep constant and what will need to be flexible as you work through your iterations. Once you’ve identified these parts, you can build your Katana projects in such a way that gives you fast and easy access to make the necessary iterations throughout the production.
02. Represent all operations in a node

This provides a baseline for a very flexible and non-destructive workflow, whether you’re working on your own projects or in a team. Being able to trace back your steps and understand exactly what is happening at all stages is extremely beneficial and will help while working on your projects.
03. Divide your node graph into tasks
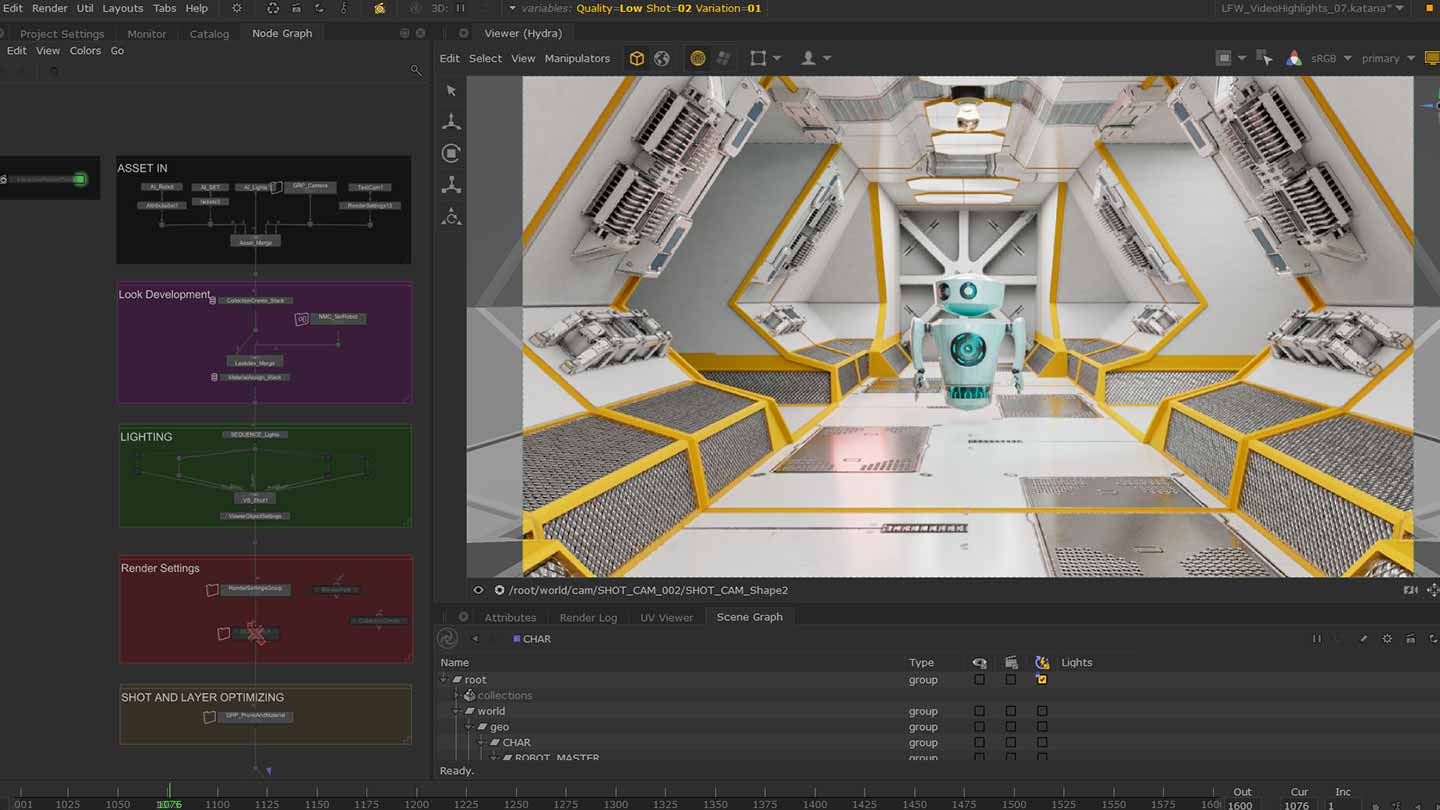
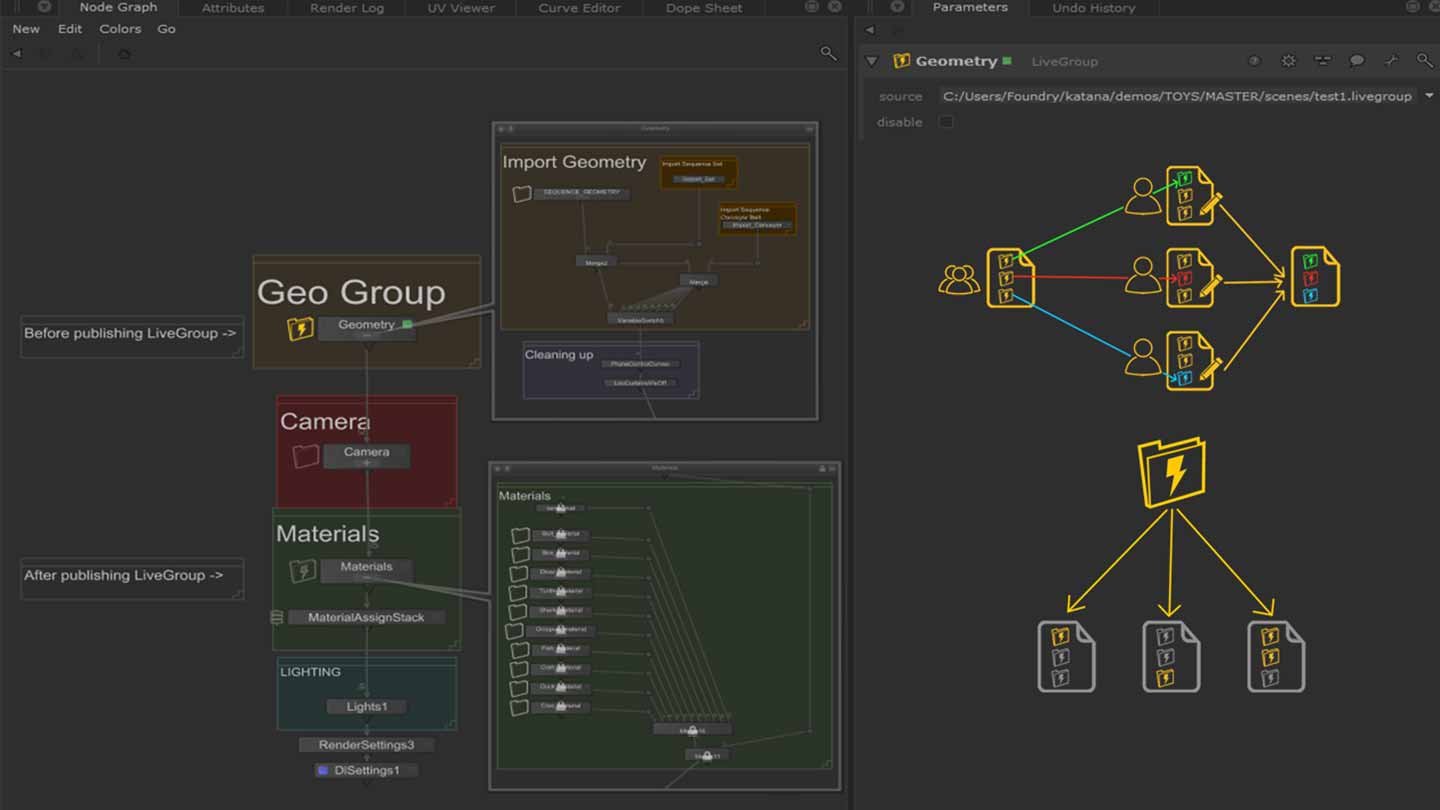
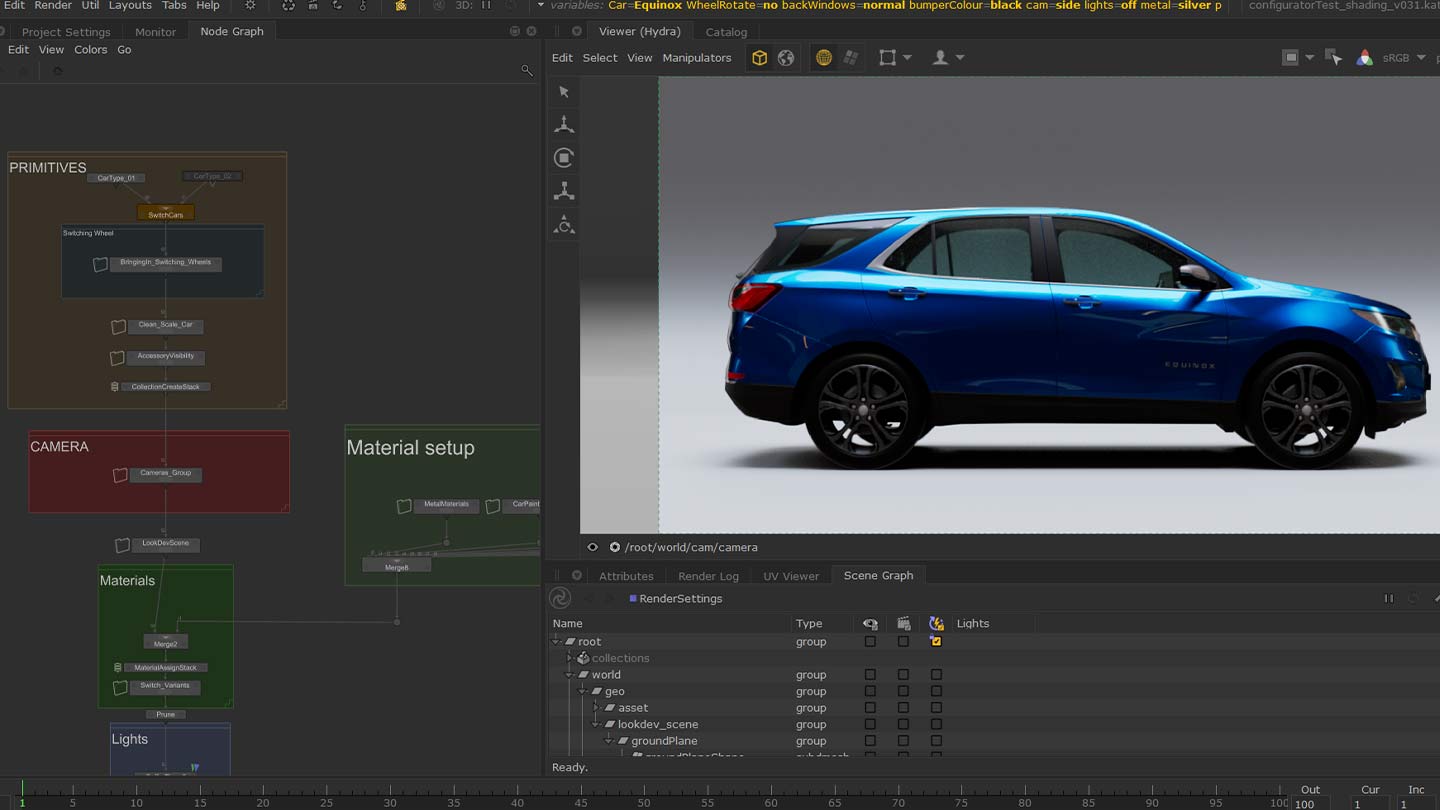
Keep your Node Graphs organised and clean - it’s important! This will help you navigate your projects, or help others do the same if you are working in a team. Using backdrops and naming nodes will help you orient yourselves in the Node Graph easily. Versioning different parts of your Node Graph separately from the rest of your Katana project can also help team members work in parallel. In some cases you may need to share work between projects so you’ll want to identify which parts are common across them. Using LiveGroups can help you reference your work across projects to then be updated from one place. Therefore, when the Livegroup file changes, the modifications can be picked up in all projects that contain it.
04. Recycle your work - what is reusable?

Automation. Creating your own tools is extremely useful to avoid repeating tasks and help save time. If there are certain operations you repeat often (maybe on a daily basis), then it’s worth seeing how you can automate the workflow. Don’t worry if you’re not tech savvy. Macros can be a good starting point for creating your first set of tools in Katana. Here’s a set of videos to get started with Macros. There are many other tools that can help automate your work, including OpScripts, using the Python tab to automate the Node Graph and Supertools. Setting up a template will also help boost your workflow and will ensure you never have to go through the process of setting up your scenes from scratch.
05. Optimise your work
Optimisation is often the last thing you want to be concerned with. An easy way to get faster feedback in your interactive sessions is through the use of InteractiveRenderFilters. This is a node that can be repurposed easily since it’s not connected to the rest of the Node Graph and can be used to overwrite or build on top of your existing projects.
06. Find learning resources
When learning a new tool, it can often be difficult to know where to start. Knowing where you can find resources and guidelines is half the battle. The Foundry website contains a host of information ranging from articles, community forums, case studies, and learning content. The tutorials page has a range of videos, some of which contain assets that can be downloaded so you can follow along or see an example of a final project. Find these here.
Read more:
- Create stunning photorealistic humans with MetaHuman Creator
- The best 3D software around
- How to sell your 3D assets online
Get the Creative Bloq Newsletter
Daily design news, reviews, how-tos and more, as picked by the editors.

Thank you for reading 5 articles this month* Join now for unlimited access
Enjoy your first month for just £1 / $1 / €1
*Read 5 free articles per month without a subscription

Join now for unlimited access
Try first month for just £1 / $1 / €1
Arielle is an Associate Product Manager for Katana Lighting at Foundry. Her previous experience includes a Set Dressing and Pipeline Artist on animated films including Sherlock Gnomes and Asterix:Le Secret de la Potion Magique.

