How to draw the human body from sight
Explores the techniques you can use to look objectively at the human form.
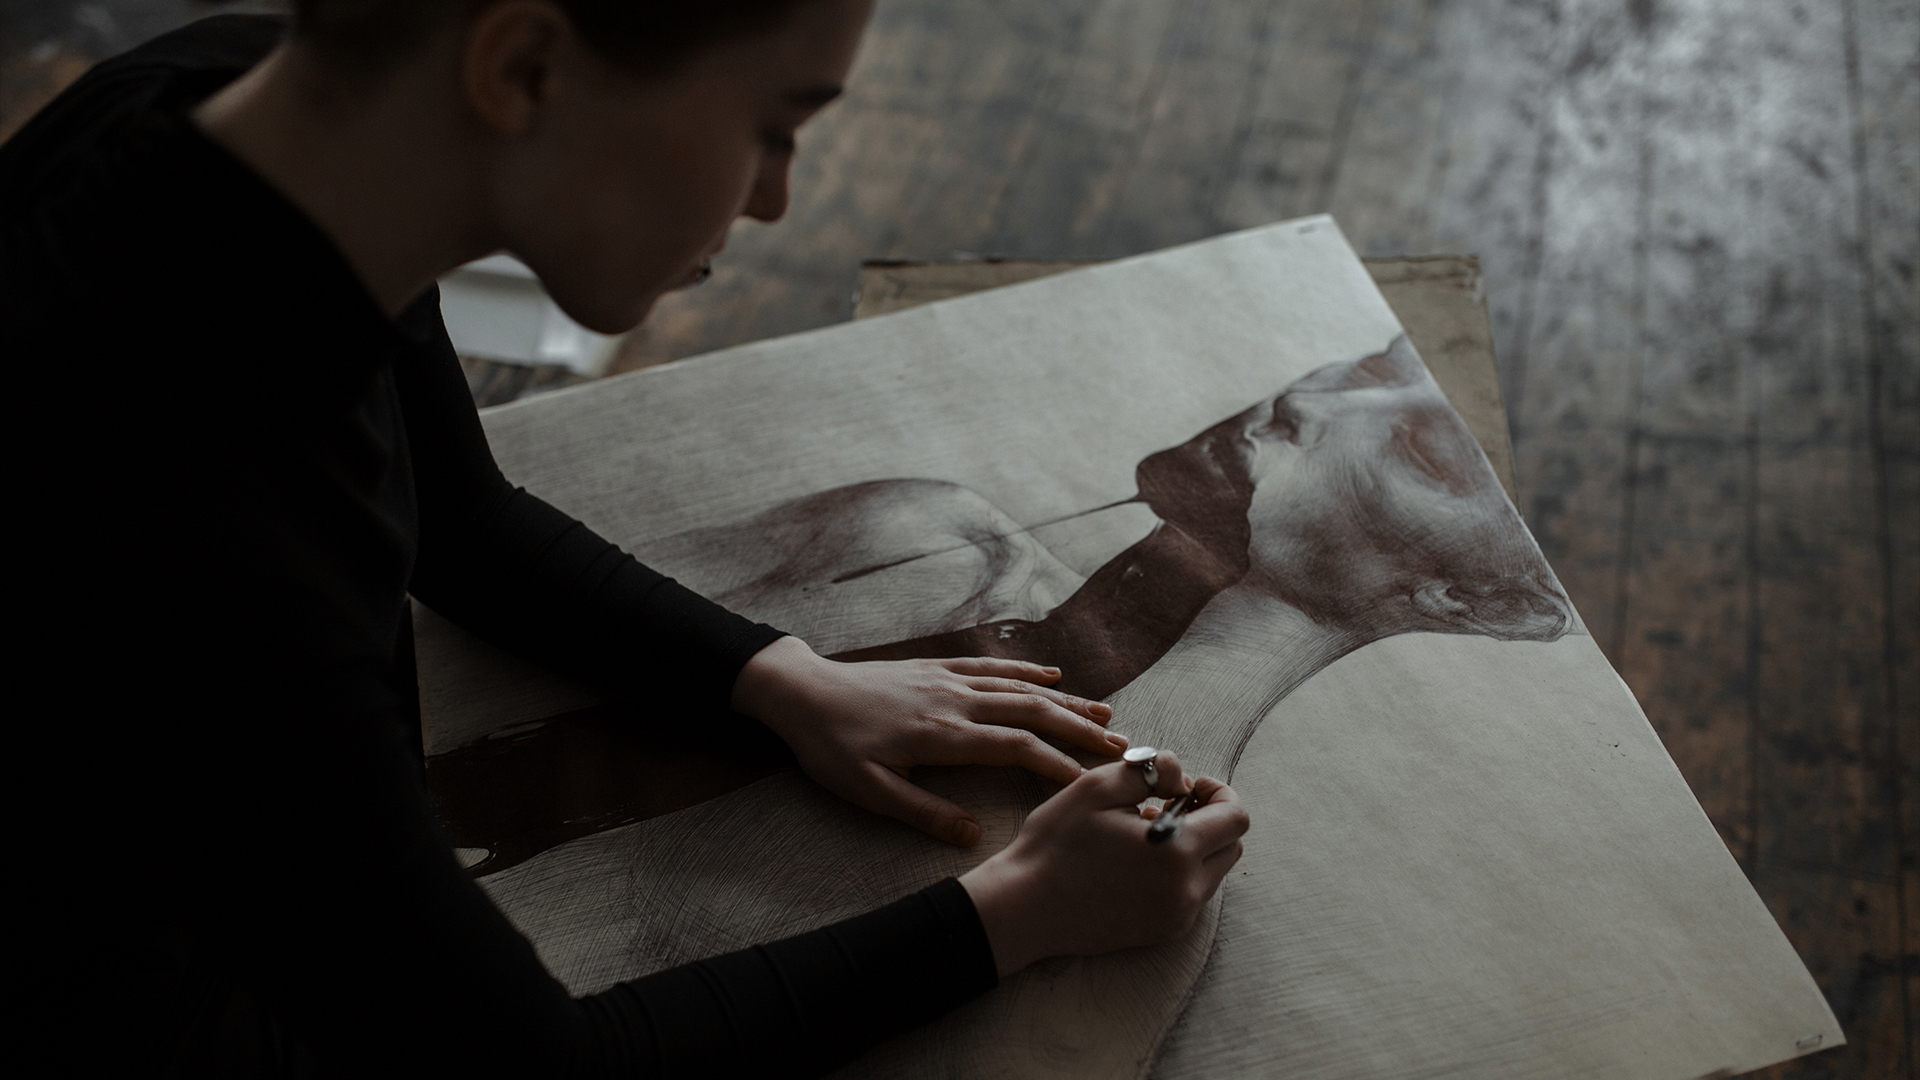
As we all possess a body, we think we know what it looks like. When we draw it, we bring to bear that prior knowledge and we draw that rather than the exactitude of the arm or leg that’s in front of us.
There are a number of different approaches to help you overcome this problem, and most of them focus on the same idea: shape drawing rather than object drawing. You need to divorce yourself from the idea that you are drawing a figure as much as possible, and instead really concentrate on the shape it makes.
Spend longer looking at your figure and much less time looking at your paper. Draw the figure like a jigsaw, working from the centre outward until you find its edges, and if you are going to focus on the outline, draw the space that the figure makes with its surroundings, rather than the figure. Small shapes connected together will find the big shapes and will generally improve your proportions.
By combining all of these techniques, you will learn how to draw and feel confident enough to be able to tackle any figure, regardless of age, build or gender. However, children are one of the most difficult things that you can draw, largely because of their subtlety, and it’s often what you leave out rather than what you put into the drawing that makes it work. (For more drawing inspiration, check out our tips for drawing anatomy to get you started).
01. Get comfortable blind drawing
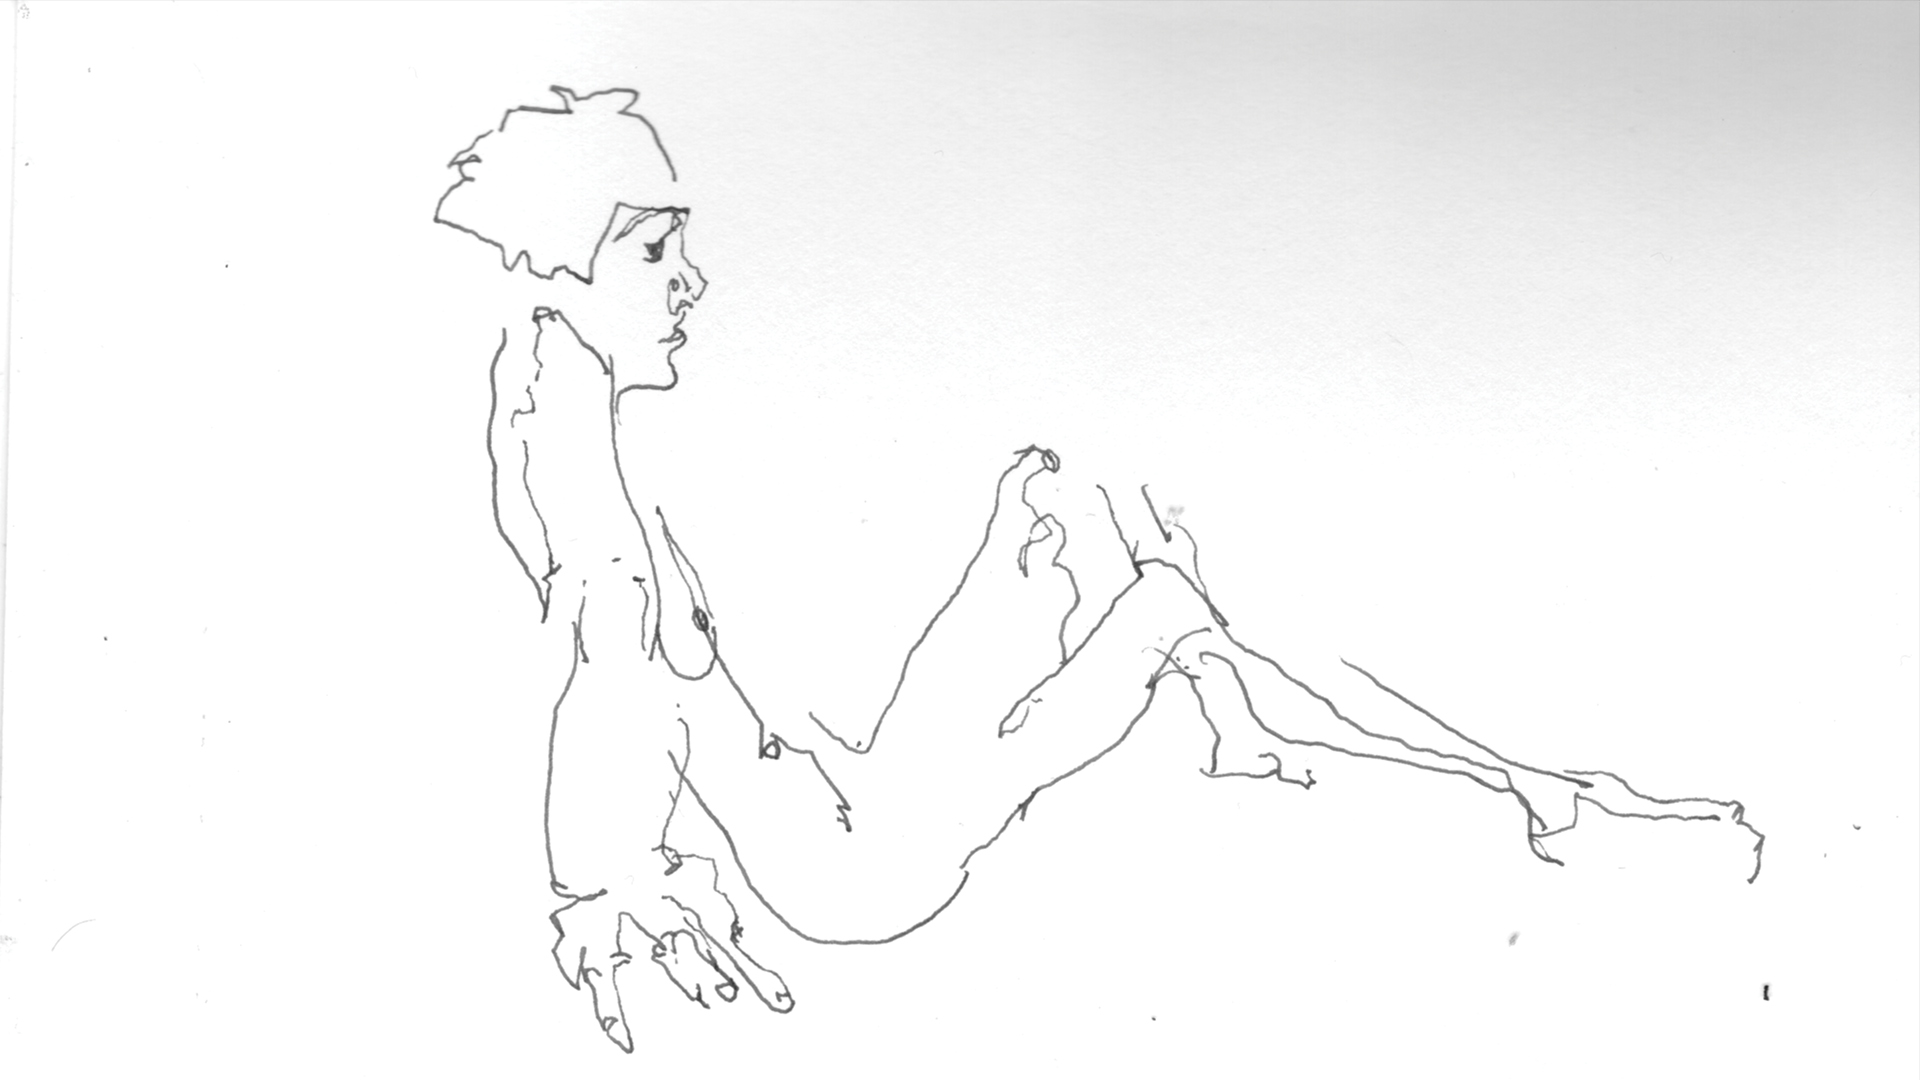
Imagine that you are an ant crawling across the figure and your eye is following its journey with your hand slowly tracing the path, travelling at the same speed. Draw across the creases and folds of underlying muscle, shadows and internal structures, then avert your attention away from the object being drawn.
02. Allow yourself a partial peek
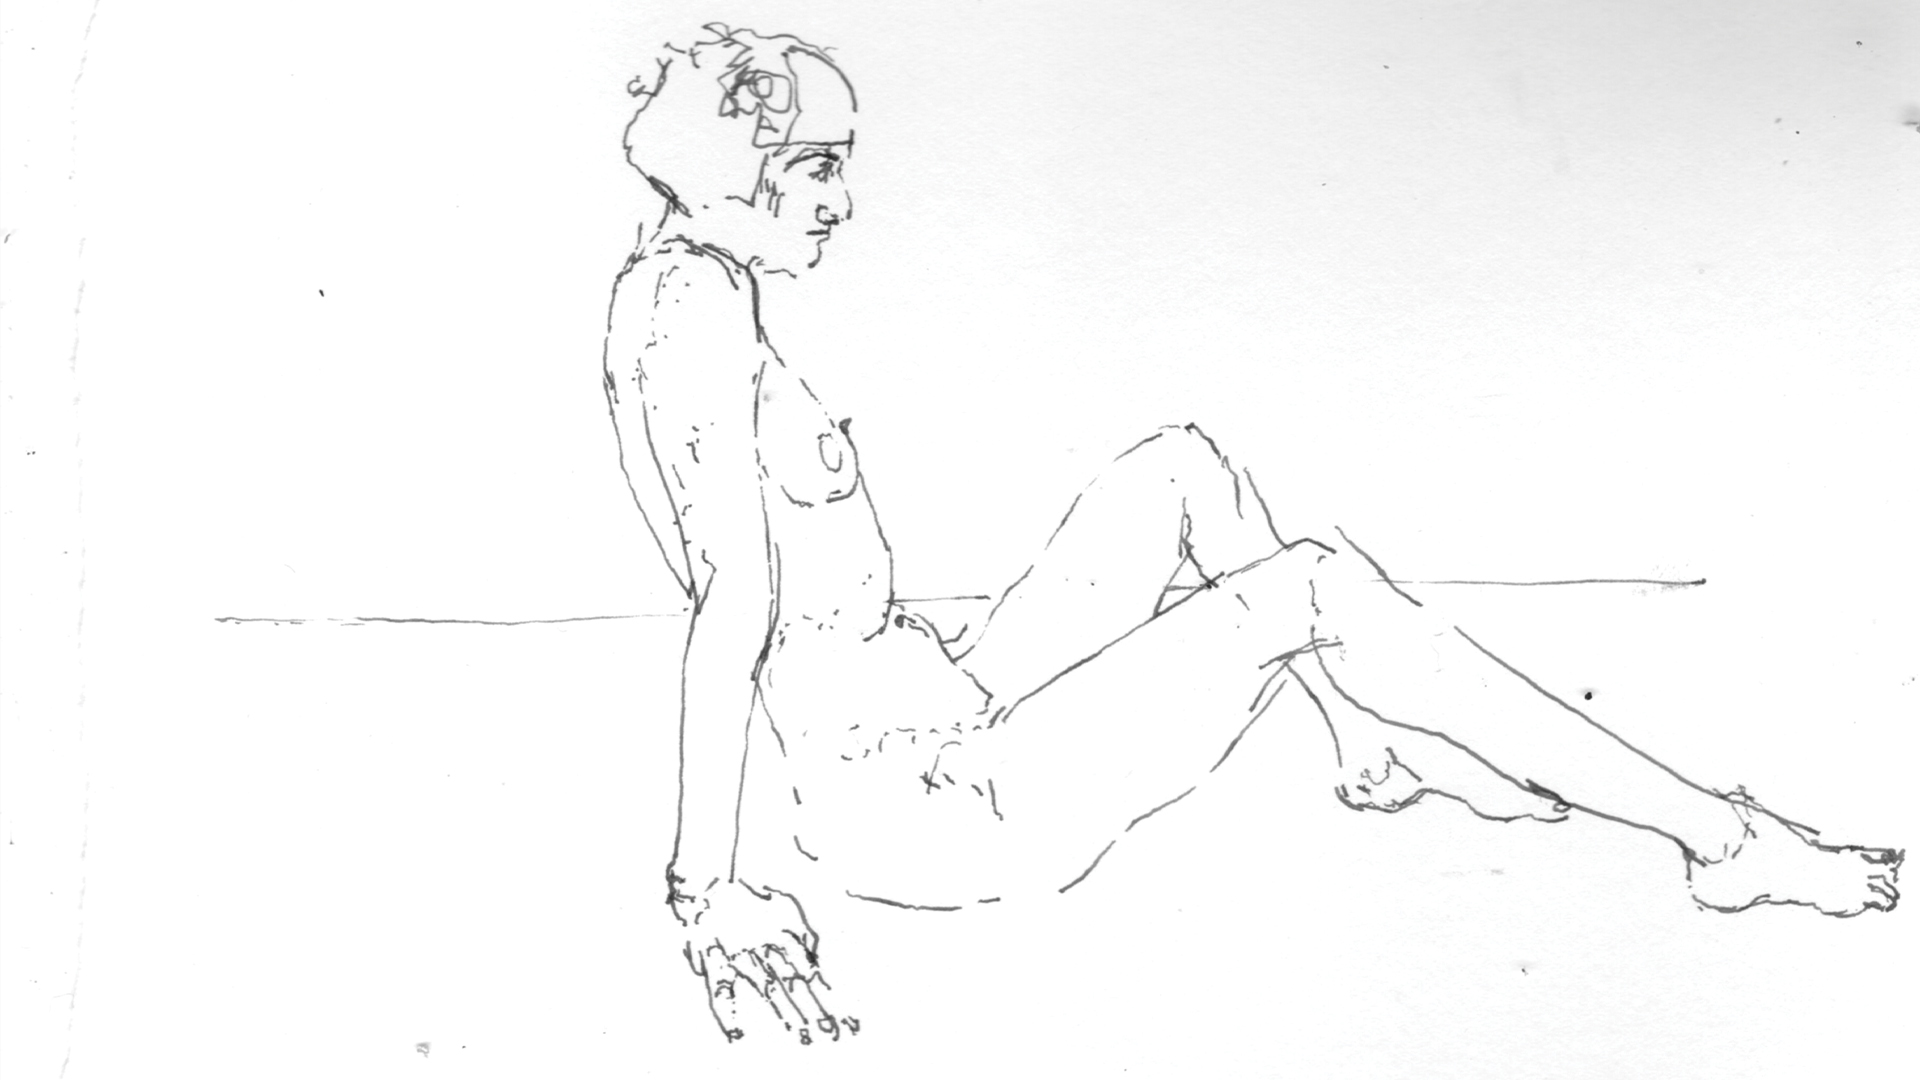
Once you have mastered blind drawing, you can look a little bit at the drawing you are making. The trick is to slow down and take time to look much more carefully, spending longer looking at the model. Think about the nature of the form you’re drawing – do you alter the pressure of your hand when there is a hard structure in the body, where bone comes closest to the surface of the skin? Do you use your line to describe the difference between a muscle under tension, or is there a more relaxed line for a soft form? If you look at the drawings of Howard Tangye or Egon Schiele, you can see how lines are can be used to articulate these differences.
03. Sketch the basic Shape
Step 1
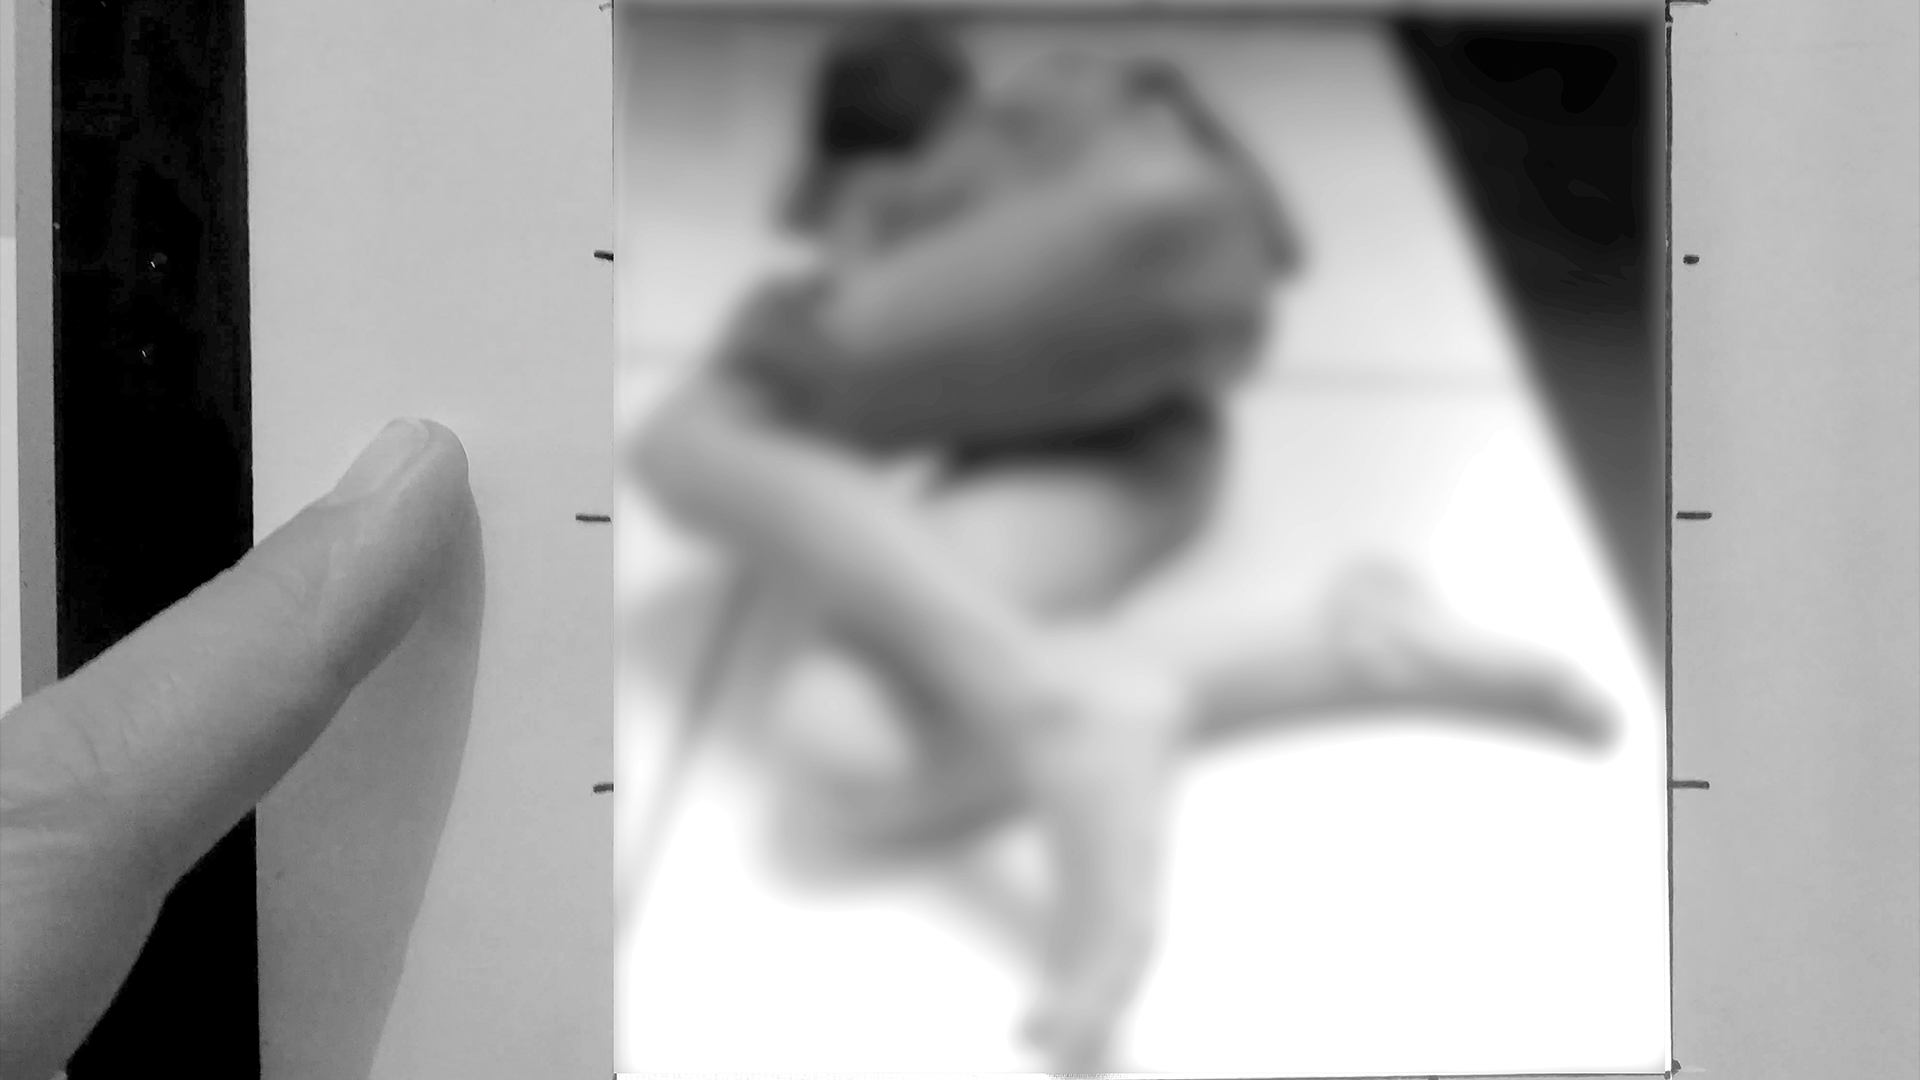
Cut a square aperture cut out of card. Mark the middle and the quarter points on the frame nearest the aperture. Hold this up to the model and try to get it to touch as many of the outer edges as you can. Where does the figure touch the sides?
Step 2
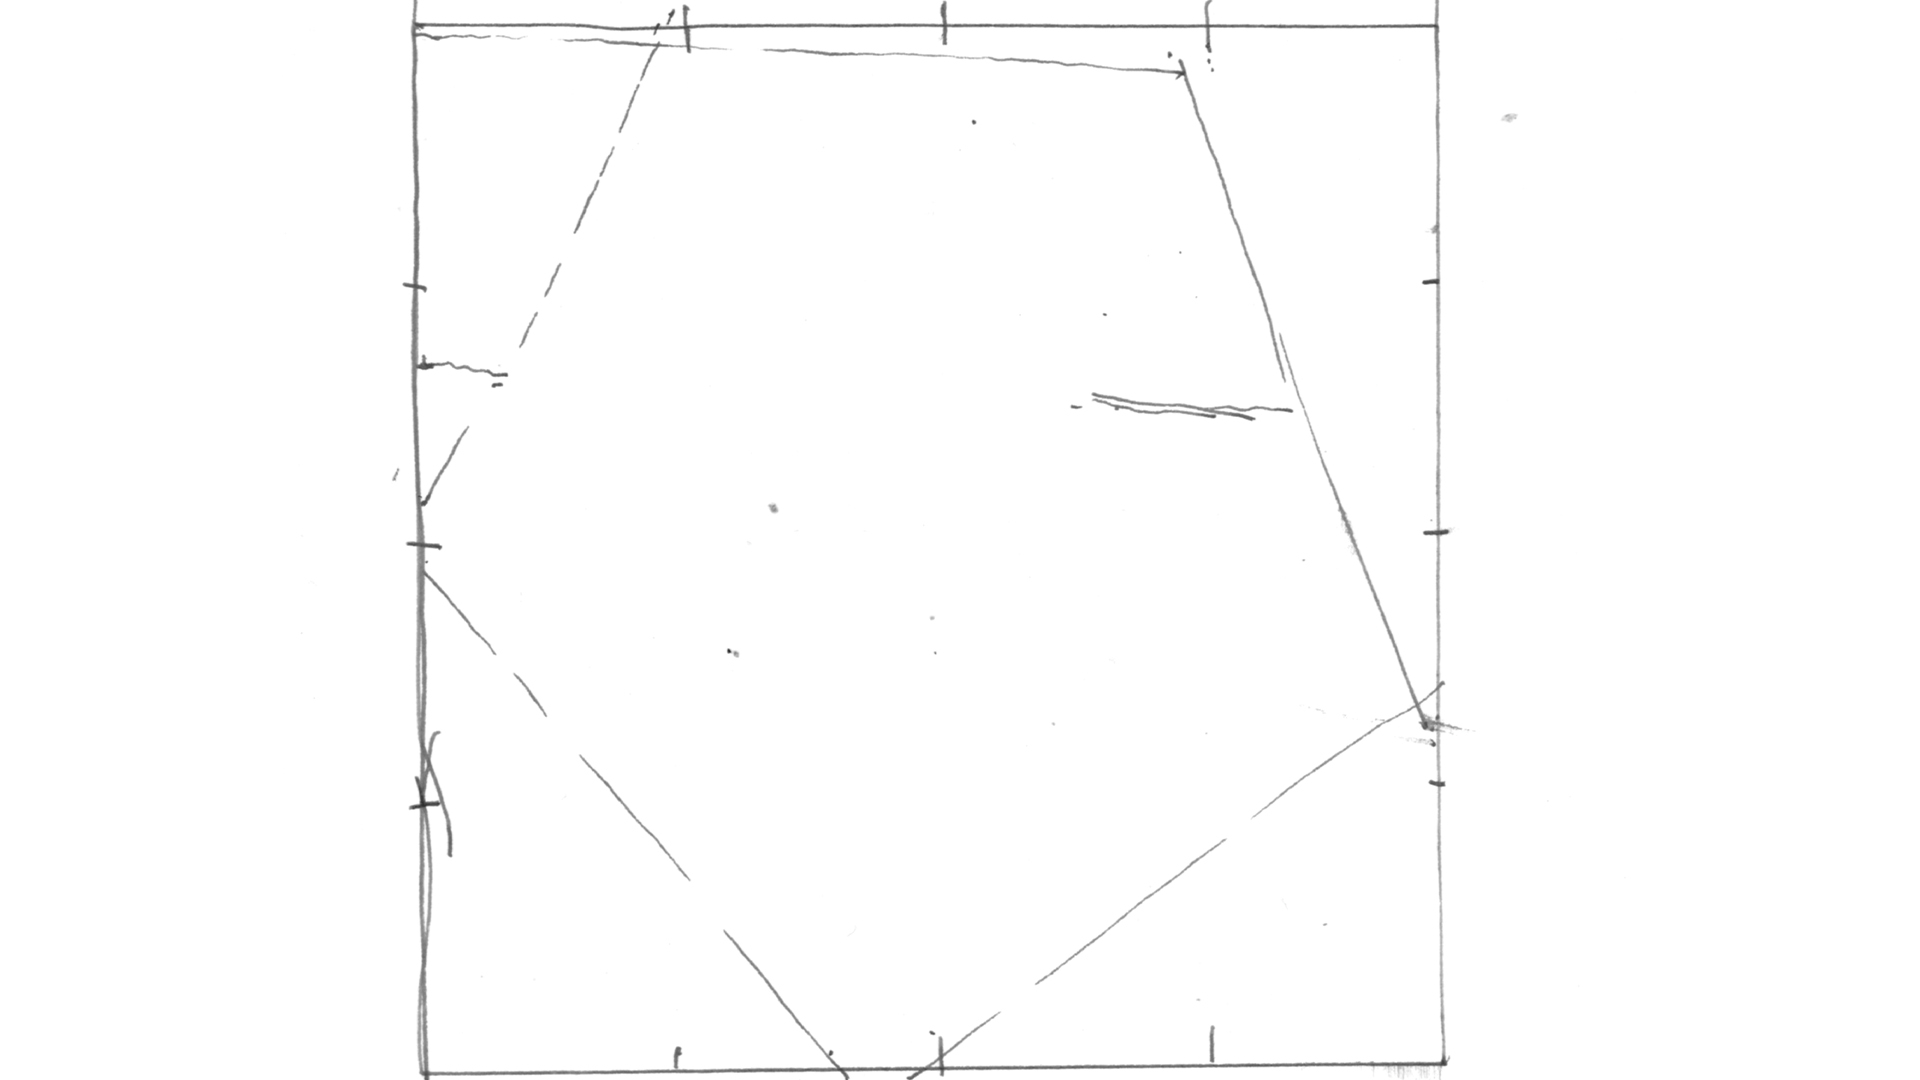
When drawing the square, use the marks on the card to see where the model should touch it. Use the divisions in the viewfinder to help with this. Draw the straightest lines you can, and try to get a sense of where these lines dissect the square.
Step 3
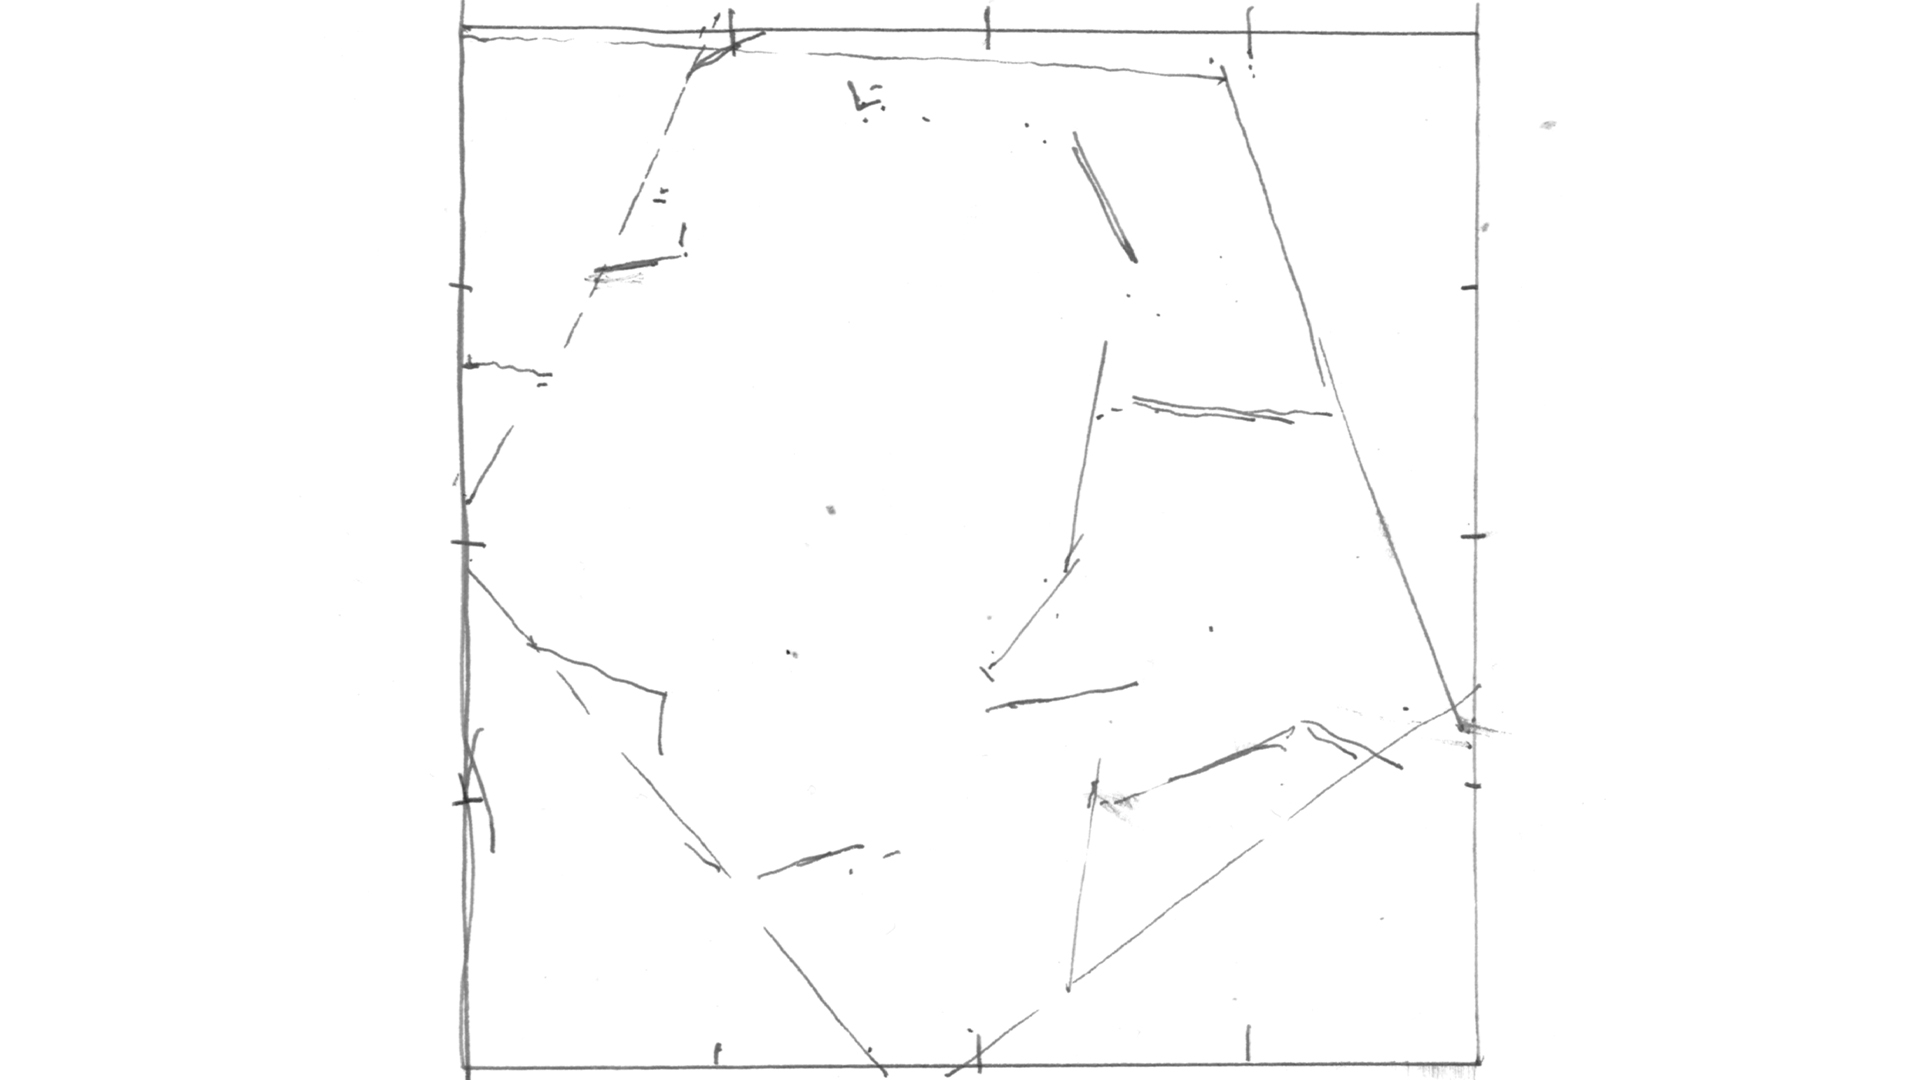
Once these lines are in position, you can start to find the smaller shapes that lie within the larger ones.
Step 4
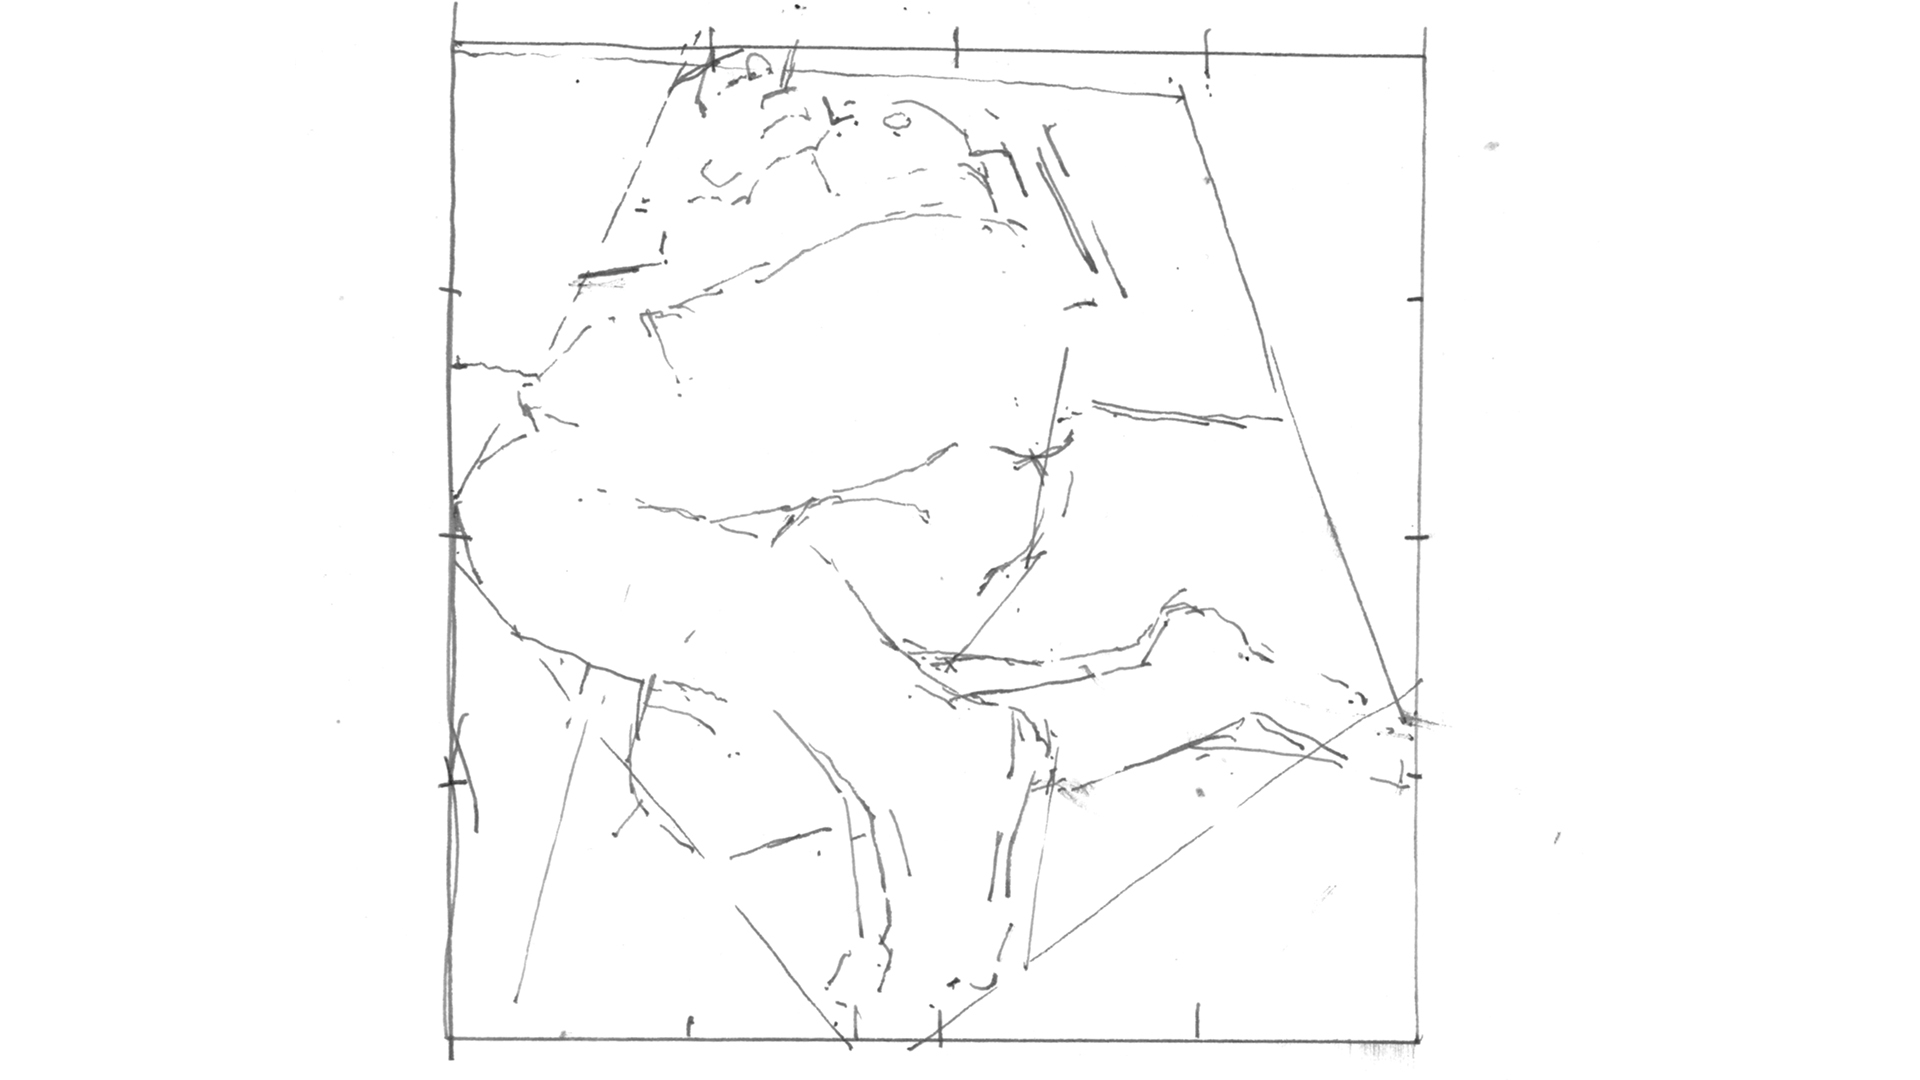
Focus on the negative space, gradually narrowing down the refinement to find the edges and the interrelationship between the whole figure. Don’t be scared to make changes to your drawing as you go.
Step 5
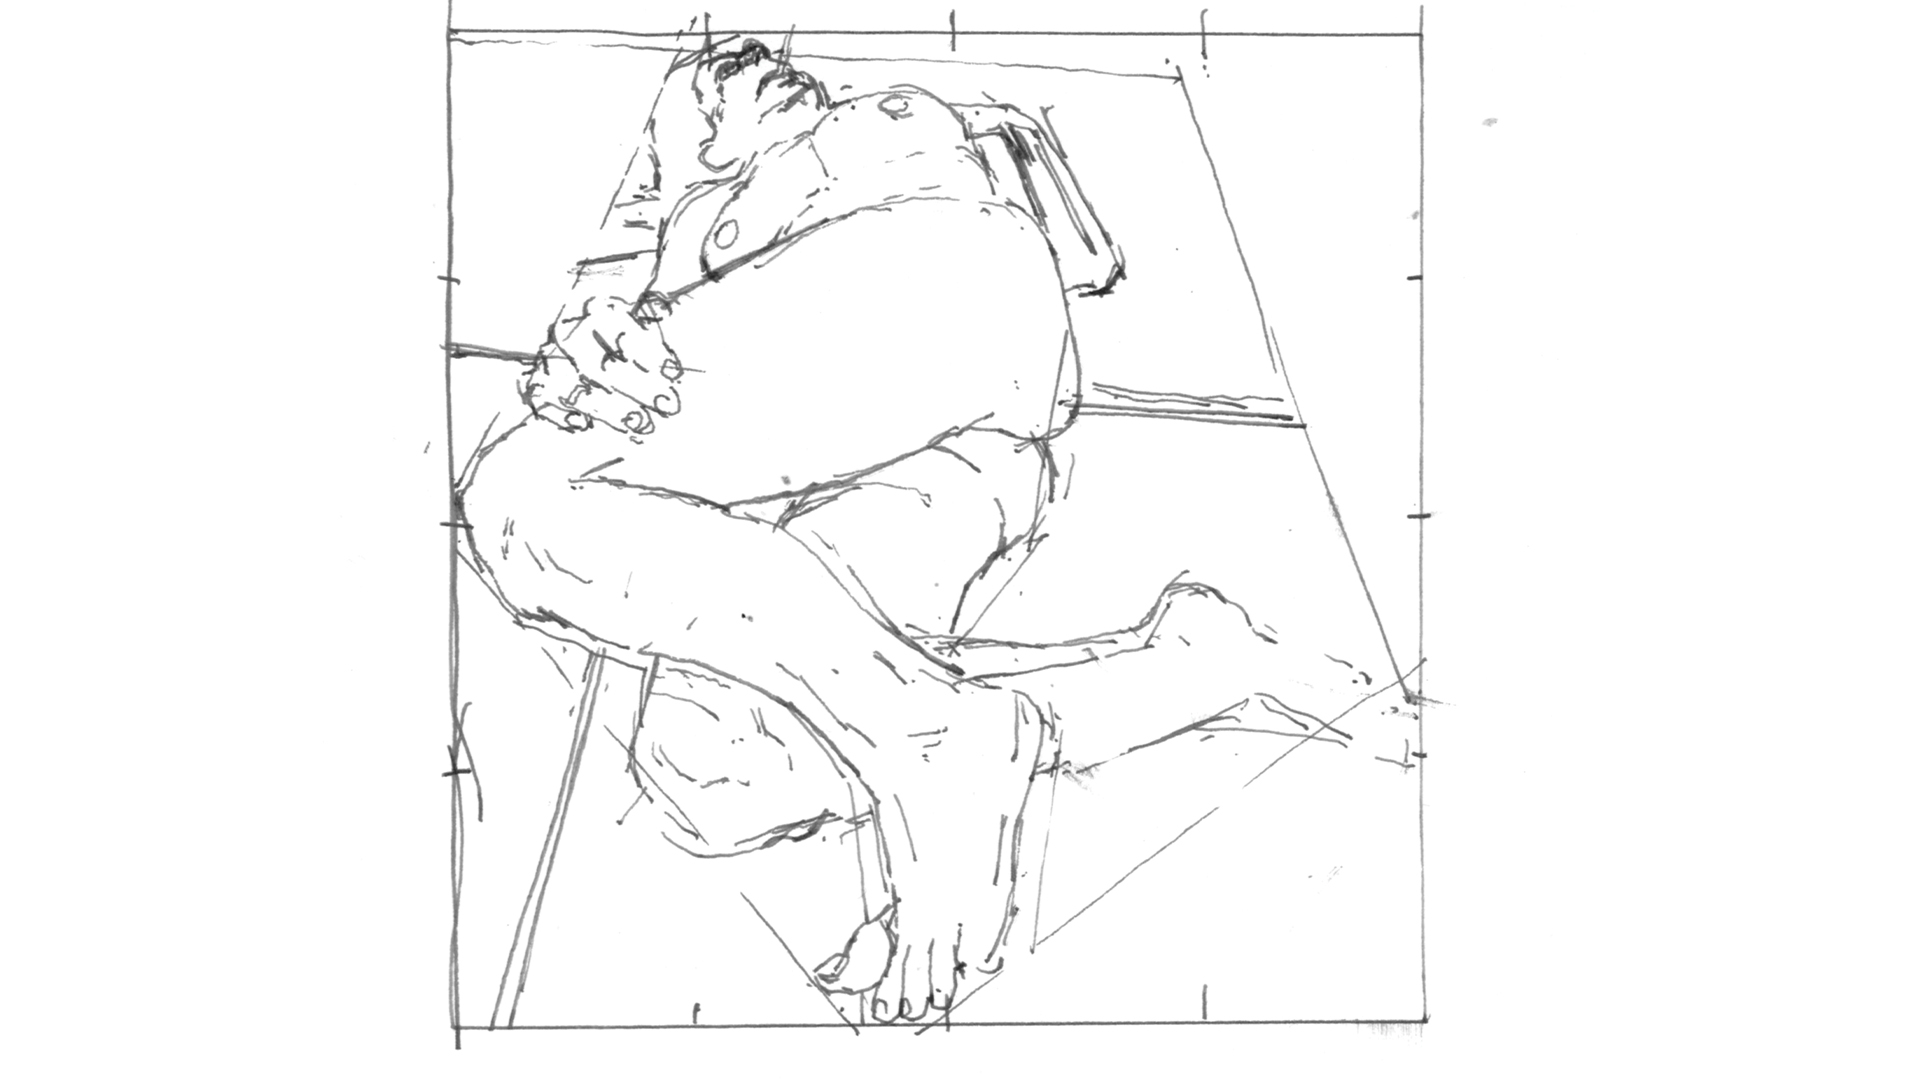
Once you start to map out the figure, see which parts correspond to a vertical running through it. Transfer this information to the drawing, and then do the same with a horizontal. Charcoal is an excellent medium for this as it is so easy to build up a delicate series of reference lines. Your eye is much better at perceiving the difference between two triangles, the height, angle, proportion and so on, so by focusing wholly on the myriad shapes behind the figure you can draw the figure almost accidentally as a consequence of not thinking about it at all.
Step 6
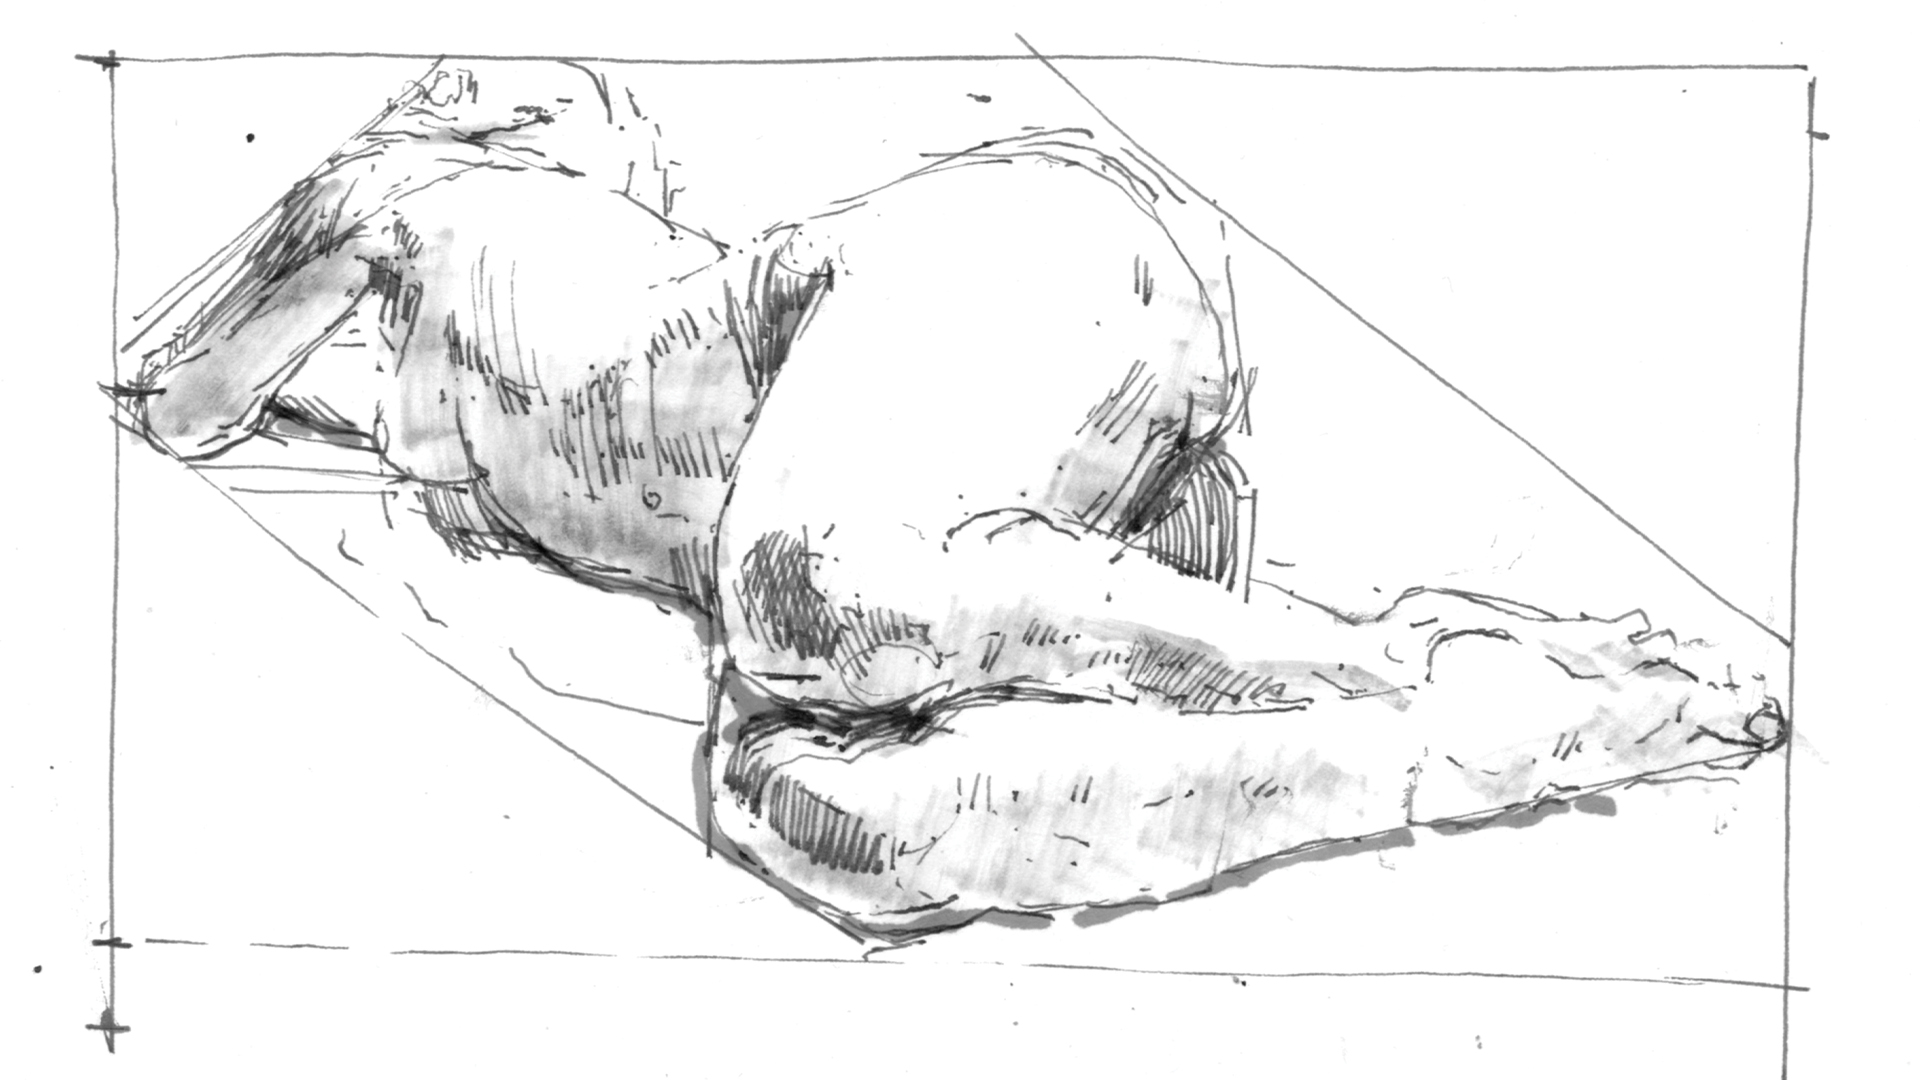
Euan Uglow would place his model next to a radiator and use its vertical divisions to help locate the figure. The more you measure, the more you see a grid in front of you as you draw.
04. Use size-sight measurement
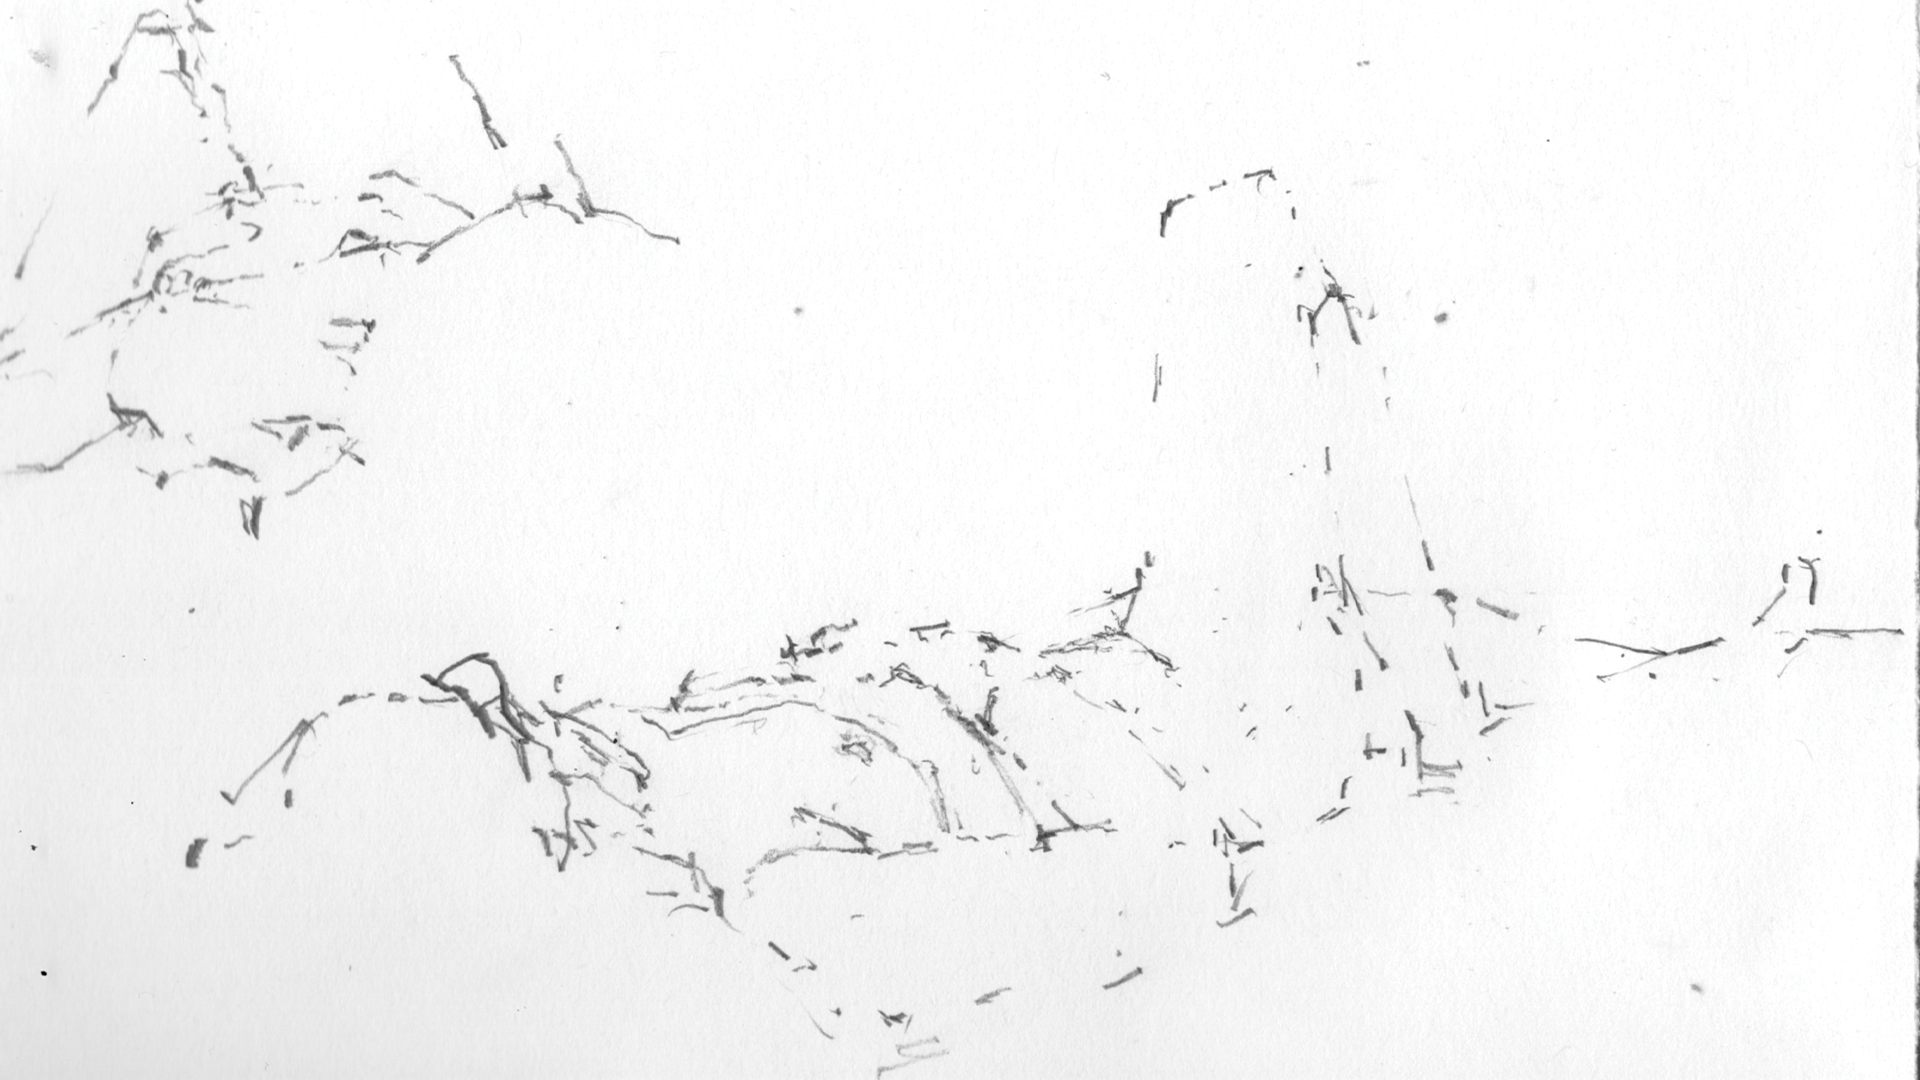
Make sure to position yourself so that you can see both the model and your drawing without moving your head. This will mean that you can minimise the distance that your eye has to travel between the subject and the paper. You can take vertical heights directly across from the figure to the drawing. Hold the pencil to the angle you are measuring and move this across to your drawing. Any turning action of the arm can be felt in the forearm muscles, which will tell you that the angle has changed. Start a measured drawing with the complicated parts of the figure, where there are lots of different things going on, rather than at
the extremities.
05. Perfect the contours
Step 1
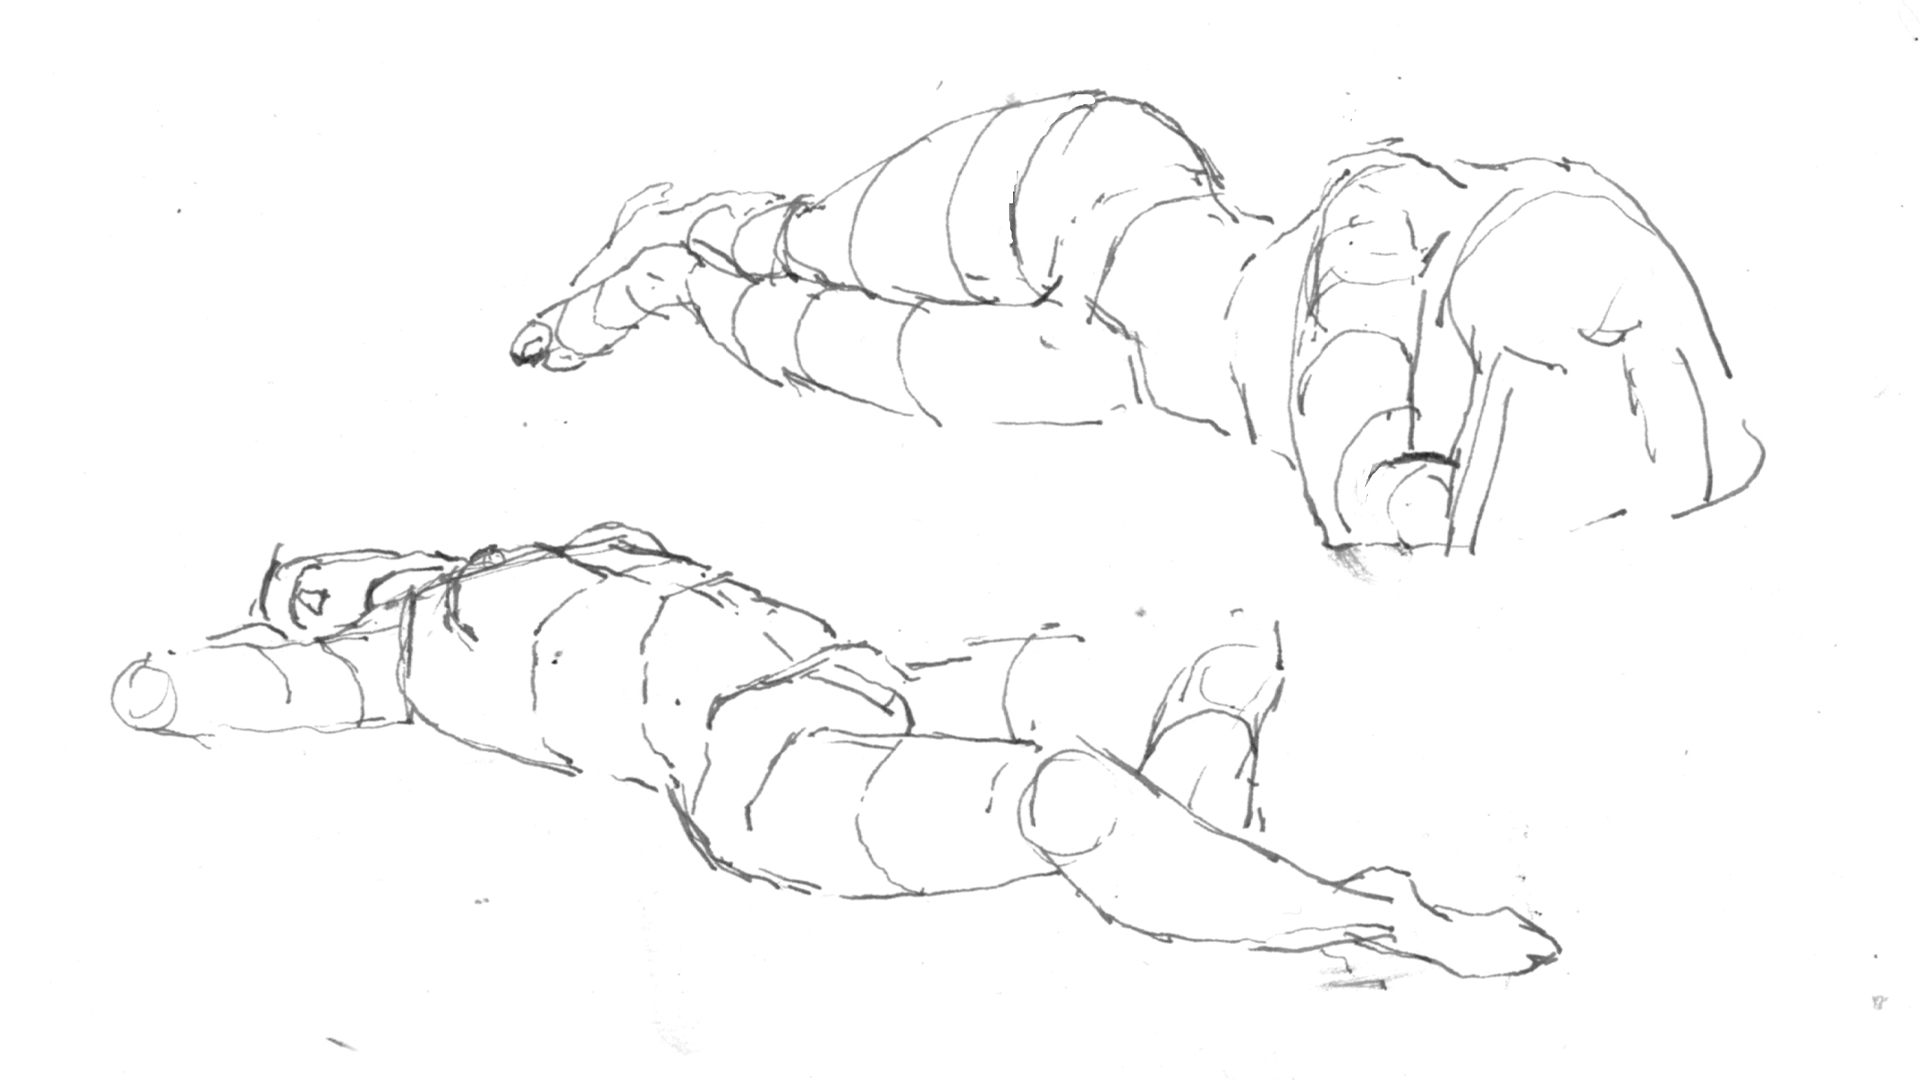
You can project a series of straight parallel lines onto the figure using acetate and an overhead projector, a slide projector or a data projector in a darkened room. These lines will show the undulation of the form that you are looking at more clearly. Alternatively, you could ask the model to wear a tight-fitting striped or checked top and trousers that follow the contours of the figure. It is a good idea to look at the figure from 360 degrees as you draw as moving around the figure and looking at it from different angles will help you understand what you’re looking at. You can also consider drawing the figure using a series of basic forms like cubes and cylinders, as well as spherical objects. This simplification will help you think about the articulation and the direction of the figure as it occupies three-dimensional space.
Step 2
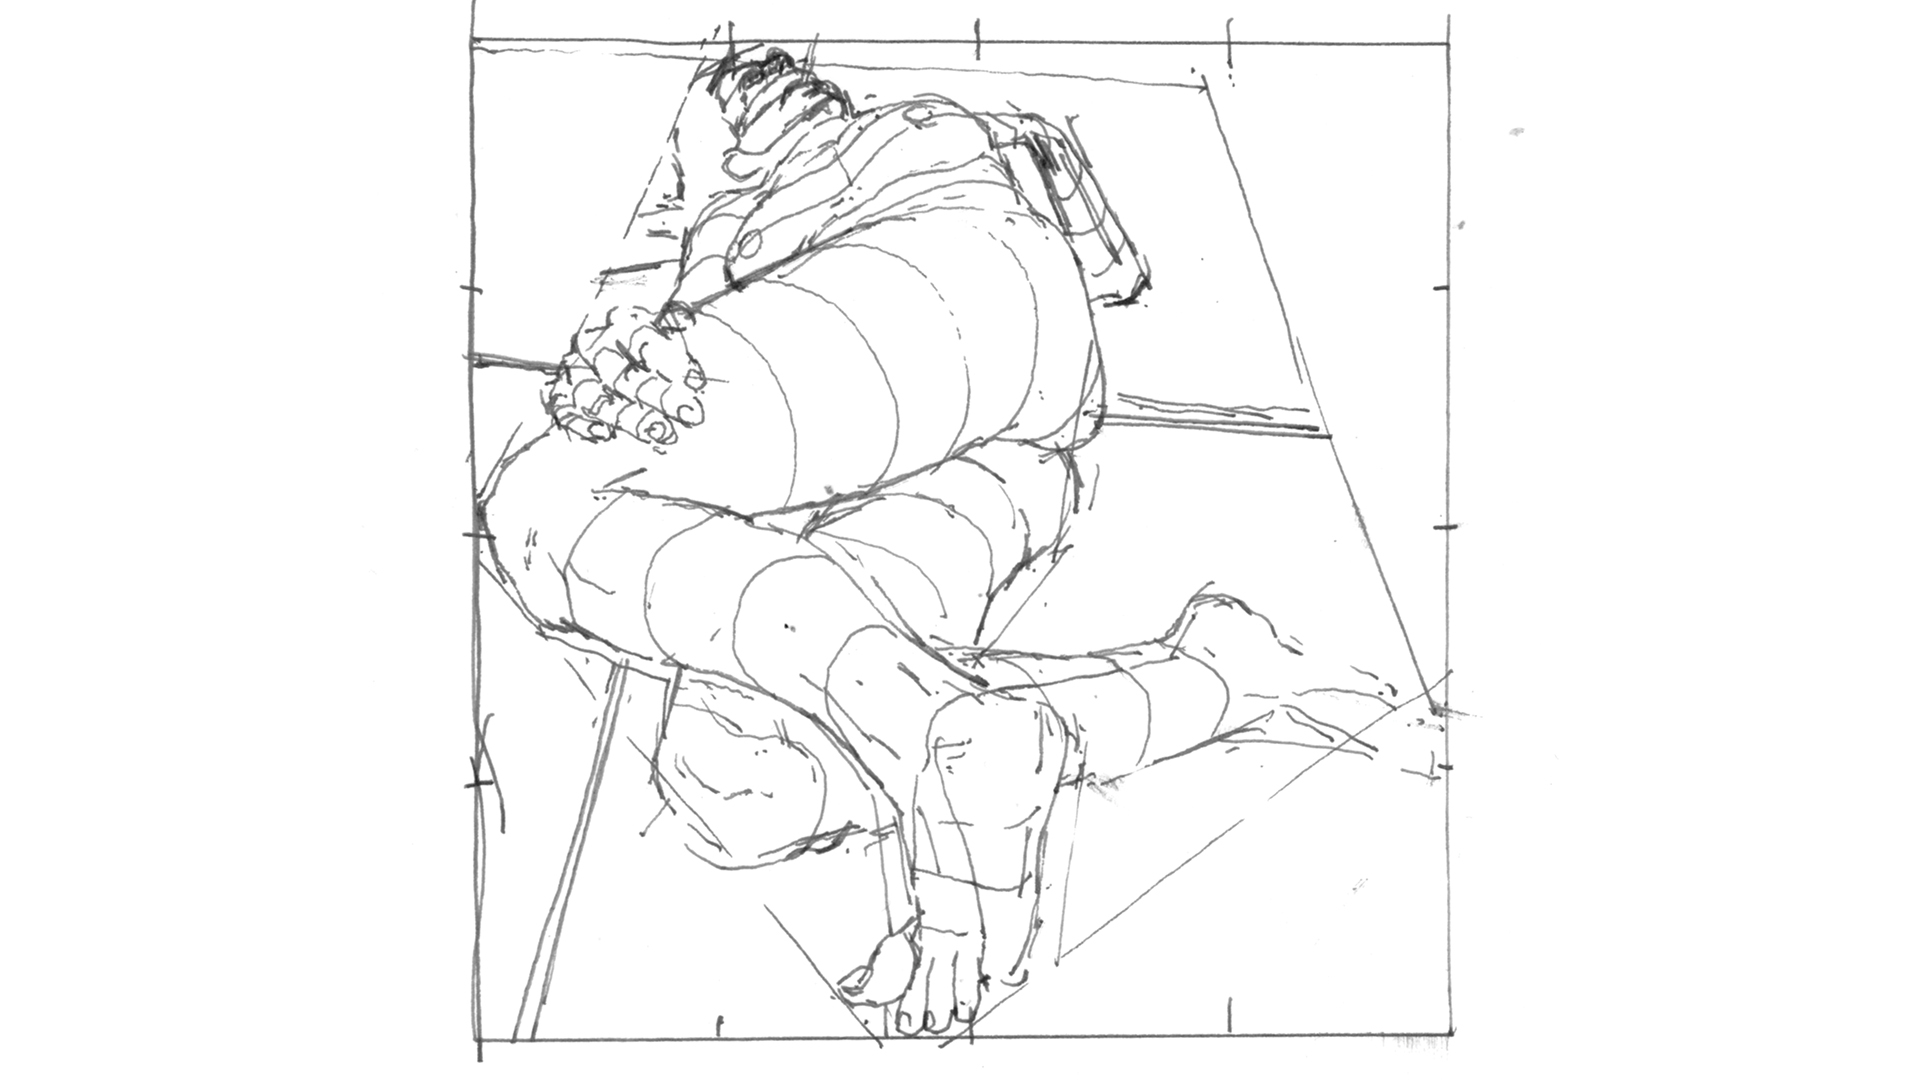
Going back to the basic shape drawing, think about how straight lines would curve over the body. This is a mental exercise as you think your way over the form. Draw each line carefully and give consideration to direction and magnitude.
Step 3
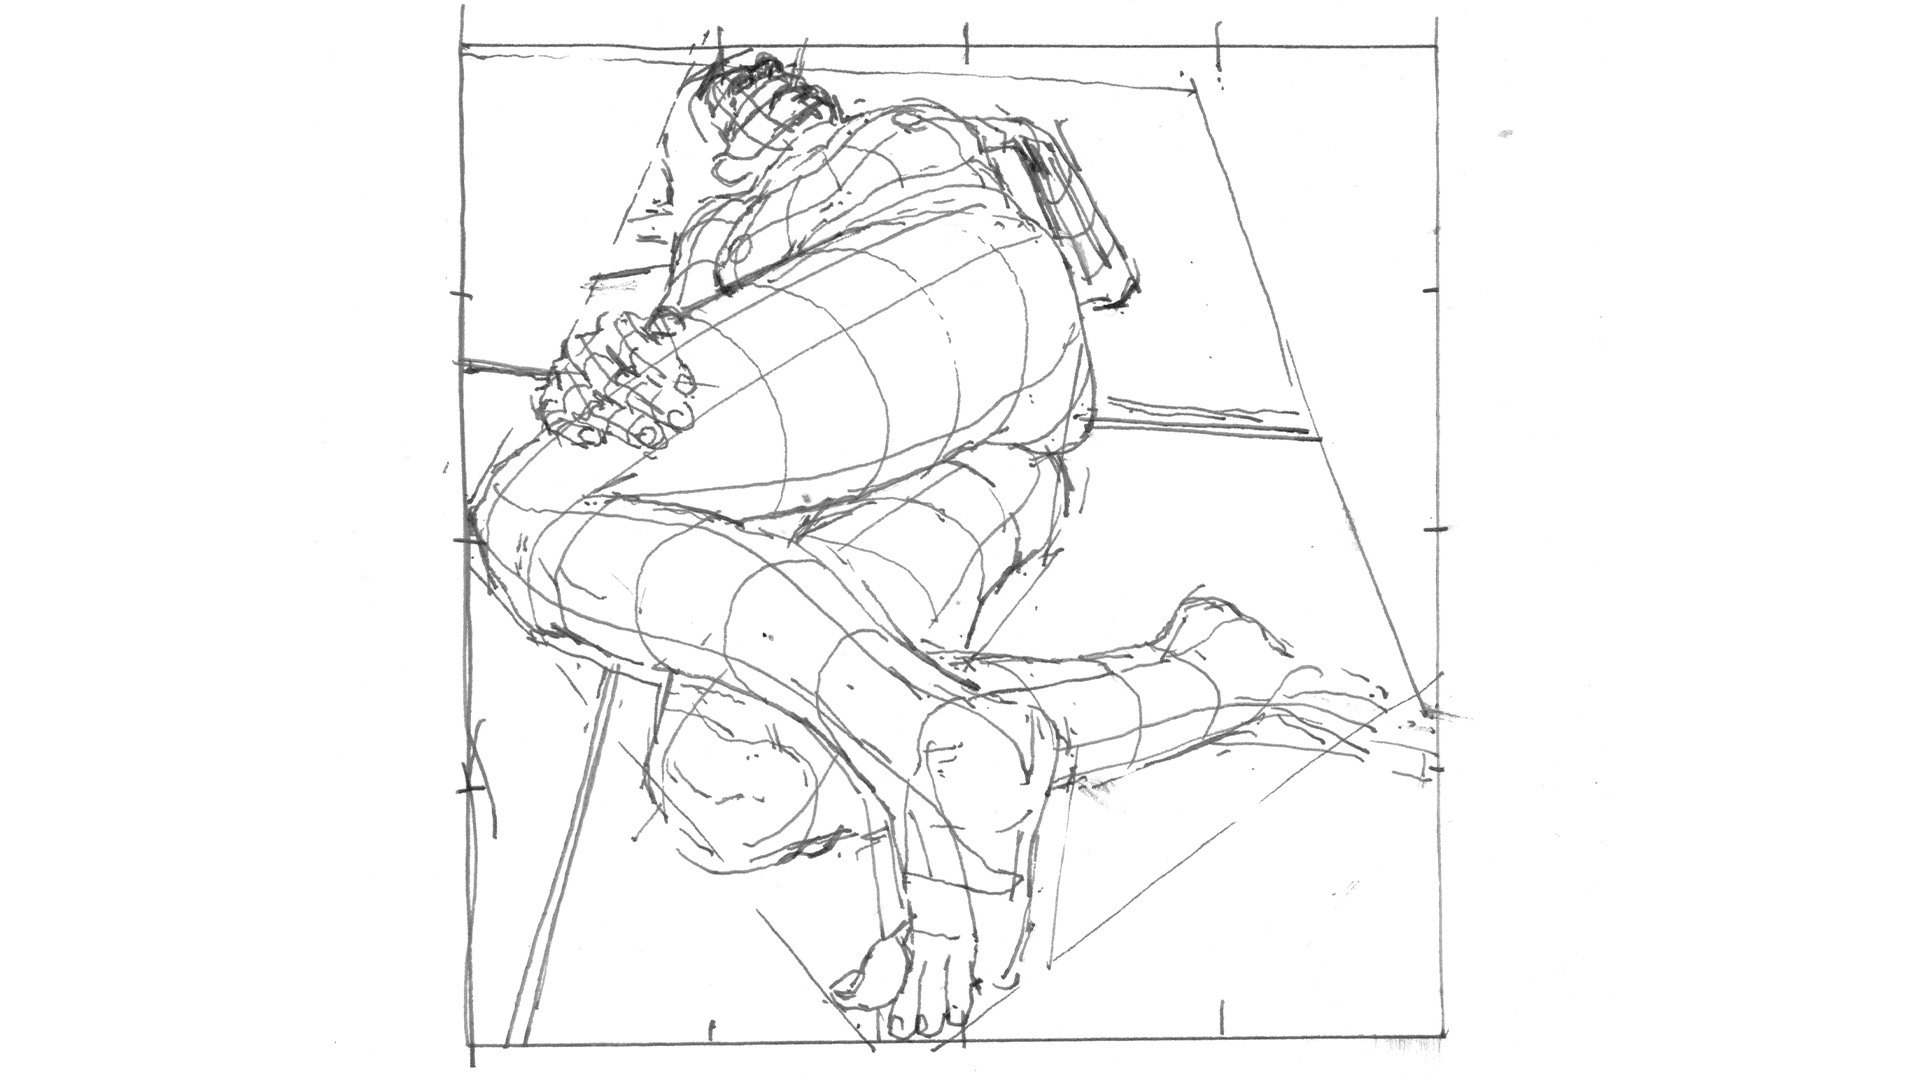
Having moved in one direction over the figure, you can then draw in the opposite direction, constructing a grid or mesh.
Step 4
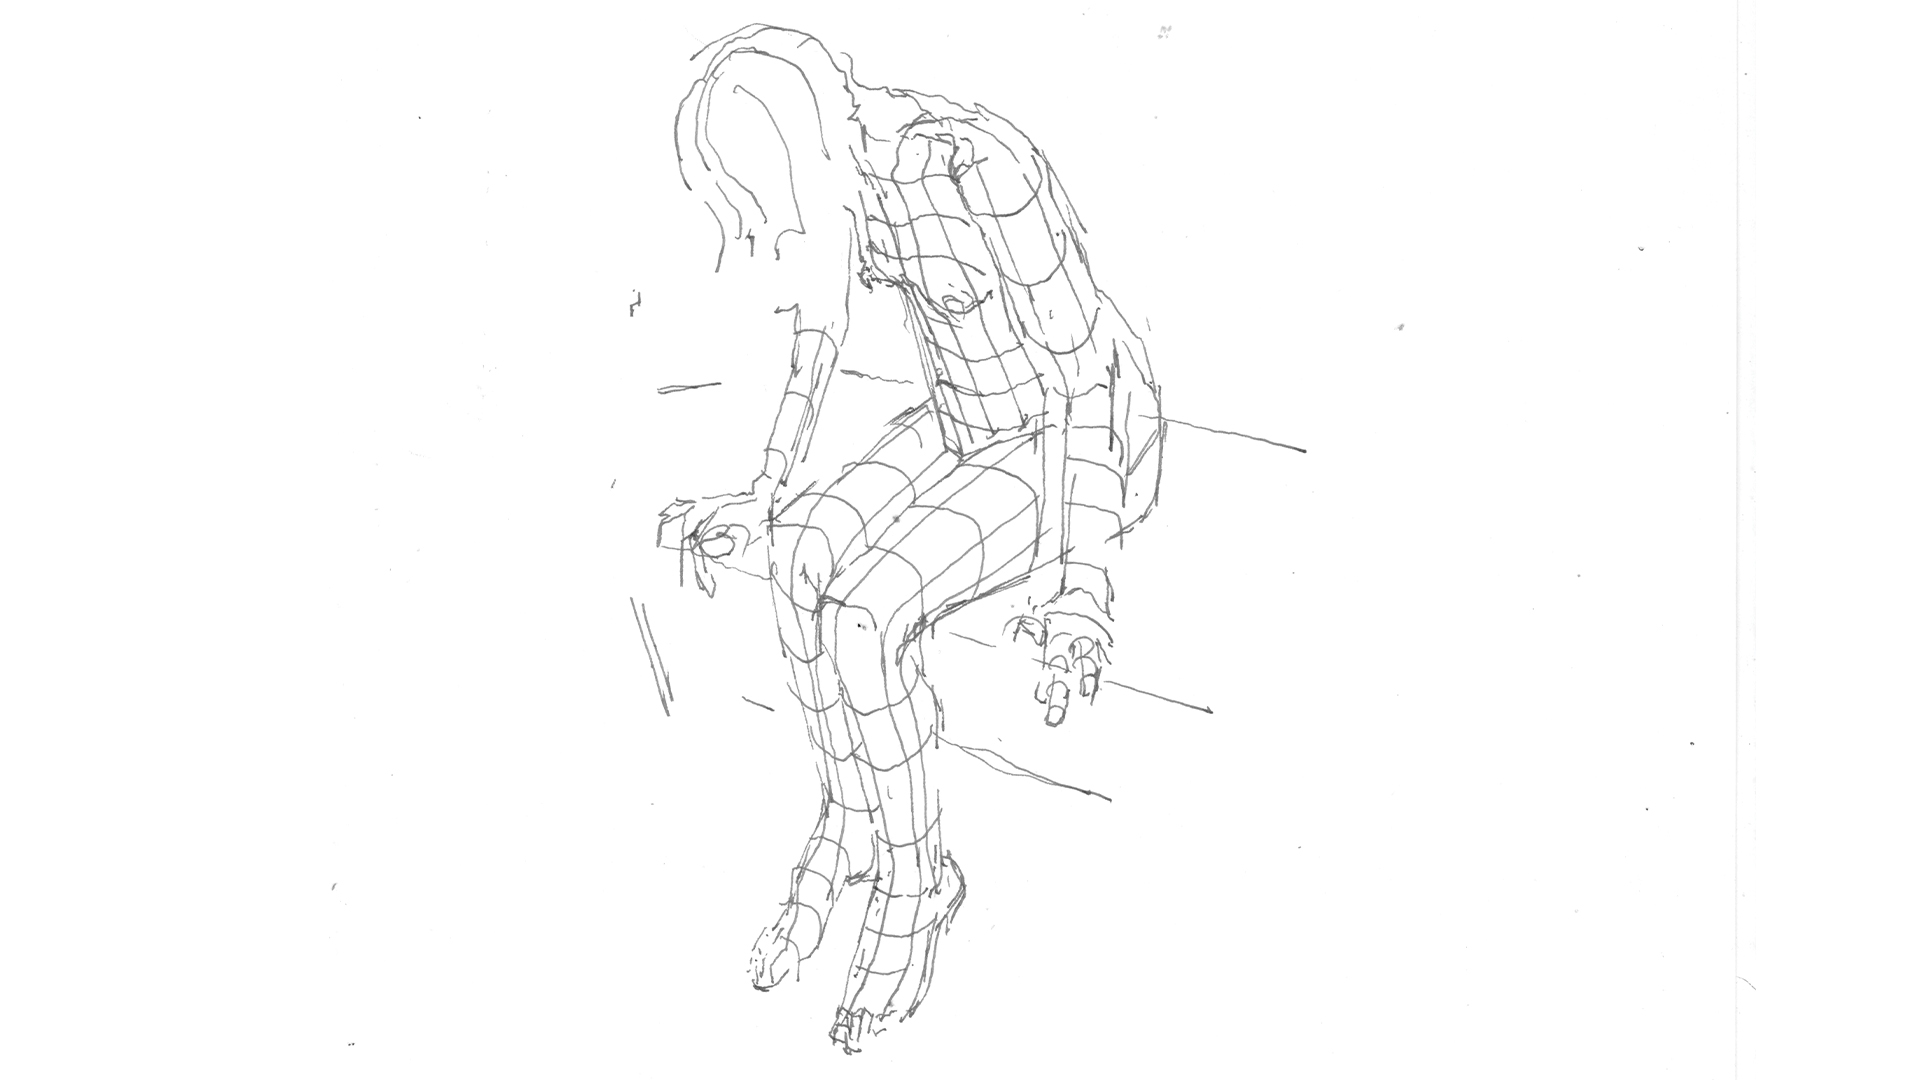
The more you practise this and the more you connect the tactile feeling of your own body with the model you are looking at, the more you will see the contours. As you develop these skills of looking at the basic proportions of the figure and seeing them simply, you can work much more freely with more expressive media as you draw these basic forms, thinking about the figure as articulating the mass, weight and dynamism of the human form.
This content originally appeared in Paint & Draw Anatomy bookazine. Buy it from Magazines Direct.
Get the Creative Bloq Newsletter
Daily design news, reviews, how-tos and more, as picked by the editors.

Thank you for reading 5 articles this month* Join now for unlimited access
Enjoy your first month for just £1 / $1 / €1
*Read 5 free articles per month without a subscription

Join now for unlimited access
Try first month for just £1 / $1 / €1
Born in London, Tyler is a figurative painter and senior lecturer at the University of Brighton in the school of art, where he teaches life drawing, visual research and colour theory.

