Design a Christmas card with Adobe Stock and InDesign
Use Adobe Stock, Photoshop and InDesign to craft a unique card.
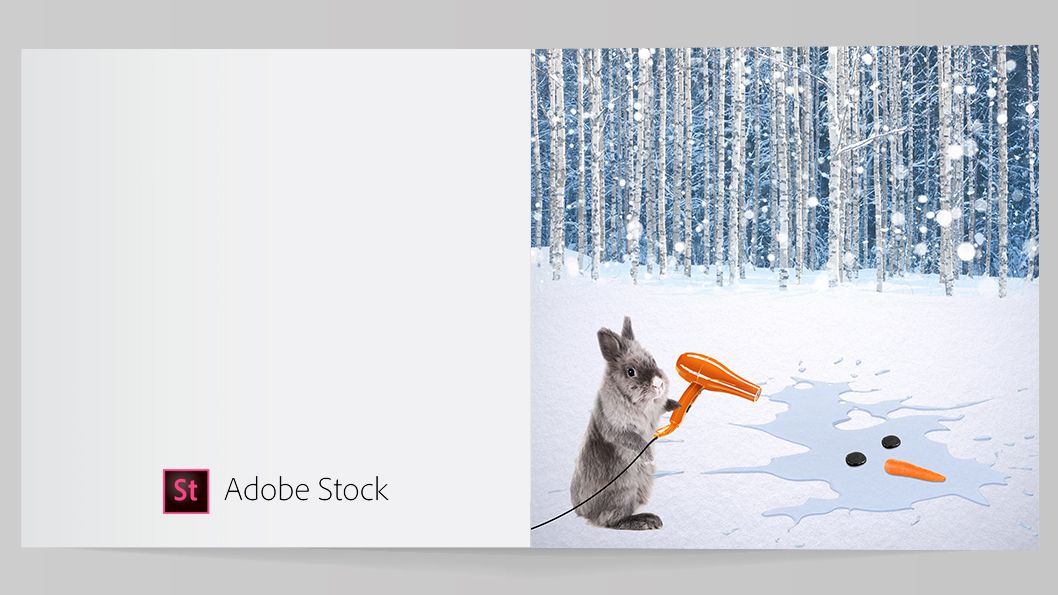
With Christmas just around the corner, creatives across the world are busy designing their Christmas cards. We’ve already brought you a host of helpful festive resources – from free Christmas vectors to the best Christmas deals on laptops – but there are other methods, too.
Here, London-based designer Freddie Made walks through how to use Adobe Stock and InDesign CC to craft a unique Christmas card creations this year. He’s creating a snowman-inspired scene, but you can use the skills here to bring your own designs to life.
You can pick up Adobe Creative Cloud here now, if you need it.
And to follow the tutorial, you can either watch the video – or walk through the written steps below. Enjoy!
01. Choose the background
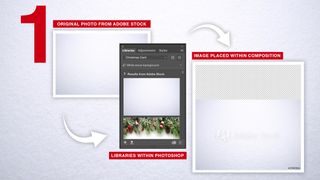
Search Adobe Stock using the Libraries tool in Photoshop. Look for an image of snow or another festive backdrop that could work for your card.
Tip! The latest updates on Adobe Stock enable you to save a preview and use a watermarked version. That means you don’t have to commit to buying until you know it’s right.
02. Add detail to the background
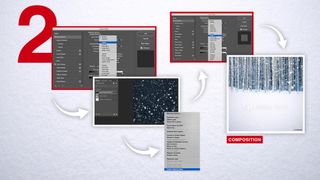
Next, search Adobe Stock for a ‘Snowy Forest’. You’ll find a broad range of options. Pick your favourite and simply add your chosen image to your composition.
Open Blending Options in the Layers panel. Set the Blend mode to Darken, and merge the snow seamlessly over the forest layer behind it. You can also use the Eraser tool, with a Low Hardness setting, to neaten up the edge.
Next, find an image of falling snow and paste this over your two-image composition. You will then need to move this layer to the background by simply applying a Clipping Mask to the layer, matching it to the forest image.
Set the mode to Screen Blend to remove all the darkness from the layer, and you’re left with snow falling seamlessly into the forest.
03. Add a puddle
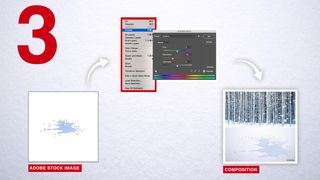
To add a puddle to the foreground, search for one in Adobe Stock and place it within your collage. Use the Magic Wand tool and select the white area around the edge. Now go to Select > Similar to, and click on any other white areas within the layer.
Next, go to Select > Inverse, and finally add a layer mask to remove all the white areas completely. Now select Opacity, adjust the setting to 60% and change the saturation to -30 using the Saturation tool to blend the colours nicely into the snow.
04. Add pebbles and a carrot
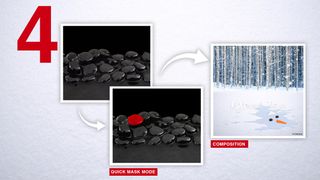
Once you’ve found a black pebble in Adobe Stock that could work for the snowman’s eyes, mask it using Quick Mask mode - click on Edit - in the toolbox. Then, select the Paint Brush tool, set the hardness high and paint over the pebble.
Click edit in Quick Mask again to make the selection, and then select the Layer Mask tool to remove the rest of the image. Now repeat this step with a carrot.
Next, click on the pebble, press Alt/Opt and drag it to duplicate a second eye. With the carrot and pebbles masked, add a Drop Shadow with opacity set to 30%, distance to 4, speed to 1 and size to 2.
05. Use Visual Search in Adobe Stock

Now we want to find a rabbit. This is a good time to try using Adobe Stock’s Visual Search tool. Select the first rabbit image you like, drag it into the search engine and you will find similar images in depth and tone. Select your perfect bunny and drop it into your composition. Repeat this step to find a hairdryer.
06. Add the rabbit and hairdryer
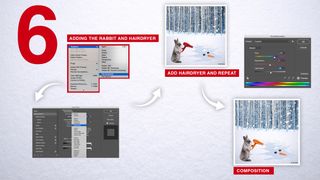
Once you’ve selected your rabbit and hairdryer, place them into your composition and flip horizontally using the Edit > Transform tool. Set the Blend Mode to a dark colour to remove the white background and, if needed, remove any objects from the rabbit’s paw using the Eraser tool.
Next, add the hairdryer, again using the darker colour blend mode. Flip it horizontally and place it in the rabbit’s paw. Adjust the colour using the Saturation tool to match the orange of the carrot.
07. Extend the cord
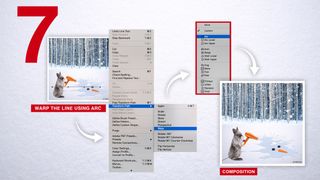
To add a cord to the hairdryer, draw a horizontal line with a brush stroke of 3px. Then transform the path using the Warp tool followed by the Arc preset. Now rotate it, and place at the end of the existing cord.
08. Licensing images within Photoshop
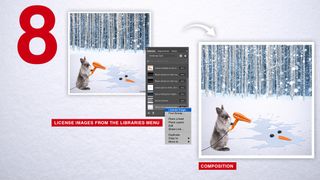
Once you’ve decided you’re happy with your chosen Stock images, go to your Library menu and right-click to license each image. Photoshop will automatically save over the watermarked previews with the high-res image. Save your PSD file.
09. Open the image with InDesign
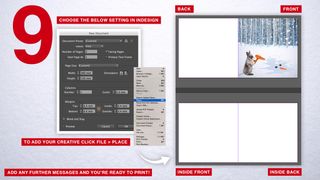
Open a new InDesign document to make the card template. To do this, go to File > New document. Choose the size of your document, set the number of pages to two, select facing pages and an orientation landscape.
Now add two columns with a gutter of 0.4mm and all margins set to 0.4mm. Click File > Place and select your PSD file to place it on the front page of your card.
10. Personalise your card
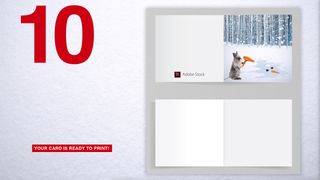
Finish your festive card by adding a personalised message. Once you’re done, click Save and your card is now ready to print.
You can now use these skills to design your own, unique Christmas cards.
Related articles:

Thank you for reading 5 articles this month* Join now for unlimited access
Enjoy your first month for just £1 / $1 / €1
*Read 5 free articles per month without a subscription

Join now for unlimited access
Try first month for just £1 / $1 / €1
Get the Creative Bloq Newsletter
Daily design news, reviews, how-tos and more, as picked by the editors.
