Create god rays in V-Ray
Add light to a dark scene with this cinematic effect.
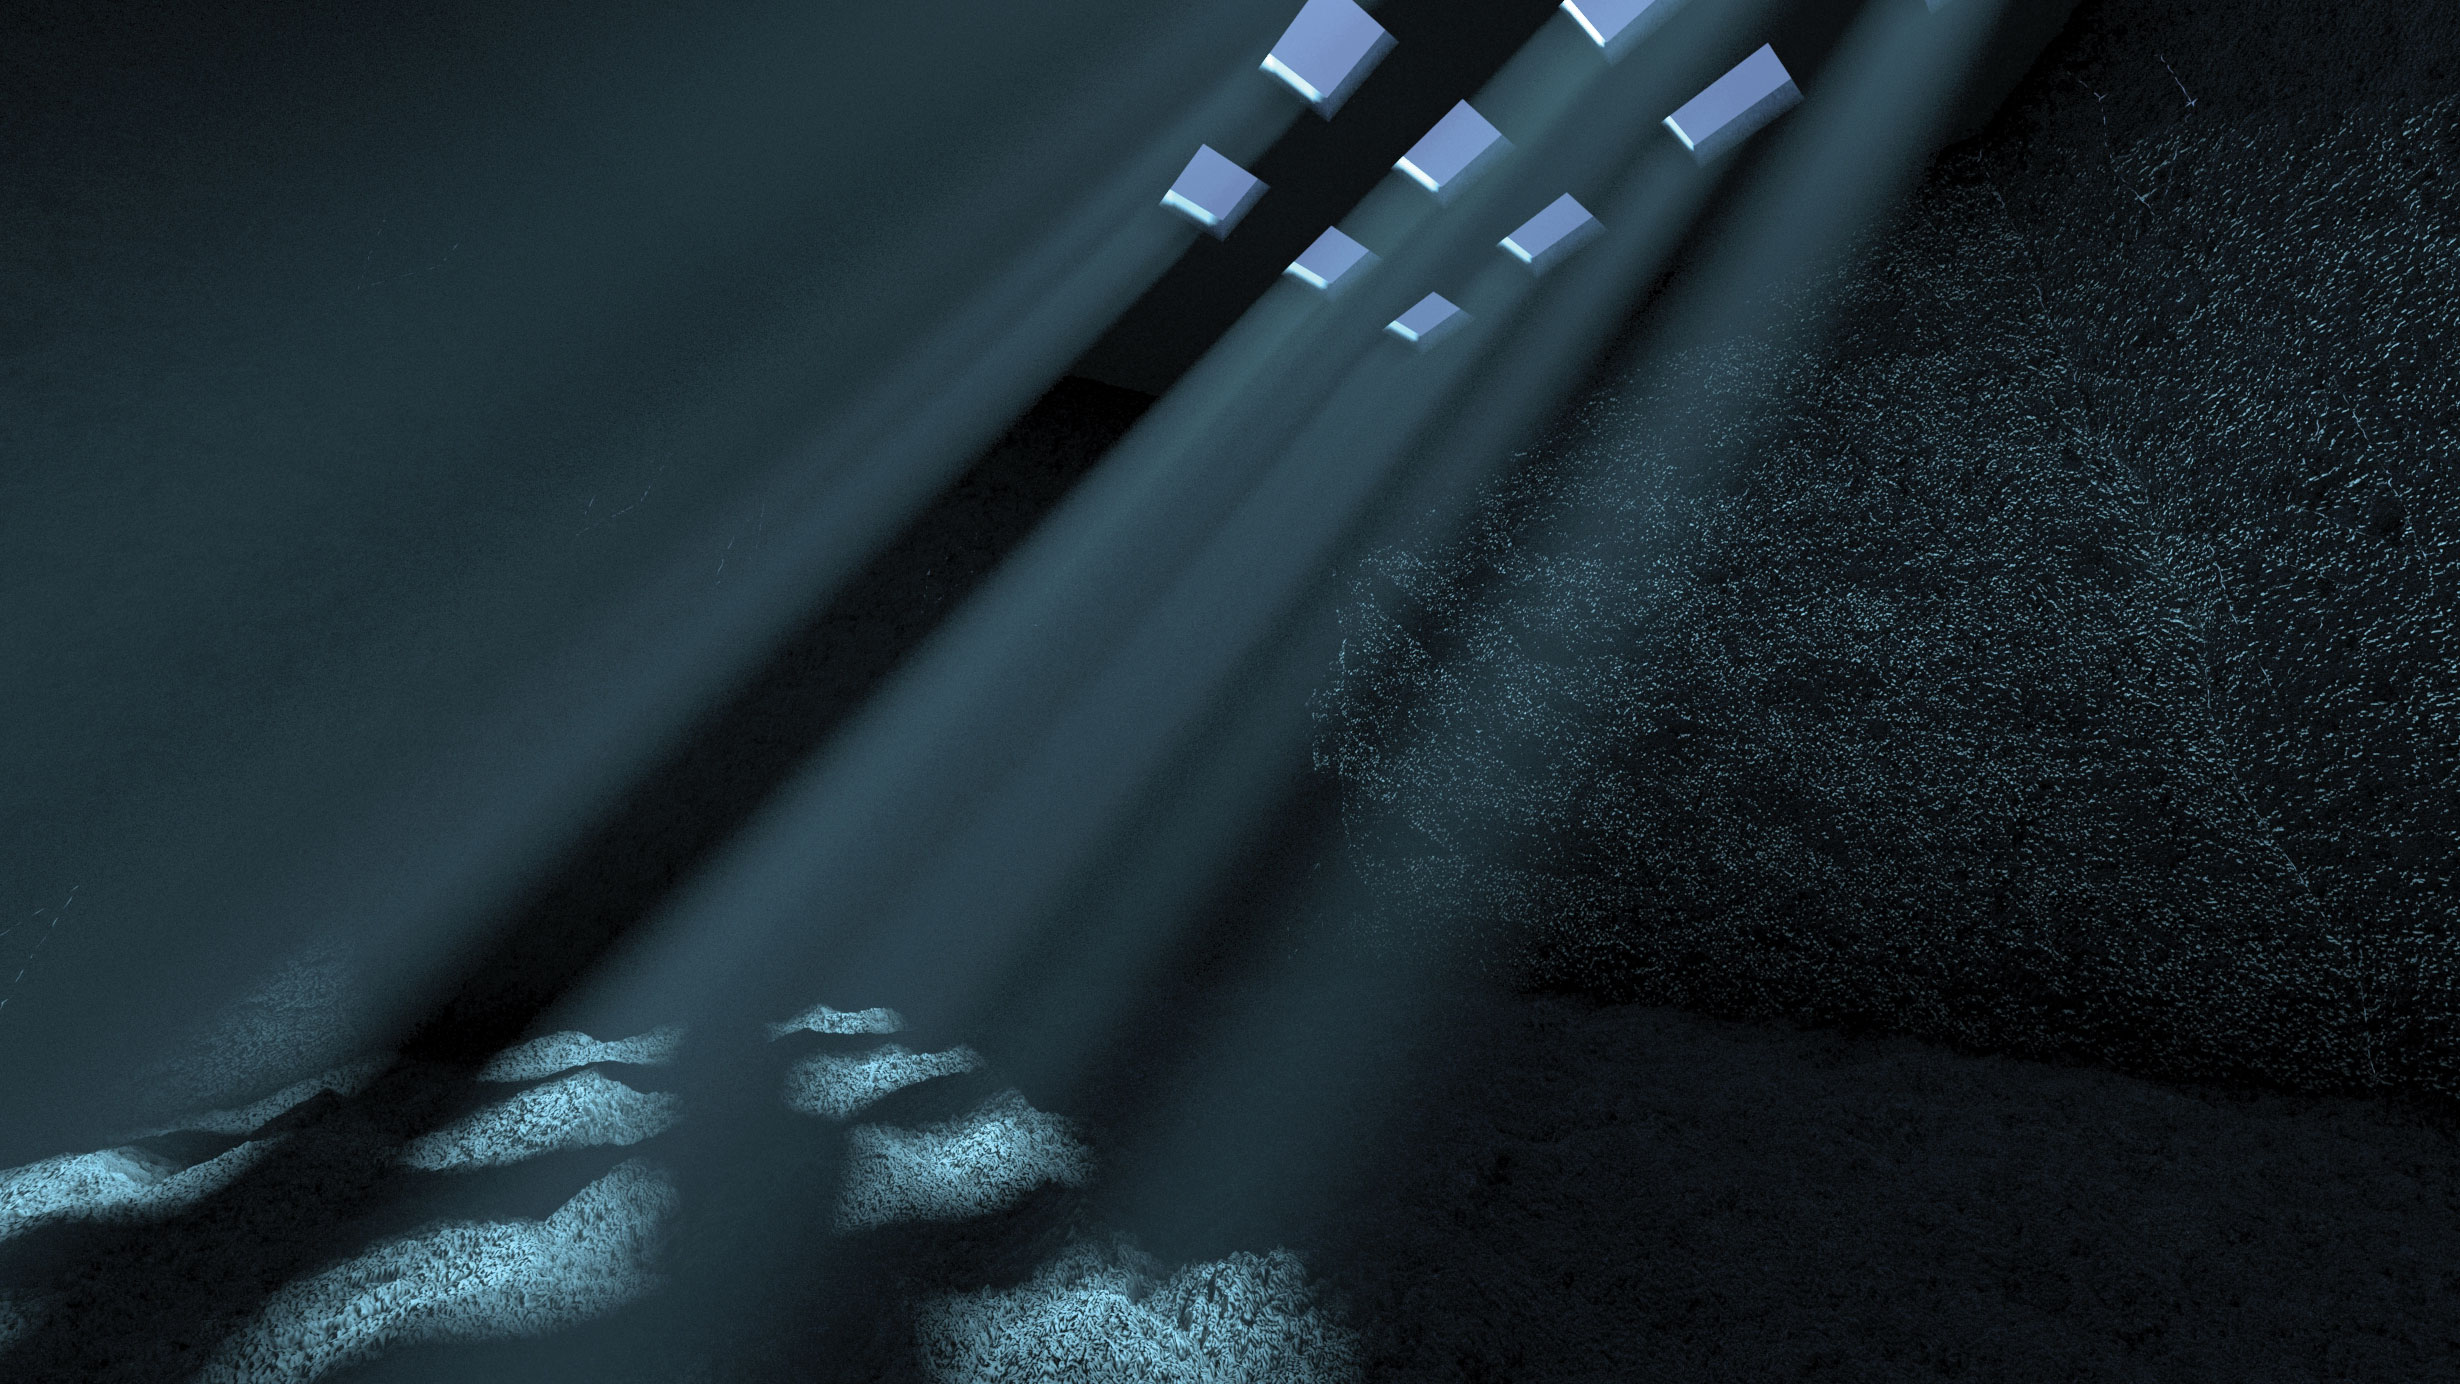
In real-world photography, rays of light are at their most visible when they have a surface to bounce off, such as dust, pollen or a mist. When these sources are unavailable, isolating the light against a dark surface generally works well.
In the virtual computer environment, these same beams or shafts of light can be simulated with an effect known as volumetric lighting, or god rays. This is useful for creating atmosphere and suspense in 3D movies, for example, or to add an extra layer of realism to any CG scene.
God rays might appear when shining through clouds, trees or small cracks in an otherwise dark room. This effect can be achieved by using a Volume Light effect, which is available in the Environment dialog of 3ds Max. Here you can pick a light source for the effect and apply a Density value as well as a Noise and even a Wind Strength value.
How to make God rays in V-Ray
However, this Volume Light effect does not work well when using V-Ray and it only produces results when linked to a ‘standard’ direct light source. If, like me, V-Ray is your render engine of choice, then the best way to produce these God rays is to use the environmental effect VRayEnvironmentFog.
This is able to very quickly and easily produce the desired effects. After attaching a light source from your scene to this effect, the density of your rays will be affected by the light intensity values, and the controls in the Effects dialog box can determine the length, colour and density of the beams and their overall ambient affectation.
As an additional finish to the atmospheric drama you could also add dust particles to your scene using a particle cloud from the Particle Systems dropdown. Alternatively, there is a handy script named GoldenDust available online, which similarly is able to quickly create a particle cloud formed from your own bespoke geometry-based particles, for realistic-looking dust. Or, if you prefer and it is appropriate to your scene, the script also has a nice ready-made dandelion fluff that comes as part of the plugin.
01. Create your light source
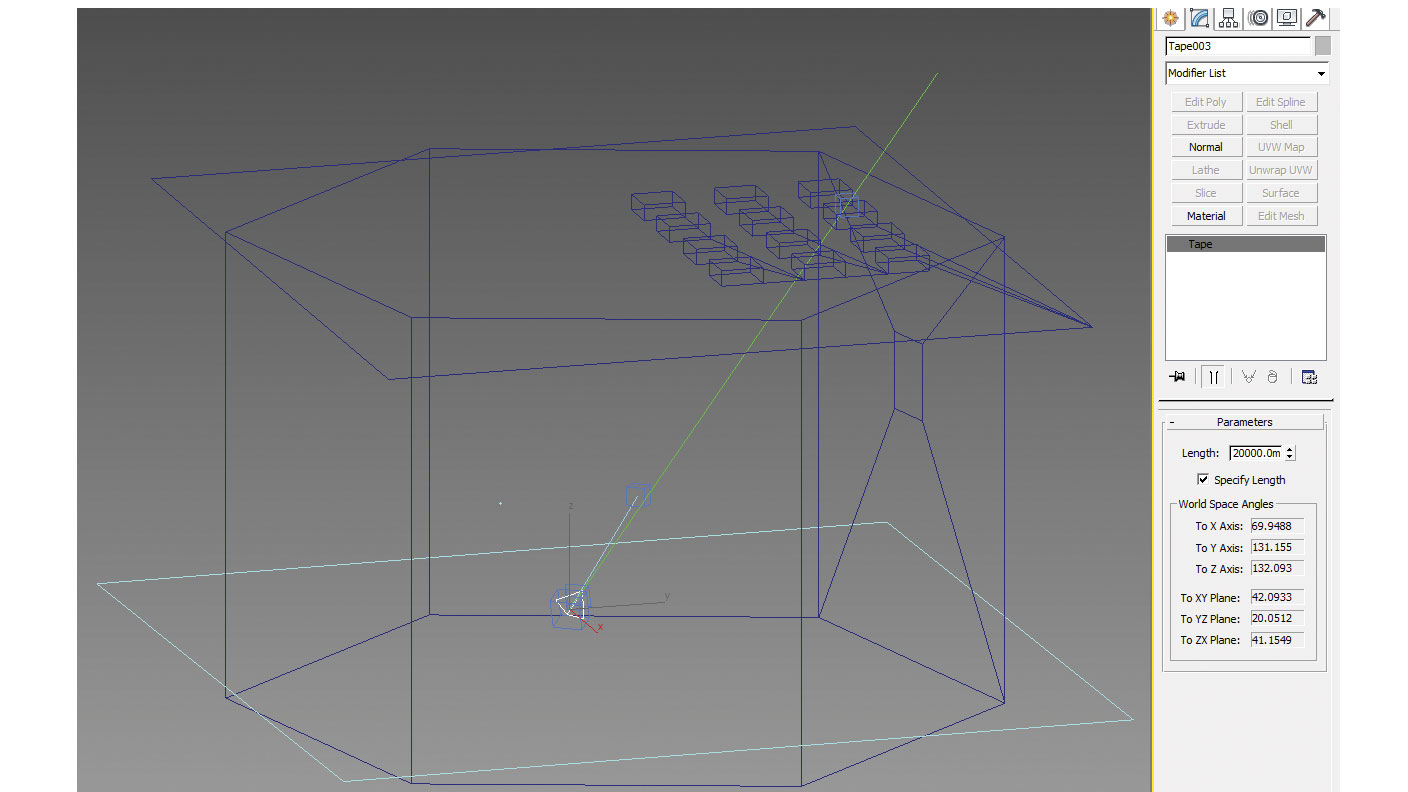
Add a VRaySun to your scene and put in values of between 1 and 3 for the intensity multiplier and 5 for size multiplier. Point your light source in the direction you would like the rays to travel. The size value will change the sharpness of the shadows cast. Big values will soften the edges while smaller values will give sharper edges to any projected light. The light intensity will add density to your rays. Change the filter colour to a bluish tint.
Get the Creative Bloq Newsletter
Daily design news, reviews, how-tos and more, as picked by the editors.
02. Add the camera
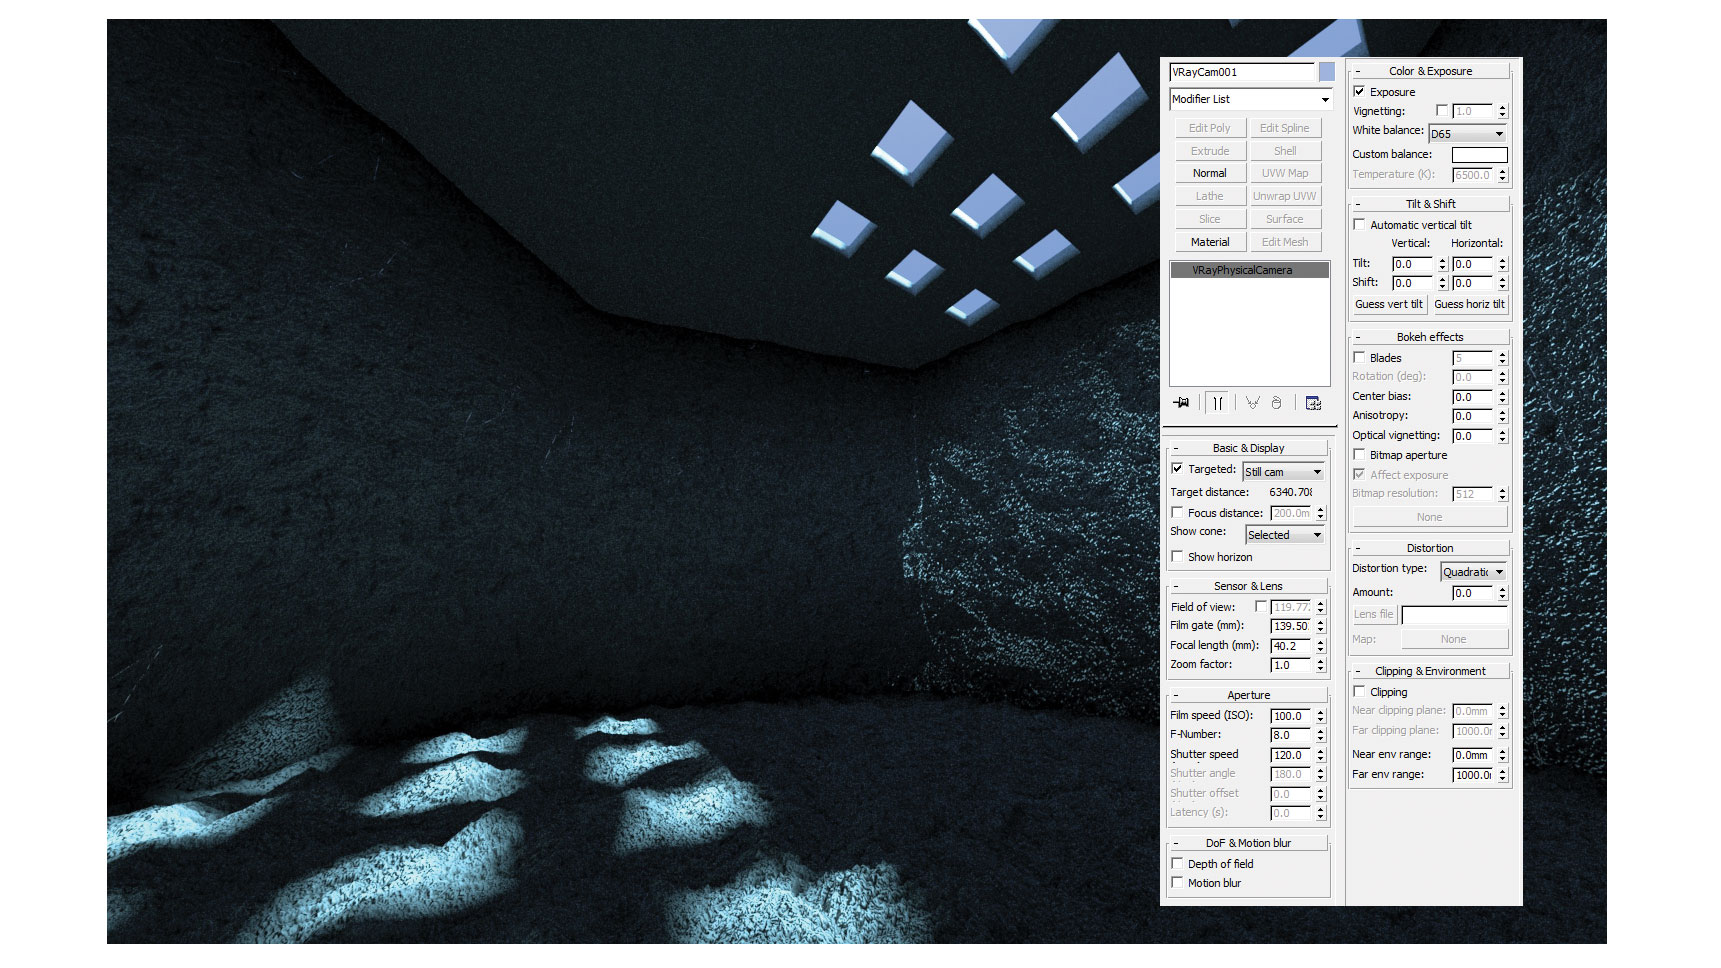
Next you need to put a new V-Ray Physical Camera into your scene. Switch on Exposure and adjust the ISO and Shutter Speed values to suit the dark environment of your scene. Continue to tweak and experiment and try out small test renders until you are satisfied with the level of lighting. The assumption is that your scene is relatively dark in order for the God rays to be visible.
03. Use VrayEnvironmentFog
Under the Rendering tab in the main menu, choose Environment and then in Atmosphere, click Add and choose VRayEnvironmentFog. The distance and height values in this effect are dependent on the scale of your scene and you will need to do a few small test renders to set it up correctly. The fog height value will determine how high above the ground plane the rays will stretch.
04. Set up fog
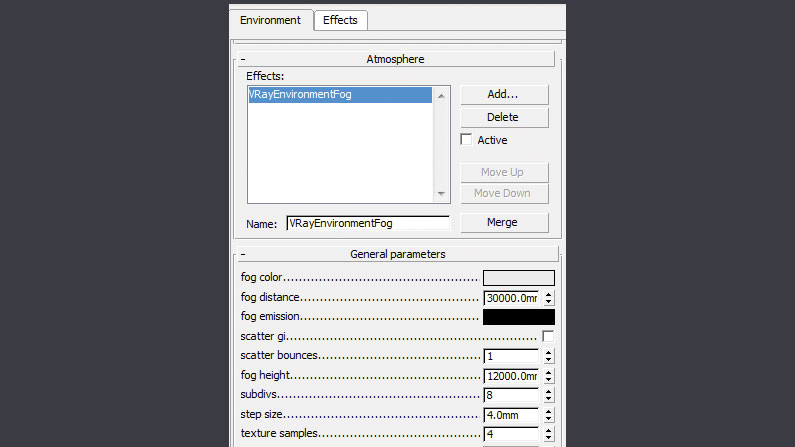
In my example I have set the fog distance to 30 metres and the height to 12 metres. Adjust the fog colour if you want a colour tint to the rays, and the fog emission colour affects the ambient illumination produced by the fog itself. Scroll down to the bottom of the dialog where you can add the light source producing the effect. You can also switch off such things as affect background and affect reflections if required.
05. Contain the rays
If you want to contain your God rays within a smaller area, you can create a gizmo by making a standard primitive shape, such as a box, changing its properties so that it is not renderable, and add the box as a gizmo to the VRayEnvironmentFog nodes box. Give it a falloff value to remove any hard edges.
This article was originally published in issue 241 of 3D World magazine. Buy issue 241 or subscribe here.
Read more:

Thank you for reading 5 articles this month* Join now for unlimited access
Enjoy your first month for just £1 / $1 / €1
*Read 5 free articles per month without a subscription

Join now for unlimited access
Try first month for just £1 / $1 / €1
