How to create braided hair in Blender
A step-by-step guide to creating braided hair using Braidify.
Getting hair right is tricky, and the challenge becomes even greater when that hair needs to be animated. Hair grooming tools in the likes of Houdini have become so advanced that the only limit seems to be an artist’s abilities. Blender contains an improving set of grooming functionality as well, but as the question focuses on braids we’ll take a more specific approach.
To help answer this one I’m indebted to Nino (AKA DefoQ) for Braidify, a free tool developed alongside some incredibly helpful training videos. The first iteration was impressive, great for creating braids and animating them, but was highly processor-intensive. Making changes to the output was, at times, rather slow and sucked some of the life out of the creative process. Nino listened to artist’s feedback and introduced a second, far quicker and more responsive iteration. It integrates well into Blender’s existing tools but isn’t quite as effective at animating braids.
(If you're new to 3D modelling, check out our guide to the best 3D modelling software, and take a look at our collection of Blender tutorials to help boost your 3D modelling and animation skills).
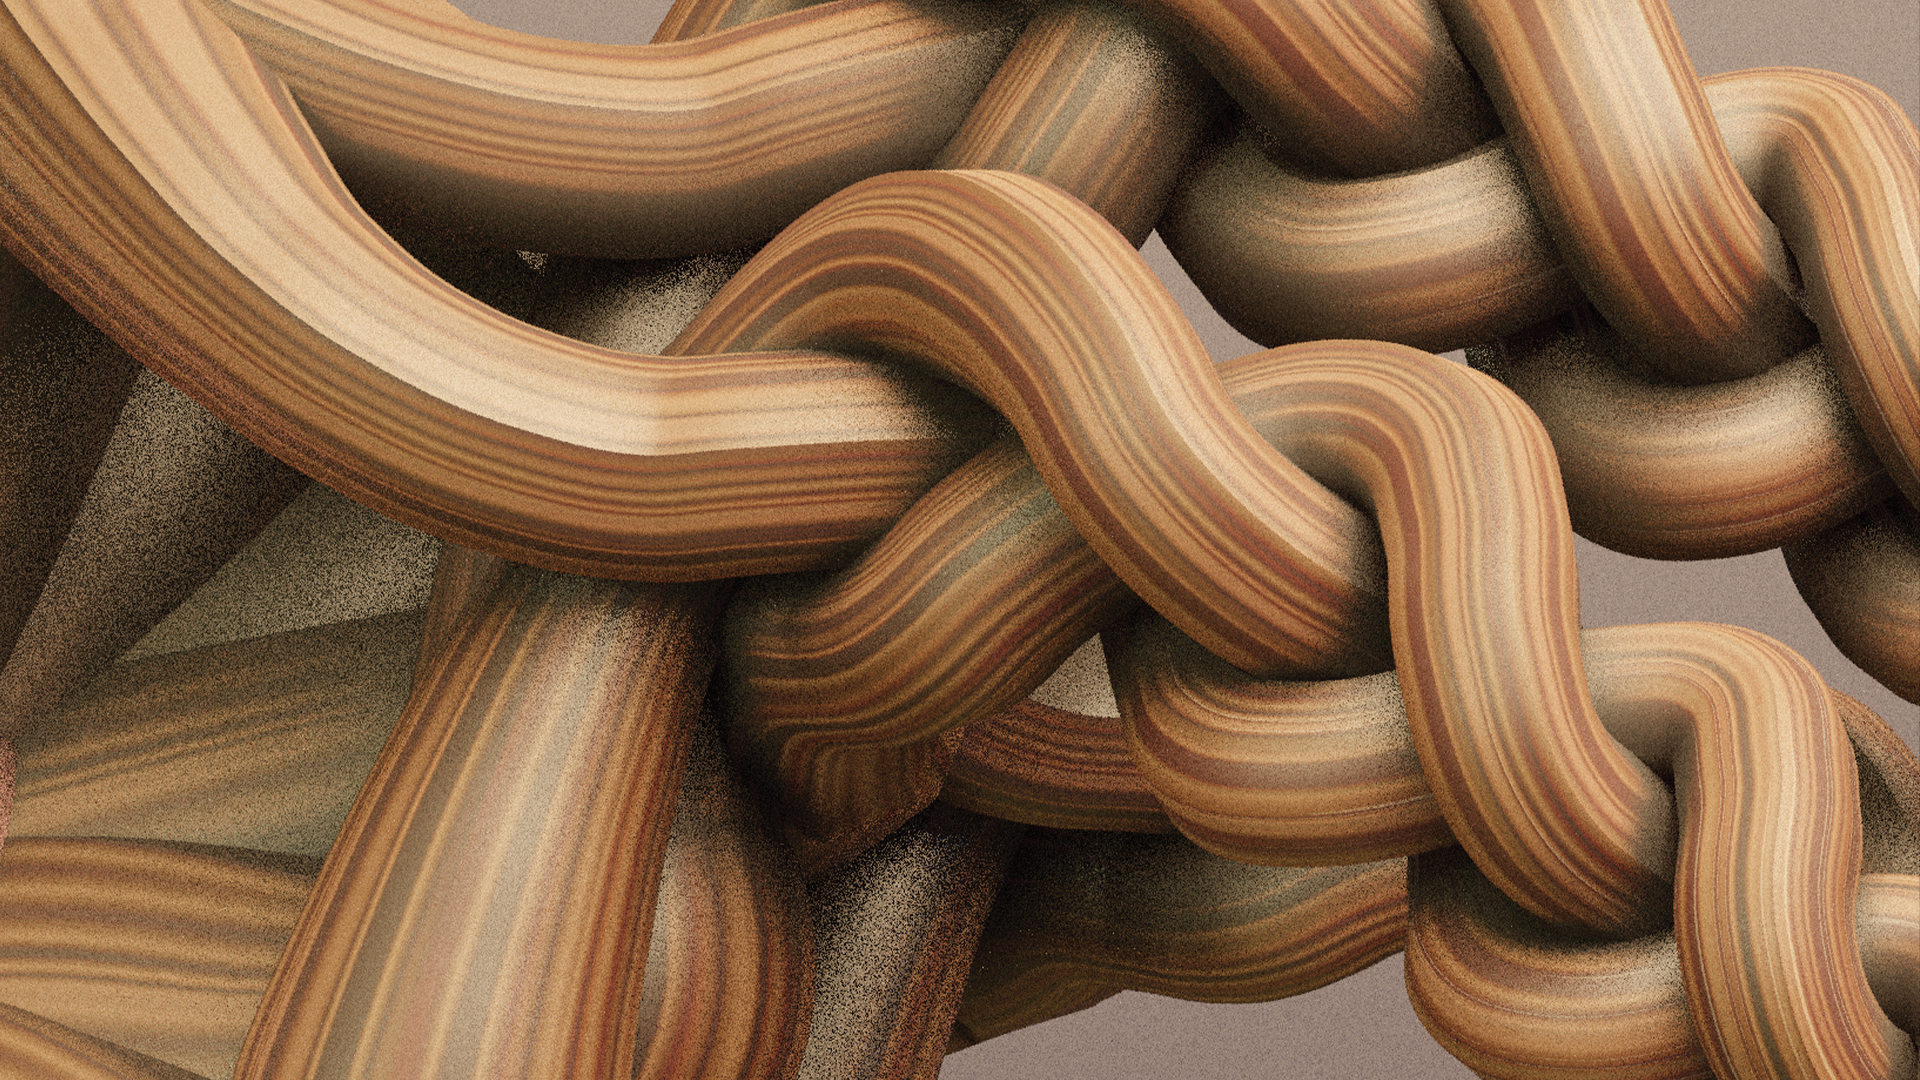
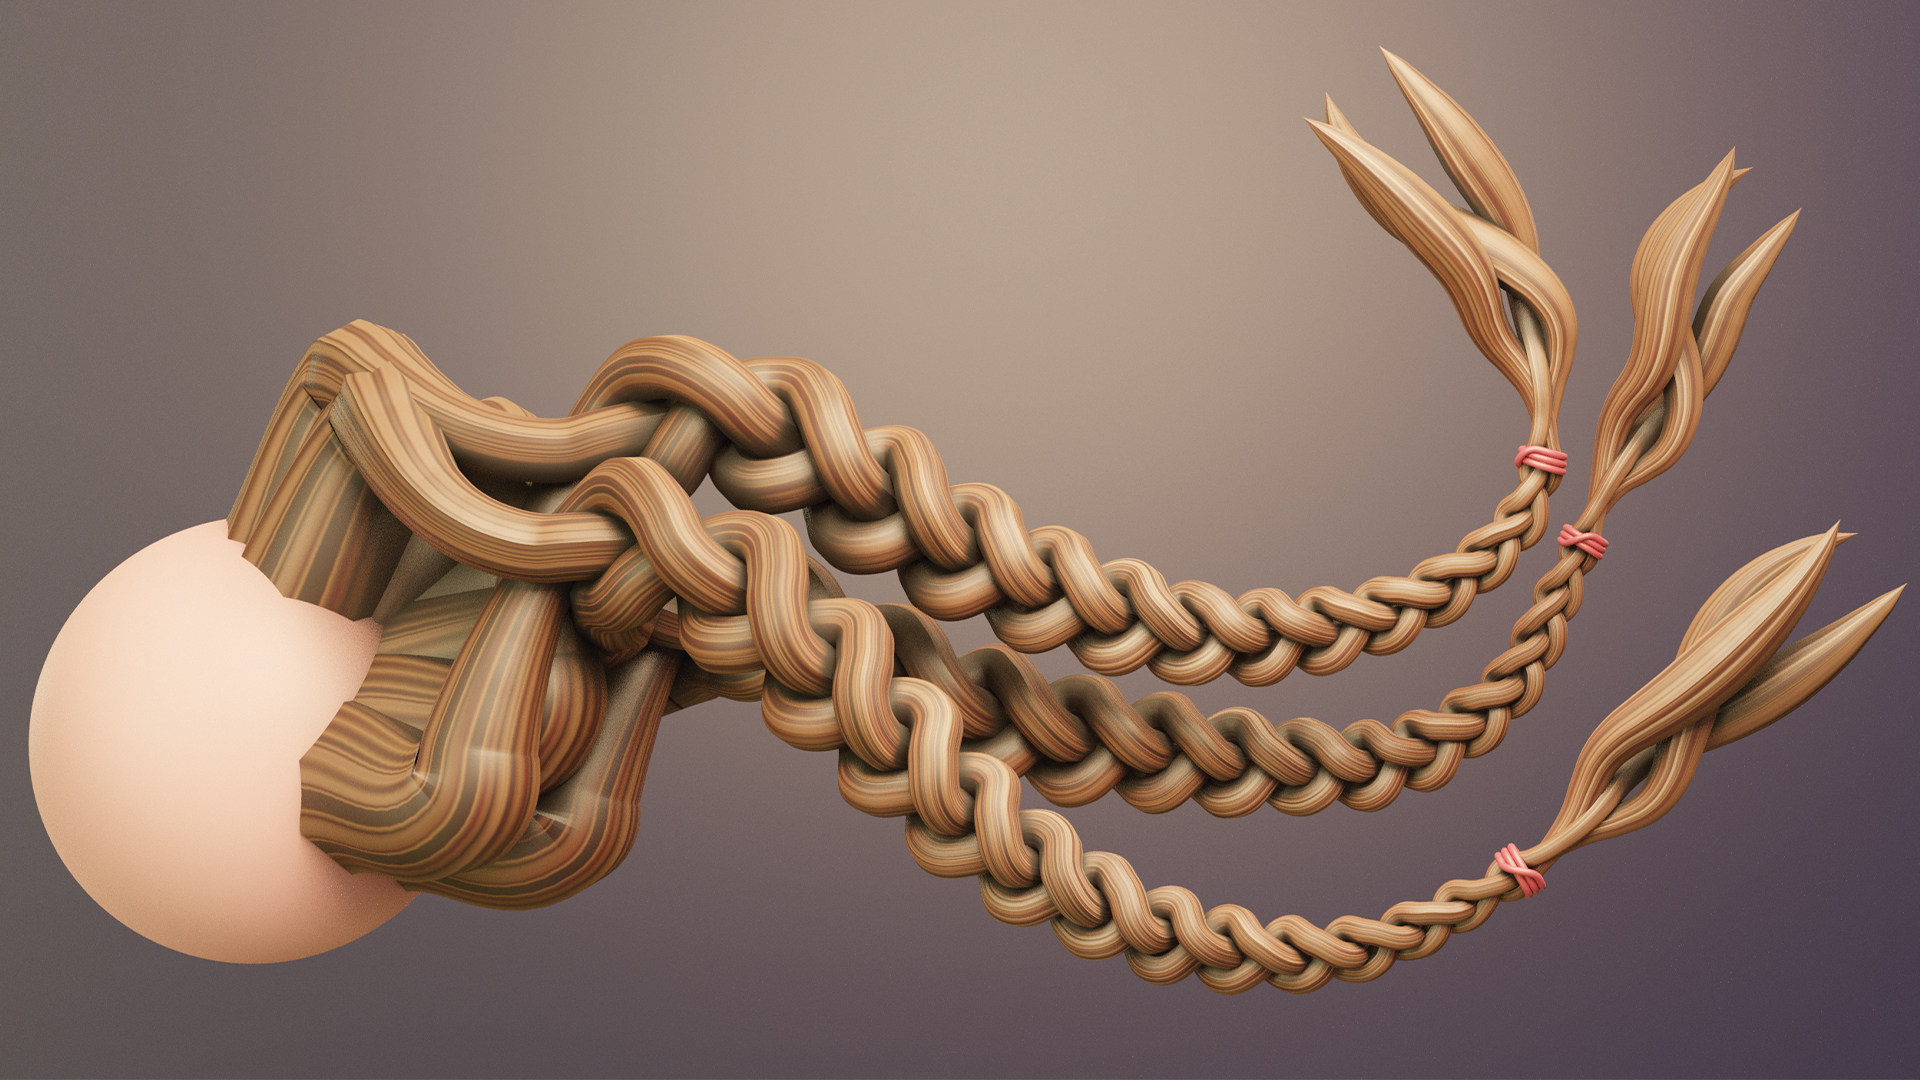
Braids are a complex structure formed by the interlacing of three or more strands of material. We see this most often in hair, but any type of flexible material can be braided, including textiles and wire. Re-creating braids in 3D without the help of a plugin would be tedious and cumbersome, with each strand needing to be created individually before interlacing them. This leaves the potential for clashing high, with an additional challenge around making any changes to the braid paths.
The tool we use here takes all the hard work out of creating braids by requiring a single curve that is then used to drive the braid. This curve can be edited in Sculpt mode using any of Blender’s brushes. Our answer can only cover the basics of getting you set up and pointing you in the direction of a few helpful workflows. To get to grips with this tool, just play around with it. All the parameters are in one place, and as the braids update interactively you’ll be able to see exactly how your creations respond to different settings.
Braidify is simple and straightforward, but don’t be fooled into thinking it lacks functionality and capability. The braids you can generate are realistic, predictable and suitable for production-quality work.
01. Get set up with Braidify
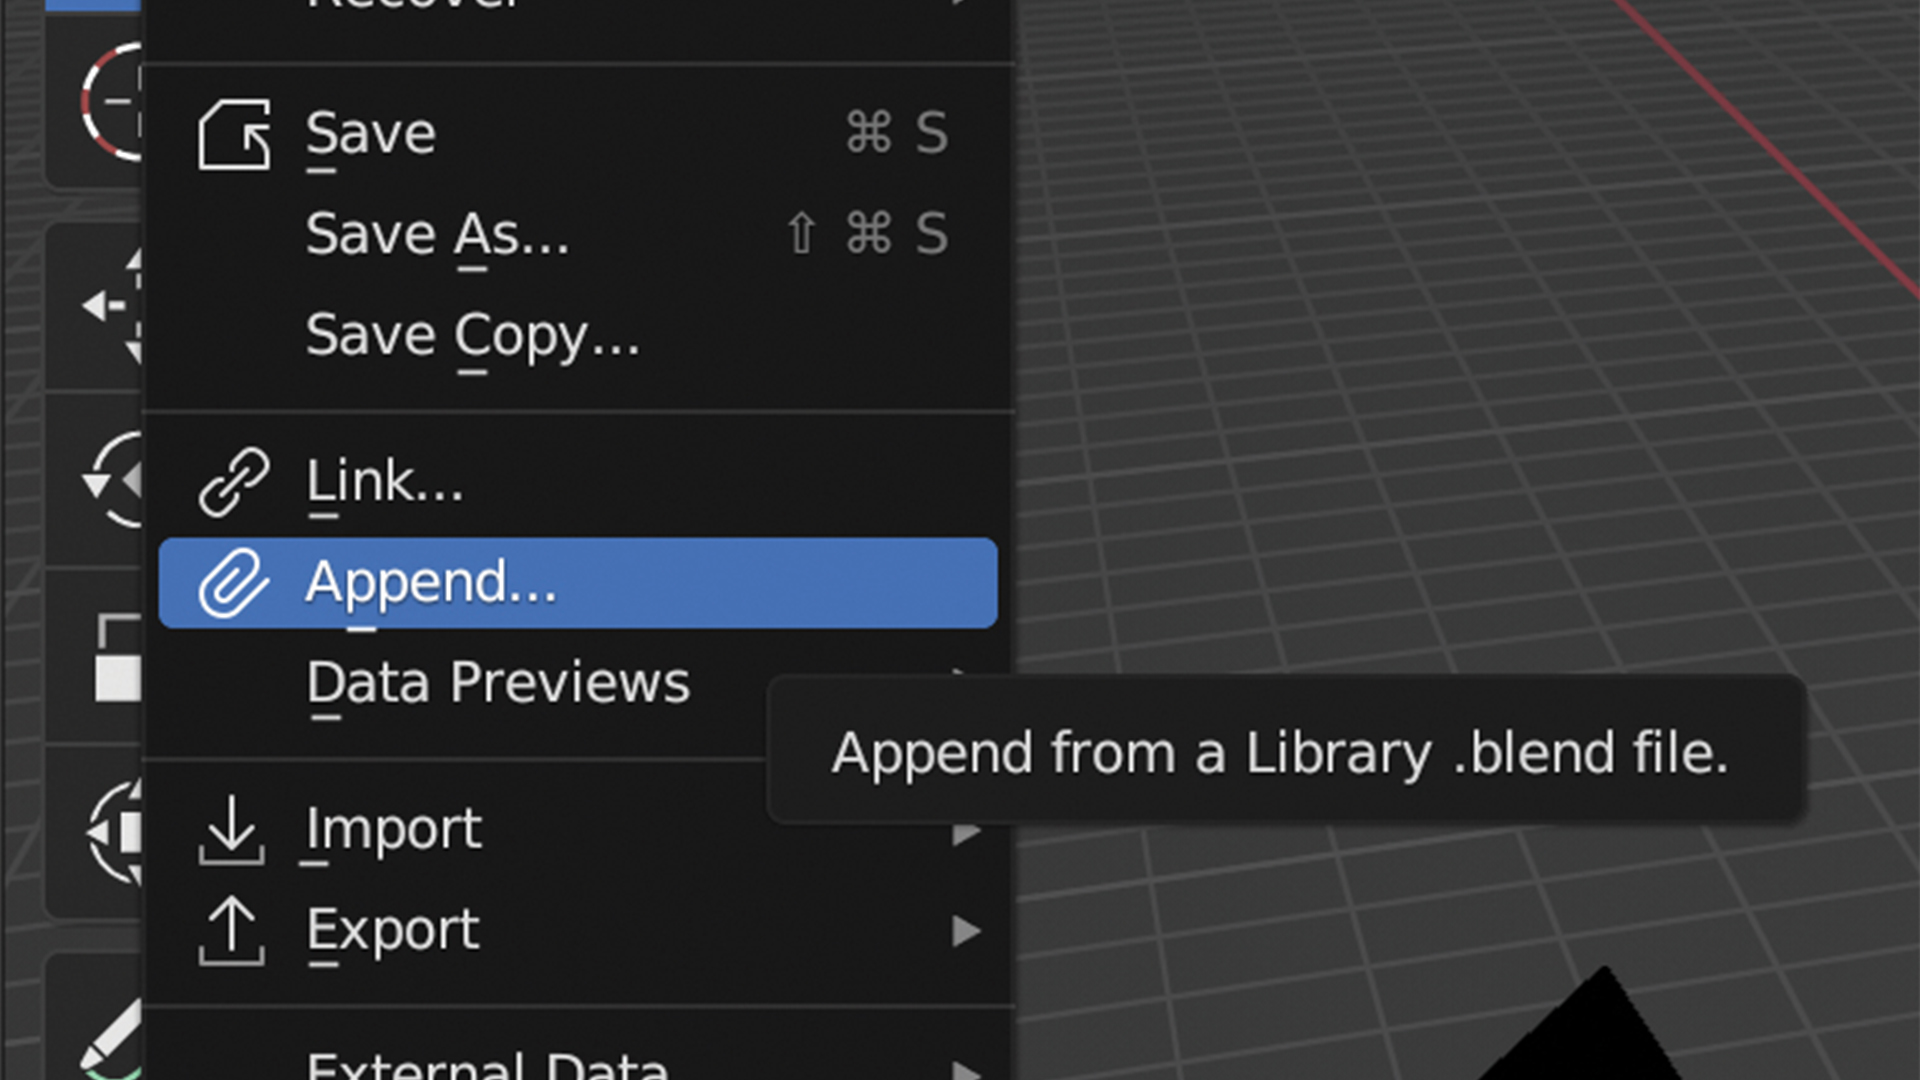
Download Braidify from Nino DefoQ’s website. At the time of writing, there are two versions available; for the sake of simplicity, you’ll want the performance-updated one. With your scene open and your attachment object selected, which is probably going to be your character’s scalp, go to File and Append, then select your Blender file and navigate into the NodeTree folder before selecting Braidify. With that done, you’ve now successfully appended the tools that you’ll need to get going.
02. Create your curves
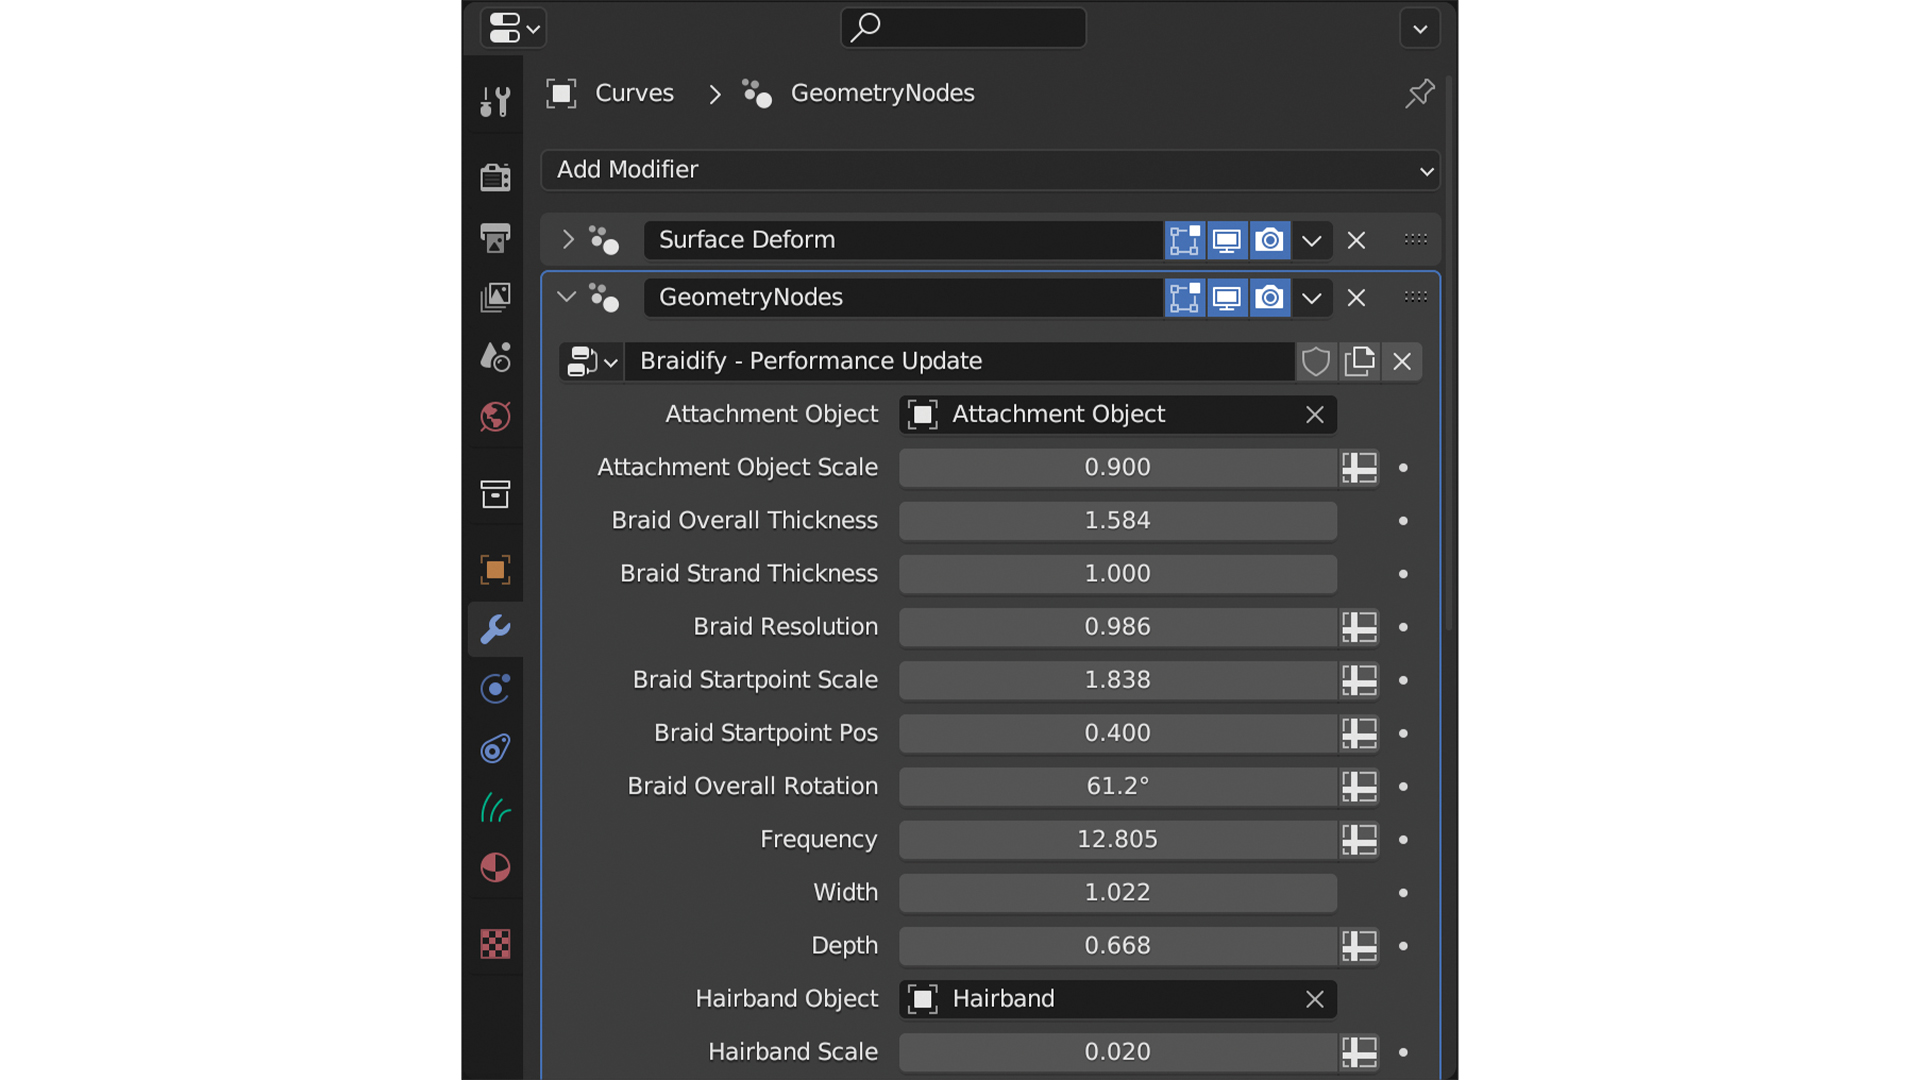
Select your attachment object and create a new curve of the type Empty Hair. In Sculpt mode, create a new curve and sculpt it into the shape that you want the braid to take. Now switch back to Object mode, go to Properties, and create a new Geometry Nodes modifier. Change the type to Braidify and a braid should appear in the location of the curve that you created. Move back into Sculpt mode once again to adjust the shape of your curve.
03. Customise your braid
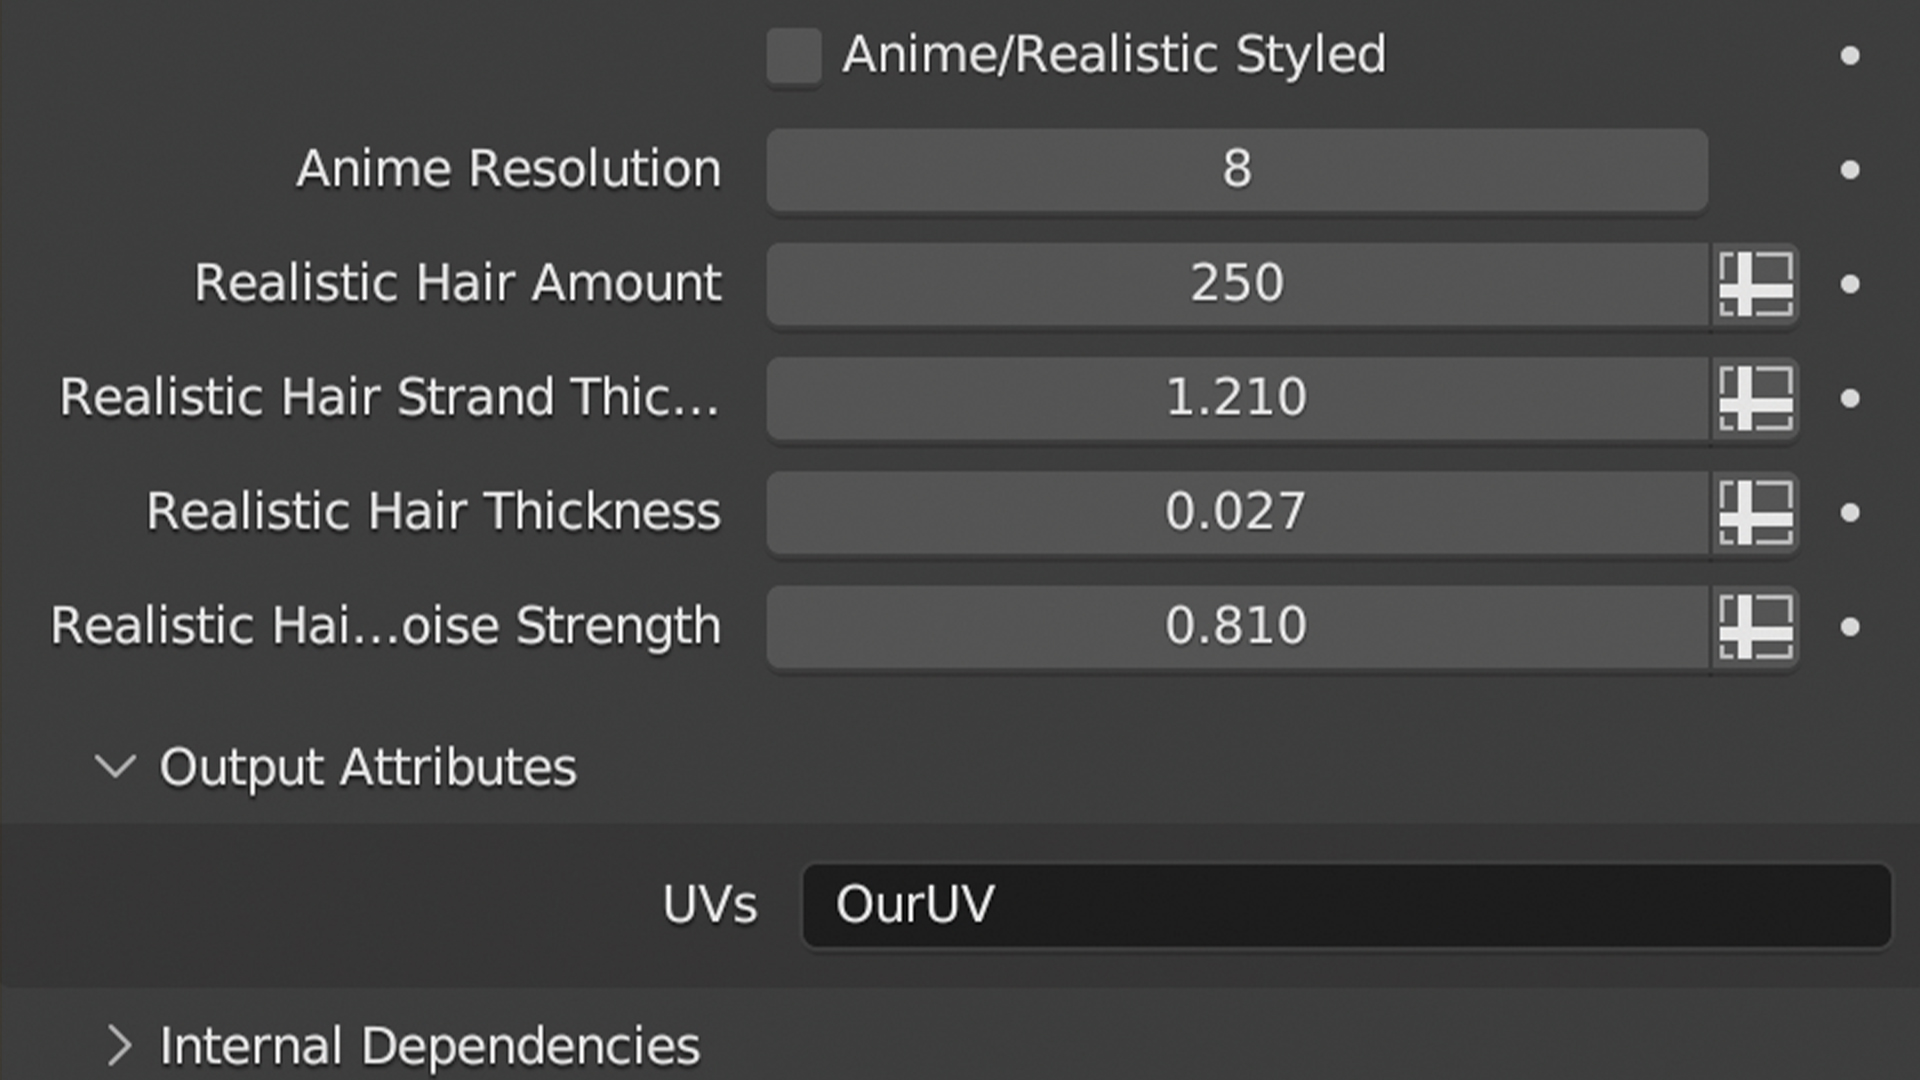
Before proceeding, in Output Attributes type “OurUV” to make sure that the correct UVs are being pulled through. Then, the cool thing is that this tool lets you generate either realistic or anime-style braids. In the Geometry Nodes modifier Properties, you’ll find a checkbox that allows you to switch between the two different states. With the realistic version selected, you can amend the realistic hair properties. You can increase the Realistic Hair Amount to create a thicker style of hair, and change the thickness of each hair too.
04. Explore further customisation
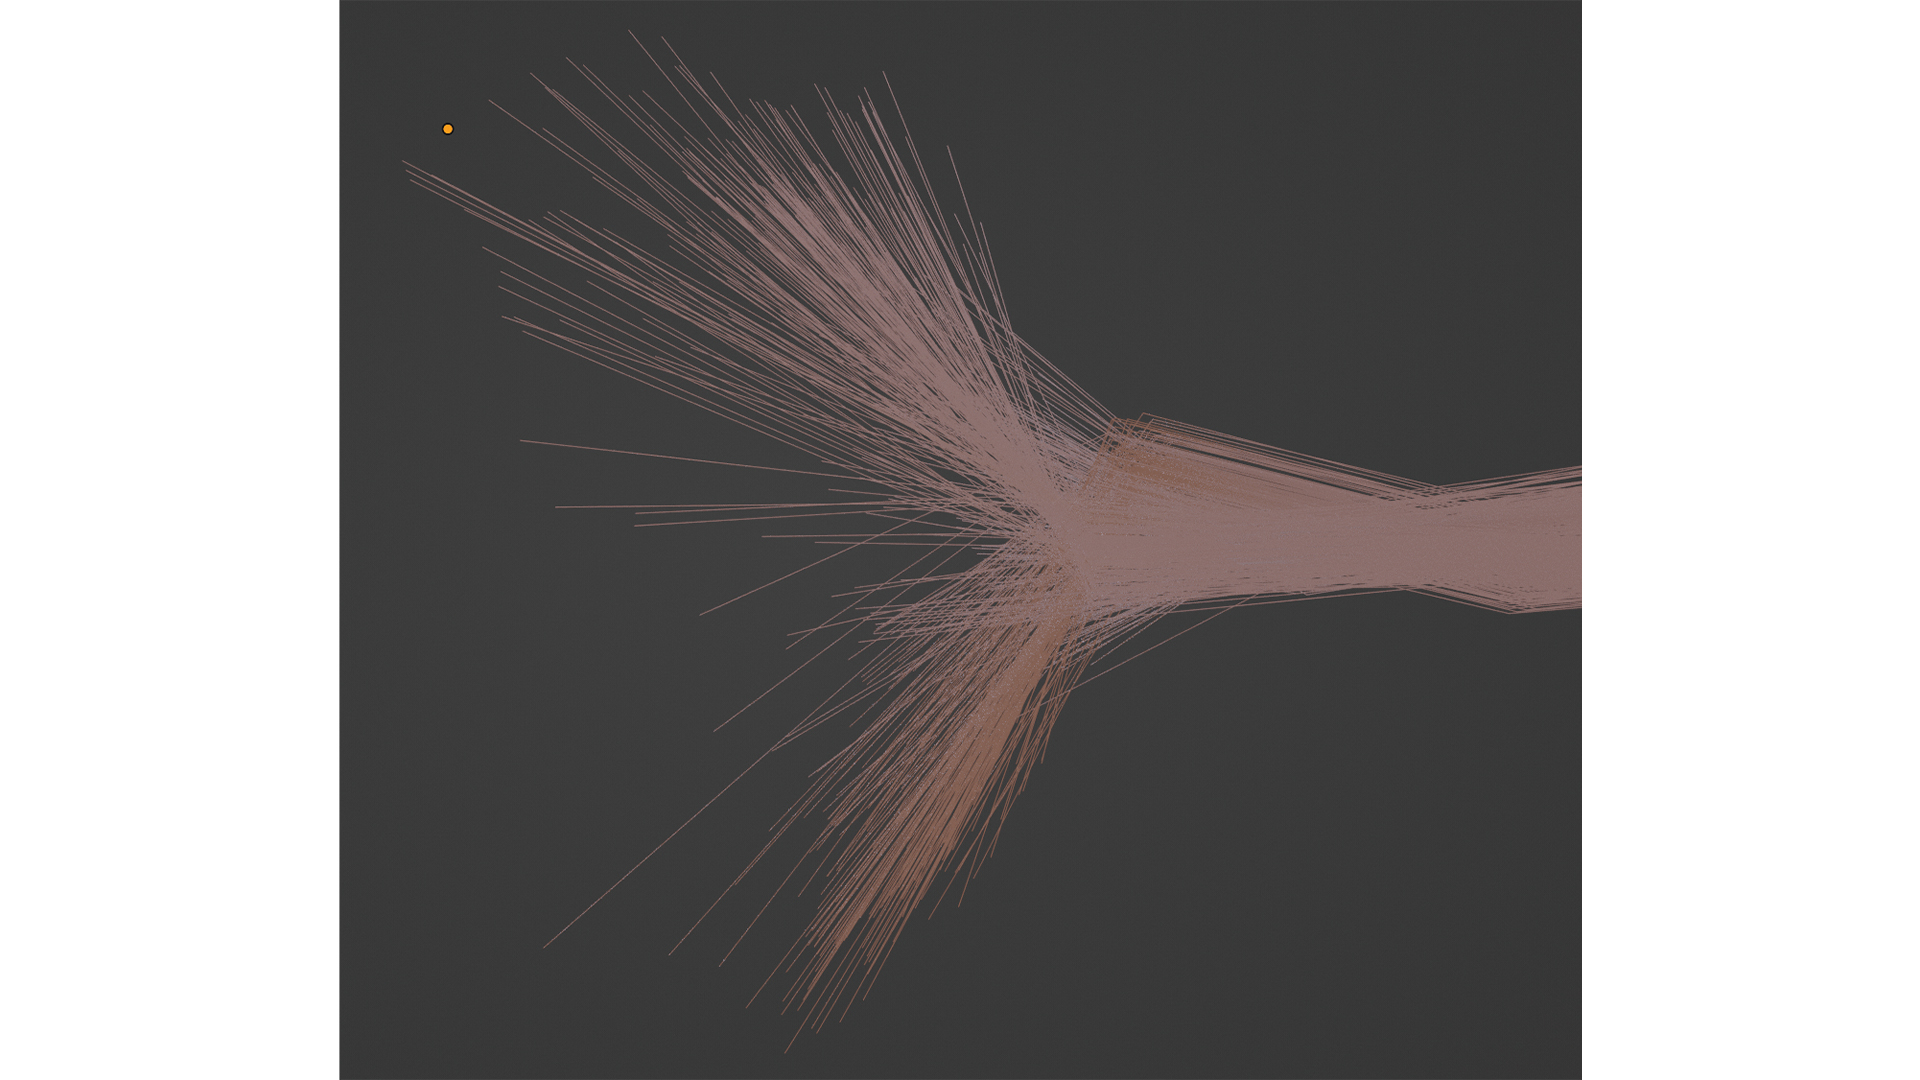
One thing you’ll want to tweak is where the hair comes out of your attachment object. In a real braid this area is particularly complex because hair is originating from a broad area and the distribution is incredibly random. This tool gives you a Hair Starting Noise strength parameter that lets you make this either more or less chaotic. Don’t forget that more strands can be added at any time by going into Sculpt mode and adding additional curves.
This article was originally published in 3D World. Subscribe to the magazine at Magazines Direct.
Get the Creative Bloq Newsletter
Daily design news, reviews, how-tos and more, as picked by the editors.

Thank you for reading 5 articles this month* Join now for unlimited access
Enjoy your first month for just £1 / $1 / €1
*Read 5 free articles per month without a subscription

Join now for unlimited access
Try first month for just £1 / $1 / €1

Paul is a digital expert. In the 20 years since he graduated with a first-class honours degree in Computer Science, Paul has been actively involved in a variety of different tech and creative industries that make him the go-to guy for reviews, opinion pieces, and featured articles. With a particular love of all things visual, including photography, videography, and 3D visualisation Paul is never far from a camera or other piece of tech that gets his creative juices going. You'll also find his writing in other places, including Creative Bloq, Digital Camera World, and 3D World Magazine.
