Create a splash effect in RealFlow
Discover how to harness the Crown Daemon to build a realistic liquid splash.
In this article, I’m going to demonstrate how to build an ocean scene; one where the sea has been struck by something large, like a meteor or a comet in an action-packed 3d movie.
To make the tutorial easier to follow I’ve used simple geometry, but the same process would work for more complex objects – the only difference would be the number of daemons and the time taken to simulate.
Here we will work with RealFlow’s versatile Crown Daemon, which enables you to create, customise, and fine-tune your crown splashes.
01. Set up your file
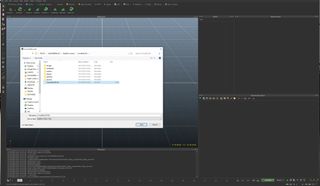
Everybody has their own way of storing files, but saving regularly and taking control of your files is vital. You can let RealFlow specify paths for your project, but I suggest choosing a location yourself. I use a second drive, which I back up regularly. Double check that Export Central also points to the same place.
02. Create a plan of attack
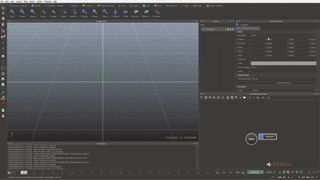
Before you start, work out what your pipeline will be; this will save you time later on. For this project I’m going to work in layers. The ocean will be one layer, along with the meteor hitting the surface. There will a large amount of spray, which will form another layer, and the crown splash will be the third layer. This means I’ll import three animated meshes into Cinema 4D later on in order to work on materials and lighting.
03. Add the sea
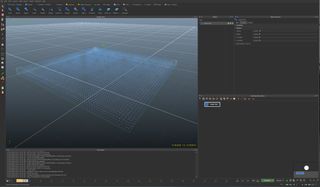
From this point, we will mostly deal with the big splash section, and to do this we will add a square Standard Particle emitter. I make mine 5x5 and, rather than emitting particles that will need controlling, I use Volume.
You can simply set a Volume in the Emitter tab. The figure you set is the depth of the fluid and for this example a low value is fine; I used 0.3.
Get the Creative Bloq Newsletter
Daily design news, reviews, how-tos and more, as picked by the editors.
04. Create some natural variation
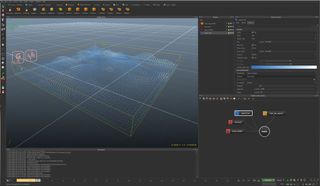
Before we start on the more sculptural crown splash, the water needs to look realistic. For this, I first add a Gravity Daemon with the default settings, then a Noise Daemon, which will add a little natural chaos to the water, providing some organic-looking variation.
To stop the water falling, add an open-topped cube and resize it to contain the fluid particles.
05. Include a reference object
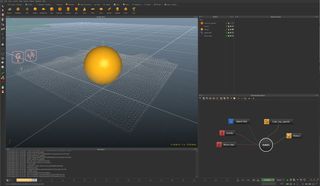
The spray and swell will all be taken care of in a separate pass and simulation, but it’s still useful to reference impact. You can either use the base model from your main 3D app or a piece of simple geometry. It won’t be part of the simulation, so all you need to do is place it in the centre of your emitter and lower it.
06. Add a Crown Daemon
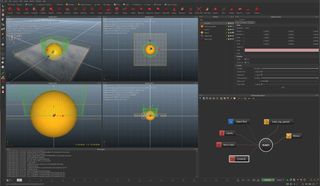
Next, add a Crown Daemon and make sure the bottom of it intersects with the water, preferably sitting quite low down. This enables it to suck the particles into shape more easily.
At this point, hit 'Simulate' to see the effect you've created (select the Emitter to better see what’s happening). You’ll probably find it’s neither realistic nor attractive, and it probably looks like small-scale viscous fluid, so there’s still a lot to do.
07. Work on splash volume
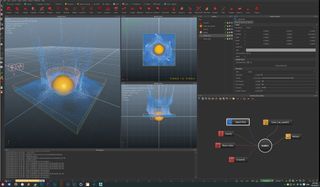
The next thing to do is to get the volume of the water looking better, instead of using the default paper-thin sheet of particles wrapping round the crown. This is typically scene-scale dependent, but for my example of a 5x1x5 sized Emitter, a crown width (in the Daemon tab of the node) of 0.2 is about right, although I may increase this when I up the particle resolution.
Next page: read on for steps 8 to 14...

Thank you for reading 5 articles this month* Join now for unlimited access
Enjoy your first month for just £1 / $1 / €1
*Read 5 free articles per month without a subscription

Join now for unlimited access
Try first month for just £1 / $1 / €1
Rob Redman is the editor of ImagineFX magazines and former editor of 3D World magazine. Rob has a background in animation, visual effects, and photography.
