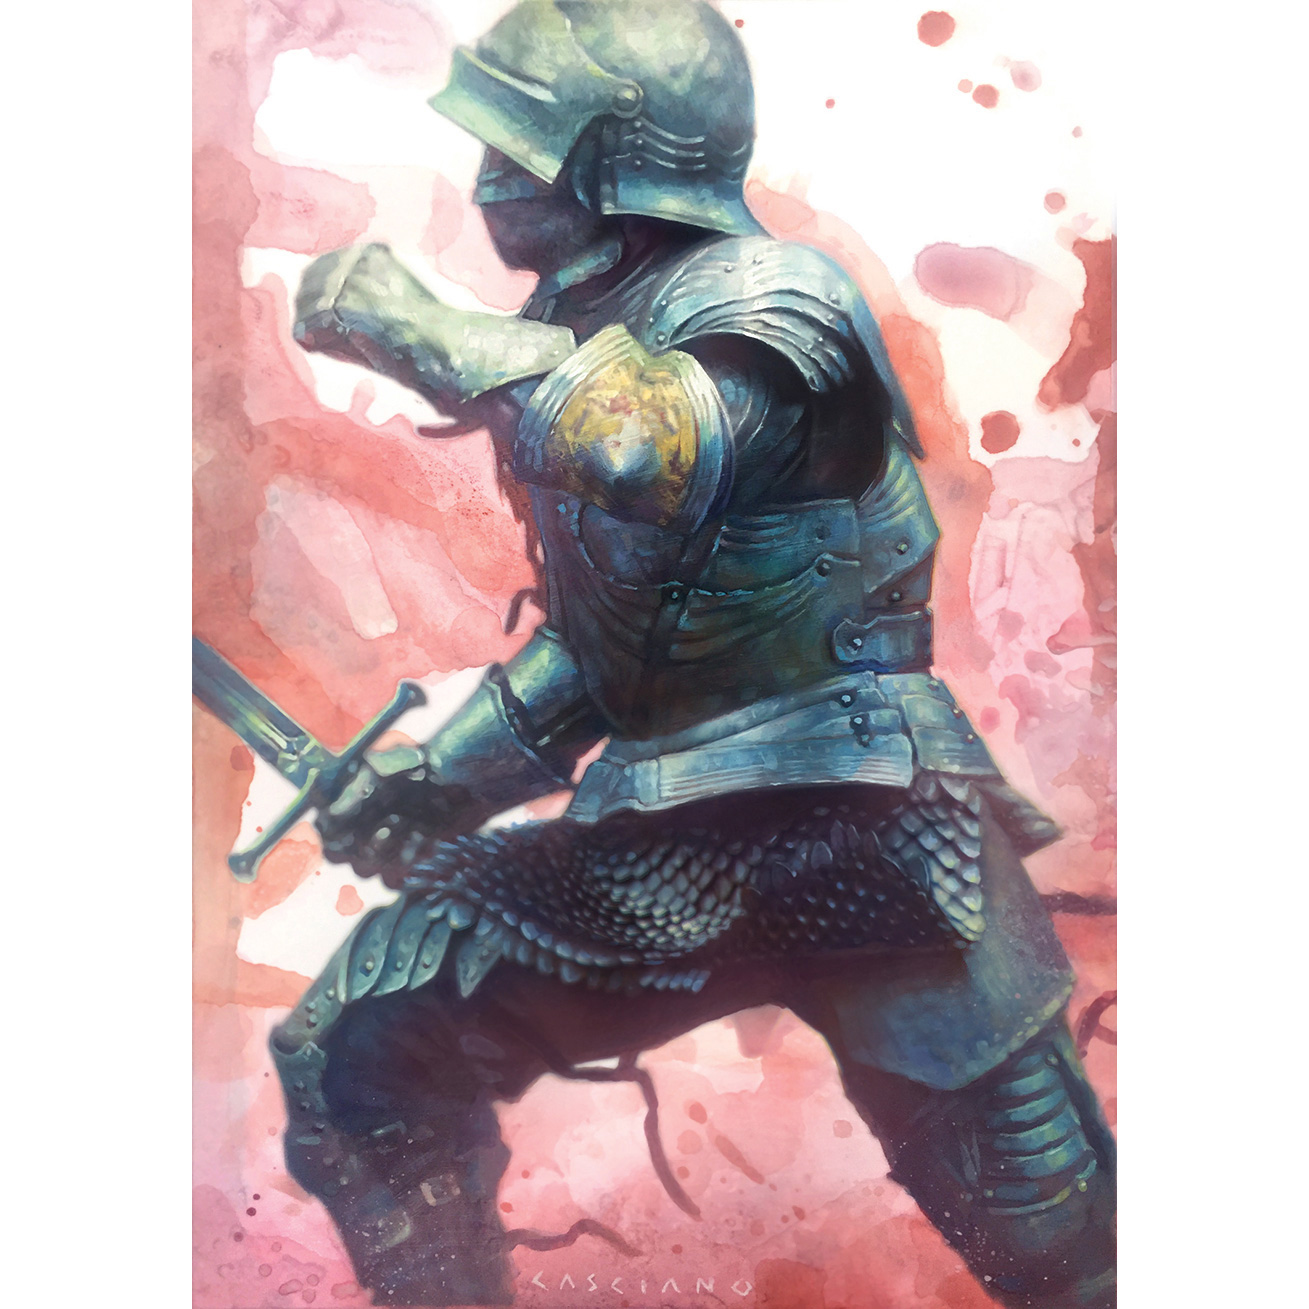
Create a realistic fantasy knight
Combine digital and traditional painting techniques to paint a realistic knight with an abstract approach.
Sign up to Creative Bloq's daily newsletter, which brings you the latest news and inspiration from the worlds of art, design and technology.
You are now subscribed
Your newsletter sign-up was successful
Want to add more newsletters?
In this workshop, we'll show you how to paint a knight using Photoshop, as well as painting with traditional media.
Painting digitally of course makes it easier to make changes, fix mistakes and paint faster in order to meet those pesky deadlines. However, with a purely digital artwork you don’t have a finished painting to hold onto. So why not combine both, using Photoshop to digitally plan out your composition, values and colour, then moving onto traditional painting with acrylic and watercolours?
Let me show you how I do it.
01. Obtain a photo reference
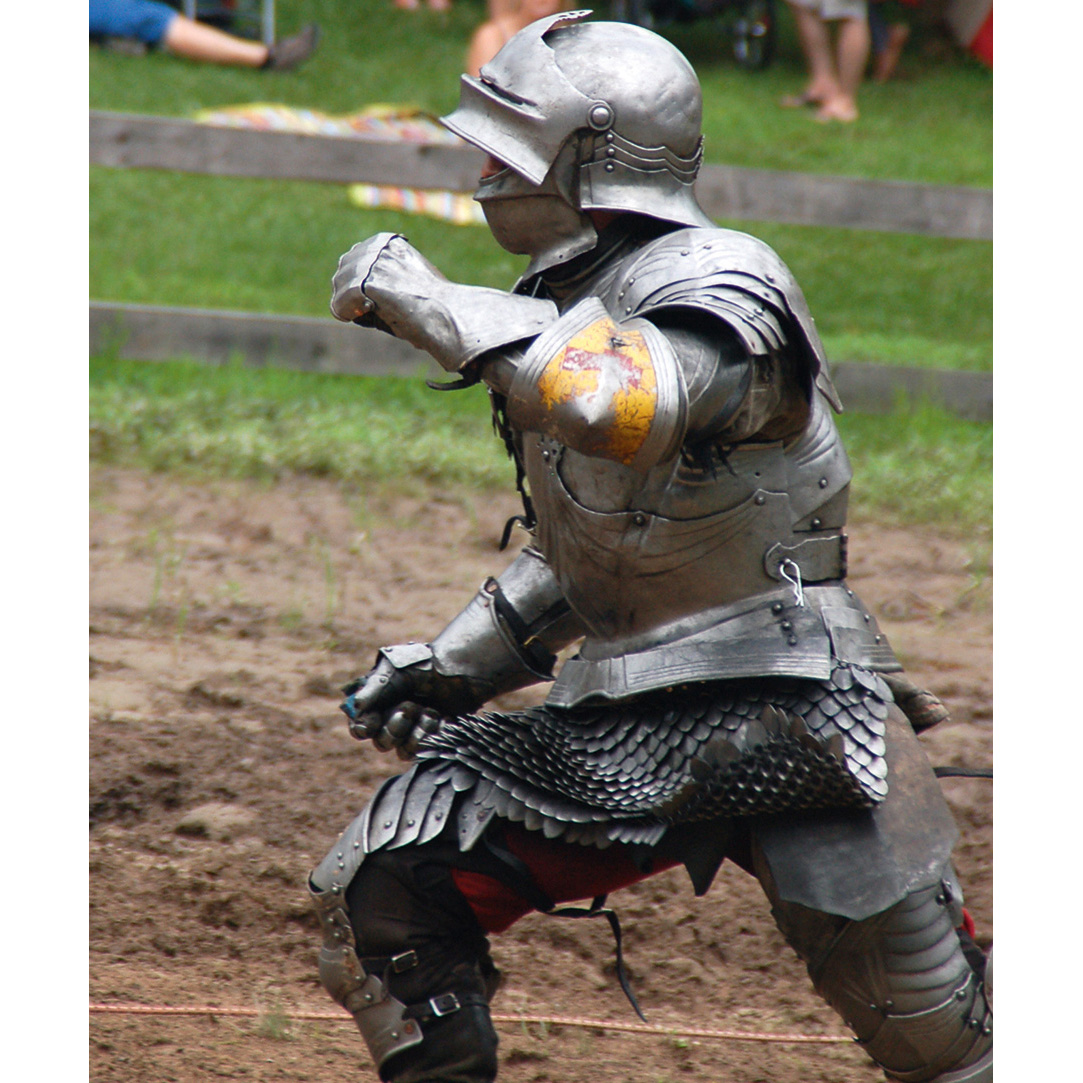
I’ve been going to local Renaissance festivals every summer for my entire life. Each time I go, I take hundreds of photographs to use as reference for my artwork. I don’t go into it thinking, “I need this exact pose from this knight for my next illustration”. I just make sure I take pictures of everything. I photograph the buildings, the costumes, and of course the armoured joust.
02. Plan the composition in Photoshop
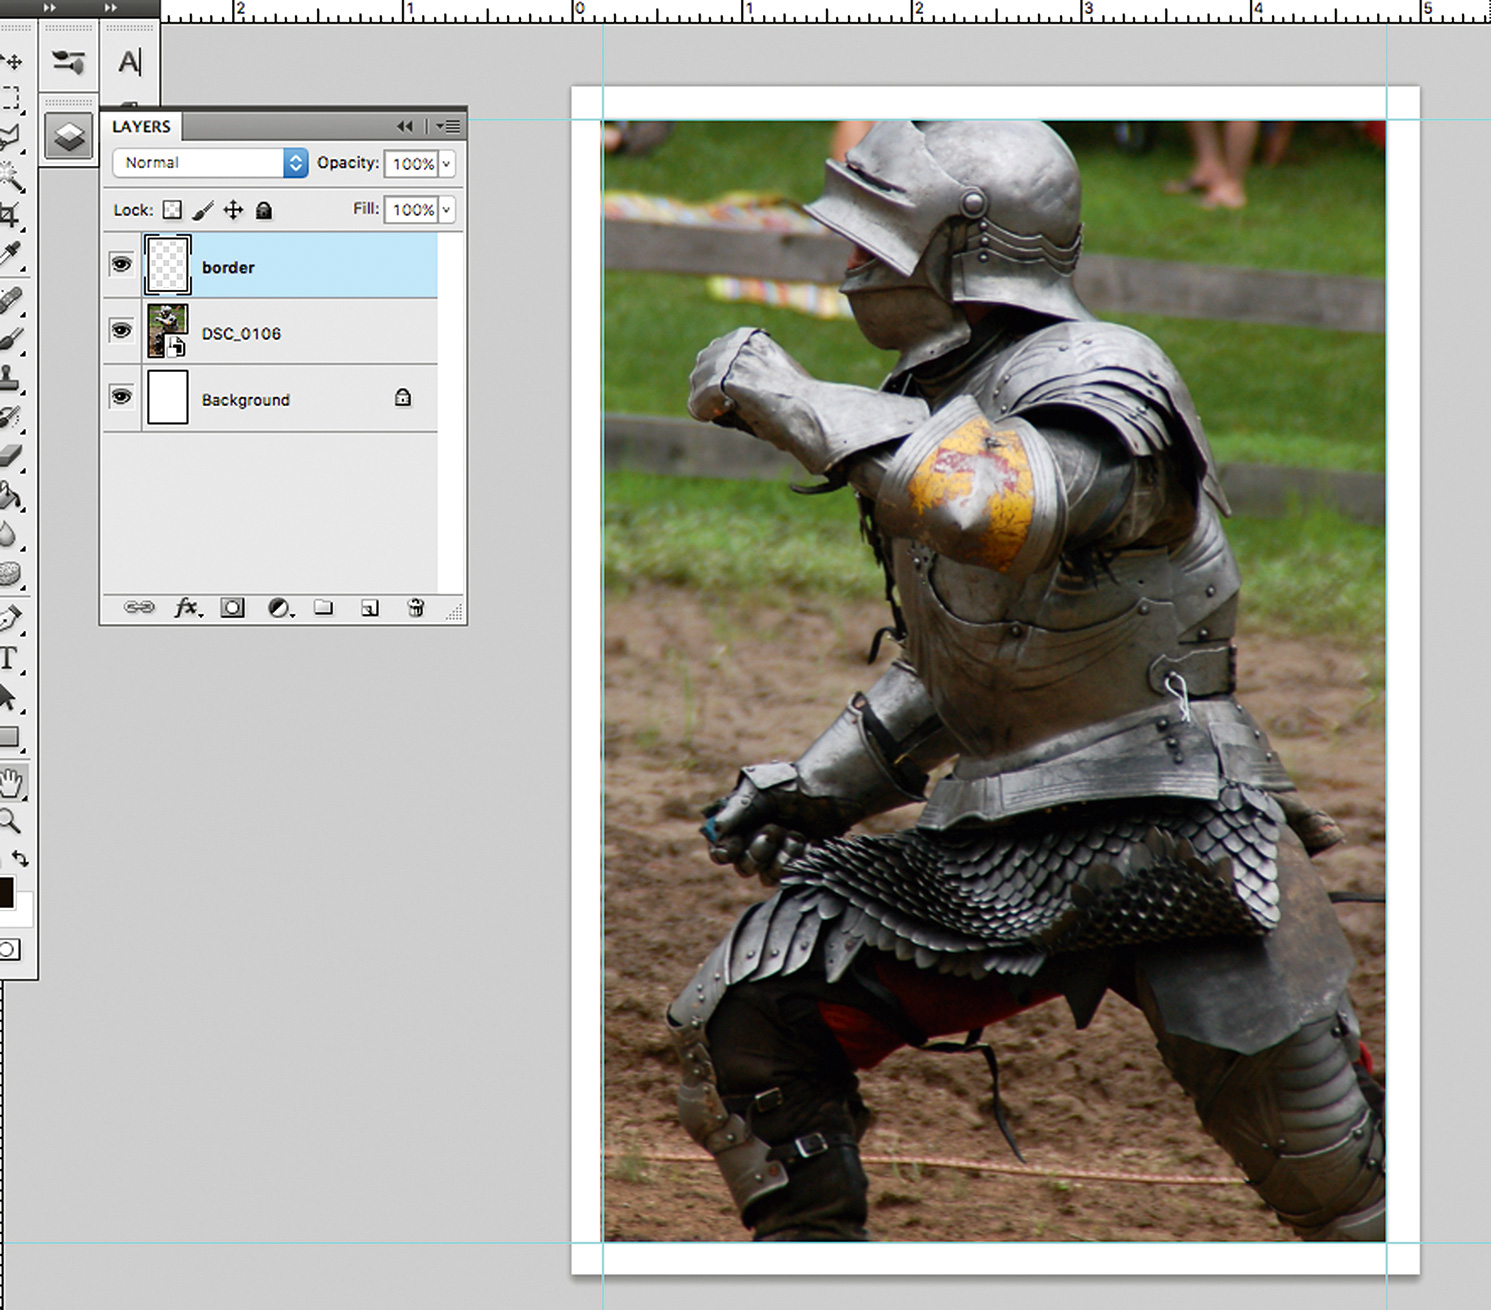
I open a 5x7-inch Photoshop document and create a 1/4-inch border. This will be the exact size of my painting. I create a border layer and set it on top, because when I put the final painting into a frame, it crops off about a 1/4-inch of my painting on all sides. Then I drag in my reference underneath the border, and rotate and resize it until the composition is to my liking.
03. Mask the background
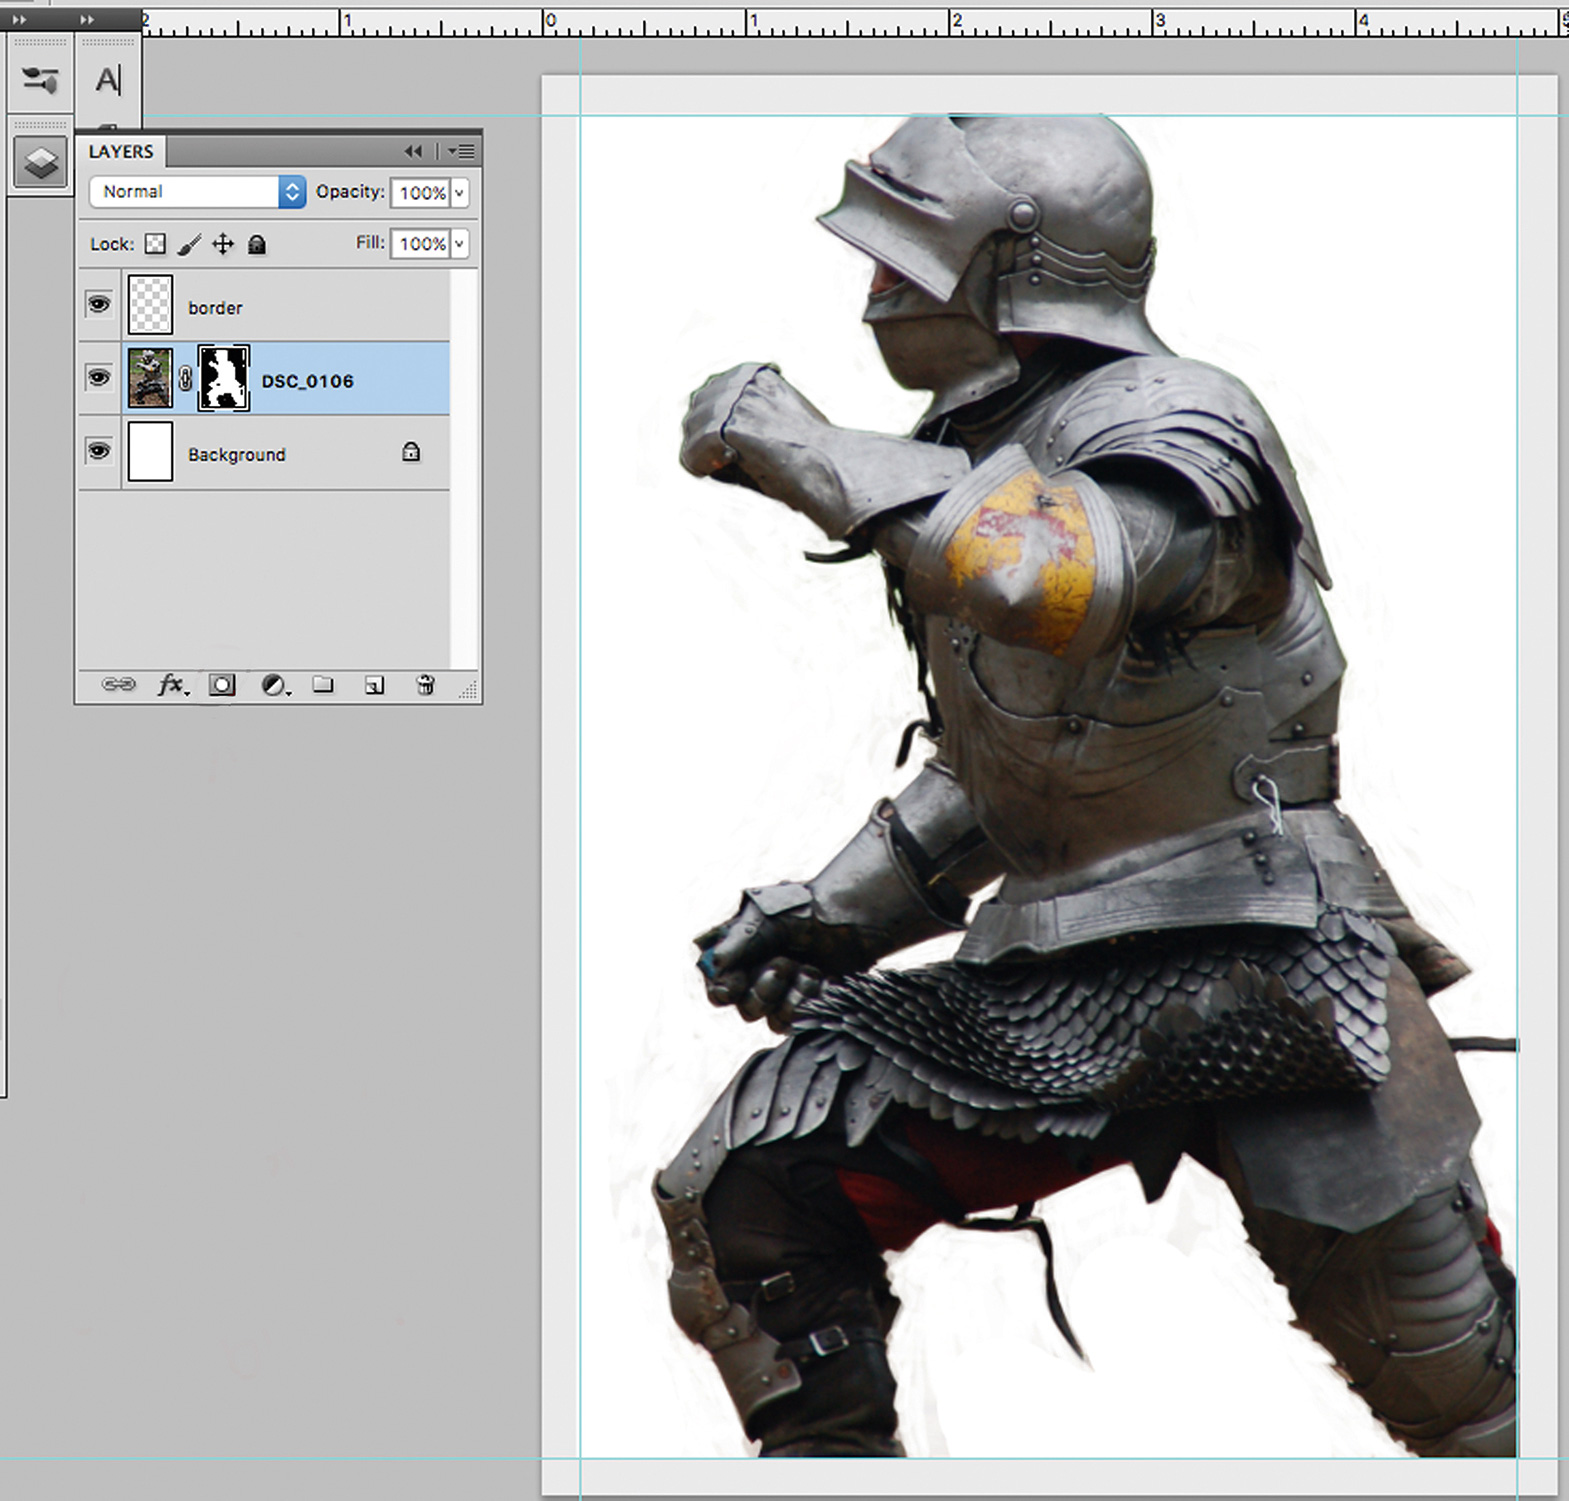
Now I have to get rid of the grassy knoll with people's legs and picnic blankets in the background. I create a mask on the same layer as the photo reference and erase the background with a Photoshop brush that has soft edges. I use a mask rather than an eraser so that I can add or take away things without them being lost forever.
04. Add another photo reference
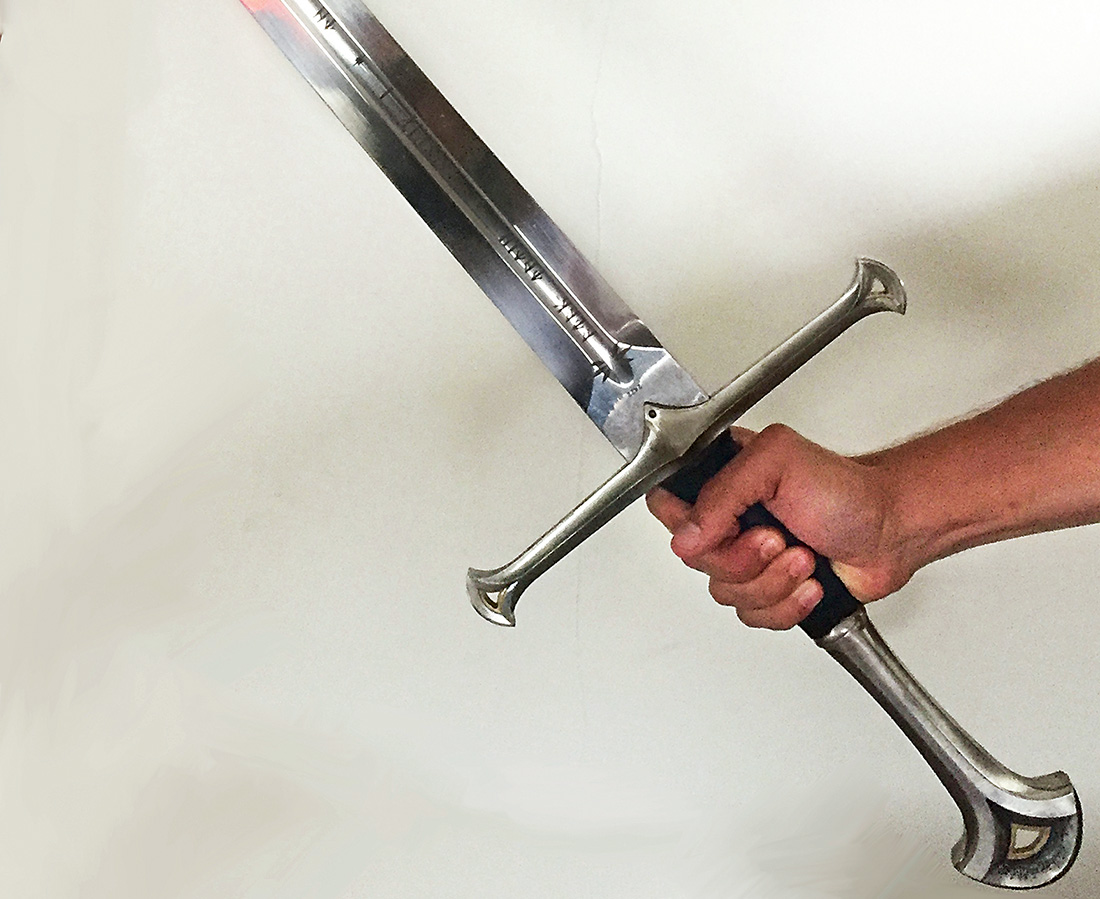
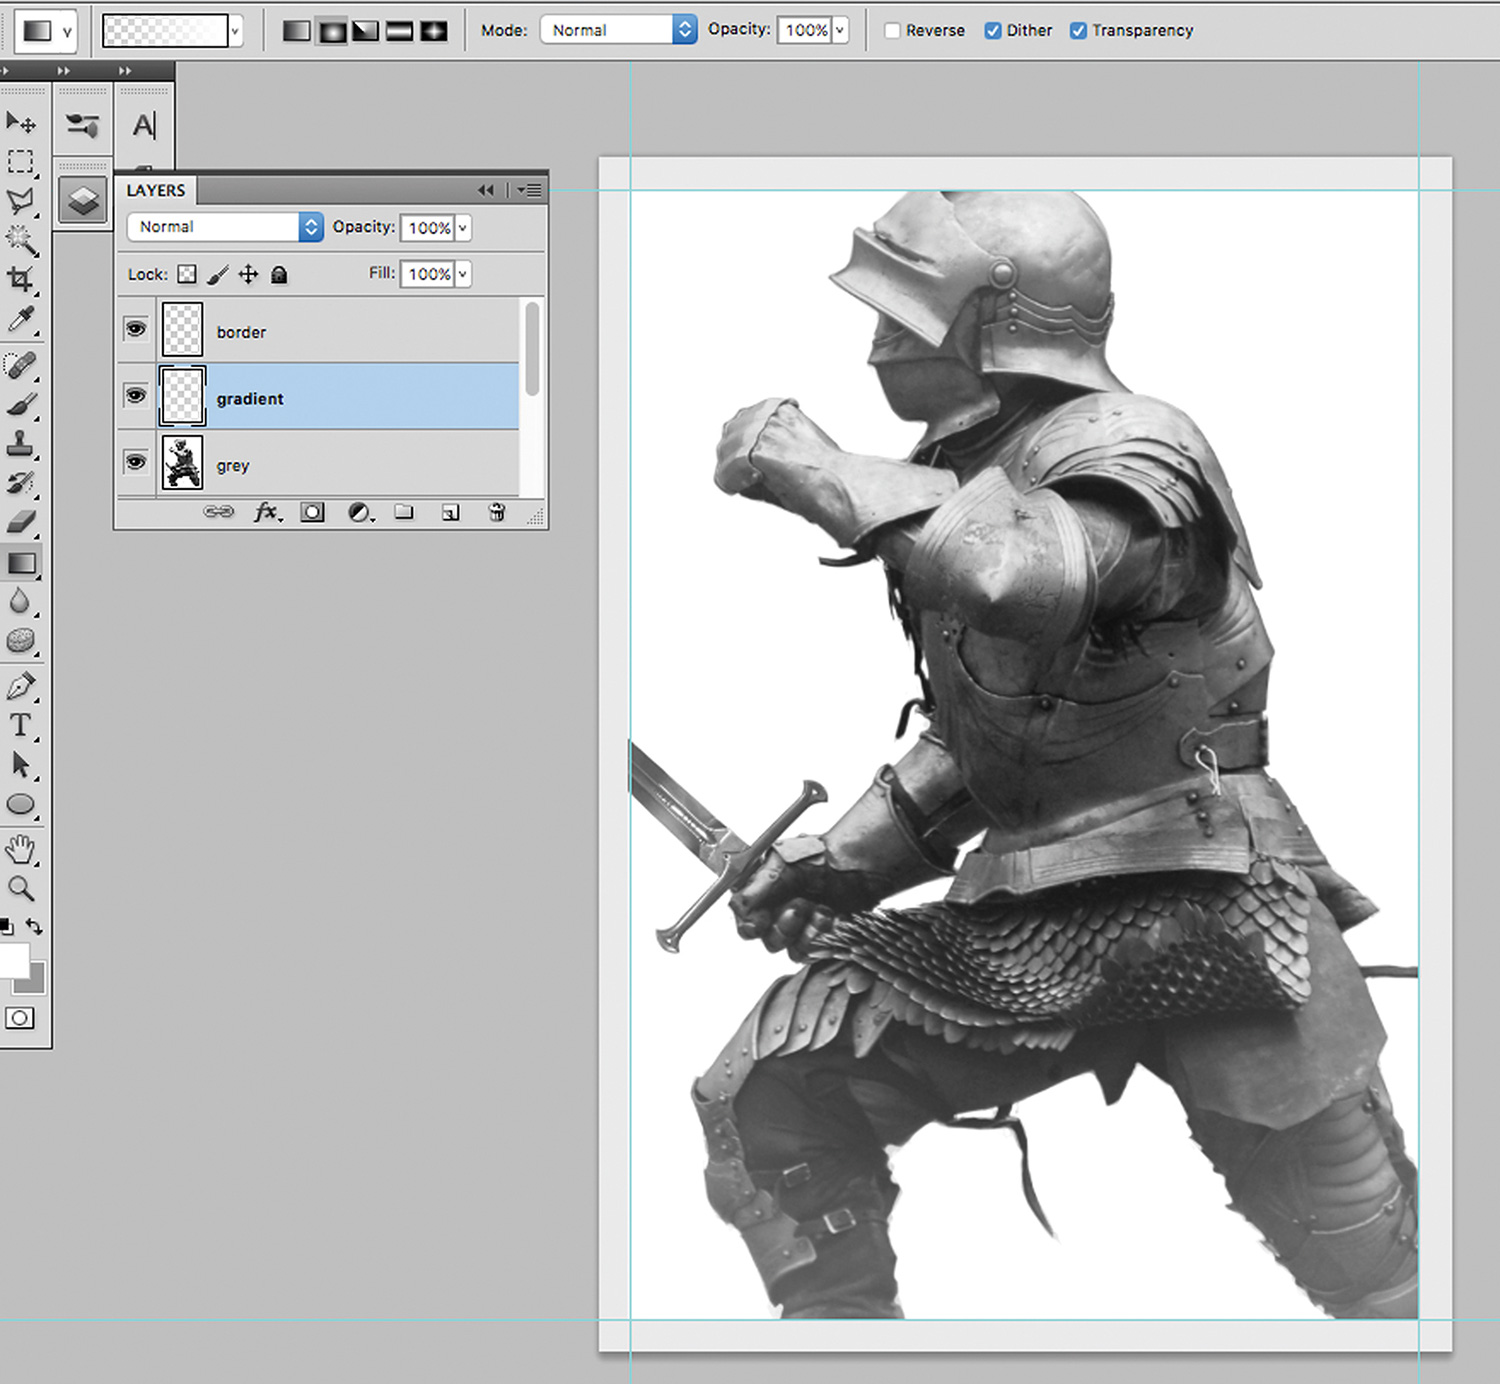
I now realise that this knight would look a lot cooler with a sword in his right hand. So I steal my brother’s collectible Lord of the Rings sword and position my hand exactly how it should look if the knight were holding it. Then I create a new layer, resize the sword and mask out the background.
Sign up to Creative Bloq's daily newsletter, which brings you the latest news and inspiration from the worlds of art, design and technology.
05. Choose a focal point
I switch the image over to greyscale and consider the focal point. Which area of the painting should I focus on the most? In this case, it’s the centre of the image (the pauldron/breast plate area). Therefore, no other area should achieve a higher level of contrast or detail. To remind myself of this, I create a transparent and white radial gradient. This fades off the less-important areas.
06. Identify landmarks
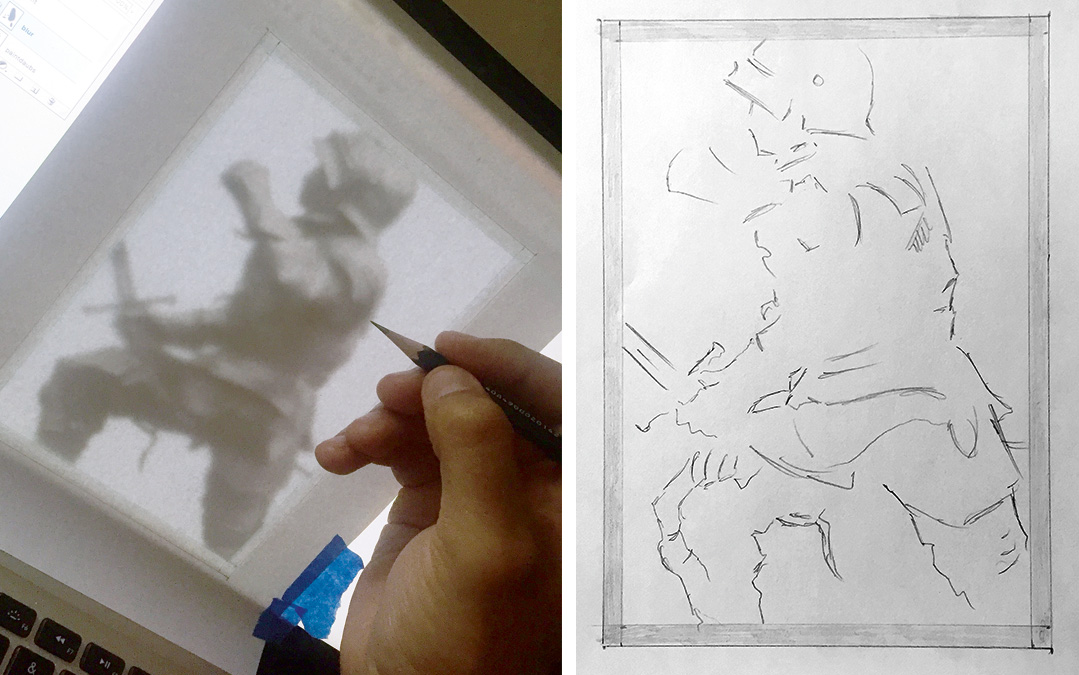
Next, I use my computer screen as a make-shift lightbox and tape up my drawing paper. I’m not just tracing the image like a robot – I’m trying to find the most important visual landmarks so that I can effectively draw this knight to accurate proportion and scale.
07. Use pencils to produce a value study
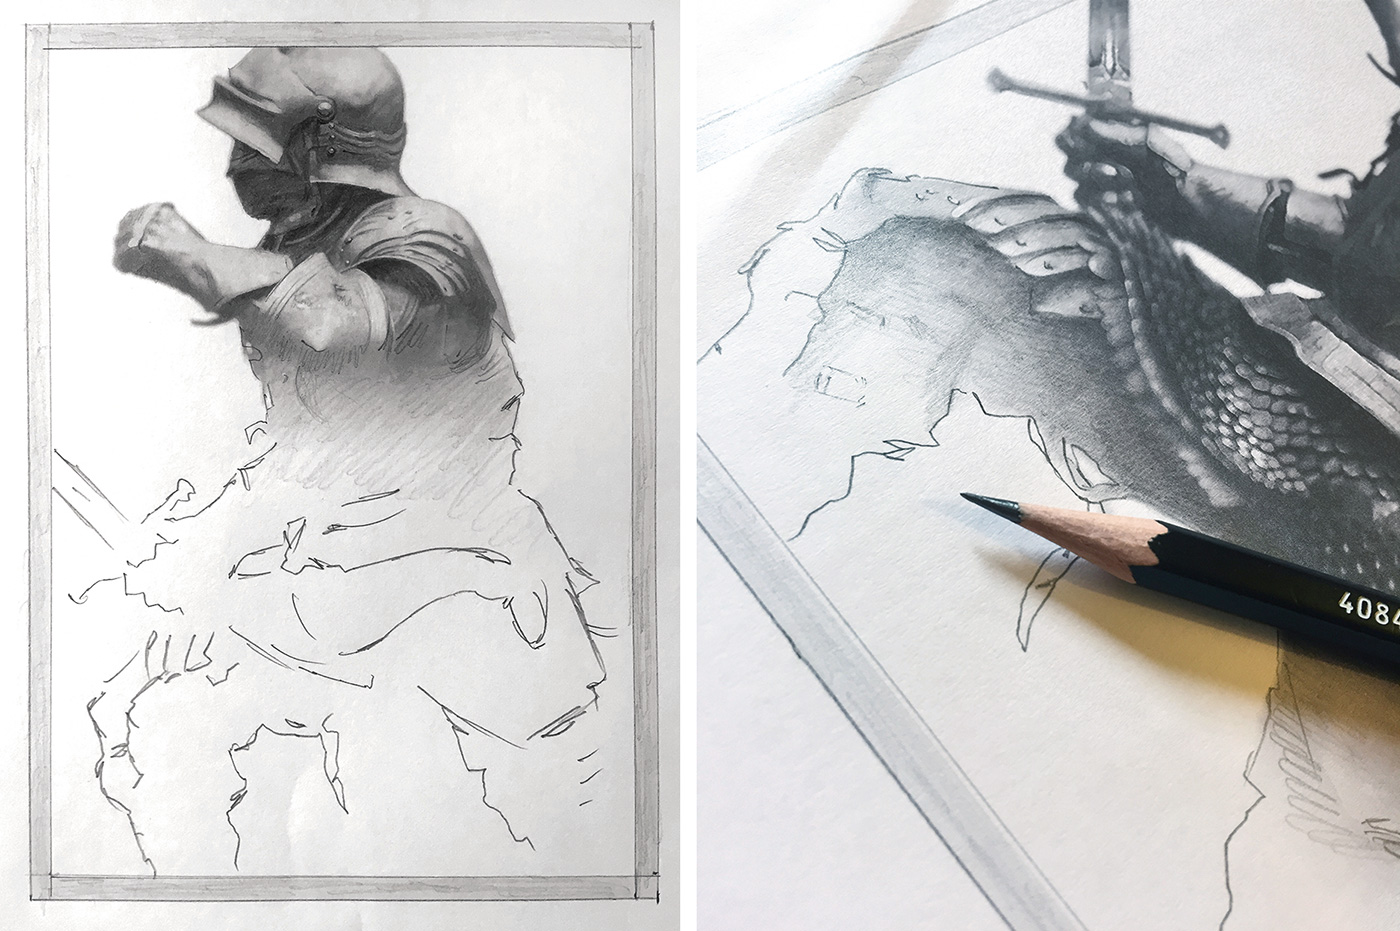
Using the initial landmarked lines as my starting point, I use Lyra Pencils in HB, 2B and 4B sizes with a blender tool to start my drawing. I begin at the top of the page and work my way down. I’m trying to get the values as accurate as possible at this stage. I have my photo reference in front of me as I work and I constantly refer to it while drawing.
08. Prepare to paint
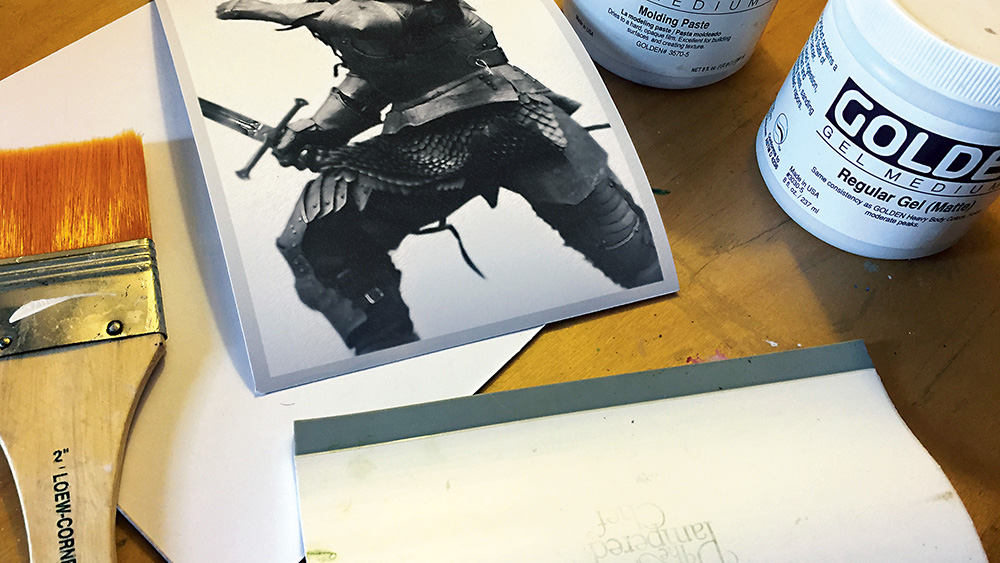
I scan the drawing and bring it into Photoshop. I go to Filter>Noise>Median. This will smooth out my pencil strokes and make the drawing more photographic-looking. Sometimes I even overlay the original photo on top of certain areas because I want the armour to look as realistic and functional as possible. I then produce a giclée print and mount it to board with a combination of Moulding paste and Matte medium.
09. Choose your colours
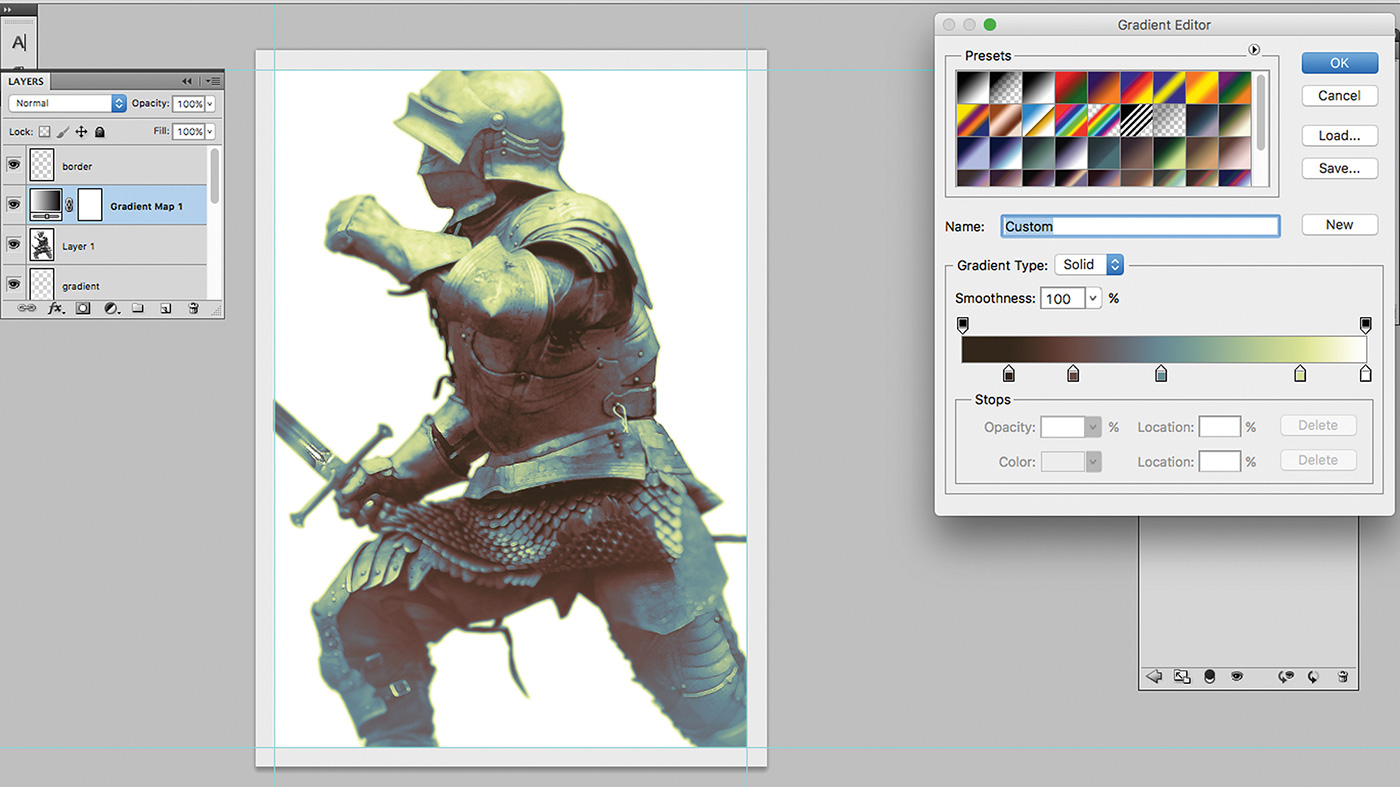
Now I’m ready to paint, but what colours do I use? The beauty of Photoshop is that it enables me to try a whole bunch of them out before I paint traditionally. First I create a Gradient Map on top of the greyscale image, mess around with different colours, and adjust the sliders until I get them where I want. Then I take the original coloured photo and overlay it in the focal point area.
10. Achieve texture with watercolour
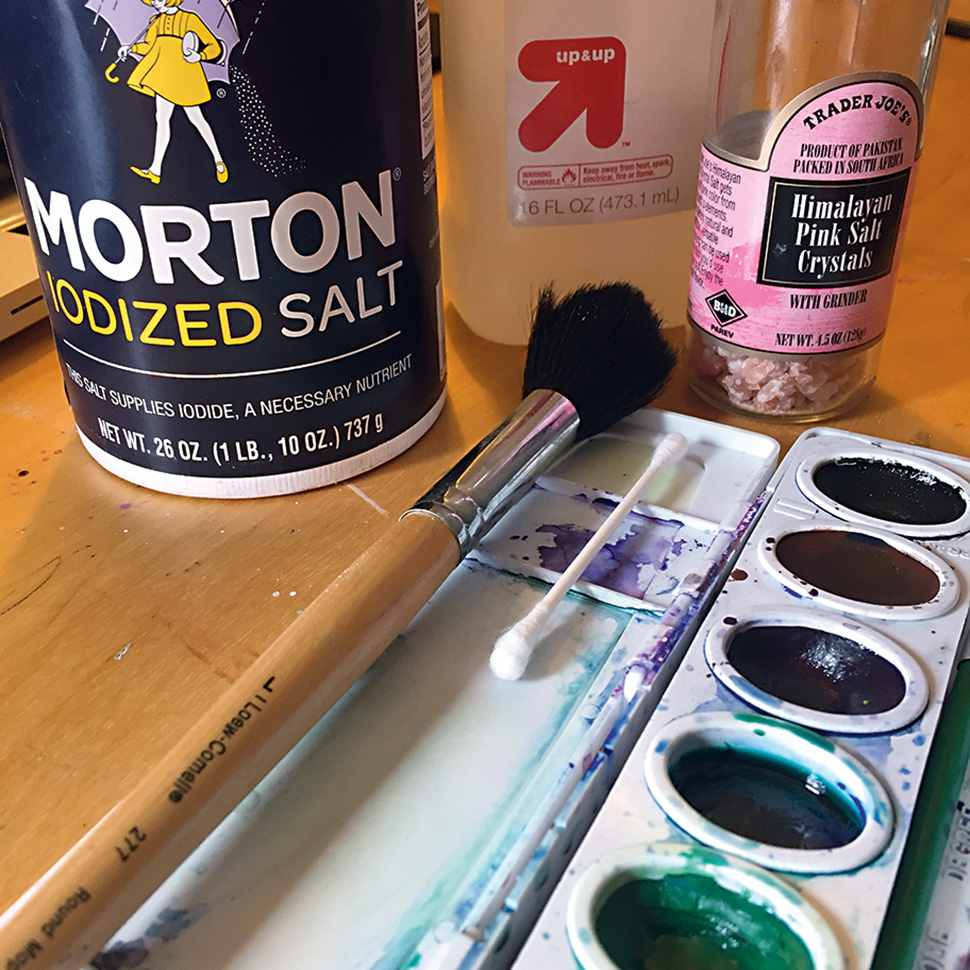
I achieve different textures by adding sea salt, table salt, rubbing alcohol and plastic wrap to my watercolour washes. After the first wash is applied, I apply these techniques in a few specific areas. After it’s dried, I add a second wash on top and apply some of these techniques again. The watercolour repels the salt and alcohol, leaving interesting textures behind.
11. Make an abstract background
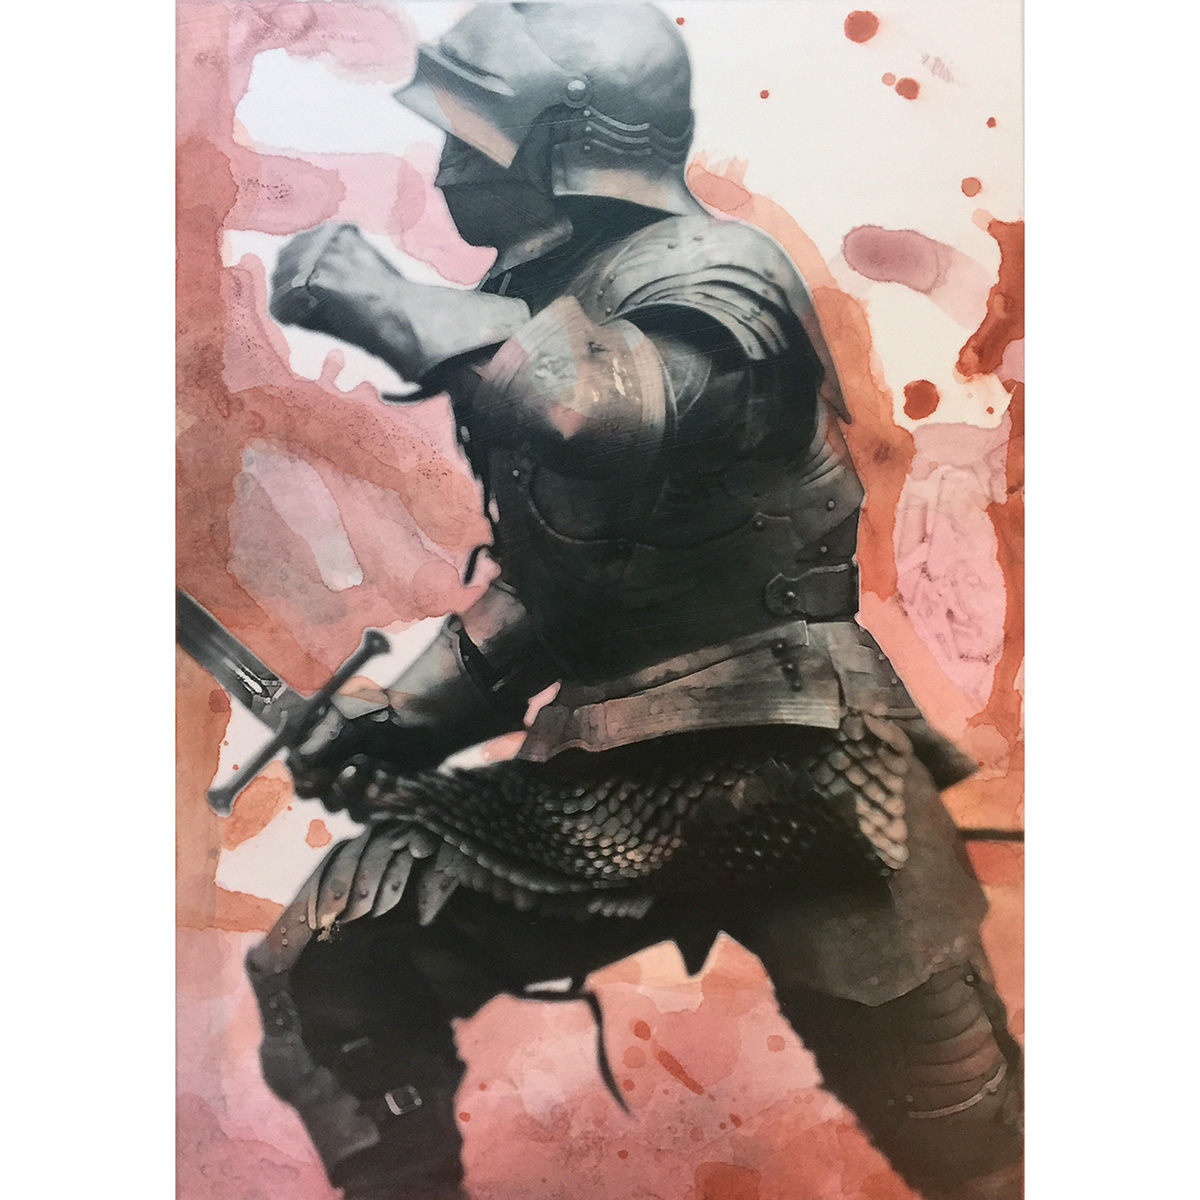
At this stage I don’t really know what will happen – I just let the watercolour do its thing. I keep the Photoshop colour version in front of me and choose a colour from it. I blob on the colour and tilt the board so that the watercolour flows in the general upper left direction (because the knight is moving that way). I apply my watercolour textures, wait until they dry and repeat.
12. Apply acrylic washes
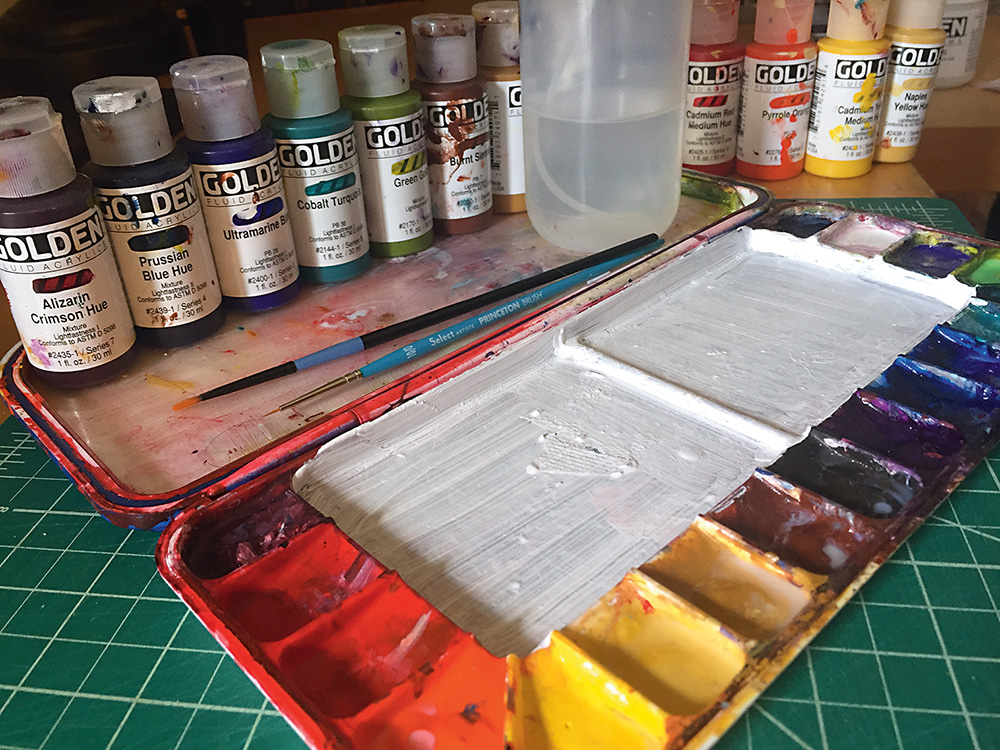
I seal the watercolour with Matte medium and use Golden Fluid Acrylics to paint on top of the watercolour. Golden’s acrylics go on thinner than regular acrylics. This is why I like them. I don’t paint with opaque gobs – instead I use a number of transparent thin layers so that I don’t lose my value study underneath too quickly.
13. Start at the top
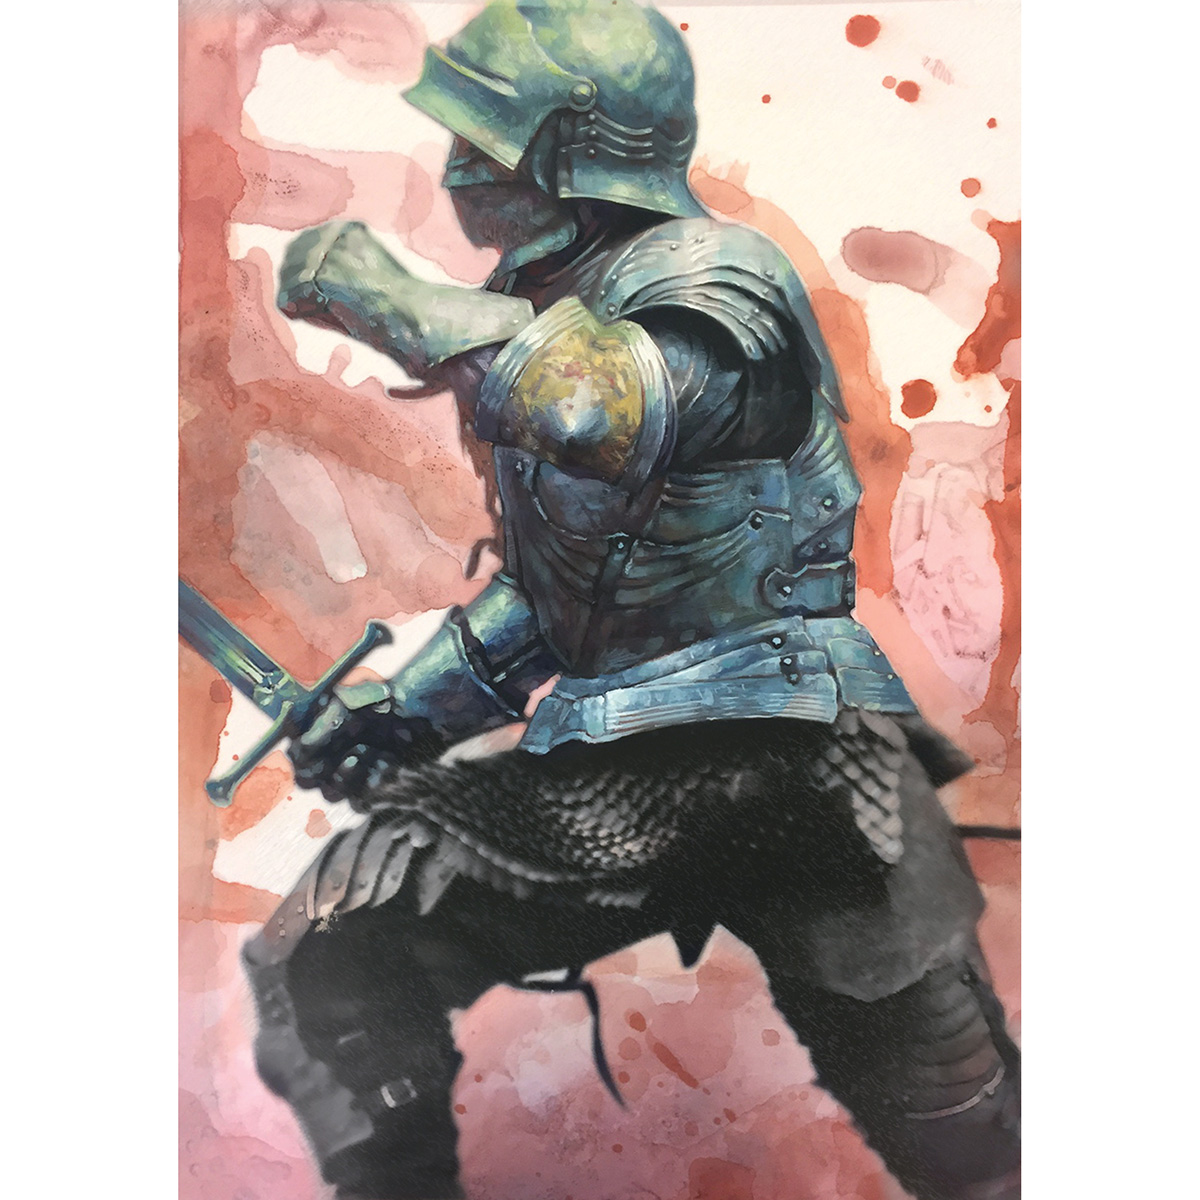
I begin at the top of the illustration board and work my way down. I know many artists who work all over the painting at once. I’ve been known to do this as well, but there’s something I like about the feeling of being done with one area before I move on to the next.
14. Unify the colours

Towards the end, however, I do work all over the painting. I look for different colours that might unify the piece together and place them throughout the work.
This article was originally published in issue 155 of ImagineFX, the world's best-selling magazine for digital artists. Buy issue 155 here or subscribe to ImagineFX here.
Related articles:
- How to create new character designs in Photoshop
- The best drawing tablet: our pick of the best graphics tablets
- How to draw: 95 pro tutorials and tips
