Create a perfectly geometric logo design in Illustrator
Master the Shape Builder tool and gradients in this video tutorial.

In this short Illustrator tutorial, designer Will Paterson walks through how to create a perfectly geometric logo design in Adobe Illustrator.
From creating an initial pattern using smart guides to removing areas from shapes using the Shape Builder tool or Pathfinder tool, adding gradients and using keyboards shortcuts, you’ll learn a host of handy techniques for working more efficiently in Illustrator – which you can apply to your own designs.
You can either choose to follow the video tutorial above, or work through the written steps below – whatever works for you. And don't forget to check out our list of 100 amazing Illustrator tutorials for further inspiration and technique tips.
01. Create a diamond shape
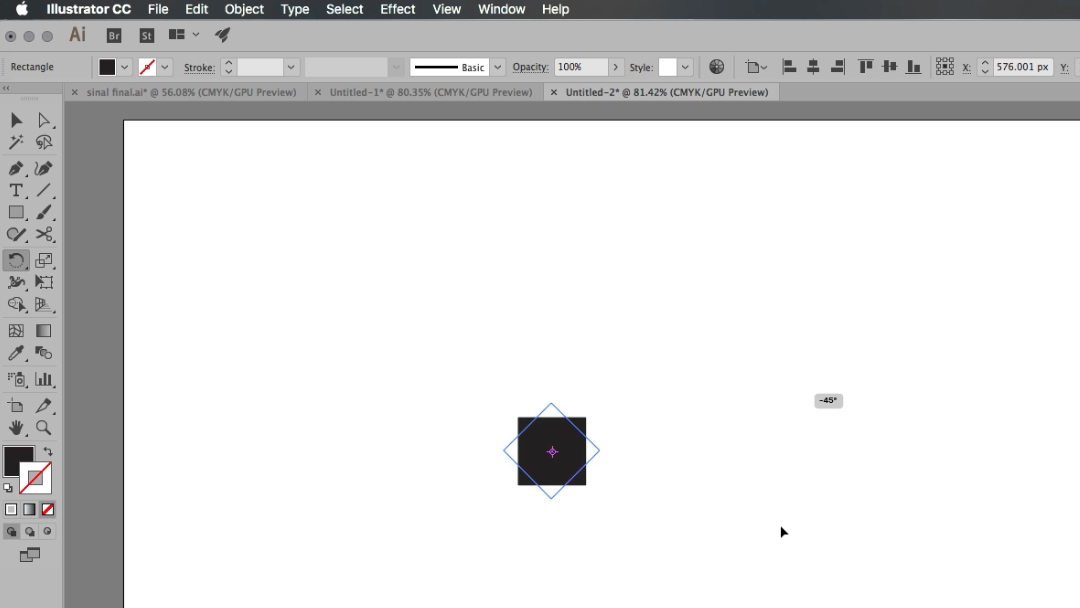
Select the Rectangle tool from the Tools panel, and hold Shift to create a square shape. Select the square, choose the Rotate tool (or hit R) and hold Shift to rotate it 90 degrees.
02. Duplicate the shape
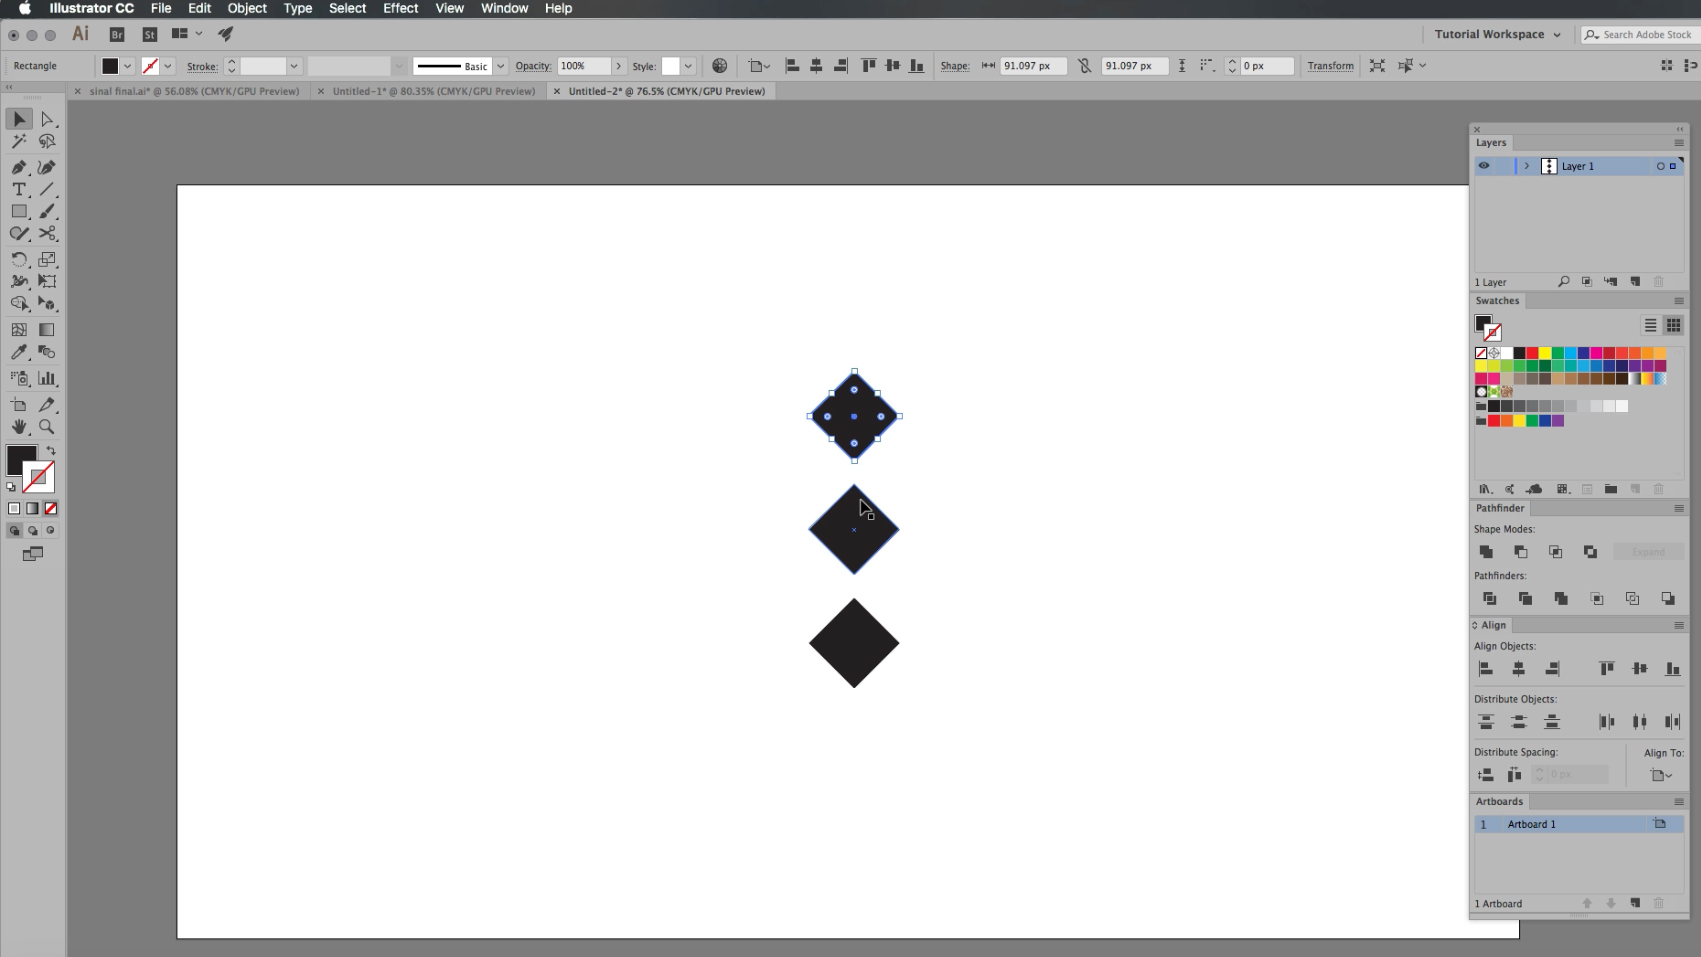
Choose the Selection tool, highlight your shape and duplicate it by holding Shift and Opt/Alt. Without deselecting the shape, hold Cmd/Ctrl+D to duplicate the effect again.
03. Create a pattern

Make sure your smart guides are on by using the Window menu, or hitting Cmd/Ctrl+U. Select your bottom shape, hit Opt/Alt and drag the new shape diagonally, placing it below the middle shape. Use Illustrator's smart guides (View>Guides>Show Guides) to help you. Repeat the process to build a larger diamond shape.
04. Create a new artboard
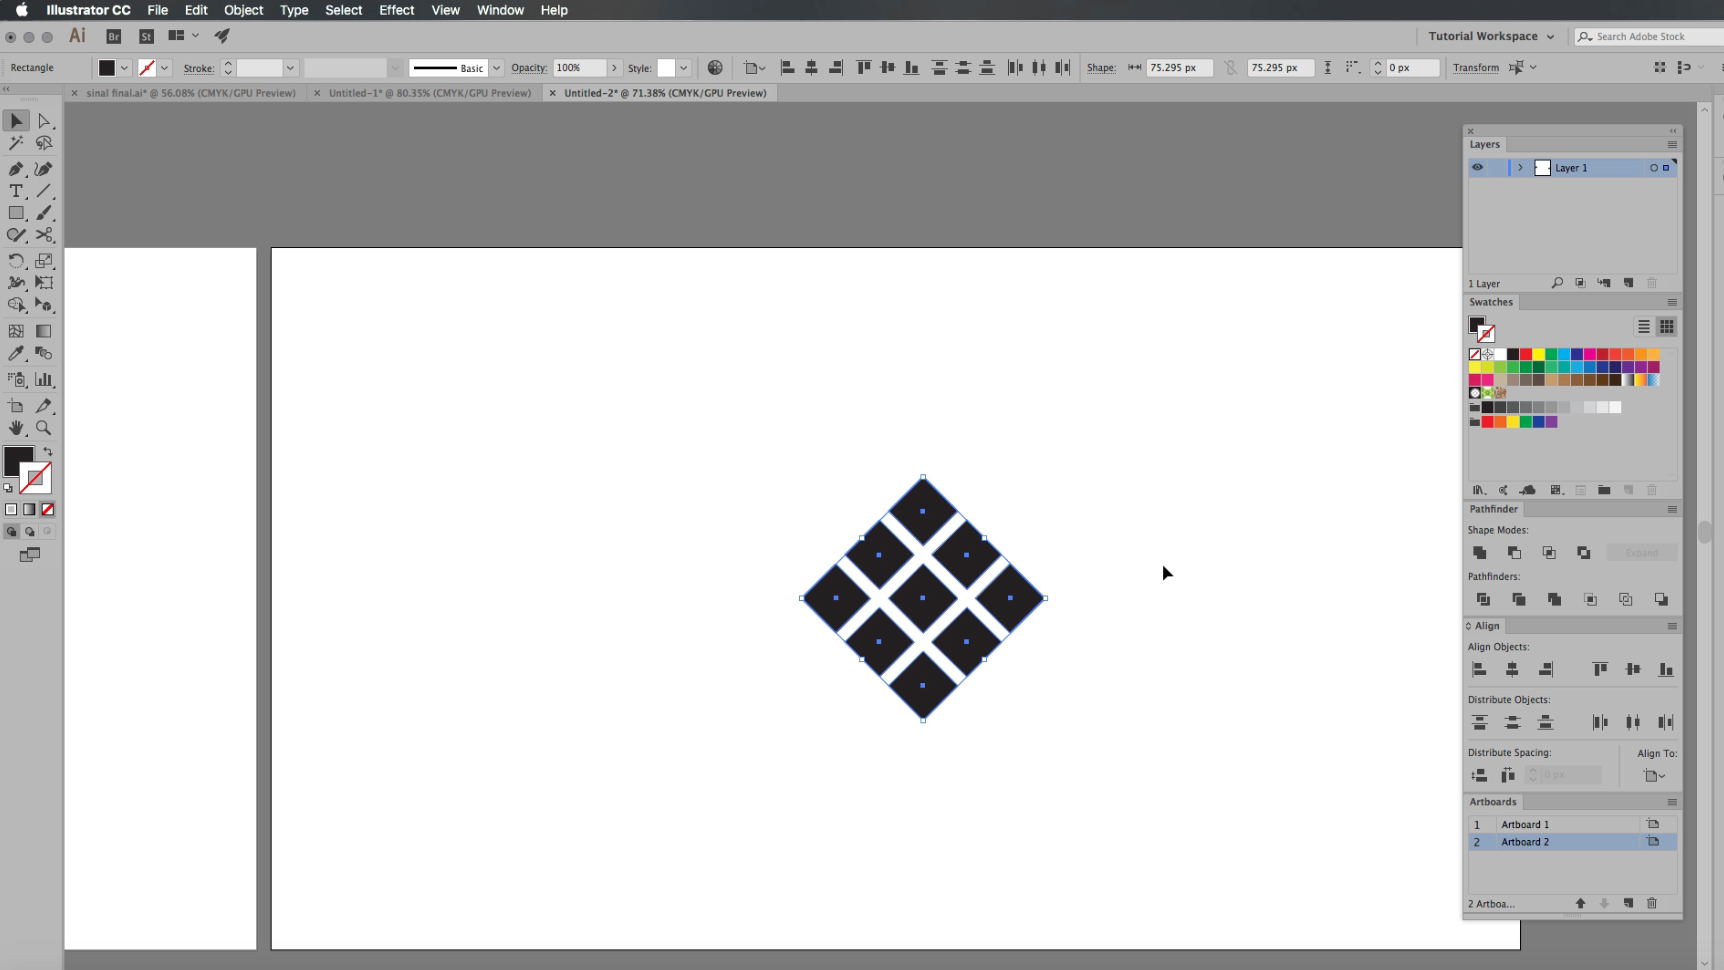
Create a new artboard by clicking on the Artboard panel (Window>Artboard). Duplicate the larger shape and drag it onto your new artboard.
Get the Creative Bloq Newsletter
Daily design news, reviews, how-tos and more, as picked by the editors.
Press Cmd/Ctrl+G to group the shape. Next, hold Opt/Alt+Shift and drag the new shape slightly to the right. (We’ll leave the original shape where it is, in case we need to come back to it later.)
05. Knock out the colour
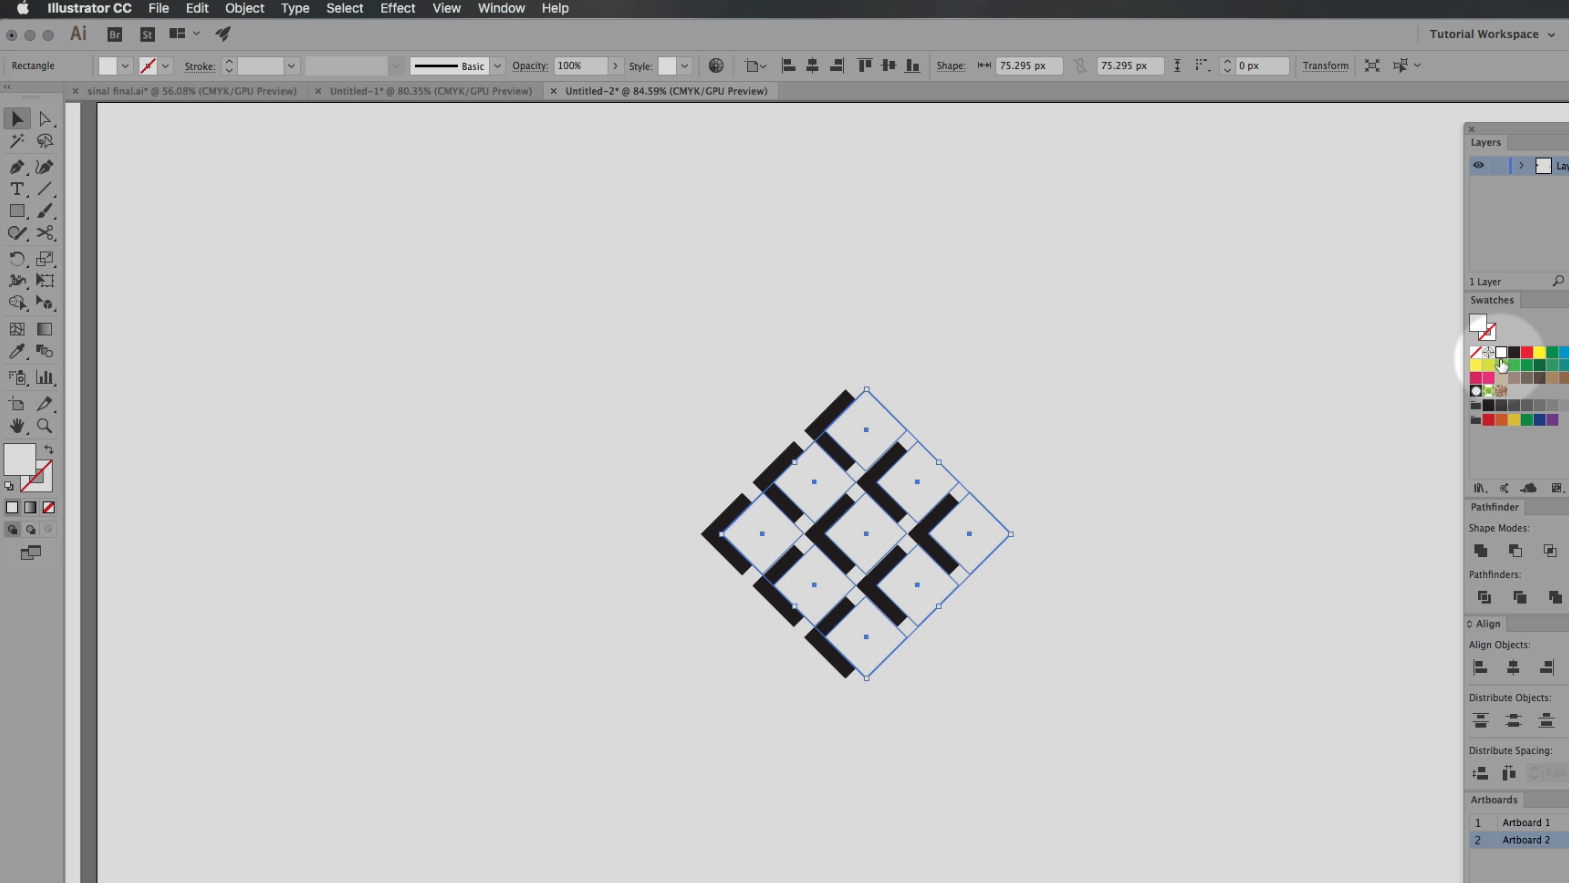
Select white from the Swatches palette with the duplicate shape still selected. This will knock out part of the original diamond shape, leaving you with an interesting, more complicated shape.
Again, drag a duplicate to the top of the artboard by holding Opt/Alt and dragging and dropping it. (Leave it there in case you need to come back to that stage.)
06. Cut the shapes out with the Pathfinder tool…
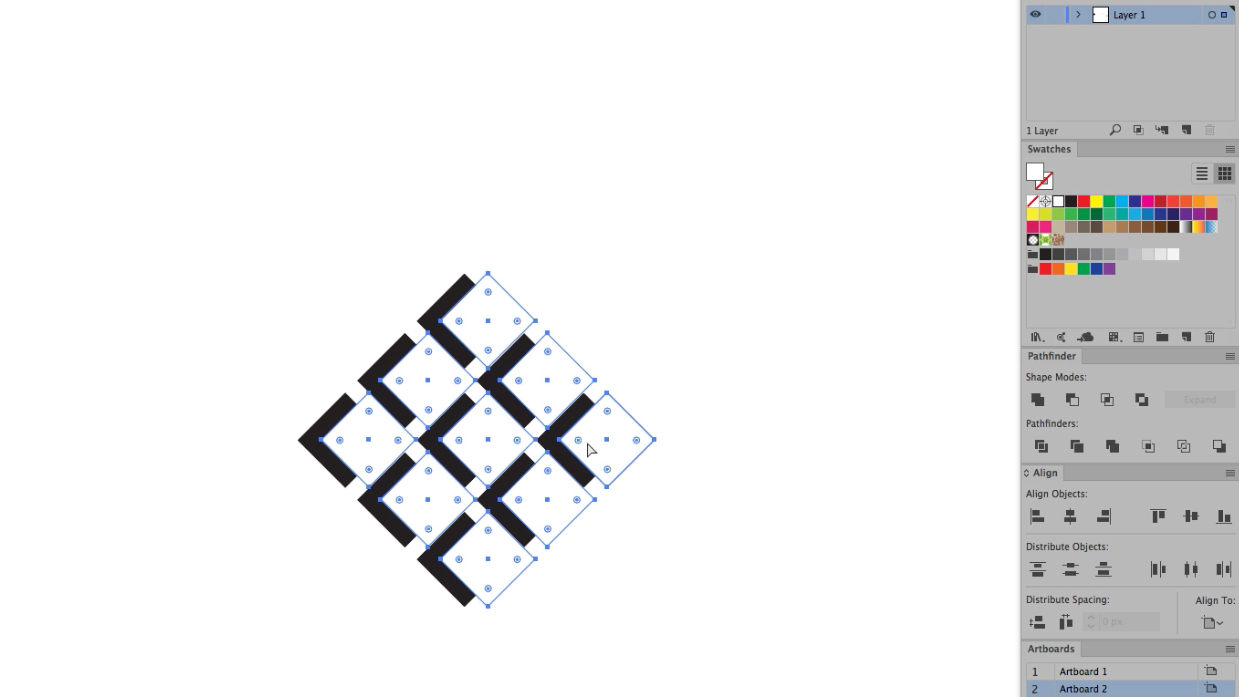
There are two methods you could use for cutting the shapes out of the main image. The first is the Pathfinder tool...
Open the Pathfinder tool (Window>Pathfinder). Select your group of white shapes and hit Cmd/Ctrl+8 to make them into a compound path. Now select the group of black shapes and repeat the process. Highlight the two shapes, go to the Pathfinder panel and select minus front.
07. …or use the Shape Builder tool
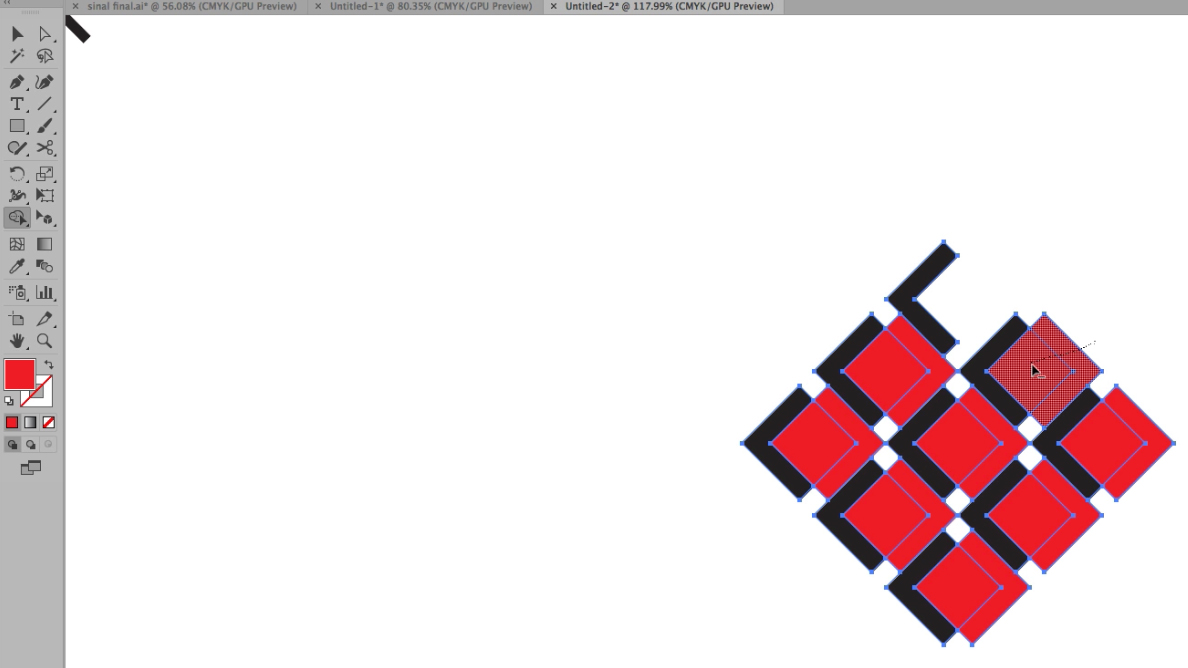
Highlight everything, select the Shape Builder tool from the Tool menu (or press Shift+M). This lets you merge shapes together by selecting them. Hit Opt/Alt and drag the Selection tool through the shapes you want to remove.
08. Ungroup the duplication
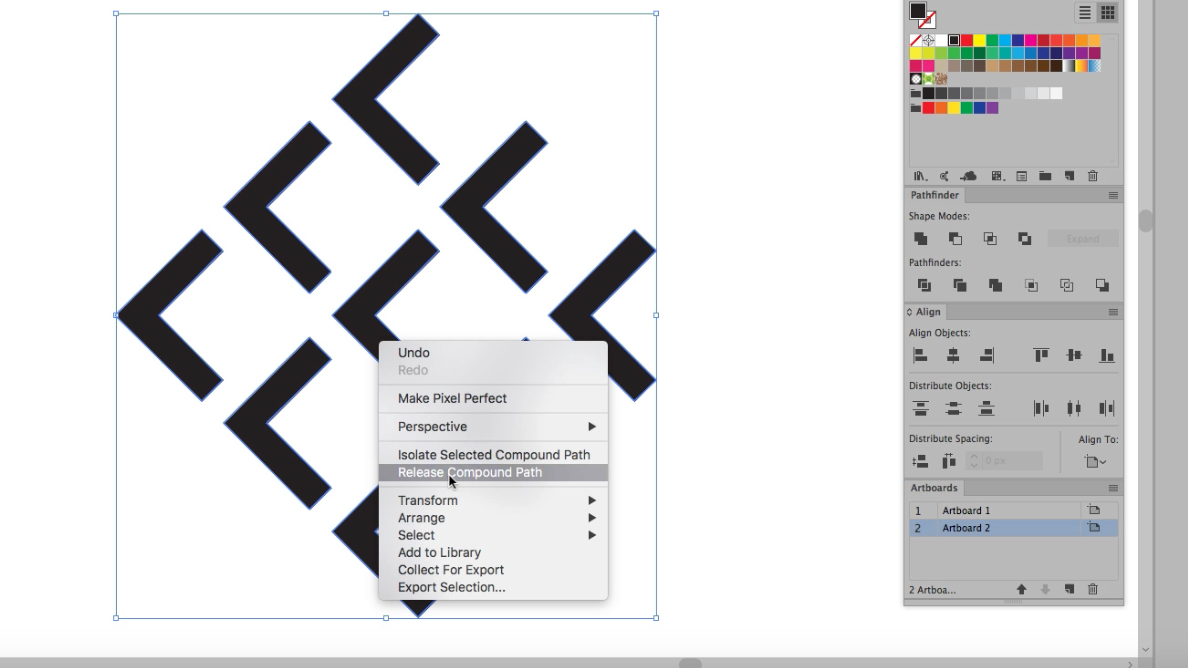
Duplicate your shape and ungroup the duplication by right-clicking it and selecting Release Compound Path. Now select the central shape, rotate (R) it 90 degrees and reposition it in the centre of the larger shape.
09. Add a gradient
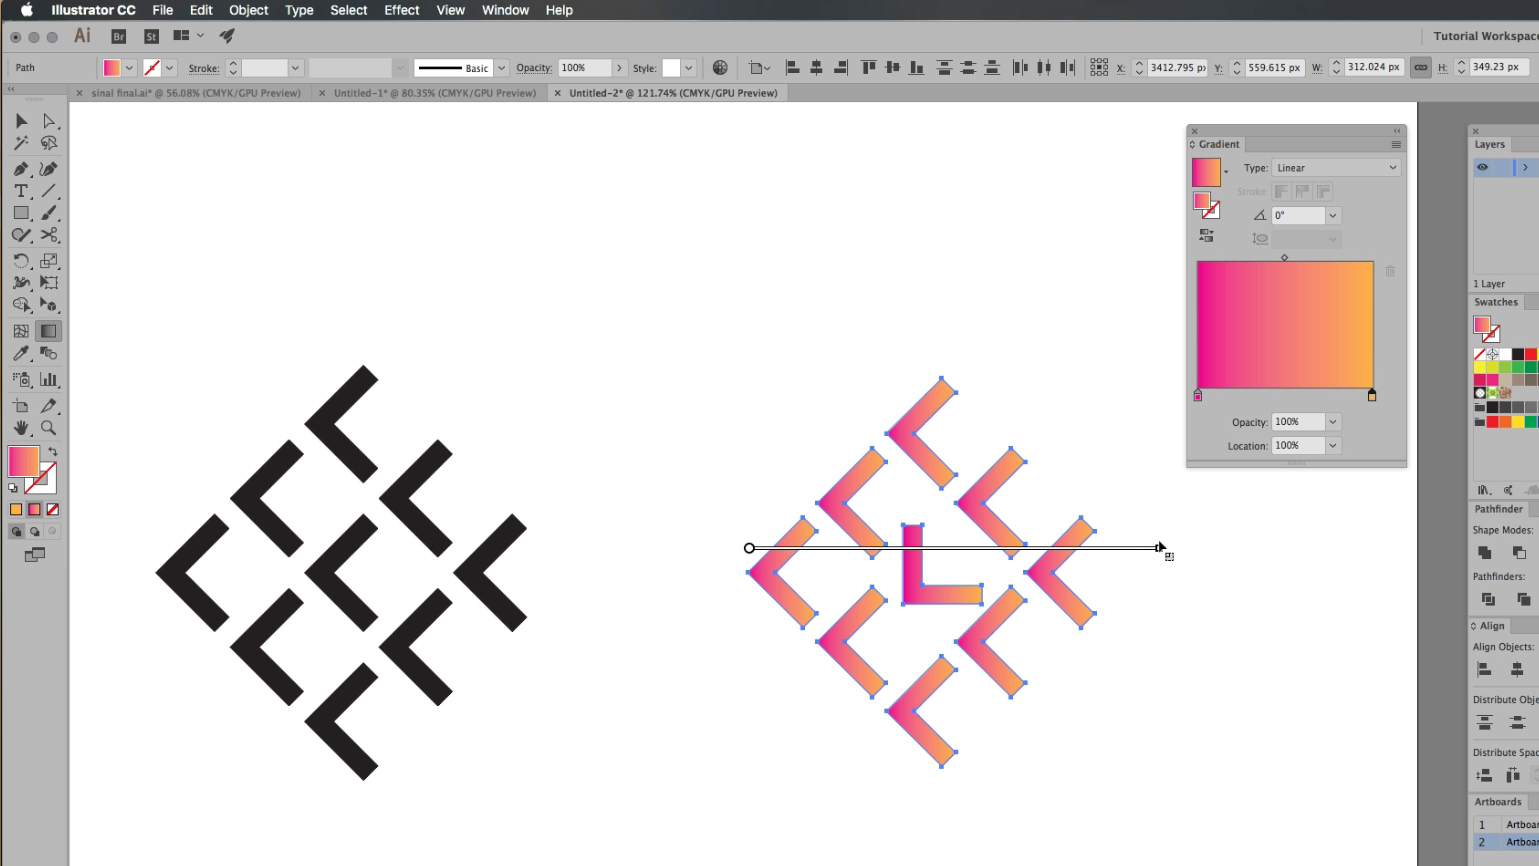
Highlight the shape, and hit G or go to Window>Gradient. Select two colours from the Swatch palette and drag them into the Gradient panel. This will give a gradient to all the individual elements in the shape. To apply the gradient to the larger shape as a whole, hit G and pull the slider across the full width of the shape. And you're done.
Related articles:

Thank you for reading 5 articles this month* Join now for unlimited access
Enjoy your first month for just £1 / $1 / €1
*Read 5 free articles per month without a subscription

Join now for unlimited access
Try first month for just £1 / $1 / €1
