Create a furry 3D character from scratch
Learn how to create stylised fur for 3D creatures, with the help of Ornatrix.
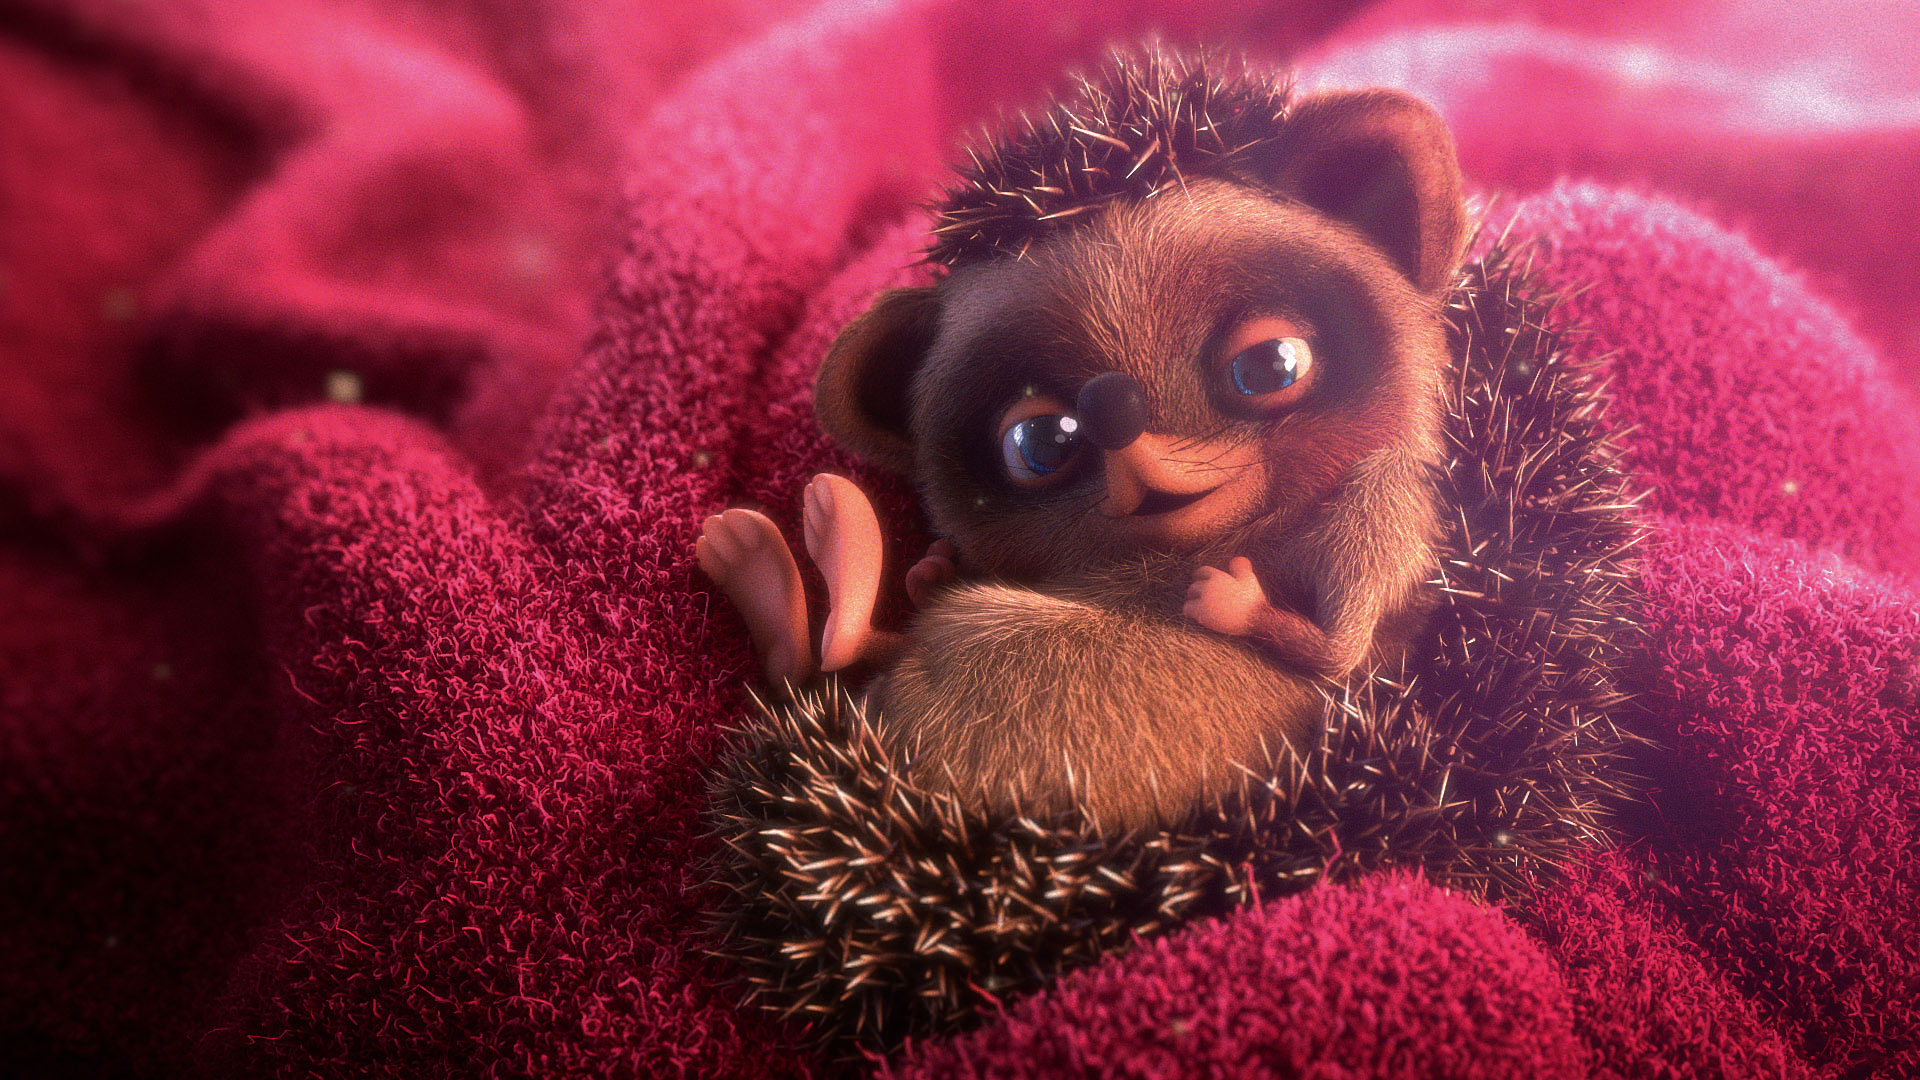
Creating a fur character can be easy, but if you want to make a really appealing piece of furry 3D art you will have to pay attention to detail and keep it organised.
I will show you the different steps I went through to create this little furry creature. This tutorial will mainly focus on my workflow for fur creation, like separating the model for the fur, map creation in Mari, fur shading, and preparation for the rendering in V-Ray. I will also go through over some important steps like reference research, modelling and compositing – however, I will keep that as short as possible.
For this project, I chose to create a cartoonish hedgehog because of the characteristics that it has – namely two different types of fur. But I also chose this cartoon style because it's cute! The workflow that I'll show you can also be applied to animated characters, but I will come back to that later.
For those of you who would like to see the project in more detail, you can follow the video showing the fur creation steps. You can also download the final scene with the model, textures maps and render settings in V-Ray. I hope you'll enjoy it – let's get started!
Download all the assets you need here.
01. Sourcing references
Before beginning any project you need to find good references! I usually begin my research with Google and Pinterest to find anatomy references, real-life images, posing, gestures, and so forth. I also try to find inspiration in more artistic websites like ArtStation or DeviantArt. It's great to look for inspiration but don't forget to mention an artist when you're using their work. Now I start modelling, you can see my process in the downloadable videos.
02. Modelling and UVs
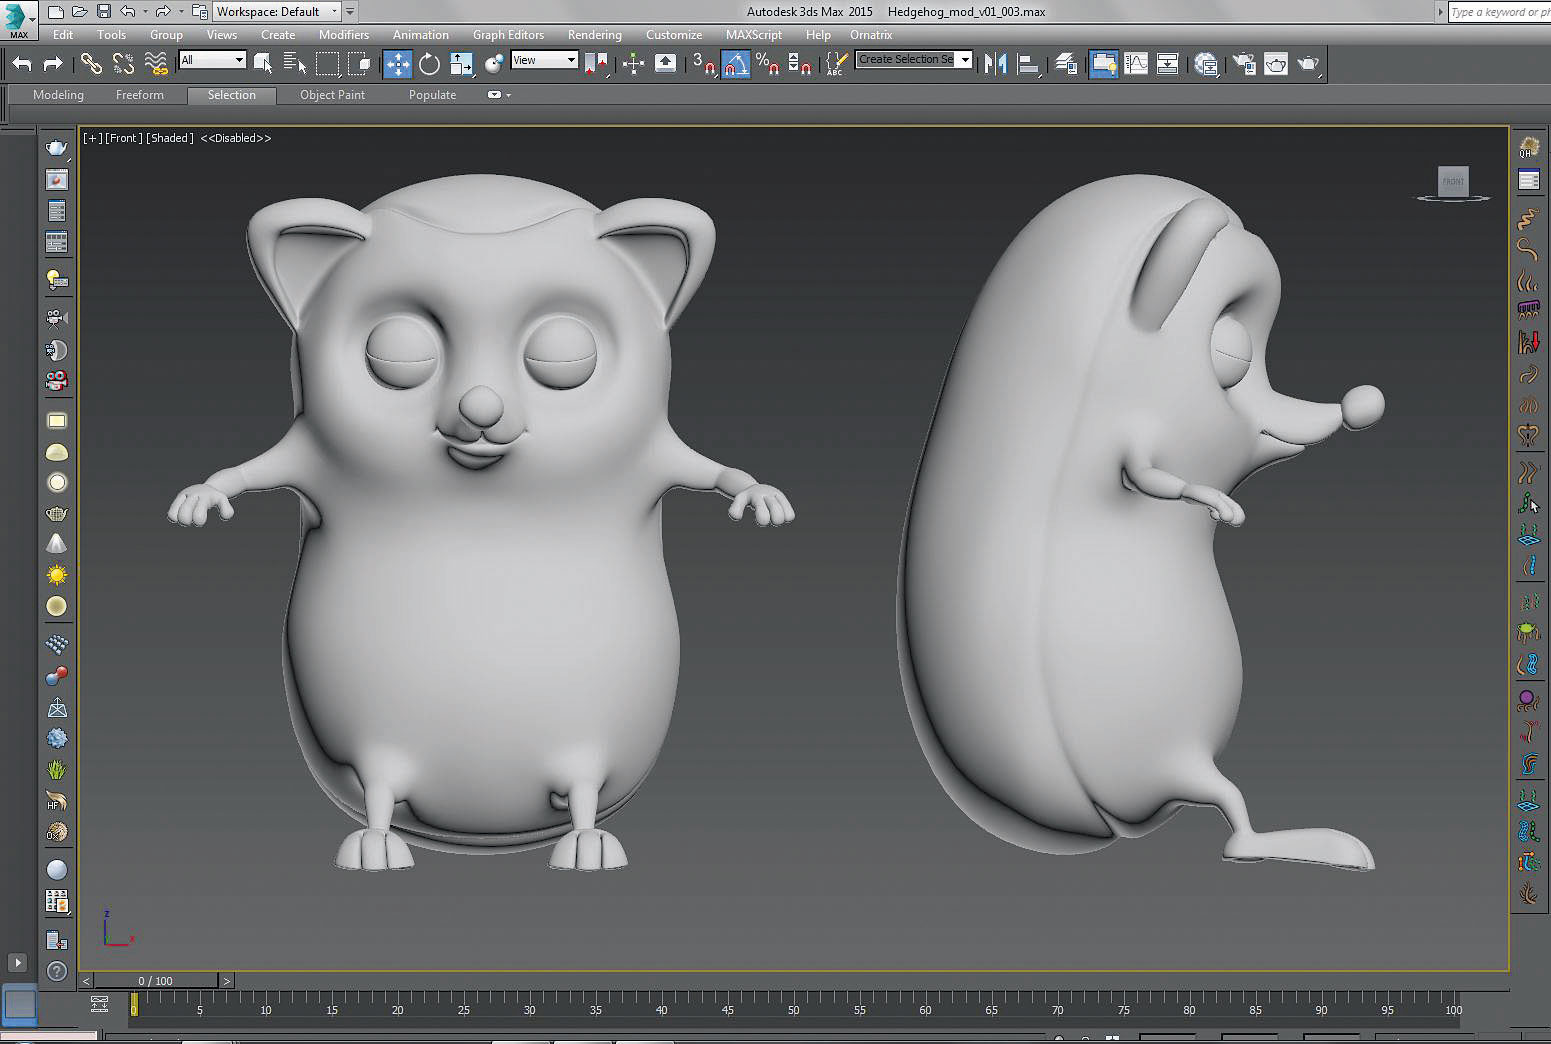
When you're creating a fur creature, always keep in mind that the base model will be under the fur. Try to find the right balance between the modelling under the fur and the volume/shape that the fur will have after you've stylised it. I chose to have a more accurate shape on the front, whereas the back will just be there to put the spikes that I'll stylise during the grooming phase.
Get the Creative Bloq Newsletter
Daily design news, reviews, how-tos and more, as picked by the editors.
03. Texturing with Mari
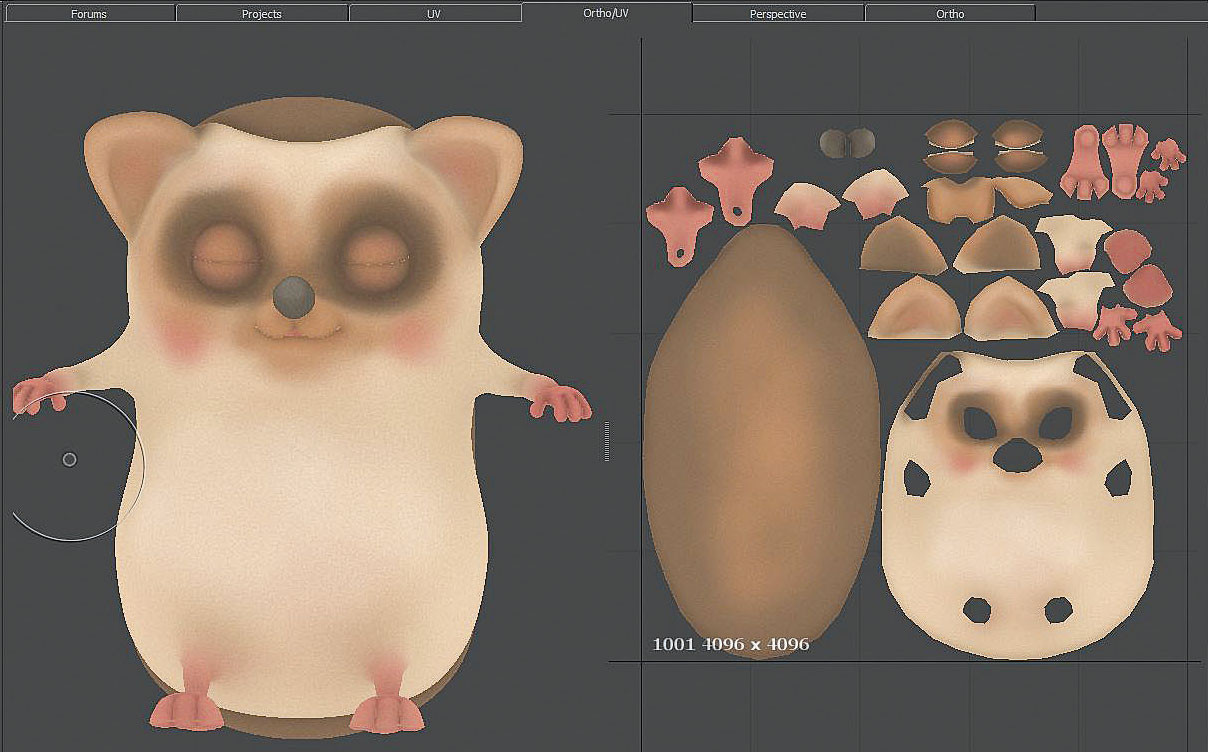
As the texture will be under the fur and will drive its colour, I usually start painting with simple flat colours to give the overall look. Then I use gradient and some colour variation to add details that will be seen on the fur during the rendering. For more details, I also add multiple noises with slightly different hues. It gives your model a skin-like painted look. Try different noise sizes in order to break the repetitive look.
04. Quick setup and posing
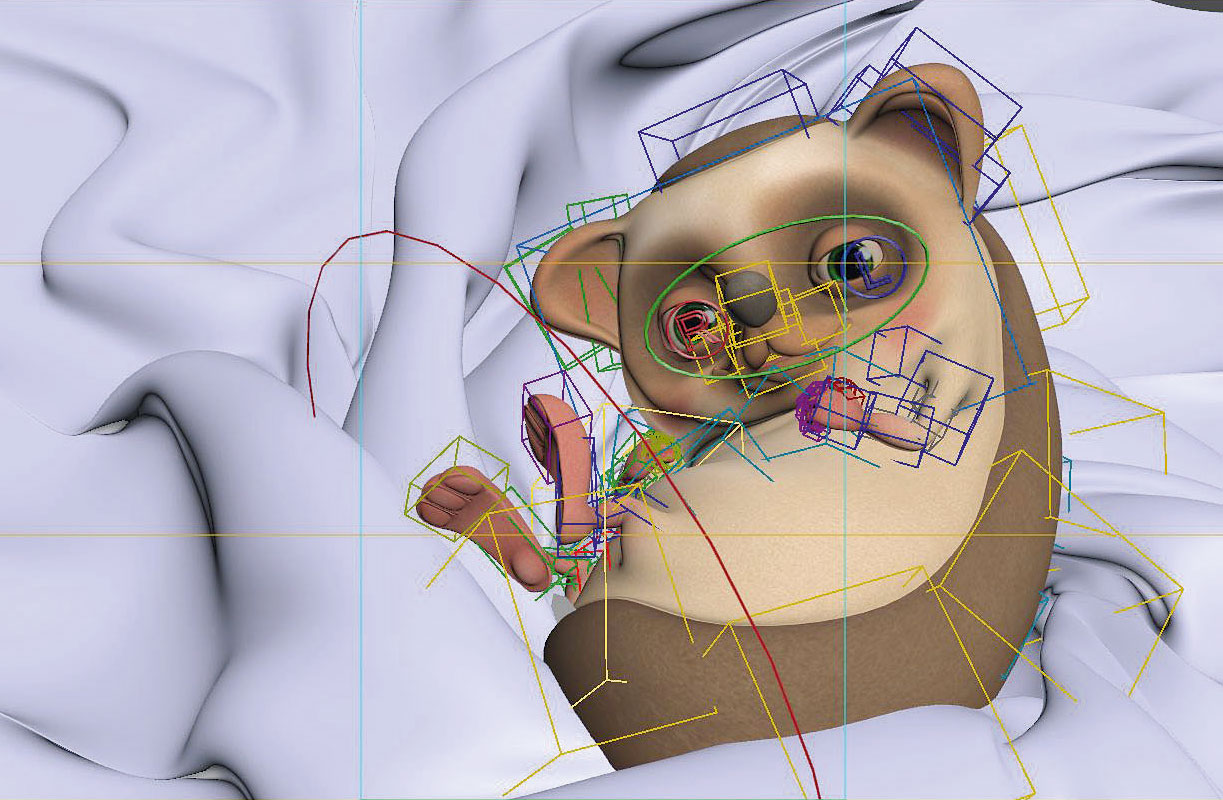
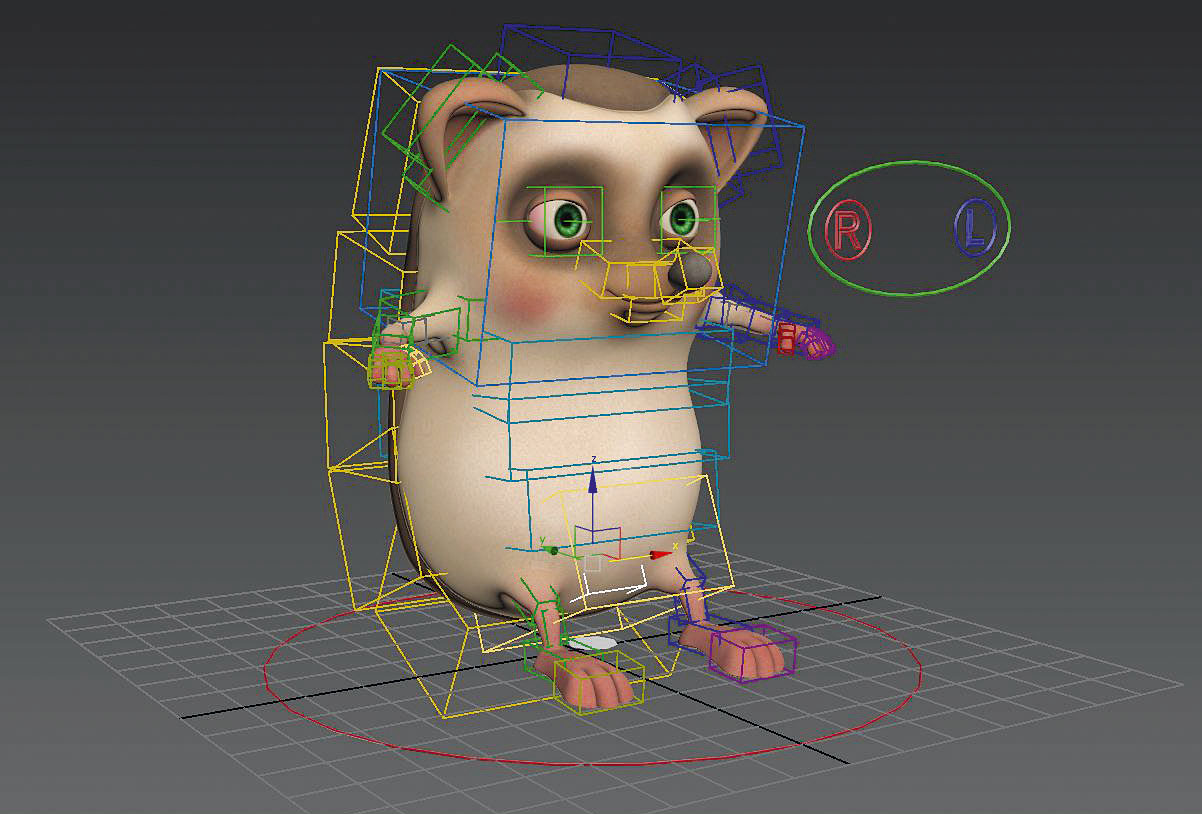
For the posing, even if it's an animal, I like to use 3ds Max biped setup. Because I'm not a rigger and I don't want to waste time on the setup, biped setup is a good alternative. You can create a quick setup that will pose your character with extra bones, for tricky parts. If the biped limited your posing, you can always retake it with an Edit Poly modifier on the top.
05. Scene block and prelight
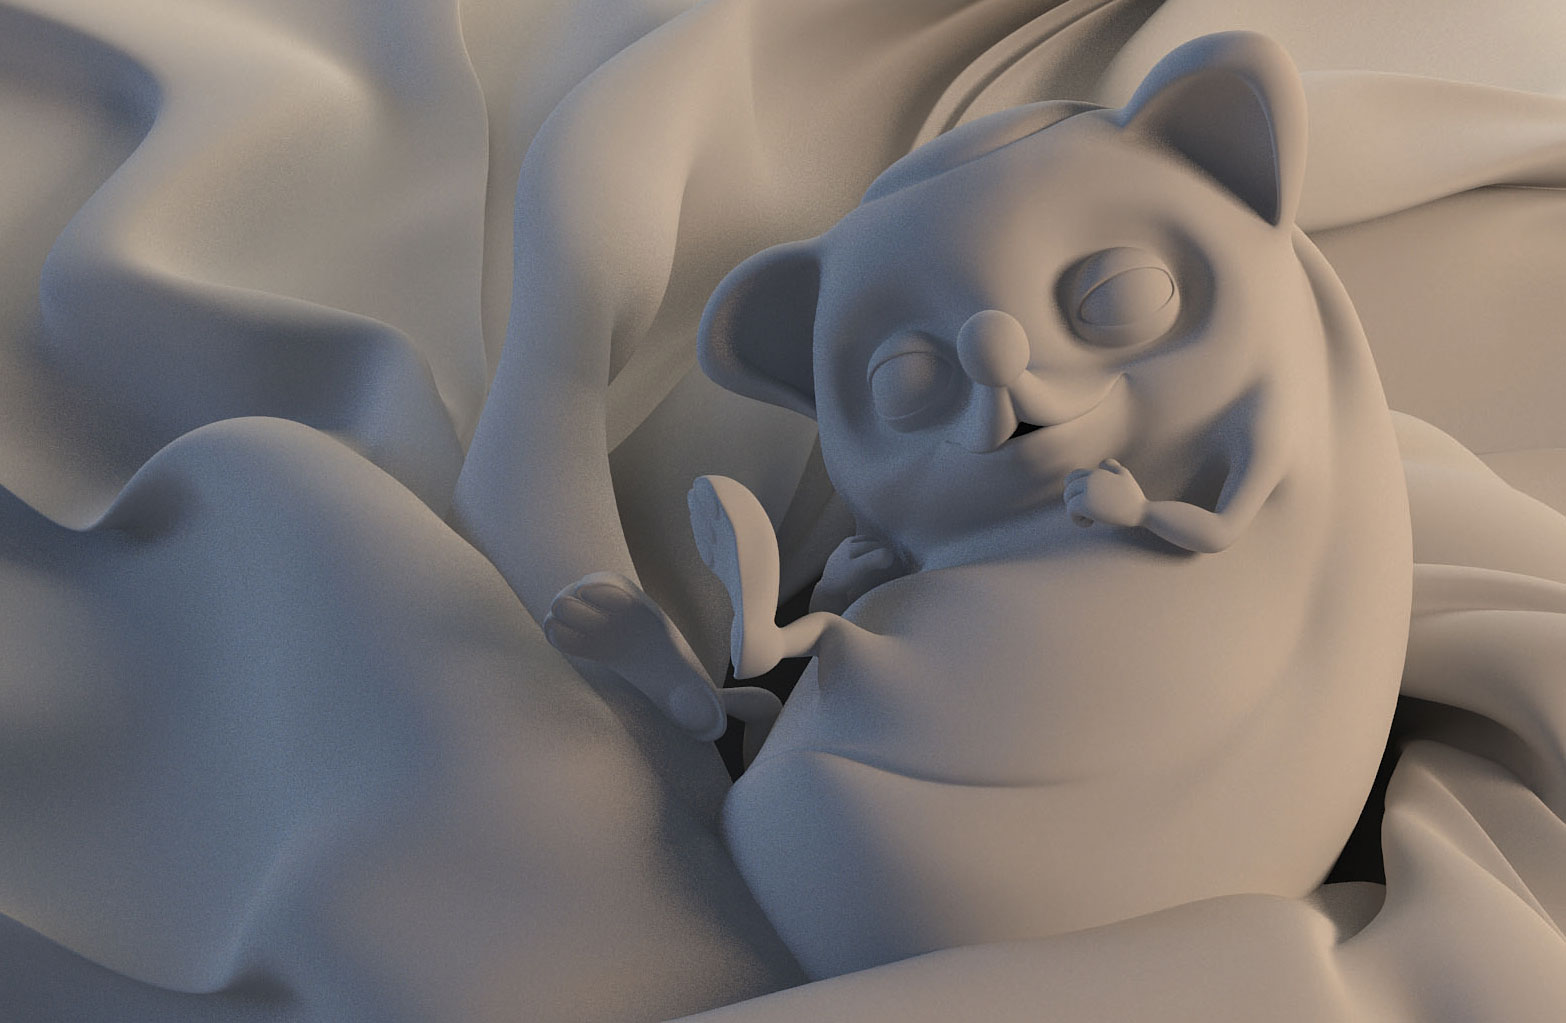
I wanted to create a scene that my character can live in. I created a towel, which I simulated using the 3ds Max Cloth modifier. When I'm happy with the result, I start to add lights to make the scene appealing. I try to keep my lighting as simple as possible, for example one Dome light HDR with a low intensity to colour the shadow, one Key light to give a direction, and one Rim light to detach the character.
06. Body fur grooming
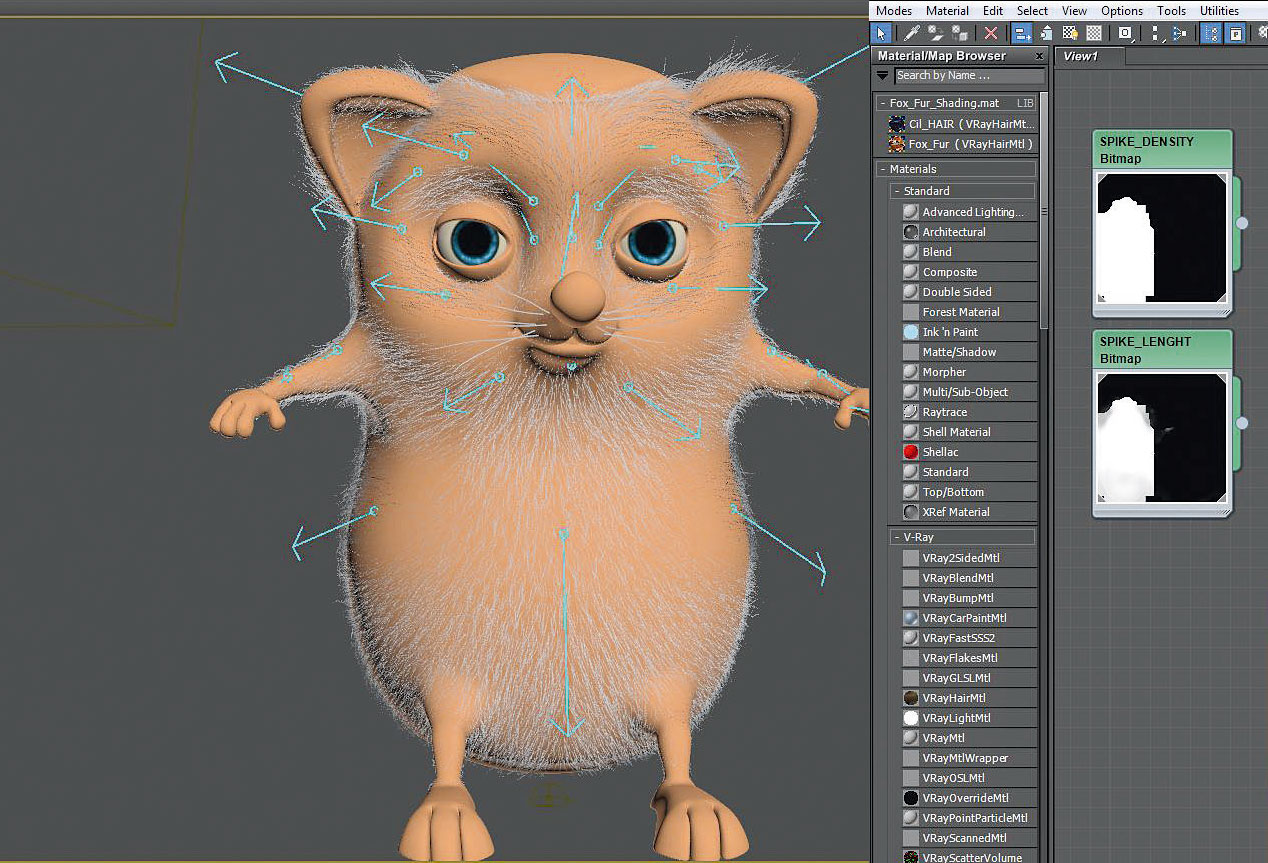
I usually start with the Add Quick Hair button. I go to Mari to create a Density map to direct where the fur will grow. Then I add and adjust others parameters like Length, Frizz and Comb to create variation in the fur. It's the key to creating realistic fur. To have more control I add maps to tweak these paramaters. In the OxSurfaceComb modifier, I like to create sinks that give the fur a direction.
07. Spike grooming
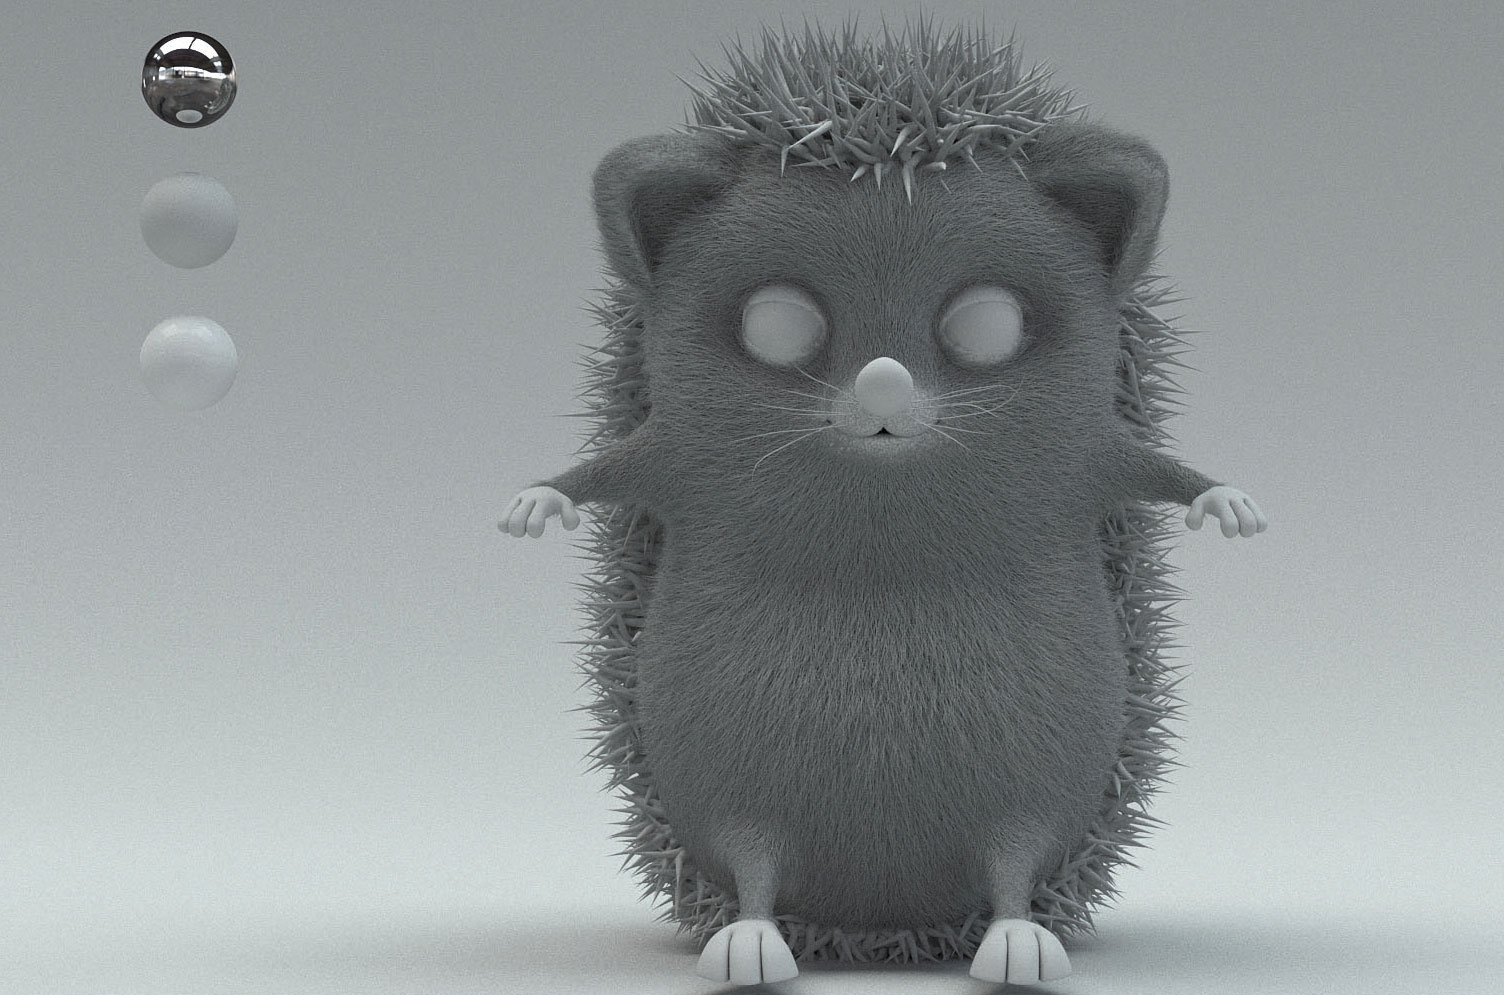
As for the body fur, I just click on Add Quick Hair button. The method of grooming here is pretty much the same as for the body fur, the only thing that will change are the parameter settings. The thickness for example will be 10 times bigger than the body fur. Play around with the different parameters to give your character the look that you want. I use a OxFrizz modifier to achieve this fuzzy look.
08. Create fur shaders
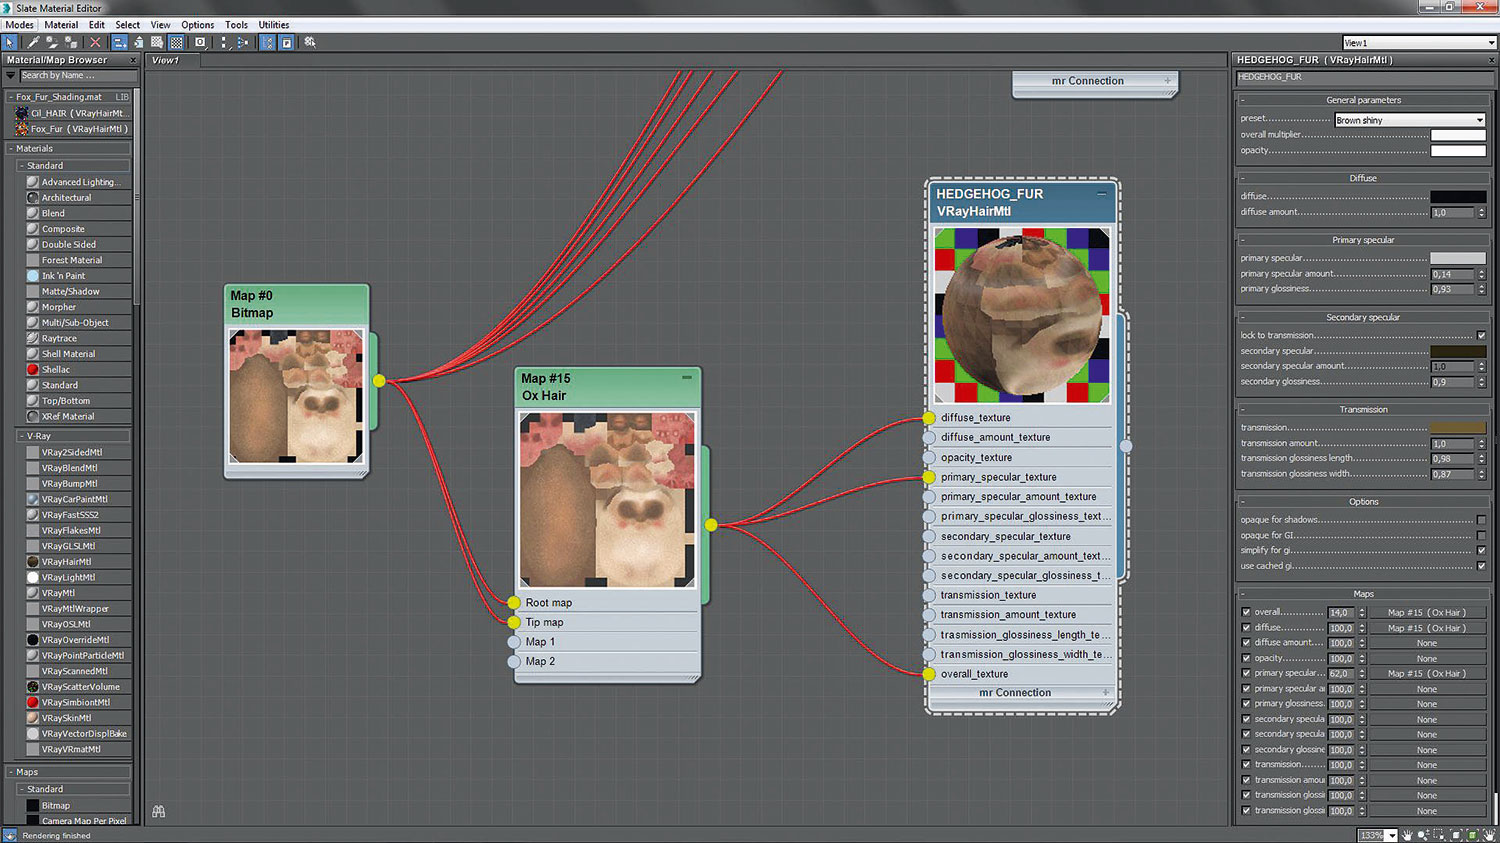
For the body fur, I use a VRayHairMtl. I use a preset to create a base, then I tweak the parameters. I plug my Diffuse map into the OxHair node's root and tip entries to give the hair its diffuse colour. For more variation, I play with the hue and value. For the spike, I use a VRayMtl with a VRayHairInfoTex to colour the tips. Dent maps are used for adding colour variation in the diffuse.
09. Towel fur grooming
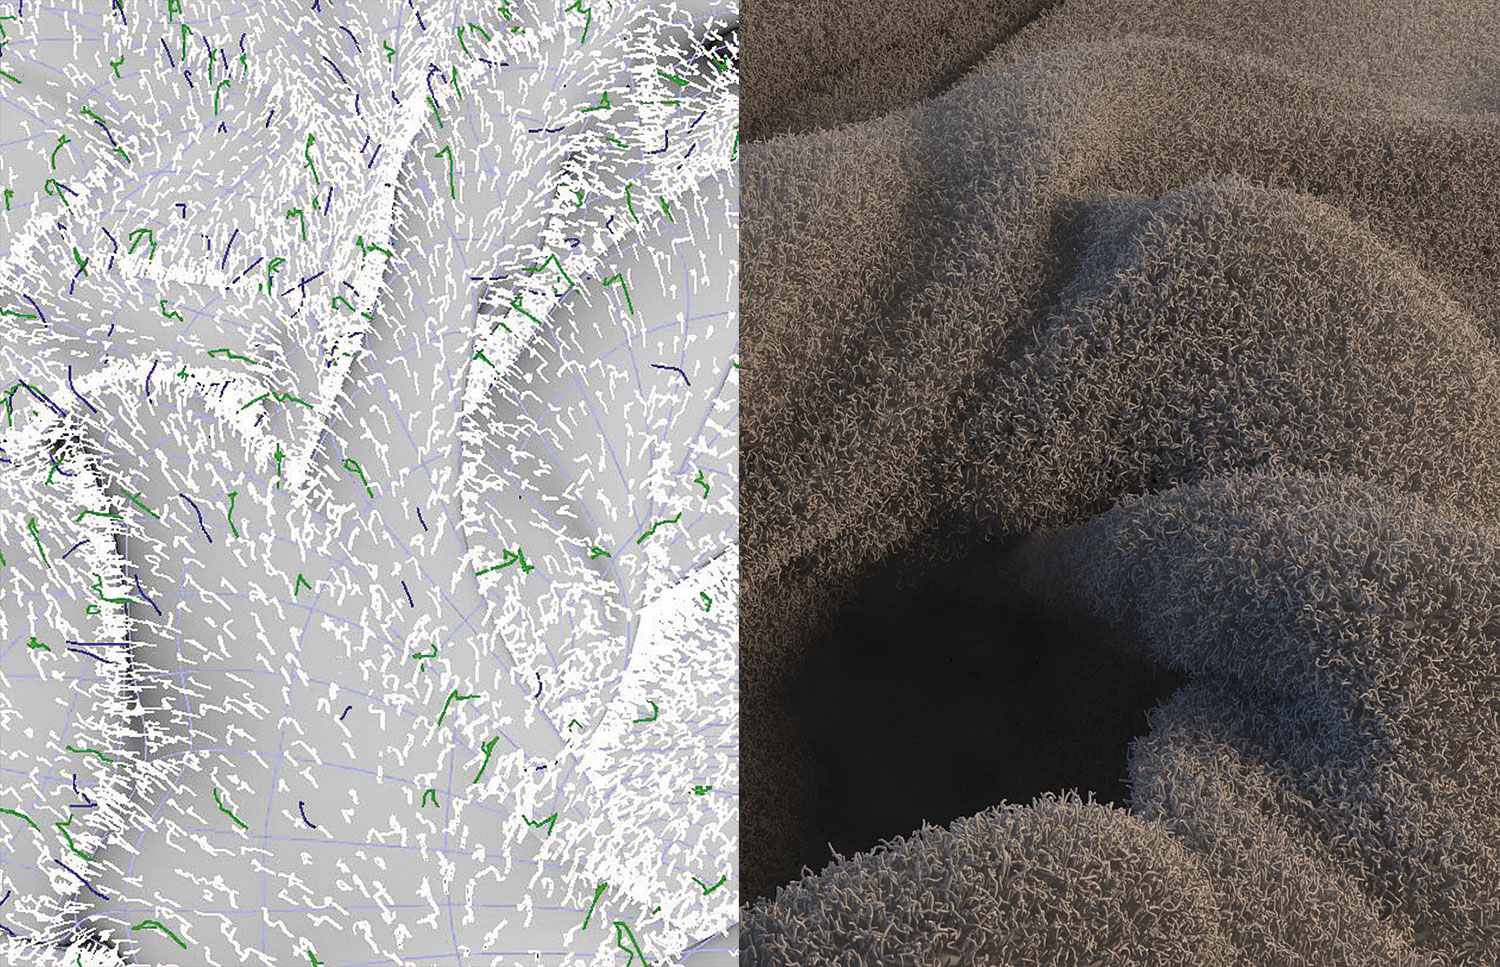
I create three different hair systems for the towel. One for the main fur, and two for adding details that I can have more control over. On the main one, I'm giving the fur a short length but quite a big thickness, with a lot of haircount on render (1 million per system). The other two are there to break the linearity and add some fluffy, thick fur with less haircount on render (10,000 per system).
10. Towel shading
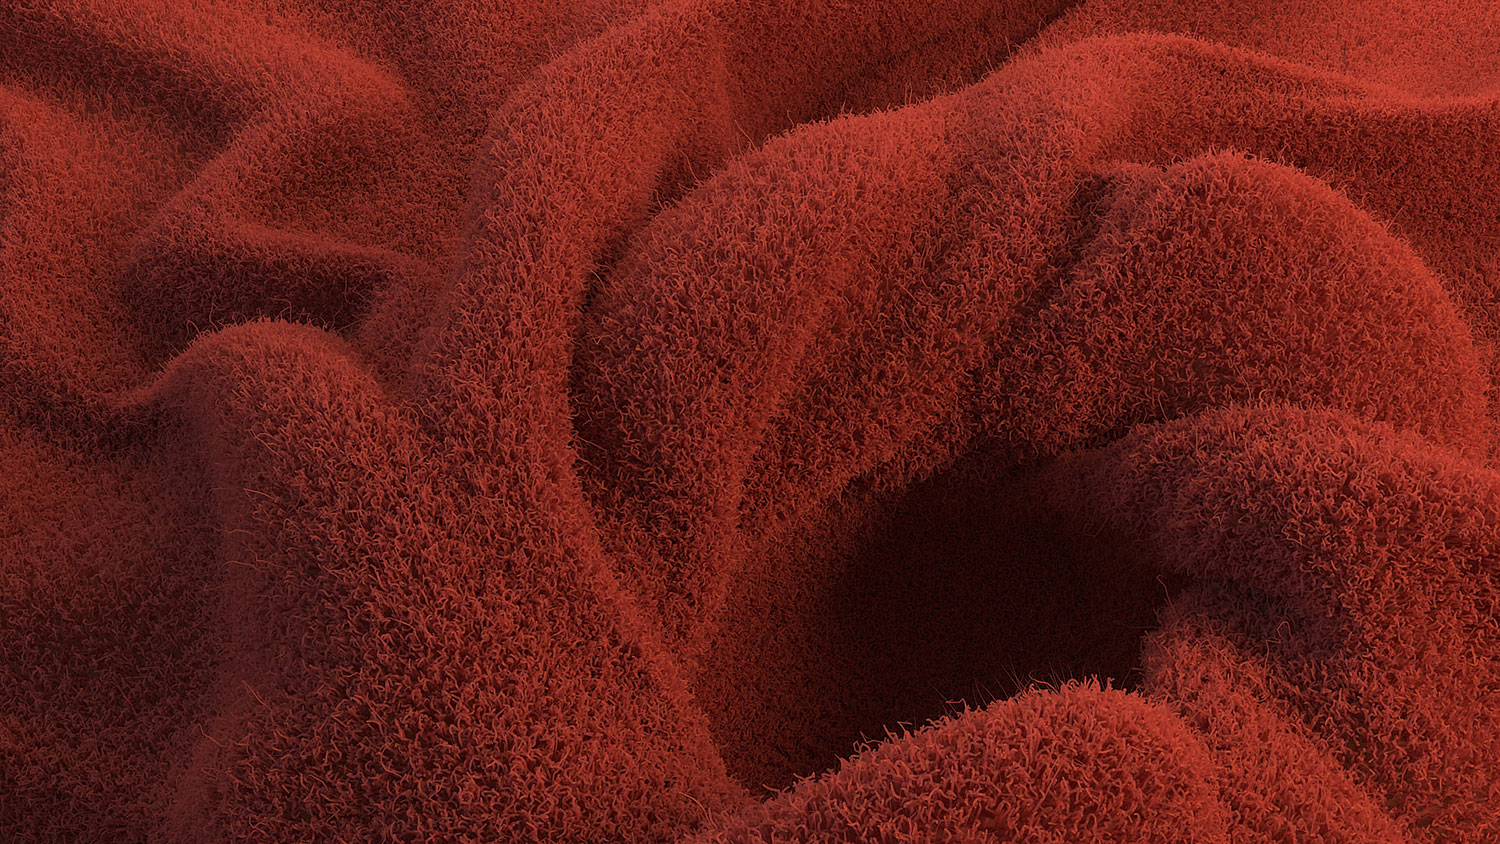
VRayHairMtl is a very cool material which allows you to have a lot of control. For the towel, I chose to use a basic VRayHairMtl with a red shiny preset, where I could change the diffuse colour to something more orange. For realistic fur (but longer rendertime), uncheck Opaque for GI and Opaque for Shadow. In the lastest version of Ornatrix, an intensity multiplier was added so I could easily control the colour intensity of the hair, without breaking the shader parameter.
11. Ornatrix with V-Ray
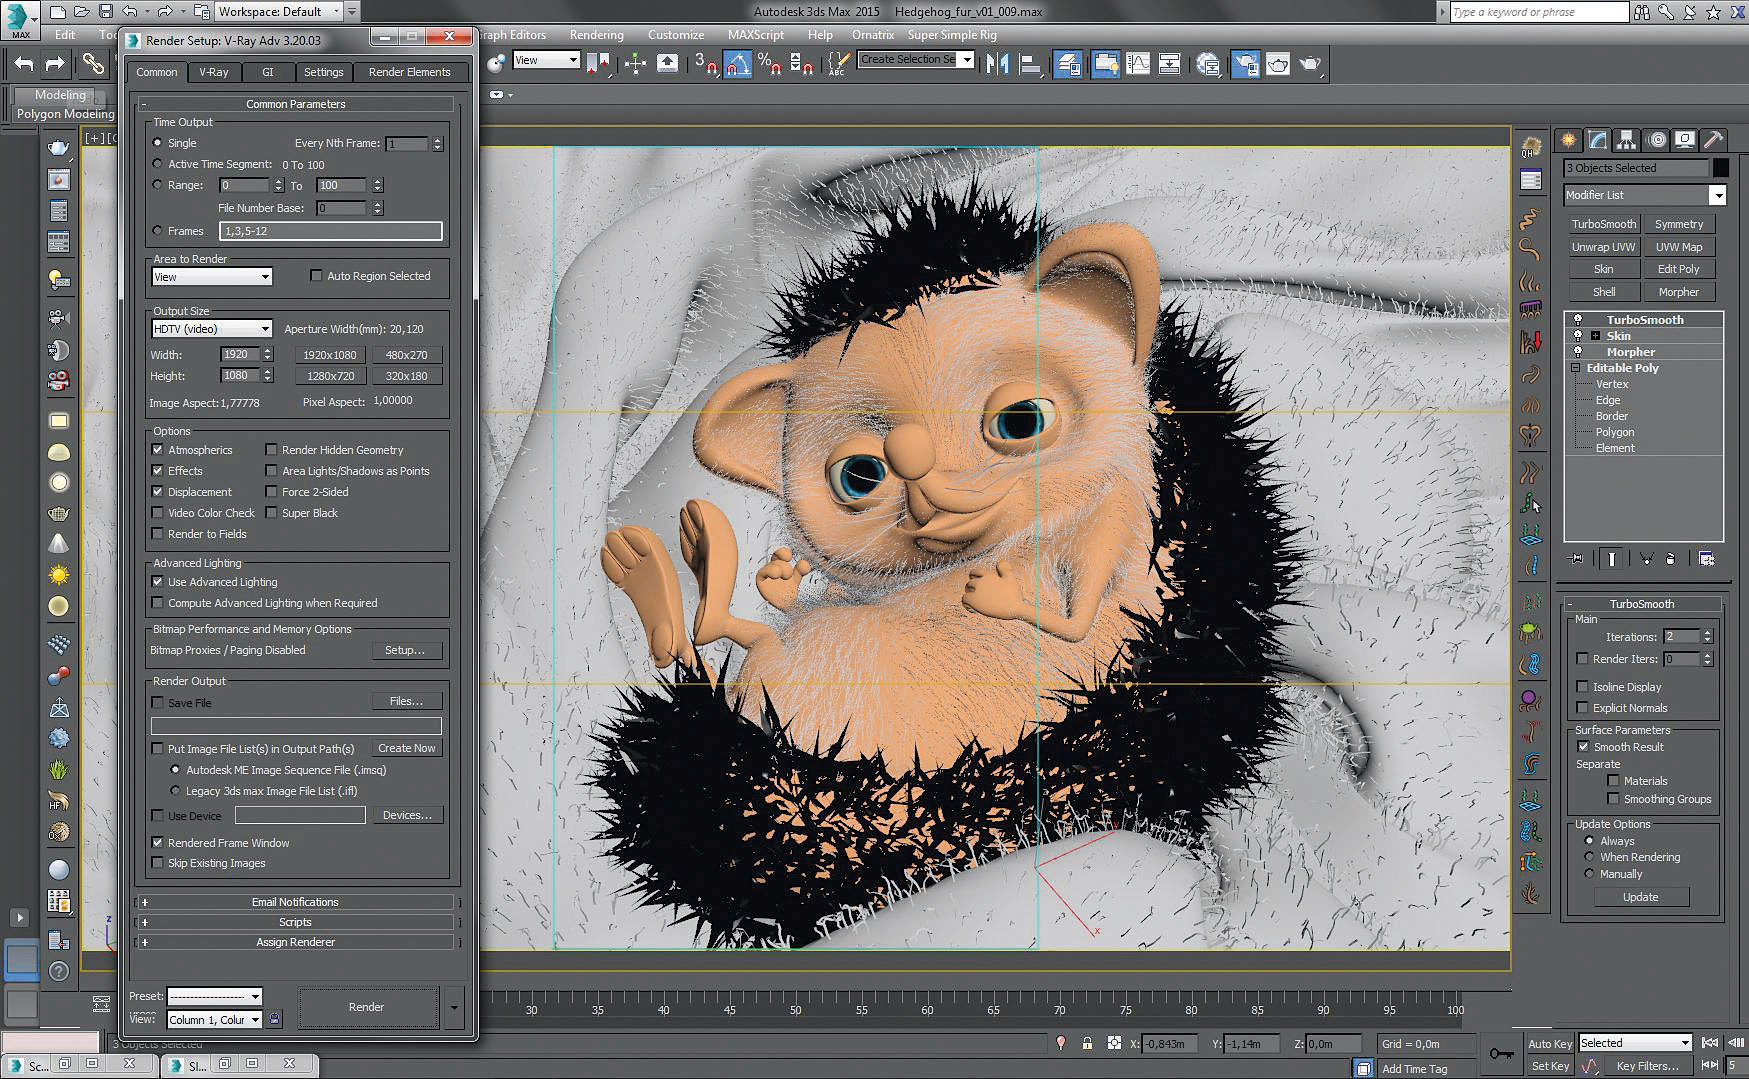
To render realistic fur with V-Ray, you need to add some GI and use a linear worflow. The best setting to render on in order to avoid the hair flickering, is Brute Force as the primary bounce, and Lightcache as the secondary. If you want to render an animated sequence without the flickering issue, this is definitely the best way. You can also play with the AA filtering for smoother results on render, but it will be more time consuming.
12. Final nuke compositing
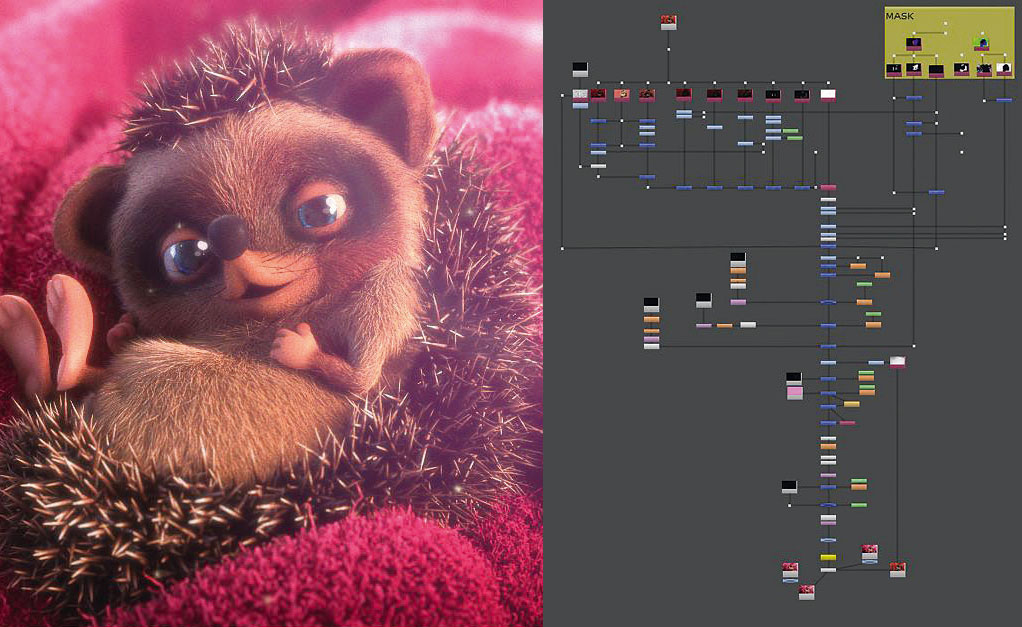
I like to use Nuke for compositing because during the early rendering stage it allows me to set up a pipeline, to show how the final image will look. Since my hedgehog is very tiny, I play with the ZDefocus to add some macro effect. I separate all elements with the MultiMatteObject render pass in order to have full control over them during compositing. To finish, I add some lens distortion, vignetting and grain.
This article originally appeared in 3D World issue 208; buy it here!

Thank you for reading 5 articles this month* Join now for unlimited access
Enjoy your first month for just £1 / $1 / €1
*Read 5 free articles per month without a subscription

Join now for unlimited access
Try first month for just £1 / $1 / €1
