Create a 3D landscape in 6 simple steps
Learn how to use Wysilab's Instant Terra tool to make your own natural environment.
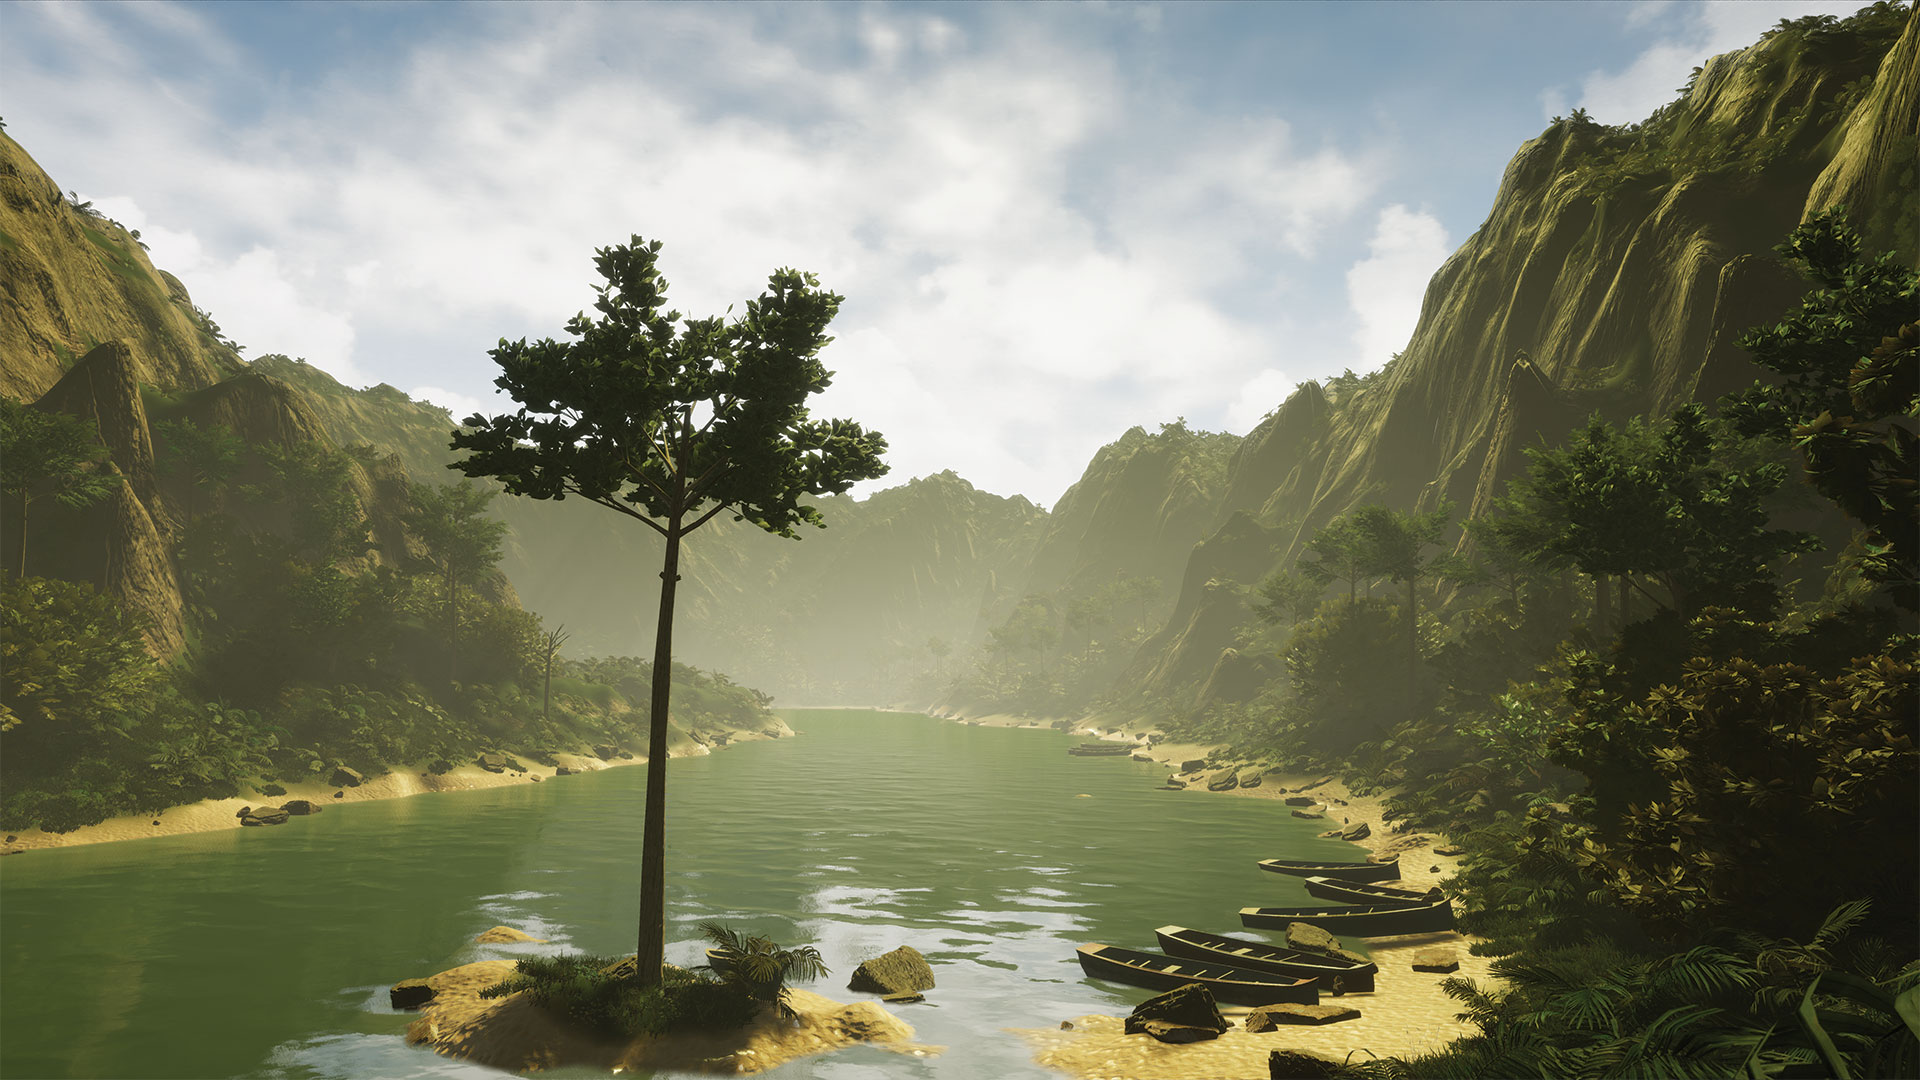
Creating a piece of 3D art with a natural-looking landscape might seem like a challenge, but if you use the right tools then it's possible to generate a realistic environment with the minimum of effort.
With Wysilab's Instant Terra tool, world-building becomes almost criminally easy; once you know what you're doing you'll be able to go from nothing to a photorealistic vista in just six steps; here's how it's done.
01. Generate the terrain
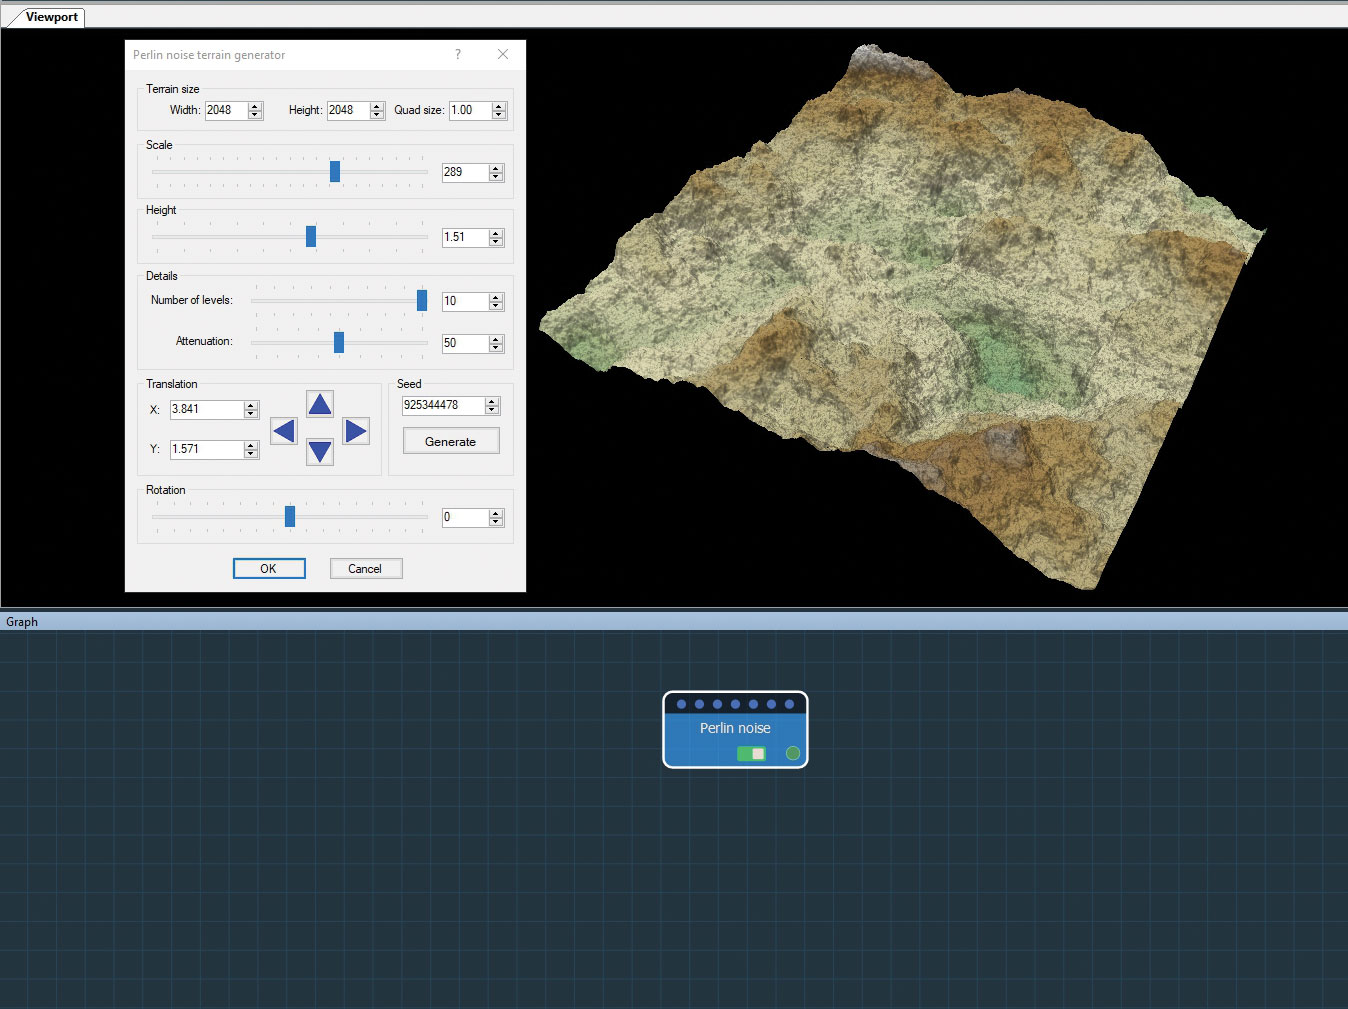
Start a project by adding one of Instant Terra’s terrain generators. The Viewport displays a visual representation of the terrain and the Graph hosts the procedurally linked nodes that compose the terrain. Double click on the node to open its parameters and modify them to begin shaping the terrain. You can also import terrains from single image files or several image files and modify them.
02. Transform the terrain
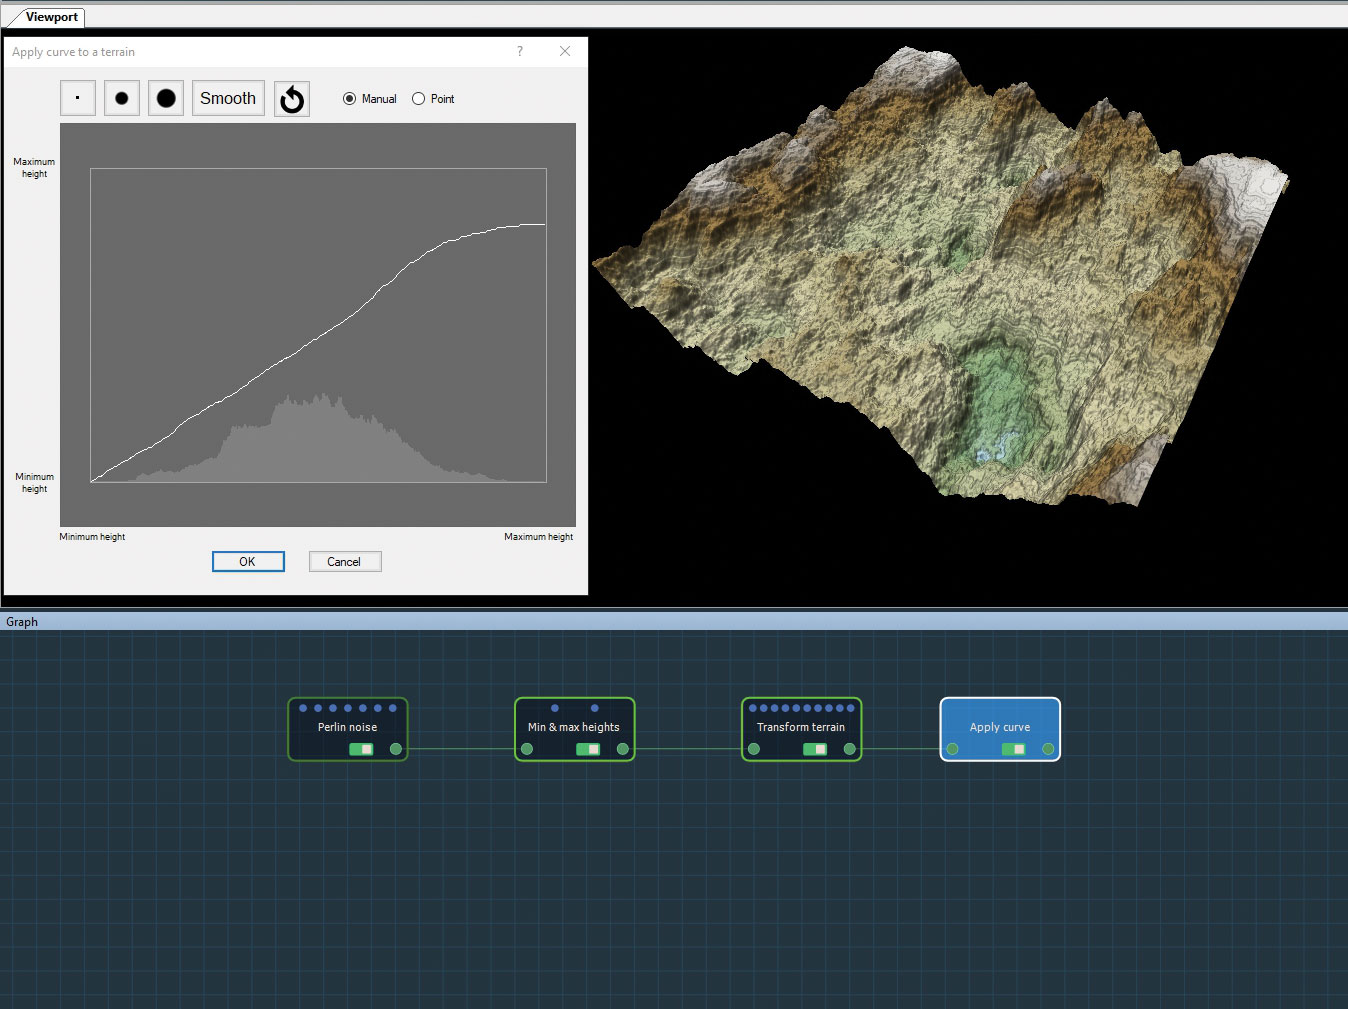
Explore different approaches by linking nodes, for example, to constrain the elevation, compress the terrain on the Y axis to achieve a folded structure, and create a natural slope. The individual nodes accumulate procedurally, and can be mixed using composition nodes to form the different geological properties of the terrain. Focus first on global forms and then refine the terrain by adjusting each node’s parameters.
03. Compose the terrain
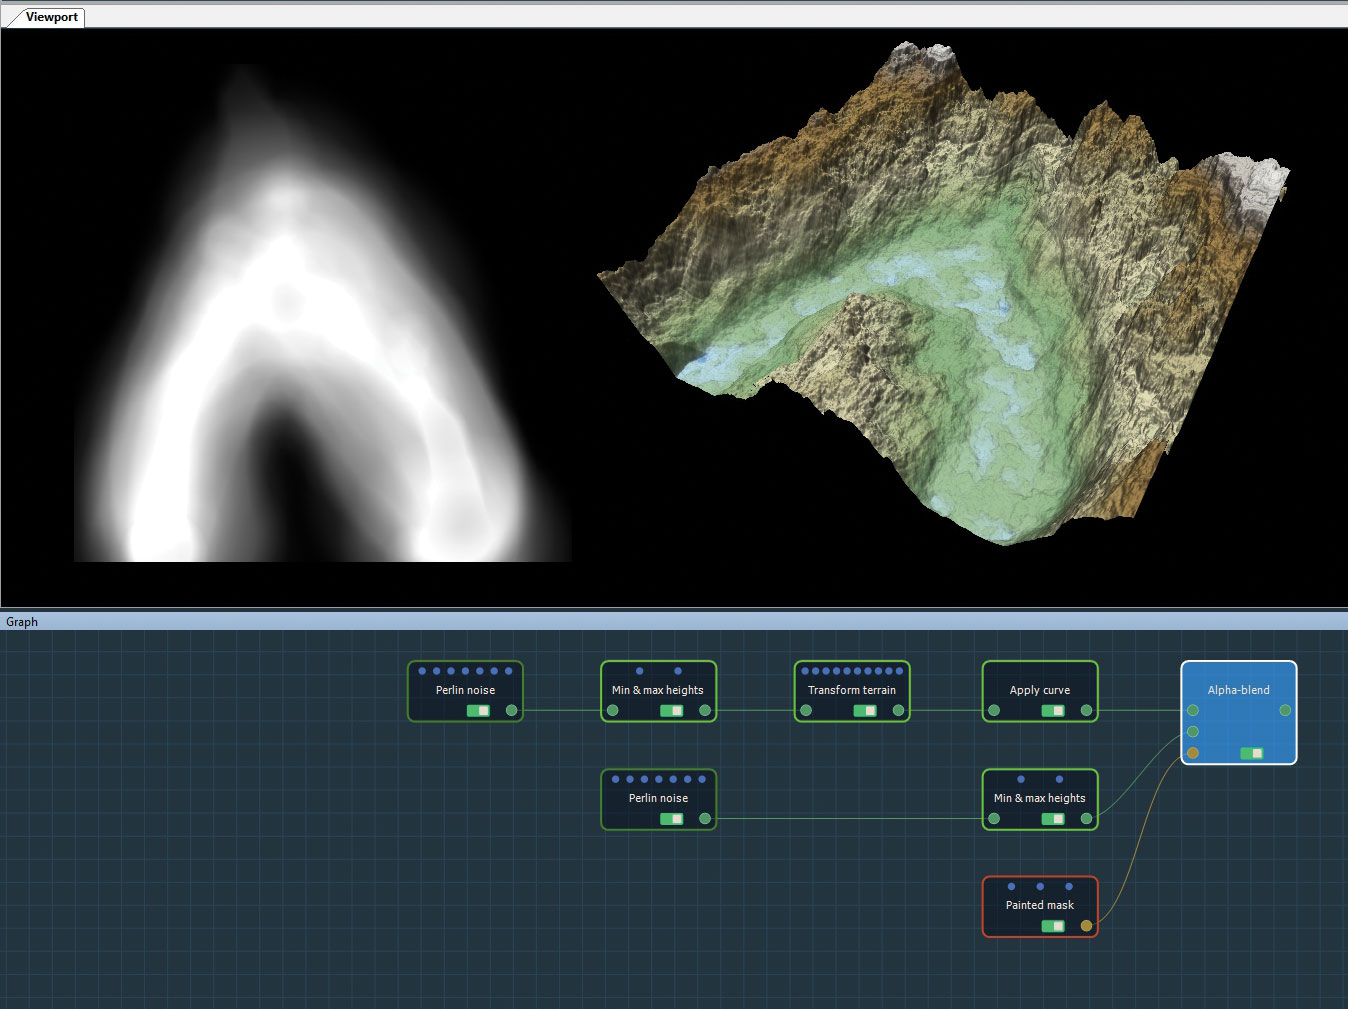
Compose two terrains and use the multiplier coefficients of each terrain to create a combined result. Full composition gives maximum freedom when composing terrains with translate, scale, and rotate options. You can also compose two terrains with a mask, for example, paint a mask directly in the 3D view and compose it with mountains and a less steep, sandy terrain to define where the river flows.
04. Simulate erosion
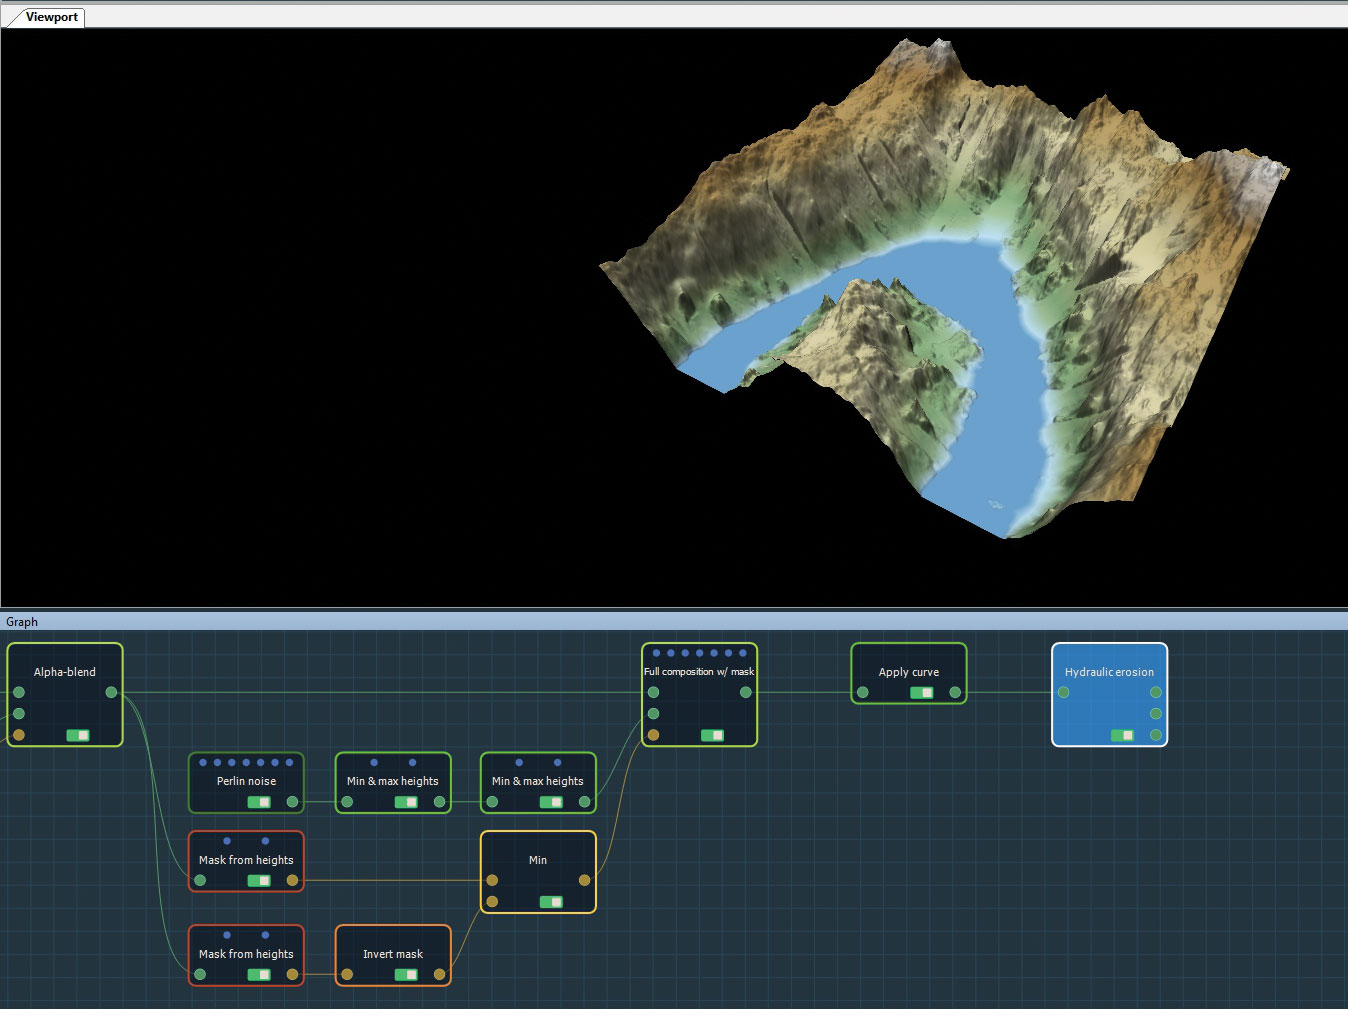
Create realistic erosion and deposition effects caused by rainfall and river flows. Combine two masks with different heights, and then use the height values to define the area between the river and the mountains. Edit the mask properties or combine them using mask composition nodes to achieve a final result. Apply global erosion to simulate the sediment that has been washed away by the runoff.
05. Generate masks and export options
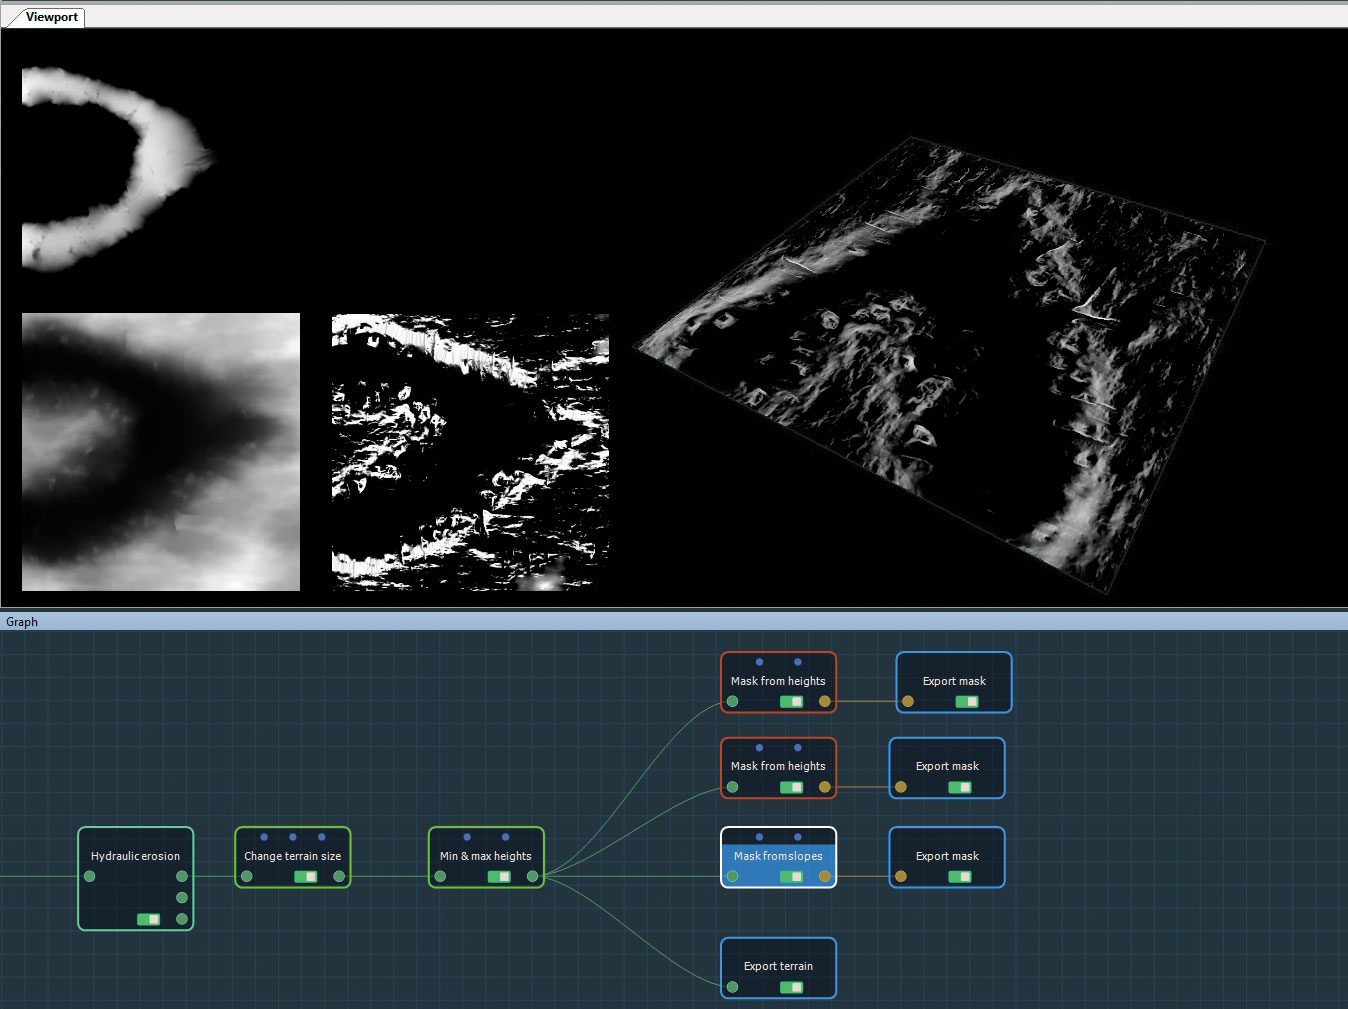
Generate masks from the terrain properties, such as slope, height, curvature, or angle, and export them to use them later to achieve an effect. The mask created has the same size and resolution as the input terrain. You can also export a terrain as a grayscale height map or a mesh. If the terrain has a colour map, you can export it as an image file.
Get the Creative Bloq Newsletter
Daily design news, reviews, how-tos and more, as picked by the editors.
06. Create a landscape
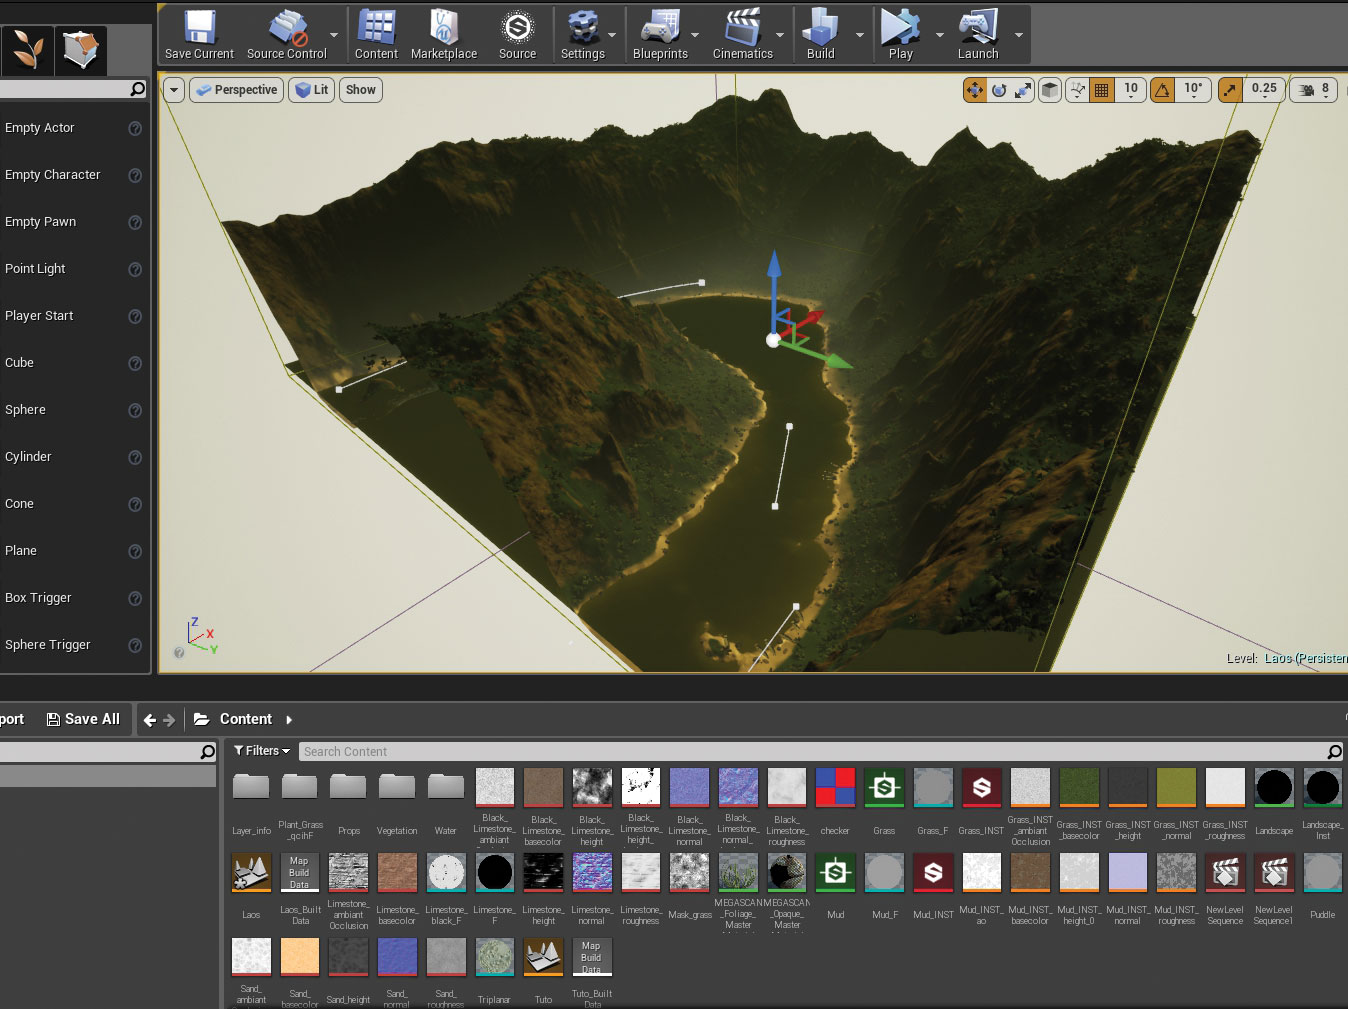
Import the terrain with a rendering engine, combine the exported masks, and apply different materials. The masks are used to define where to apply terrain assets, such as grass, trees, or rocks, etc, in order to create a landscape. The workflow remains approximately the same for all of the rendering engines: here, we use Unreal Engine, but you can alternatively export to other software such as 3ds Max, Unity or Maya.
This article was originally published in issue 238 of 3D World, the world's best-selling magazine for CG artists. Buy issue 238 here or subscribe to 3D World here.
Related articles:

Thank you for reading 5 articles this month* Join now for unlimited access
Enjoy your first month for just £1 / $1 / €1
*Read 5 free articles per month without a subscription

Join now for unlimited access
Try first month for just £1 / $1 / €1
