How to combine 3D and comic art in ZBrush
Capture a cel-shaded comic aesthetic using ZBrush and VR.
17. Detail the suckers
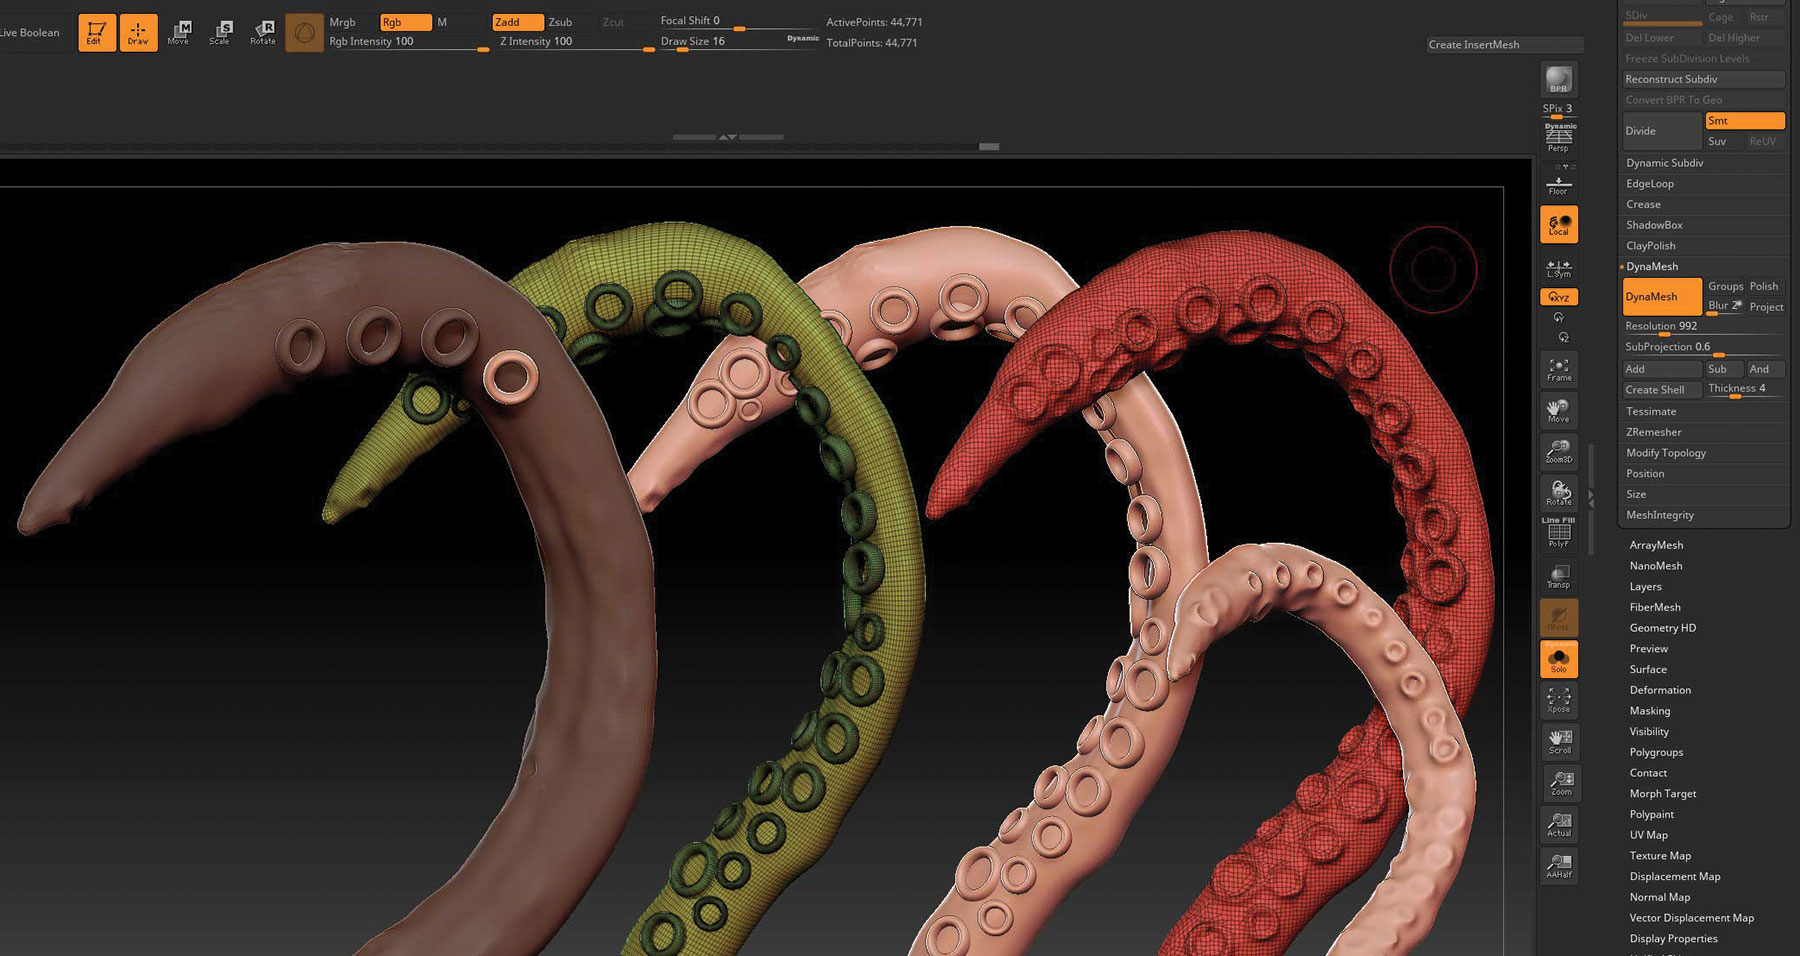
To make the suckers Insert brush choose Ring3D from the Tool panel. Select Make PolyMesh3D so it is editable. Using the Move tool, scale the ring along one axis so it is taller. Go to Brush and create an Insert brush as we did for the spaceship. Now go back to the tentacle and draw on the new suckers one by one. Once you have them all placed, DynaMesh the final tentacle. You can duplicate this tentacle a few times, but with shape variations to suit the composition.
18. Make waves
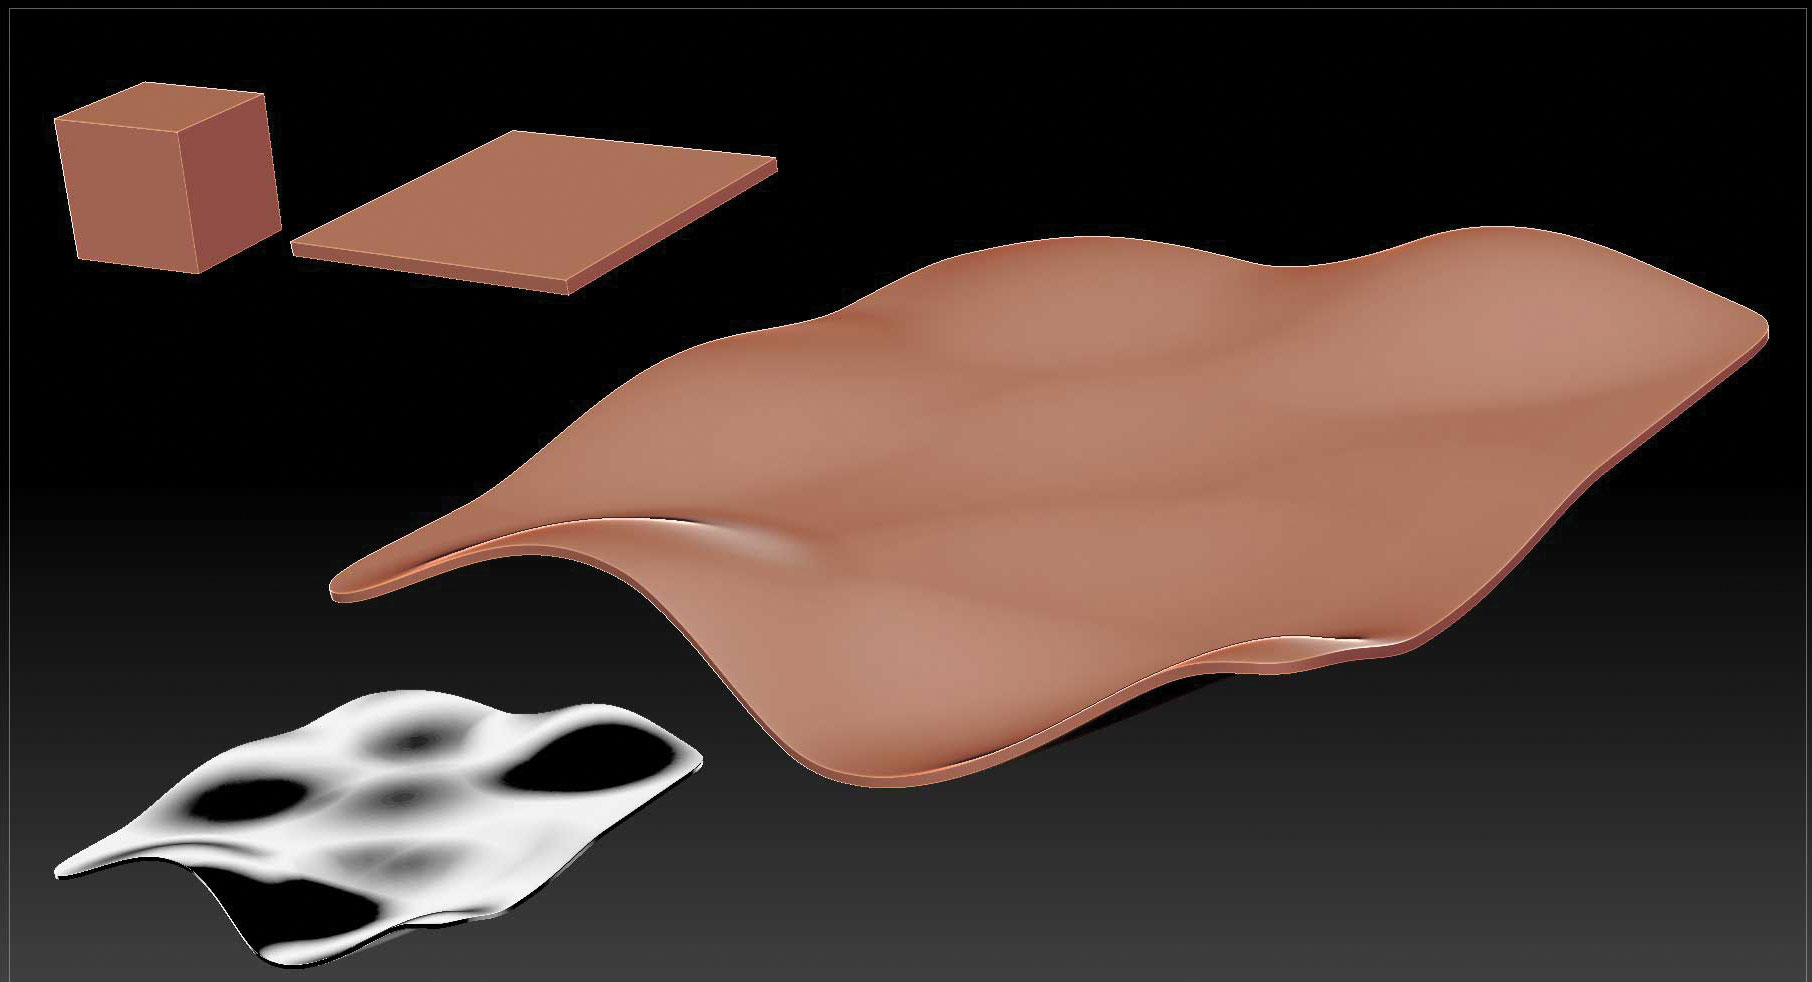
The sea can be made from a simple primitive shape. We don’t want it to be completely wafer thin, so use a Cube3D and Make PolyMesh3D to make it editable. With the Move tool, flatten it right down to a very thin profile. Divide it a few times to give you lots of polygons to work with. You can DynaMesh instead if you wish. Use the Move tool and a large brush size to get the shape of the main waves correct. Append it into the main scene and duplicate it a few times for the background waves.
19. Focus on scene composition
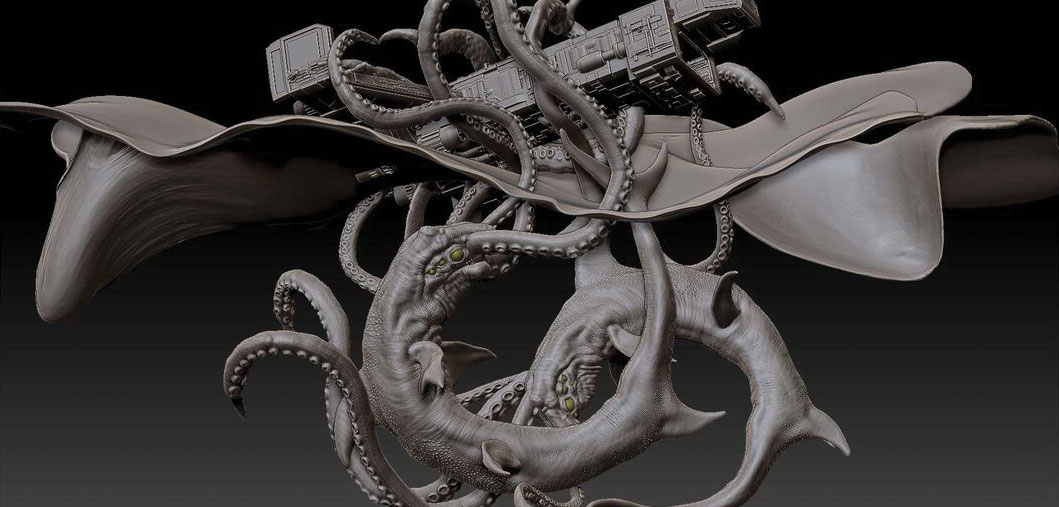
Make sure that you now have all of the models we created in the same ZTool as separate SubTools. If you have missed anything or have not duplicated something, do it now as we work out the main composition.
With Perspective turned on, align the ZTool to match the initial sketch. Using the Move tool on each layer, push or pull the tentacles and waves into the best position. Make sure the tentacles grab ahold of the ship. Don’t mess with the spaceship at this point, other than rotating.
20. Render in a flat comic style
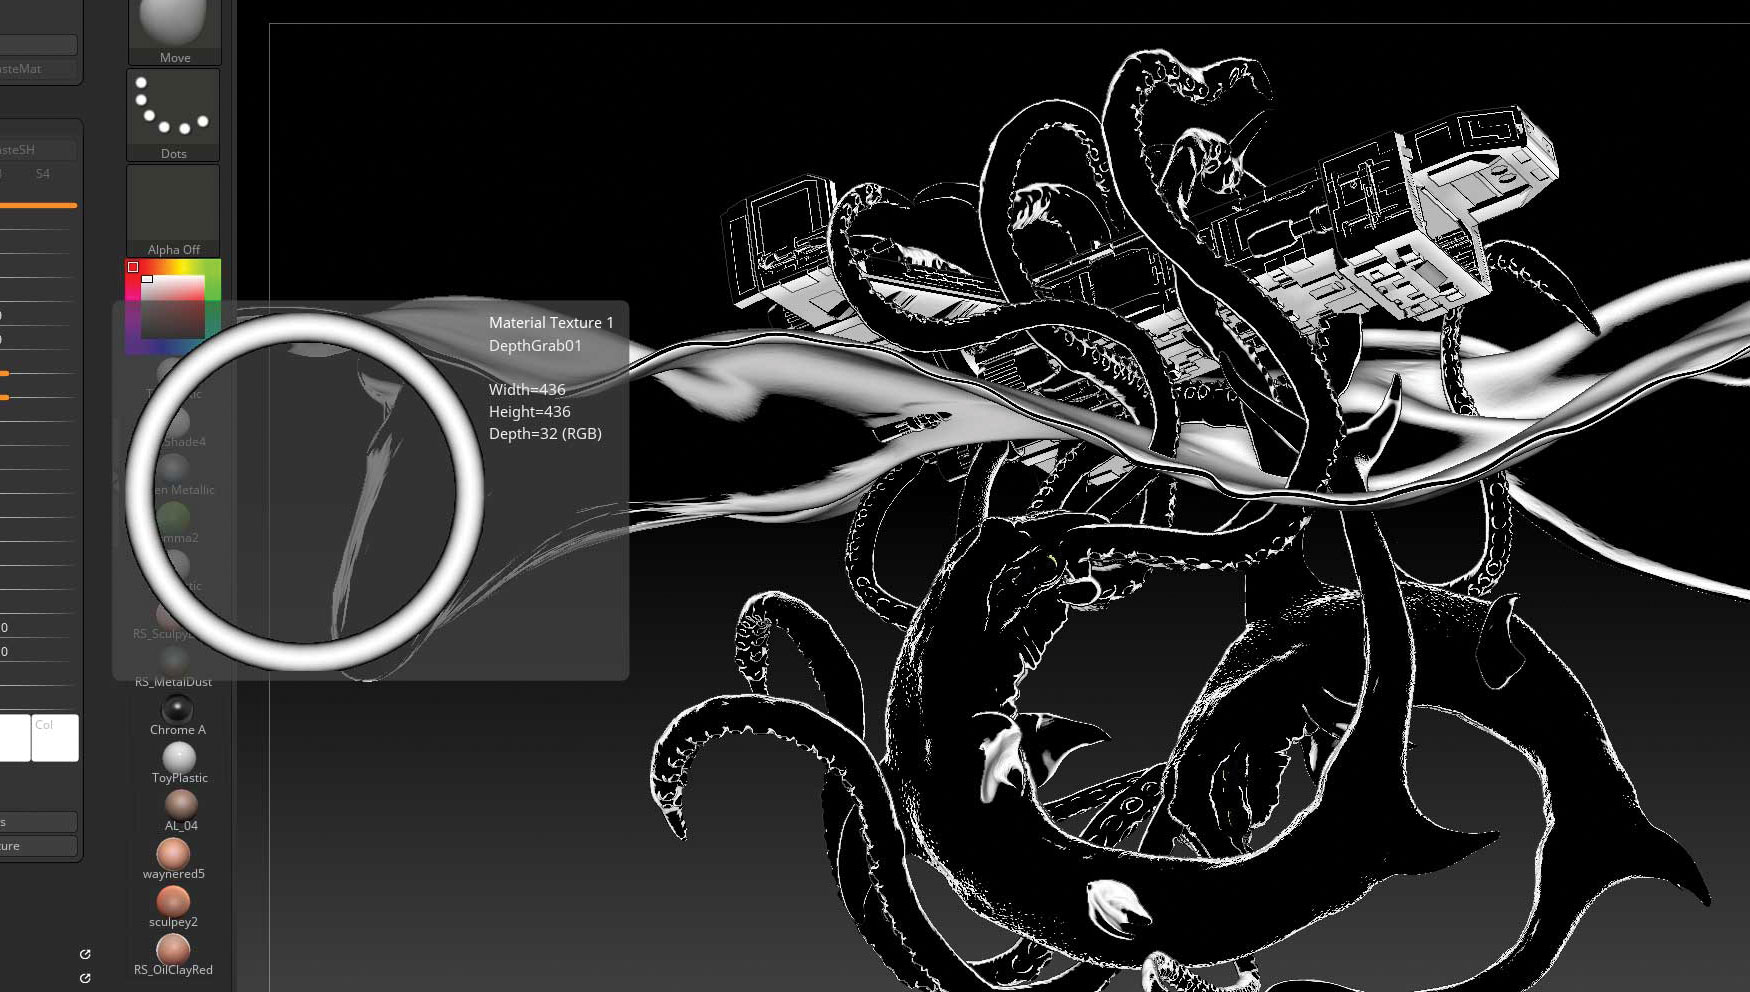
As we went along with the project we used a material called Outline. This is a default in ZBrush and it gives us an idea of what a basic comic render might look like. Now it’s time to make our own materials to suit the project. Take a look at the Modifiers in the Outline material and at the bottom, you will see that the material is using a texture that is basically a black circle with a white outline. This is called a MatCap, and it is how we will go about making our own materials.
21. Change the Matcap image
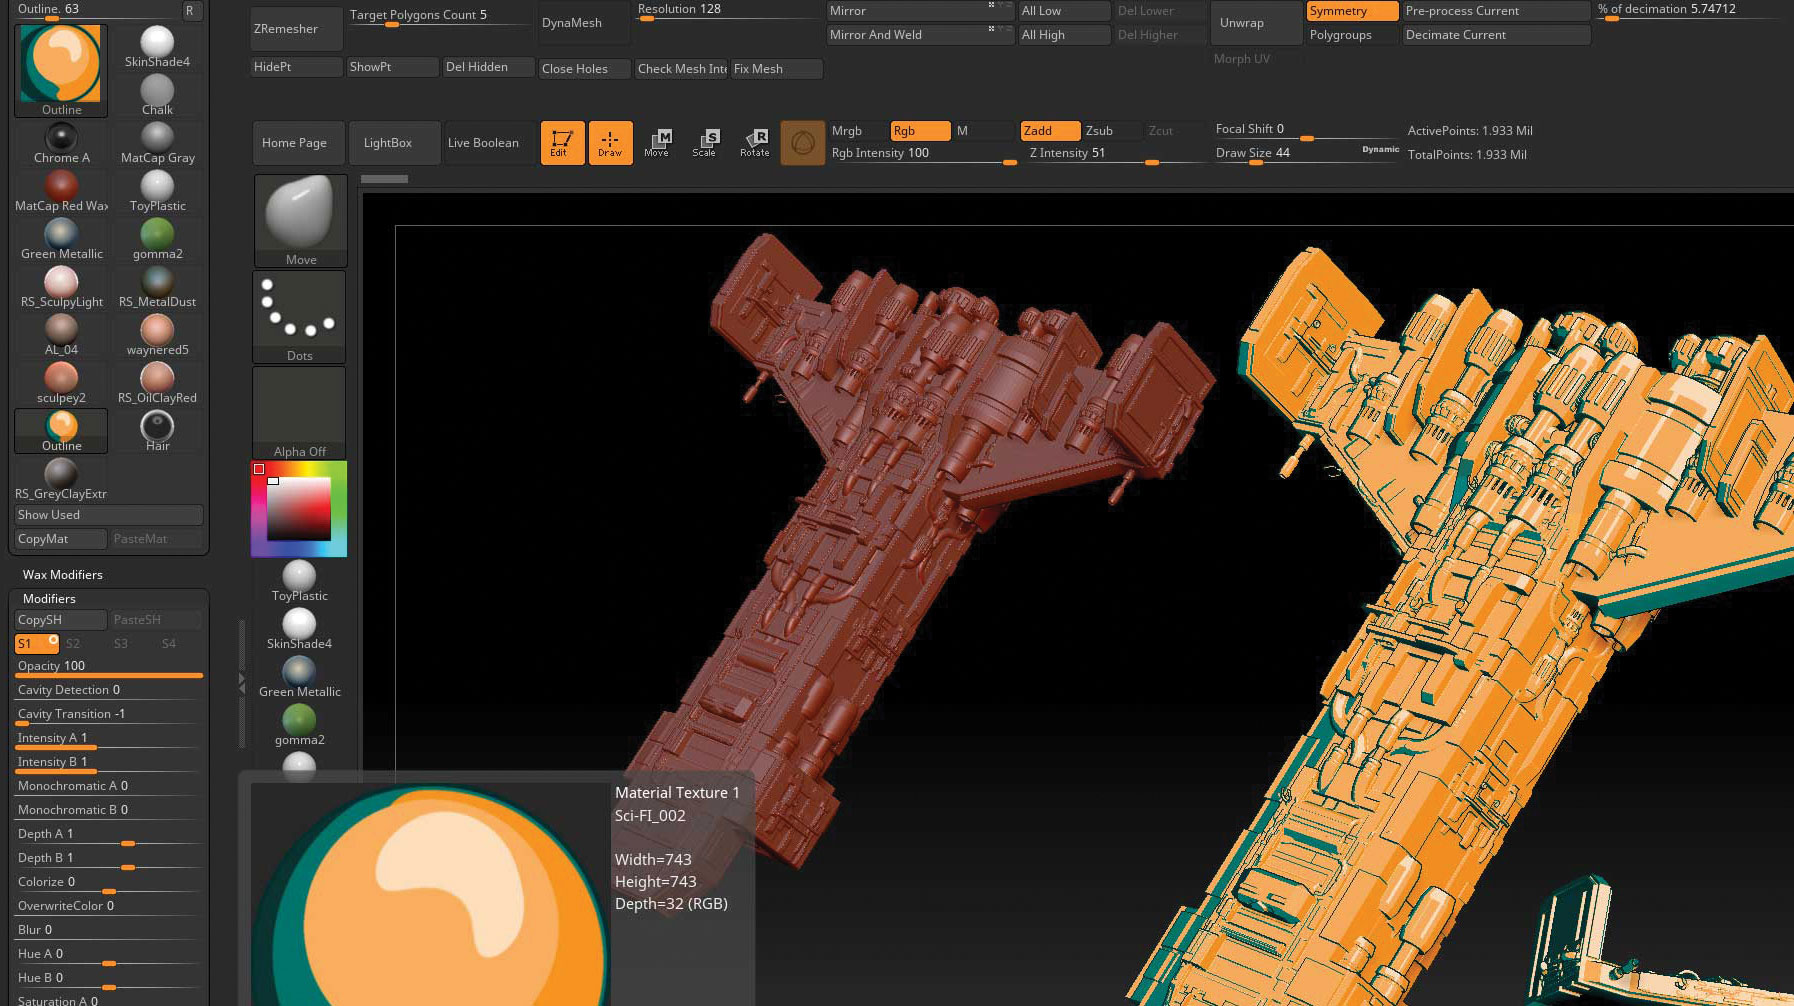
The render style is defined by the image that you load into the texture box at the bottom of the Modifiers panel. Load in any image and see what effect it has on the ship mode for example. The image represents an environment sphere, so if you use an image with a red centre that will show front and centre on your model. As it is a comic style, we need to keep the number of colours to a minimum. The basic Outline material only has black and white.
22. Make your own images in Photoshop
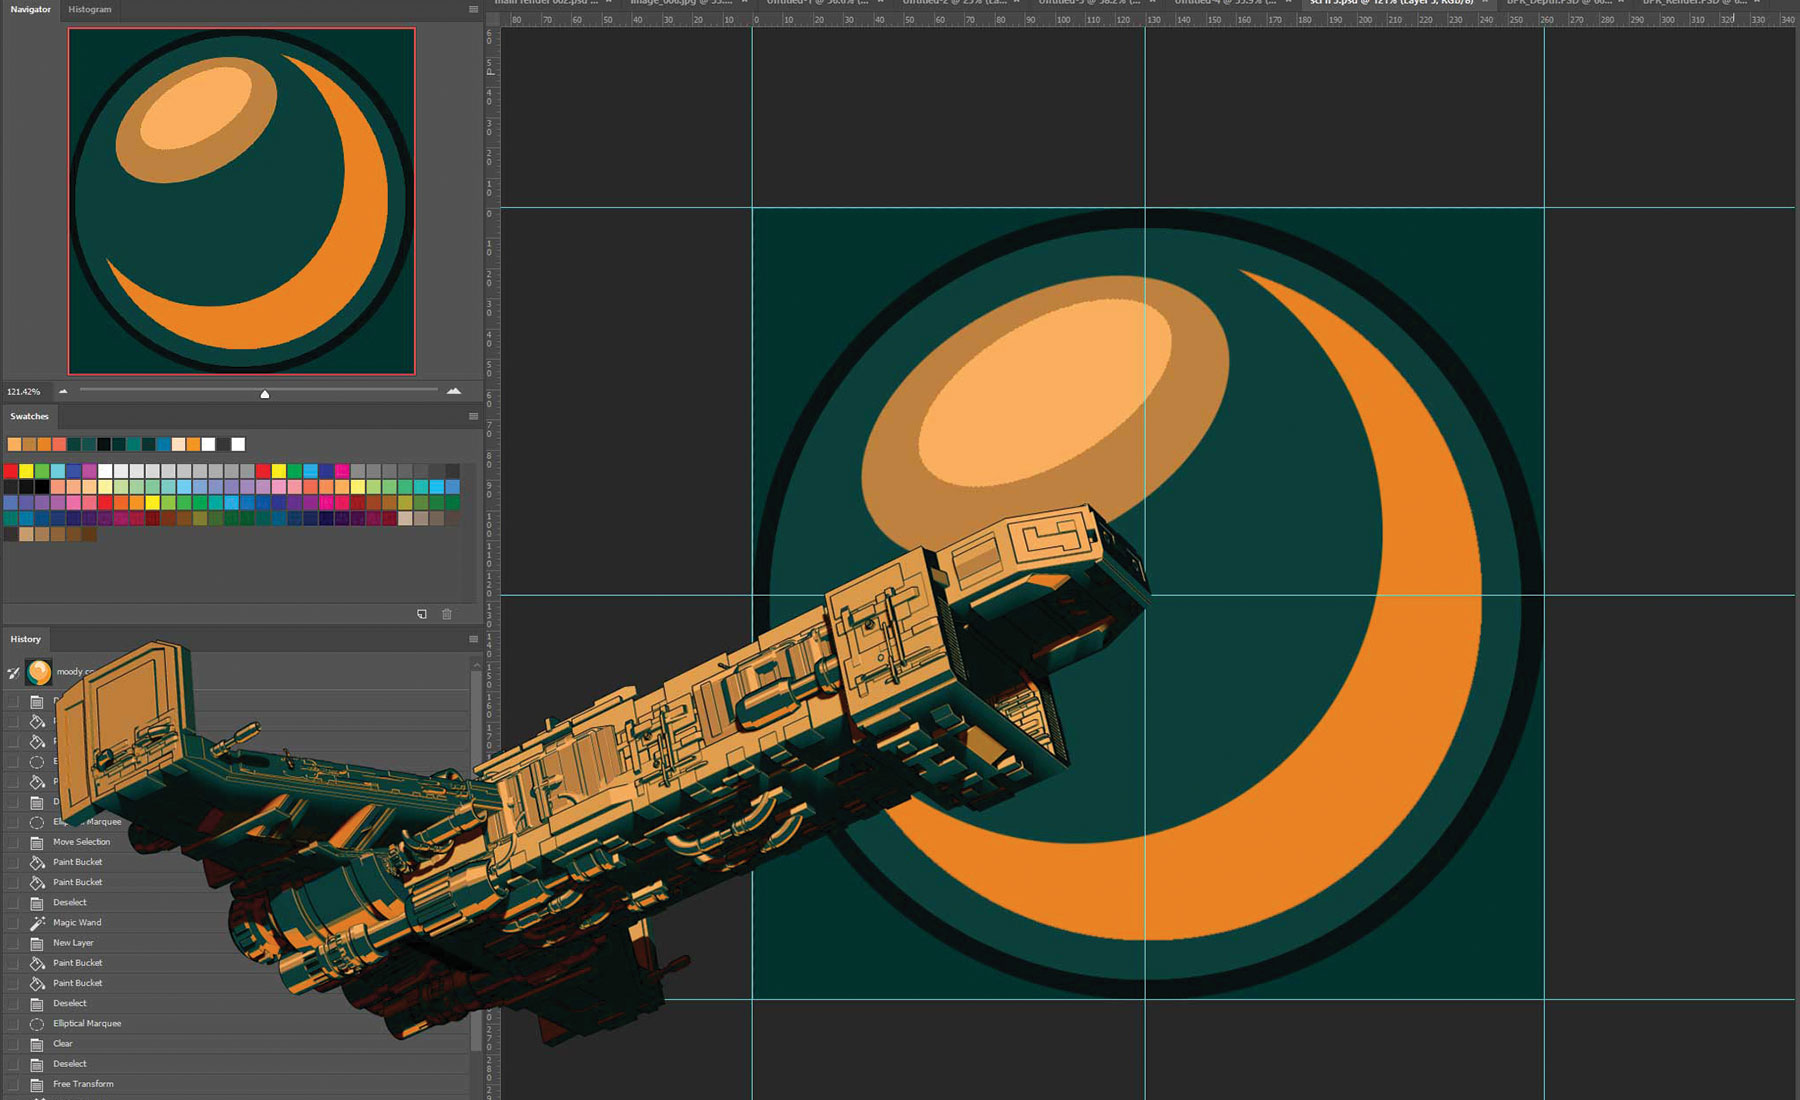
This takes some trial and error, so be prepared to make lots of Photoshop images and to experiment with them on your models. Make a square Photoshop document. Draw a circle exactly in the centre. Outline that circle with a dark colour. For this project, I used a dark blue-green for the underside of the models and a variety of oranges for the upper parts. Replicate that in the Photoshop document with crescent shapes and lighter highlight circles. Save that image and load it into the material via the import.
Get the Creative Bloq Newsletter
Daily design news, reviews, how-tos and more, as picked by the editors.
23. Render different styles
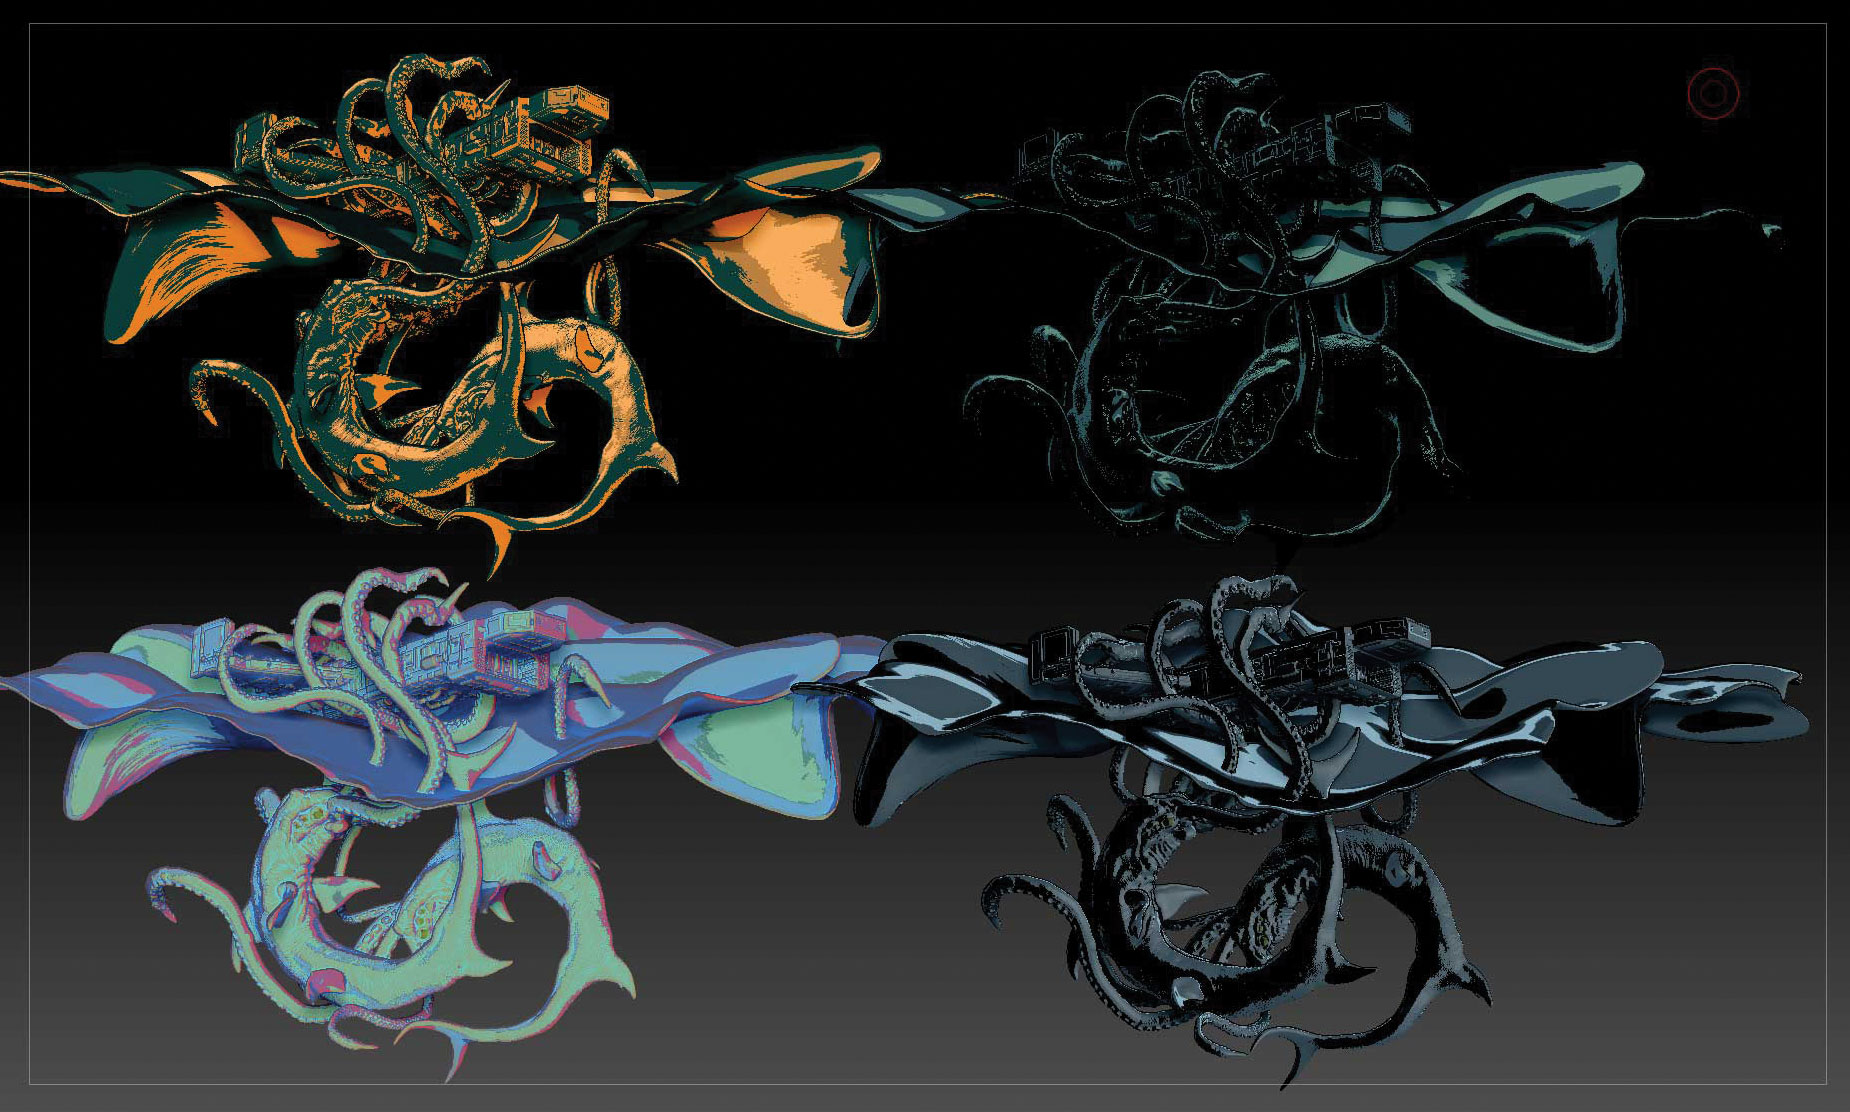
To get the overall look for this scene we need to render out a few different comic styles. The squid will be mostly dark green-blue while the sky and top of the ship will need to be a light orange. The are lots of resources online where you can acquire material images and sets. I bought some from Pablo Munoz , who has some amazing textures, materials and even templates.
24. Render passes
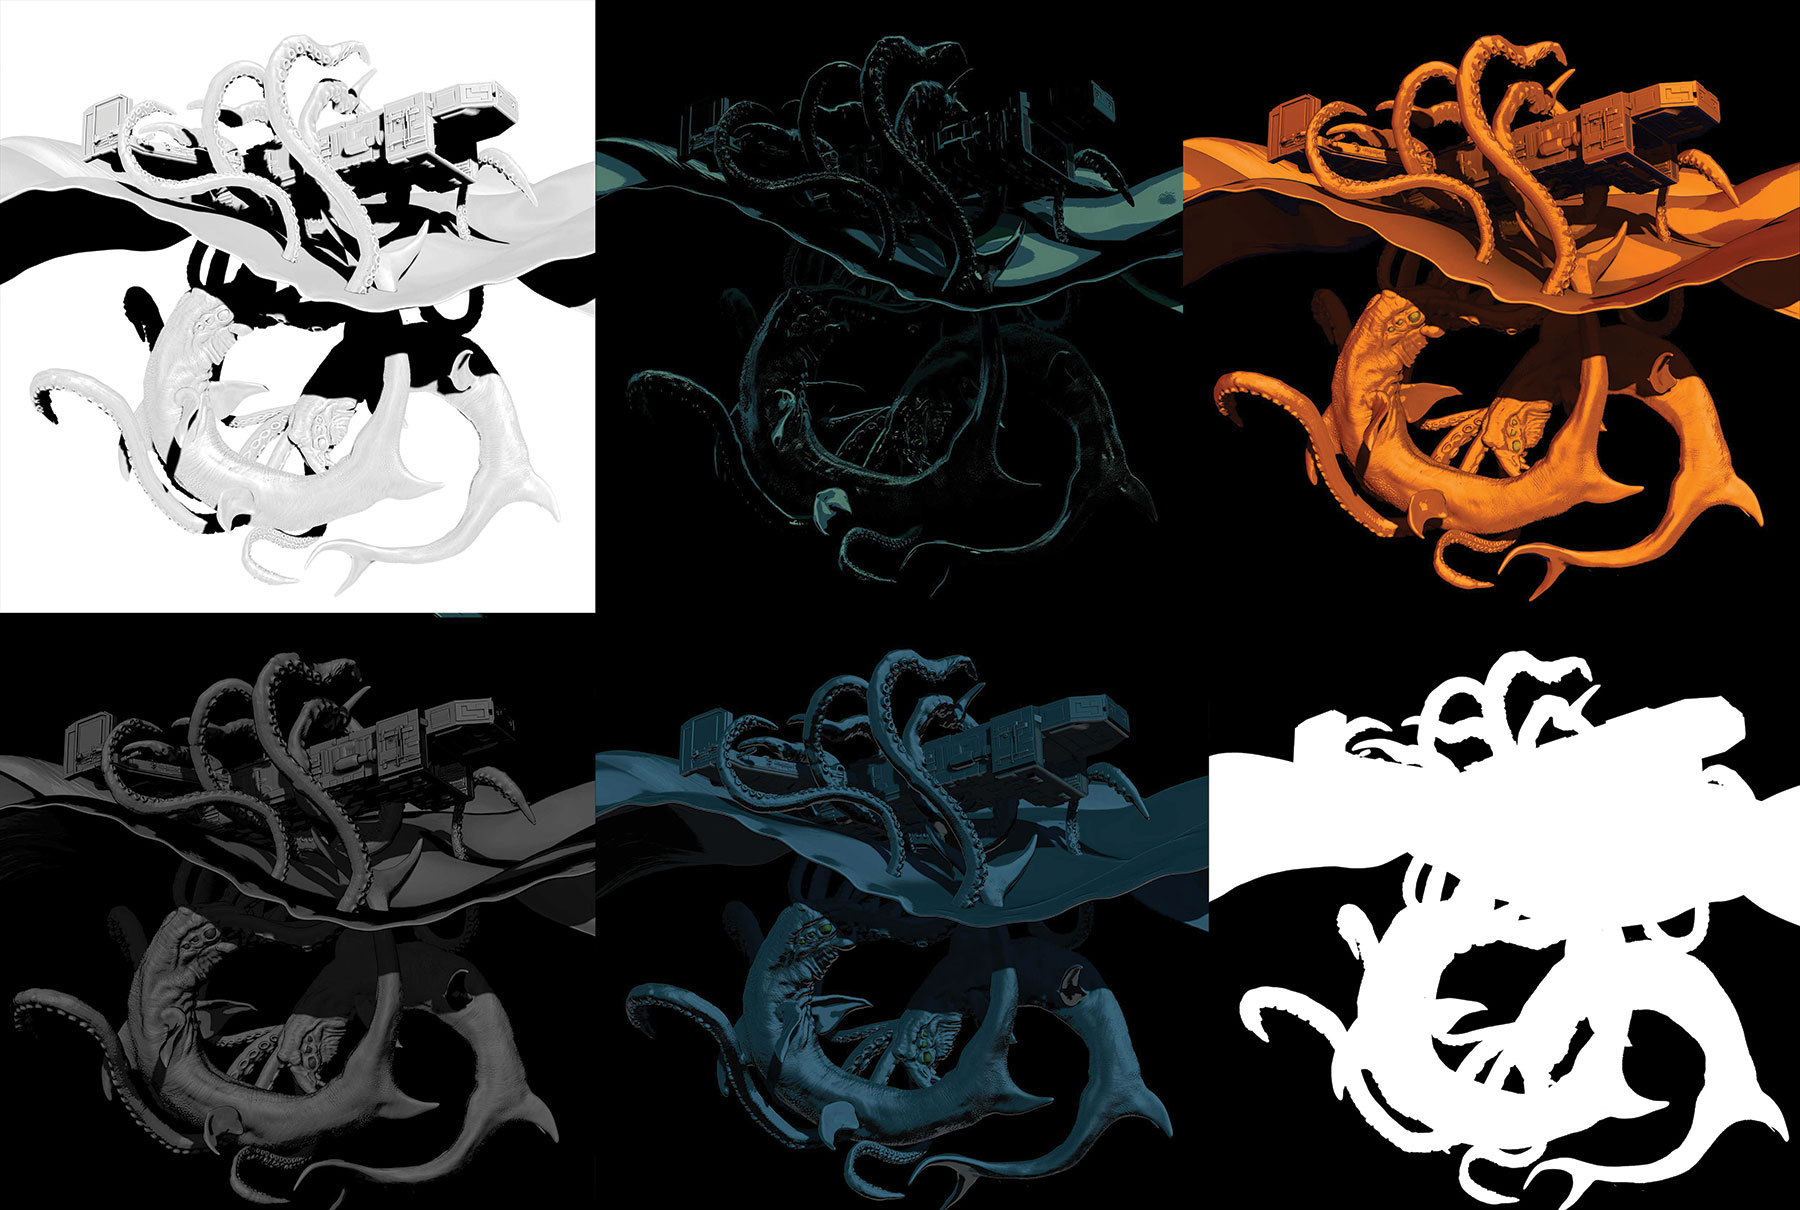
Once you have a few options for the materials it is time to render the final scene. Change the document size to 5,000 x 500 (or whatever suits). Line up your model and hit BPR render (the tiny BPR button). Once it has calculated look at the Render panel under Render > BPR Render Pass.
There you will see a number of rendered images including Shaded, Depth, Shadow, Mask and others you can activate if needed. Click on each one and save them as we need to composite them in Photoshop.
25. Render background elements
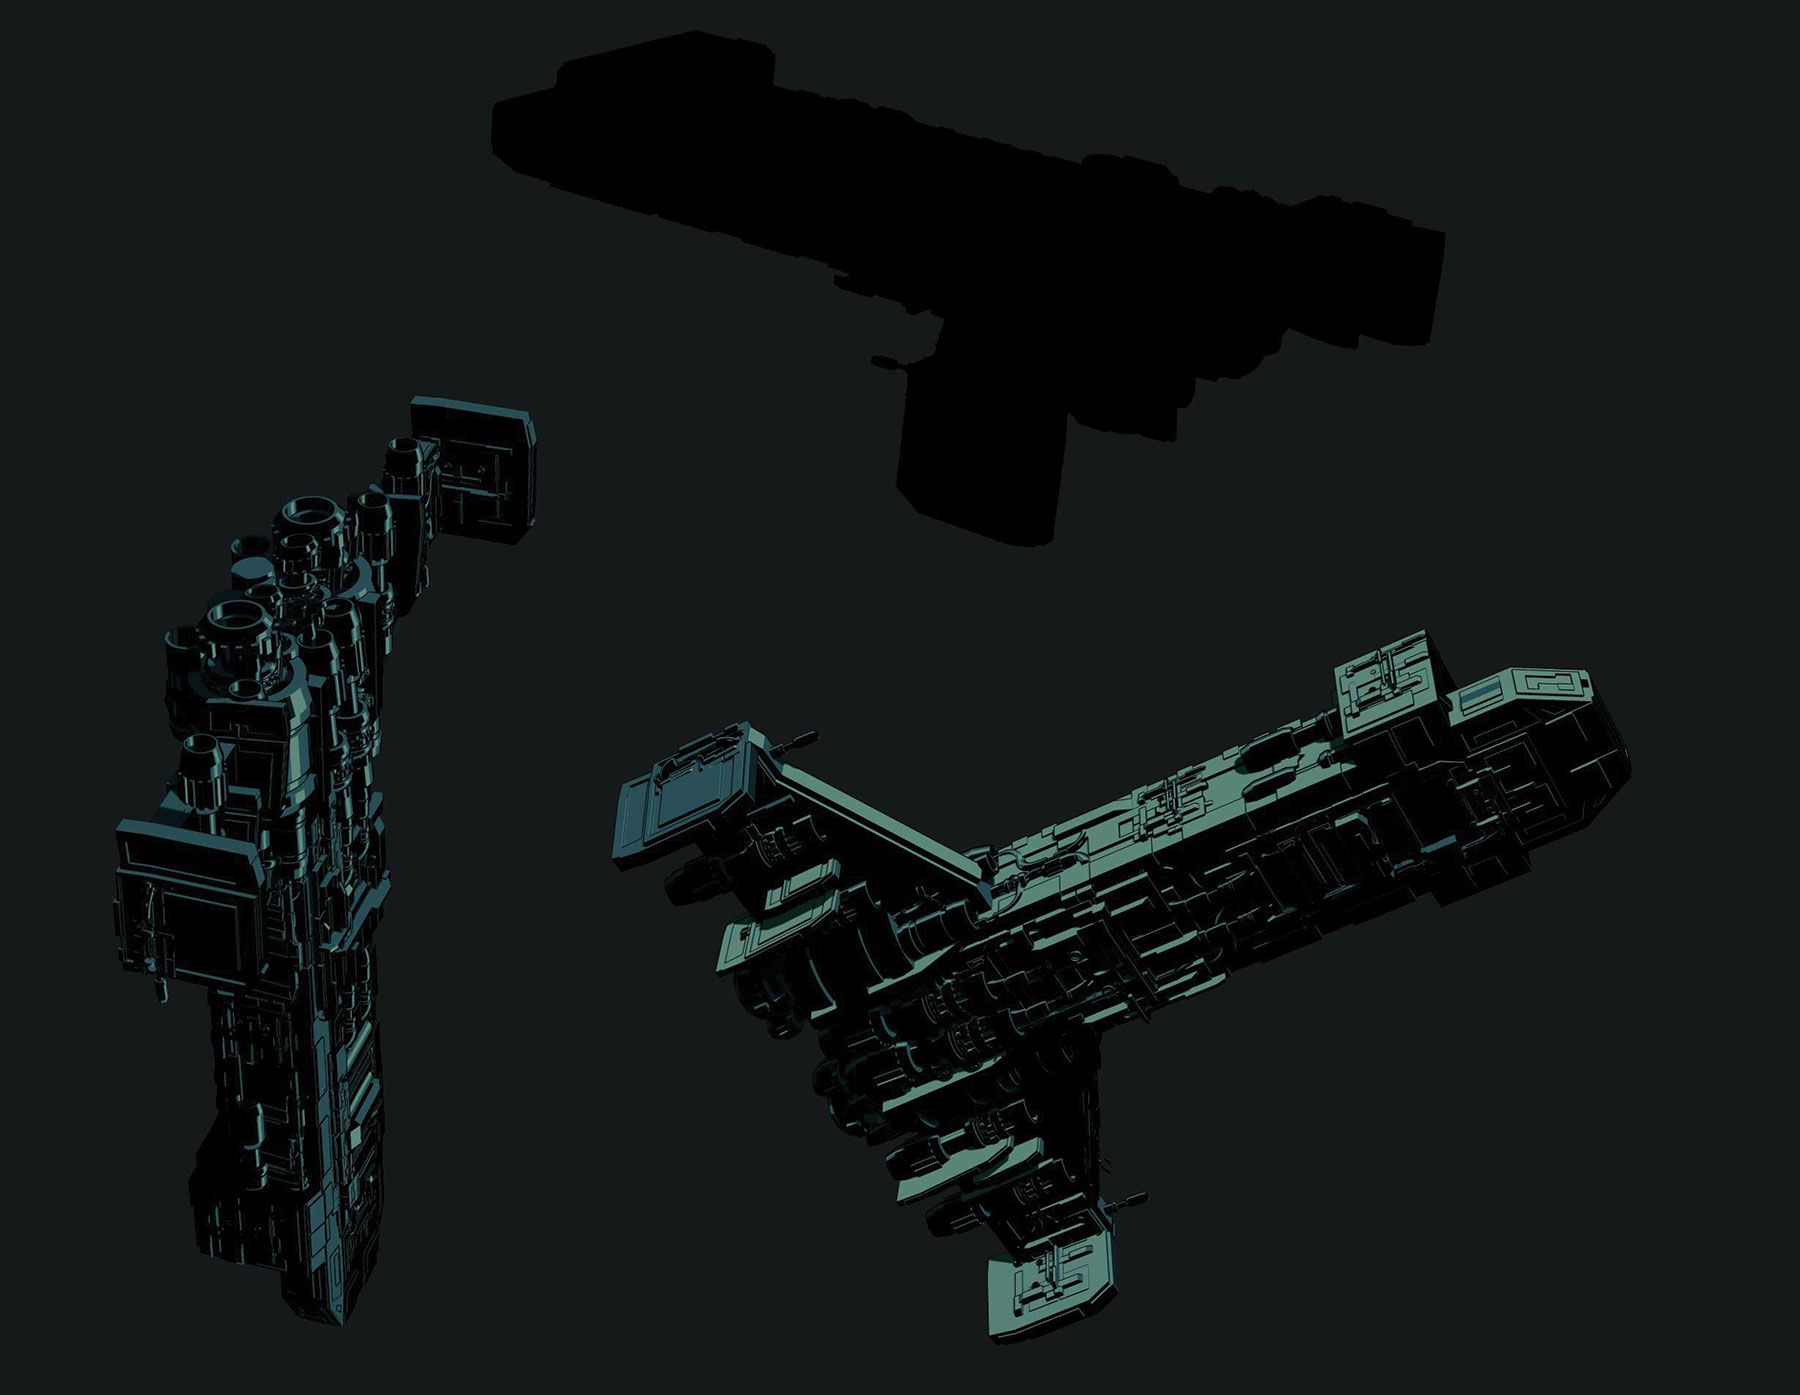
You will need certain other elements in the scene, and to be able to place them individually. You can render each one separately. Turn off all the SubTools in ZBrush apart for the ship. Render this out in a position you like. Save out the renders and the mask so you can quickly cut them out. Do this for the tentacles and the body.
26. Put it all together

The next step is to open all the versions in Photoshop. Most layers will need to be masked out. Select and copy the mask image to the clipboard. On each image add a layer mask and paste in the mask as an alpha (Alt-click on the layer mask to edit it).
Now start with the render that is closest to the desired look. Use this as the base layer for the undersea portion of the image. Colour adjust it to a dark blue-green. Make sure the one you choose has good lighting from the top. Use blending modes like Overlay and Multiply, and try to find the best look for your image.
27. Tweak the final comp
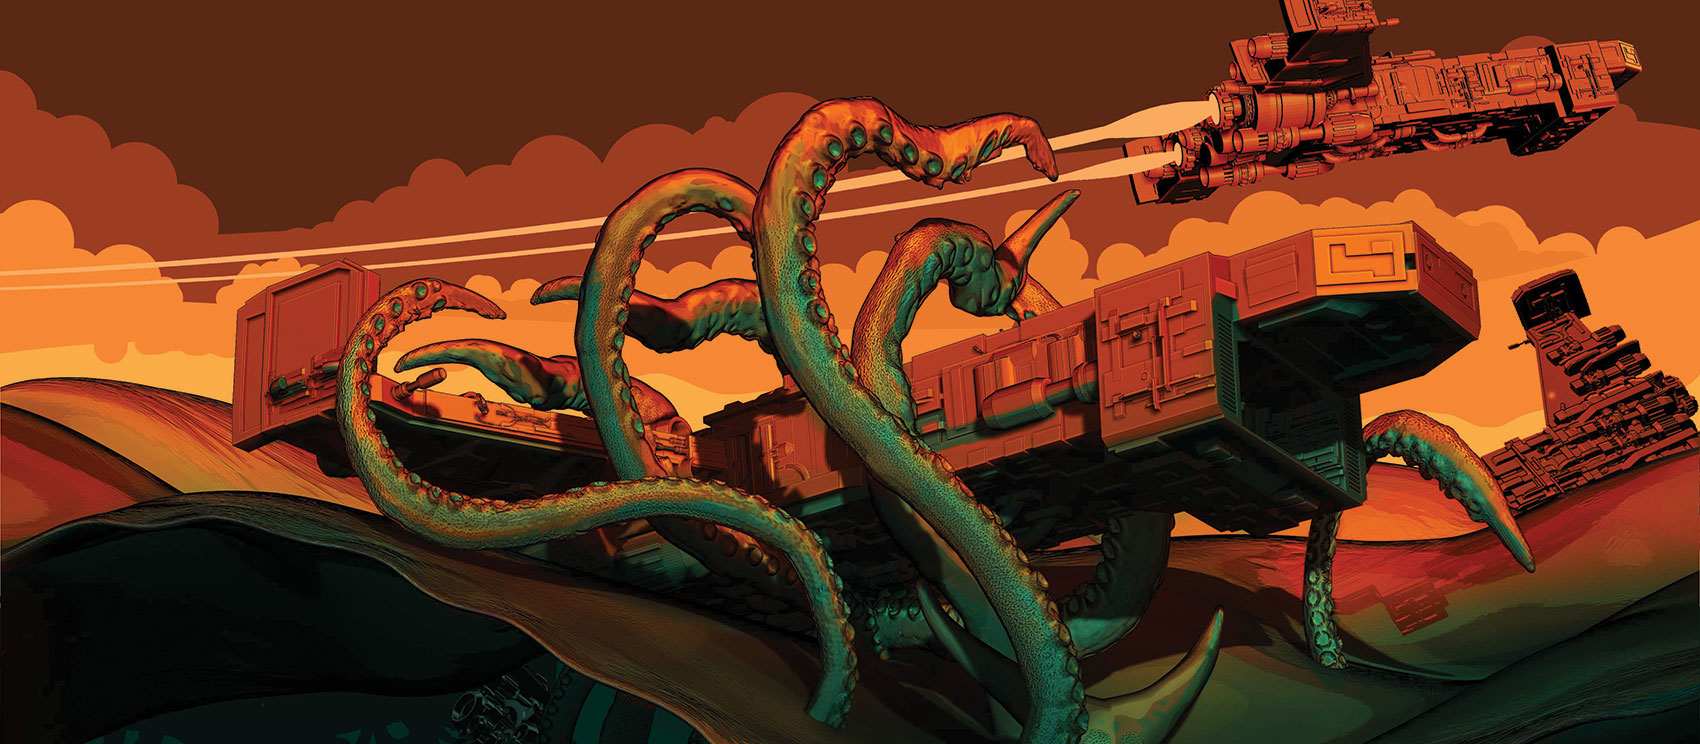
As well as rendered background elements, you can add more interest to the whole piece with things like clouds and vapour trails. As we have been going for a flat, 2D look all along, draw these elements in blocks of single complementary colours. Choose a range of oranges and yellows for the clouds and sky, and try to help tell the story with the vapour of the ship that is just getting away by throttling up the engines.
Explore the magic of VR at Vertex
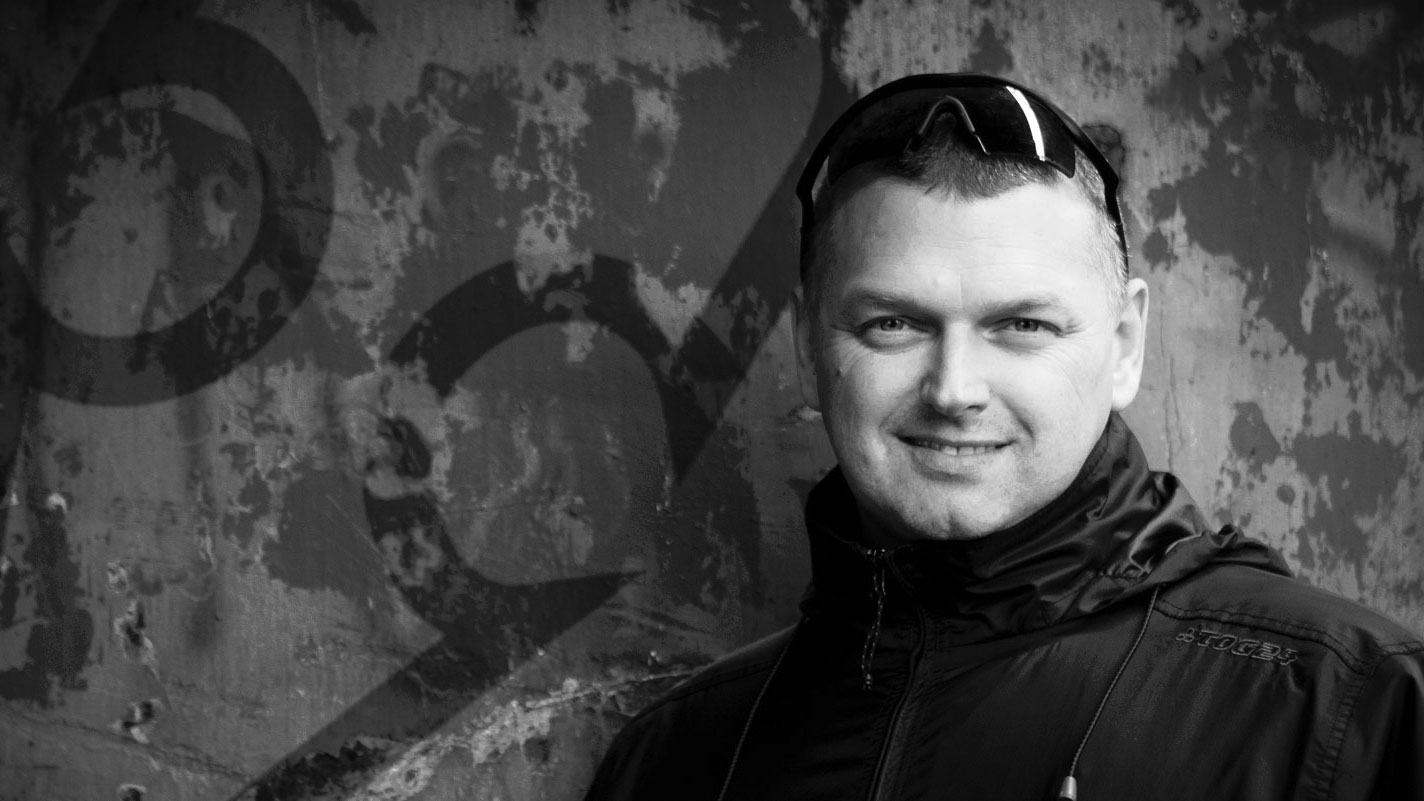
Glen Southern runs a studio specialising in character and creature design. At Vertex (8 March, Olympia London), he'll be delivering a talk entitled The Evolution of VR Tools.
In it, he'll explore how VR is quickly absorbed into film and game production pipelines, and take a closer look at the transformation modern production environments have seen from using these tools.
This article appears in 3D World issue 244. Buy it here or subscribe.
Read more:

Thank you for reading 5 articles this month* Join now for unlimited access
Enjoy your first month for just £1 / $1 / €1
*Read 5 free articles per month without a subscription

Join now for unlimited access
Try first month for just £1 / $1 / €1
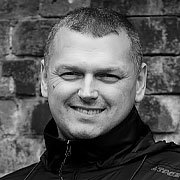
Glen runs SouthernGFX, a small Cheshire-based studio specialising in character and creature design, which creates assets for TV and film. Clients include SKY, Wacom and Oculus Medium and the studio has an impressive project list that features 3D models for Game of Thrones' house sigils. He's been using and training ZBrush for over 15 years and is a Wacom Ambassador for the UK and Ireland.
