Chiaroscuro art: A step-by-step guide
Learn how to create chiaroscuro art with the atmosphere of film noir with this step-by-step tutorial.
Making chiaroscuro art is all about using the composition of light and shadow to create depth, and more importantly, mood. In this tutorial, we will delve into the artistic realms of darkness and learn how to create the effect. Chiaroscuro creates an emotional atmosphere in both art and film, as seen in film noir classics such as Blade Runner, Sunset Boulevard and Eraserhead.
If you would like to dial down on more fundamental drawing skills, check out how to draw, our post rounding up the best drawing tutorials out there. You can also improve your figure drawing with our step-by-step guide.
Click on the icon at the top-right of the image to enlarge it.
A chiaroscuro photoshoot
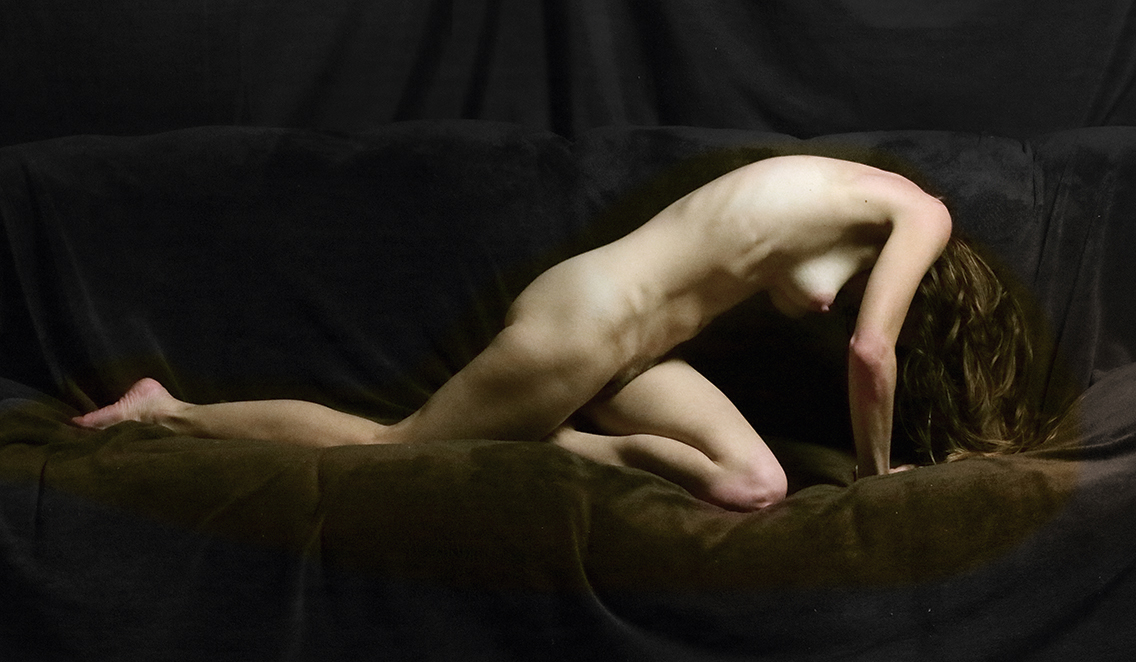
The single directional light source works to define the figure above, and creates an atmosphere that holds our attention. The lights are positioned high to recreate an artificial afternoon sun in a dark studio background. The benefit of artificial light is that it remains constant, but you don't need to buy a lighting setup to create a chiaroscuro photoshoot. You can produce the same effect using one of the best camera phones on a tripod and any indoor space with an open roof.
Let's get started.
01. Interpret the photo
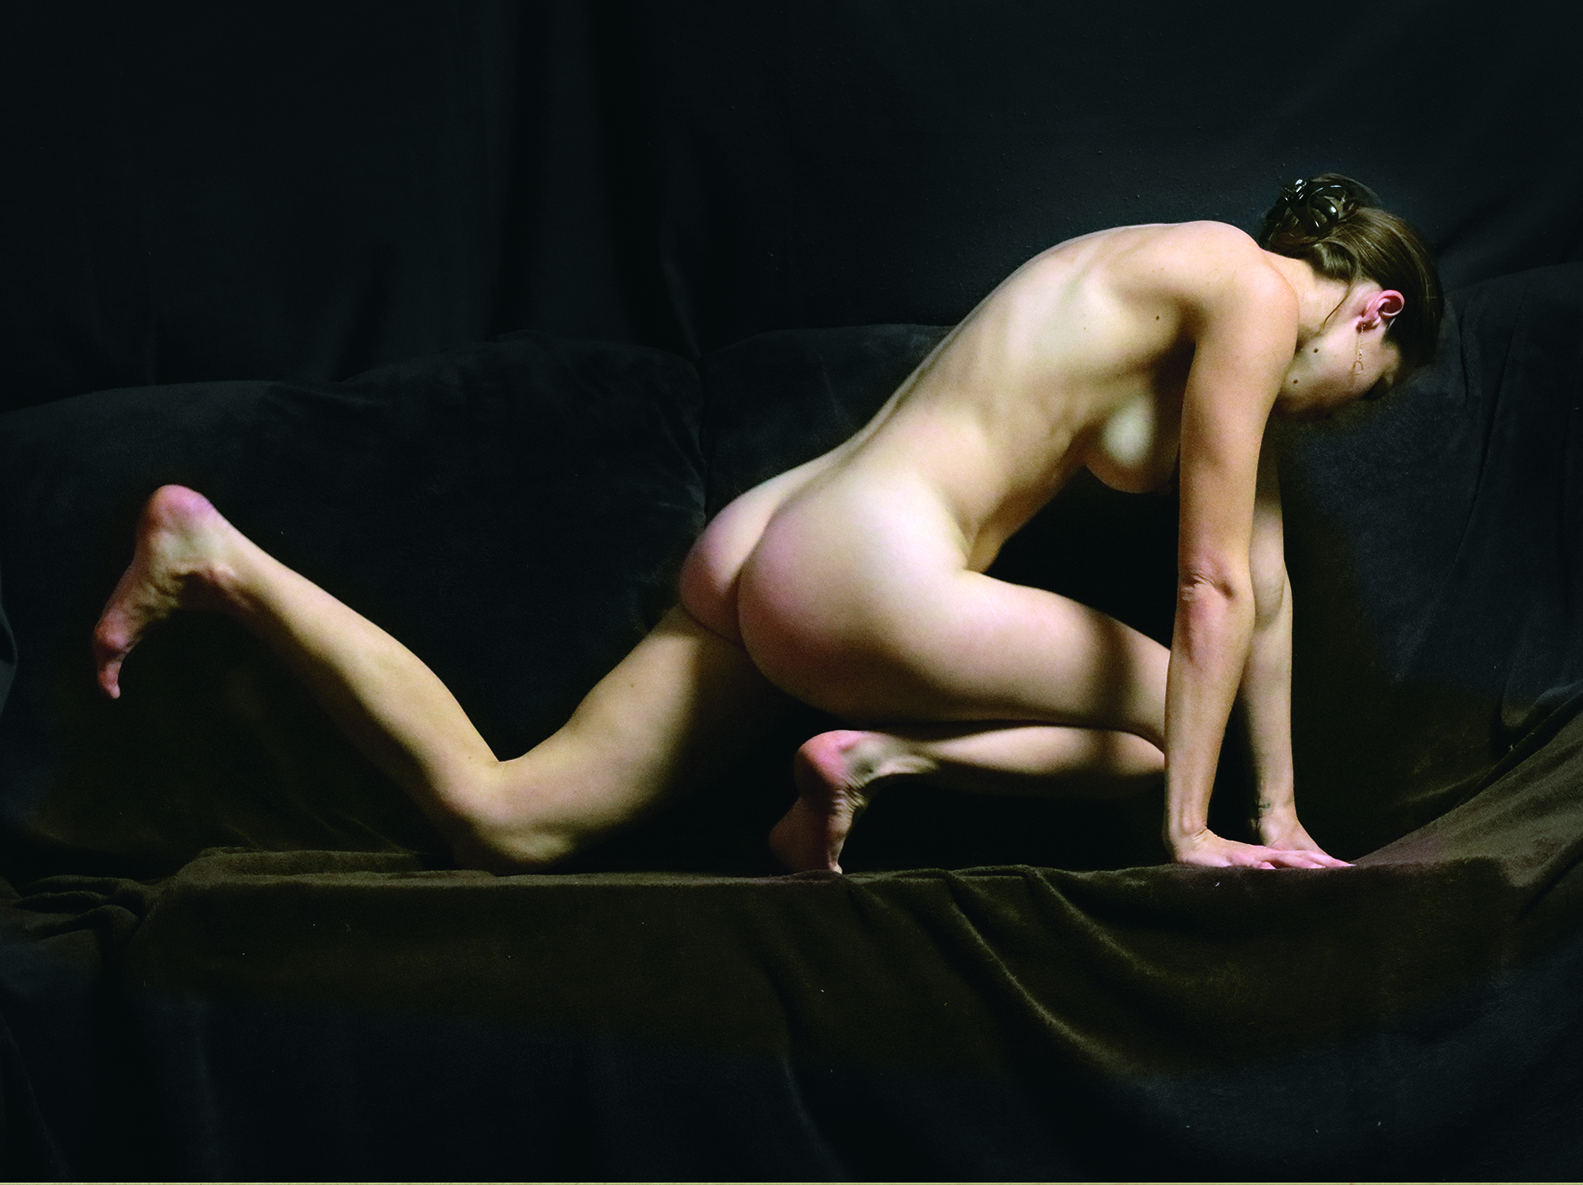
Here we have our wonderful photo and pose to draw from. But how can a drawing compete with such a great photograph? Well, it doesn’t have to. Photographs and drawings live separate lives in the world of art. With that thought in mind we’re free to interpret rather than copy the photo
02. Plot the main structures
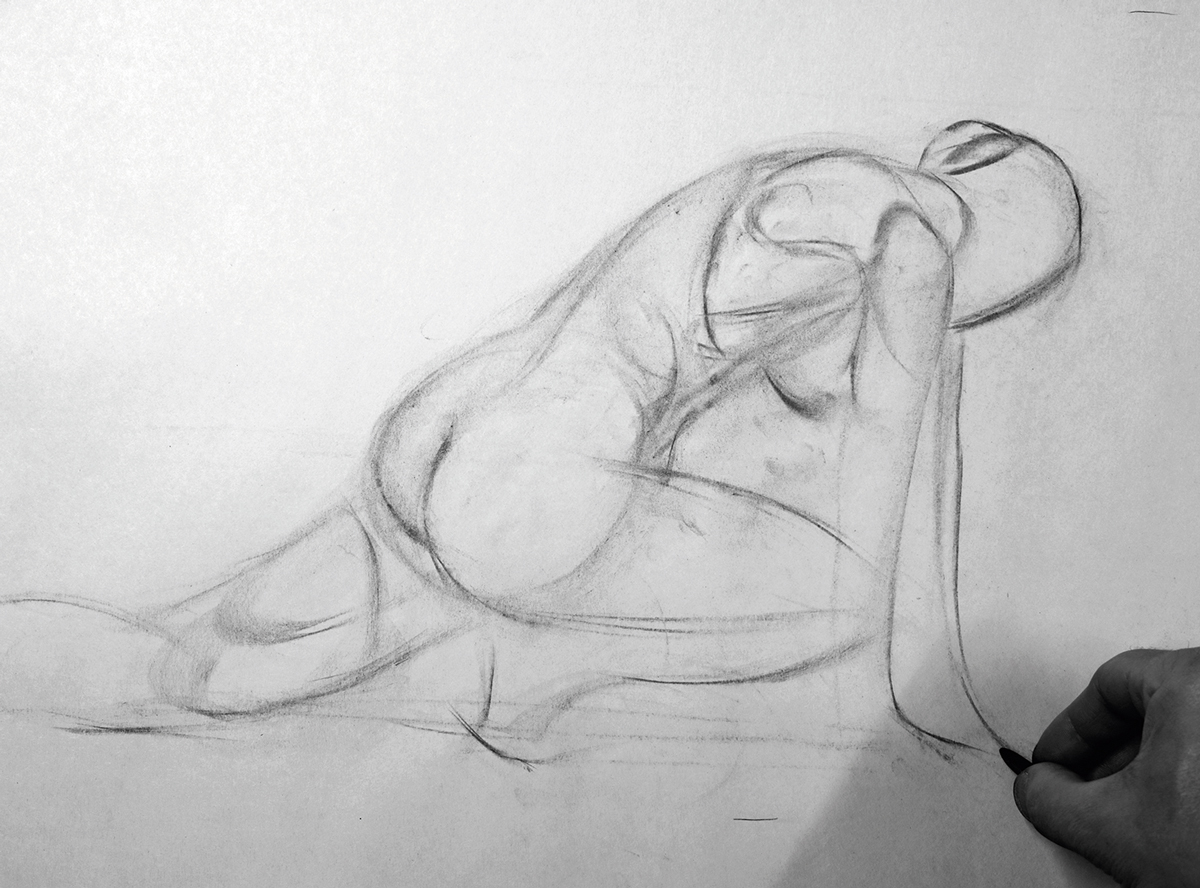
With my willow charcoal I plot out the figure with two major structures: a long tube for the upper torso and a ball for the hips. Working from big shapes to small I add the scapula (wing bone) and below the scapula I indicate the serratus and latissimus bulges as a converging V-shape.
Get the Creative Bloq Newsletter
Daily design news, reviews, how-tos and more, as picked by the editors.
03. Add simple structural shapes
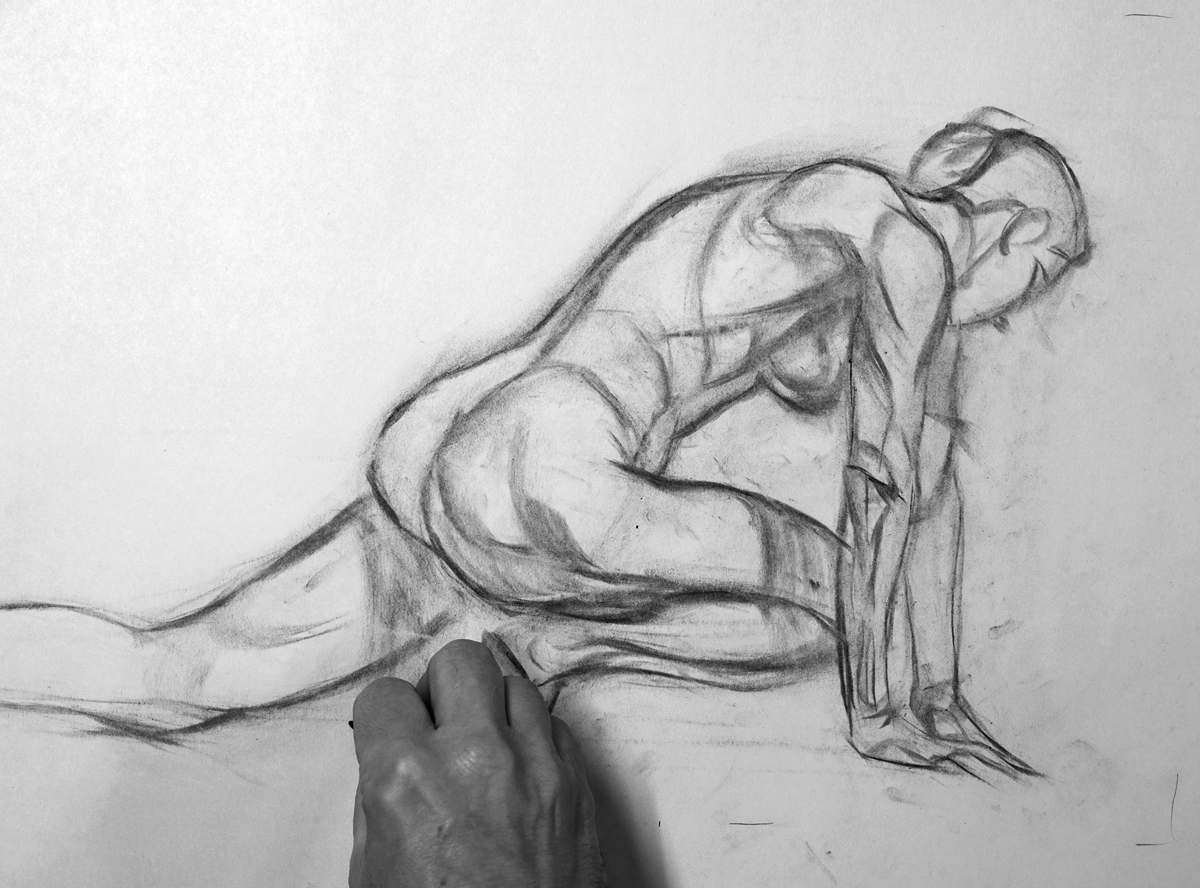
I continue adding smaller structural shapes to define areas such as the hip bone. Structural shapes are simple versions of anatomy. If I were to draw the intricacies of each anatomical shape as I go, the drawing would get so complicated that I might lose the sense of the whole figure.
04. Create the smaller anatomical details
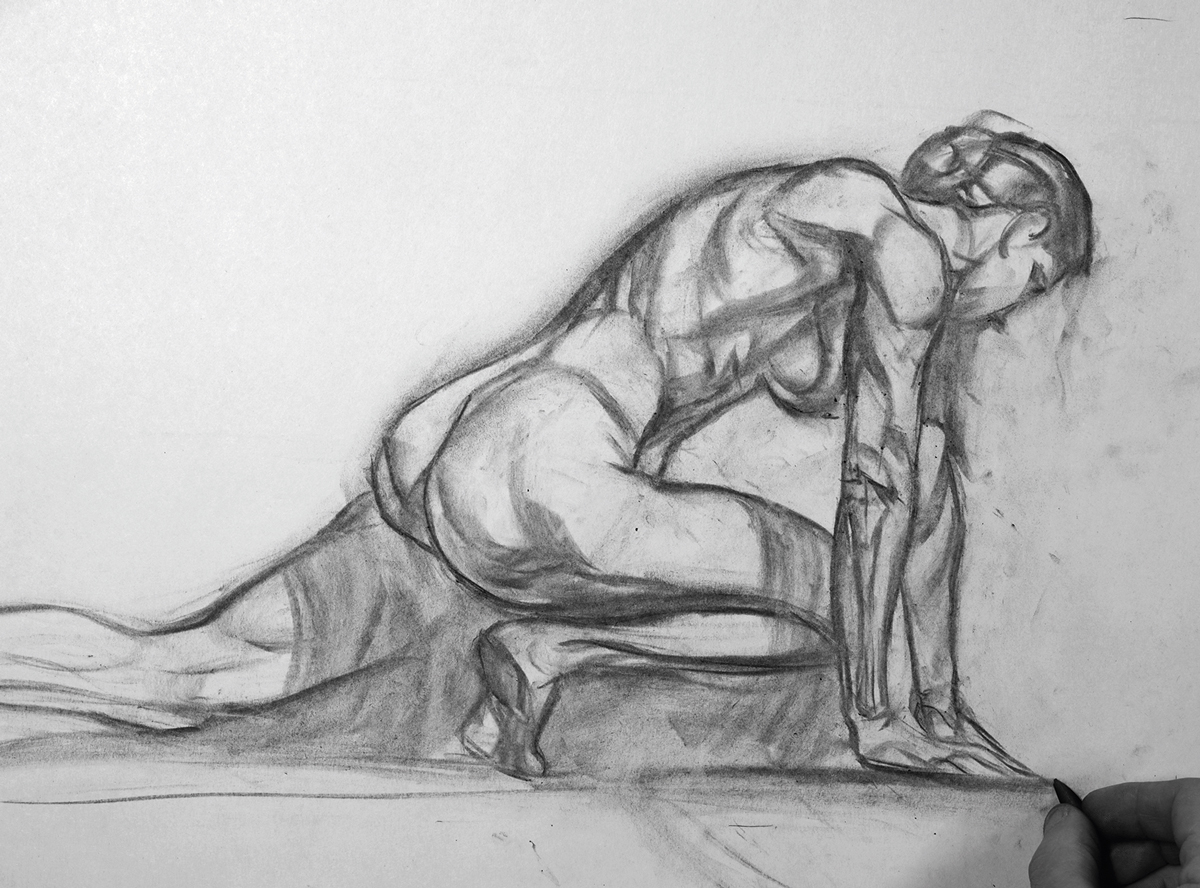
From here we begin to reap the benefits of strong structure. As I go over the drawing’s simple shapes again it’s easy to add smaller anatomical details such as the ribs, the sacrum pad above the gluteus, and the two serratus notches visible at the left of the breast.
05. Spot the flickering changes
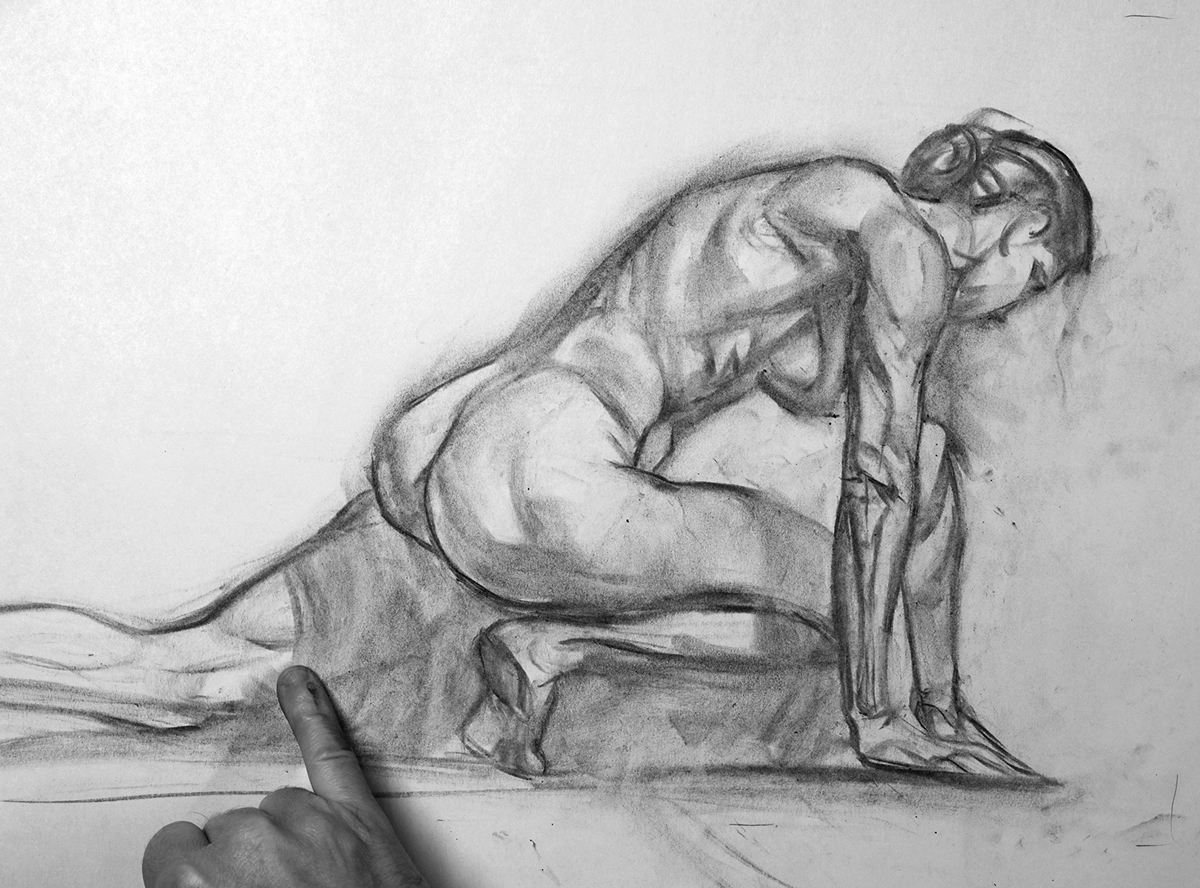
I smudge the charcoal into softer forms. In life drawing classes I have my students step back at this stage and glance back and forth at the model until they see every flickering change between their drawing and the pose in order to make adjustments. Time spent analysing forms early is time saved later.
06. Assess your progress
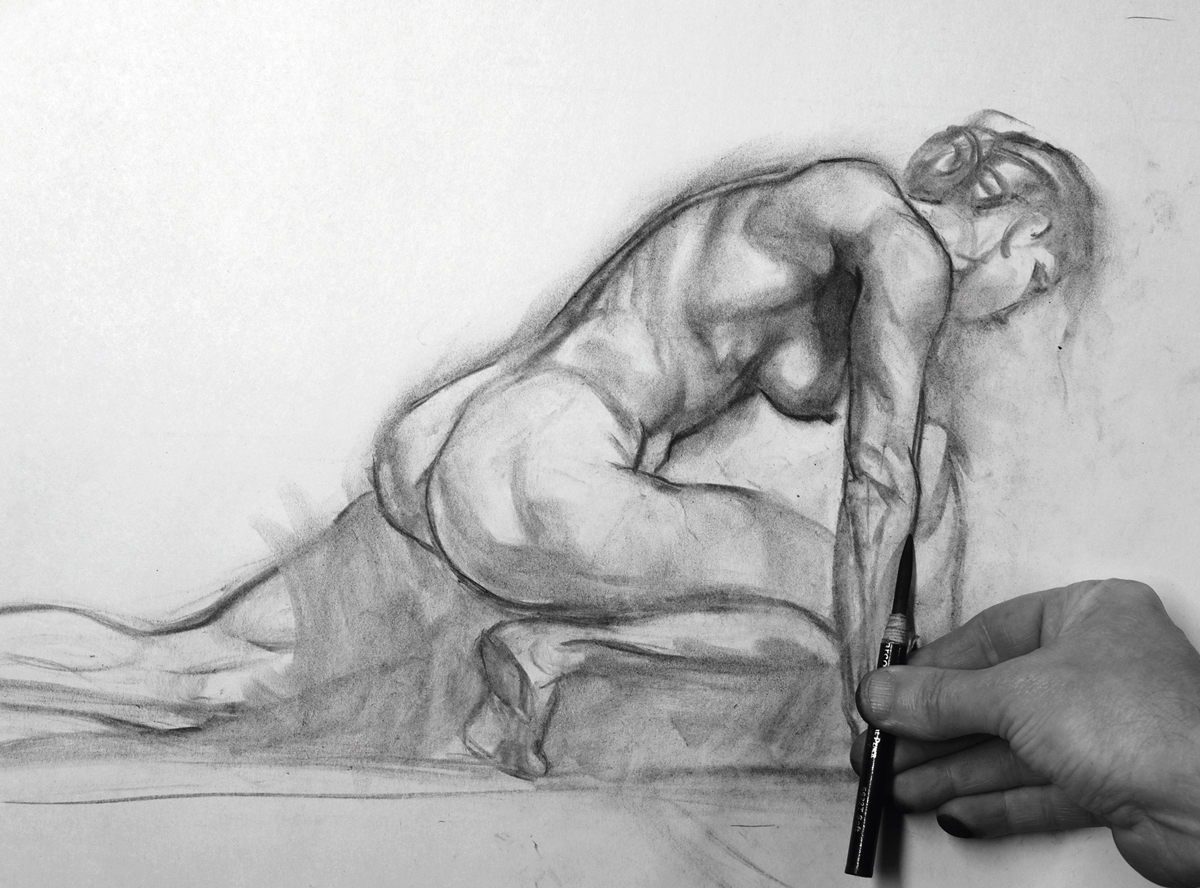
With all due diligence done I step back again from the art for a final assessment. This doesn’t mean I want exact proportions, I’m simply making sure the anatomy and interlocking forms work both structurally and gesturally. With everything working to plan, I start to pencil on top.
07. Find balance
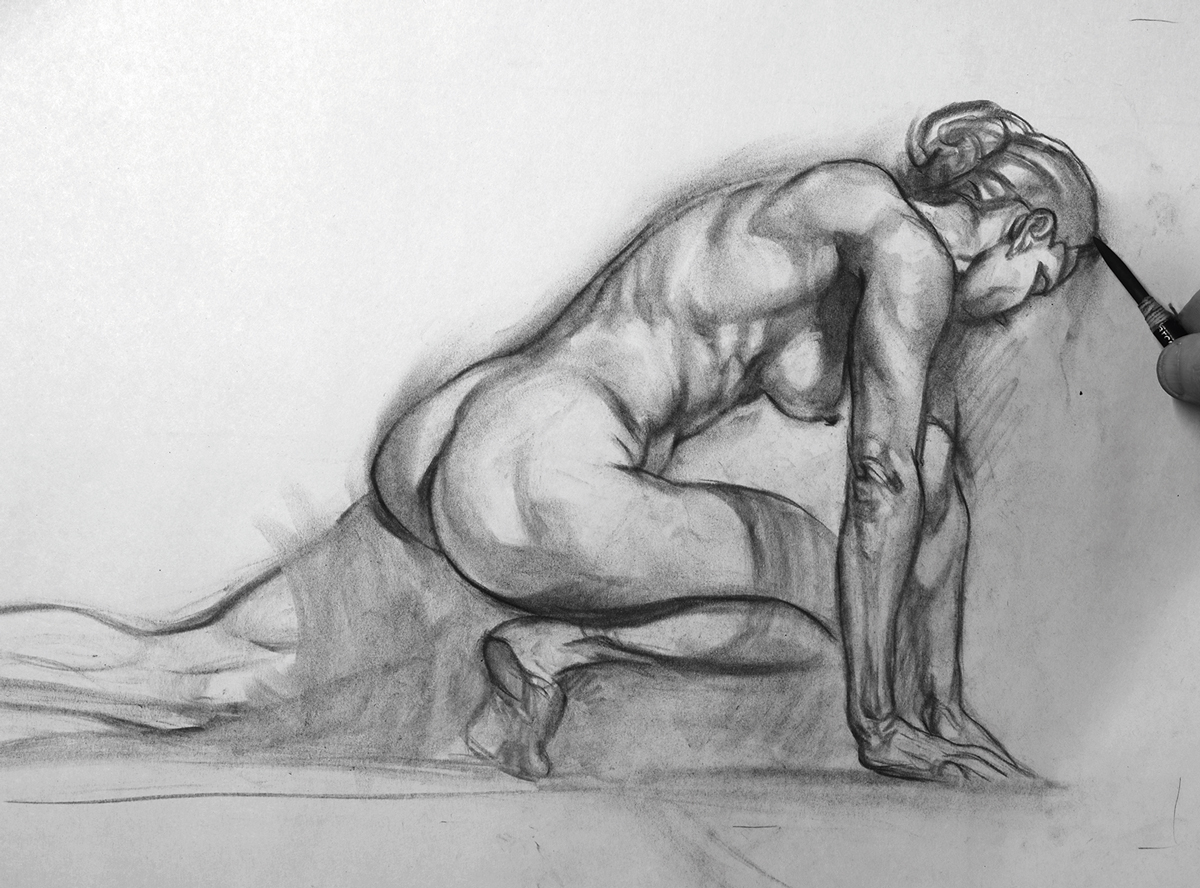
I’m strolling down easy street now as I continue pencilling over my self approved structure, or so it seems… In my quest to make every line more gestural I’ve made the raised scapula too rounded. Keep in mind that structure and gesture are a fine balance of back and forth, which can fall apart at any time.
08. Harness the magic of the chiaroscuro
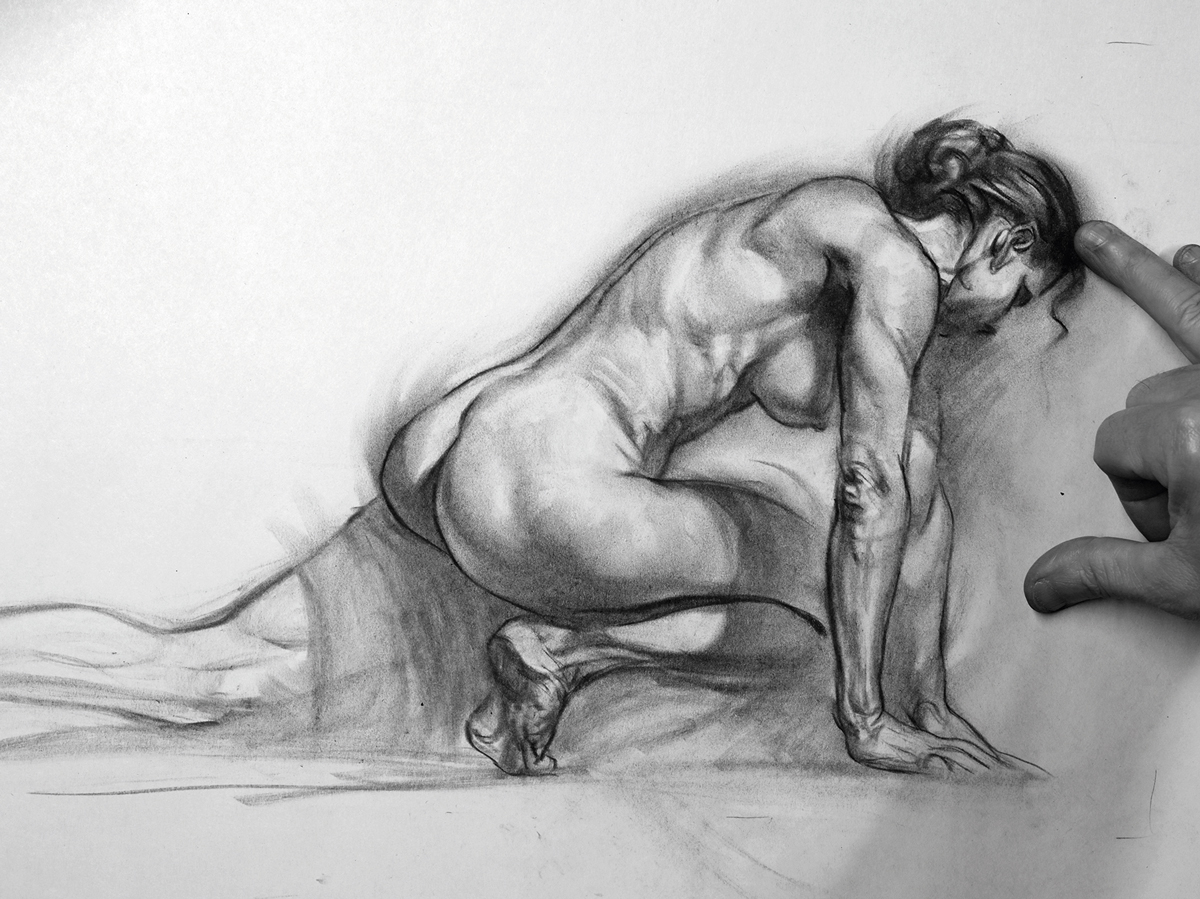
Now on to the subject at hand: the magical chiaroscuro. I’m thinking of the single source of light and how it tumbles across the forms as I blend with my fingers. To study the power of chiaroscuro use your bedside light and turn any model around. Notice how the strong light and shadow changes as you do this.
09. Create a sense of sfumato
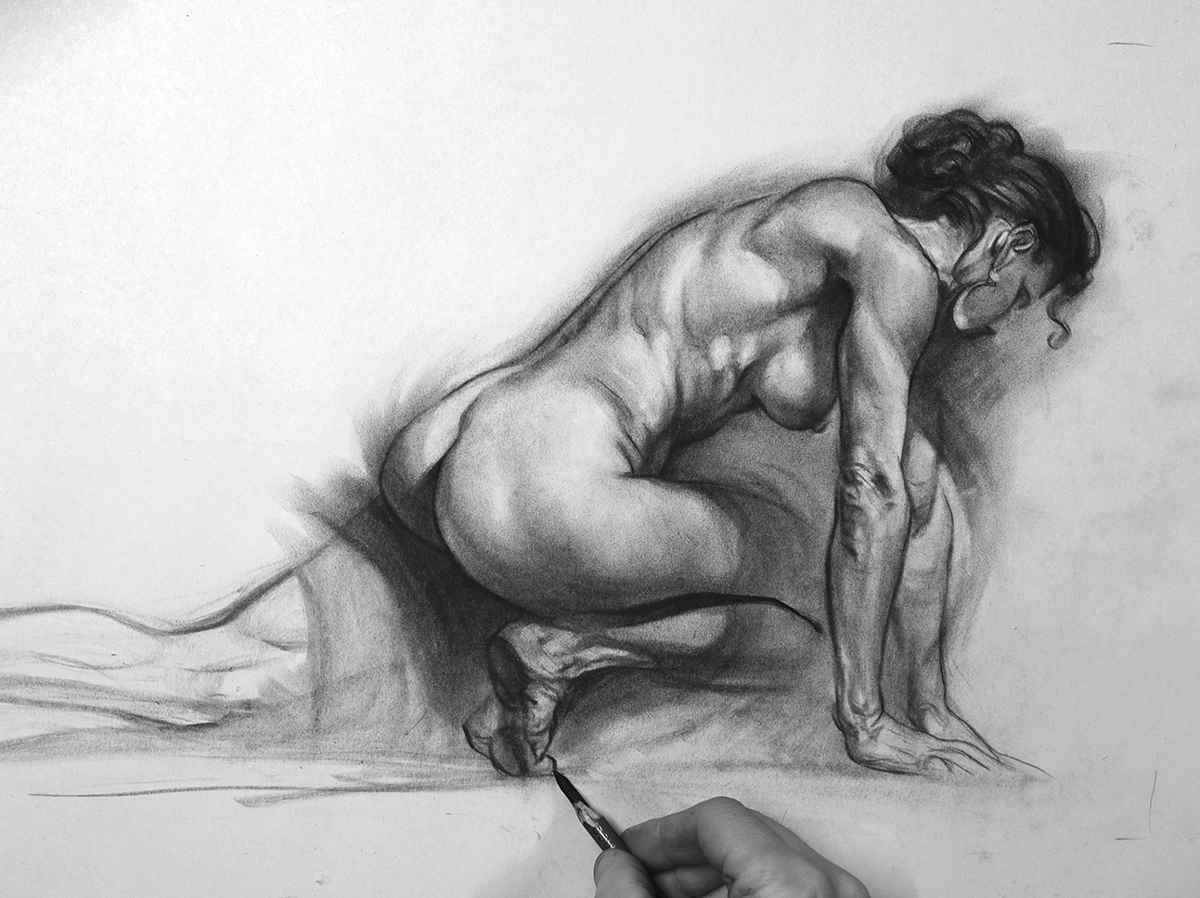
I make the shadows darker than I need so I can judge the light better. Note the misty quality of the shadowed leg. This is called sfumato and gives us both atmosphere and a clearer focus toward the more contrasting upper figure. Often what we don’t show is more interesting than what we do show.
10. Place straight lines on top of curved lines

I’ve finally addressed that pesky scapula by drawing a straight line across the upper curve. Placing straight lines on top of curves can add authority to a line. This is something I do more often on the male figure to add a more rugged look, but this approach can work on the female figure, too.
11. Bring in detail
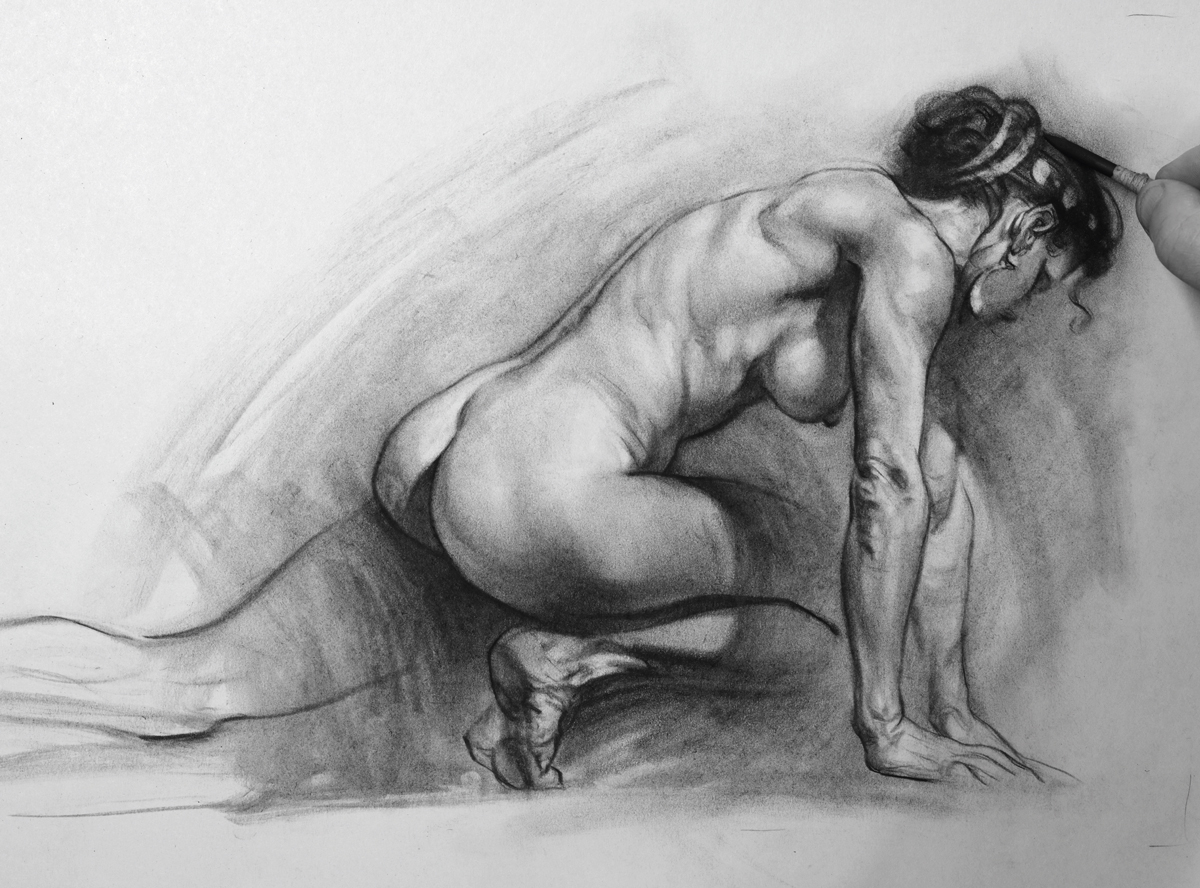
After a round of tissue blending the drawing becomes a lighter affair. I add some head ornament with an eraser, then pencil in detail. I could call the drawing finished at this stage, but it’s a little too bright and breezy. I feel I need to add more depth, mood and atmosphere.
12. Lay in the background
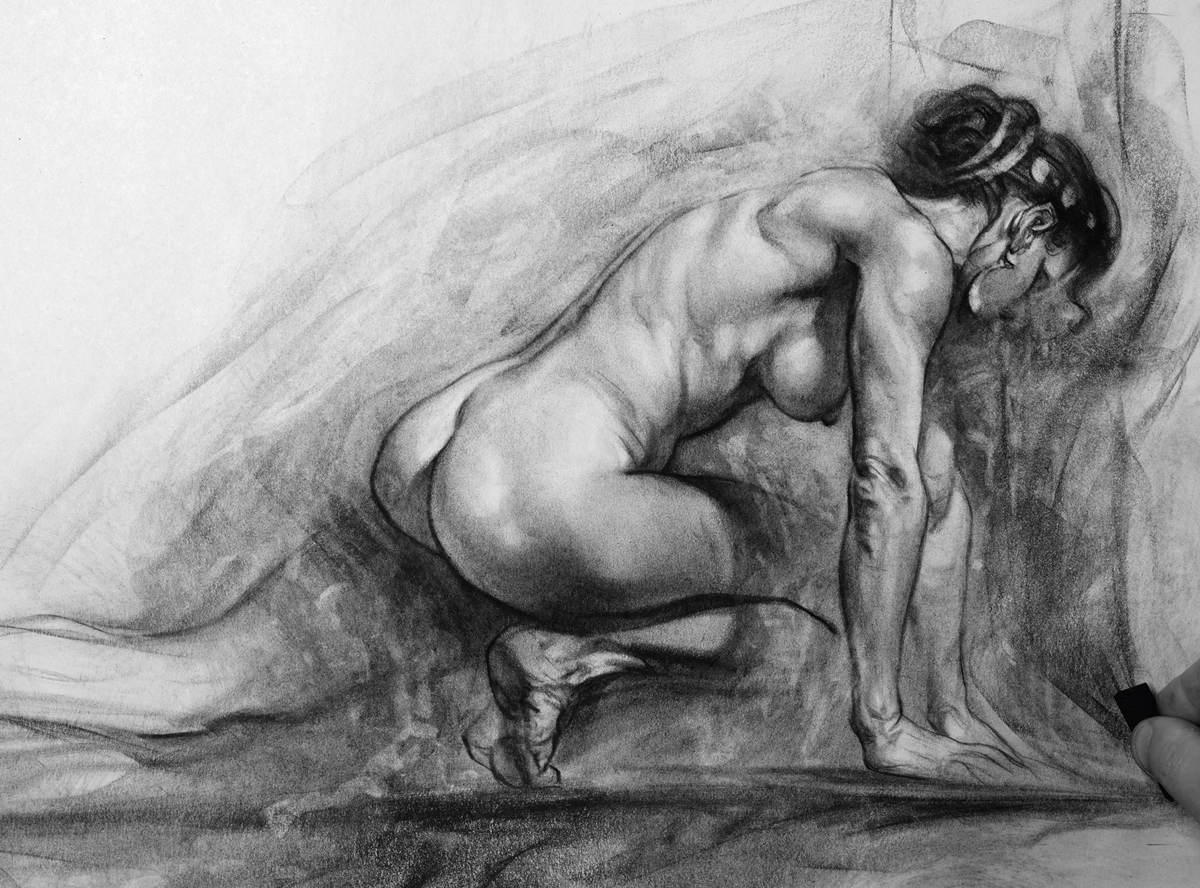
With a block of square compressed charcoal I lay in a gestural abstract background. Artists, most notably Caravaggio, often kept their backgrounds dark, and sometimes black, to bring the figures forward for the ultimate chiaroscuro effect. The echoing texture also adds suggested movement to the figure.
13. Place texture against flesh
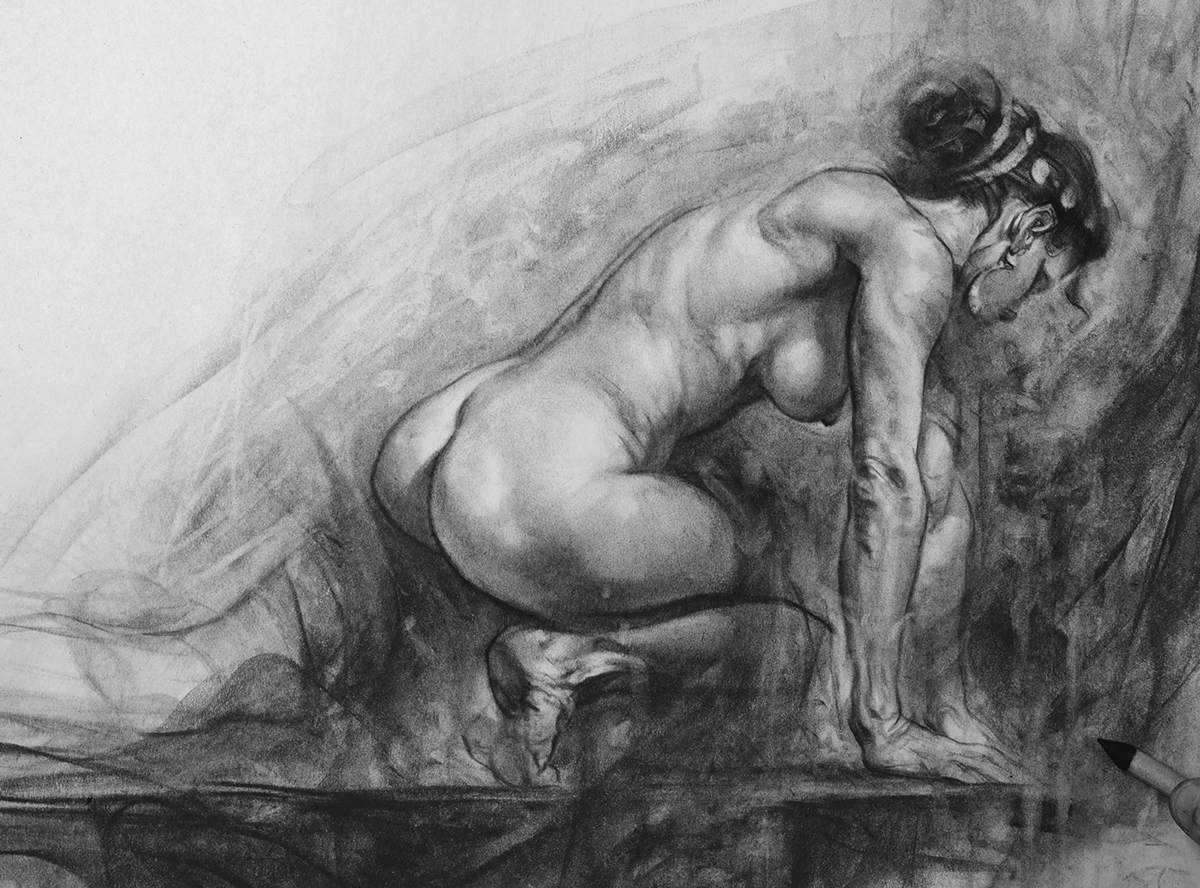
I continue texturing the background with tissue, shammy leather cloth and kneadable eraser, turning my hand as I make shapes to avoid repetition. Texture not only adds interest, it can also make flesh seem softer by contrast. At this point I use a paper stump to soften some edges.
14. Enjoy the finished product
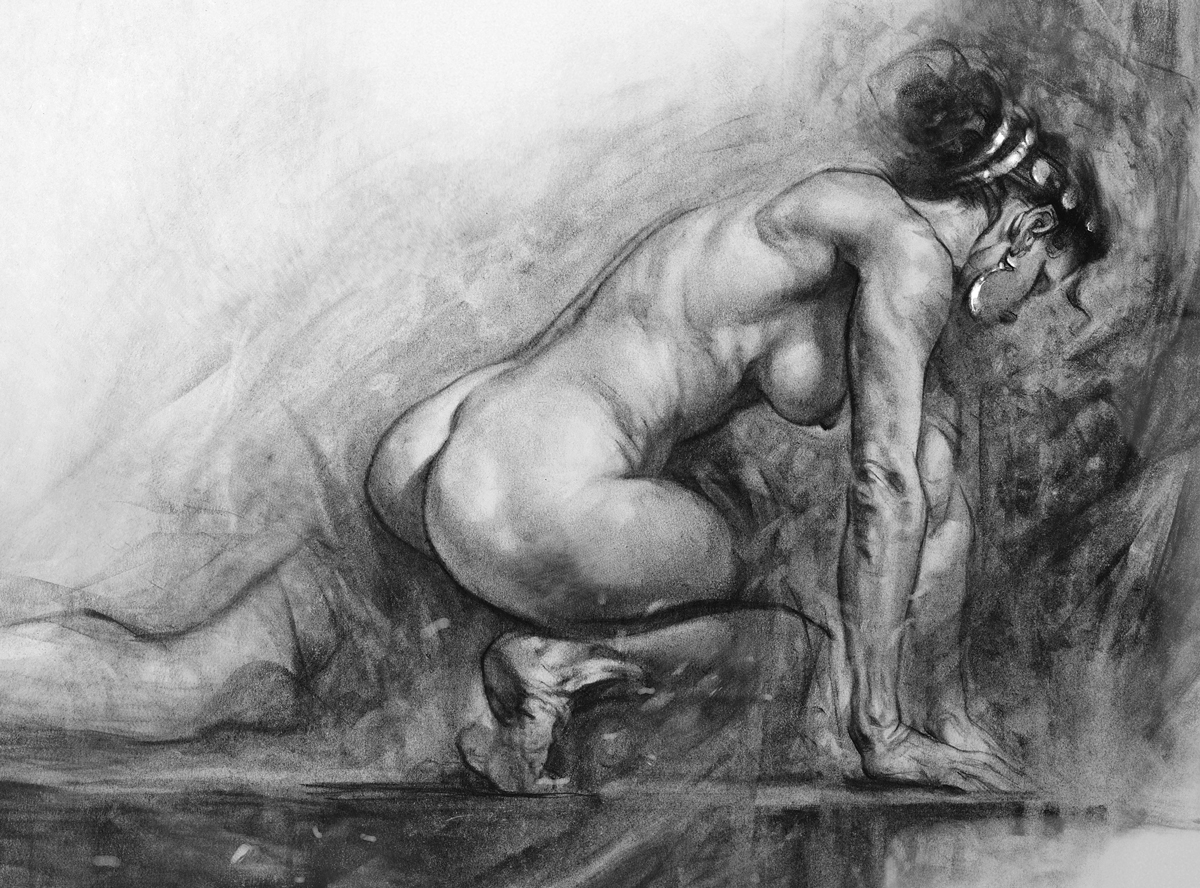
Here I call the drawing finished. The photograph is already a distant memory, a component that has been put aside to live its own life elsewhere. The drawing stands alone now, a new-born creation of organic line, tone and gestural energy that can only come from an artist’s hand.
15. Note the effect of the single source light
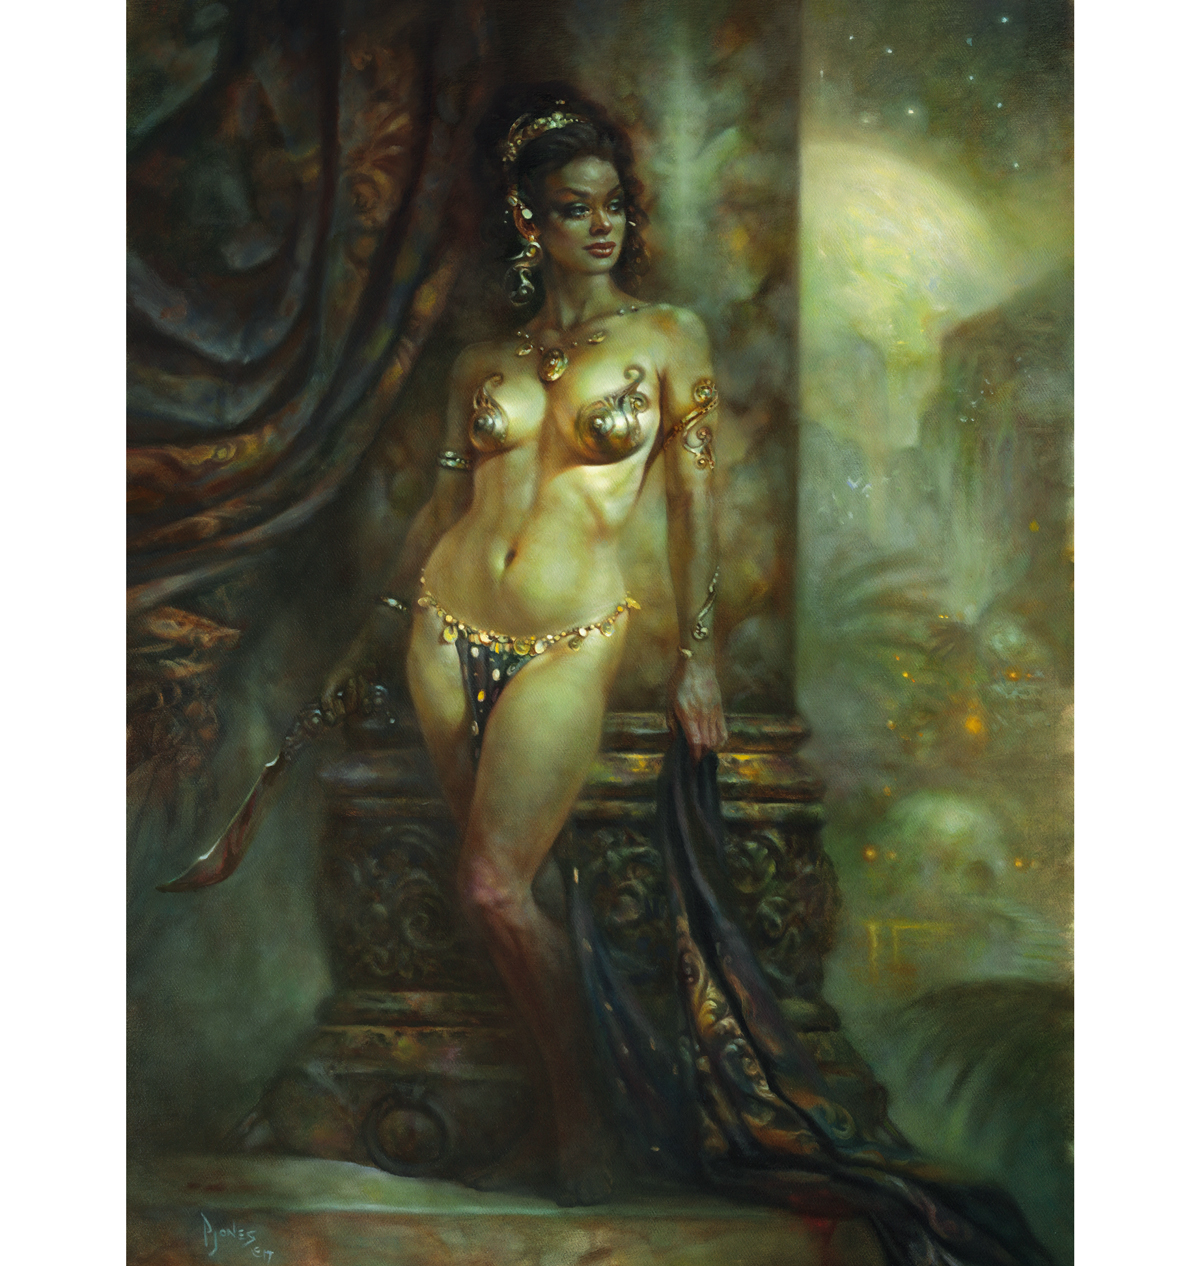
As long as the light comes mostly from powerful single source the figure will appear to be carved from light and shadow, regardless of time or place. For my oil painting, Blood Temple I worked with chiaroscuro to create the mood of a misty twilight scene.
This article was originally published in issue 173 of ImagineFX, the world's best-selling magazine for digital artists. Buy issue 173 or subscribe to ImagineFX.
Read more:

Thank you for reading 5 articles this month* Join now for unlimited access
Enjoy your first month for just £1 / $1 / €1
*Read 5 free articles per month without a subscription

Join now for unlimited access
Try first month for just £1 / $1 / €1
