How to capture the light with oils
5 top tips for oil paintings that celebrate and capture light.
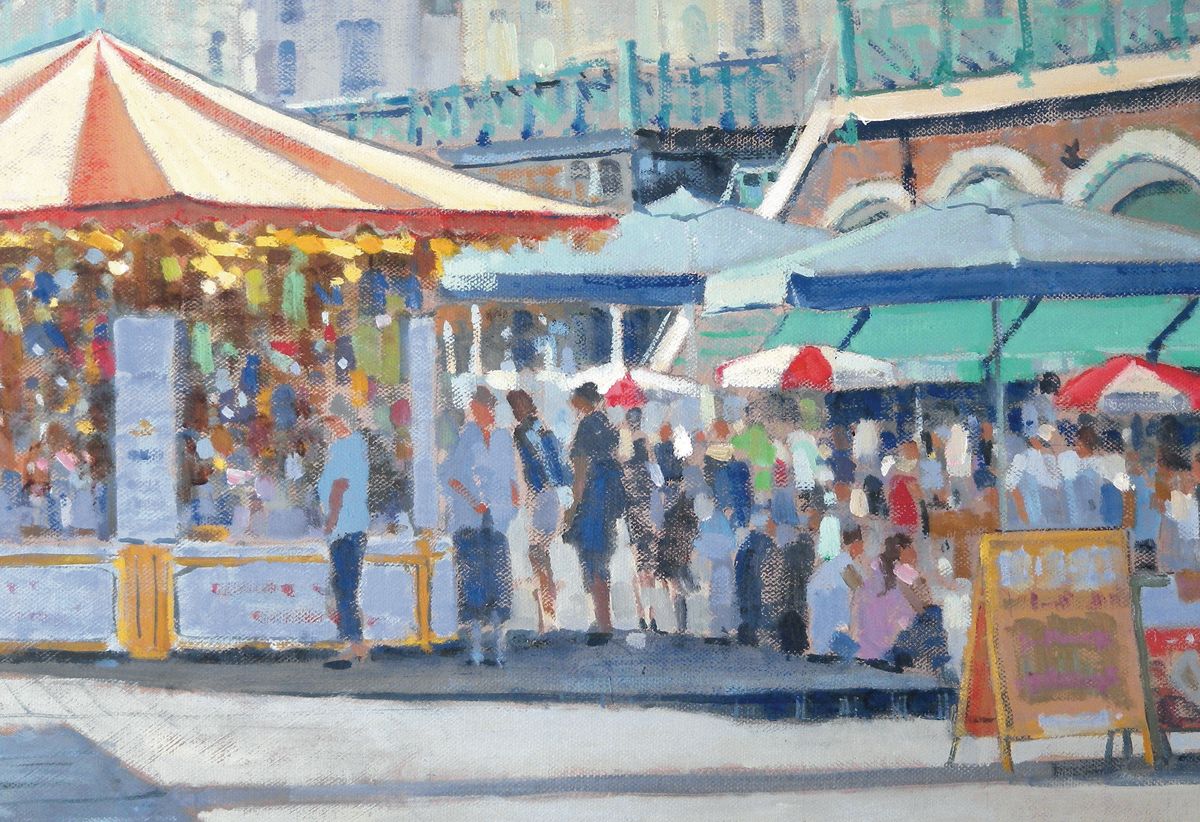
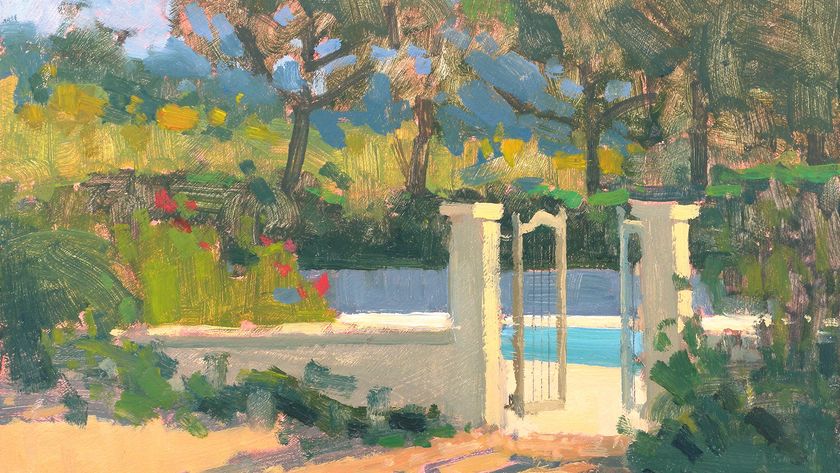
When figuring out how to capture the light with oils, there's a lot to consider. Light is something that always inspires painters – whether it’s the sun shining on the stones of a building or a flower in a vase catching a ray of sunshine. In fact, a dustbin in an interesting light could make a better artwork than a beautiful landscape in a dull light.
Depicting light with oils can be challenging, but it is always rewarding. It has more to do with tones than colours. Getting a correct relationship between all the different tones of the painting is what will make the light effect credible.
- Canvas board or canvas
- Paintbrushes
- Oil paint
A typical mistake is to paint elements in their original colour rather than the colour they appear to be – for example painting a house white, while in fact it looks rather grey as it stands in the shade. Observe well and constantly compare things in connection to others (is this tree lighter than the house? Is the house lighter than the car? etc…).
As a general rule, the values are closer together in the background, while in the foreground they are more contrasted and can showcase the lightest and darkest tones possible.
If you're in need of new kit, see our best oil paints guide, and explore our oil paint supplies roundup, too (and check out the materials we've found below). Or keep reading for brilliant tips to help you depict light in your oil paintings.
01. Work thick
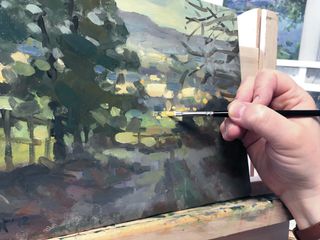
To paint light with oils, use thicker paint for the light areas than for the dark ones. Start on a toned canvas or board that can work as your mid tone (pick from one of the best oil paint canvas options). That way, both light and dark brushstrokes will be visible.
Then thinly paint the darker areas, making sure some of the background is still showing through to give it depth, then gradually build layers of lighter colours with more paint, finishing with thick impasto marks for the brightest highlights. This will create a strong focal point, as the eye is naturally attracted to the lightest colour and the thickest brushstrokes.
02. Work thin
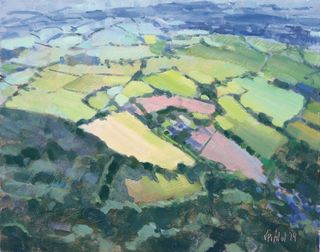
An alternative to working thick is to cover the canvas with a light and warm background, such as pink, then build darker layers but leave the background showing through for the lightest areas.
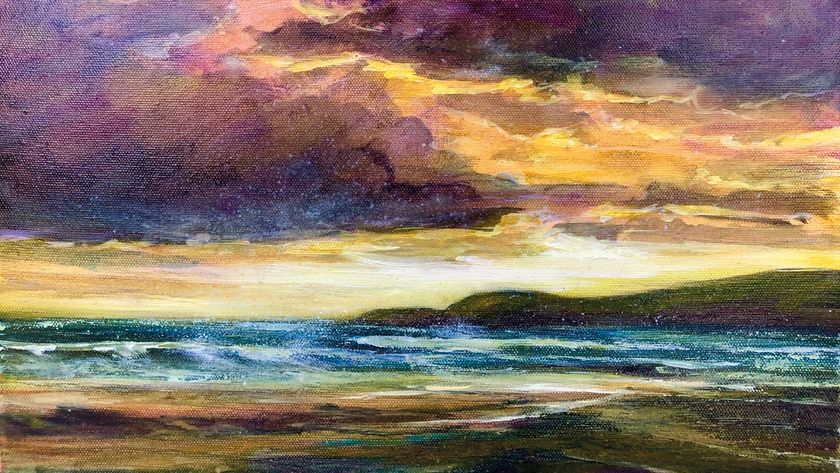
This is similar to the watercolour technique that uses the white of the paper as the white in the painting. Obviously it only works if the colour you want to achieve is the colour of the background. This technique might not have the impact of the impasto but it has a delicate, ethereal quality that works very well for subjects such as sunsets.
03. Mix light and dark
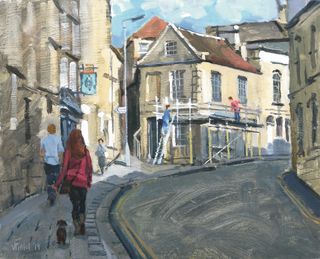
Light only exists in contrast to dark. Whatever you’re painting, you’ll probably have to make sure you include plenty of dark areas to make your light stand out. Whenever you want to make an element lighter you have two choices: use lighter paint or make its surrounding darker.
Highlights are fun to paint, so the challenge is often to make the shadows interesting. If you observe closely you’ll see they contain a lot of subtle nuances of light reflected in them, so it’s best to keep them thin, and possibly let some of the ground colour show through.
04. Consider the colour of light
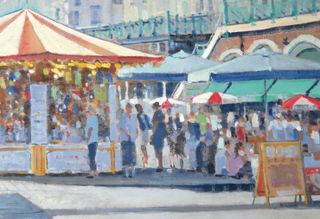
Beginners sometimes make the classic mistake of thinking light is always yellow, putting thick yellow highlights everywhere, regardless of whether the sunlight is falling on blue sea or on a green jumper. But light can’t be painted on its own – it depends on the colour of the elements it hits.
The key is to observe and avoid assumptions. It is also tempting to use a lot of white but sometimes it will make the colours cooler and less vibrant. Use the minimum needed, especially when painting bright red to avoid turning it pink.
05. Paint the path of light
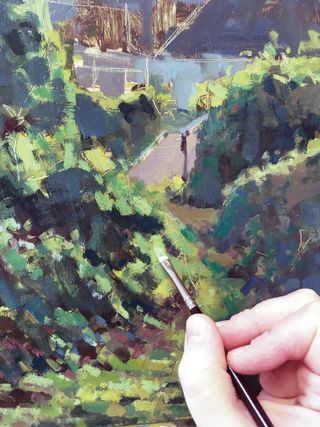
The light will be convincing in a painting only if the painting is considered as a whole. Try depicting the path of light across the whole canvas – see what it hits, where it runs, and keep it consistent. It can be easier to group elements as masses rather than as individual objects, for this.
Focus on painting the light falling onto planes from one corner of the canvas to the opposite one, as if you're following the flow of a river. A highlight will occur every time a plane changes direction, such as the corner of a table or the edge of a face.
Related articles:
- How to create sparkling eyes in oil paint
- Acrylics vs oils: get to know the differences
- A guide to painting still life in oil
Get the Creative Bloq Newsletter
Daily design news, reviews, how-tos and more, as picked by the editors.

Thank you for reading 5 articles this month* Join now for unlimited access
Enjoy your first month for just £1 / $1 / €1
*Read 5 free articles per month without a subscription

Join now for unlimited access
Try first month for just £1 / $1 / €1
Originally from Belgium, Valérie has lived in the UK for the past 11 years. She works mainly in oils and enjoys working plein air.
