Build your own WebGL physics game
In this playful experiment with serious libraries, we show you how to build a WebGL physics game running on sockets.
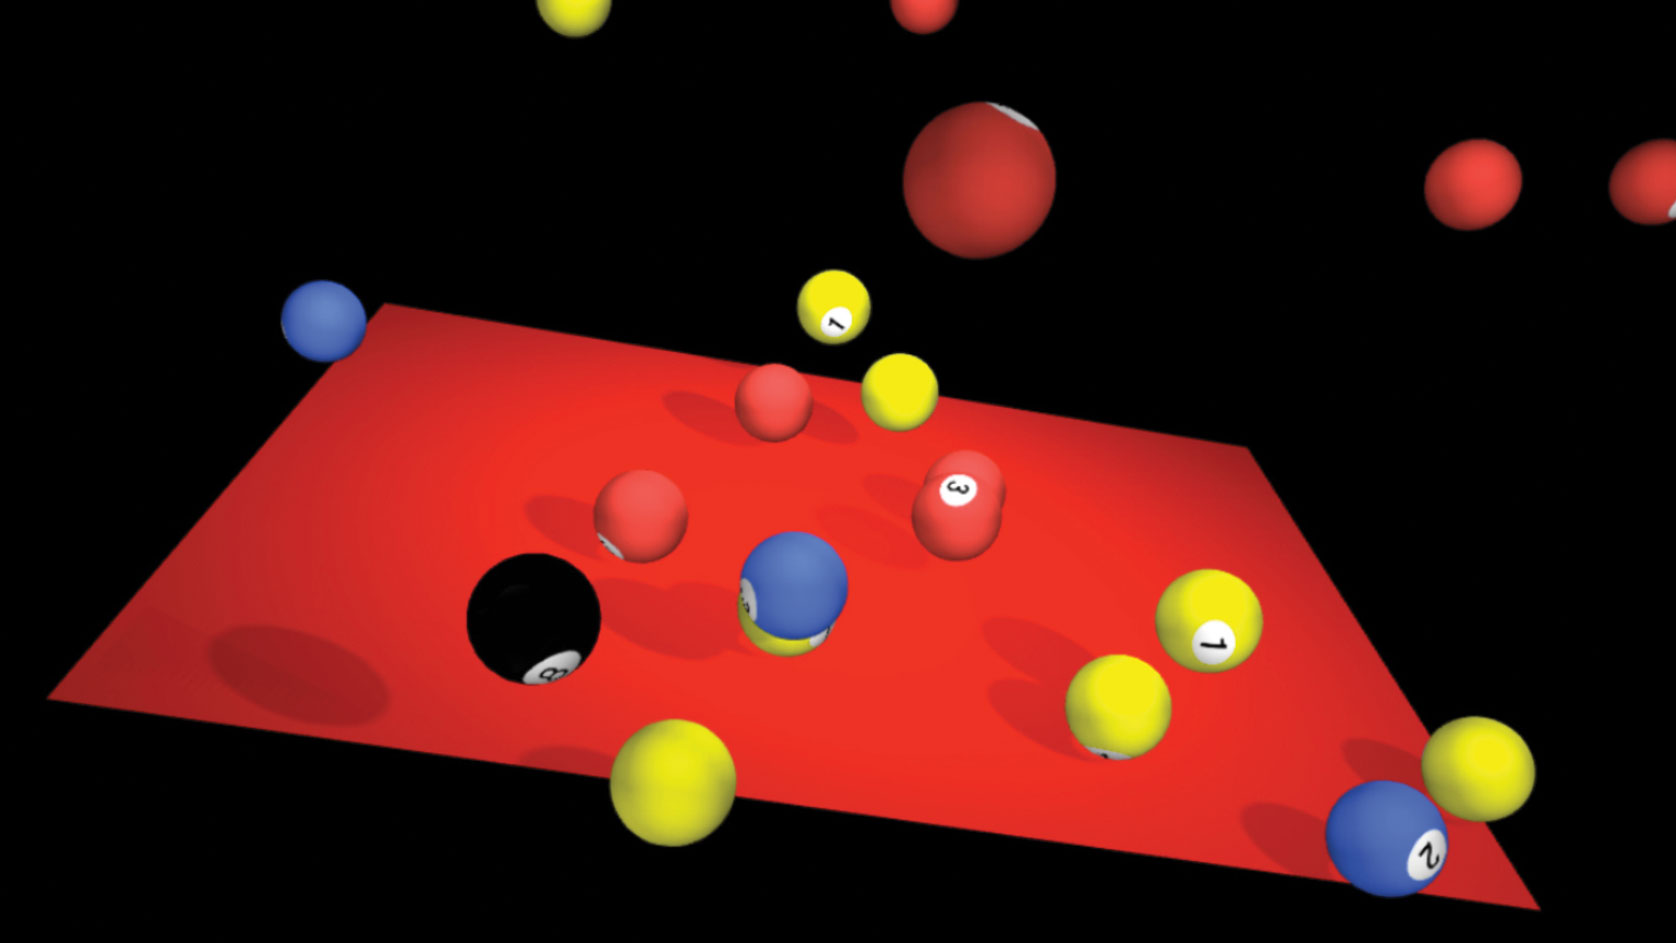
This project will be split up into different parts. We will give a short introduction to Heroku, show how to use Physijs with three.js, explain how to handle socket events over Node.js and also how we go about handling the sent data.
01. Heroku
This project will be hosted on Heroku, which is a cloud platform to host your apps. It has a wide variety of supported languages such as Ruby, Java, PHP and Python. We are going to use Node.js.
Sign up for an account and choose Node.js. For this project we can use the basic server, which is free of charge. After registration you will come to your dashboard where you can create your app. This will create a subdomain at herokuapp.com.
As a deployment method, you can choose to either use the Heroku Command Line Interface (CLI) to deploy using its git repository, or have a connection set up to GitHub or Dropbox. I've chosen to go with its CLI; this will require an install. But in return you get a variety of new helpful tools, one of these is live debugging through your terminal.
For setting up your server I recommend following the steps as described here.
To deploy you use default git commands. Each one you use will trigger the build server and your app will be deployed to the Heroku server and then be viewable at your subdomain.
Once the code is deployed you can view your project at [yourproject].herokuapp.com. To view the logs use the 'heroku logs — tail' command in your terminal. Some of the things being shown is what is being served to the client – it shows the socket connections, and if you want to debug your code, you could also use the console.log in order to output to the terminal.
Get the Creative Bloq Newsletter
Daily design news, reviews, how-tos and more, as picked by the editors.
02. Build the physics scene
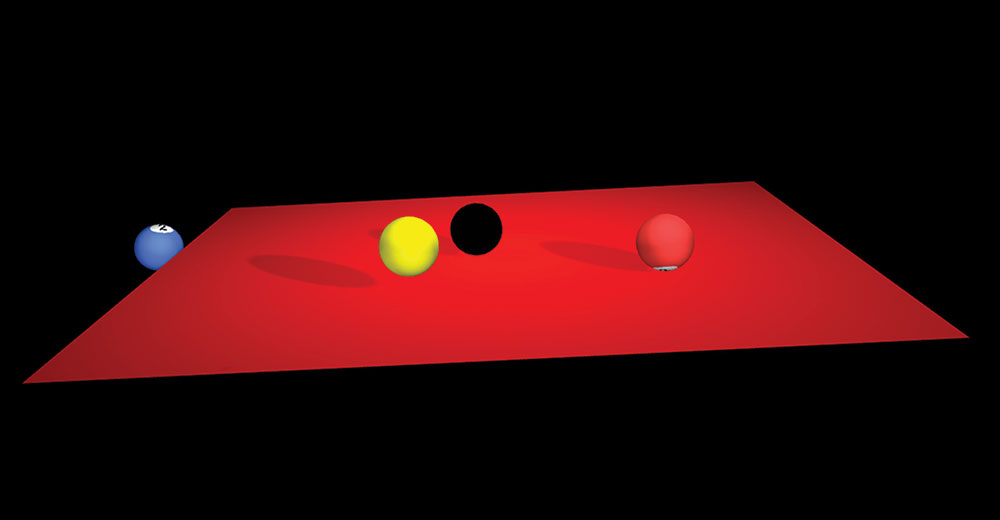
We will be using the most popular WebGL framework, three.js, to build a 3D scene containing an object on which we'll attach physics. The physics library of choice is Physijs, a plug-in for three.js. As an extension to three.js, Physijs uses the same coding convention, making it easier to use if you are already familiar with three.js.
The first thing is the pool table. We are using the Physijs HeightfieldMesh, because this mesh will read the height from the PlaneGeometry. So it will basically wrap itself around the three.js object.
var tableGeometry = new THREE.PlaneGeometry(650, 500, 10, 10);
var tableMaterial = Physijs.createMaterial(
  new THREE.MeshPhongMaterial({
    shininess: 1,
    color: 0xb00000,
    emissive: 0x111111,
    side: THREE.DoubleSide
  }),
  .8, // friction
  .4 // restitution
);
table = new Physijs.HeightfieldMesh(tableGeometry, tableMaterial, 0);
So HeightfieldMesh requires a geometry but also a Physijs Material. We're adding two new features to the three.js material. Those are the friction and restitution variables. Friction is the resistance the object makes, and restitution refers to the 'bounciness'. These two variables will define how real the physics will feel like in your scene.
For the created pool balls we don't want to make them too bouncy, so keep the number low. Like three.js, Physijs also has a series of basic shapes to go around the original mesh. SphereMesh wrapping the SphereGeometry will give the ball physics. When initialising the scene, we call buildBall(8), which will trigger the following function…
var buildBall = function(numberBall) {
 var ballTexture = new THREE.Texture();
 var ballIndex = ball.length;
Add the texture:
  ballTexture = THREE.ImageUtils.loadTexture('textures/' + numberBall + '_Ball.jpg', function(image) {
     ballTexture.image = image;
  });
Create the physijs-enabled material with some decent friction and bounce properties:
  var ballMaterial = Physijs.createMaterial(
    new THREE.MeshLambertMaterial({
      map: ballTexture,
      shininess: 10,
      color: 0xdddddd,
      emissive: 0x111111,
      side: THREE.FrontSide
    }),
    .6, // friction
    .5 // restitution
  );
Texture mapping:
  ballMaterial.map.wrapS = ballMaterial.map.wrapT = THREE.RepeatWrapping;
  ballMaterial.map.repeat.set(1, 1);
 Create the physics-enabled SphereMesh, and start it up in the air:

  ball[ballIndex] = new Physijs.SphereMesh(
    new THREE.SphereGeometry(25, 25, 25),
    ballMaterial,
    100
  );
  // y offset to the top of the canvas
  ball[ballIndex].position.y = 500;
  // shadows
  ball[ballIndex].receiveShadow = true;
  ball[ballIndex].castShadow = true;
  // add the ball to your canvas
  scene.add(ball[ballIndex]);
};
We are adding texture from a .jpg file. Create the material and use that for the SphereMesh to create the object, which we will place vertically to the top so it drops in to the screen.
03. Sockets connection
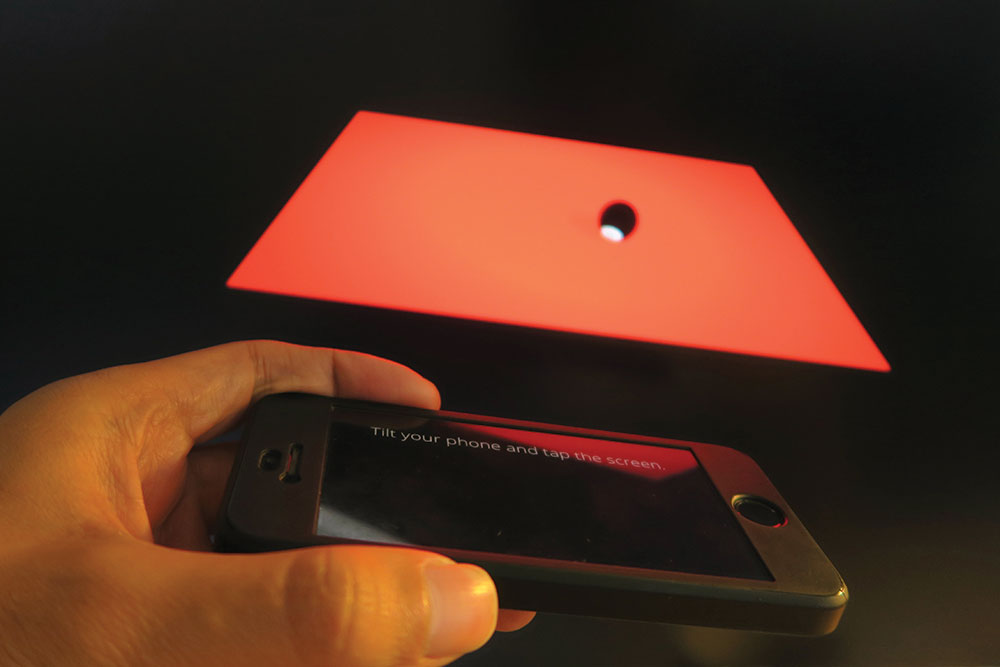
For communication between the server and the client, we will be using socket.io. This is one of the most reliable libraries available for Node.js. It's built on top of the WebSockets API.
Now physics is enabled for the meshes we need user input to make the game interactive. The input device we're using is the mobile device. The mobile browser is the controller that will provide data from the accelerometer and gyroscope to the desktop where you will see the game.
First off, a connection between the mobile browser and the desktop browser has to be made. Each time a browser connects with our Node.js app, we need to make a new connection. A client side connection is set up by using the following:
var socket = io.connect();For sending messages you use the emit function:
socket.emit('event name', data);And for receiving you use the .on() function:
socket.on('event name', function() {});03.1. Setting up the desktop game
If we are on a desktop we will send our sockets a device emit telling our server the desktop is the game using the following line of code:
var socket = io.connect();
// when initial welcome message, reply with 'game' device type
socket.on('welcome', function(data) {
  socket.emit("device", { "type": "game" });
});
The server will return us a unique key/game code generated by crypto. This will be displayed to the desktop.
// generate a code
var gameCode = crypto.randomBytes(3).toString('hex').substring(0, 4).toLowerCase();
// ensure uniqueness
while (gameCode in socketCodes) {
  gameCode = crypto.randomBytes(3).toString('hex').substring(0, 4).toLowerCase();
}
// store game code -> socket association
socketCodes[gameCode] = io.sockets.sockets[socket.id];
socket.gameCode = gameCode
Tell game client to initialise and show the game code to the user…
socket.emit("initialize", gameCode);03.2. Connect controller to the game
To connect the mobile device to the game, we will use a form to submit the game code from the desktop screen. On the form submit we will send the game code to the server for authentication.
socket.emit("device", { "type": "controller", "gameCode": gameCode });The server will check if the game code is valid and will set up the connection with the desktop game
if (device.gameCode in socketCodes) {
  // save the game code for controller commands
  socket.gameCode = device.gameCode
  // initialize the controller
  socket.emit("connected", {});
  // start the game
  socketCodes[device.gameCode].emit("connected", {});
}
Once the connection is all set, we will then give the 8-ball a small push from the x and z with the following command…
ball[0].setLinearVelocity(new THREE.Vector3(30, 0, 30));04. Sending data
Now that the connection is established we want to send the gyro and accelerometer variables to the game. By using the window.ondevicemotion and the window.ondeviceorientation events, we have the data we need to emulate the same tilt movements of our phone to the pool table. I've chosen to use an interval of 100ms to emit those values.
setInterval(function() {
  socket.emit('send gyro', [Math.round(rotY), Math.round(rotX), ay, ax]);
}, intervalTime);
On the client side we will resolve the latency by tweening the incoming values from the server to the tilt of the pool table. For tweening we use TweenMax.
// handle incoming gyro data
socket.on('new gyro', function(data) {
  var degY = data[1] < 0 ? Math.abs(data[1]) : -data[1];
  TweenMax.to(table.rotation, 0.3, {
    x: degToRad(degY - 90),
    y: degToRad(data[0]),
    ease: Linear.easeNone,
    onUpdate: function() {
        table.__dirtyRotation = true;
    }
  });
});
05. Extra events
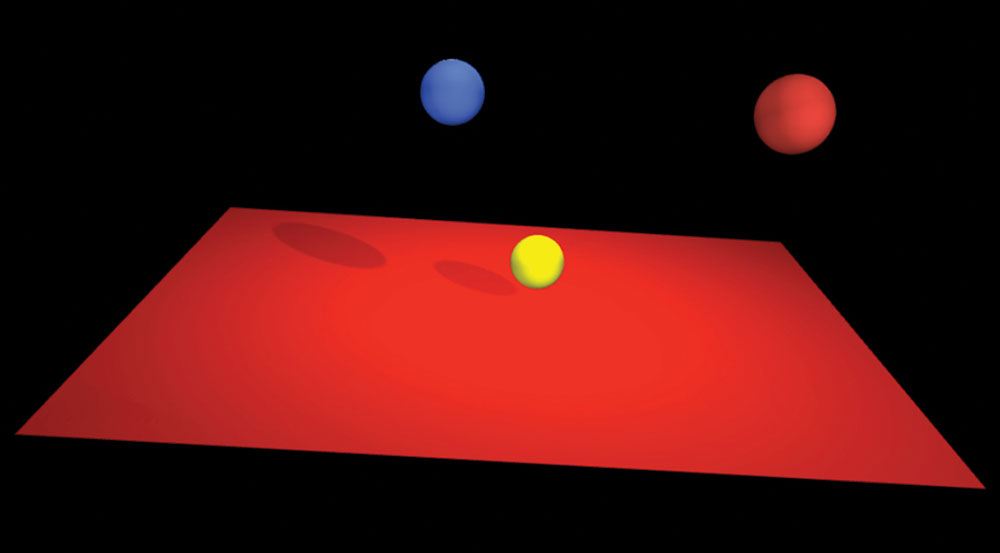
To give it a bit more interactivity, I've added a couple of extra events for the user to play with. We're going to give the user the option to add extra balls next to the 8-ball by using the numbers on the keyboard.
Another one is to bounce the table upwards. For this you can hit the spacebar. But we're also adding a tap event on the controller device. This will send an event to the pool table, which will rise the table and send the balls up.
First we need to catch the keyboard events…
// create balls / slam table on spacebar
document.addEventListener('keydown', function(e) {
  if (e.keyCode == 49) { // key: 1
    buildBall(1);
  } else if (e.keyCode == 50) { // key: 1
    buildBall(2);
  } else if (e.keyCode == 51) { // key: 1
    buildBall(3);
  } else if (e.keyCode == 32) { // key: spacebar
    bounceTable();
  }
});
The buildBall function is the same function we used to create the sphere 8-ball. We are just using different textures that will wrap the sphere. For pushing the table up, we give the table an upward motion along the y axis with this code…
table.setLinearVelocity(new THREE.Vector3(0, 500, 0));Conclusion
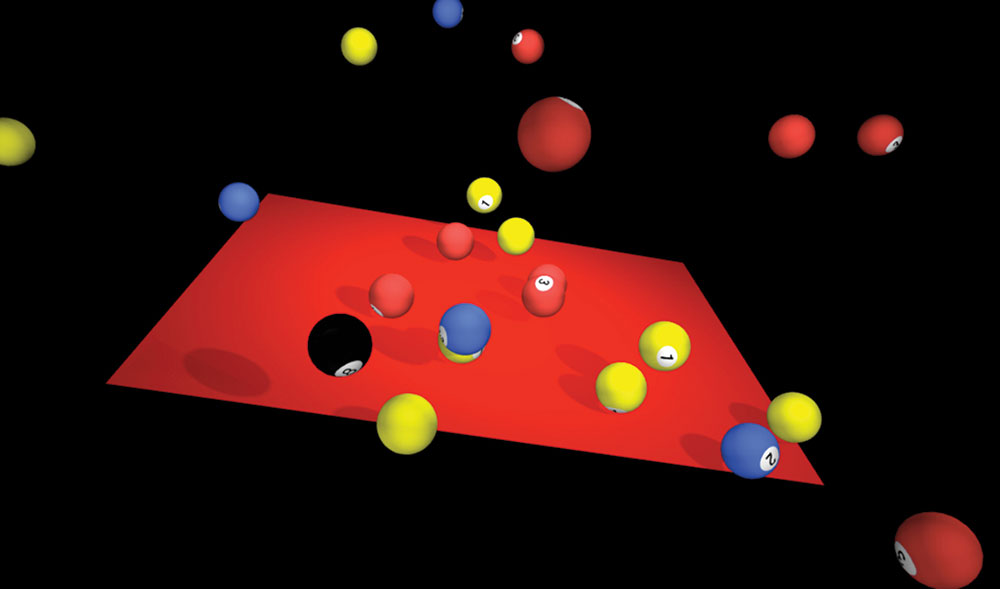
When you have a concept for a game or anything else, it is entirely likely that there are libraries out there that could make your life easier. This is a demo that shows how this can work. We hope this will help spark some creative ideas or help you with your current project. See a live example of the game here, or find it on GitHub.
This article was originally published in issue 300 of net, the world's top magazine for professional web designers and developers. Buy issue 300 or subscribe here.
Related articles:

Thank you for reading 5 articles this month* Join now for unlimited access
Enjoy your first month for just £1 / $1 / €1
*Read 5 free articles per month without a subscription

Join now for unlimited access
Try first month for just £1 / $1 / €1
