How to build an AR app
A step-by-step guide to creating a multi-marker augmented reality application using AR.js.
Sign up to Creative Bloq's daily newsletter, which brings you the latest news and inspiration from the worlds of art, design and technology.
You are now subscribed
Your newsletter sign-up was successful
Want to add more newsletters?

Five times a week
CreativeBloq
Sign up to Creative Bloq's daily newsletter, which brings you the latest news and inspiration from the worlds of art, design and technology.

Once a week
By Design
Sign up to Creative Bloq's daily newsletter, which brings you the latest news and inspiration from the worlds of art, design and technology.

Once a week
State of the Art
Sign up to Creative Bloq's daily newsletter, which brings you the latest news and inspiration from the worlds of art, design and technology.

Seasonal (around events)
Brand Impact Awards
Sign up to Creative Bloq's daily newsletter, which brings you the latest news and inspiration from the worlds of art, design and technology.
11. Initialise the AR scene
The init function is mainly about setting up the Three.JS scene and then making that scene respond to the position of the marker detected in AR. In this case the renderer is set up and the various attributes set. It’s positioned in the top left of the browser screen.
function init() {
  var renderer = new THREE.WebGLRenderer({
  antialias: true,
  alpha: true
  });
  renderer.setClearColor(new THREE.Color(‘lightgrey’), 0);
  renderer.setSize(640, 480);
  renderer.domElement.style.position = ‘absolute’;
  renderer.domElement.style.top = ‘0px’;
  renderer.domElement.style.left = ‘0px’;
12. Add the camera
The renderer is appended into the HTML document and then a new array is created that will contain all the elements that need to be updated in the scene for animation – more on this later. A 3D scene is created and a camera added to the scene which will be from the position of the user’s camera.
document.body.appendChild(renderer.domElement);
var onRenderFcts = [];
var scene = new THREE.Scene();
var camera = new THREE.Camera();
scene.add(camera);
13. Add AR functionality
The source to track for AR markers is set up now and you can see in this code that it is set to track the webcam. This will be a phone or tablet’s camera if on those devices. If for any reason the window resizes, the onResize function is called and this is also called at the start.
var arToolkitSource = new THREEx.ArToolkitSource({
  sourceType: 'webcam' });
arToolkitSource.init(function onReady() {
  onResize() });
window.addEventListener('resize', function() {
  onResize() });
14. Resize the screen
Now the code creates the onResize function that is called from the previous step. This ensures the webcam image is set to be resized to fit inside the renderer. If you inspect your page, the renderer is actually a HTML5 Canvas element.
function onResize() {
  arToolkitSource.onResize()
  arToolkitSource.copySizeTo(renderer.domElement)
  if (arToolkitContext.arController !== null) {
  arToolkitSource.copySizeTo(arToolkitContext.arController.canvas)
  } }
15. Add the first marker
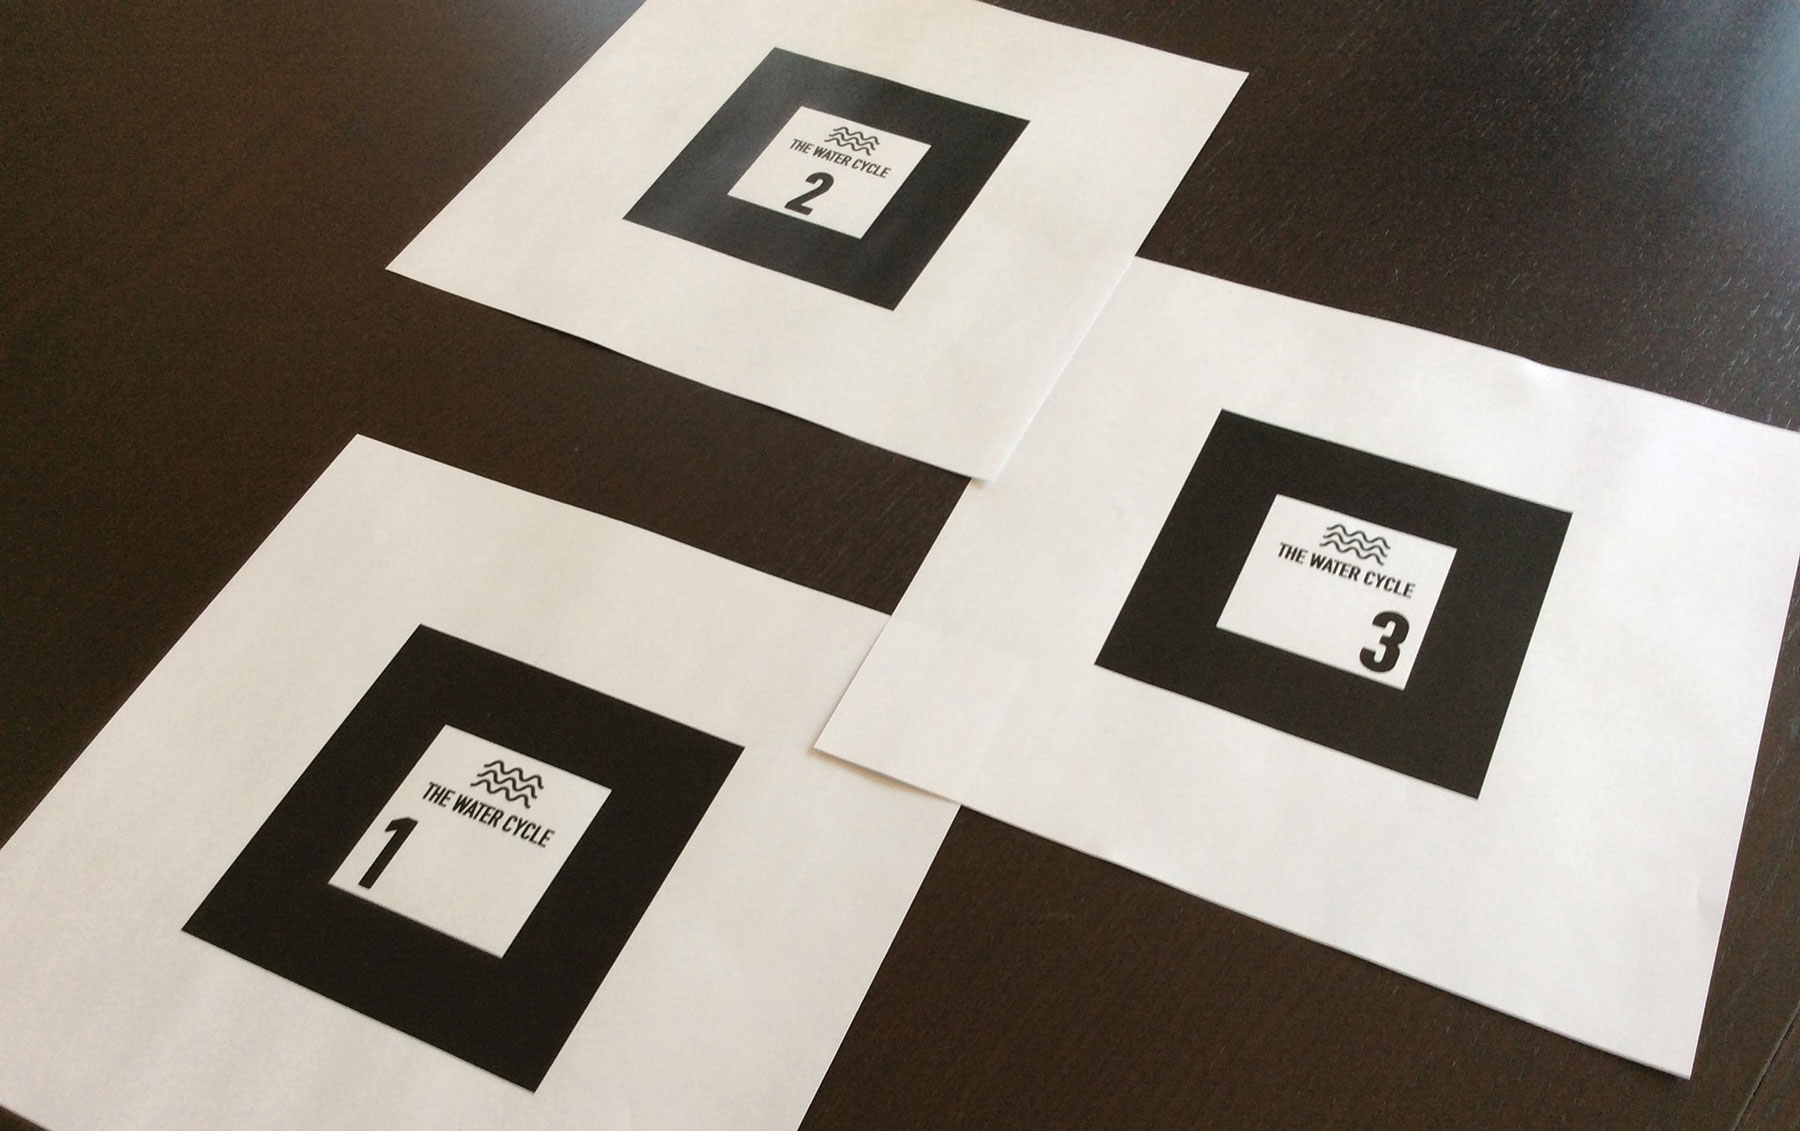
The next few steps all take a similar approach. A new variable is created and this becomes a group. Inside this group the marker is told to respond to a ‘pattern’ marker and the type of pattern is defined in an external file. For more information on how this was created see the separate tutorial.
var markerRoot = new THREE.Group;
scene.add(markerRoot);
var artoolkitMarker = new THREEx.ArMarkerControls(arToolkitContext, markerRoot, {
  type: ‘pattern’,
  patternUrl: THREEx.ArToolkitContext.baseURL + ‘data/pattern-1.patt’,   });
16. Add the second marker
Now the second marker is created with a different variable name. This references a different pattern so it will respond to a different marker held in front of the camera. This way holding up different markers will trigger different responses.
var markerRoot2 = new THREE.Group;
scene.add(markerRoot2);
var artoolkitMarker = new THREEx.ArMarkerControls(arToolkitContext, markerRoot2, {
  type: 'pattern',
  patternUrl: THREEx.ArToolkitContext.baseURL + 'data/pattern-2.patt',
});
17. Add the final marker and models

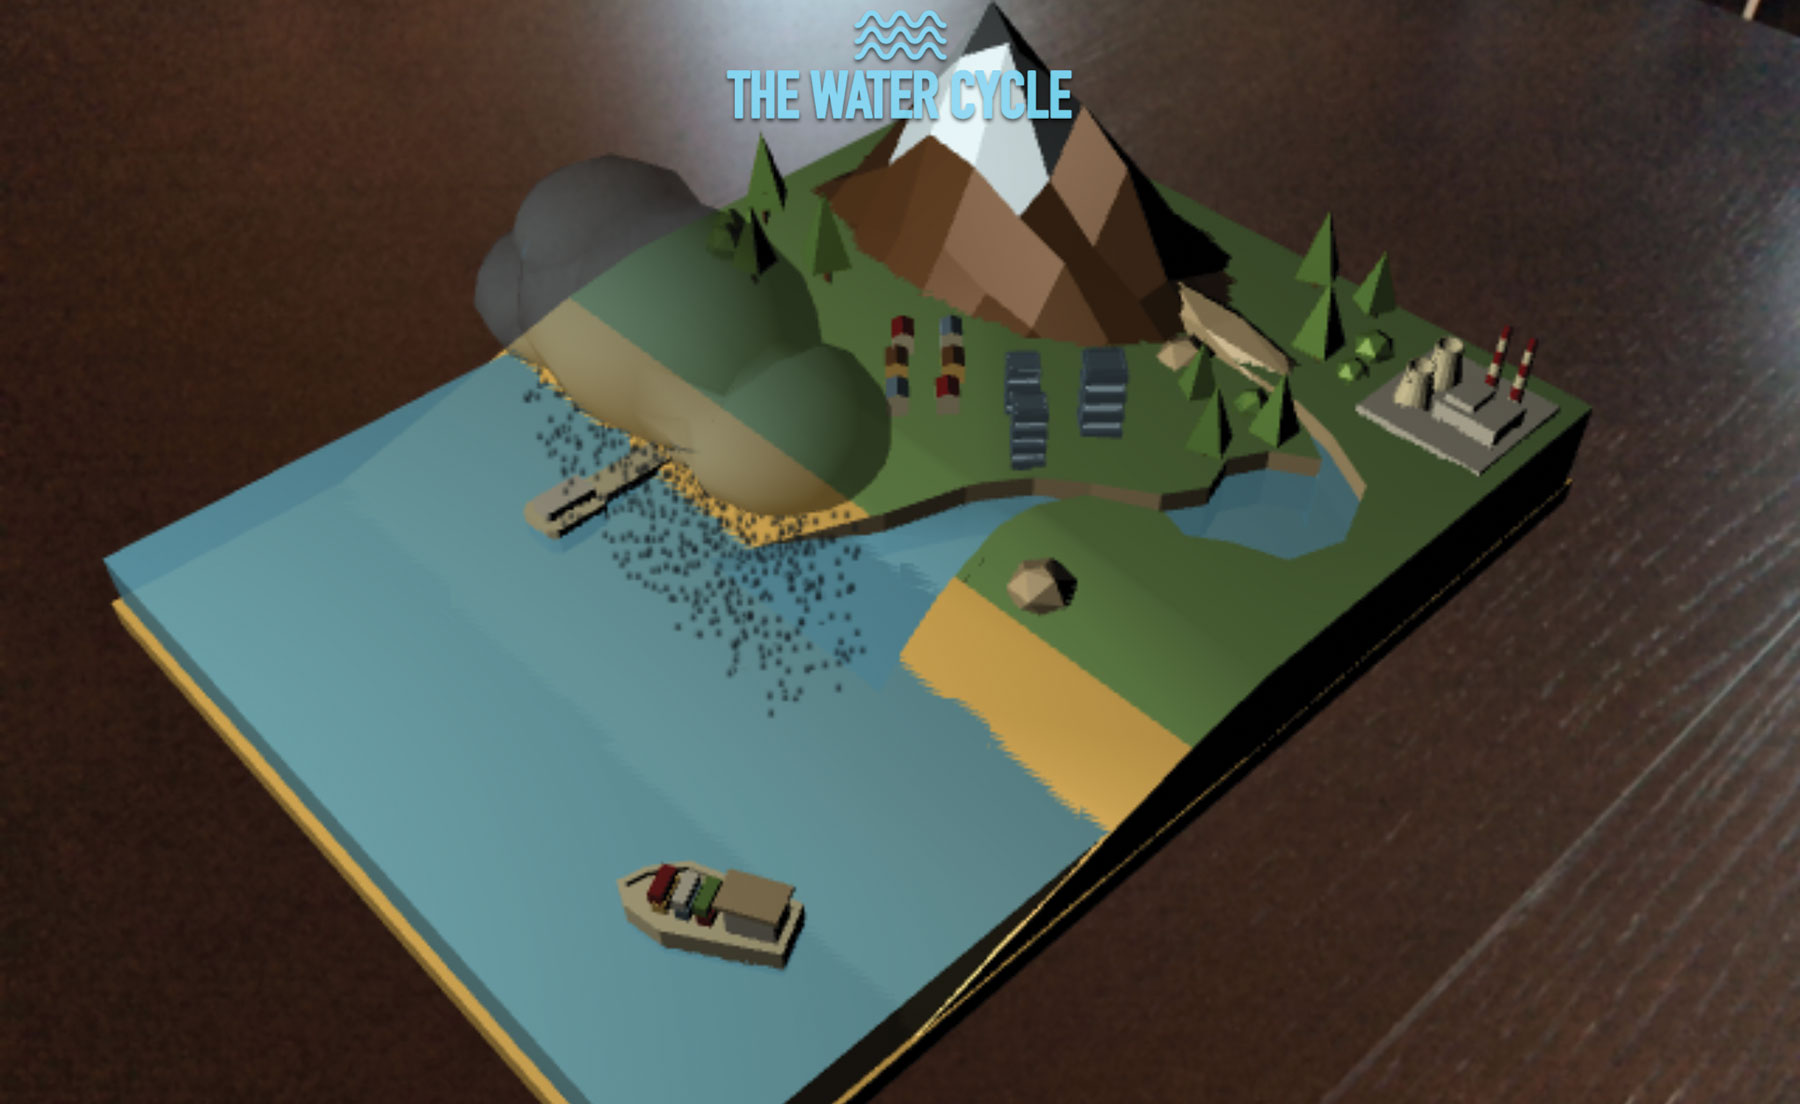
Once more, another variable is declared for the last marker and it references another pattern file. After this you will see that each marker variable group gets the correct model added to it that we set up in the first 10 steps. These will display when the marker is placed in front of the camera.
Sign up to Creative Bloq's daily newsletter, which brings you the latest news and inspiration from the worlds of art, design and technology.
var markerRoot3 = new THREE.Group;
scene.add(markerRoot3);
var artoolkitMarker = new THREEx.ArMarkerControls(arToolkitContext, markerRoot3, {
  type: 'pattern',
  patternUrl: THREEx.ArToolkitContext.baseURL + 'data/pattern-3.patt',
  });
markerRoot.add(model1);
markerRoot2.add(model2);
markerRoot3.add(model3);
18. Update the particles

You may have forgotten about the rain particles created earlier, but they need updating every frame. So here a for loop moves through each particle in the array and updates its position, resetting it if it moves below the ground. This totally makes the rain effect work.
onRenderFcts.push(function() {
  for (var i = 0; i < particleCount; i++) {
  var ptcl = particles.vertices[i];
  if (ptcl.y < -100) {
  ptcl.y = -10;
  ptcl.velocity.y = -(Math.random() * 0.9);  }
  ptcl.velocity.y -= Math.random() * 0.02;
  ptcl.add(ptcl.velocity);  }
  particles.verticesNeedUpdate = true;
});
19. Remove the preloader

While all of this set up has been going on, there has been a message over the screen that is asking the user to wait patiently for the content to load. Here that content is removed and the scene is rendered through the camera.
getElementById("preloader").style.visibility = 'hidden';
onRenderFcts.push(function() {
  renderer.render(scene, camera); })
var lastTimeMsec = null;
20. Continuously update
The requestAnimationFrame is the browser’s built-in loop that tries to run as close to 60 frames per second that it can. Here the frame rate is worked out so that the animation is divided by 60 frames per second to work out the interval, to create a delta of time that has passed. Mobile CPUs will run at a different speed so frame rate will not be an accurate time counter.
requestAnimationFrame (function animate(nowMsec) {
requestAnimationFrame (animate);
  lastTimeMsec = lastTimeMsec || nowMsec - 1000 / 60;
  var deltaMsec = Math.min(200, nowMsec - lastTimeMsec);
21. Finish up
Now the tween engine is updated and every element added to the onRenderFct array that will be updated at the correct speed. Save the file and make sure you look at this on a server, it must be HTTPS if you want to serve to mobile devices. Place the markers supplied in the project files folder in front of the camera to see the different stages.
lastTimeMsec = nowMsec;
  TWEEN.update();
  onRenderFcts.forEach(function(onRenderFct) {
  onRenderFct(deltaMsec / 1000, nowMsec / 1000);
}) }); }
Next page: How to create a custom marker
Current page: Build an AR app: Steps 11-20
Prev Page Build an AR app: Steps 01-10 Next Page How to create a custom AR marker
Mark is a Professor of Interaction Design at Sheridan College of Advanced Learning near Toronto, Canada. Highlights from Mark's extensive industry practice include a top four (worldwide) downloaded game for the UK launch of the iPhone in December 2007. Mark created the title sequence for the BBC’s coverage of the African Cup of Nations. He has also exhibited an interactive art installation 'Tracier' at the Kube Gallery and has created numerous websites, apps, games and motion graphics work.
