How to build an AR app
A step-by-step guide to creating a multi-marker augmented reality application using AR.js.
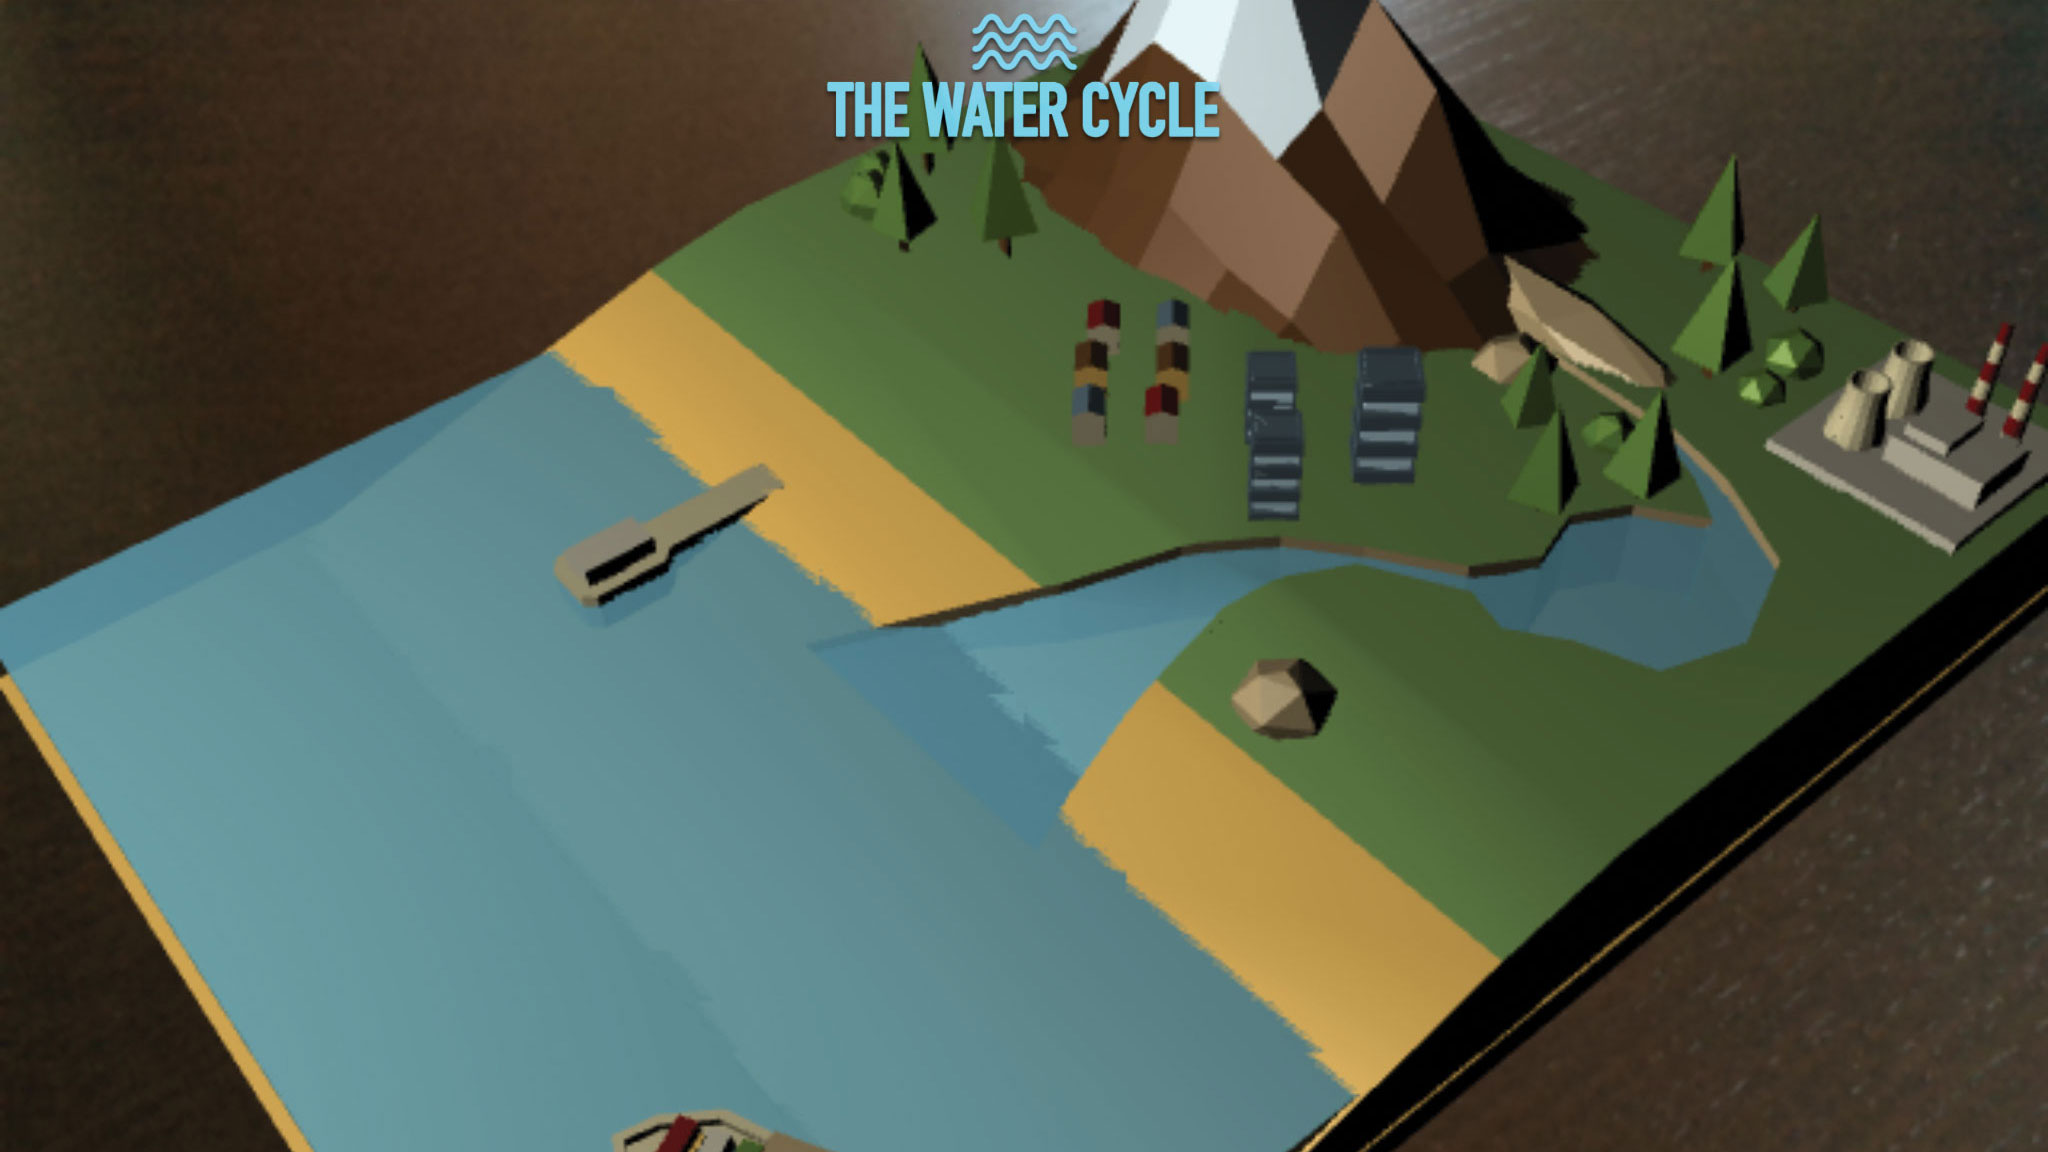
Over the past two years, there has been an explosion in interest surrounding VR and AR technologies. The latest big thing in experimental design, AR has also arrived on the web, but with this new technology comes new skills, and right now it feels like the Wild West with no major standards to follow.
The ability to display 3D on the web is nothing new, but if you’ve been avoiding it, then you need to jump into technologies like three.js or A-Frame (take a look at our roundup of AR tools to try for a full list).
Whatever skill level you are at, it won’t make much difference if you don’t have some decent content. Think about appropriate use cases for AR before jumping in. In this article, we’ll show you how to create a multi-marker AR experience.
Feel your skill level isn't quite up to it? A website builder will create a site for you without the fuss. Or if you're diving in with a complex site, get the web hosting right.
By using multiple markers, it’s possible to show different stages of a process or any unique content based on that marker. In this example, our app will explore the water cycle. Jump to page 3 to learn how to create a custom AR marker.
01. Get started
Open the start folder in your IDE and inside the index.html page find the script tags. All the code in the tutorial will go inside these. To test the app you will need to have a server and if you want to test on a phone you will need to host the files on a HTTPS server. Add the initial variables in the script tags:
var model1, model2, model3, count = 0,
  particles, particleCount, particleSystem;
  var loader = new THREE.ColladaLoader();
02. Load the model
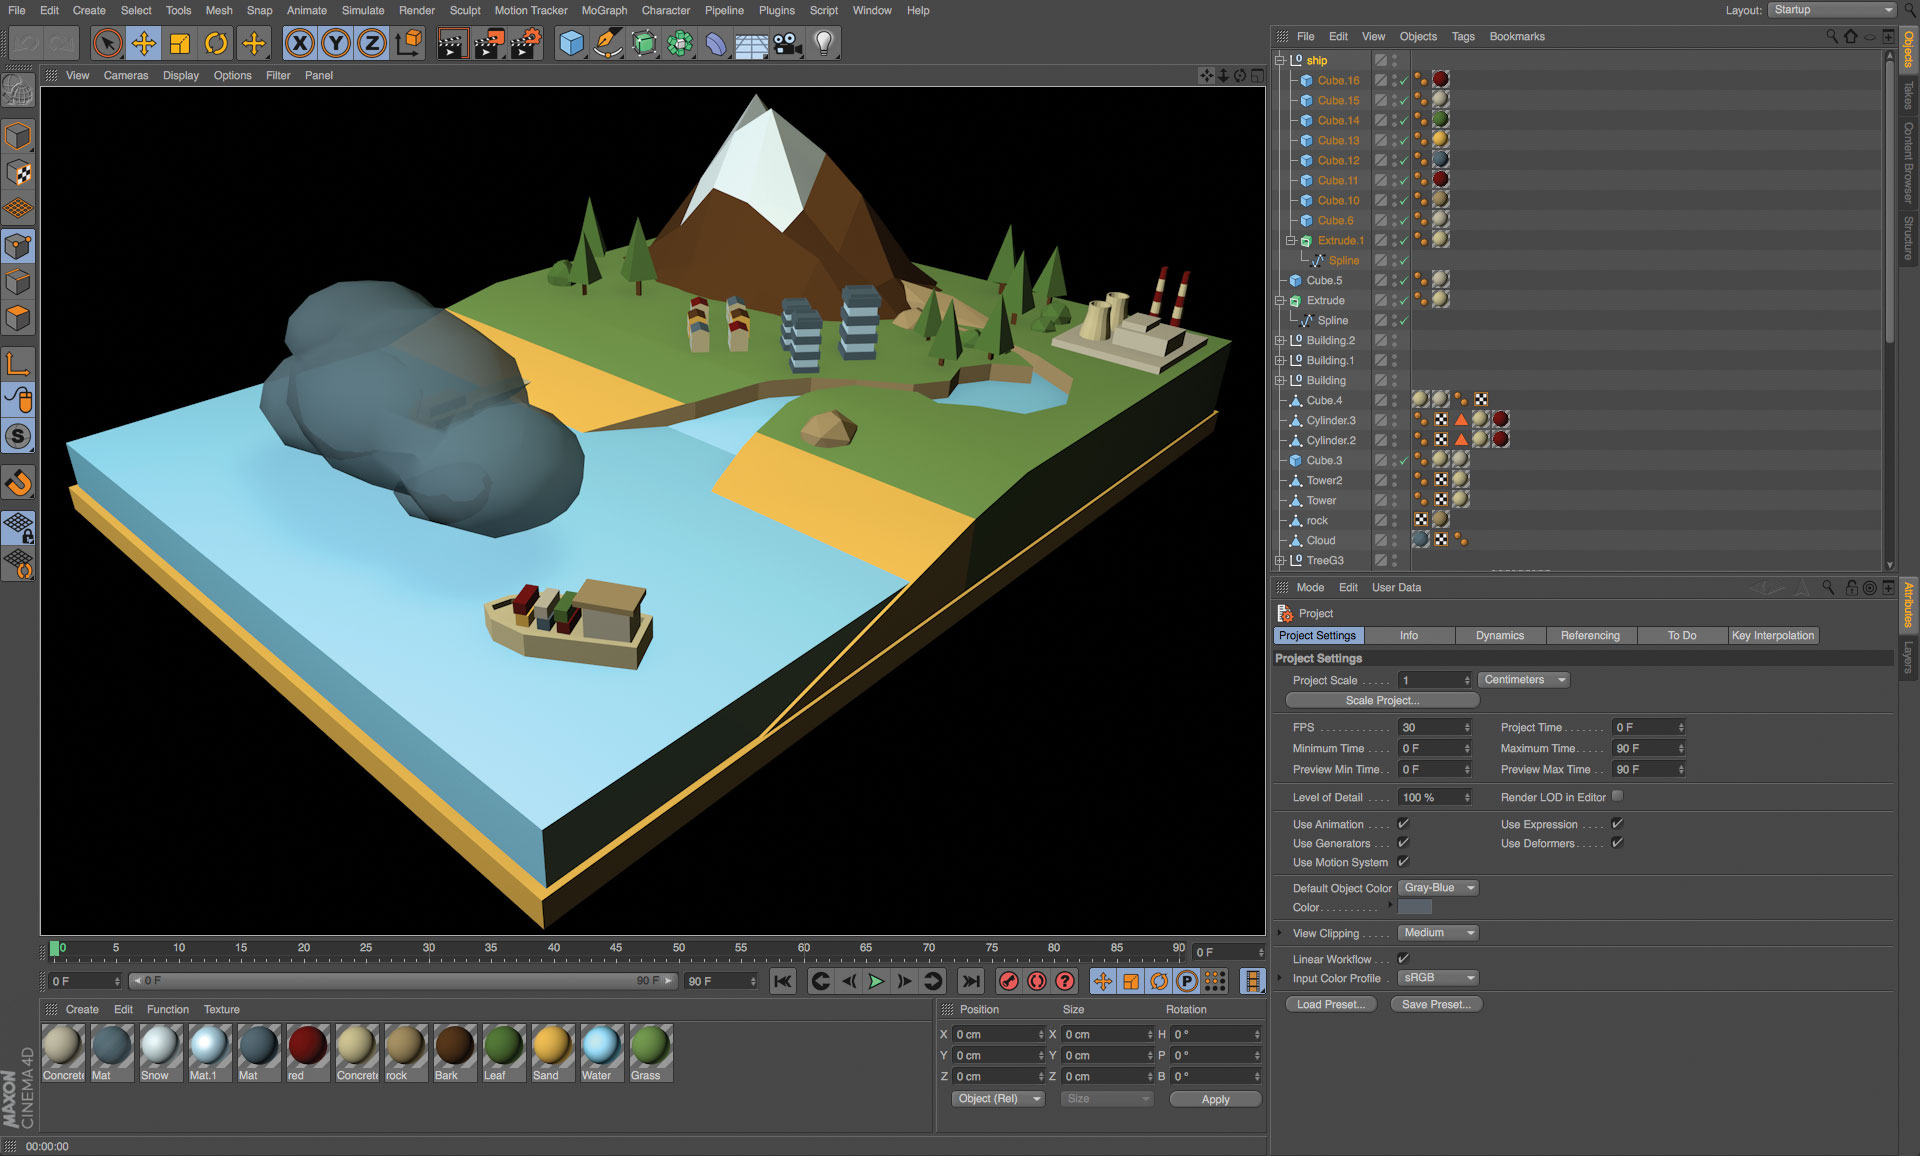
To make the AR scene work, a model will be loaded. You will see that once loaded it is stored in the variable model1. This is then scaled and cloned twice for the three steps. Rather than load three different models, all the adjustments to one model will be done in code to make it load quickly on mobile.
Get the Creative Bloq Newsletter
Daily design news, reviews, how-tos and more, as picked by the editors.
loader.load('landscape1.dae', function(collada) {
  model1 = collada.scene;
  model1.scale.x = model1.scale.y = model1.scale.z = 0.015;
  model2 = model1.clone();
  model3 = model1.clone();
03. Set up the tweening
On the first model, the cloud is going to be found in the scene and this will be tweened to a new position so that the cloud rises out of the sea. This is set to repeat forever and it will take eight seconds for the tween to animate up and show a cloud forming.
var cloud1 = model1.getObjectByName(“Cloud”, true);
  cloud1 = cloud1.children[0];
  new TWEEN.Tween(cloud1.position).to({
  x: 0,
  y: 30,
  z: -15
  }, 8000).repeat(Infinity).easing(TWEEN.Easing.Quadratic.InOut).start();
04. Scale it up
The cloud is scaled down to be almost invisible. Another tween is added to the cloud and this scales the cloud up to its normal size. With the movement and the scaling, it will give the illusion that the cloud is rising and forming out of the sea as the first step in the process of the water cycle.
cloud1.scale.x = cloud1.scale.y = cloud1.scale.z = 0.0;
  new TWEEN.Tween(cloud1.scale).to({
  x: 1,
  y: 1,
  z: 1
  }, 8000).repeat(Infinity).easing(TWEEN.Easing.Quadratic.InOut).start();
05. Set up the second cloud
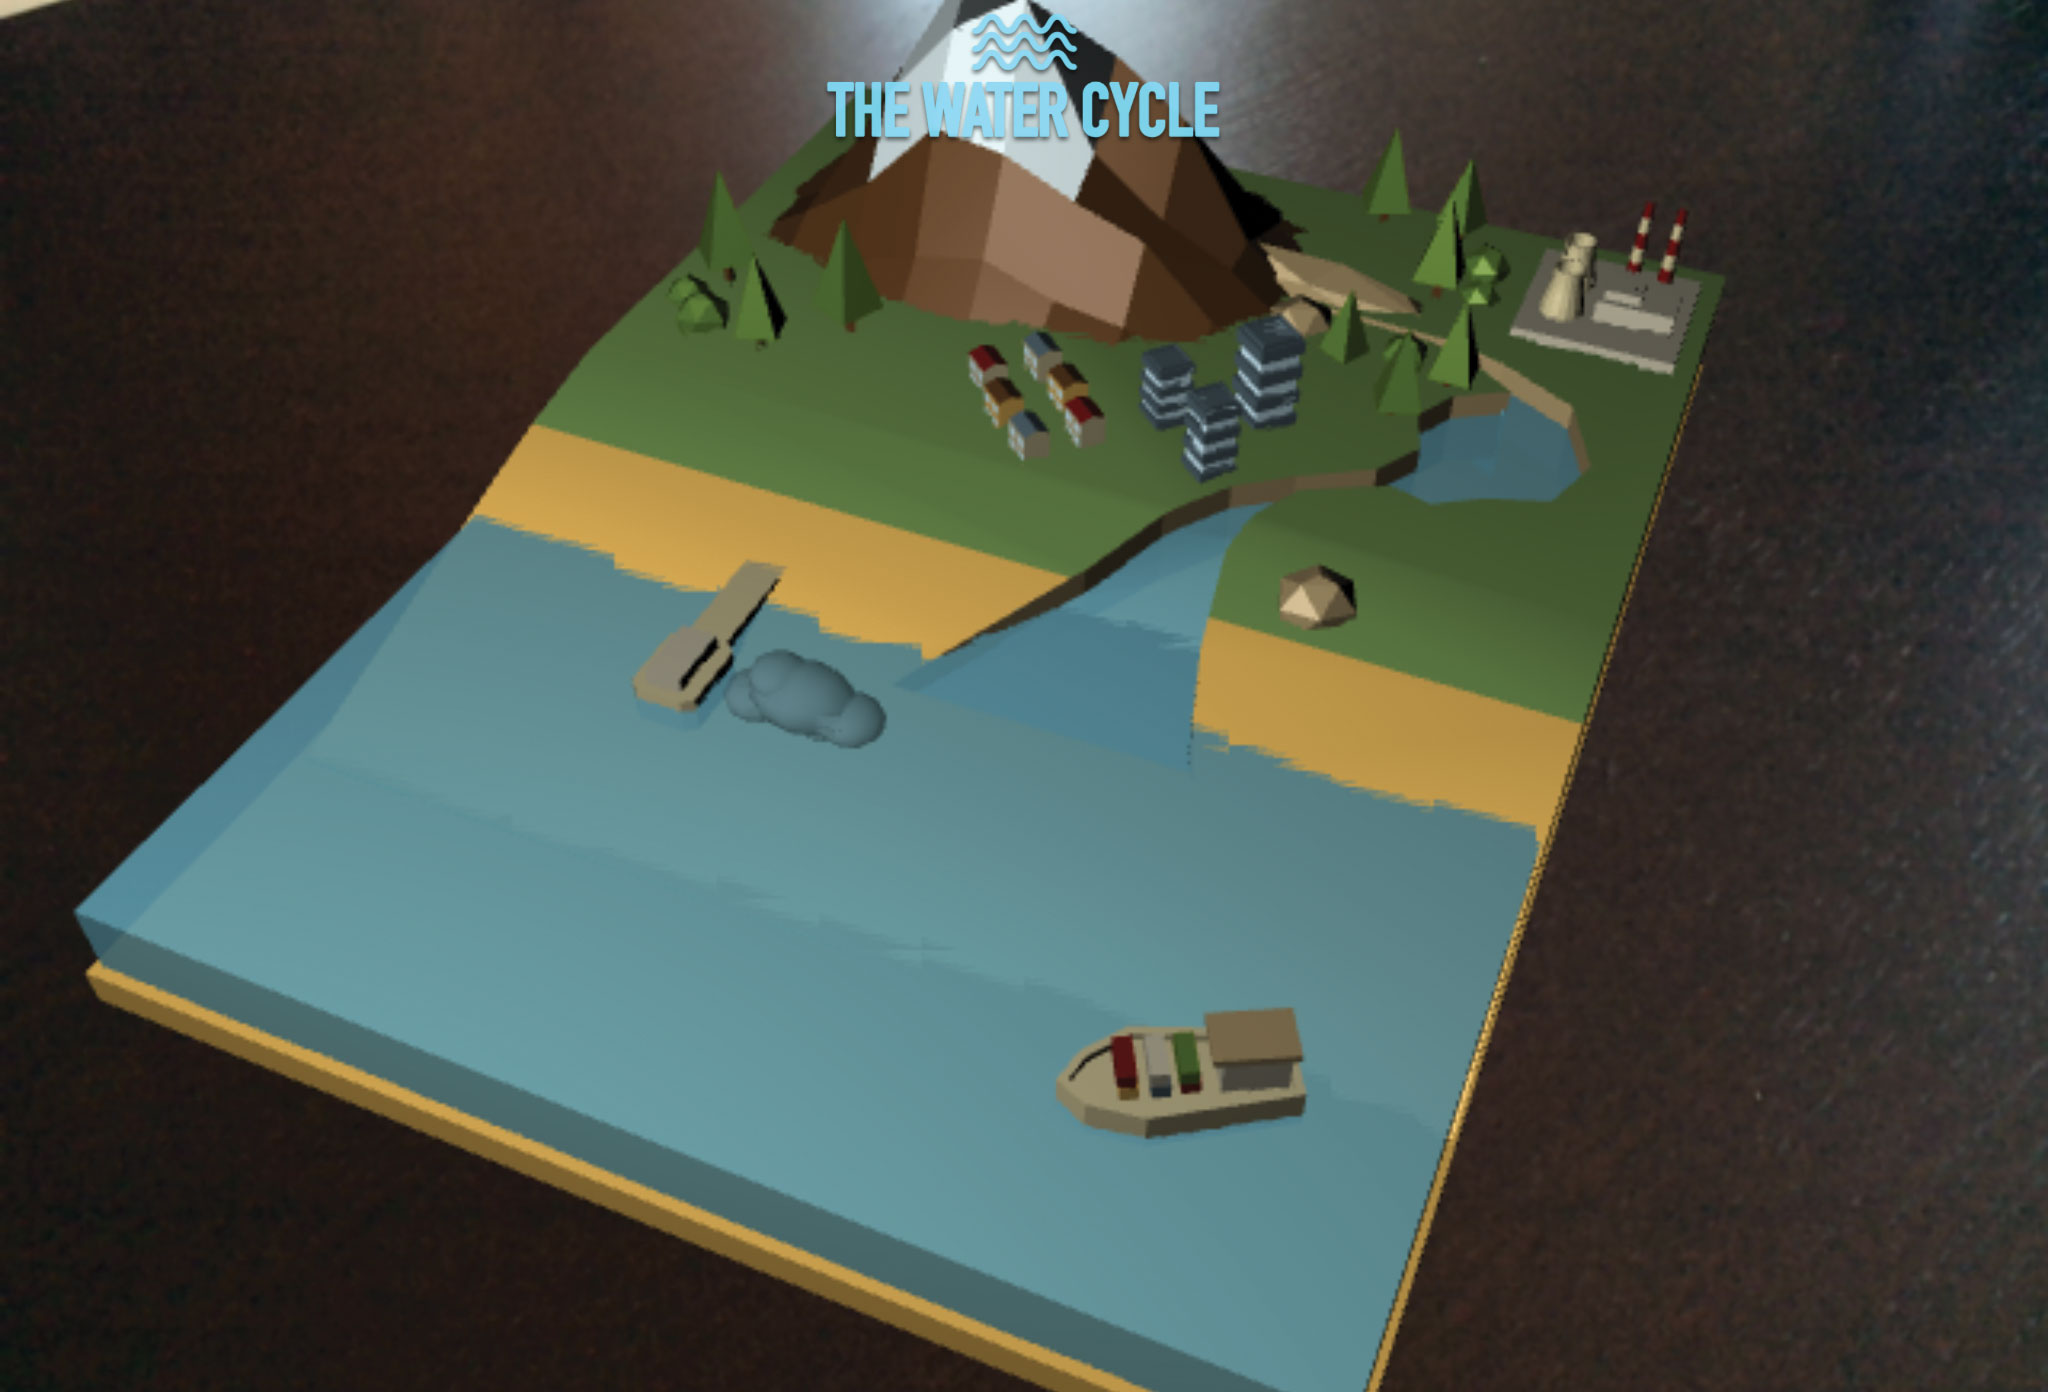
The next cloud from the second model needs to be positioned where the first cloud finished its animation as a formed cloud in the sky. This is given a tweened movement to position itself over the land, rising slightly above the mountain. This will take 12 seconds to animate as it’s a bigger move.
var cloud2 = model2.getObjectByName(“Cloud”, true);
  cloud2 = cloud2.children[0];
  cloud2.position.set(0, 30, -15);
  new TWEEN.Tween(cloud2.position).to({
  x: 0,
  y: 50,
  z: -145
  }, 12000).repeat(Infinity).easing(TWEEN.Easing.Quadratic.InOut).start();
06. Make it rain
The key to making this illusion work is allowing the cloud to rain. The water cycle has the cloud rain as it moves higher over land. To get the effect, a particle system will be used. Here the amount of particles and the particle material is created, using a rain drop image.
var textureLoader = new THREE.TextureLoader();
particleCount = 1500;
particles = new THREE.Geometry();
var pMaterial = new THREE.PointsMaterial({
  color: 0x3a4e5d,
  size: 0.05,
  map: textureLoader.load(“img/rain.png”),
  phaTest: 0.3,
  opacity: 0.9,
  transparent: true });
07. Create raindrops
Using a for loop, 1500 raindrops can be created with a random x, y, z position that will be between the cloud and the ground. Each raindrop is given its own random velocity to make the rain look more natural. The particle is pushed into the correct vertex of the geometry.
for (var i = 0; i < particleCount; i++) {
  var pX = Math.random() * 60 - 30,
  pY = Math.random() * -10,
  pZ = Math.random() * 20 - 10;
  var particle = new THREE.Vector3(pX, pY, pZ);
  particle.velocity = new THREE.Vector3(0, -(Math.random() * 0.9), 0);
  particles.vertices.push(particle); }
08. Work on the particle system
Now the particle system is created out of the geometry and the material. The particles are set to be sorted so that the z-order is correct and then the rain particles are made a child of the second cloud. Anywhere the cloud is tweened, the rain also follows, so no need to animate the rain following the cloud!
particleSystem = new THREE.Points(particles, pMaterial);
particleSystem.sortParticles = true;
cloud2.add(particleSystem);
09. Set the final model positions
In the final model, the cloud is repositioned to the ending spot of the second cloud animation cycle. This new cloud is just going to sit in the sky and not animate. Instead the river is going to animate, so the river model is stored in a variable, ready to add the tween to it.
var cloud3 = model3.getObjectByName(“Cloud”, true);
  cloud3 = cloud3.children[0];
  cloud3.position.set(0, 50, -145);
  var river = model3.getObjectByName(“river”, true);
  river = river.children[0];
10. Fill up the river
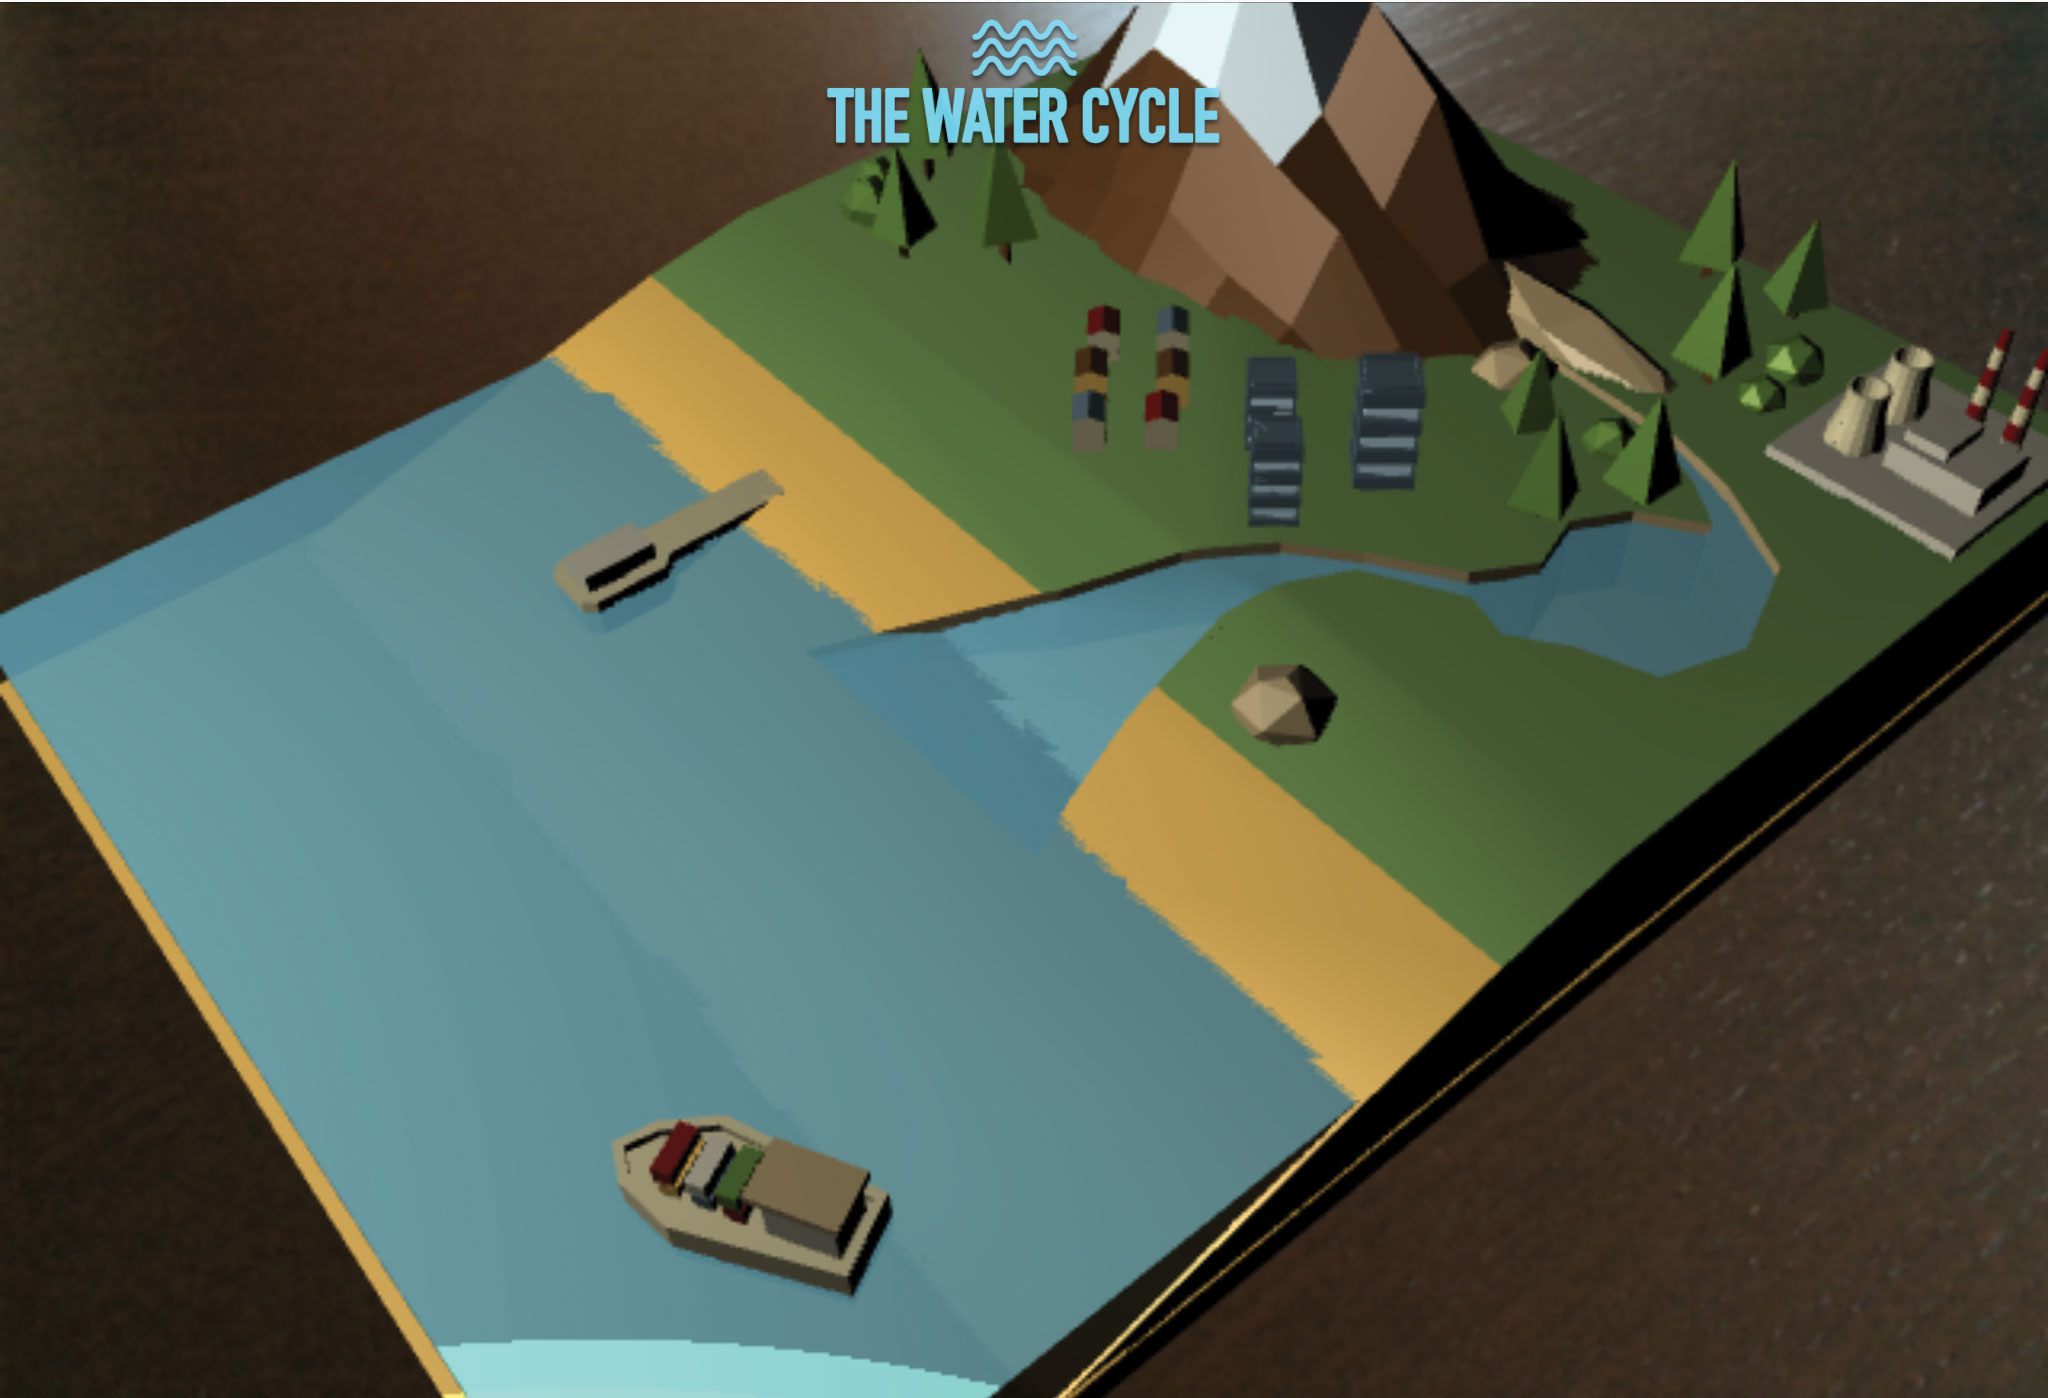
In the third step of the water cycle the water runs off the hills, filling rivers and lakes as it returns to the sea. This is the most subtle movement as it will just entail moving the height of the river so that it appears to fill up. Everything is preloaded now, so the init function is called.
  new TWEEN.Tween(river.position).to({
  y: 3
  }, 8000).repeat(Infinity).easing(TWEEN.Easing.Quadratic.InOut).start();
  init();
});
Got design files to save? Check out our guide to cloud storage.
Next page: Add AR functionality and markers

Thank you for reading 5 articles this month* Join now for unlimited access
Enjoy your first month for just £1 / $1 / €1
*Read 5 free articles per month without a subscription

Join now for unlimited access
Try first month for just £1 / $1 / €1

Mark is a Professor of Interaction Design at Sheridan College of Advanced Learning near Toronto, Canada. Highlights from Mark's extensive industry practice include a top four (worldwide) downloaded game for the UK launch of the iPhone in December 2007. Mark created the title sequence for the BBC’s coverage of the African Cup of Nations. He has also exhibited an interactive art installation 'Tracier' at the Kube Gallery and has created numerous websites, apps, games and motion graphics work.
