Wondering how to make a website on Squarespace? It's pretty easy, really. However, if you've never used Squarespace before, you might well get stuck when you first try to use the system.
Don't get me wrong: Squarespace is actually one of the best website builders for artists, photographers, designers and other creatives. As my Squarespace review explains, it has beautiful templates, excellent ecommerce features and a quite inuitive interface on the whole. But just like with any web builder you're using for the first time, it can be a bit fiddly at first.
So in this guide, I’ll walk you through the absolute basics of building a website on Squarespace. We’ll cover getting started, choosing the right template, and adding text, links and images to make your website your own. I've included step by step images in a gallery for each of the five stages, so click the arrows to see each one in turn.
Latest Videos From Creative Bloq
1. Getting started
Image 1 of 5
(Image credit: Future)
(Image credit: Future)
(Image credit: Future)
(Image credit: Future)
(Image credit: Future)
Squarespace offers a 14-day free trial, and you don't have to pick a payment plan or provide credit card details till it's over. Even then, if you decide not to continue with at that point, you don't owe them a penny. So getting started with building a website on Squarespace couldn't be easier.
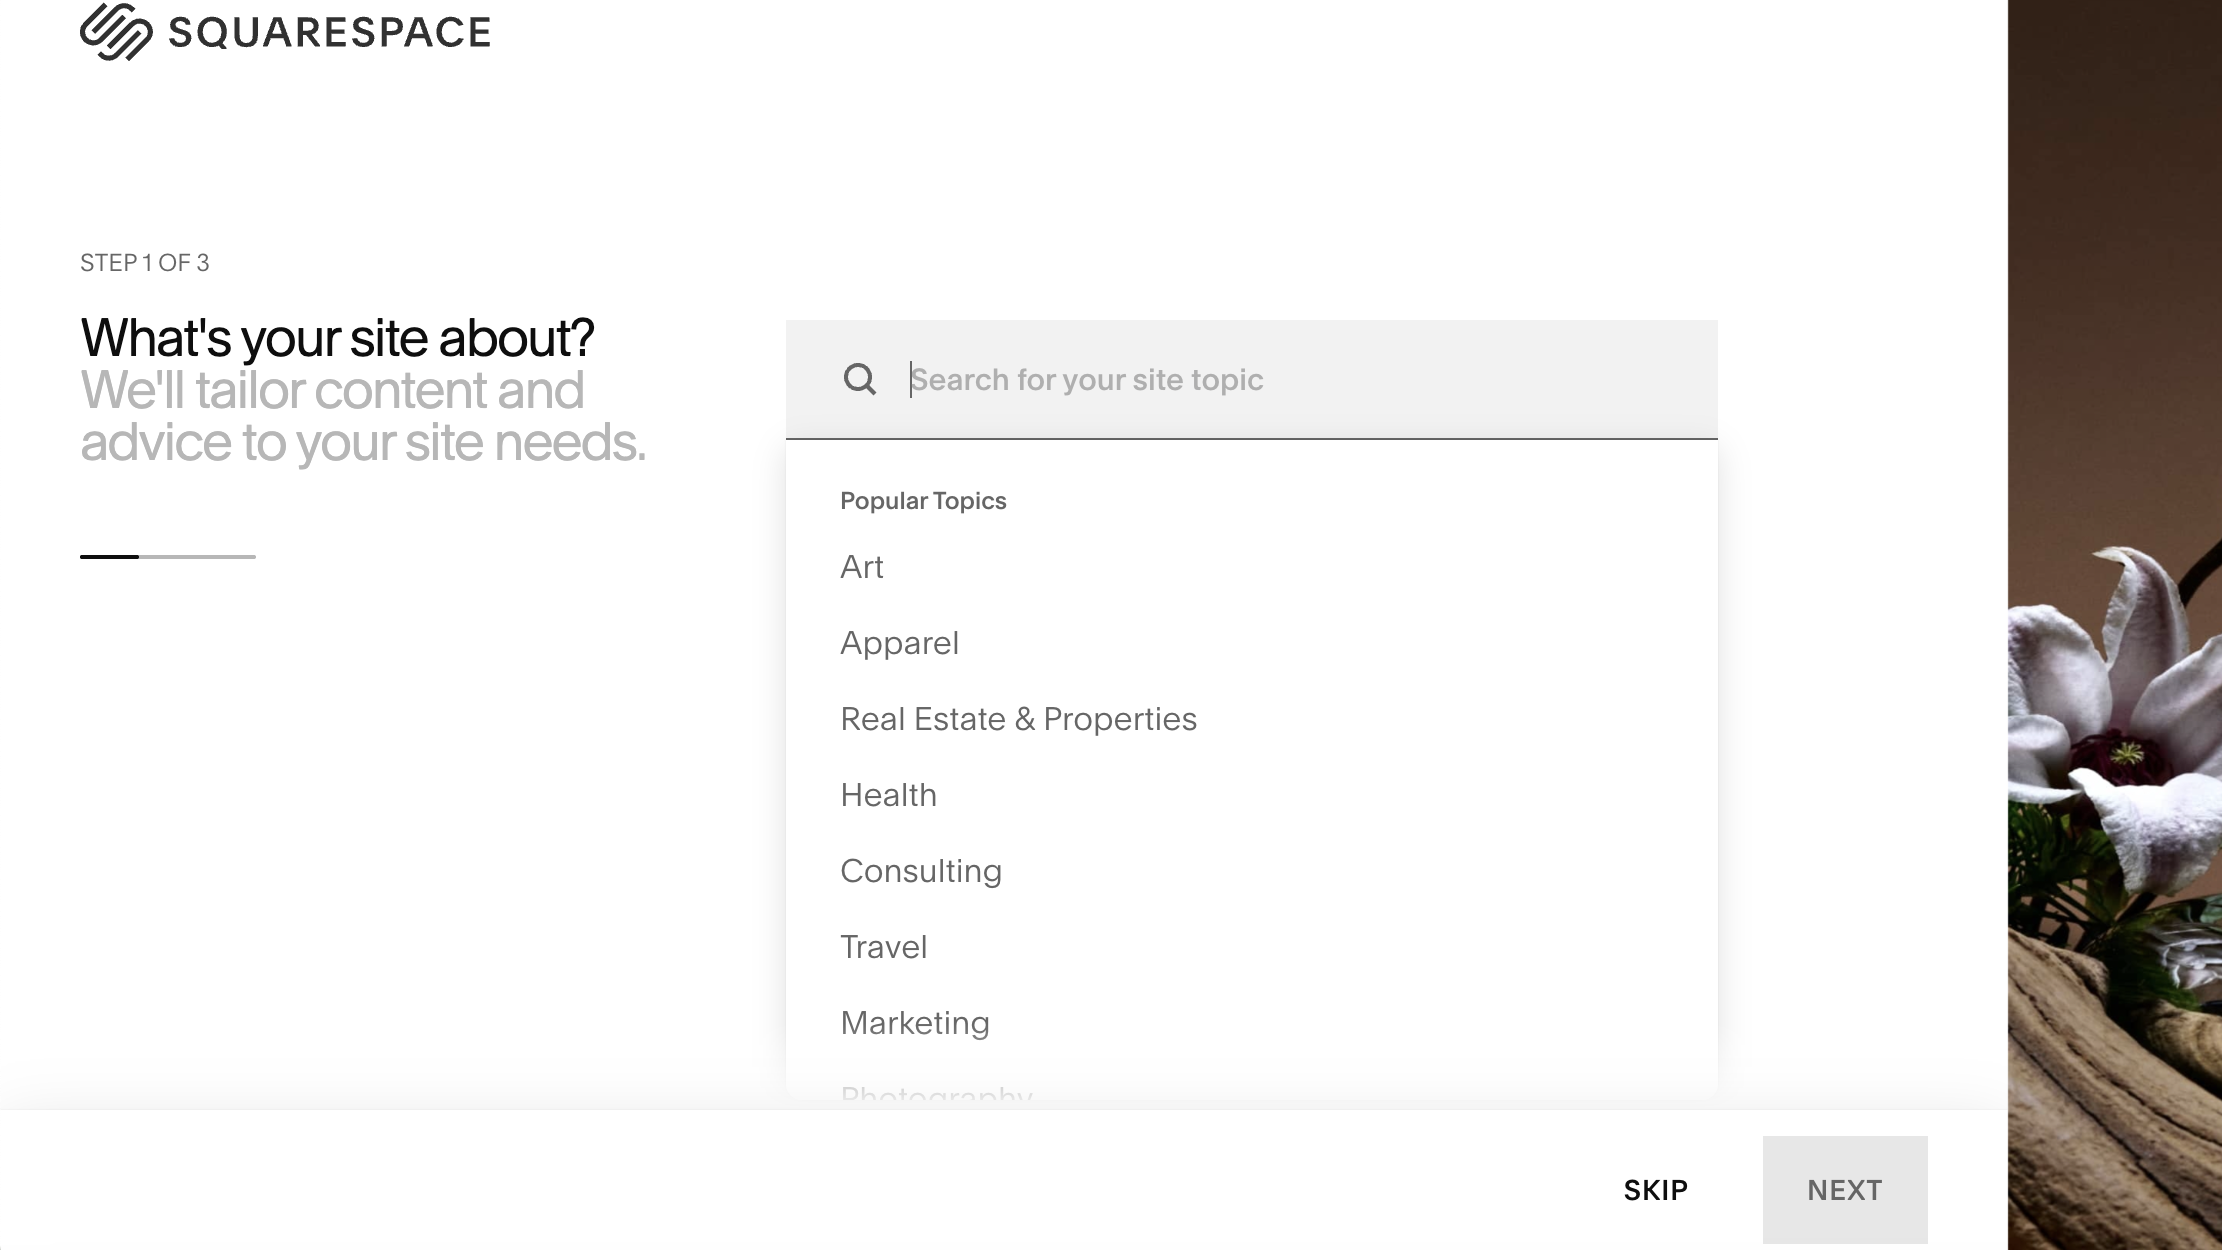
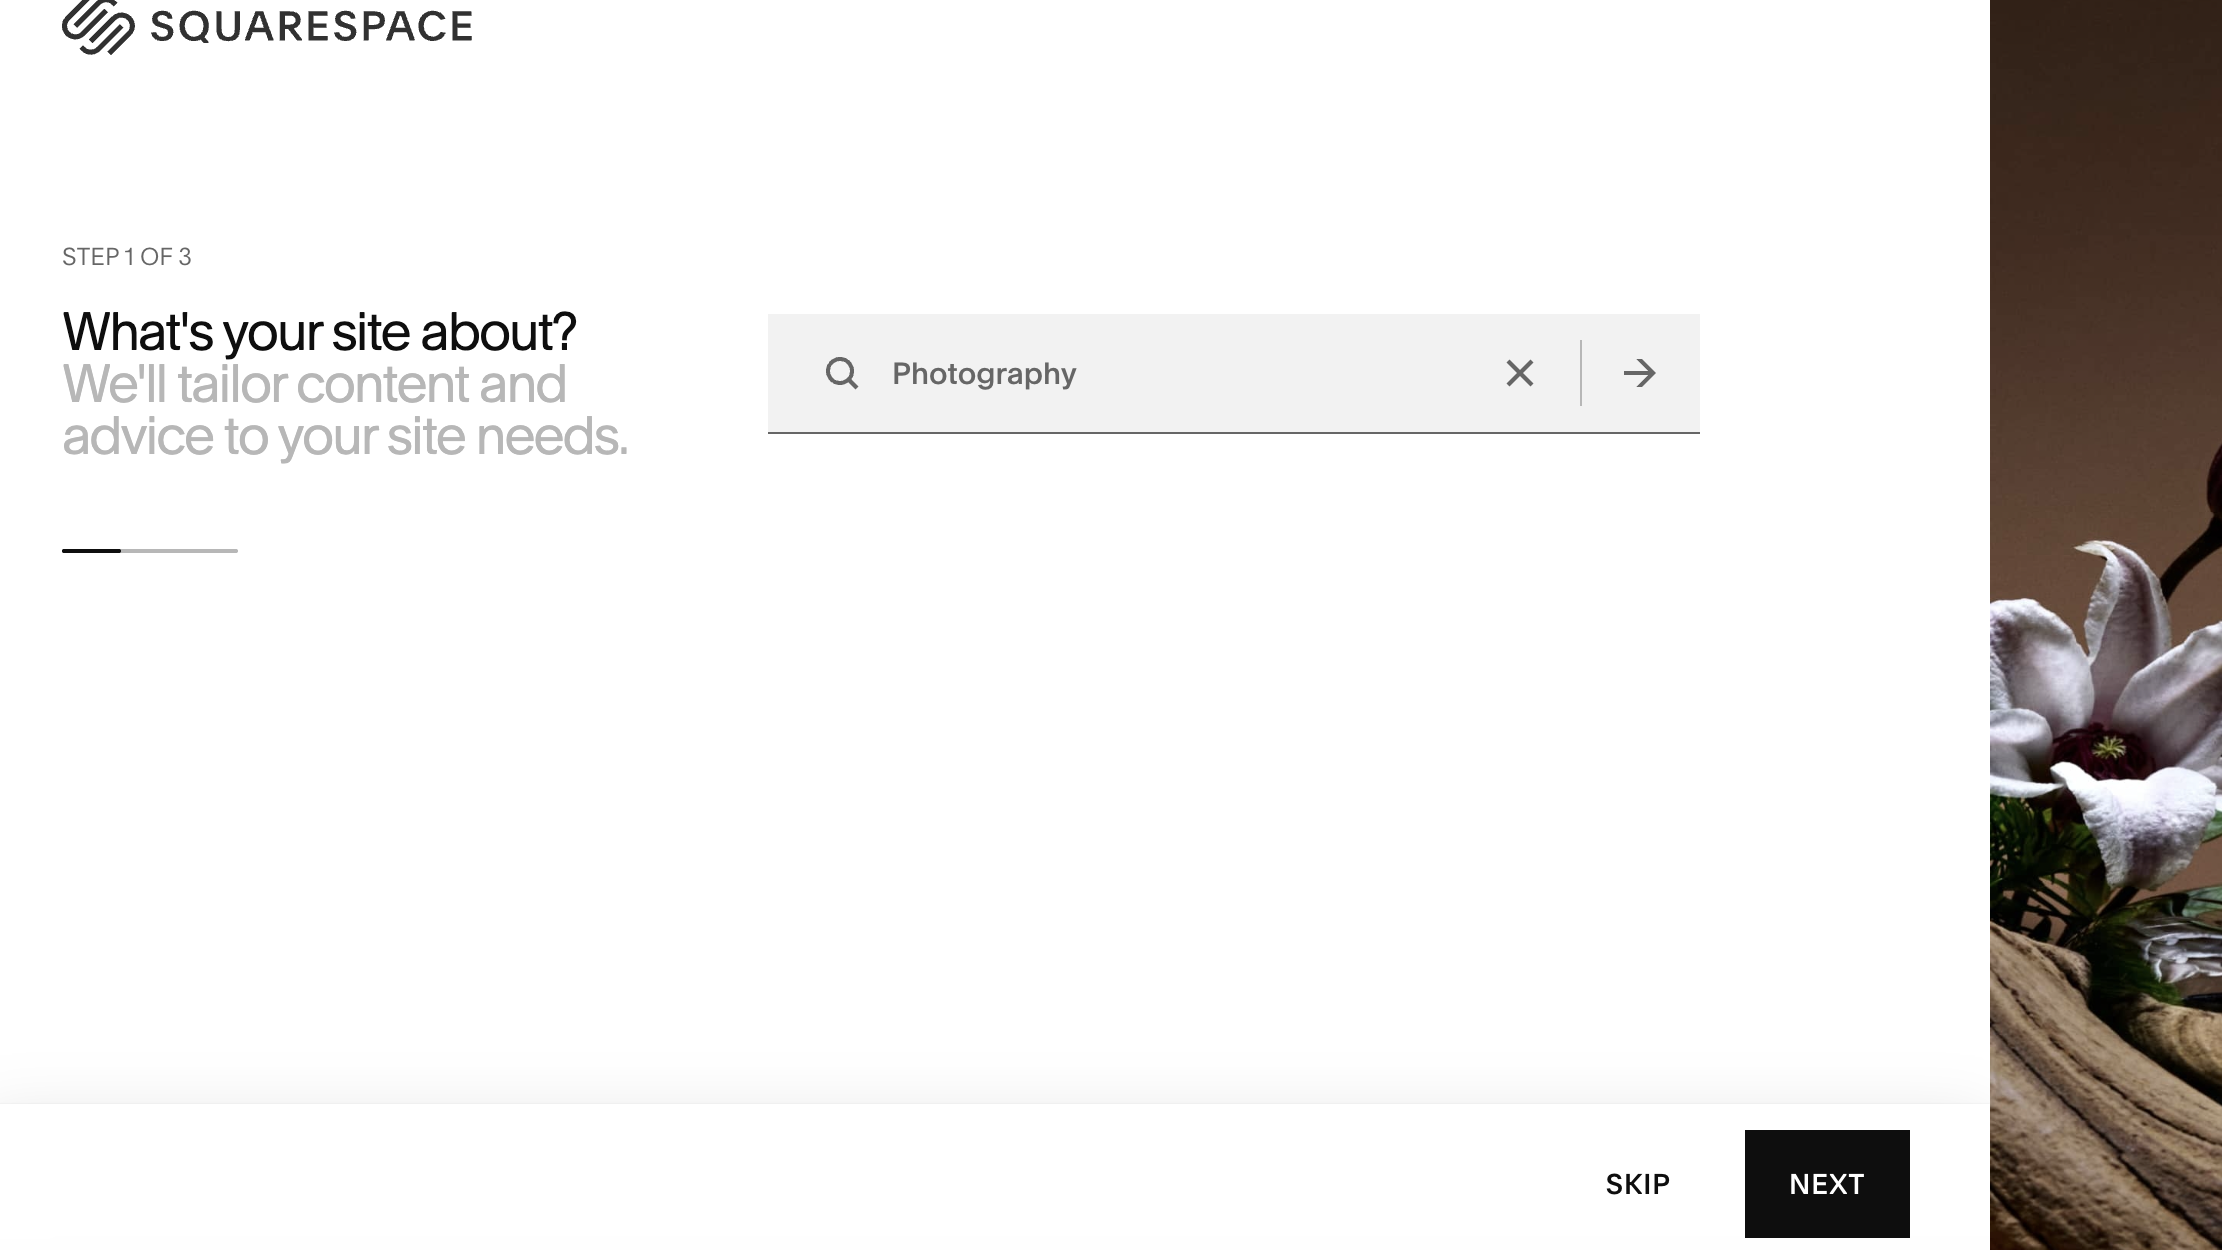
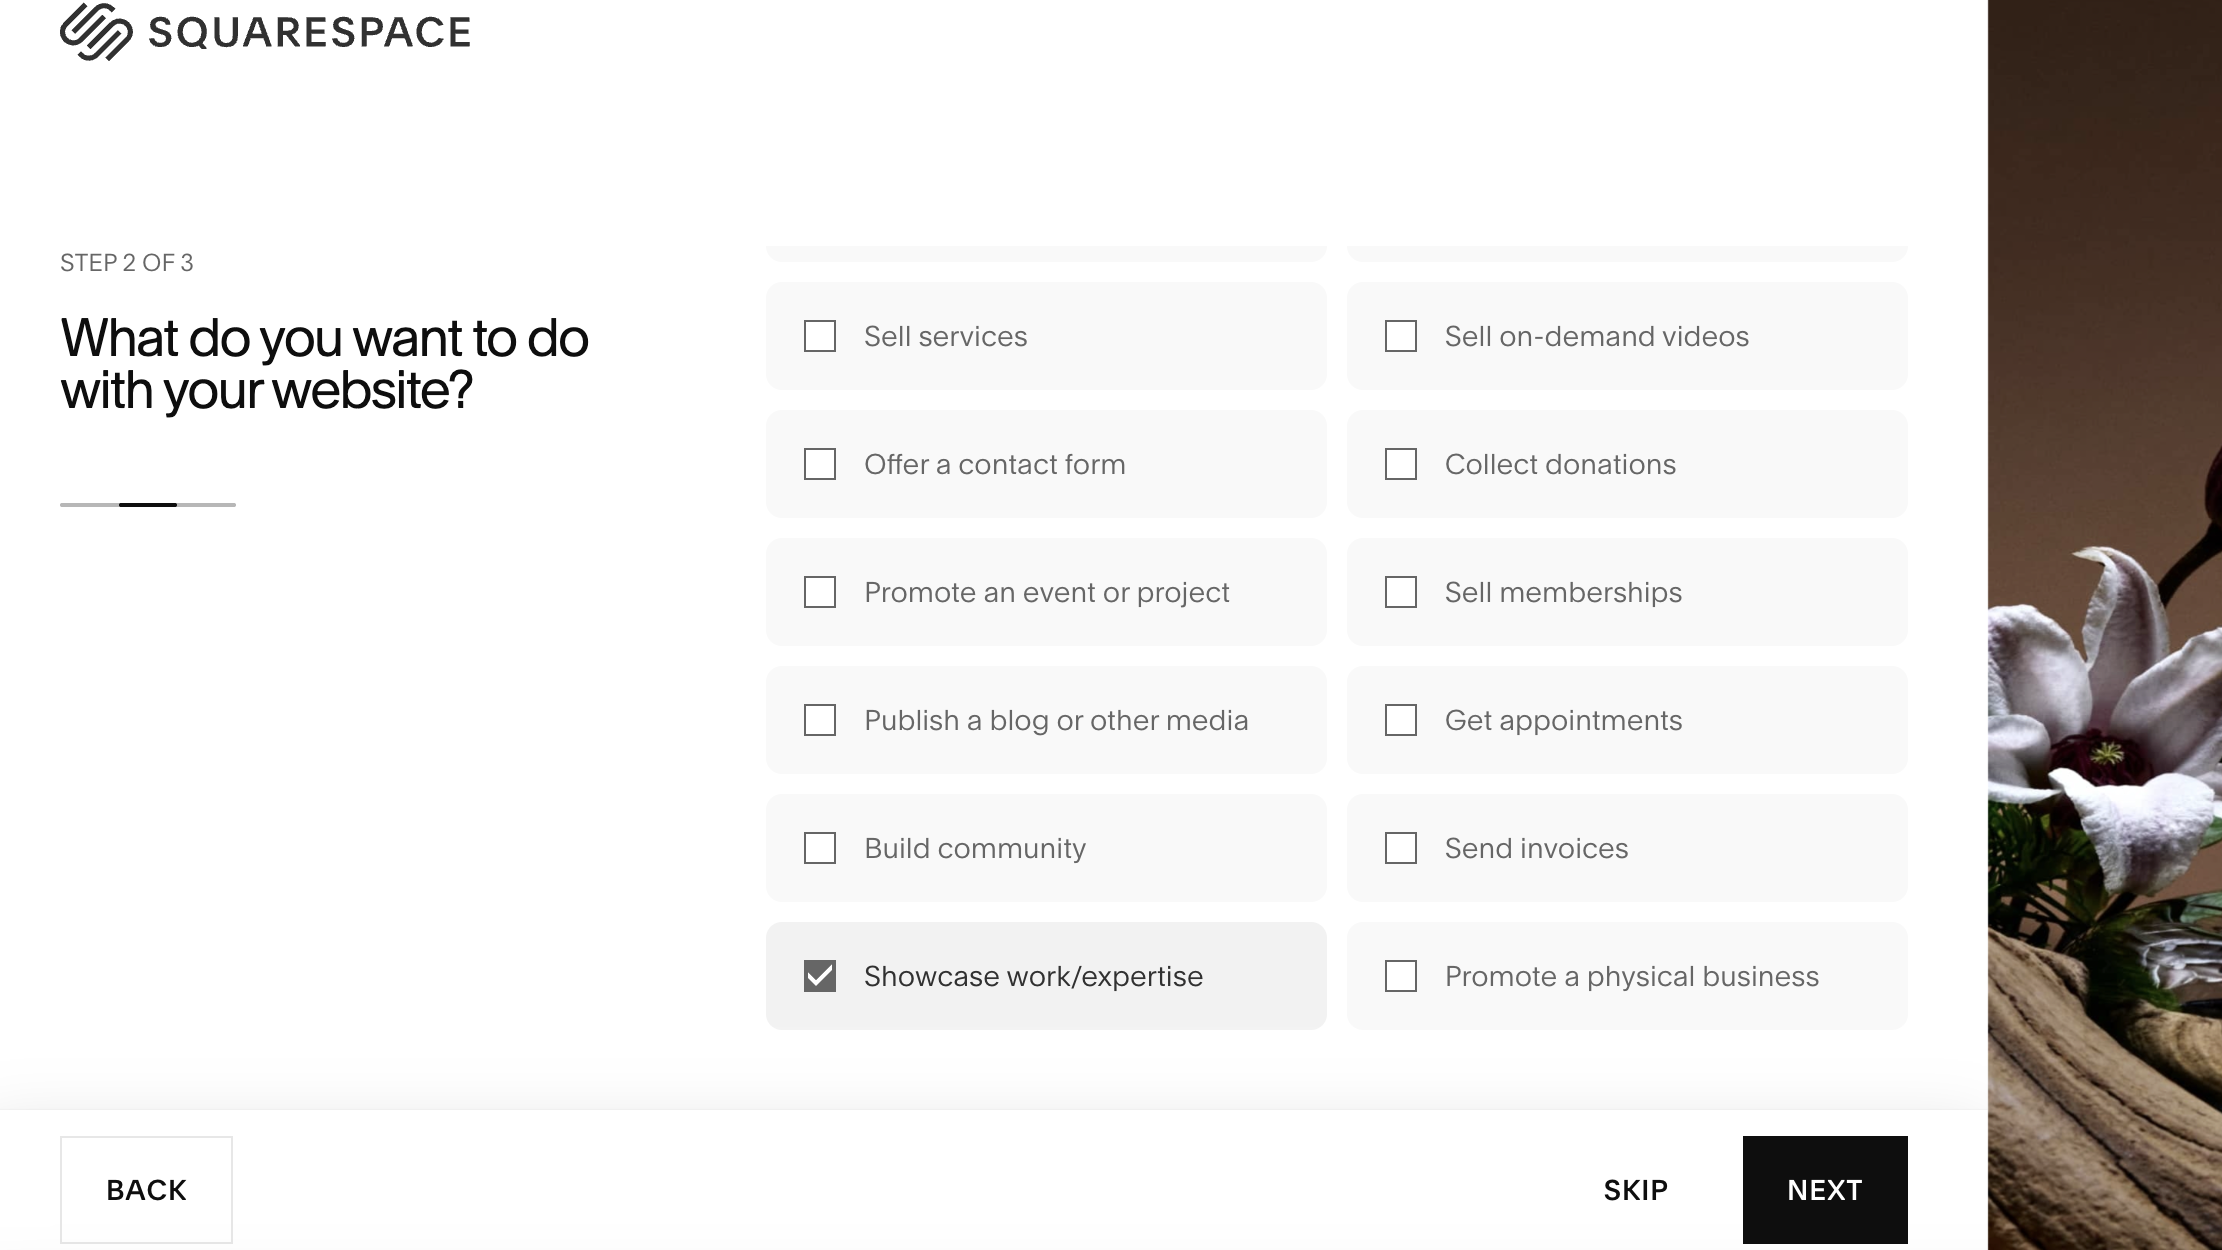
Simply go to the website homepage, at www.squarespace.com, and click on the nice big white 'Get started' button. You'll then be asked two simple questions: What's your site about? (I chose 'Photography'), What do you want to do with your website? (I chose 'Showcase work/expertise').
Don't worry about your answers too much, because as far as I can tell, they don't have much impact on what happens next. That said, if you're really stuck, maybe you should have a good think why you want a website in the first place!
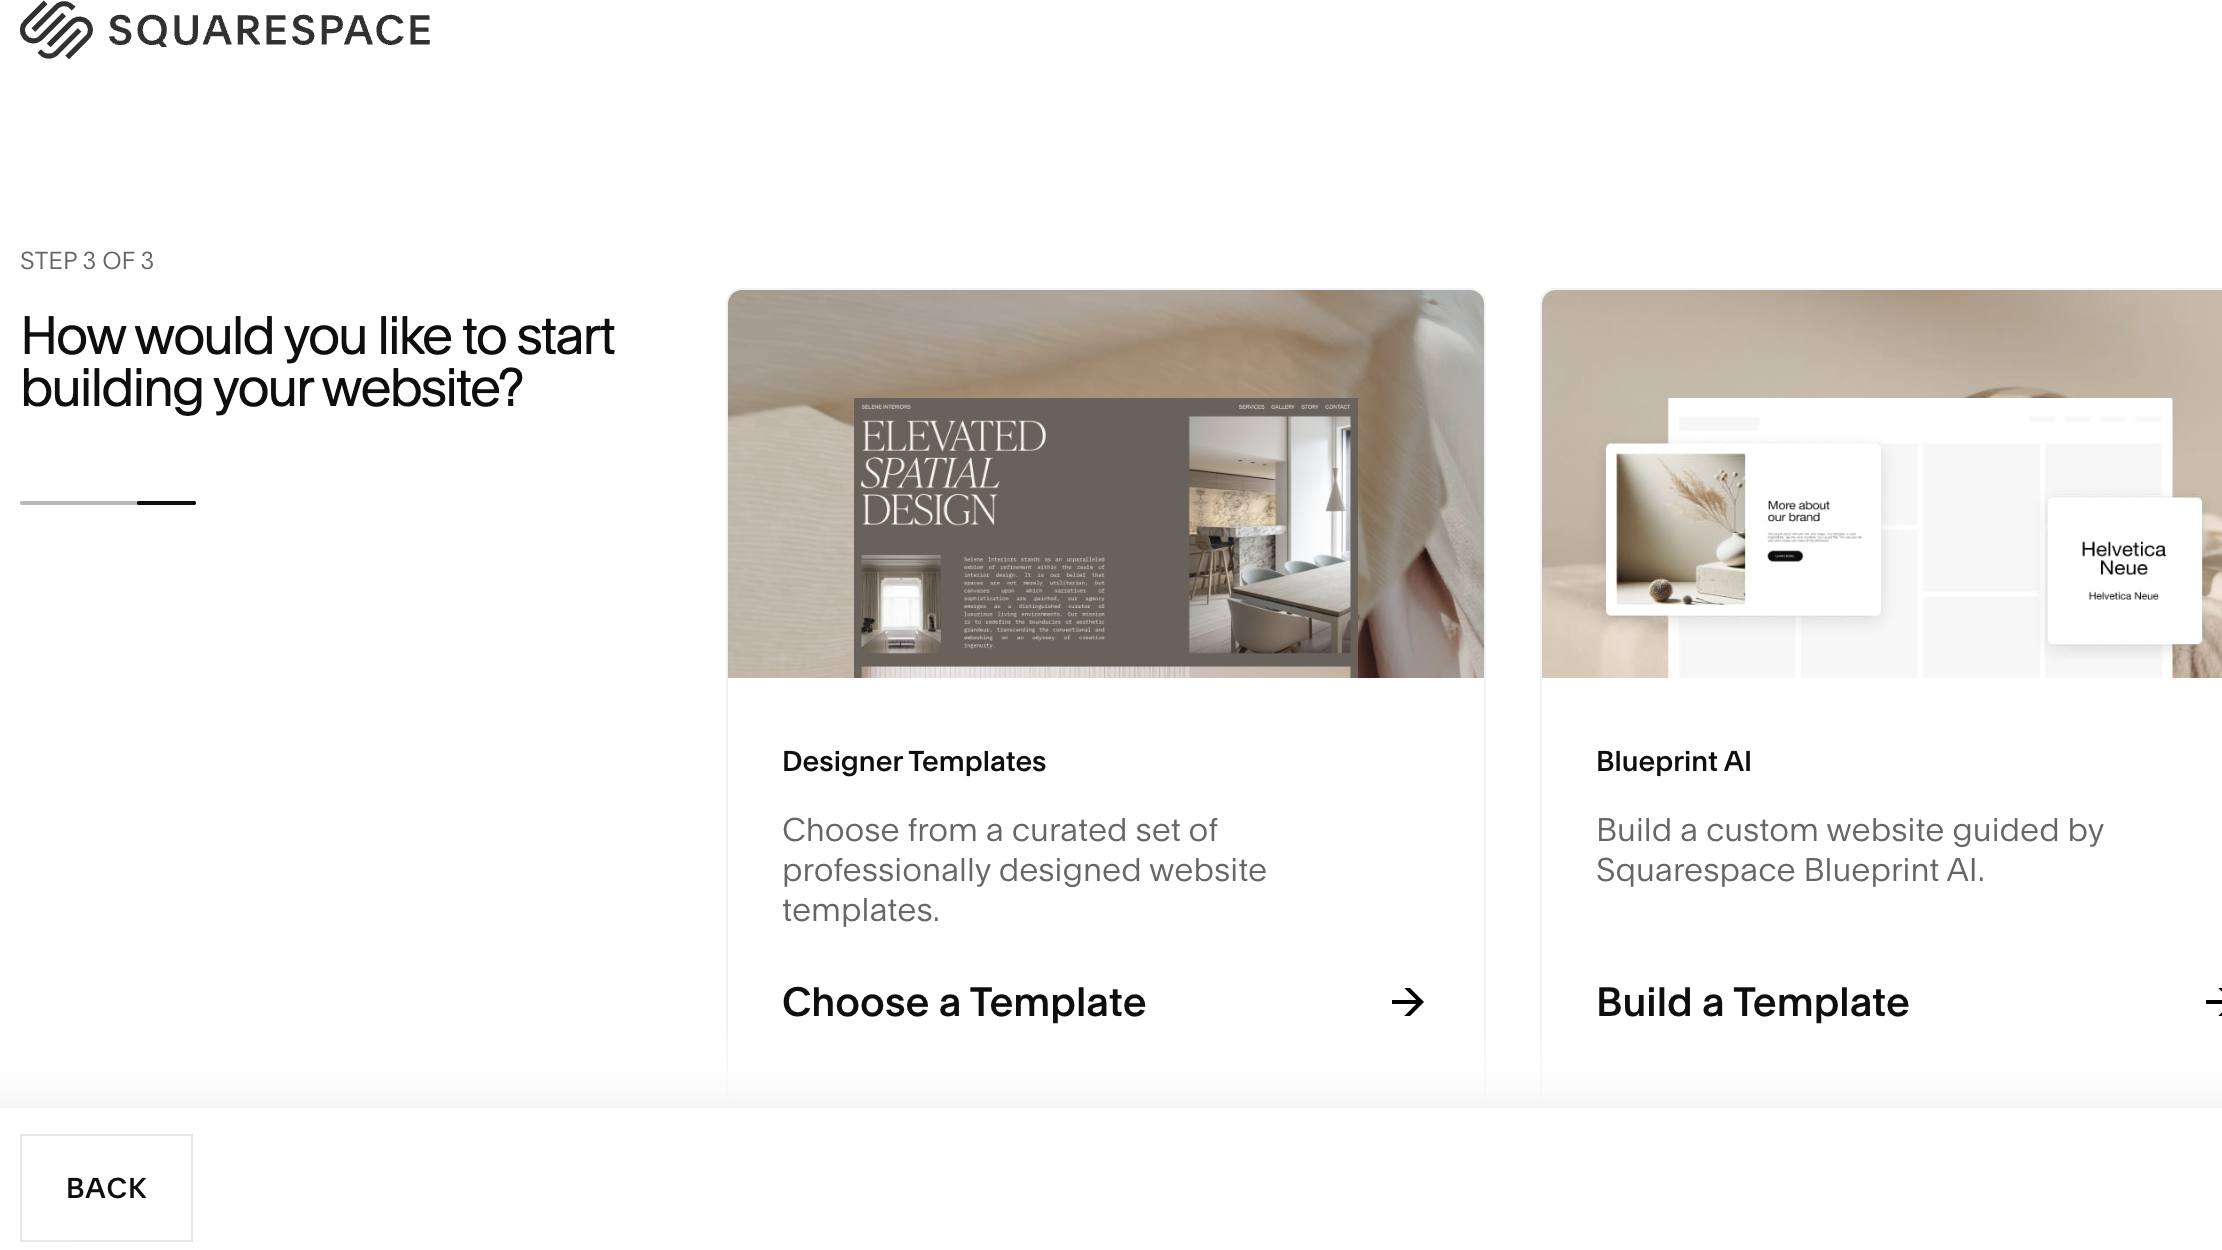
The next question is more serious: do you want to use a template to create your site, or Squarespace's Blueprint AI service? In my humble opinion, the latter isn't very well developed at this stage, so I'd suggest you click on 'Choose a template'.
Get the Creative Bloq Newsletter
Daily design news, reviews, how-tos and more, as picked by the editors.
2. Pick a template
Image 1 of 4
(Image credit: Future)
(Image credit: Future)
(Image credit: Future)
(Image credit: Future)
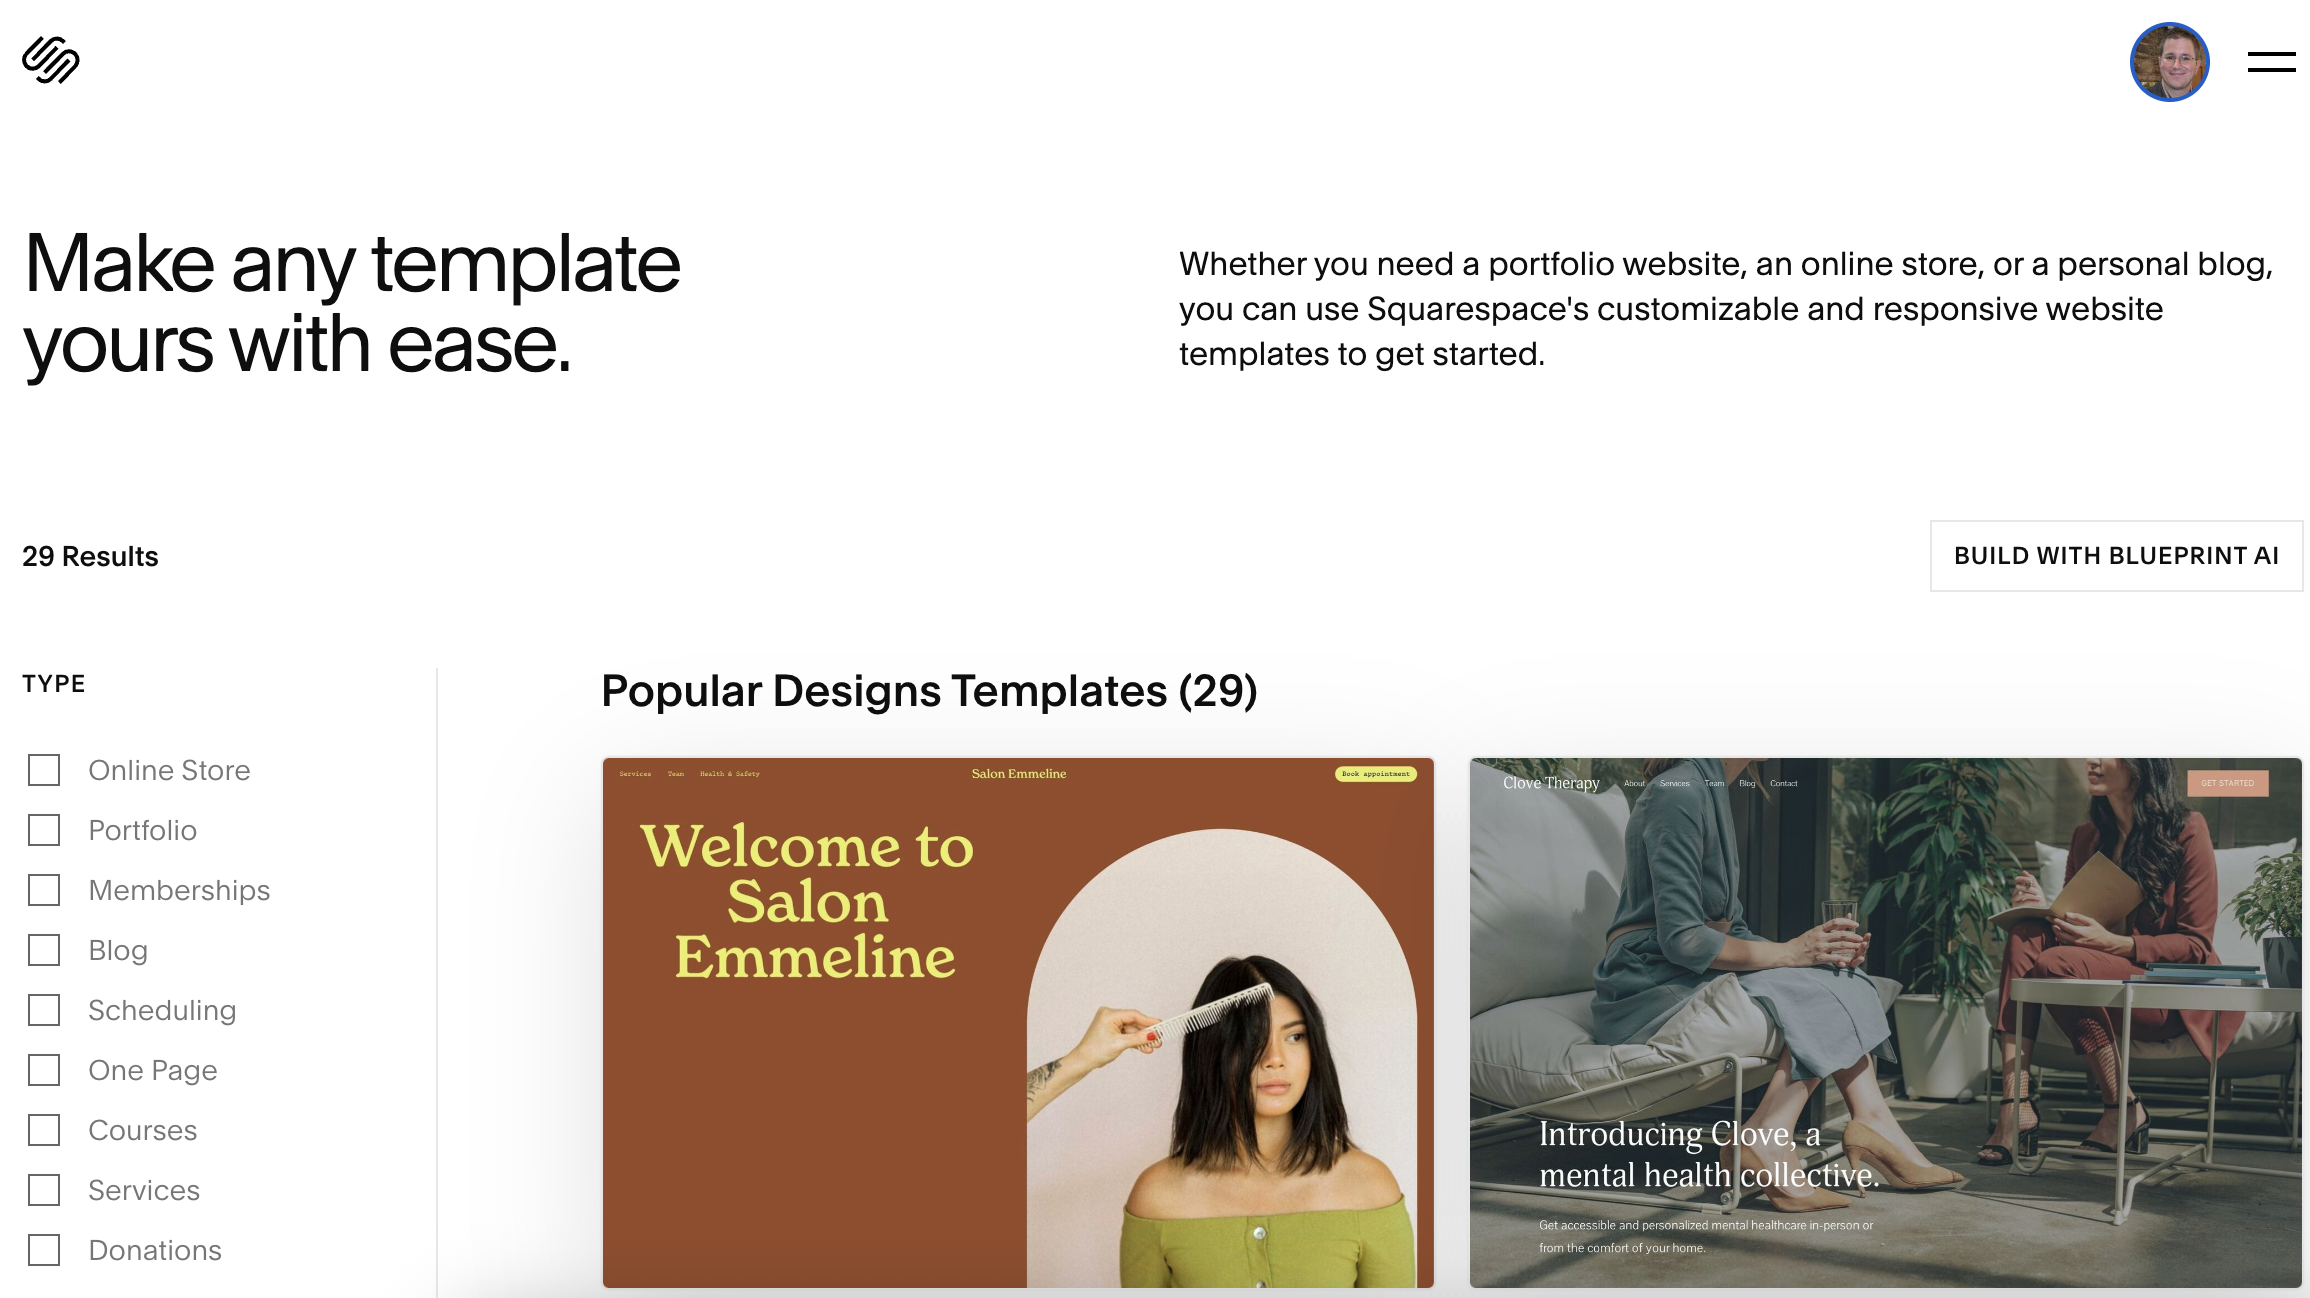
A template is basically a working website, only with generic pictures and images you'll need to change. First you have to pick one, so scroll through the options and find one that both looks good and matches the kind of content you want to have on your website.
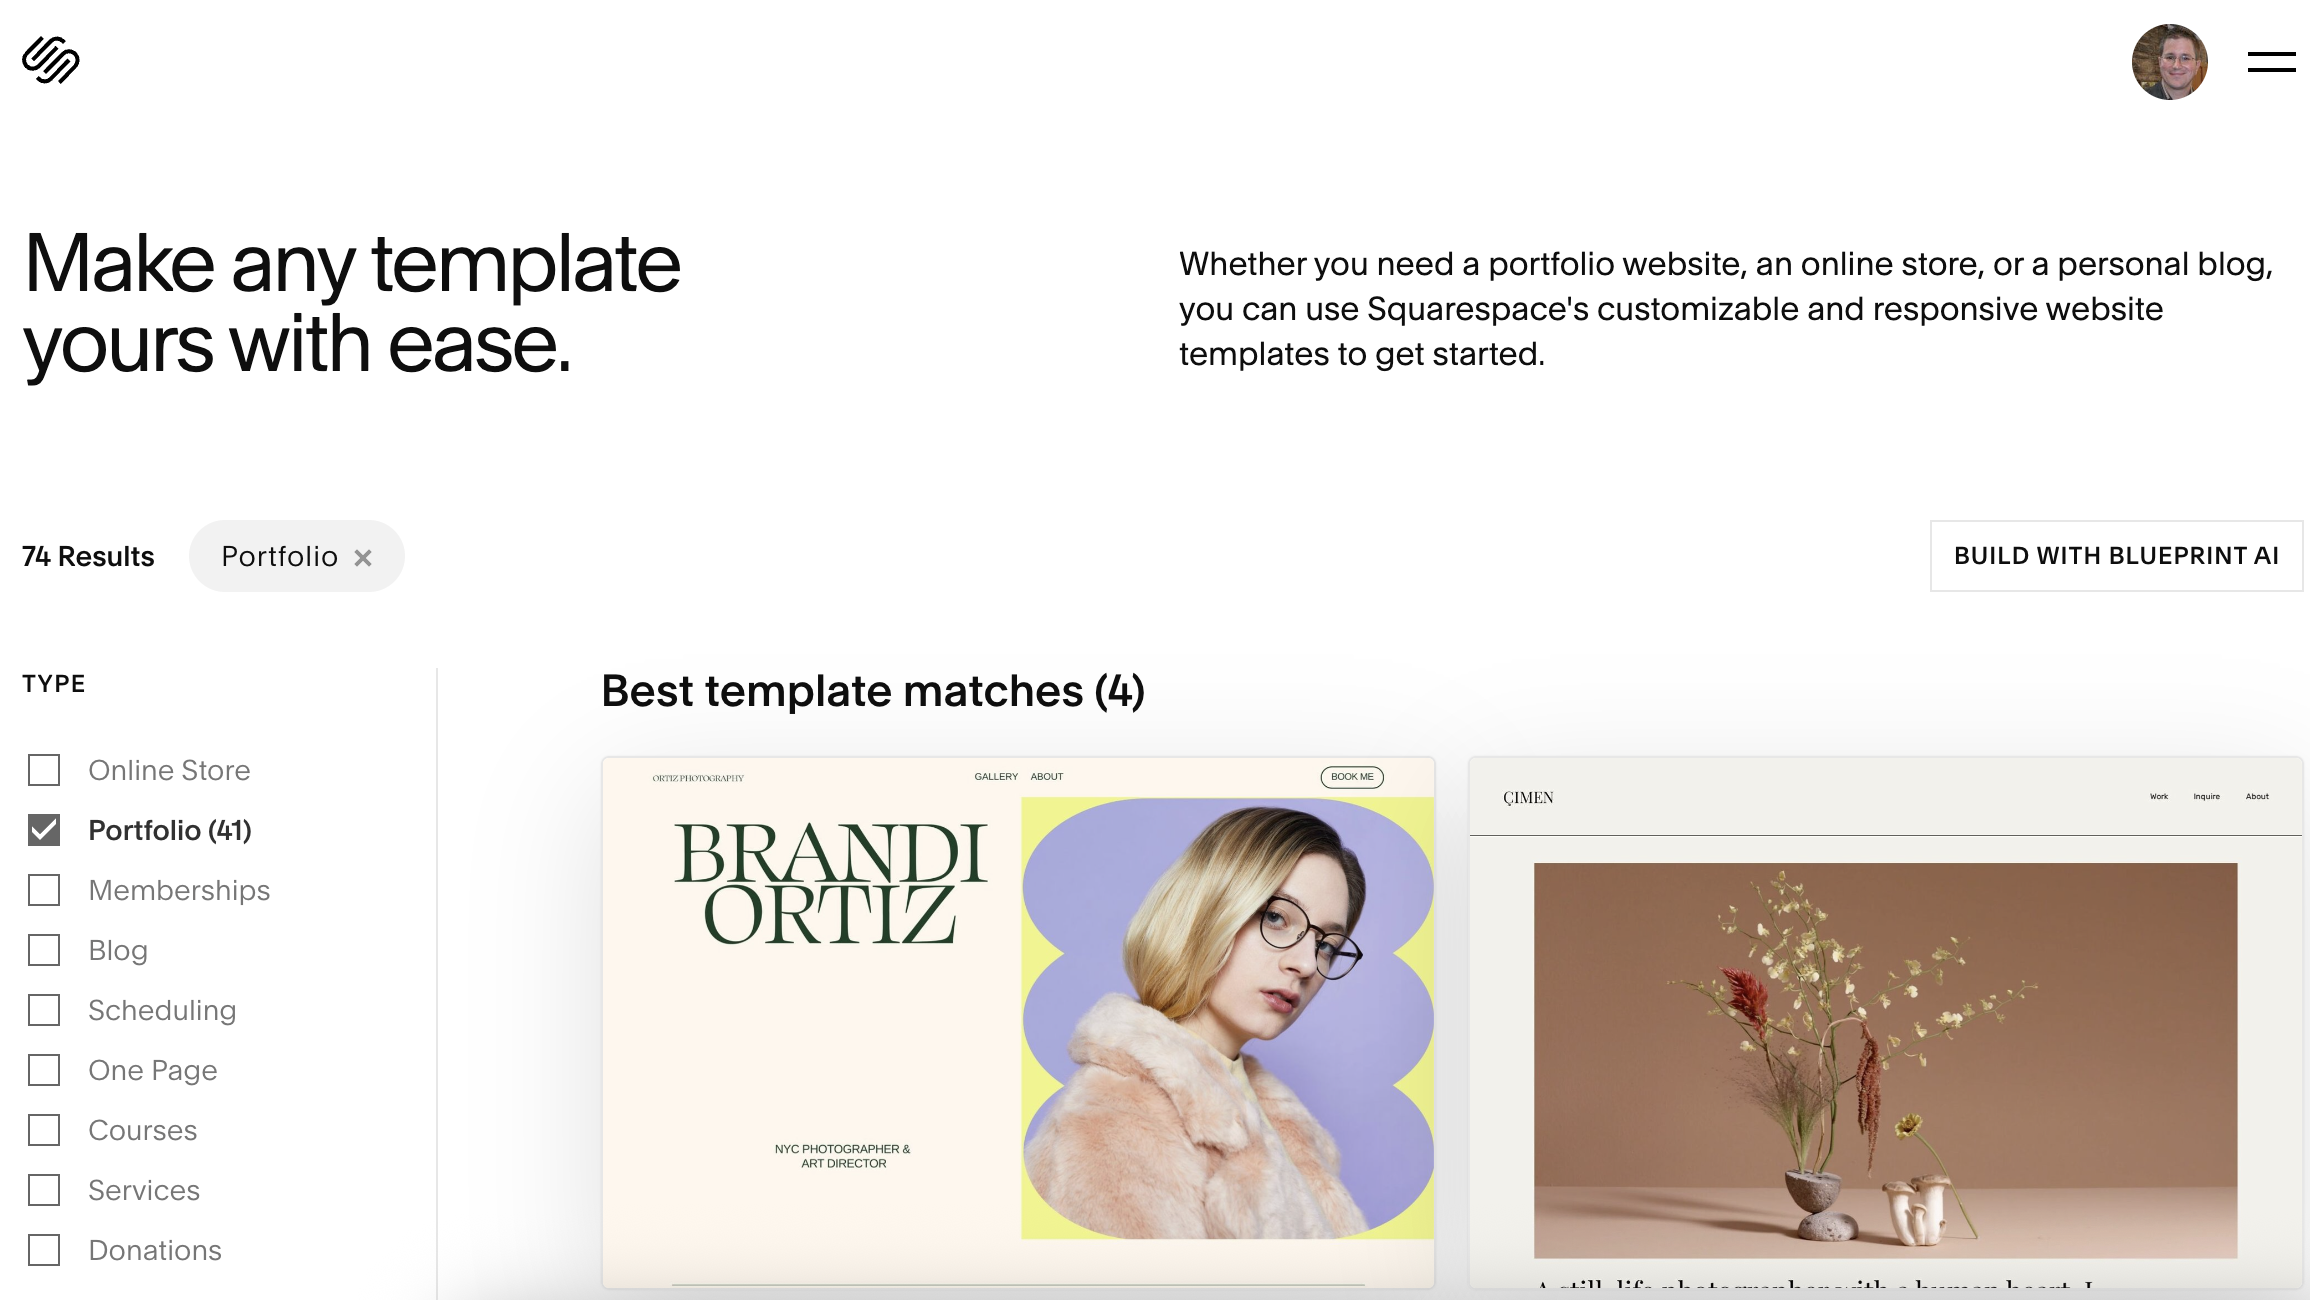
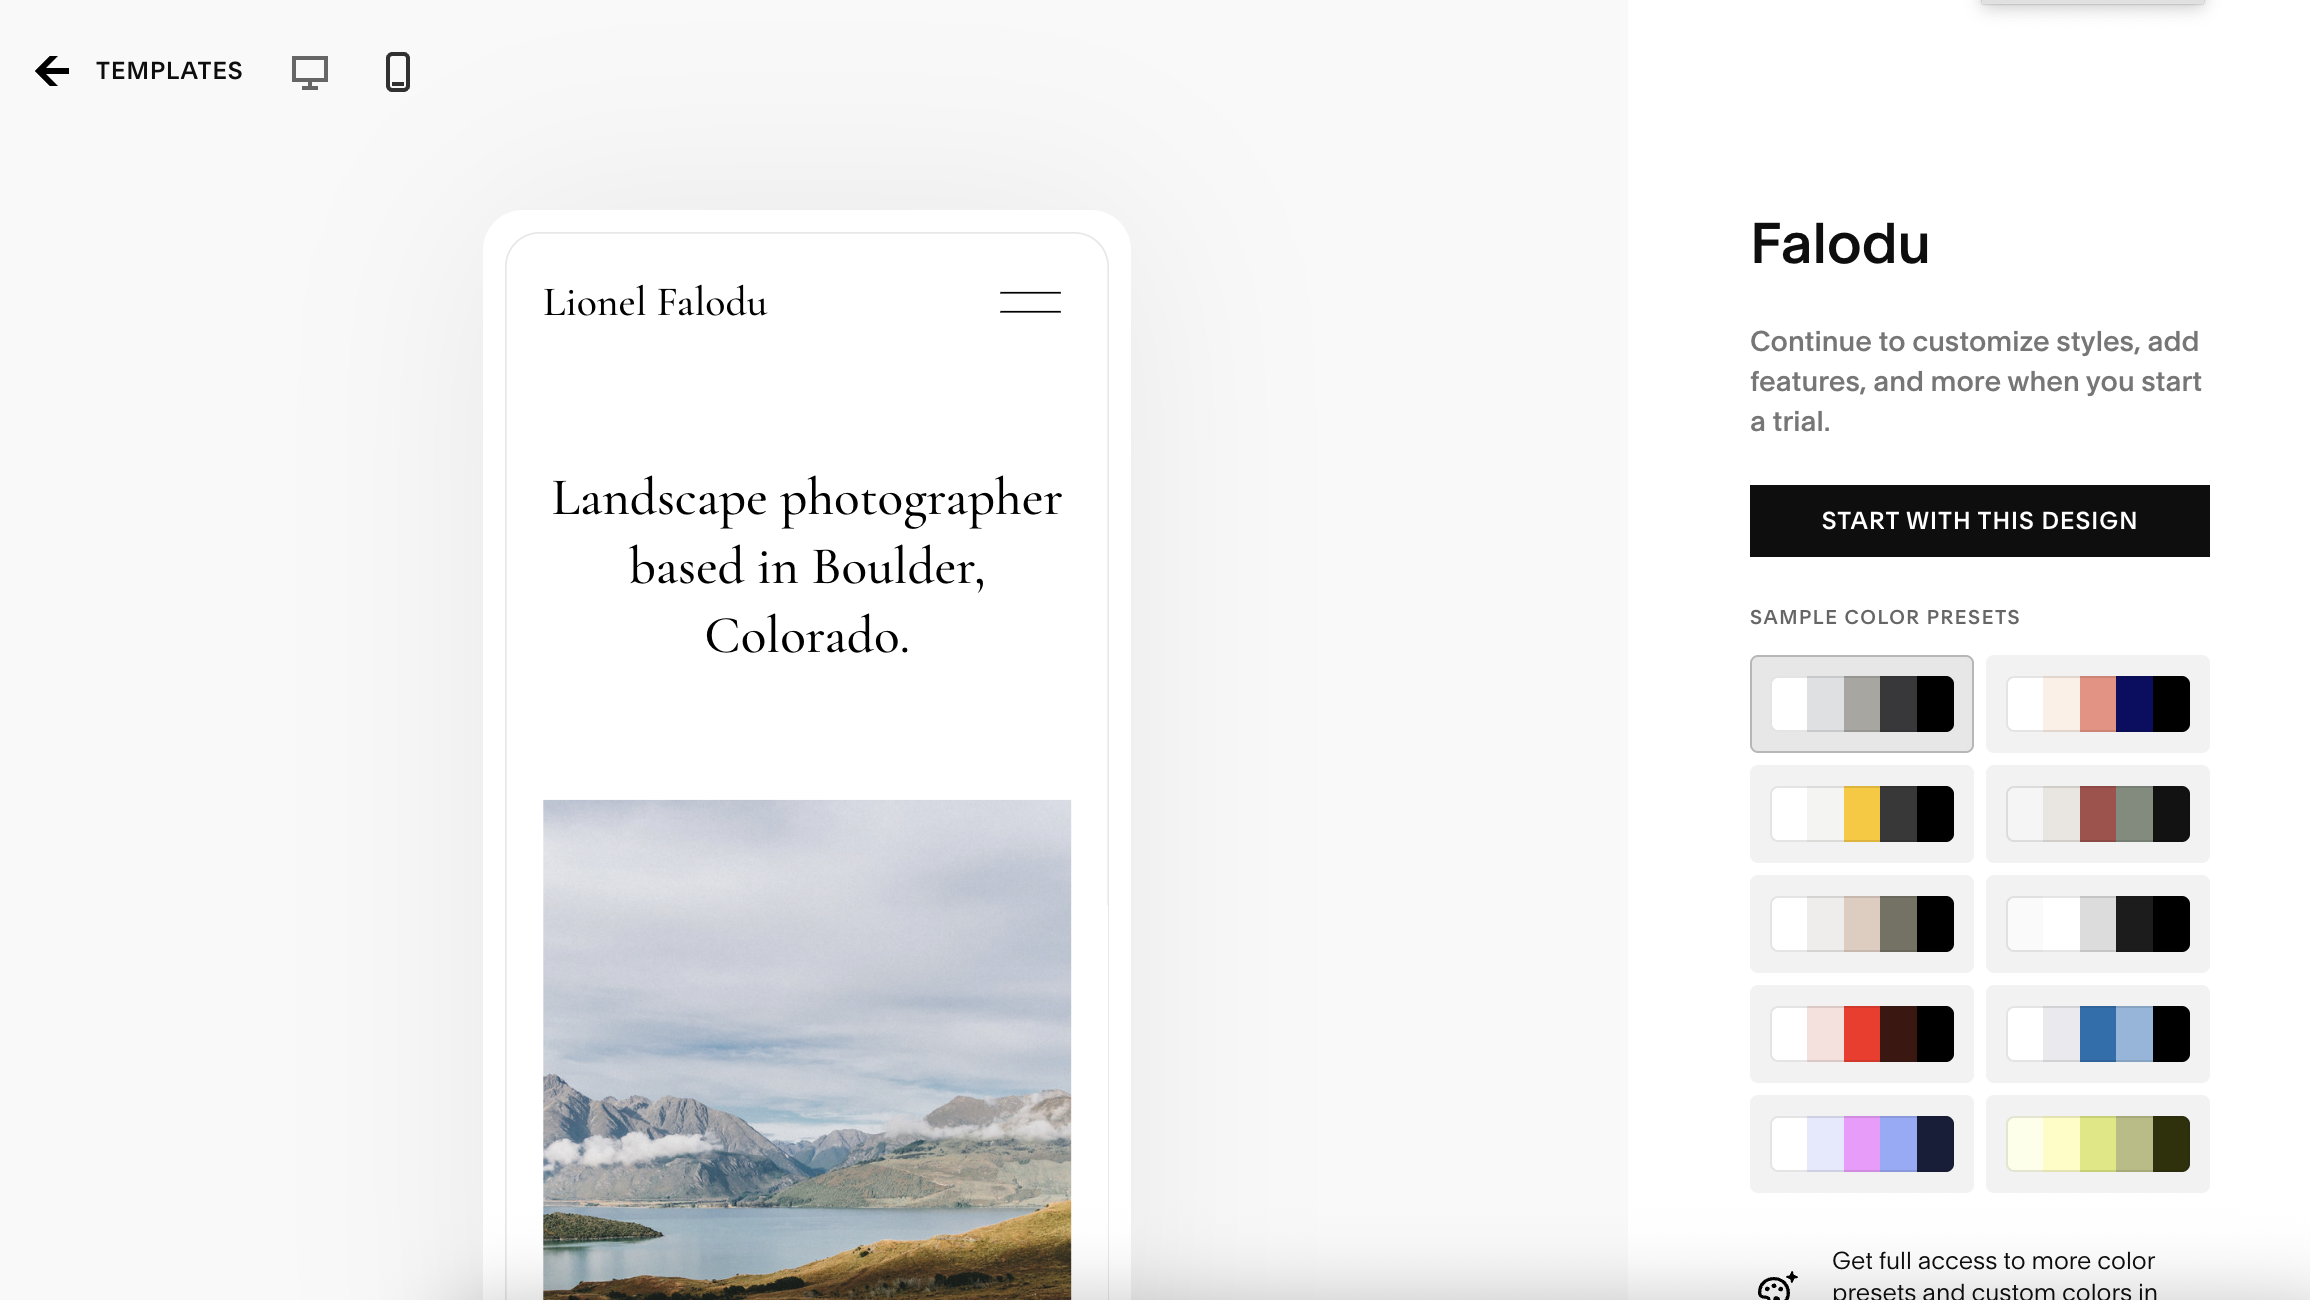
For example, I wanted to showcase my photography on my website, so I narrowed things down to the 'Portfolio' type of template (by ticking the box in the left-hand panel) and picked Falodu, where the homepage is one large, panoramic image gallery. If you'd rather have a picture of yourself on the homepage, though, you might want to choose something like Adri.
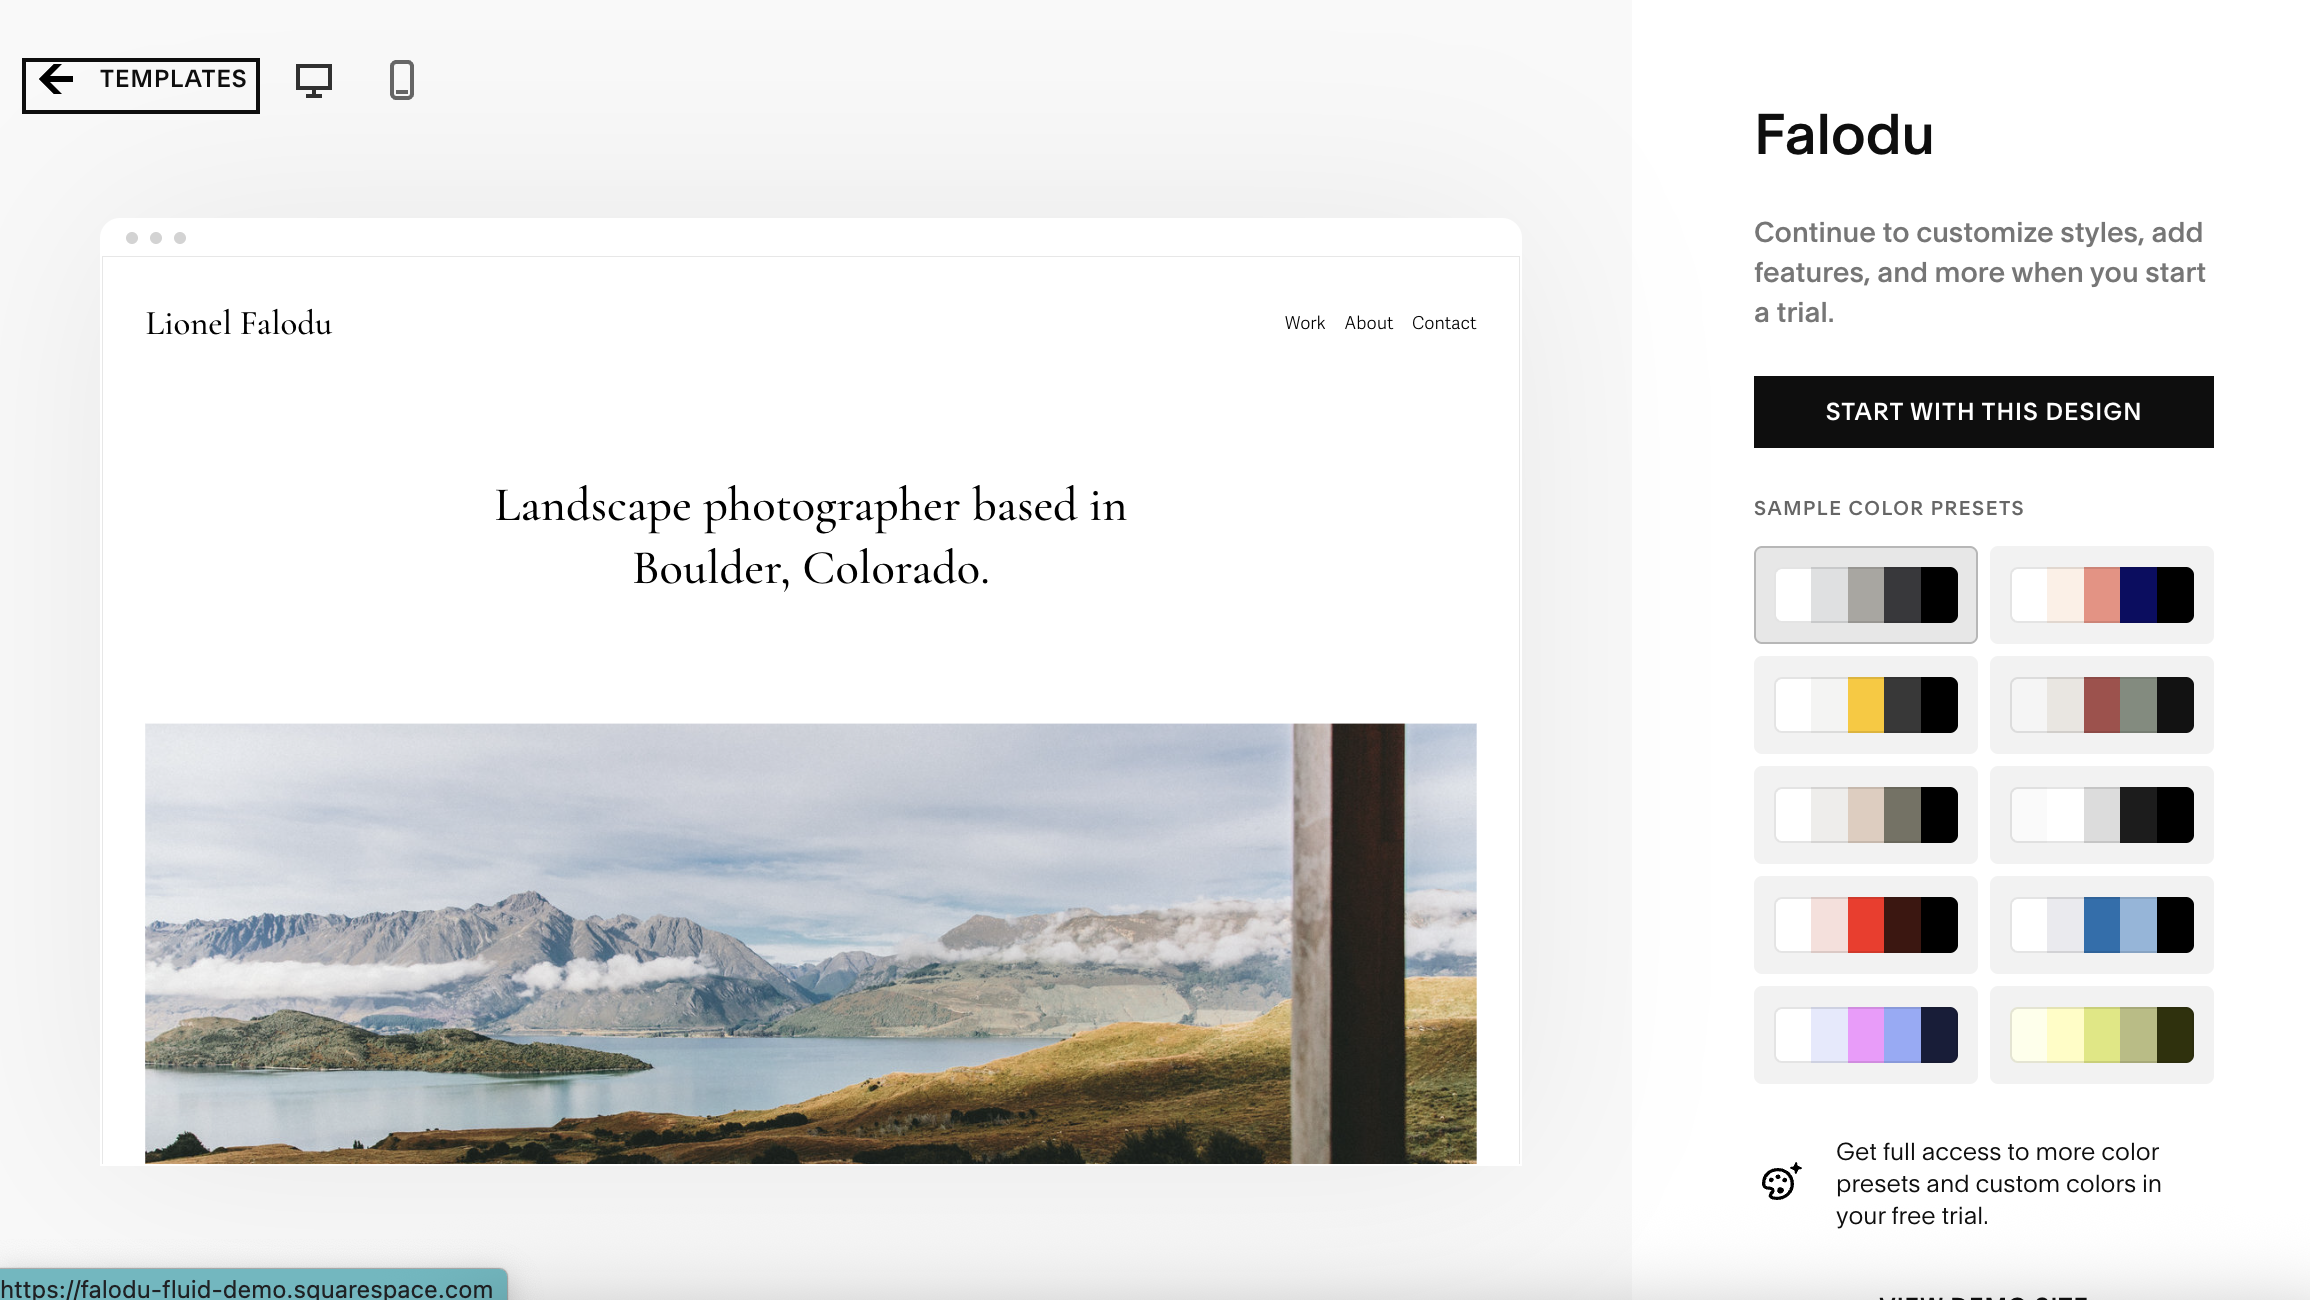
If you like the look of a template, click on its image and it will open up in full. At the top of the page are little icons representing a computer and a mobile phone. Click on each to see how the templates looks on both of these screens.
3. Add your text
Image 1 of 5
(Image credit: Future)
(Image credit: Future)
(Image credit: Future)
(Image credit: Future)
(Image credit: Future)
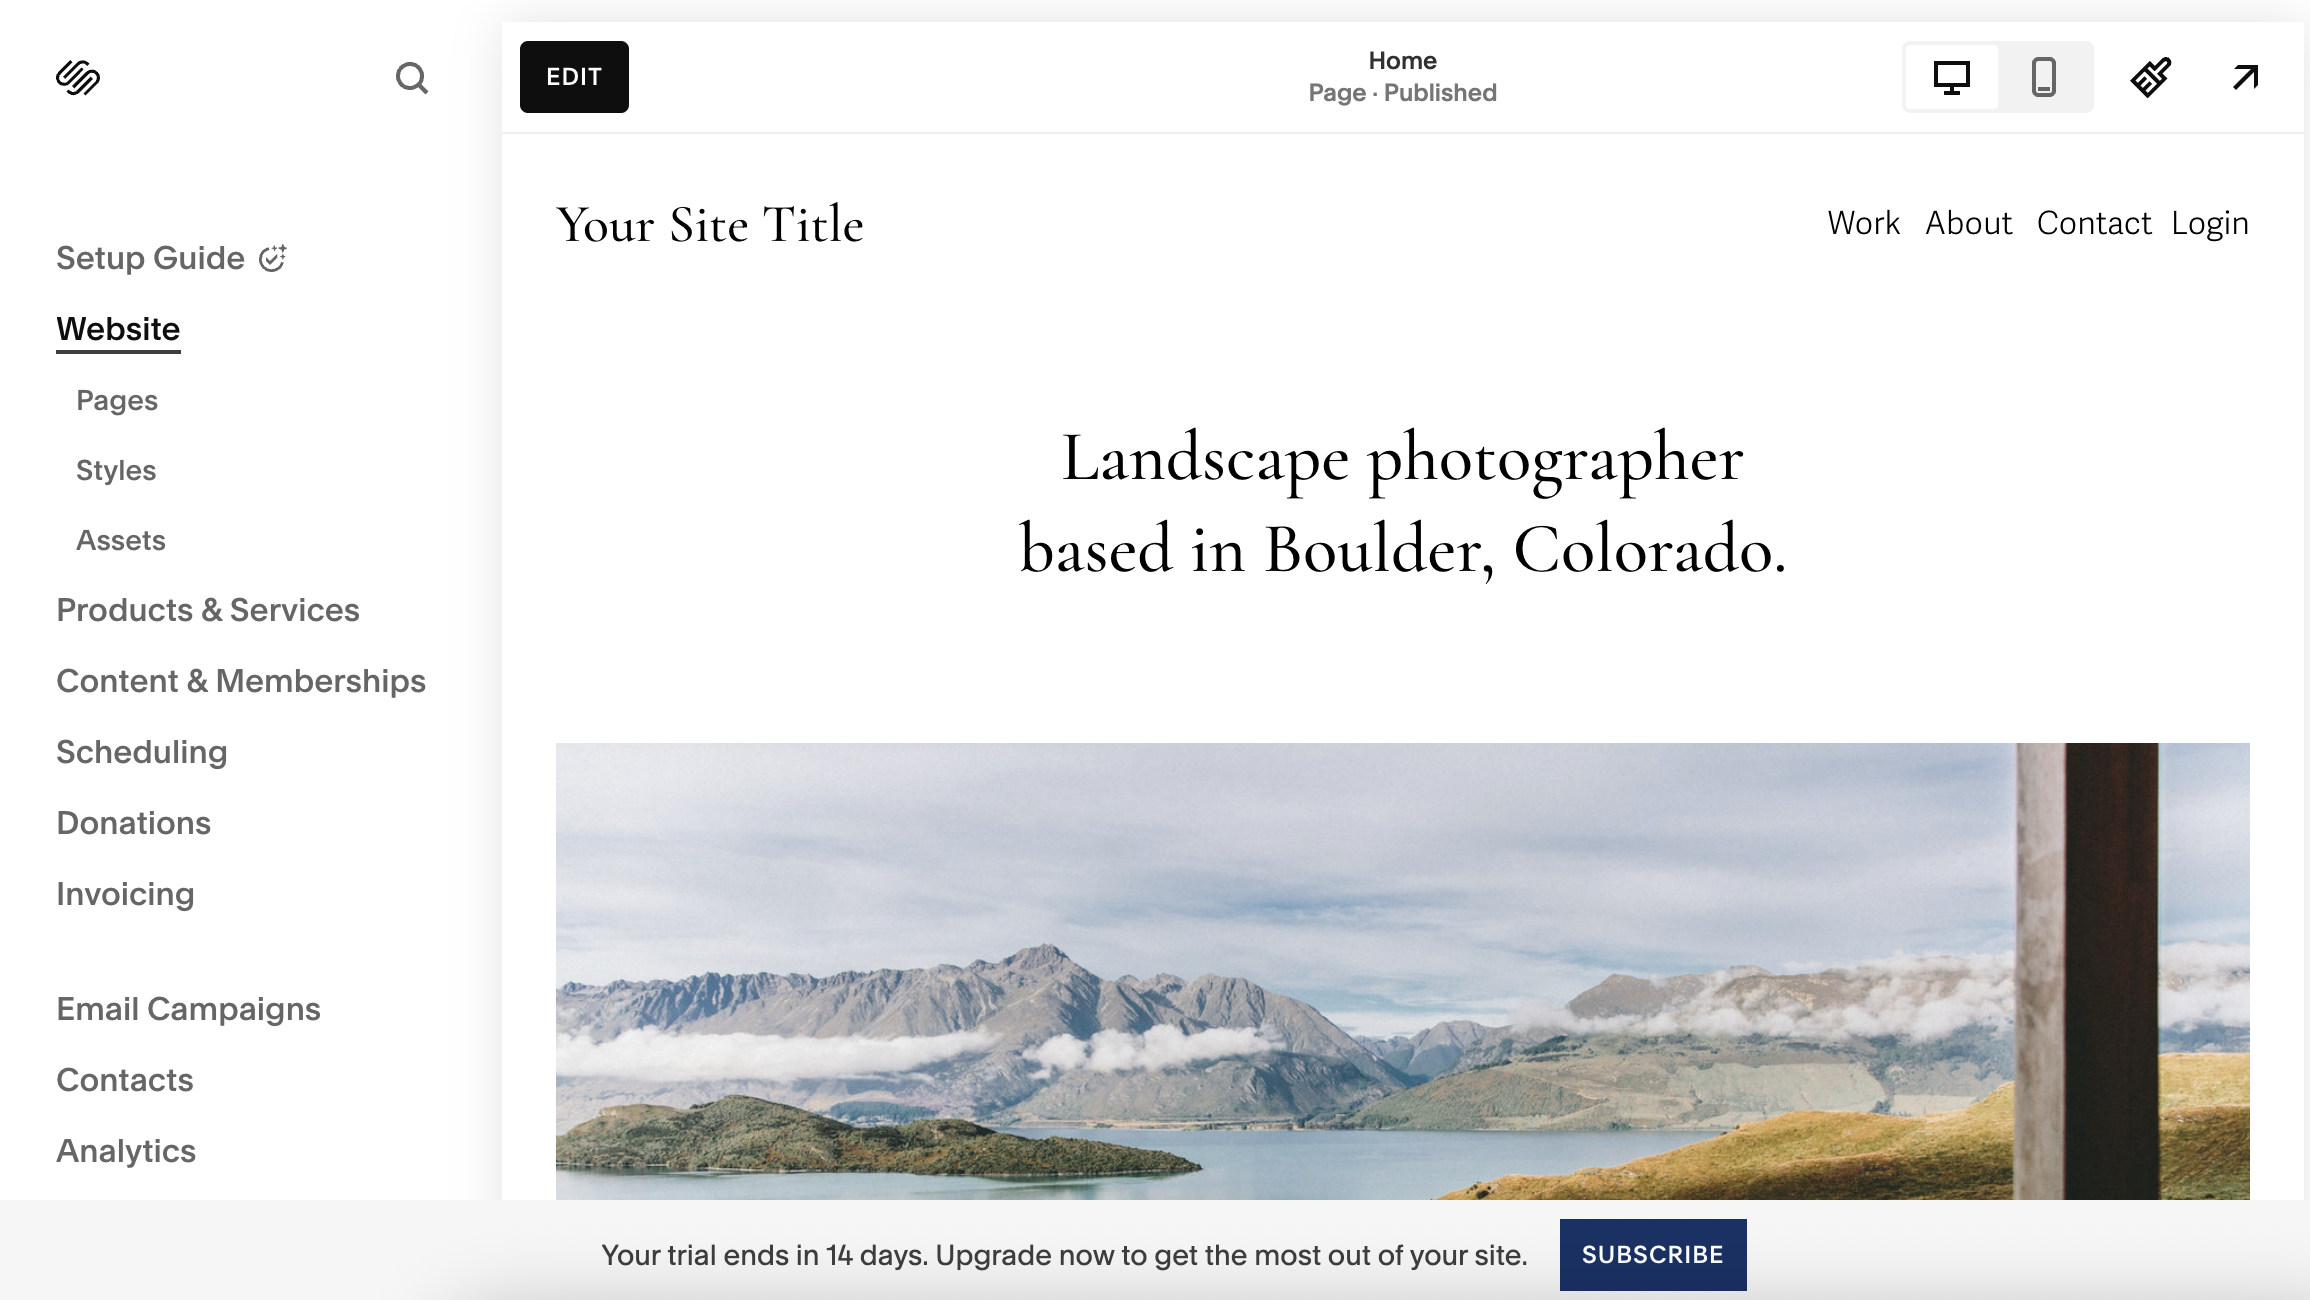
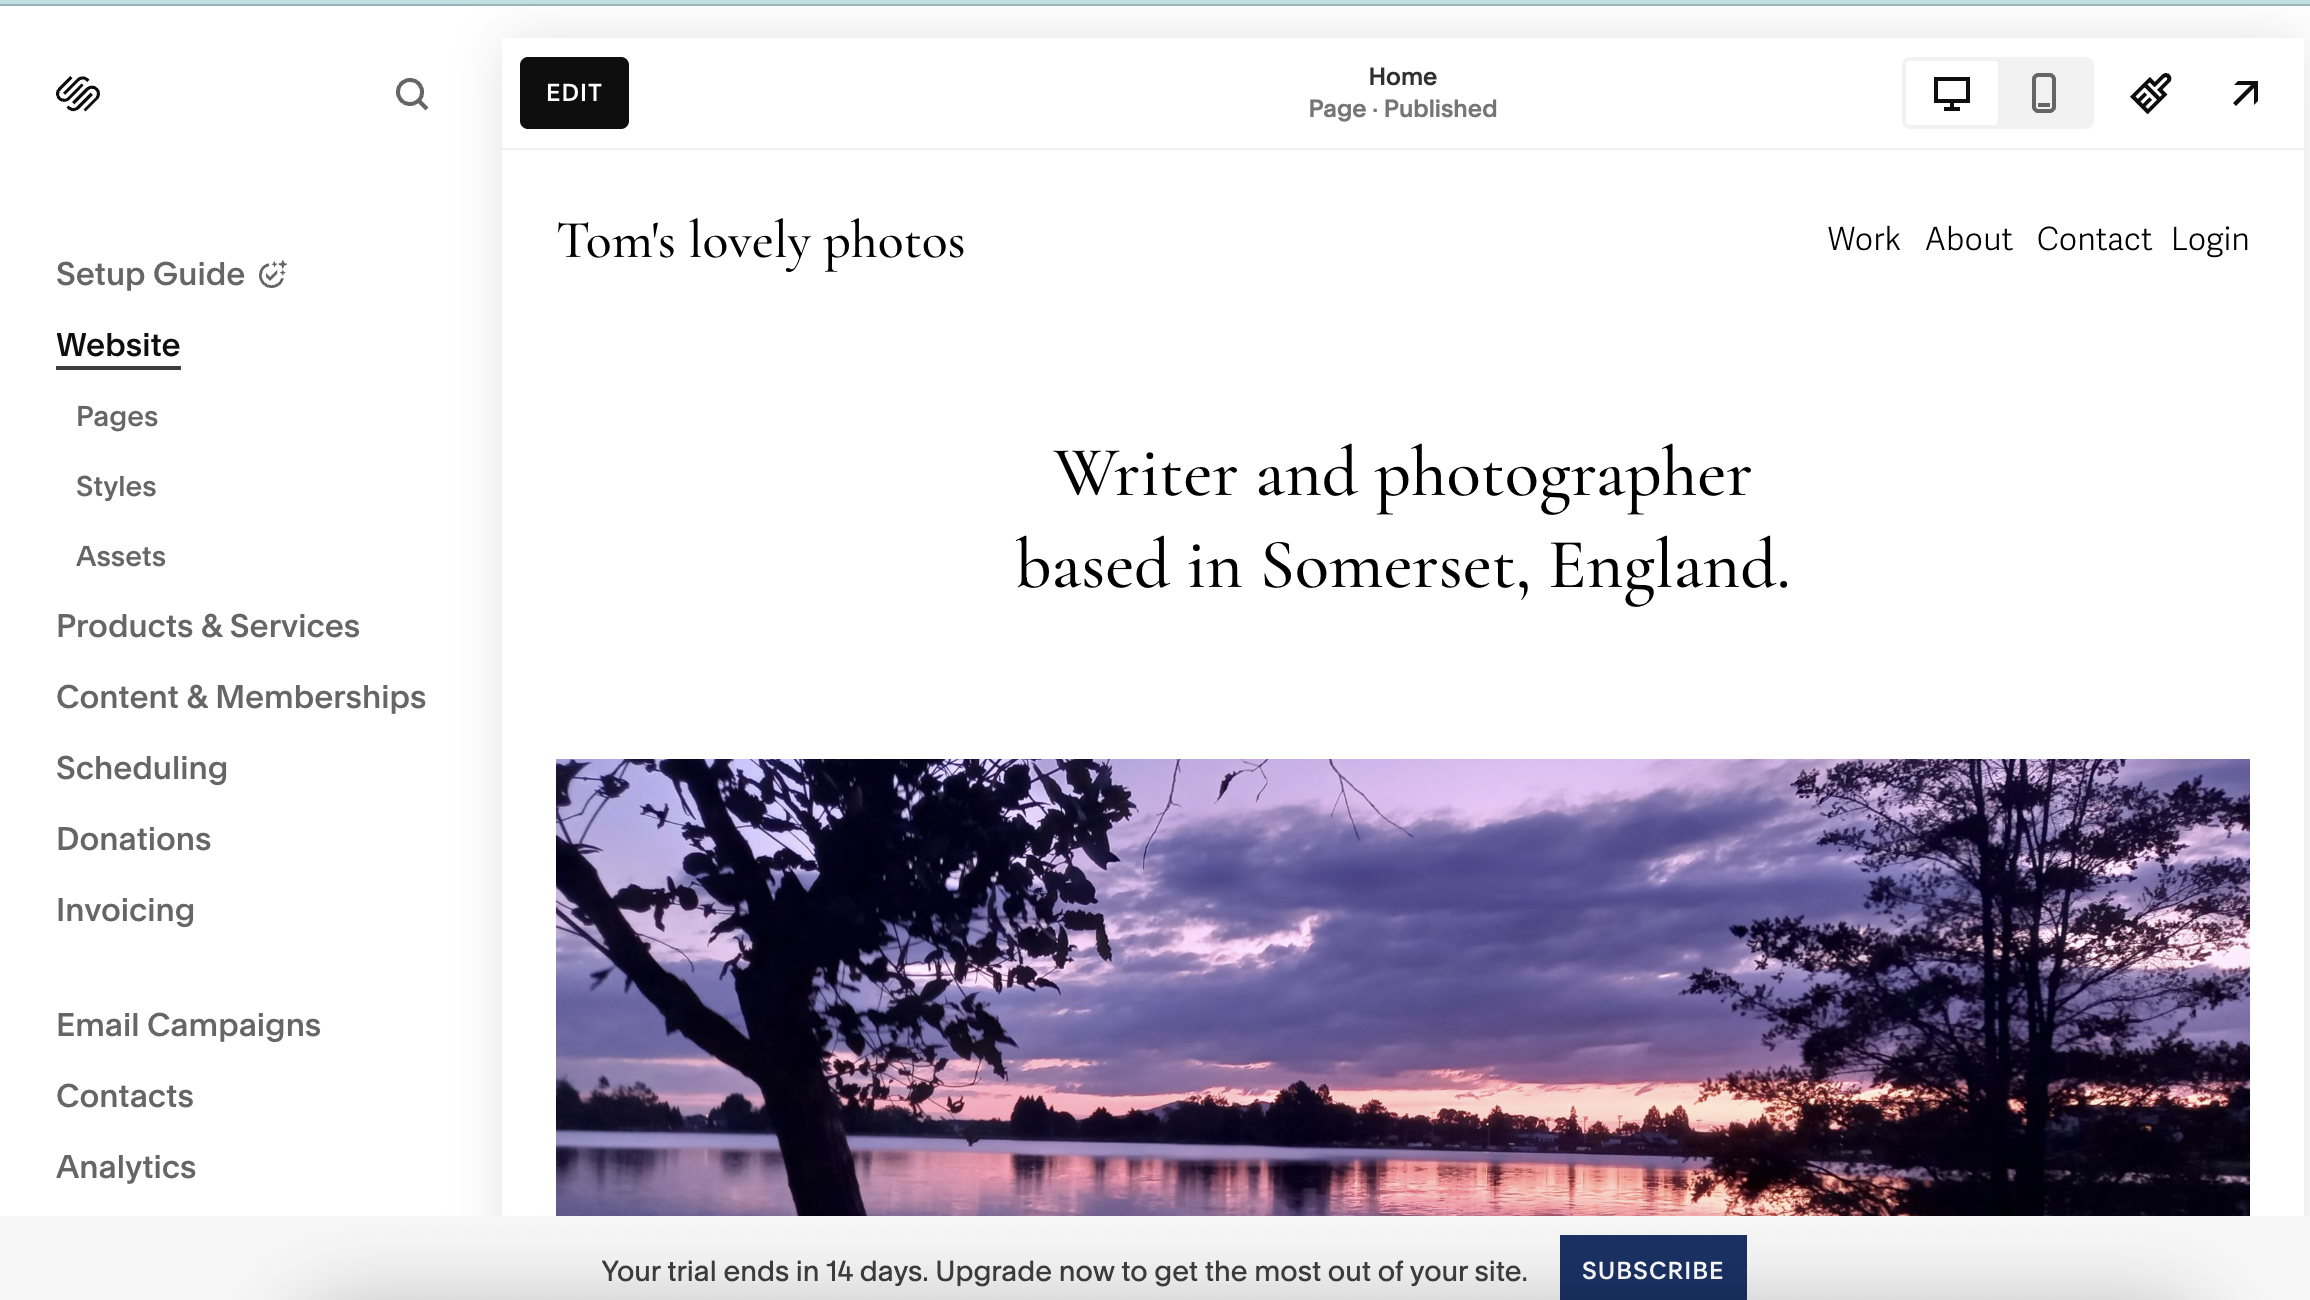
Once you've chosen a template, click the black button that says Start with this design. You'll then get a blank screen for a couple of seconds with the words 'Setting things up', before your template reappears within the website editor.
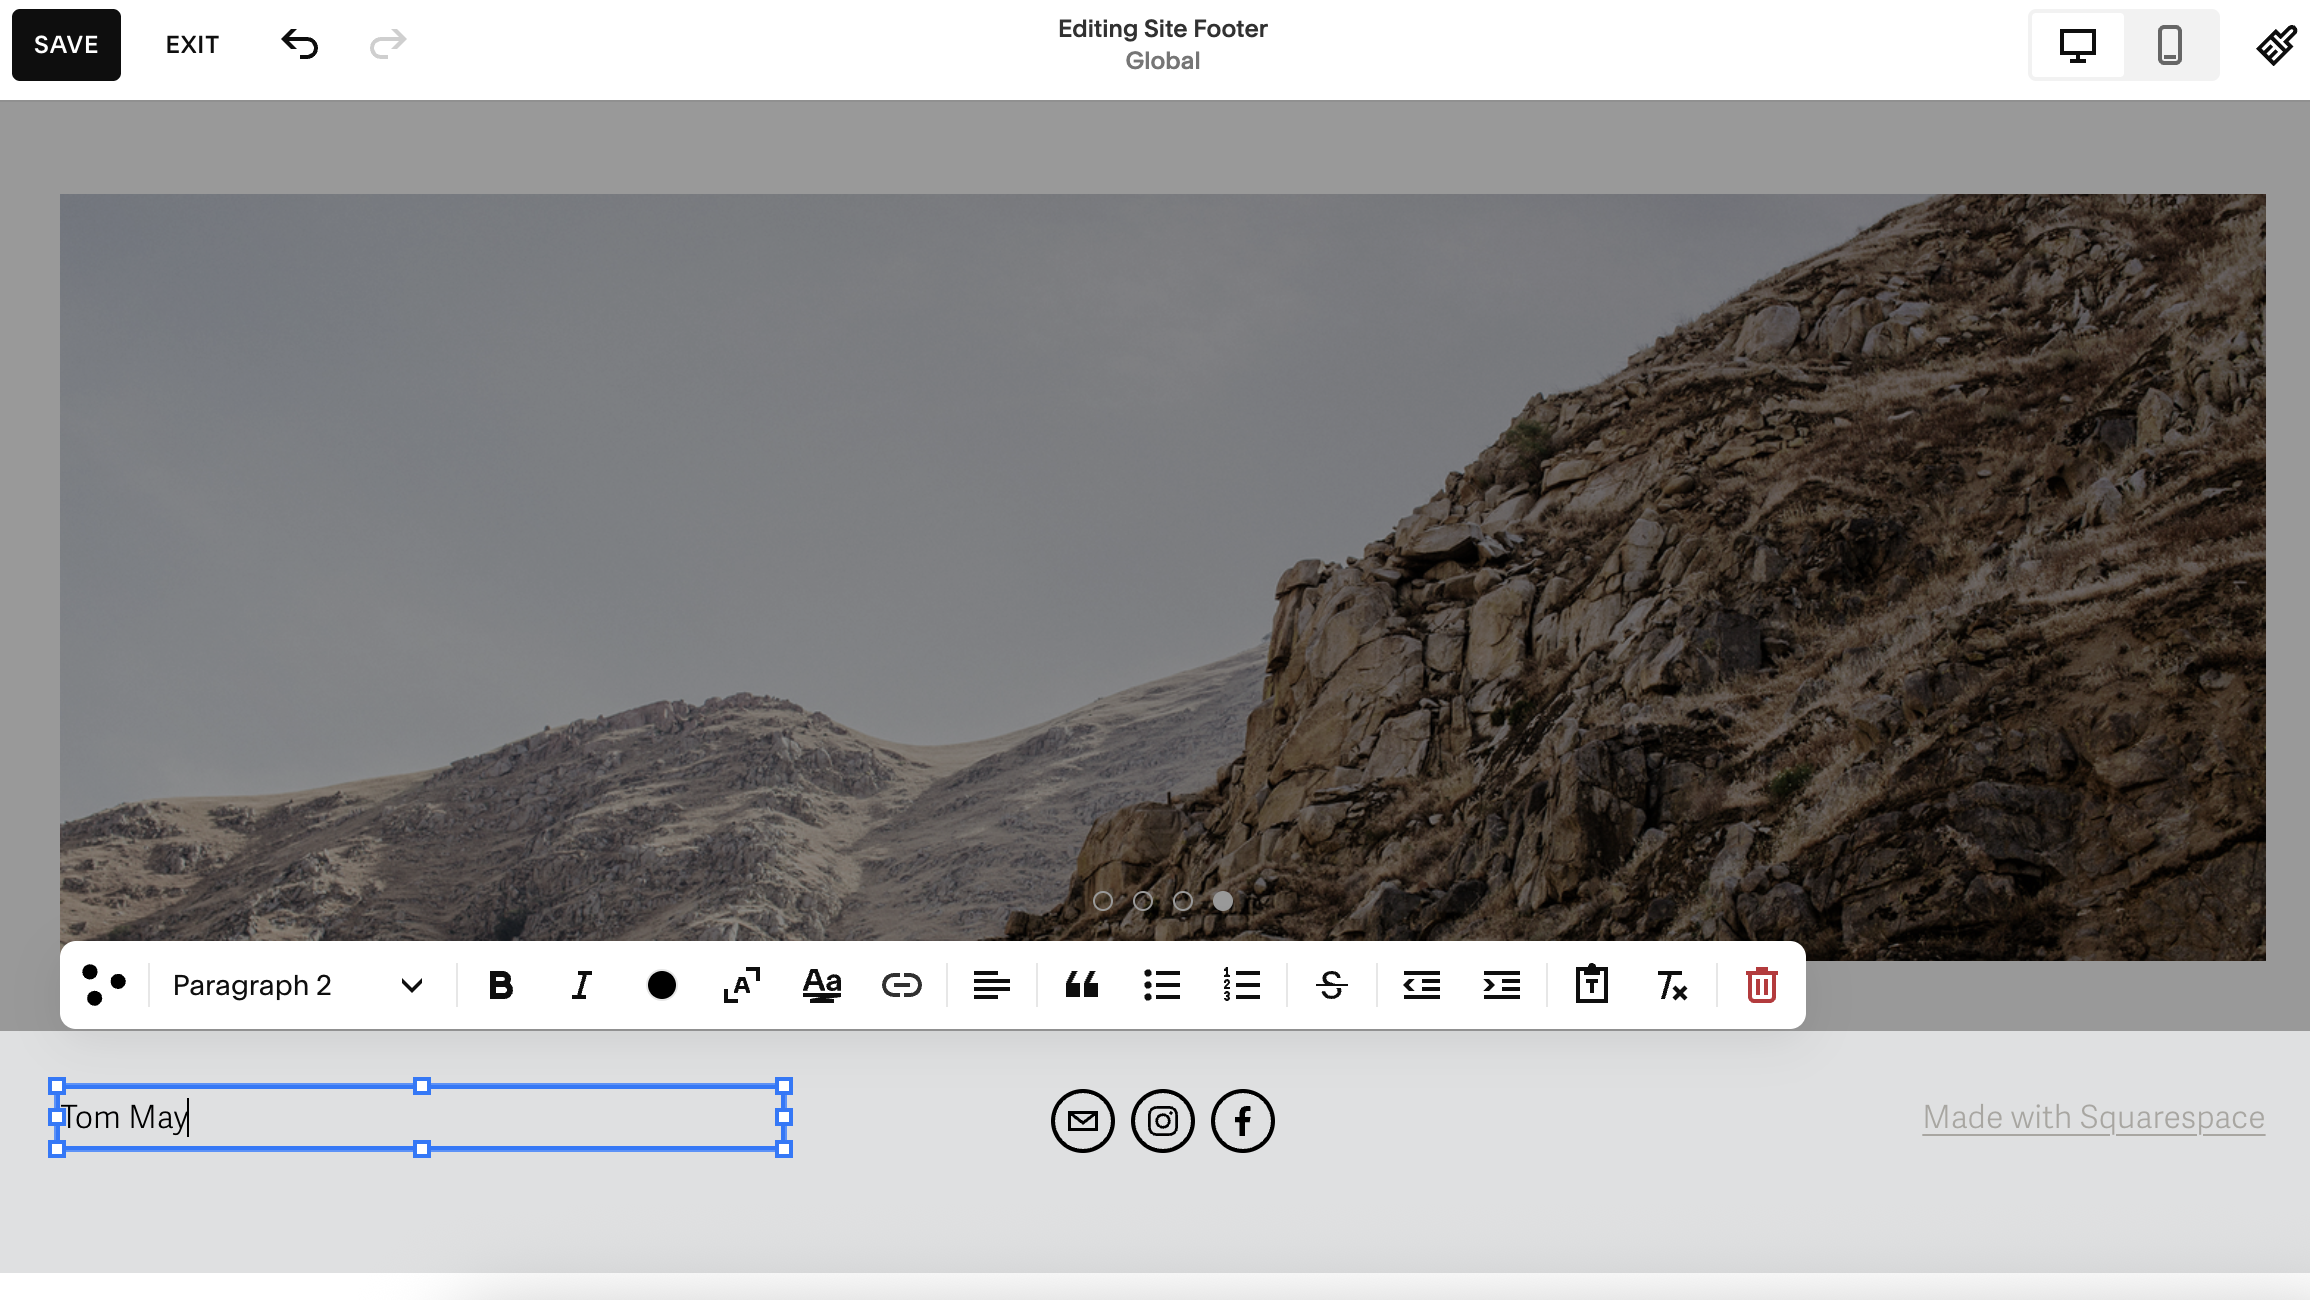
From here, you can update the text, links and images on your template to the content you want on your website. It's best to start with text, which is simply a matter of clicking in each text box and typing out what you want to replace the dummy text.
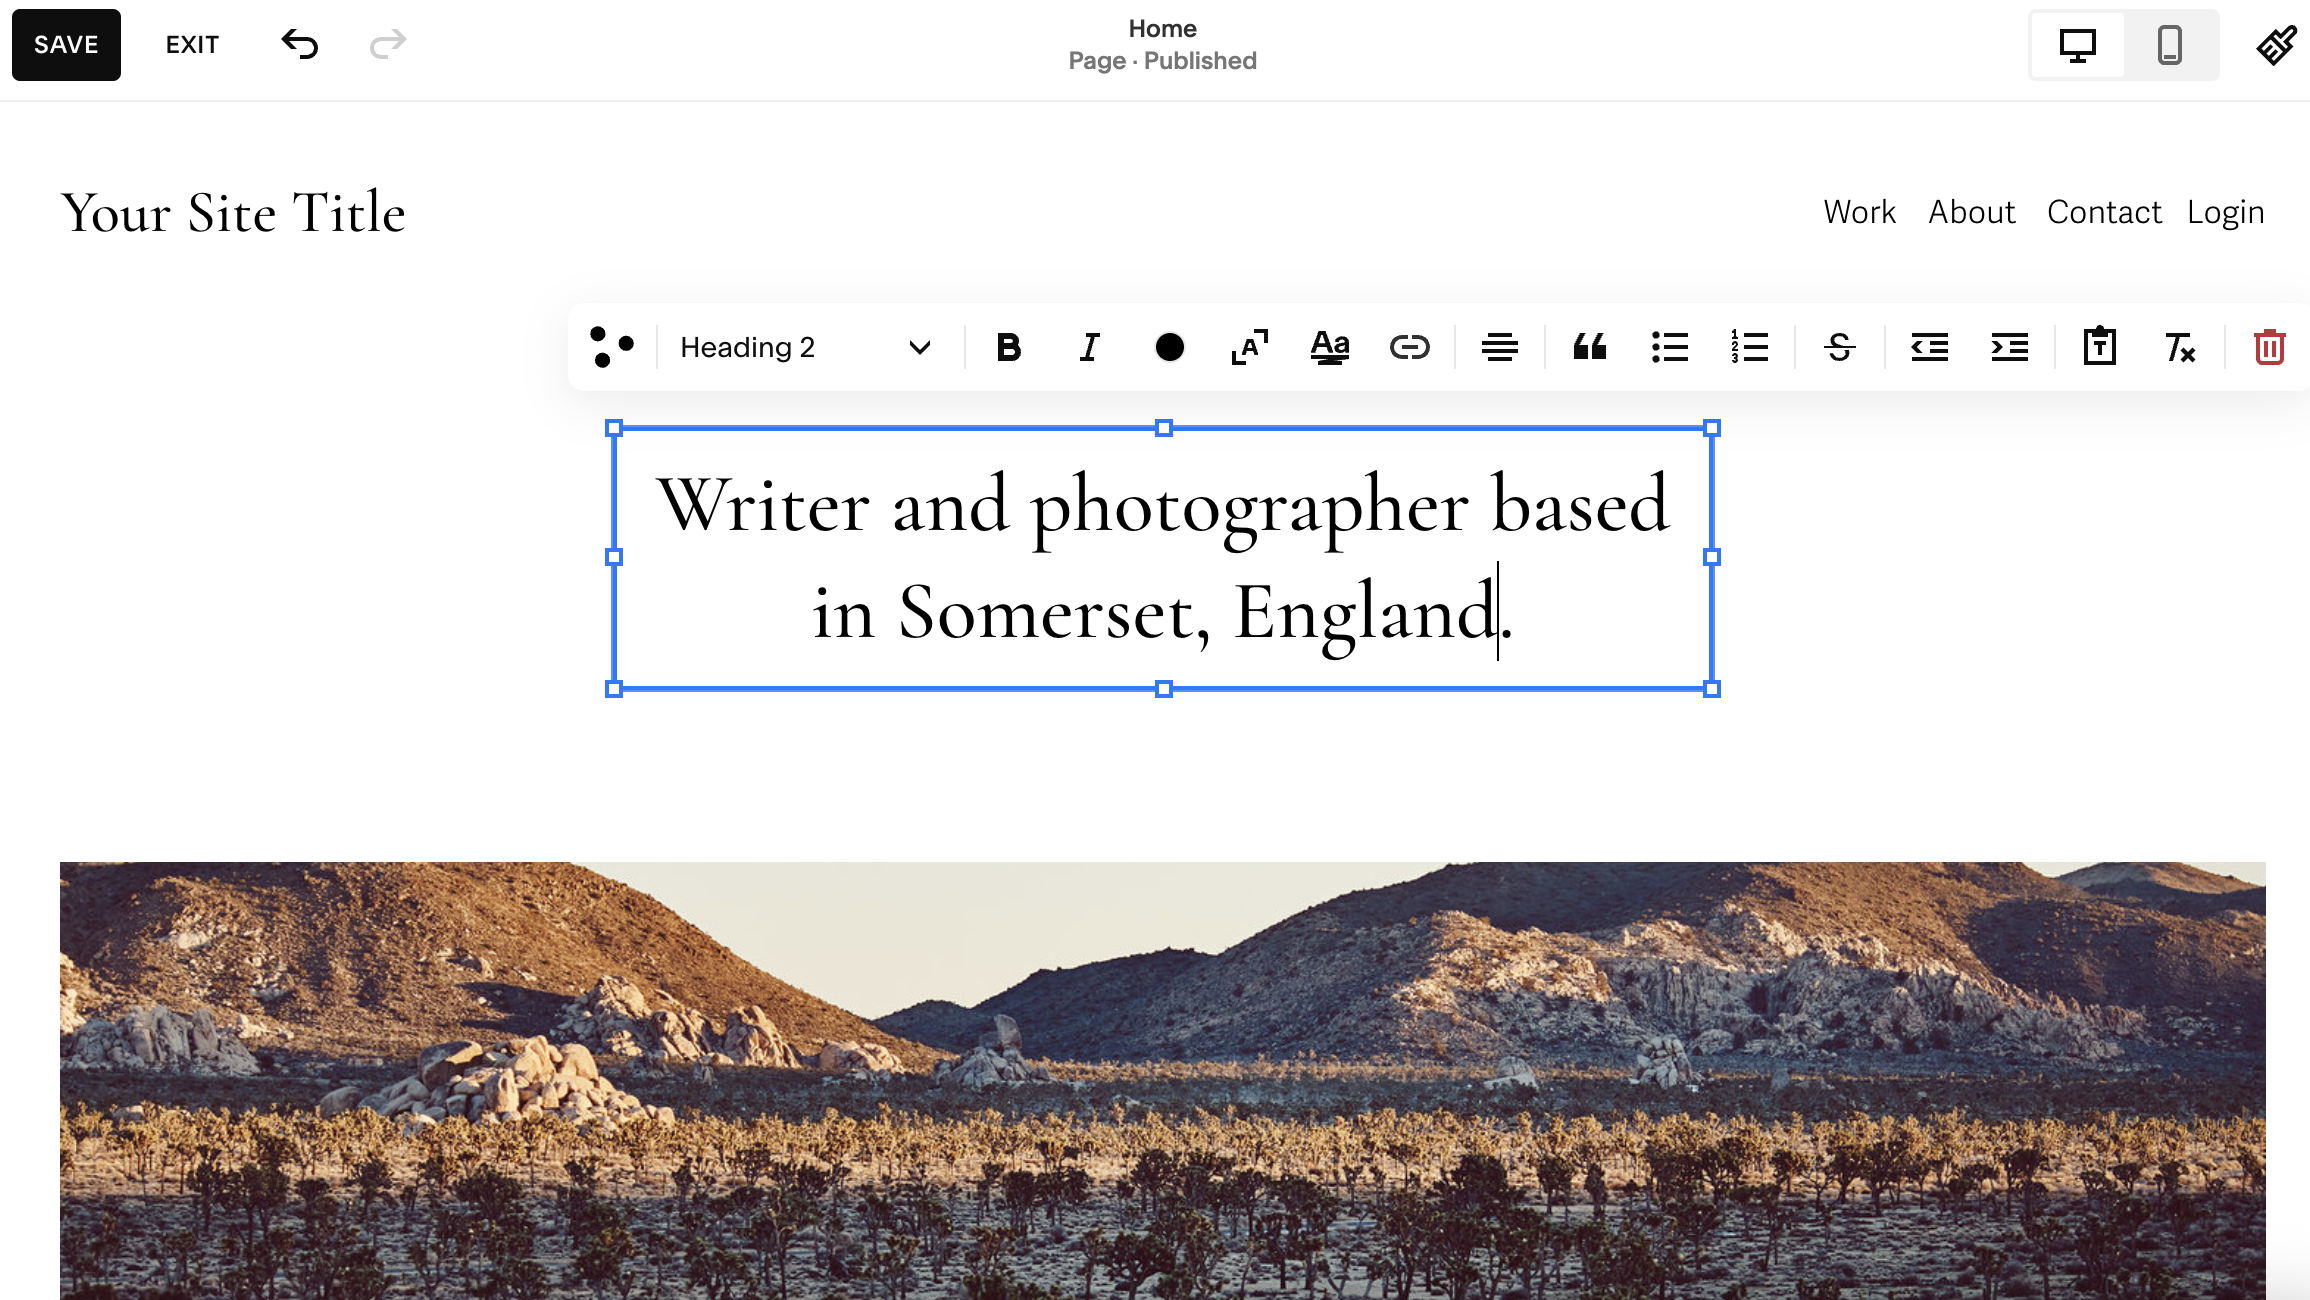
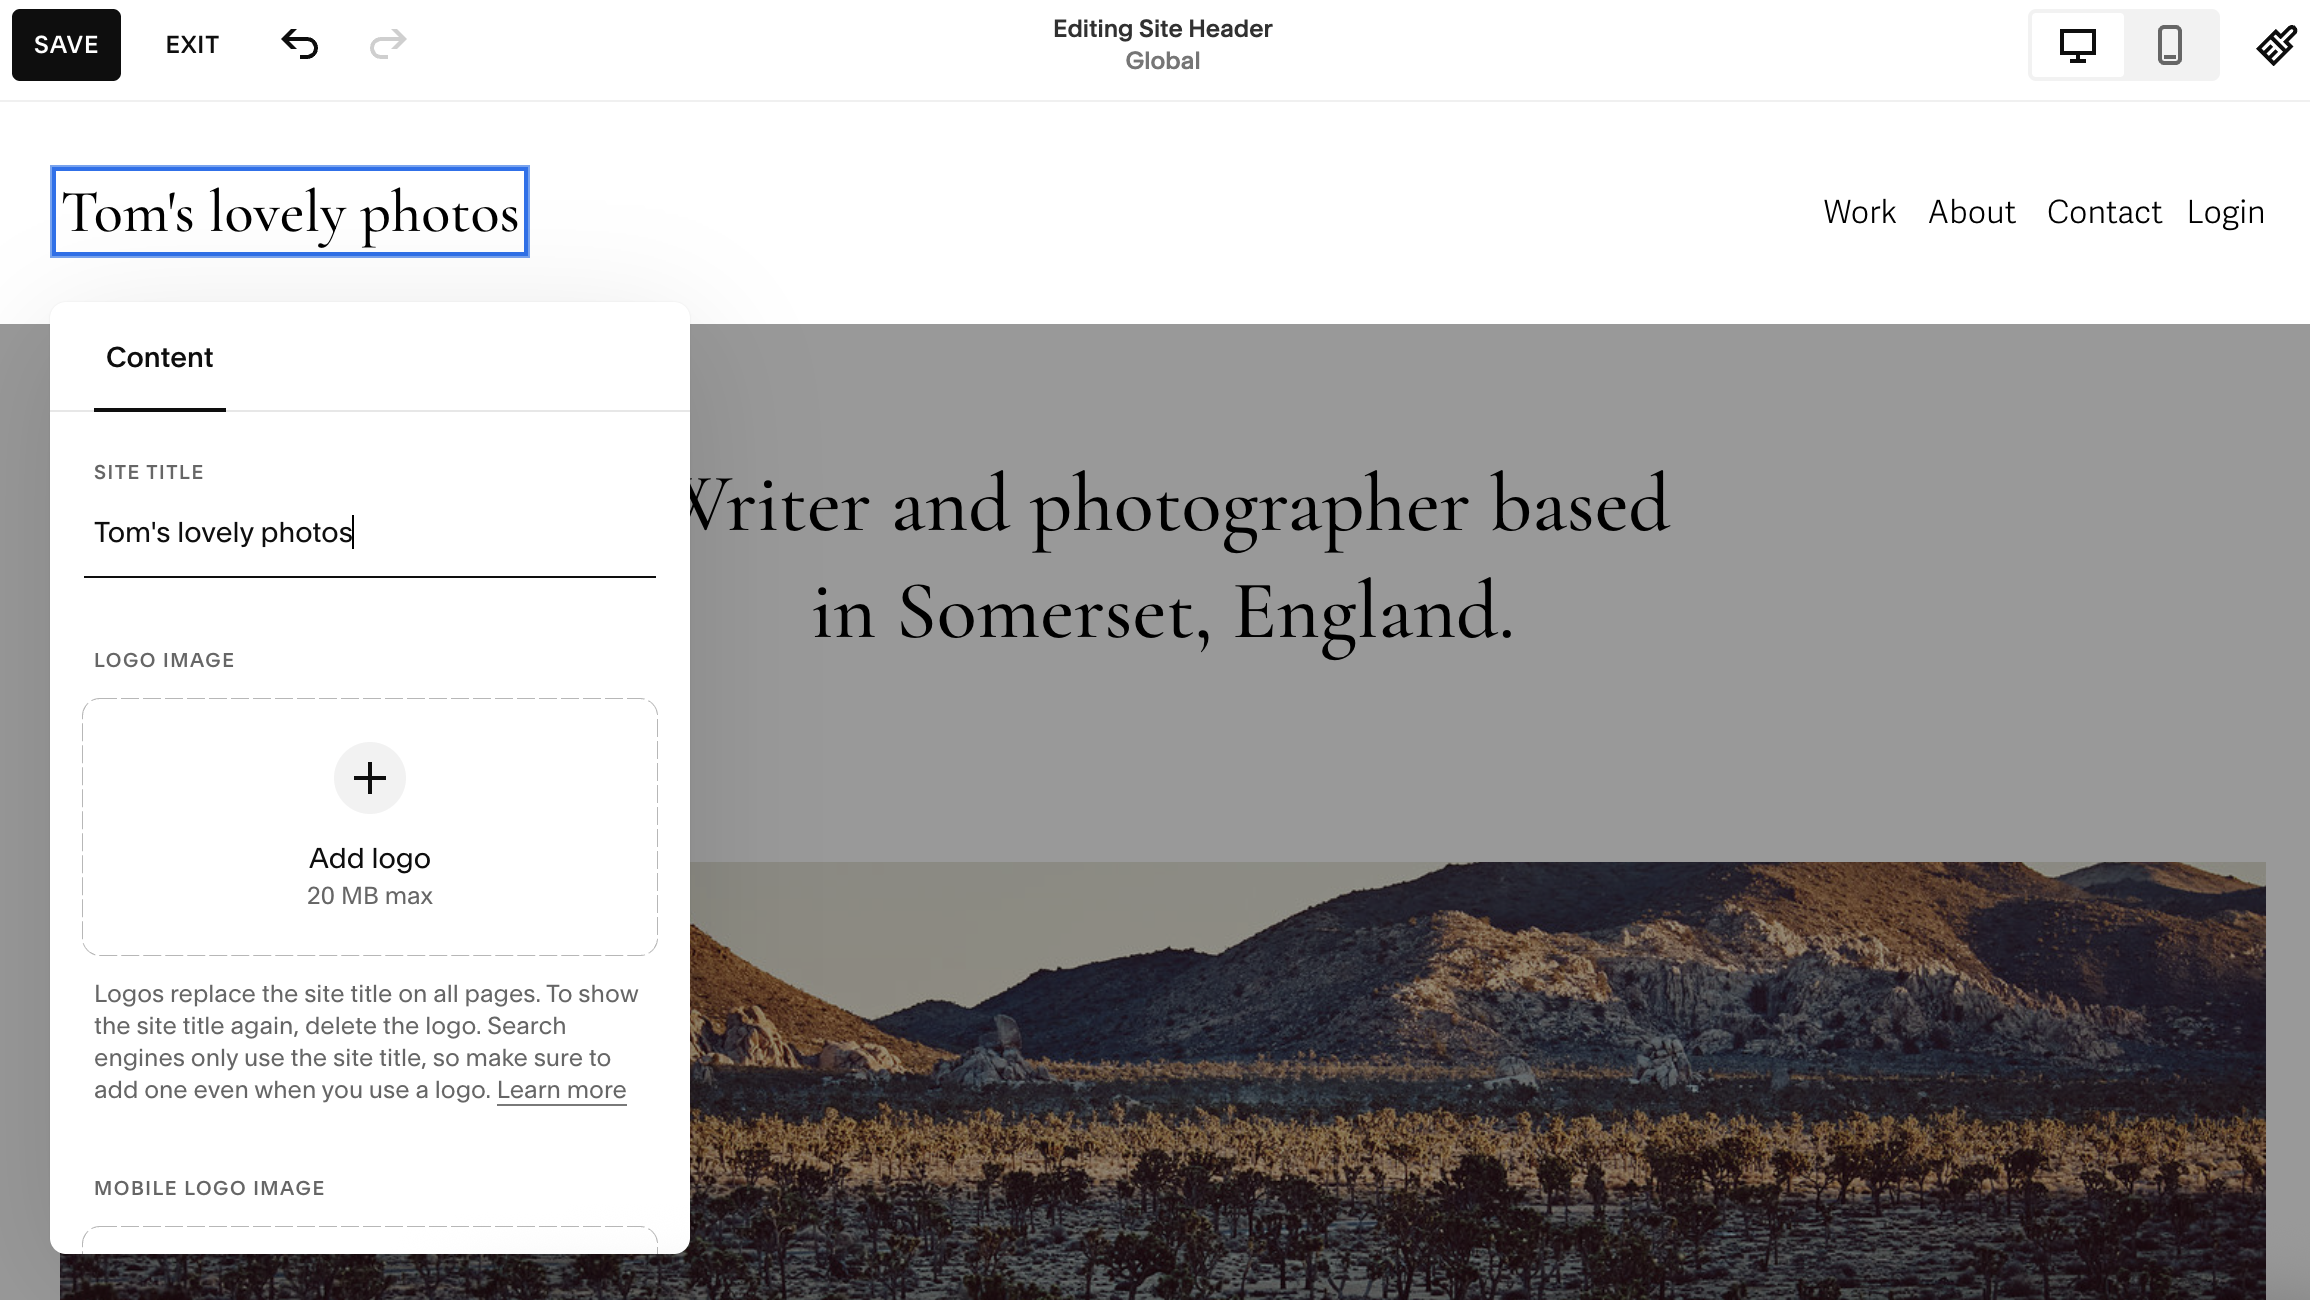
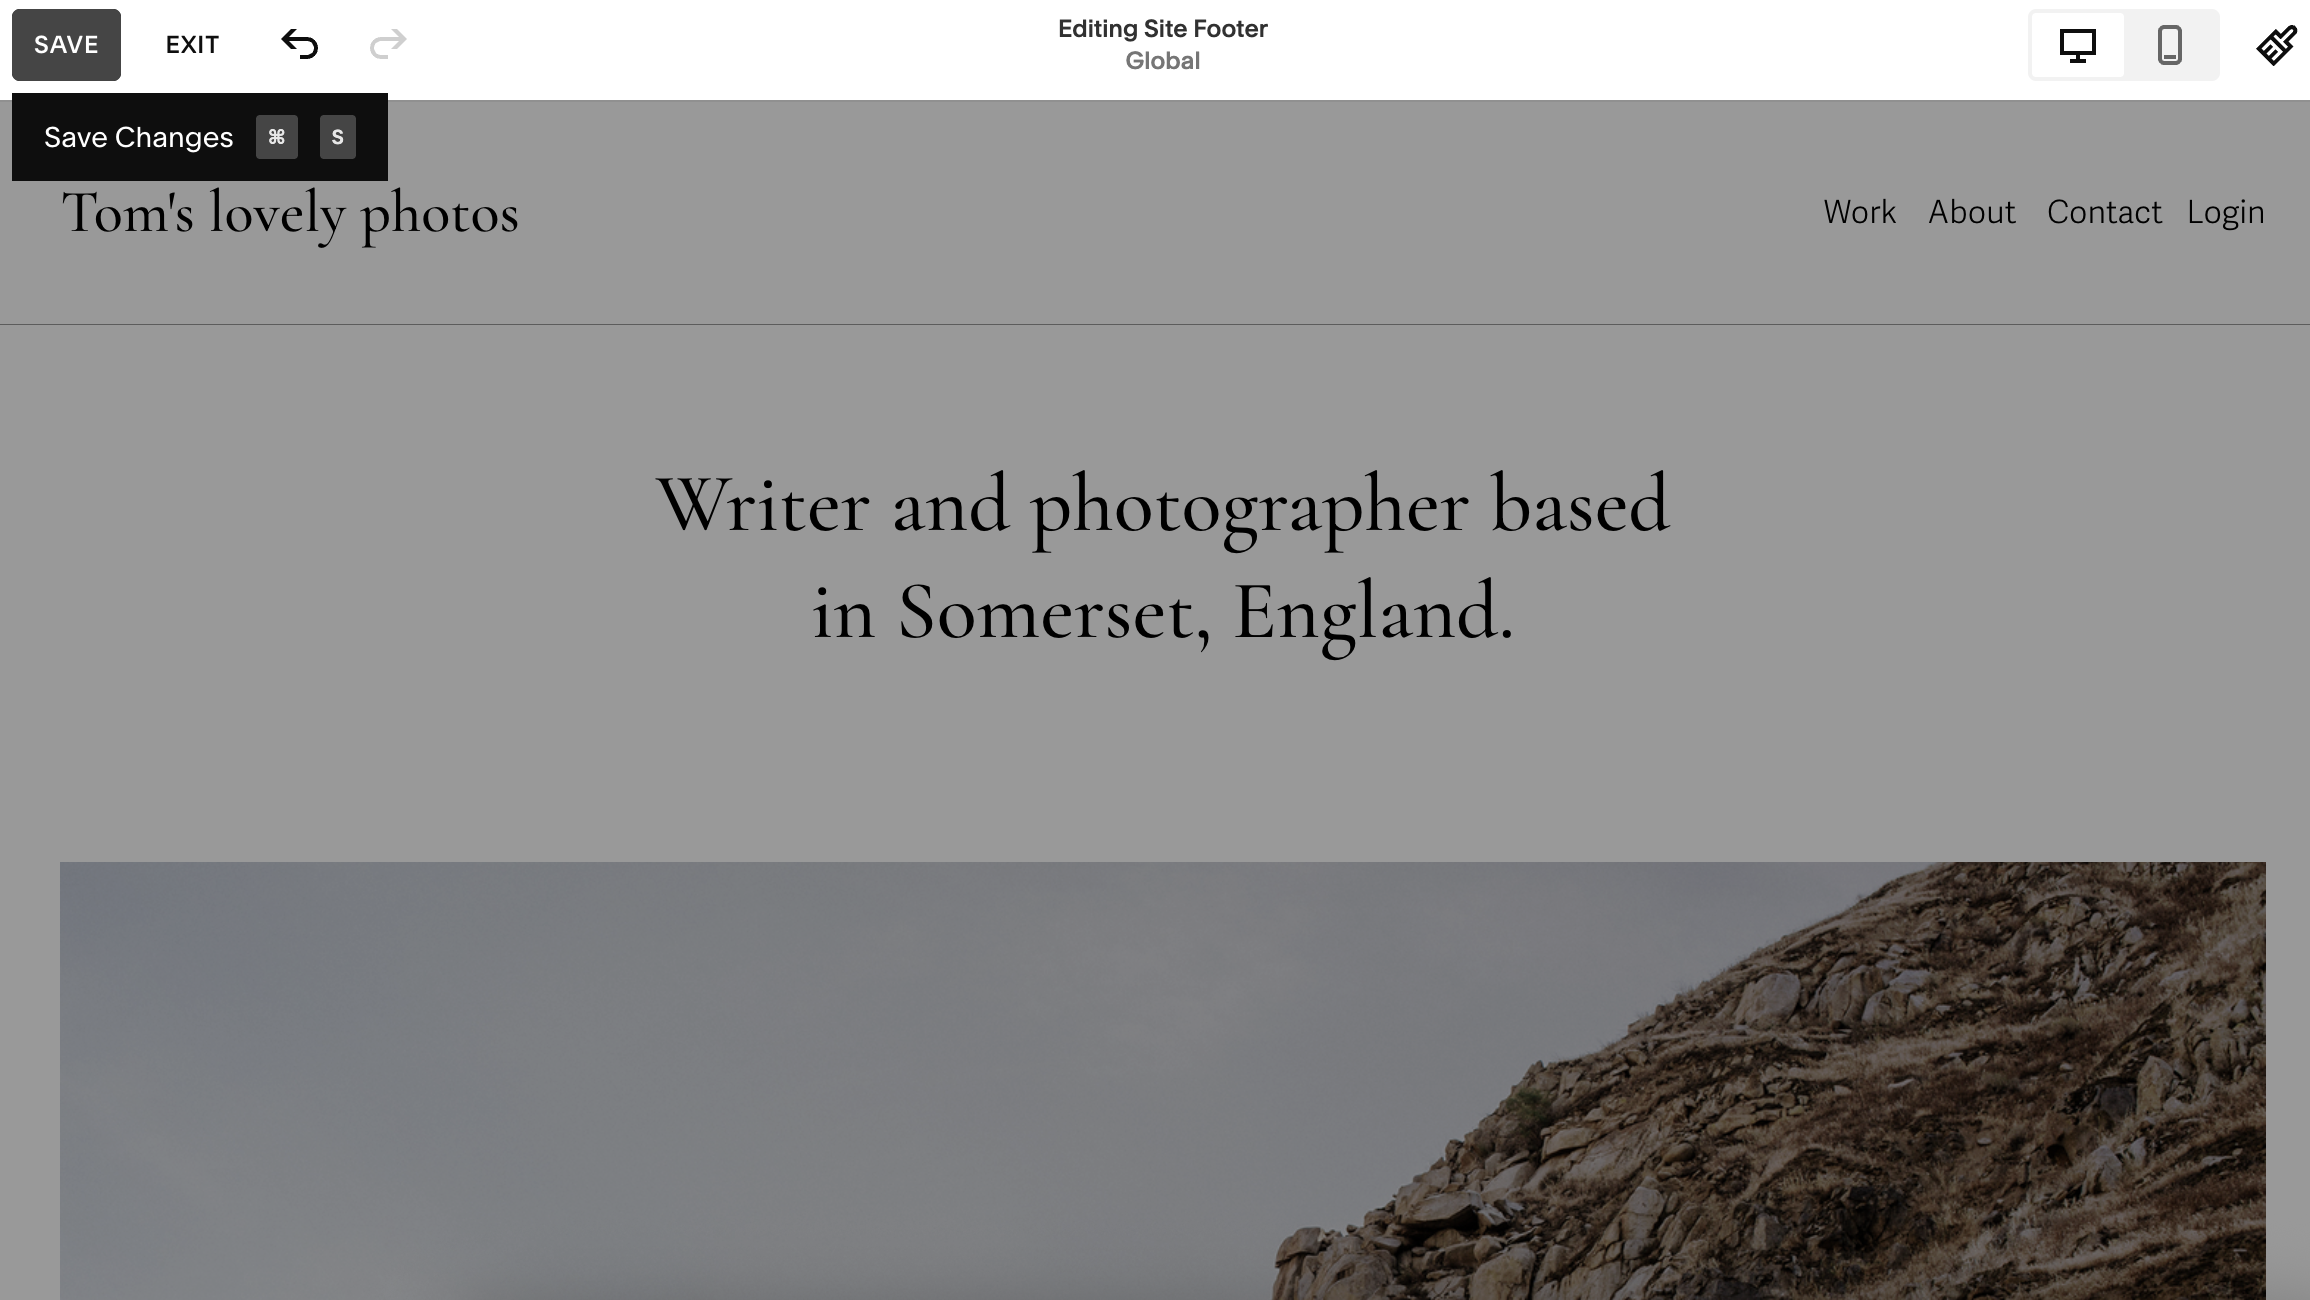
For example, I replaced the text in my template that read "Your site title" with "Tom's lovely photos" and "Landscape photographer based in Boulder, Colorado" with "Writer and photographer based in Somerset, England."
One thing to remember is that Squarespace doesn't automatically save your work, so make sure you click the 'Save' button in the top left corner every time you successfully change something. Conversely, if you make a mistake, just use Ctrl-Z on Windows or Command+Z on Mac to undo what you've done.
4. Add your links
Image 1 of 3
(Image credit: Future)
(Image credit: Future)
(Image credit: Future)
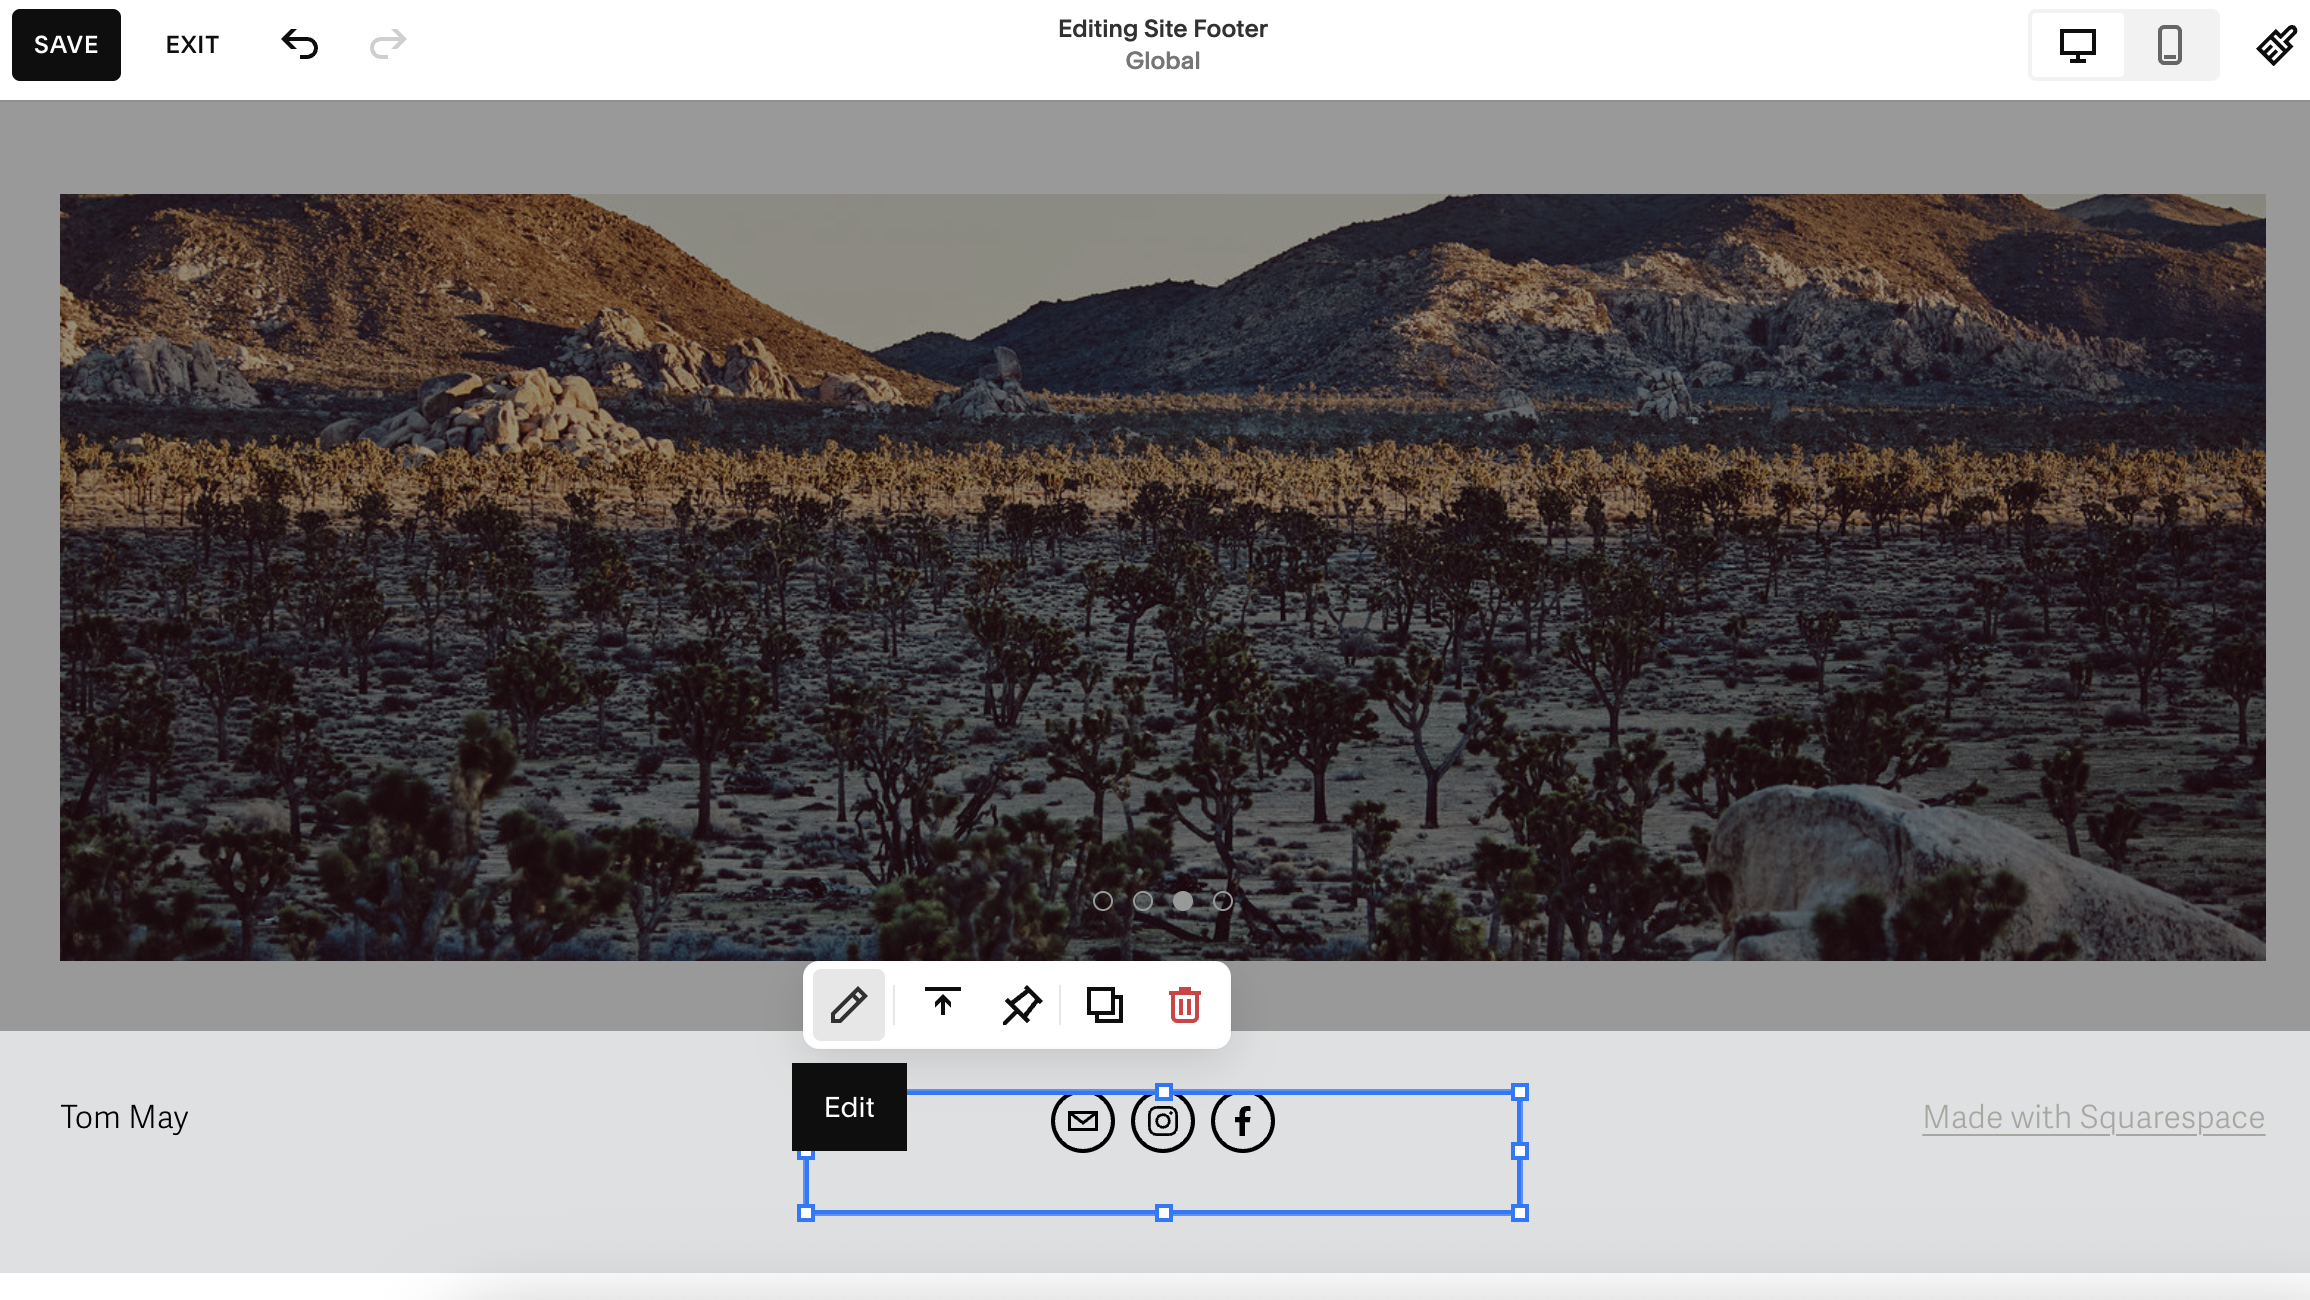
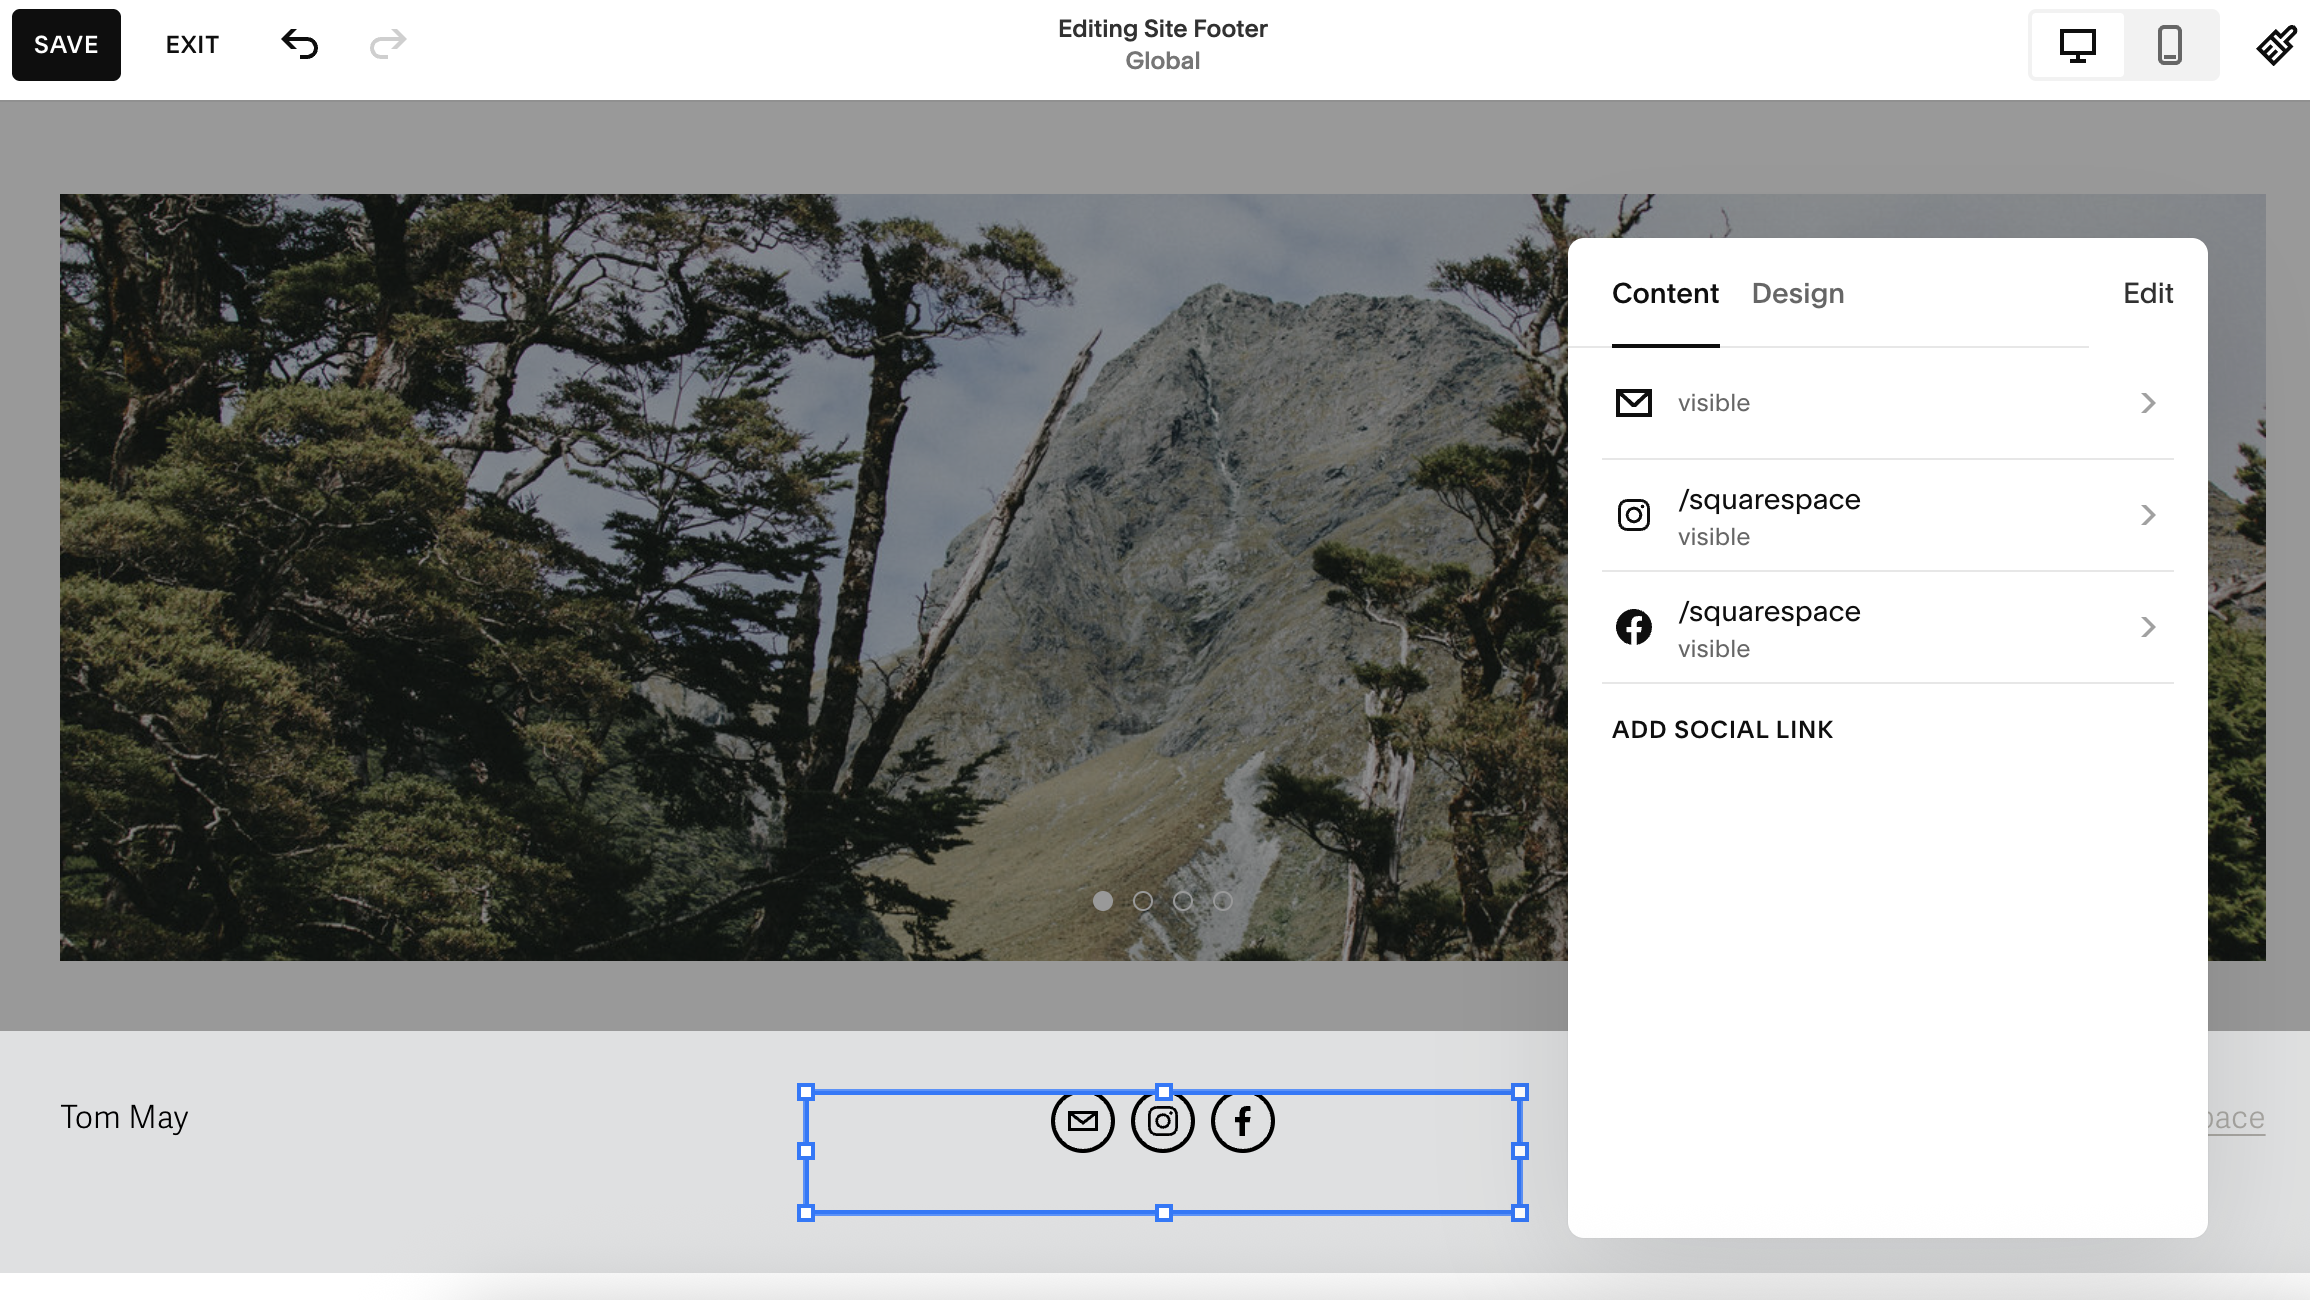
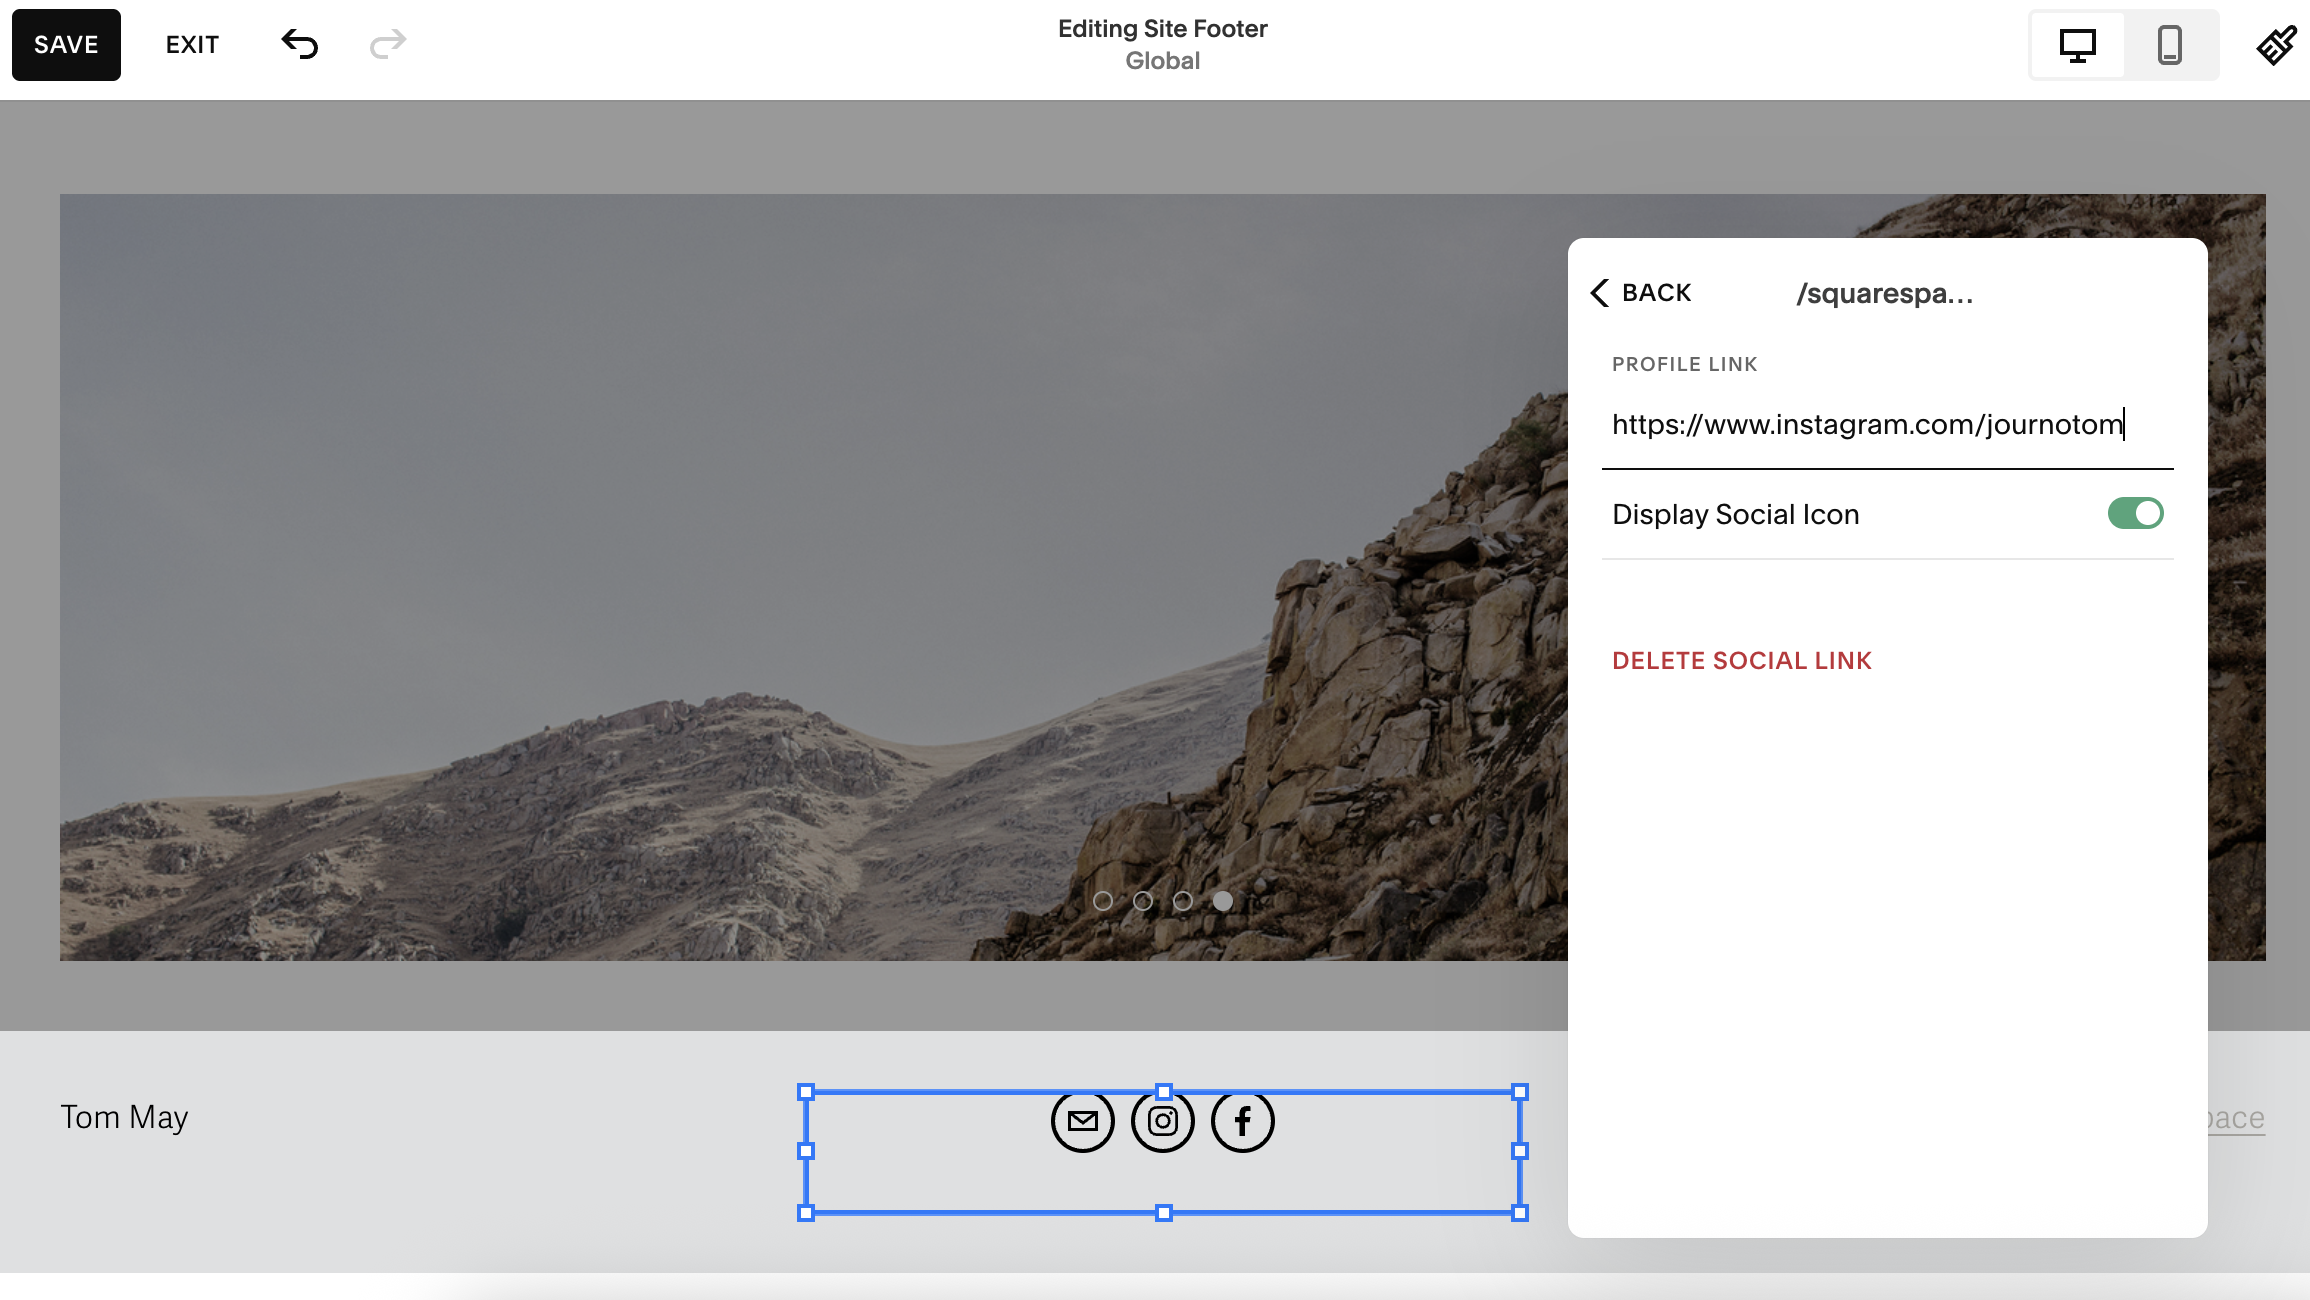
The next thing to do is scroll down to the footer and add your links to the email, Instagram and Facebook icons. Click in the general area, and a white box appears with various options. Click the pencil icon (first on the left) to open the editor. A tall white box then appears, with fields for email, Instagram and Facebook links. Click on the appropriate arrow ('>') and you can add your links.
5. Add your images
Image 1 of 9
(Image credit: Future)
(Image credit: Future)
(Image credit: Future)
(Image credit: Future)
(Image credit: Future)
(Image credit: Future)
(Image credit: Future)
(Image credit: Future)
(Image credit: Future)
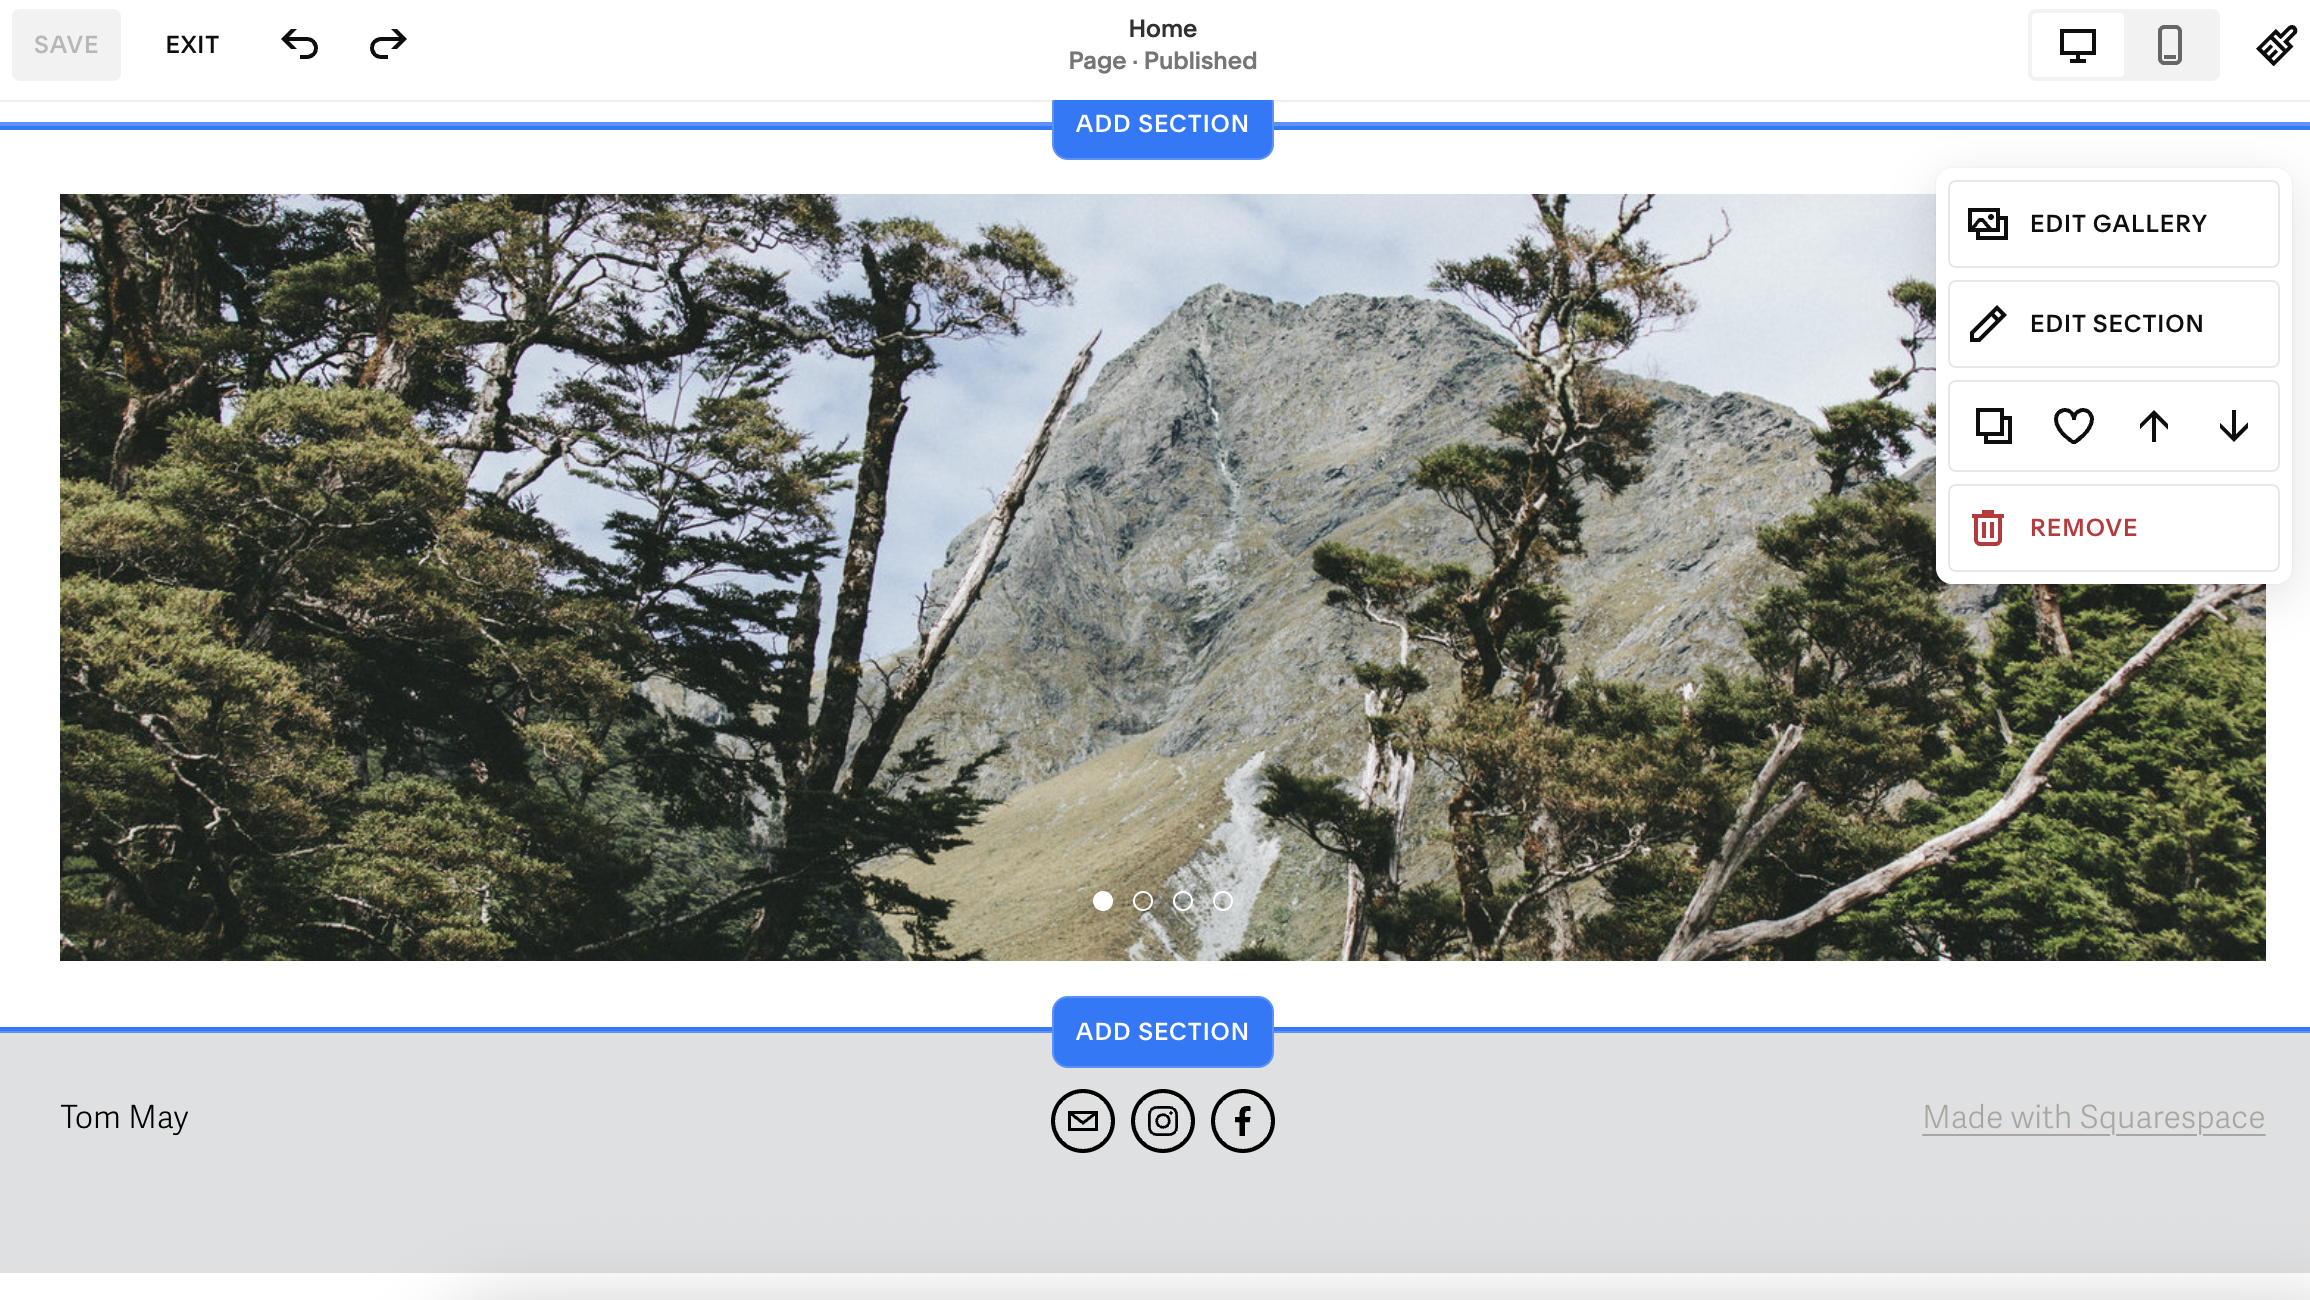
Next you'll want to change the generic images on your template to ones that are specific to you. If you're an artist, photographer or designer, these will probably be images of your work, plus maybe a photo of yourself. If, however, you're promoting a business and don't have any photography yet, Squarespace gives you direct access to Adobe Stock images.
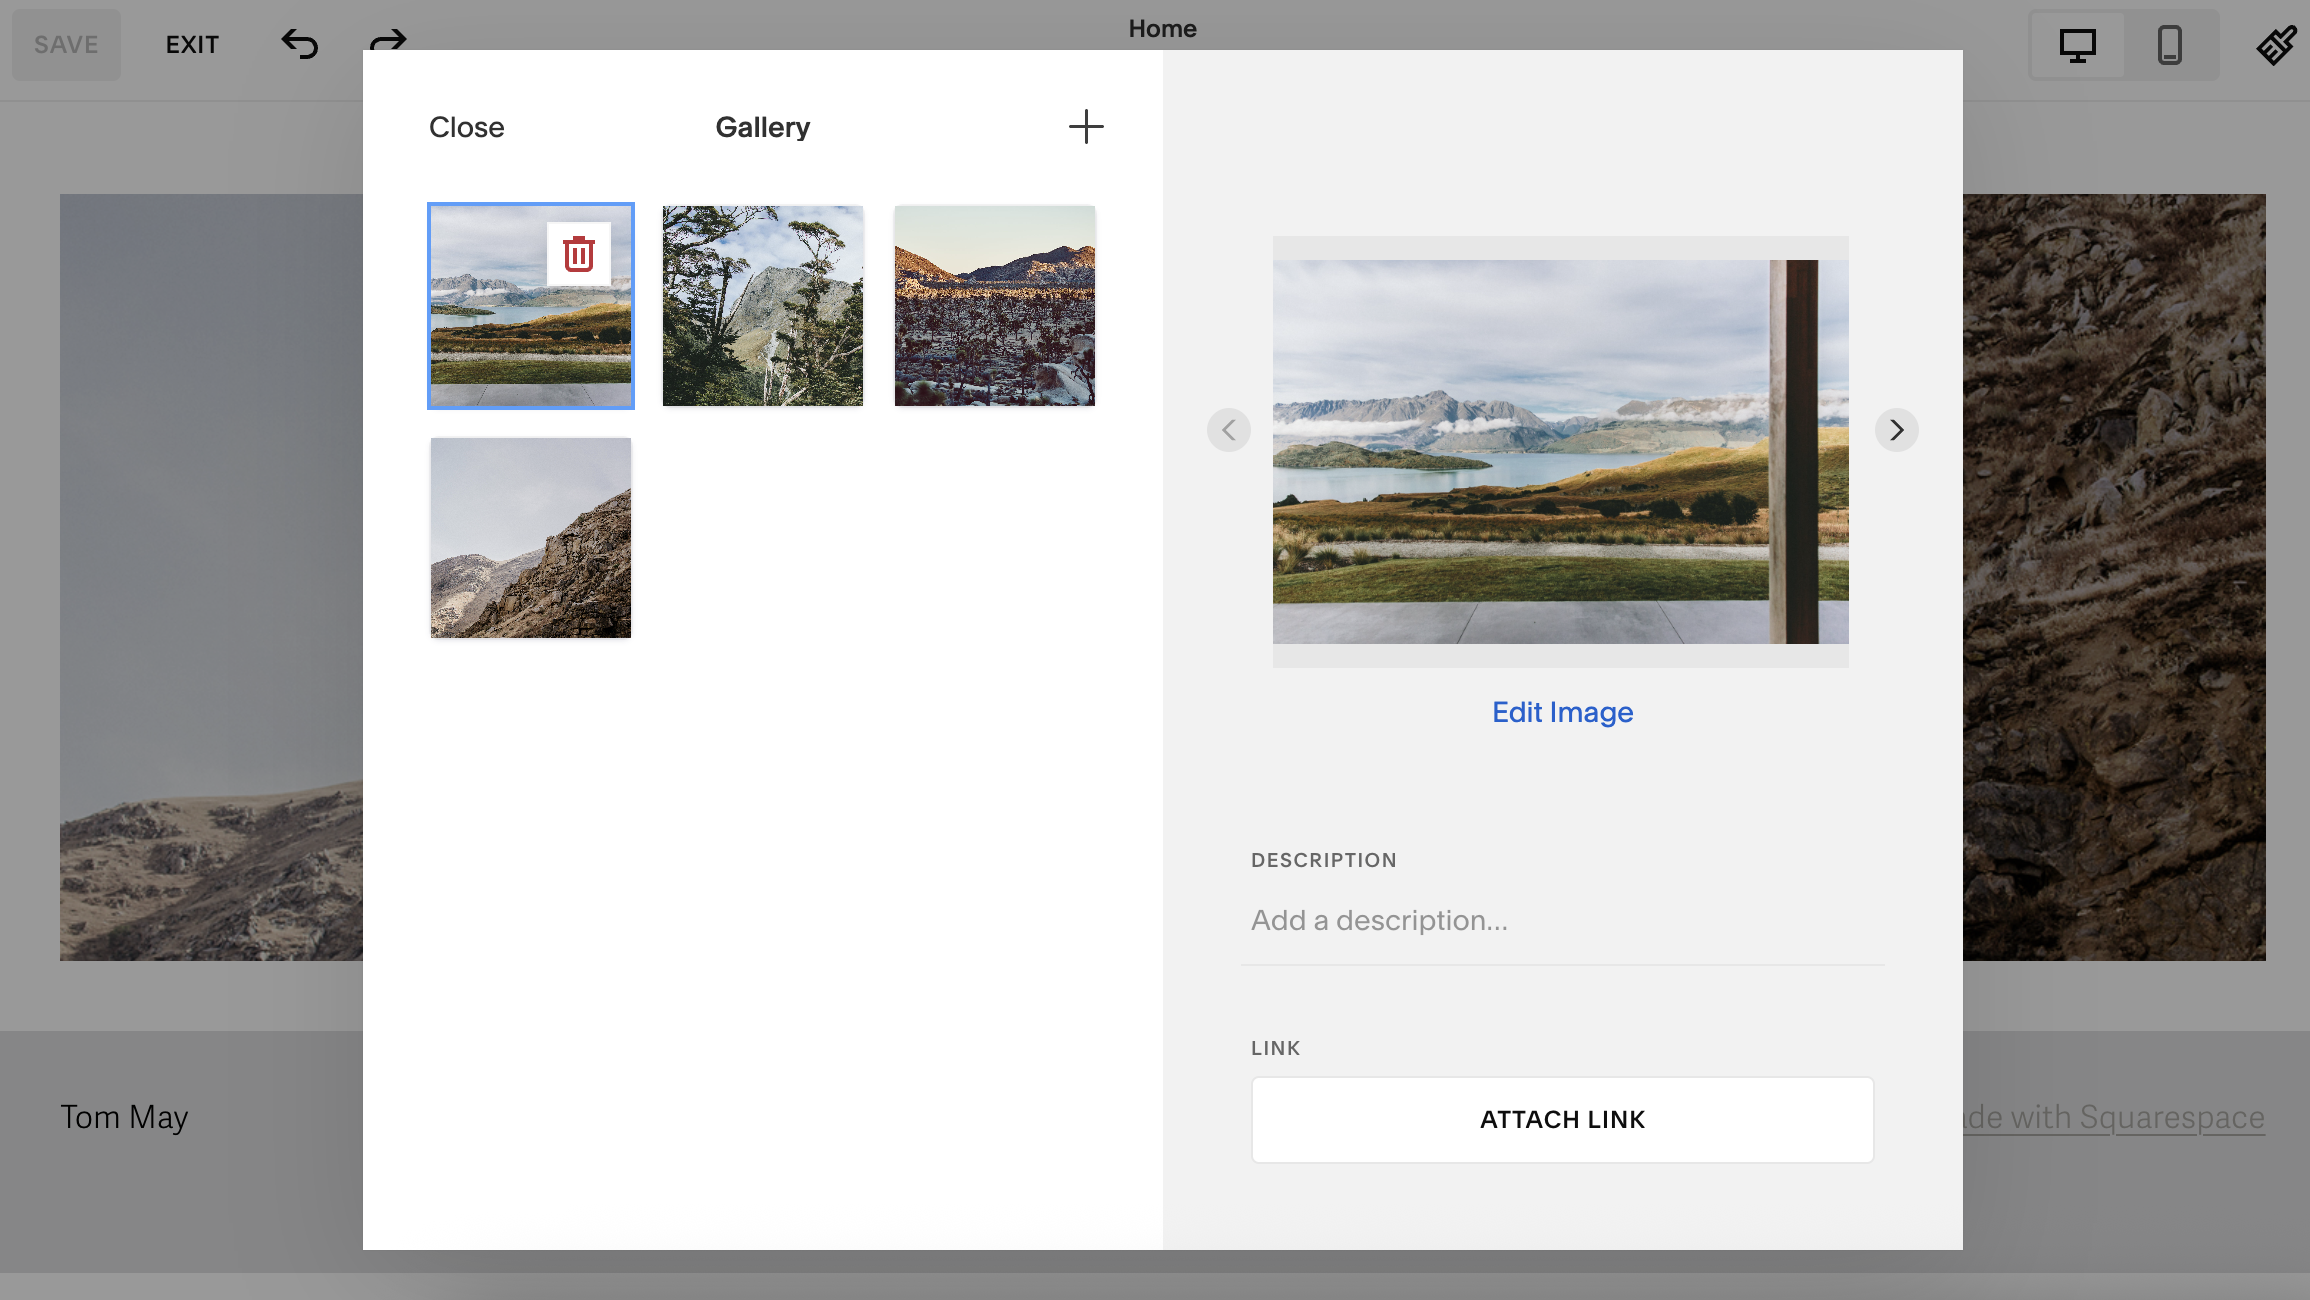
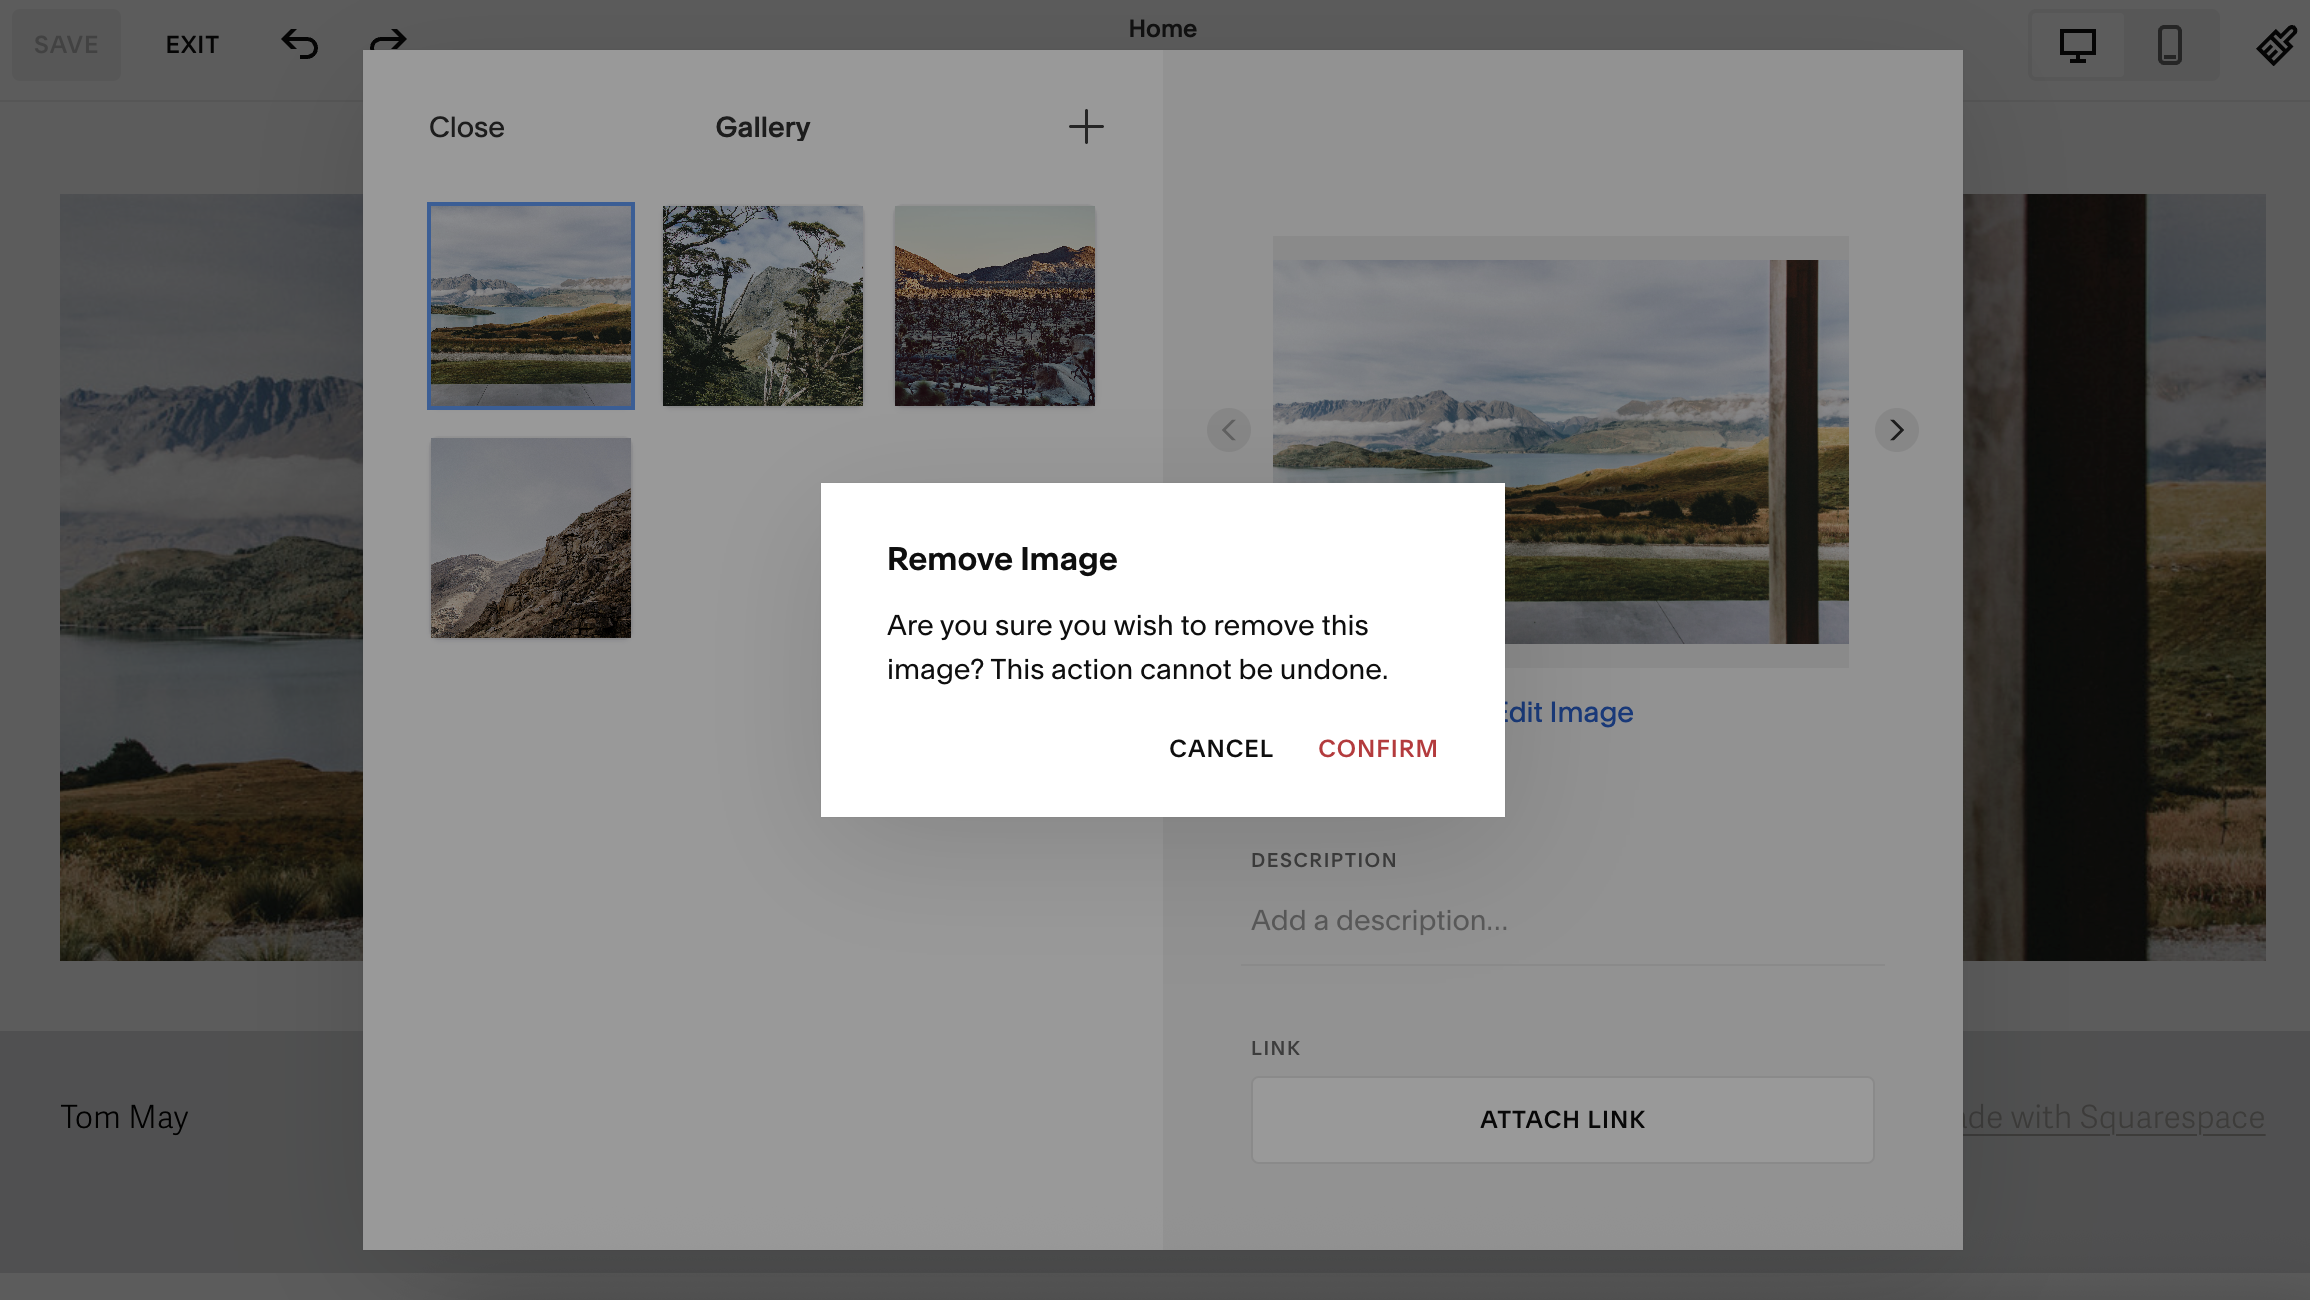
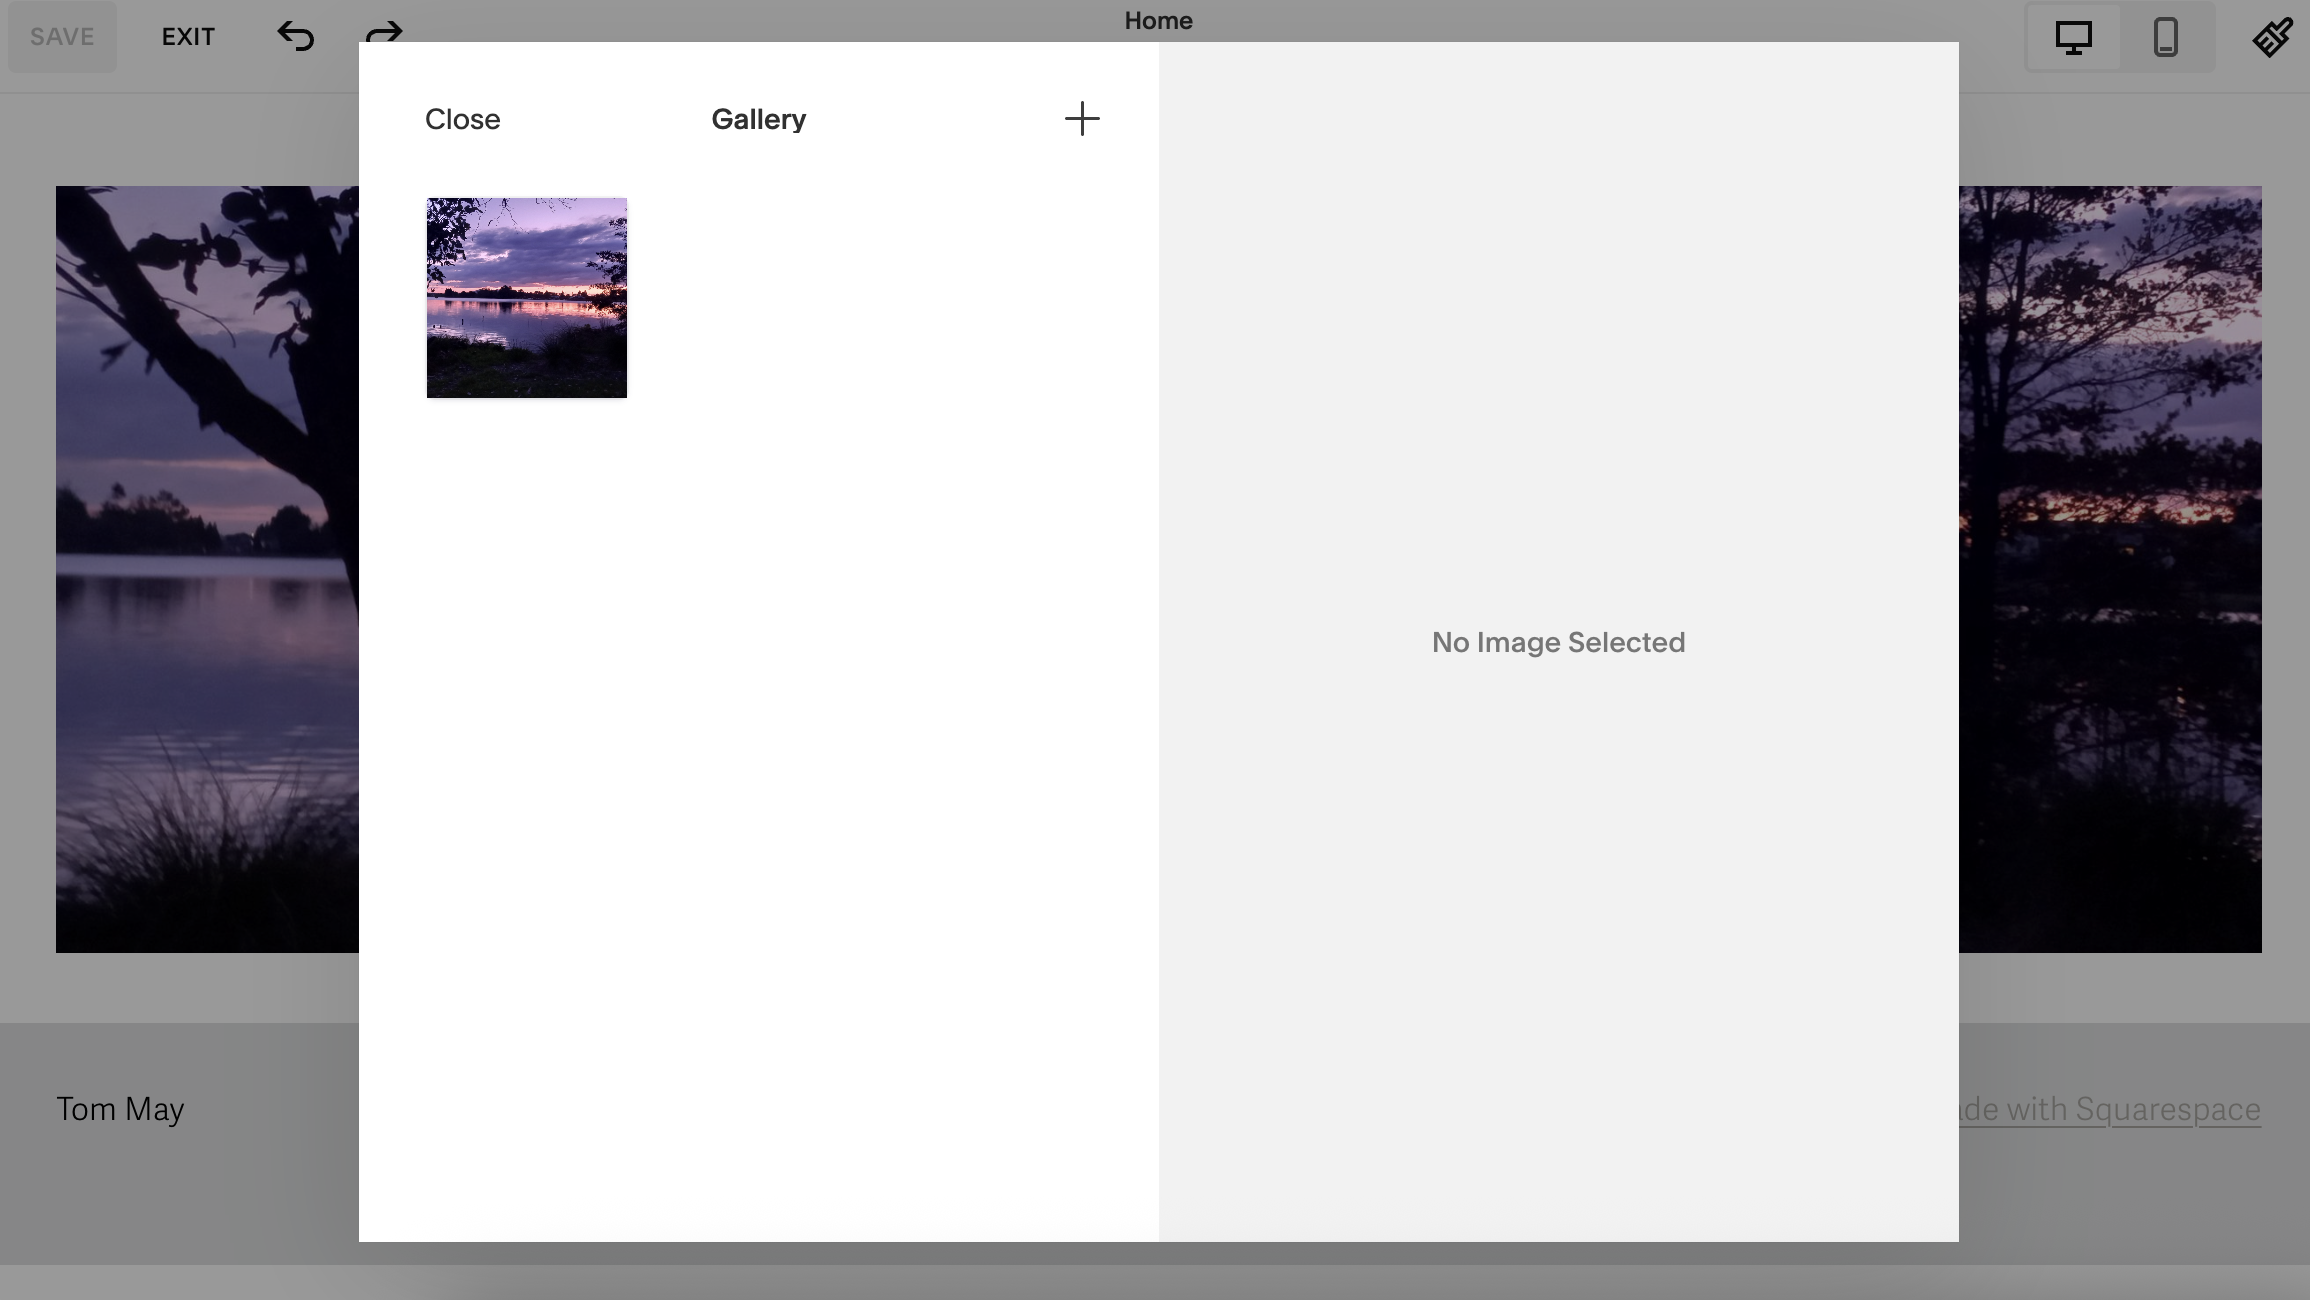
I started by clicking on the main image gallery. A large white box then popped up giving me four options, and I chose 'Edit Gallery'. Another white box then appeared containing each of the current four images. When I hovered over the small versions on the left, a trash can icon popped up. I clicked those in turn to delete all the current images.
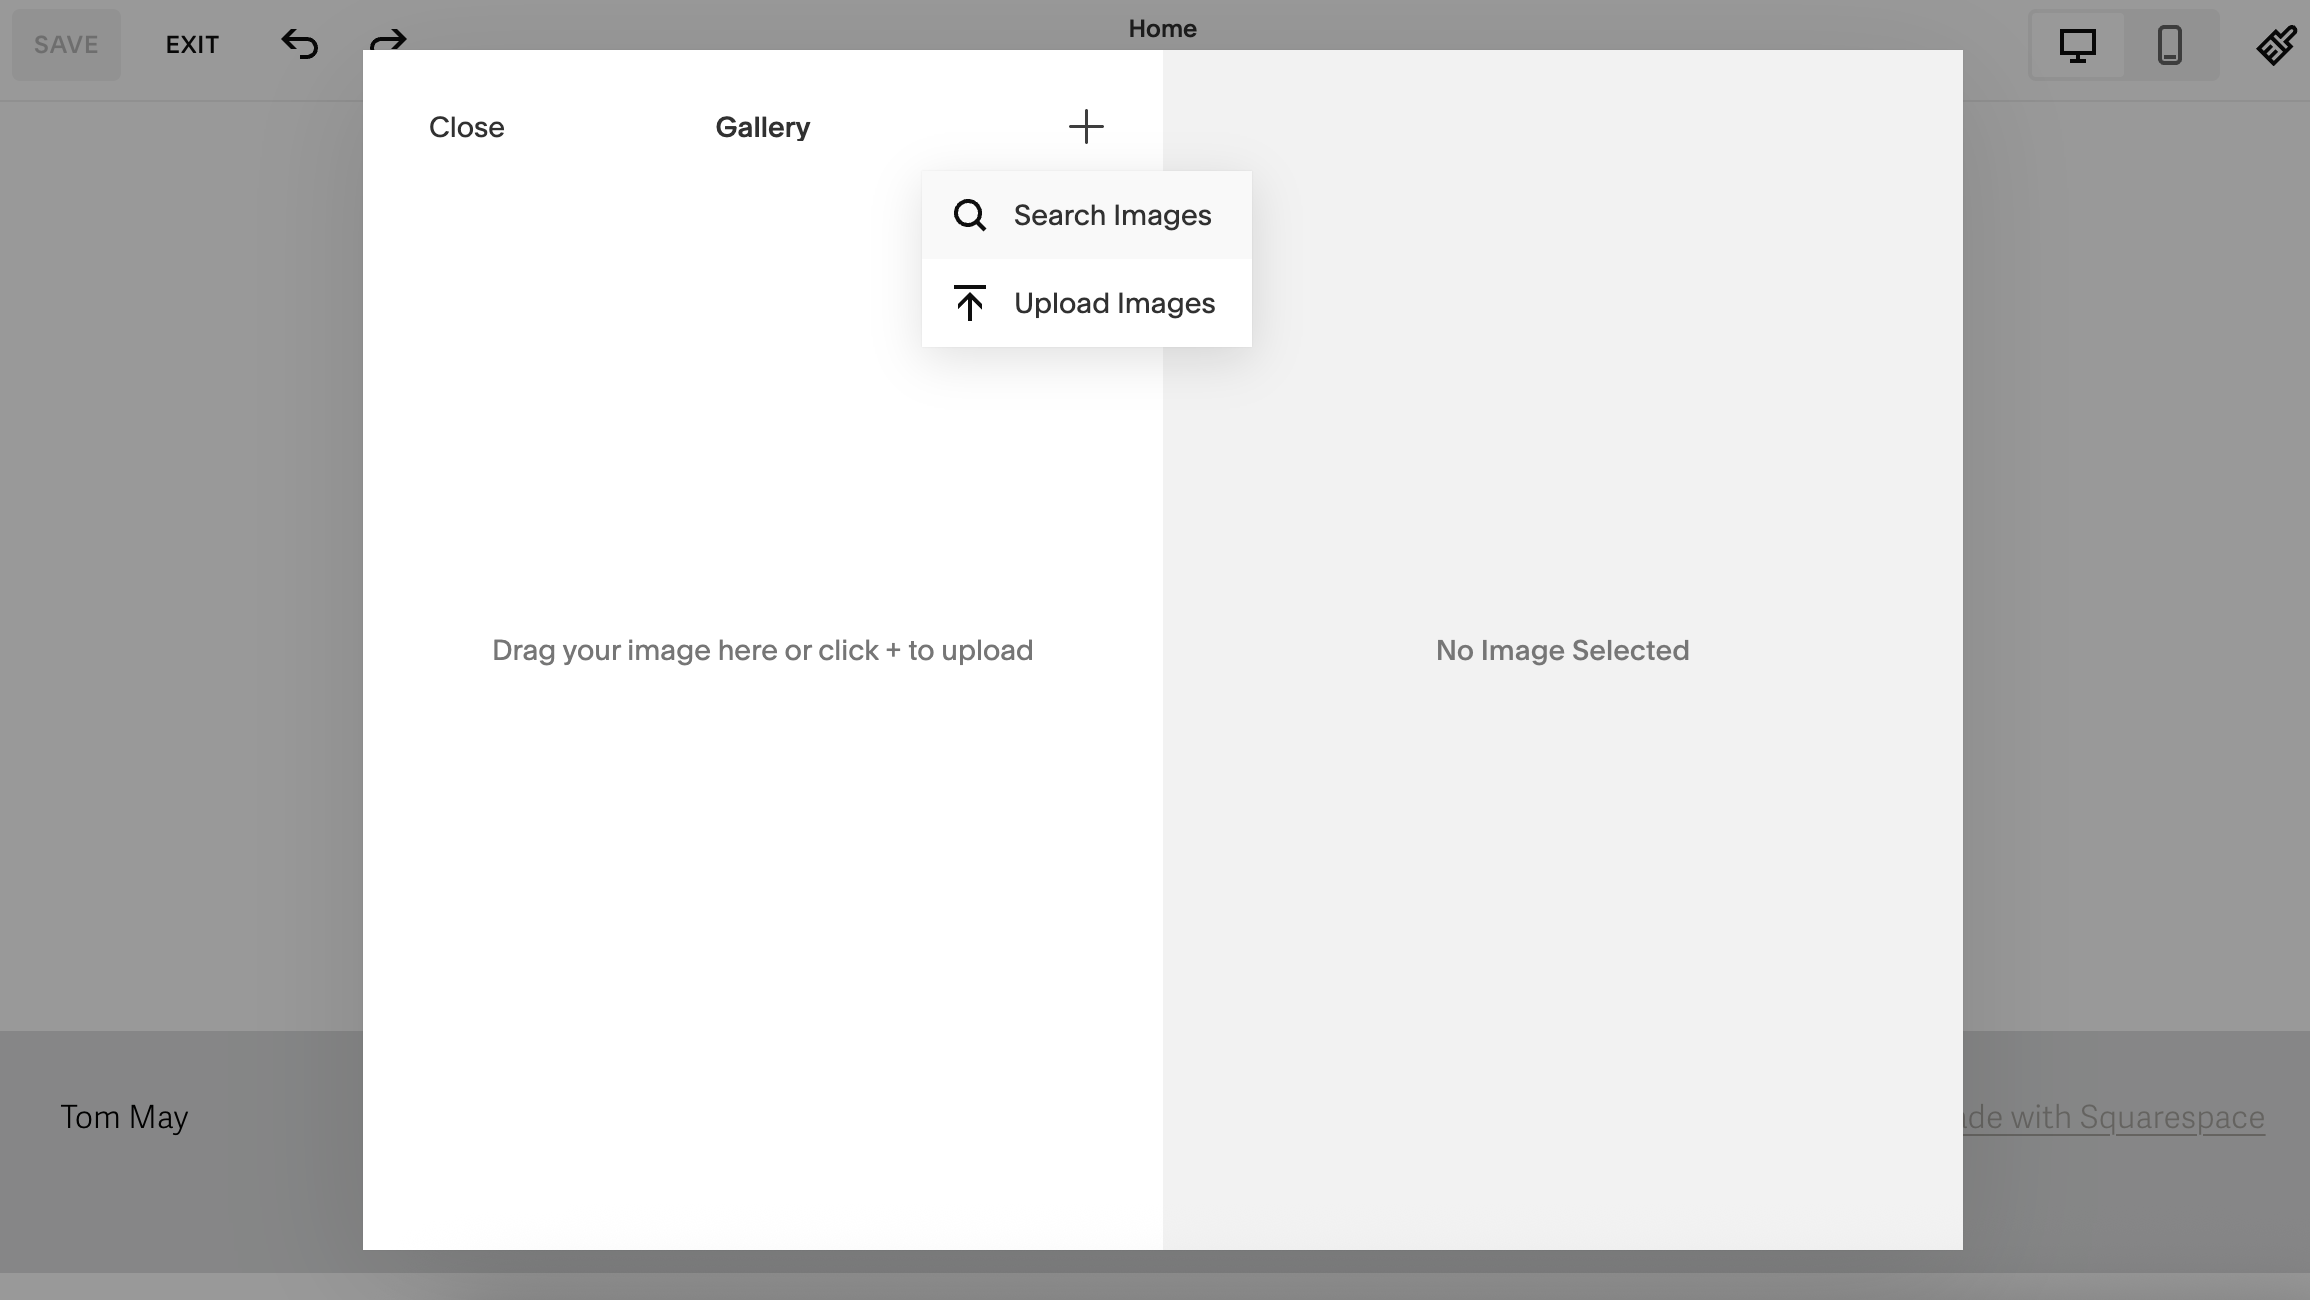
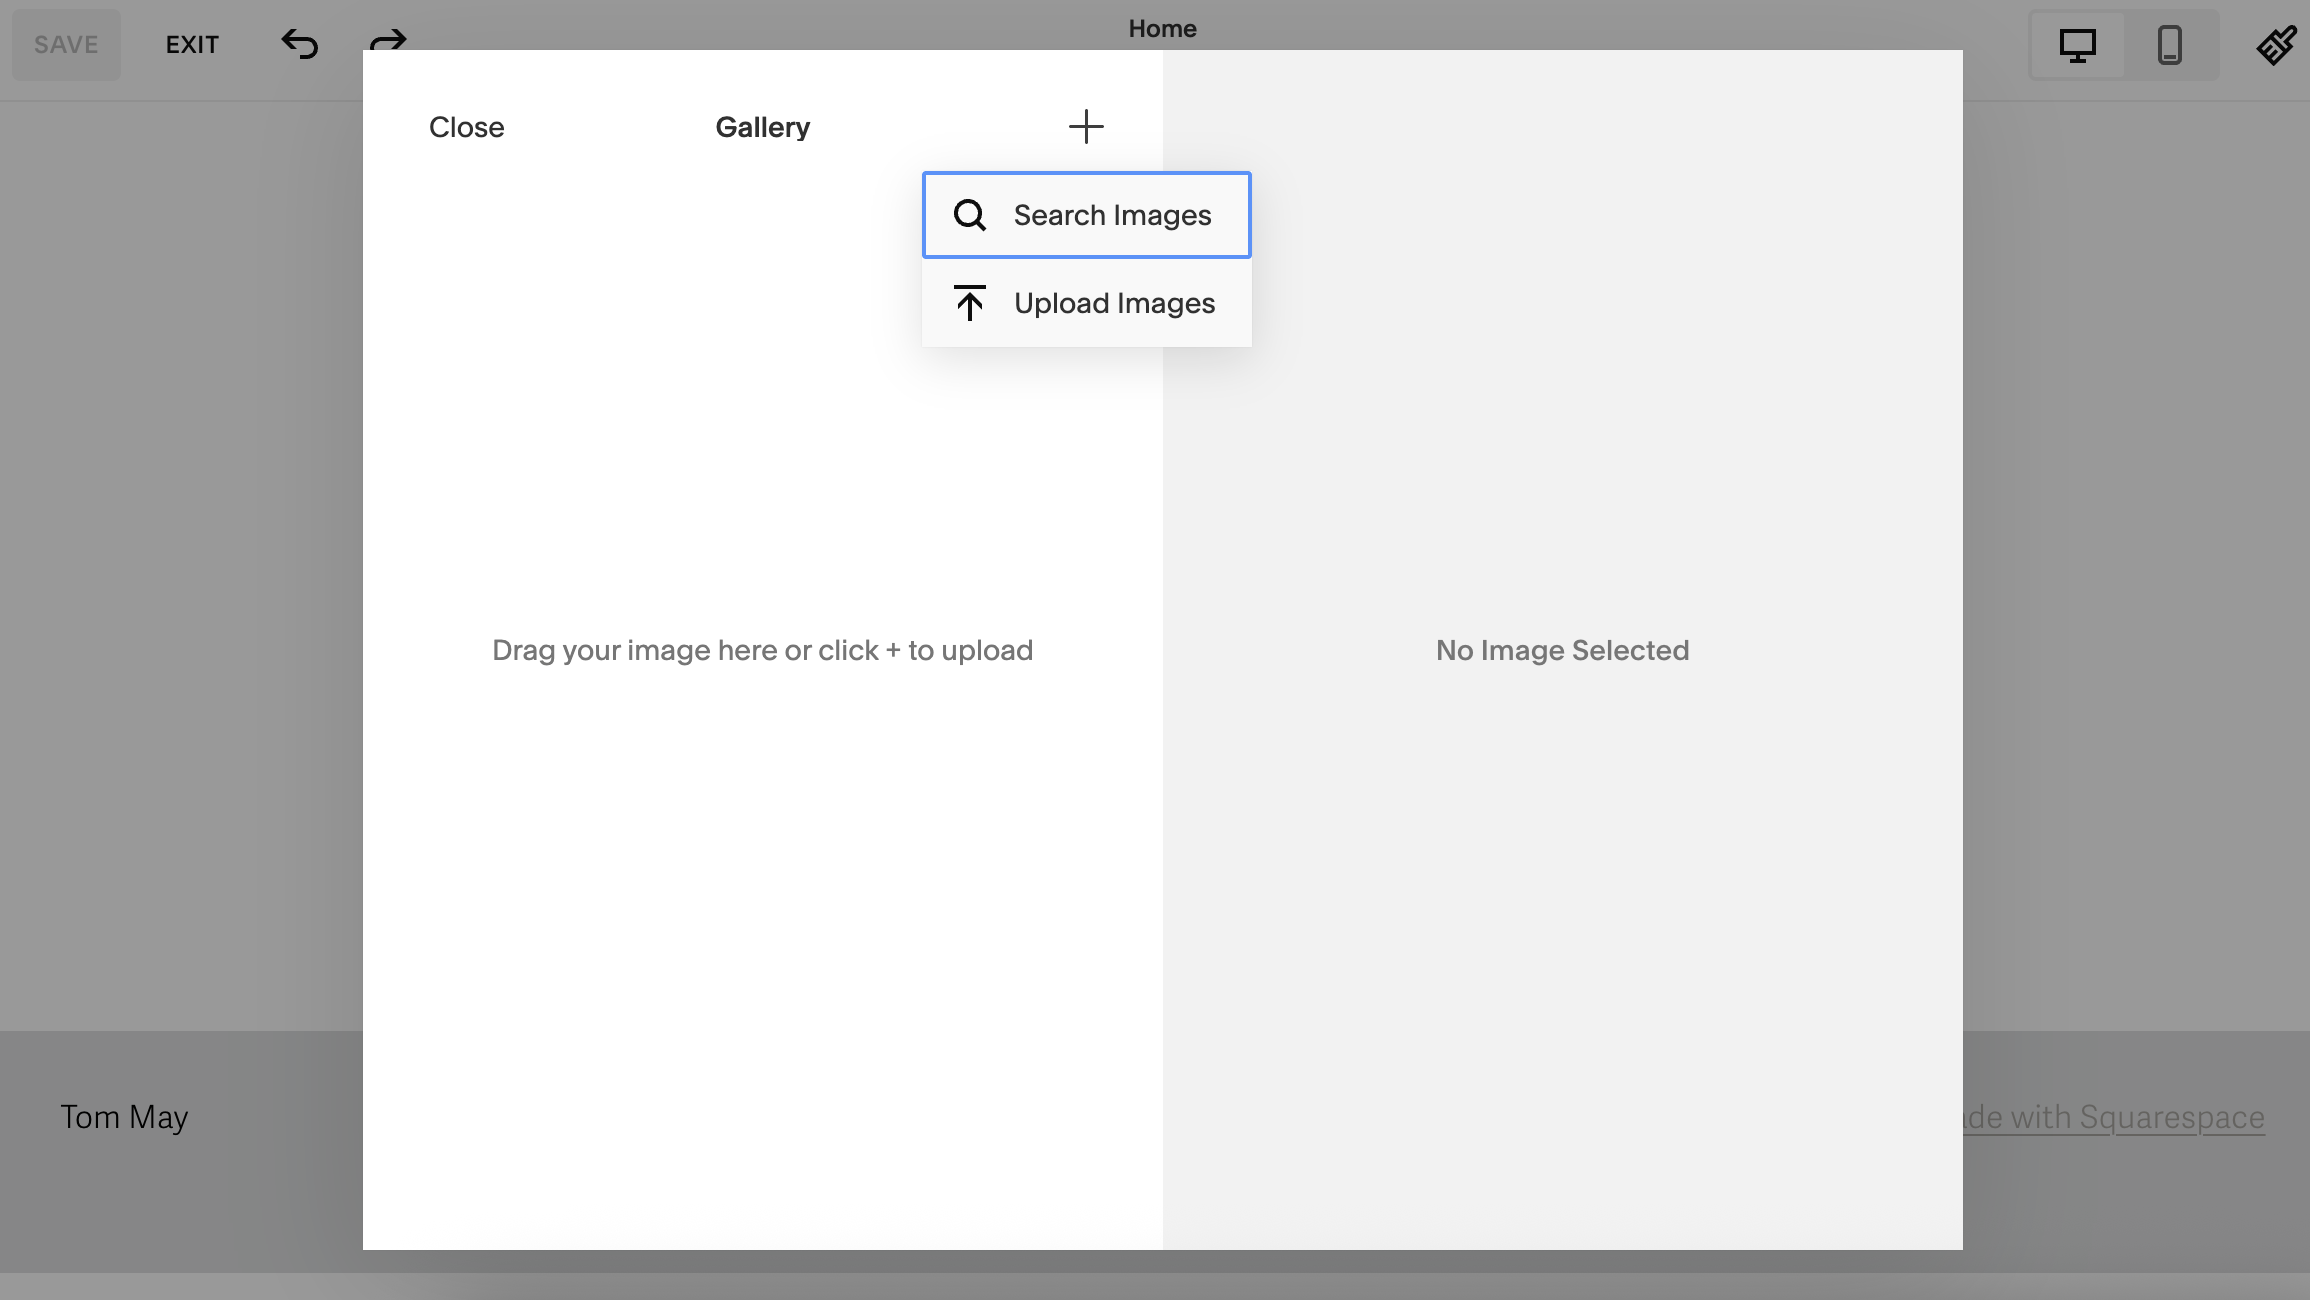
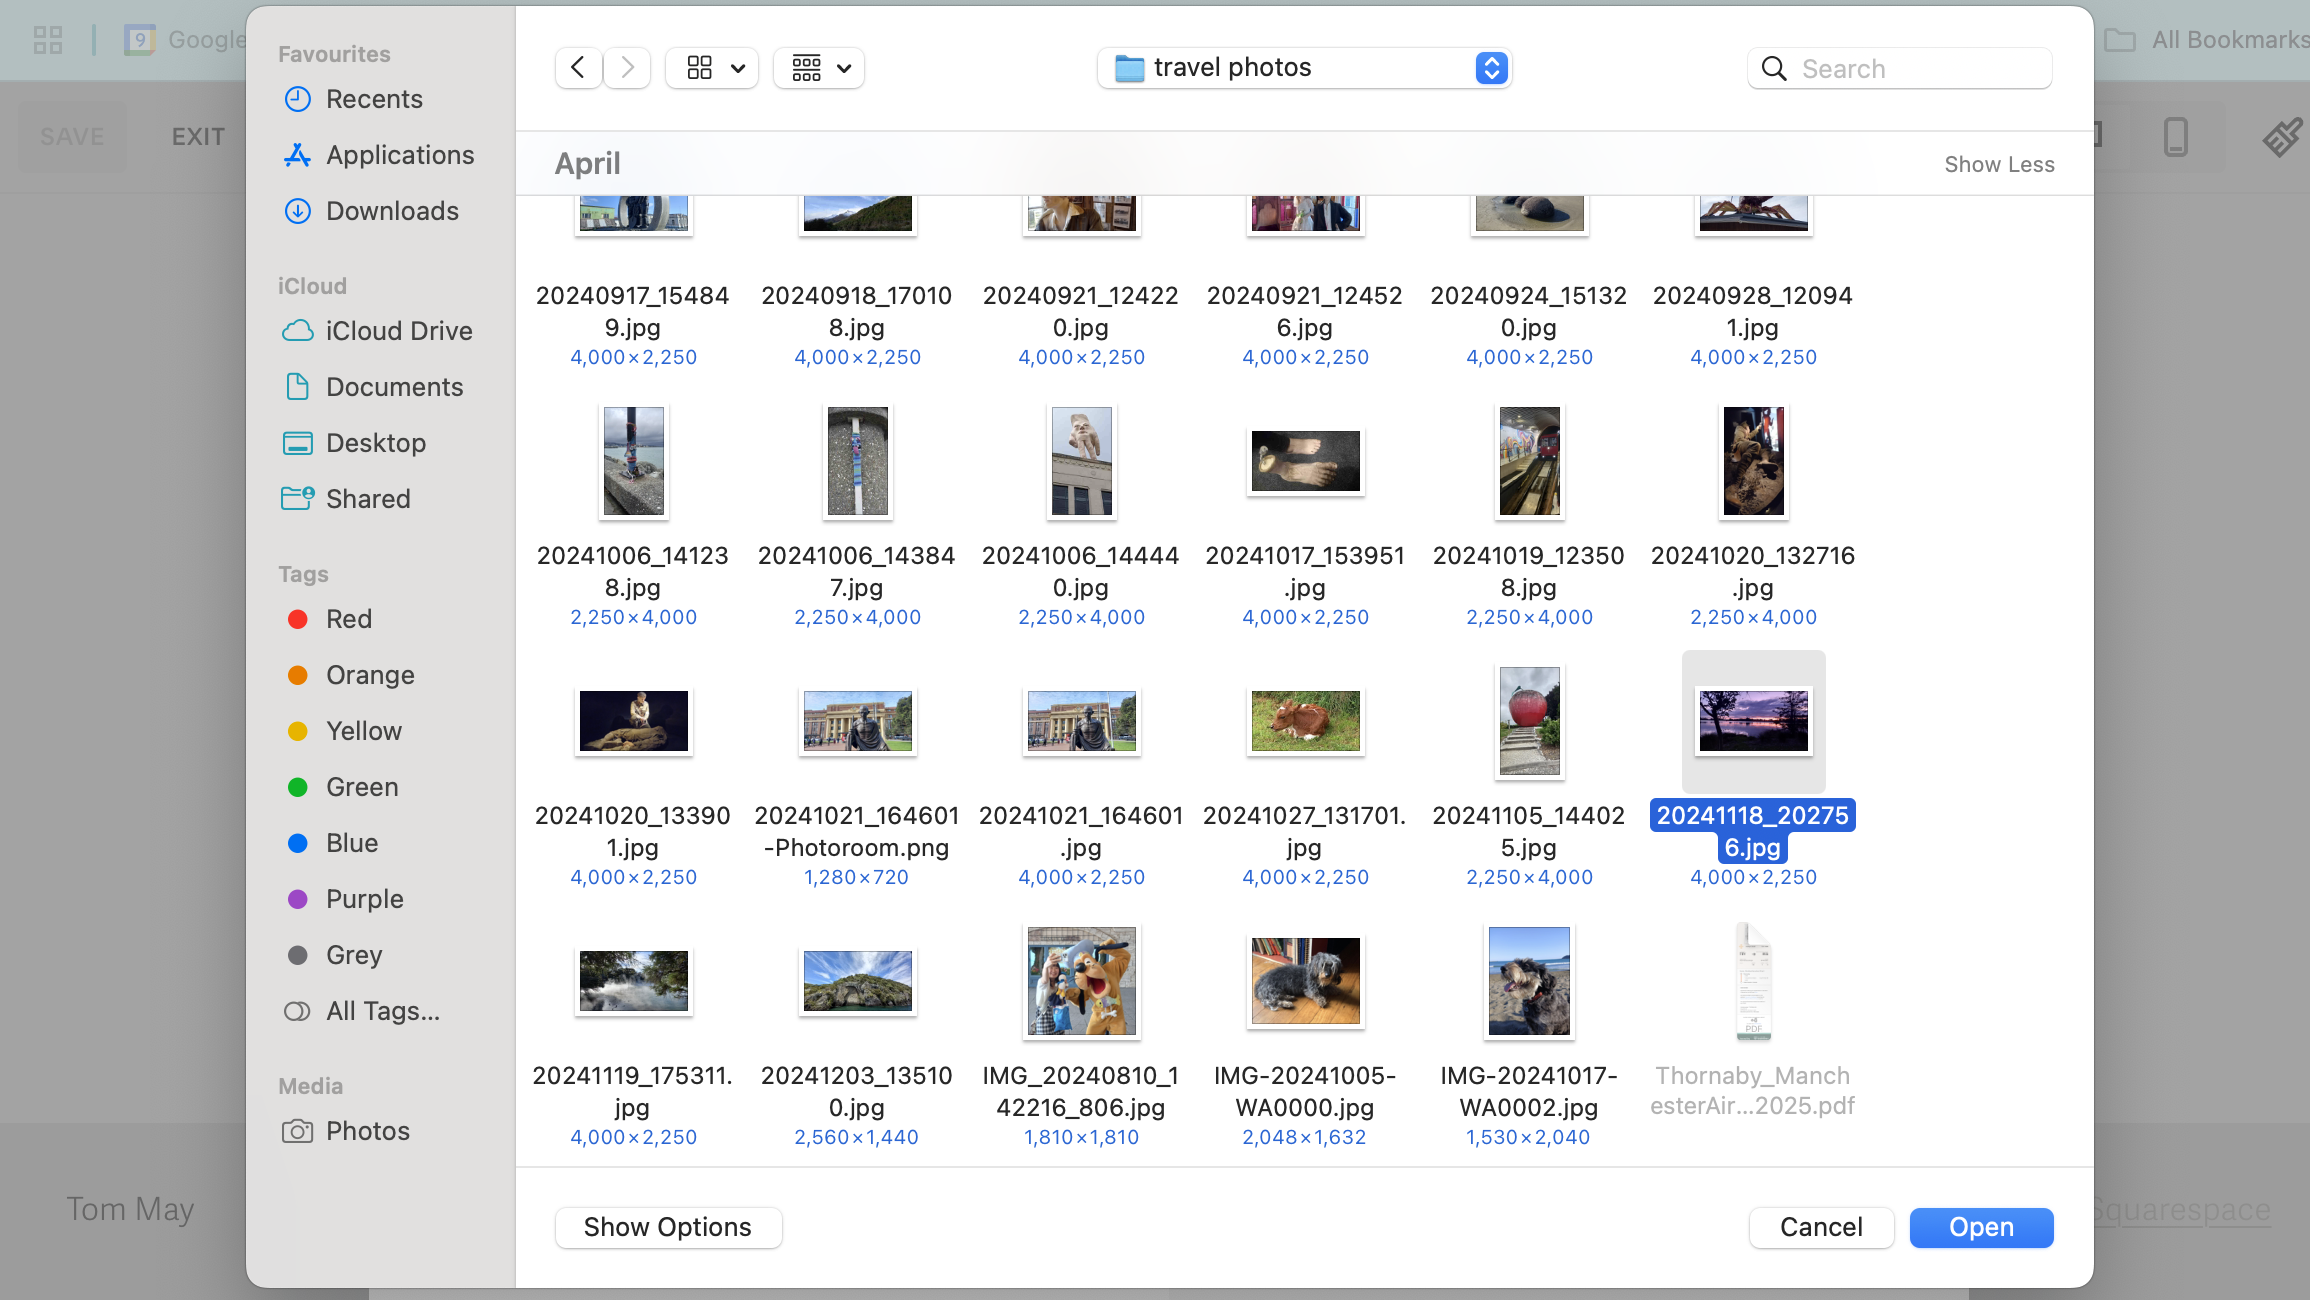
To add new images, click on the '+' at the top of the box, and you have two options. 'Search images' allows you to search for suitable Adobe Stock pictures, while 'Upload images' allows you to upload your own. In my case, I chose the latter, uploading 4 photos from a folder on my computer.
Going further
You should now have mastered the basics of how to make a website on Squarespace. Once you've completed your homepage, click 'Save' and then 'Exit' on the top left. Next, click on the other page titles (in my case, Work, About, Contact) and then click the 'Edit' button to customise those too.
Simply adding content to a template is just the start of building a website on Squarespace, of course. You may want to connect up a custom domain, change the fonts, add extra pages, build an online store, optimise for SEO, set up a system for donations, and more.
Thankfully Squarespace has an excellent setup guide that explains all these processes in words ordinary people can understand. And indeed if you get stuck on the basics of how to make a website on Squarespace, that's a good place to check too.
Finally, note that you won't be able to publish your site during your free trial: that's only possible once you start paying. So if you want the public to access your content, the final stage in building a website on Squarespace is to put your hand in your pocket and choose a pricing plan.
Tom May is an award-winning journalist and editor specialising in design, photography and technology. Author of the Amazon #1 bestseller Great TED Talks: Creativity, published by Pavilion Books, Tom was previously editor of Professional Photography magazine, associate editor at Creative Bloq, and deputy editor at net magazine. Today, he is a regular contributor to Creative Bloq and its sister sites Digital Camera World, T3.com and Tech Radar. He also writes for Creative Boom and works on content marketing projects.
You must confirm your public display name before commenting
Please logout and then login again, you will then be prompted to enter your display name.