Use brain.js to build a neural network
Make a quiz with brain.js that can predict how respondents answer.

Brain.js is a fantastic way to build a neural network. Simply put, a neural network is a method of machine learning that works in a similar way to a human brain. Given the correct answer to a question (like ‘which option will this user choose?’), it slowly learns the pattern and relationship between the inputs and answers. One example of a neural network is Facebook’s facial recognition system, DeepFace.
But due to the complex domain language of neural networks and seemingly steep learning curve, it can be hard to get started.
In this tutorial, we will distil the theory down to need-to-knows and, importantly, get stuck in with actually using brain.js to create a neural network. By the end, you will have a web app that asks multiple-choice questions about a user’s optimism. When they submit, these answers will train a neural network to the probability of our user selecting each option for a brand new question.
Want more useful web design tools? See our post on picking the perfect website builder. Or if you need somewhere to store files securely, check out our pick of the best cloud storage. Planning a complex website? You'll need a robust web hosting service, which can keep up.
Download the files you'll need for this tutorial.
01. Set up the project
Firstly, download and install the necessary dependencies. This tutorial presumes you have a working knowledge of React, or the equivalent mapping to a preferred alternative.
Create a React app using your desired method. You can try Facebook’s create-react-app tool, installed using the following:
Get the Creative Bloq Newsletter
Daily design news, reviews, how-tos and more, as picked by the editors.
npm install create-react-app -g02. Start your app
Now we can build, install brain.js, and start our app:
npx create-react-app optimism-nn
cd optimism-nn
npm install brainjs
npm start
We are going to perform the neural network computation on the browser. Neural networks are resource intensive and should be offloaded to a server. However, this way is quick to set up and fine for our basic needs. Now let’s add brain.js to our entry point (in my case, App.js).
import brain from ‘brain.js’;
03. Define your training questions
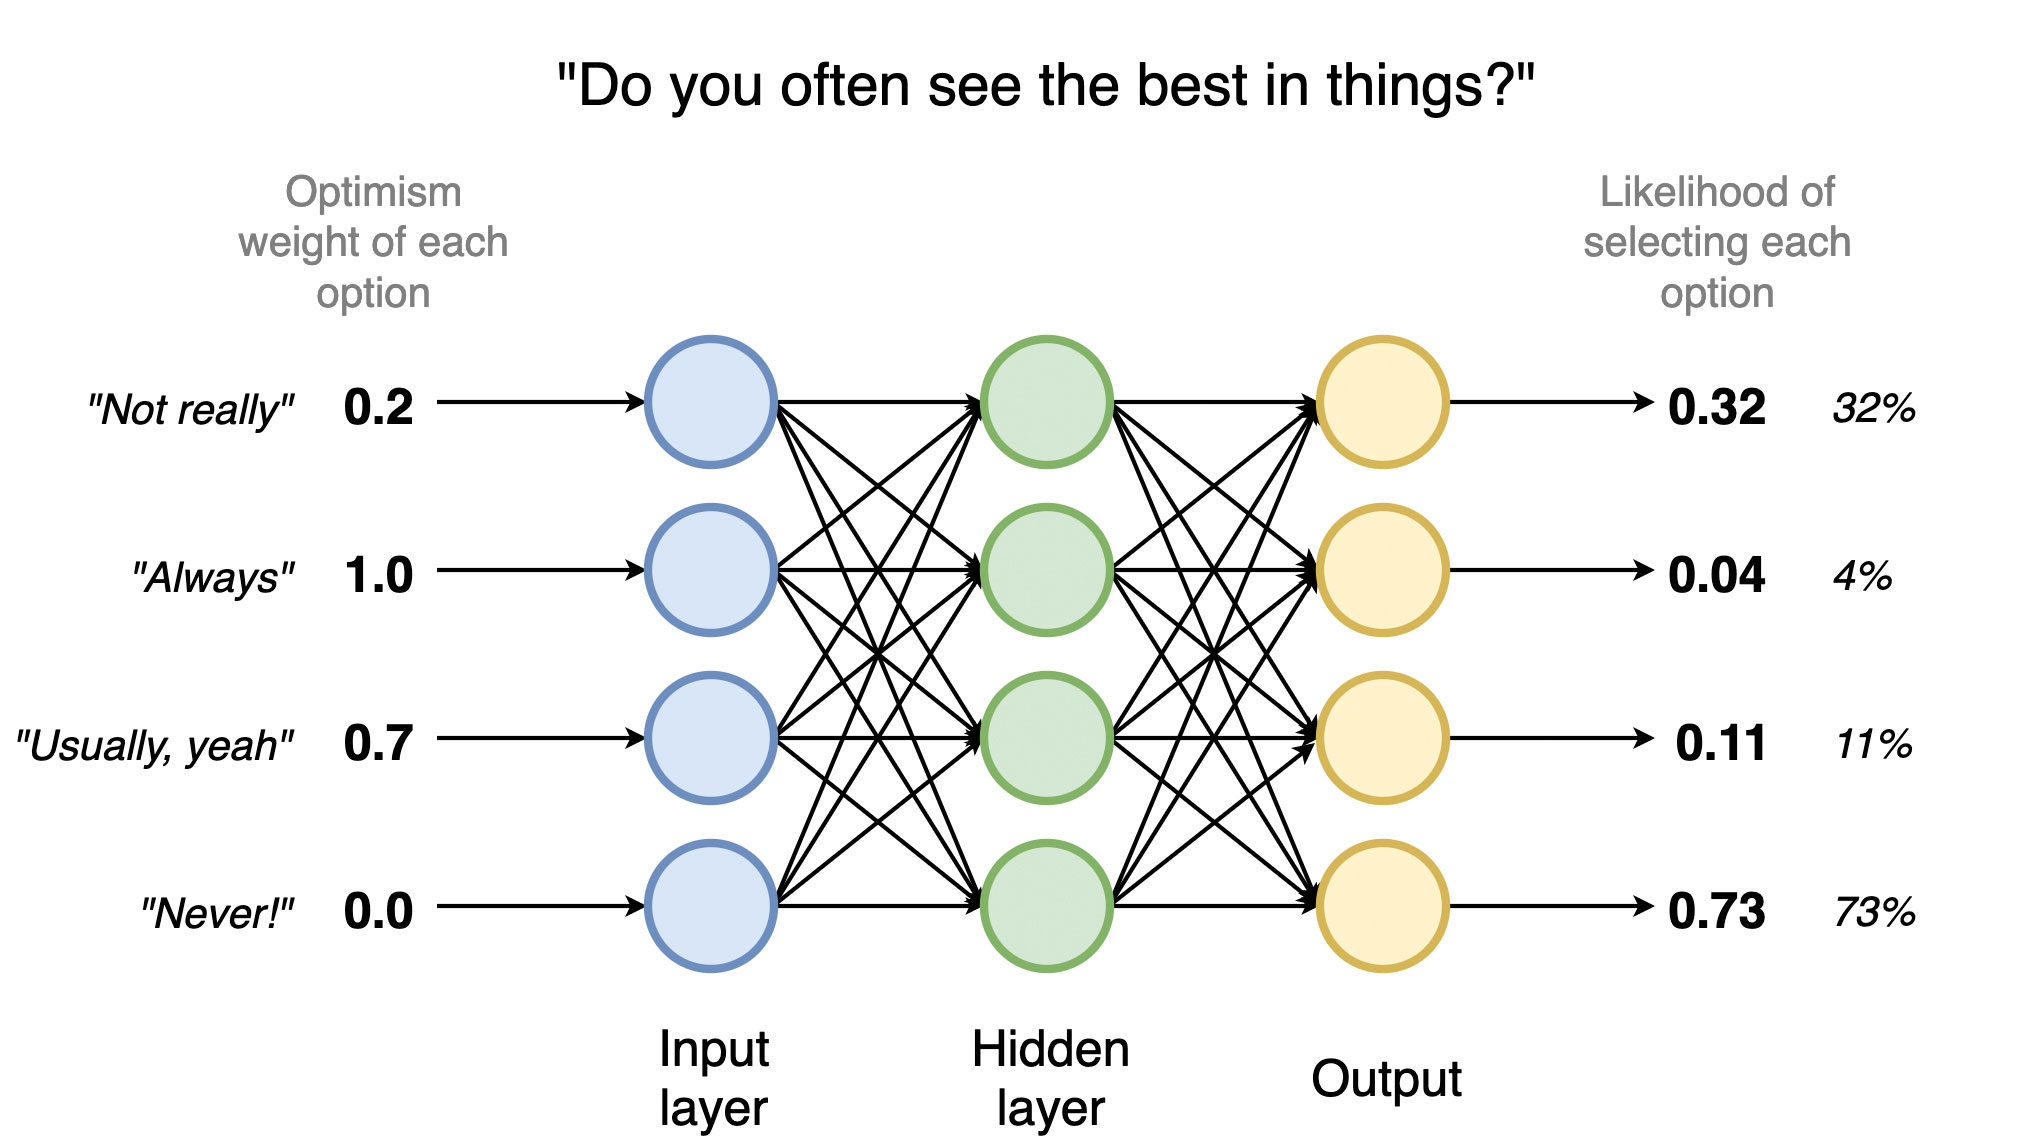
We need to define our training questions next. In a separate questions.js file, we’ll need a trainingQuestions and validationQuestions array. You can find my list on the Git repo or create your own. The more training questions you have, the more accurate your results. Remember to import these into your entry point.
export const trainingQuestions = [
  {
    id: ‘q1’,
    question: ‘Do you often see the best in things?’,
    options: [
      { id: ‘q1a’, label: ‘Not really’, value: 0.2, },
      { id: ‘q1b’, label: ‘Always’, value: 1.0, },
      { id: ‘q1c’, label: ’Usually, yeah’, value: 0.7, },
      { id: ‘q1d’, label: ’Never!’, value: 0.0, },
    ],
  },
];
For both arrays, we need a question, an array of four options that contain a label and an optimism value. This value will be the input for our neural network.
Ensure you vary the order and balance of values, or the neural network may focus too much on the index of the options in the array! Our neural network takes four inputs and gives four outputs. Our training data needs to match this, so in our constructor we need some state for the quiz and the user’s options:
this.state = {
  trainingAnswers: trainingQuestions.map(() => Array(4).fill(0)),
  training: false,
  predictions: undefined,
};
04. Initialise the neural network
The initialisation of trainingAnswers creates an array for each question containing [0, 0, 0, 0] – our default state with no selection. We’re also going to need to initialise our neural network – just a single line with brain.js:
this.net = new brain.NeuralNetwork({ hiddenLayers: [4] });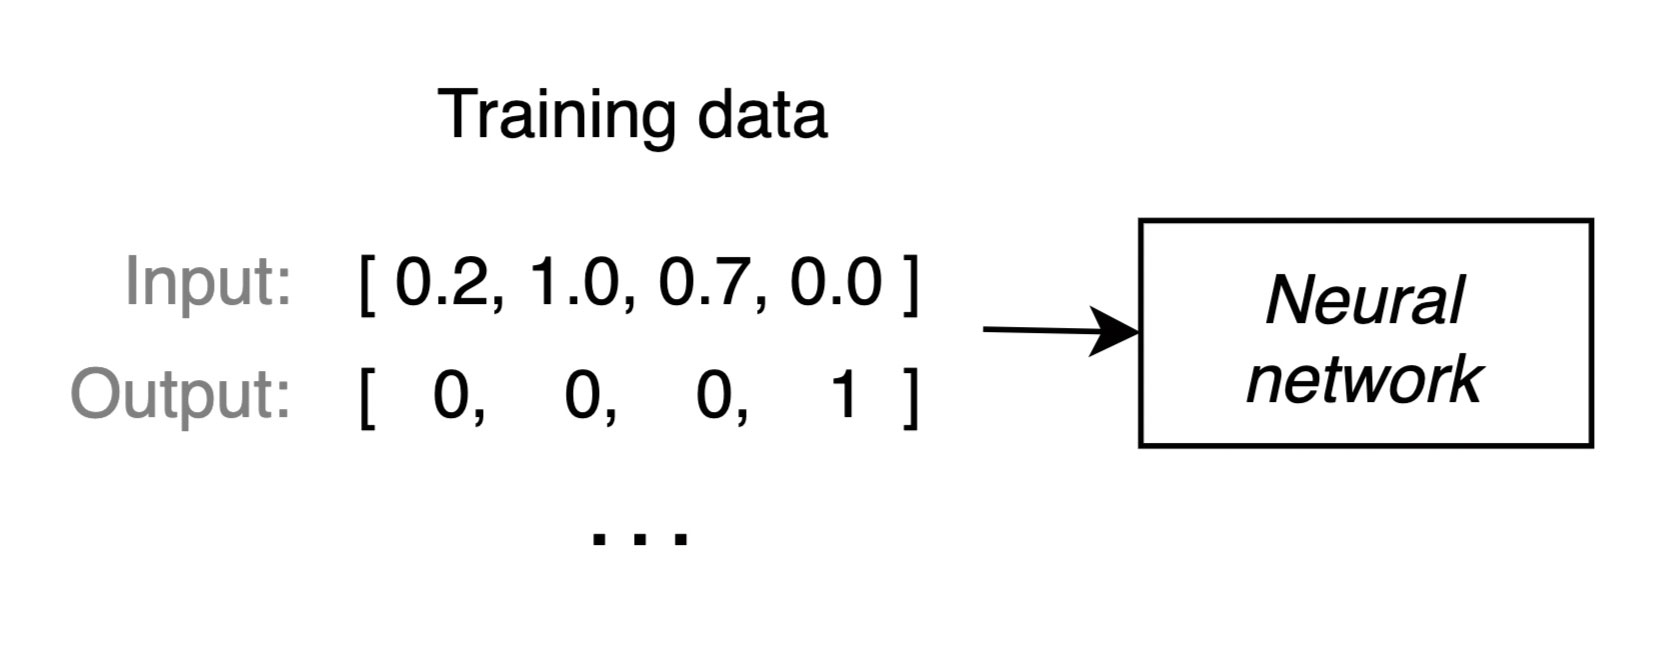
05. Build the quiz framework
To build the framework for our quiz, we need to loop over our training questions and options. This is quite verbose and not very interesting, so I’ll give an example output for you to aim for instead:
render() {
  return (
    <main>
      <form onSubmit={this.onSubmit}>
        [. . .] // Iterate over questions & options
        <div className=“question”>
          <h4>{question}</h4>
          <div className=“options”>
            <label htmlFor={optionId}>
              <span>{label}</span>
              <input
                type=”radio”
                required
                name={questionId}
                id={optionId}
                checked={() => this.isOptionChecked(questionIndex, optionIndex)}
                onChange={() => this.onOptionChange(questionIndex, optionIndex)}
              />
            </label>
            [. . .]
          </div>
        </div>
        [. . .]
        <button type=”submit”>Submit</button>
    </form>
    </main>
  );
}
If you’re new to React, see the documentation for building forms.
We can write our isOptionChecked and onOptionChange functions next:
isOptionChecked = (questionIndex, optionIndex) => (
  this.state.trainingAnswers[questionIndex][optionIndex] !== 0
);
onOptionChange = (questionIndex, optionIndex) => {
  this.setState(prevState => {
    const { trainingAnswers } = Object.assign(prevState, {});
    trainingAnswers[questionIndex] = Array(4).fill(0);
    trainingAnswers[questionIndex][optionIndex] = 1;
    return { trainingAnswers };
  });
};
06. Train the neural network
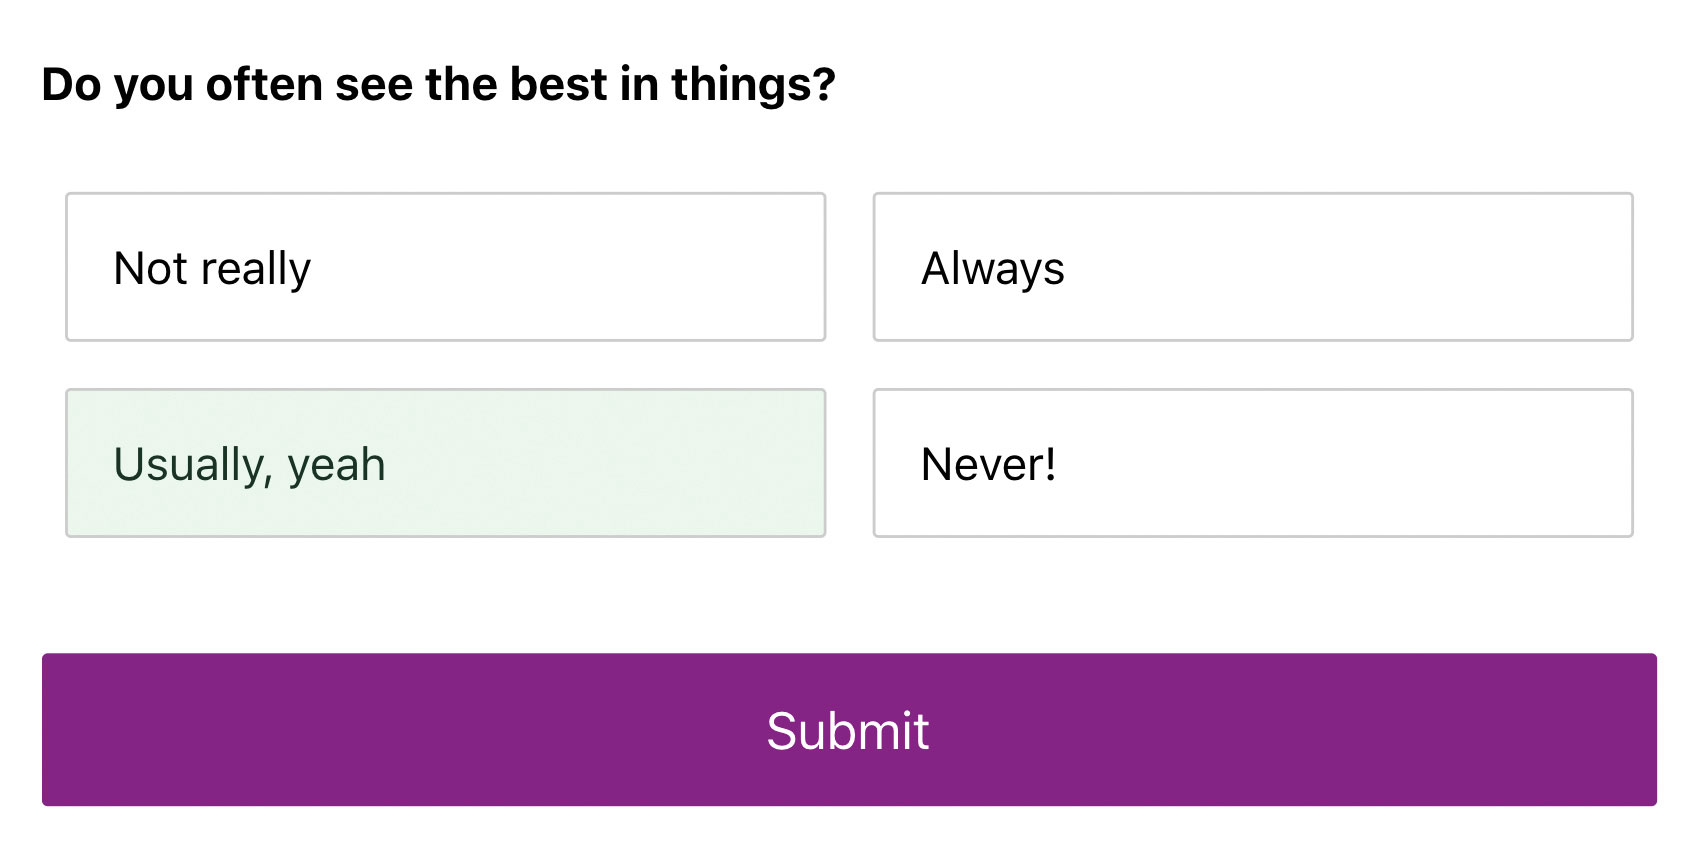
Now, when our user clicks an option, we update the relevant trainingAnswers array to feature a 1 in the selected index and change the state of the radio button to show it as checked.
Time to add our onSubmit function, where we build the training data and train the neural network:
  onSubmit = e => {
    e.preventDefault();
    const { trainingAnswers } = this.state;
    const trainingData = trainingQuestions.map((q, i) => ({
      input: q.options.map(o => o.value),
      output: trainingAnswers[i],
    }));
    this.setState({
      training: true,
    });
    this.net.trainAsync(trainingData)
      .then(res => {
        console.log(res); // Log the error rate and # iterations
        this.getPredictions()
      });
  }
Looping over trainingQuestions, we create the input and output arrays we need. We get the input data by taking the optimism value of each option and we get the output data from looking in the trainingAnswers array at the same index as the question.
After that, we update the state with training: true to inform the user that the neural network is learning. Depending on the processing power of the client device and how many questions you have, the process can take seconds, minutes or longer!
Finally, we pass the training data over to our neural network and tell it to train asynchronously. This returns a promise that is fulfilled when the network has found the pattern or given up.
Keep an eye on the error rate we log in trainAsync. Ideally it should be between 0 - 0.05. If it’s higher, check your training data.
From there, we can get our predictions:
getPredictions = () => {
  const predictions = validationQuestions.map(q => (
    this.net.run(q.options.map(o => o.value))
  ));

  this.setState({
    training: false,
    predictions,
  });
}
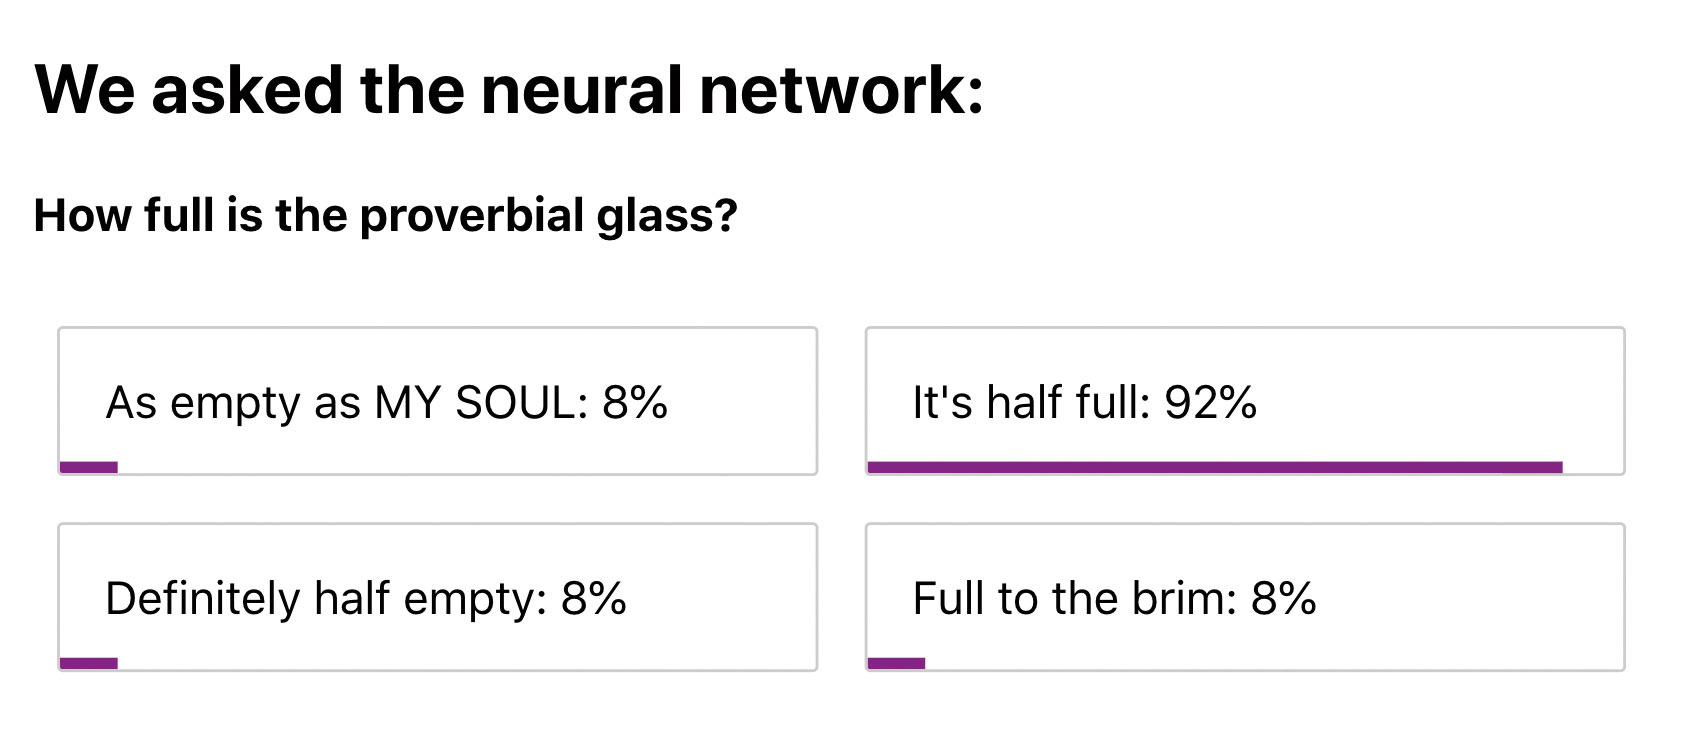
Using net.run, we ask our newly trained neural network to give us its predictions for each of the validation questions we defined earlier.
For the grand finale, we add our conditional loading logic and present a finding to the user.
render() {
    const { training, predictions } = this.state;
    const validationQuestion = validationQuestions[0];
    return (
      <main>
        {training && (
          <h2>Loading…</h2>
        )}
        {!predictions && !training && (
           [. . .] // Training questions form
        )}

        {predictions && !training && (
          <div>
            <h2>We asked the neural network:</h2>
            <div className=”question”>
              <h4>{validationQuestion.question}</h4>
              <div className=”options”>
                {validationQuestion.options.map((o, i) => (
                  <label key={o.id}>
                    {/* display the label and probability as a round percentage */}
                    <span>{${o.label}: ${Math.round(predictions[0][i] * 100)}%}</span>
                 </label>
                ))}
              </div>
            </div>
          </div>
        )}
      </main>
    );
  }
}
07. Extend the network
Now you have the basic framework for the quiz, try extending it with the following:
Find the real error rate of your neural network by letting your user answer your validation questions. See how many times they chose your best guess.
Train the neural network with these additional answers and see if you can improve the accuracy.
Move the neural network calculations over onto a Node server with the brain.js toFunction() and toJSON() methods.
This article originally appeared in issue 321 in net magazine, the world's leading web design magazine. Buy issue 321 or subscribe to net.
Read more:

Thank you for reading 5 articles this month* Join now for unlimited access
Enjoy your first month for just £1 / $1 / €1
*Read 5 free articles per month without a subscription

Join now for unlimited access
Try first month for just £1 / $1 / €1
Harry is a senior engineer at BCG Digital Ventures.
