How to create anaglyph images in Photoshop
Create anaglyph images with this step-by-step tutorial for an old-school 3D effect.
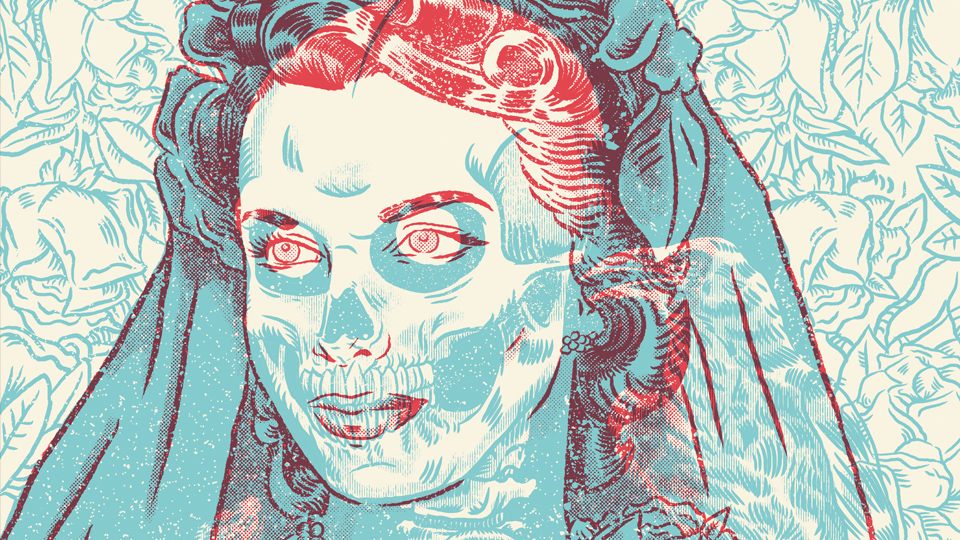
Learning to create anaglyph images is simpler than it might seem – all it takes is some crafty layering techniques to recreate this old-school aesthetic. An anaglyph effect is the proper name for the classic 3D style where you have to wear red and blue glasses to appreciate the content. Here, you'll learn how to achieve the classic 3D effect using base images, shading and textures.
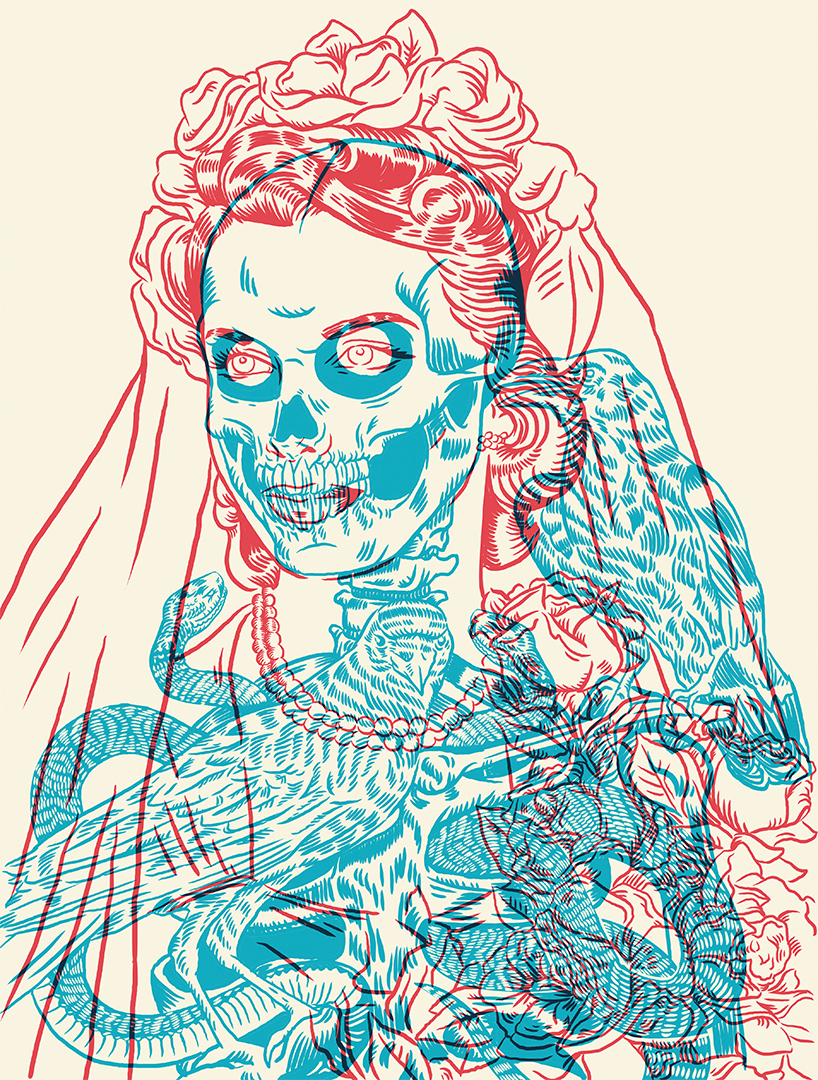
The Bride’, created in this tutorial, is an original piece that I created using a reference image as the base and employing the anaglyph effect. I often use this effect in my work to explore themes of duality, and also to pay homage to B-movies of the ’50s and ’60s. I'll be using Photoshop to create this piece, but take a look at our guide to the best digital art software for some industry standard alternatives.
How to create anaglyph images
01. Create the colour palette
In order to achieve the effect, I need to use shades of blue and red. It can work with other colours as well, but these are the most traditional. Colour has been a challenge for me, especially in the digital medium, where literally any colour you can think of is at your disposal.
This colour palette was taken from a vintage 3D poster that I found at an antiques store. I took a photo of it and sampled the colours in Photoshop to create the palette. I’ve made some tweaks to it since, but I find it works great with the 3D glasses which I always send out with my print orders.
02. Get the right reference image
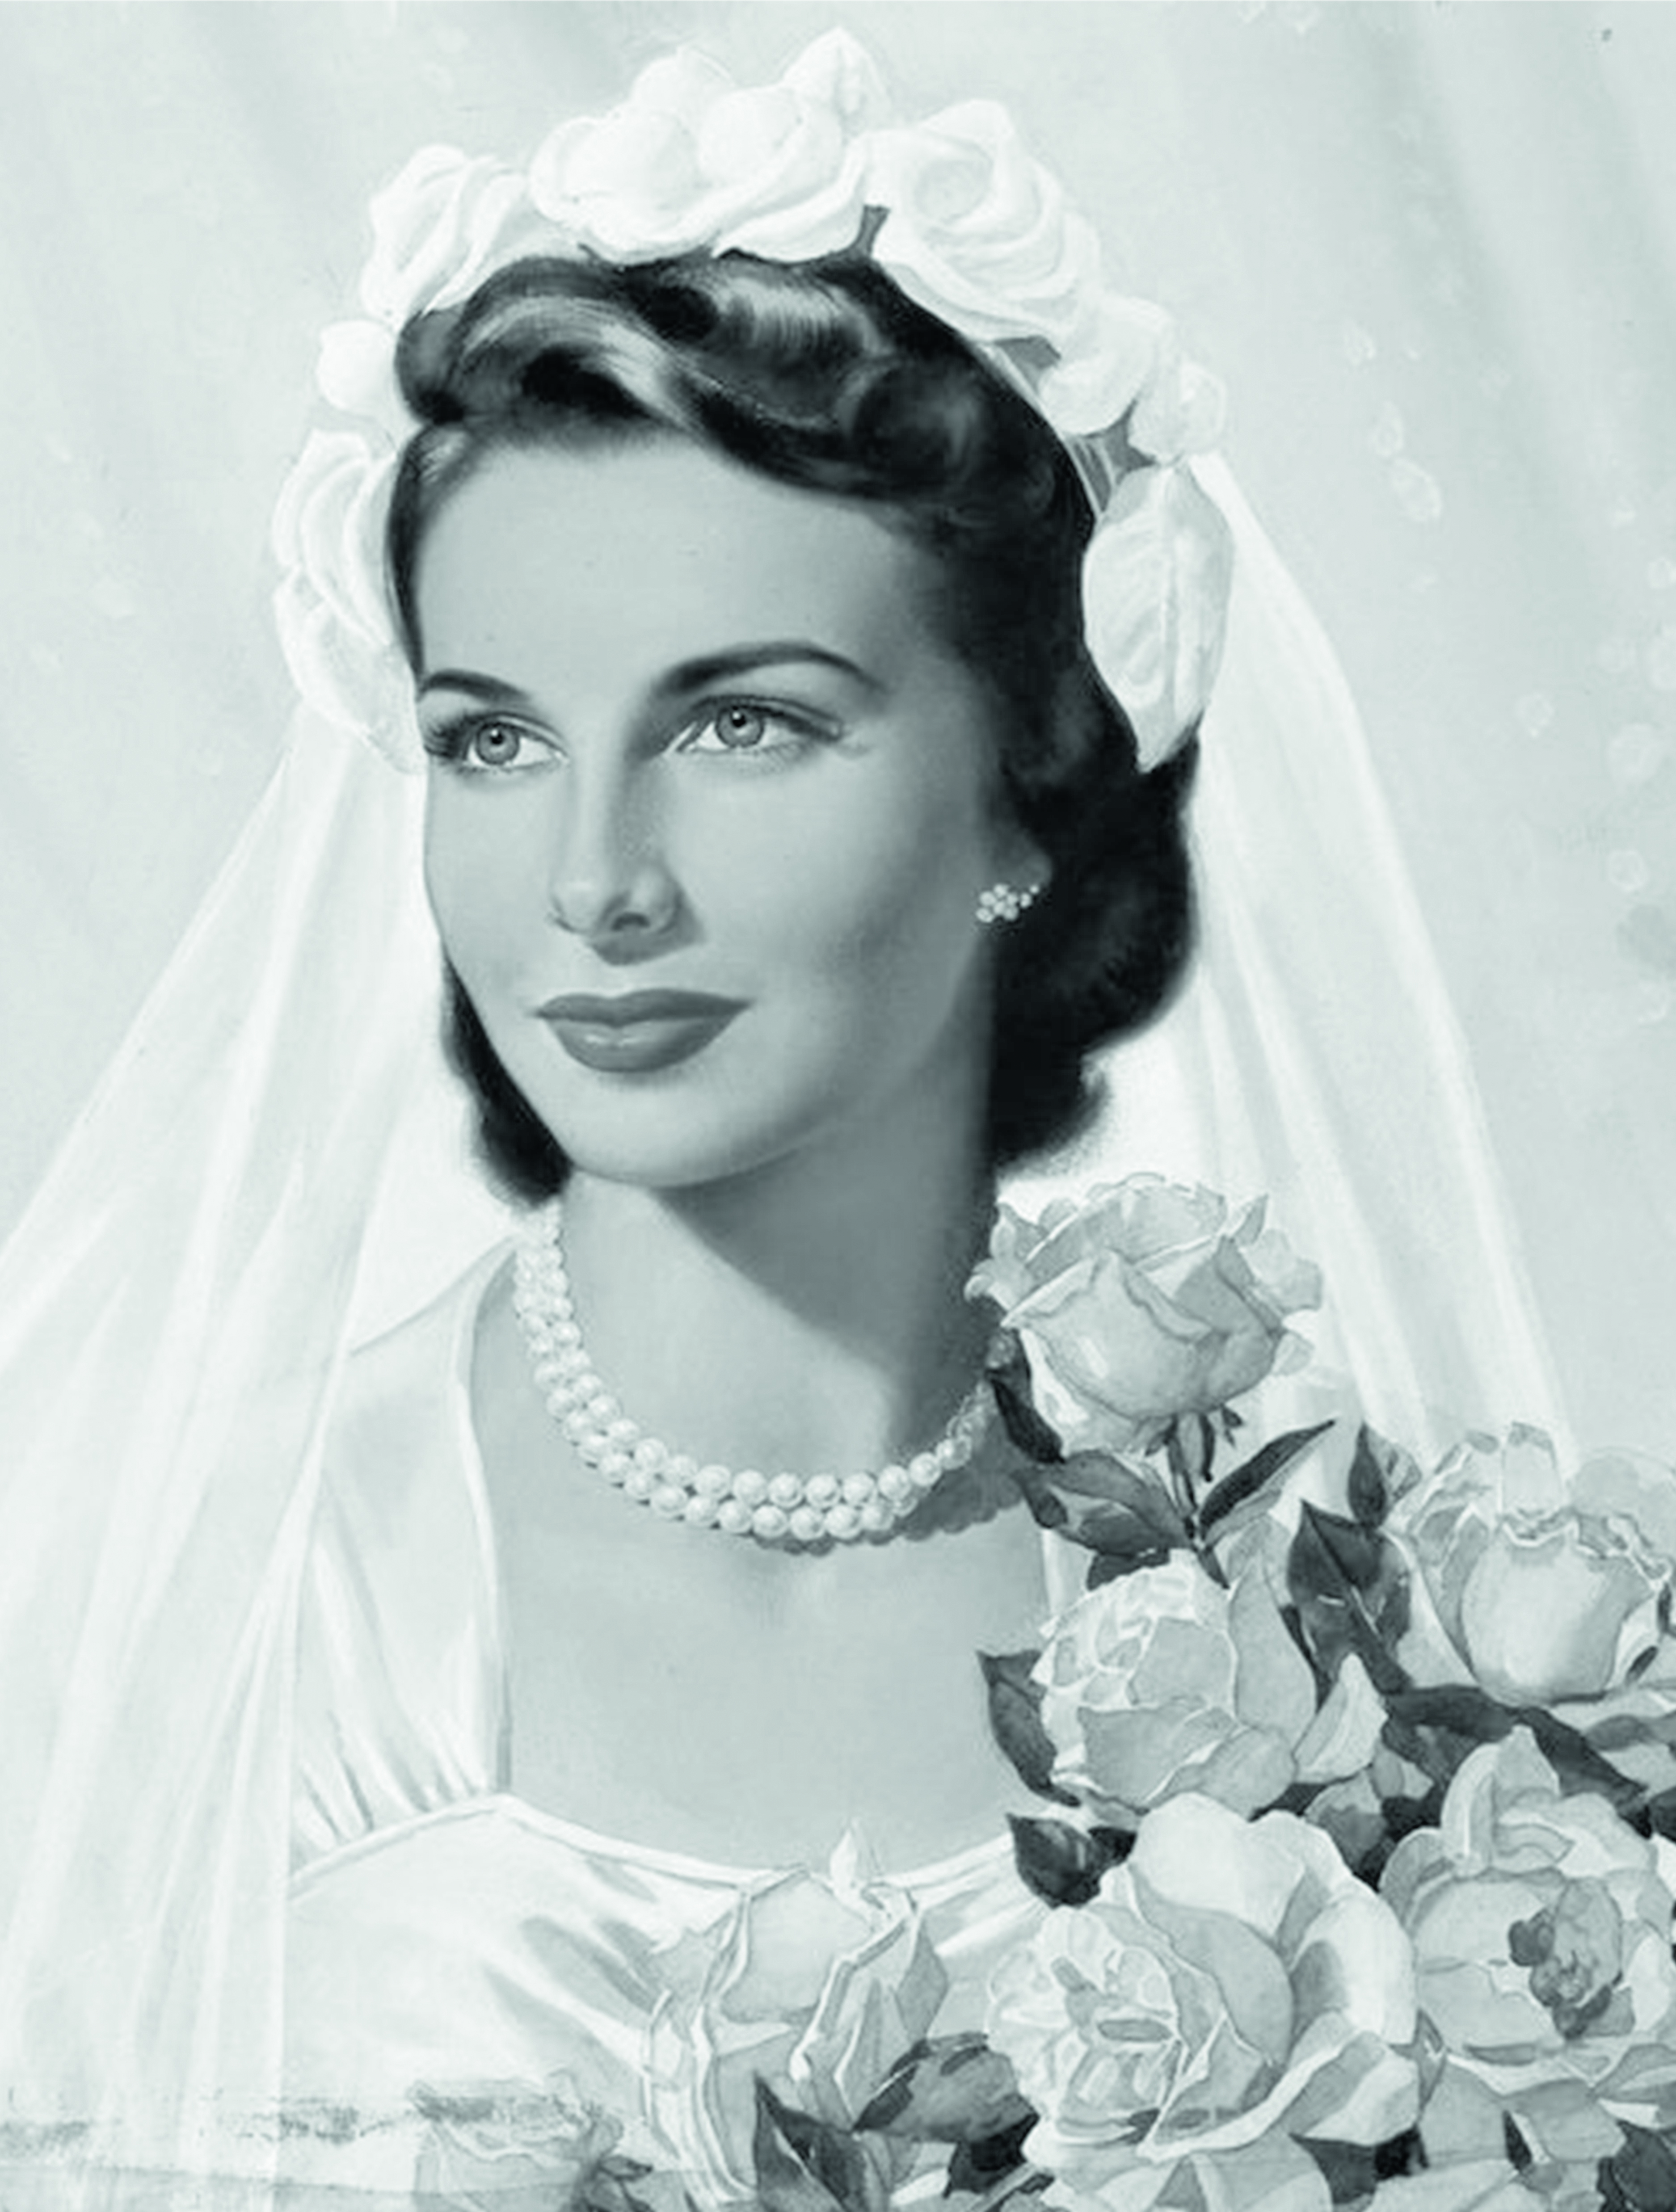
Vintage advertising illustrations and photography give me endless inspiration. I love the idealised, dream-like and hopeful world in which these images take place.
For me, finding the right reference image is key: I look for overall composition and facial expression. The reference image is important, but I always do a fair amount of editing in my sketches as I go. Most of the time I start seeing what will be happening in the under-layer as I start to block in the drawing of the upper layer.
03. Draw the upper layer
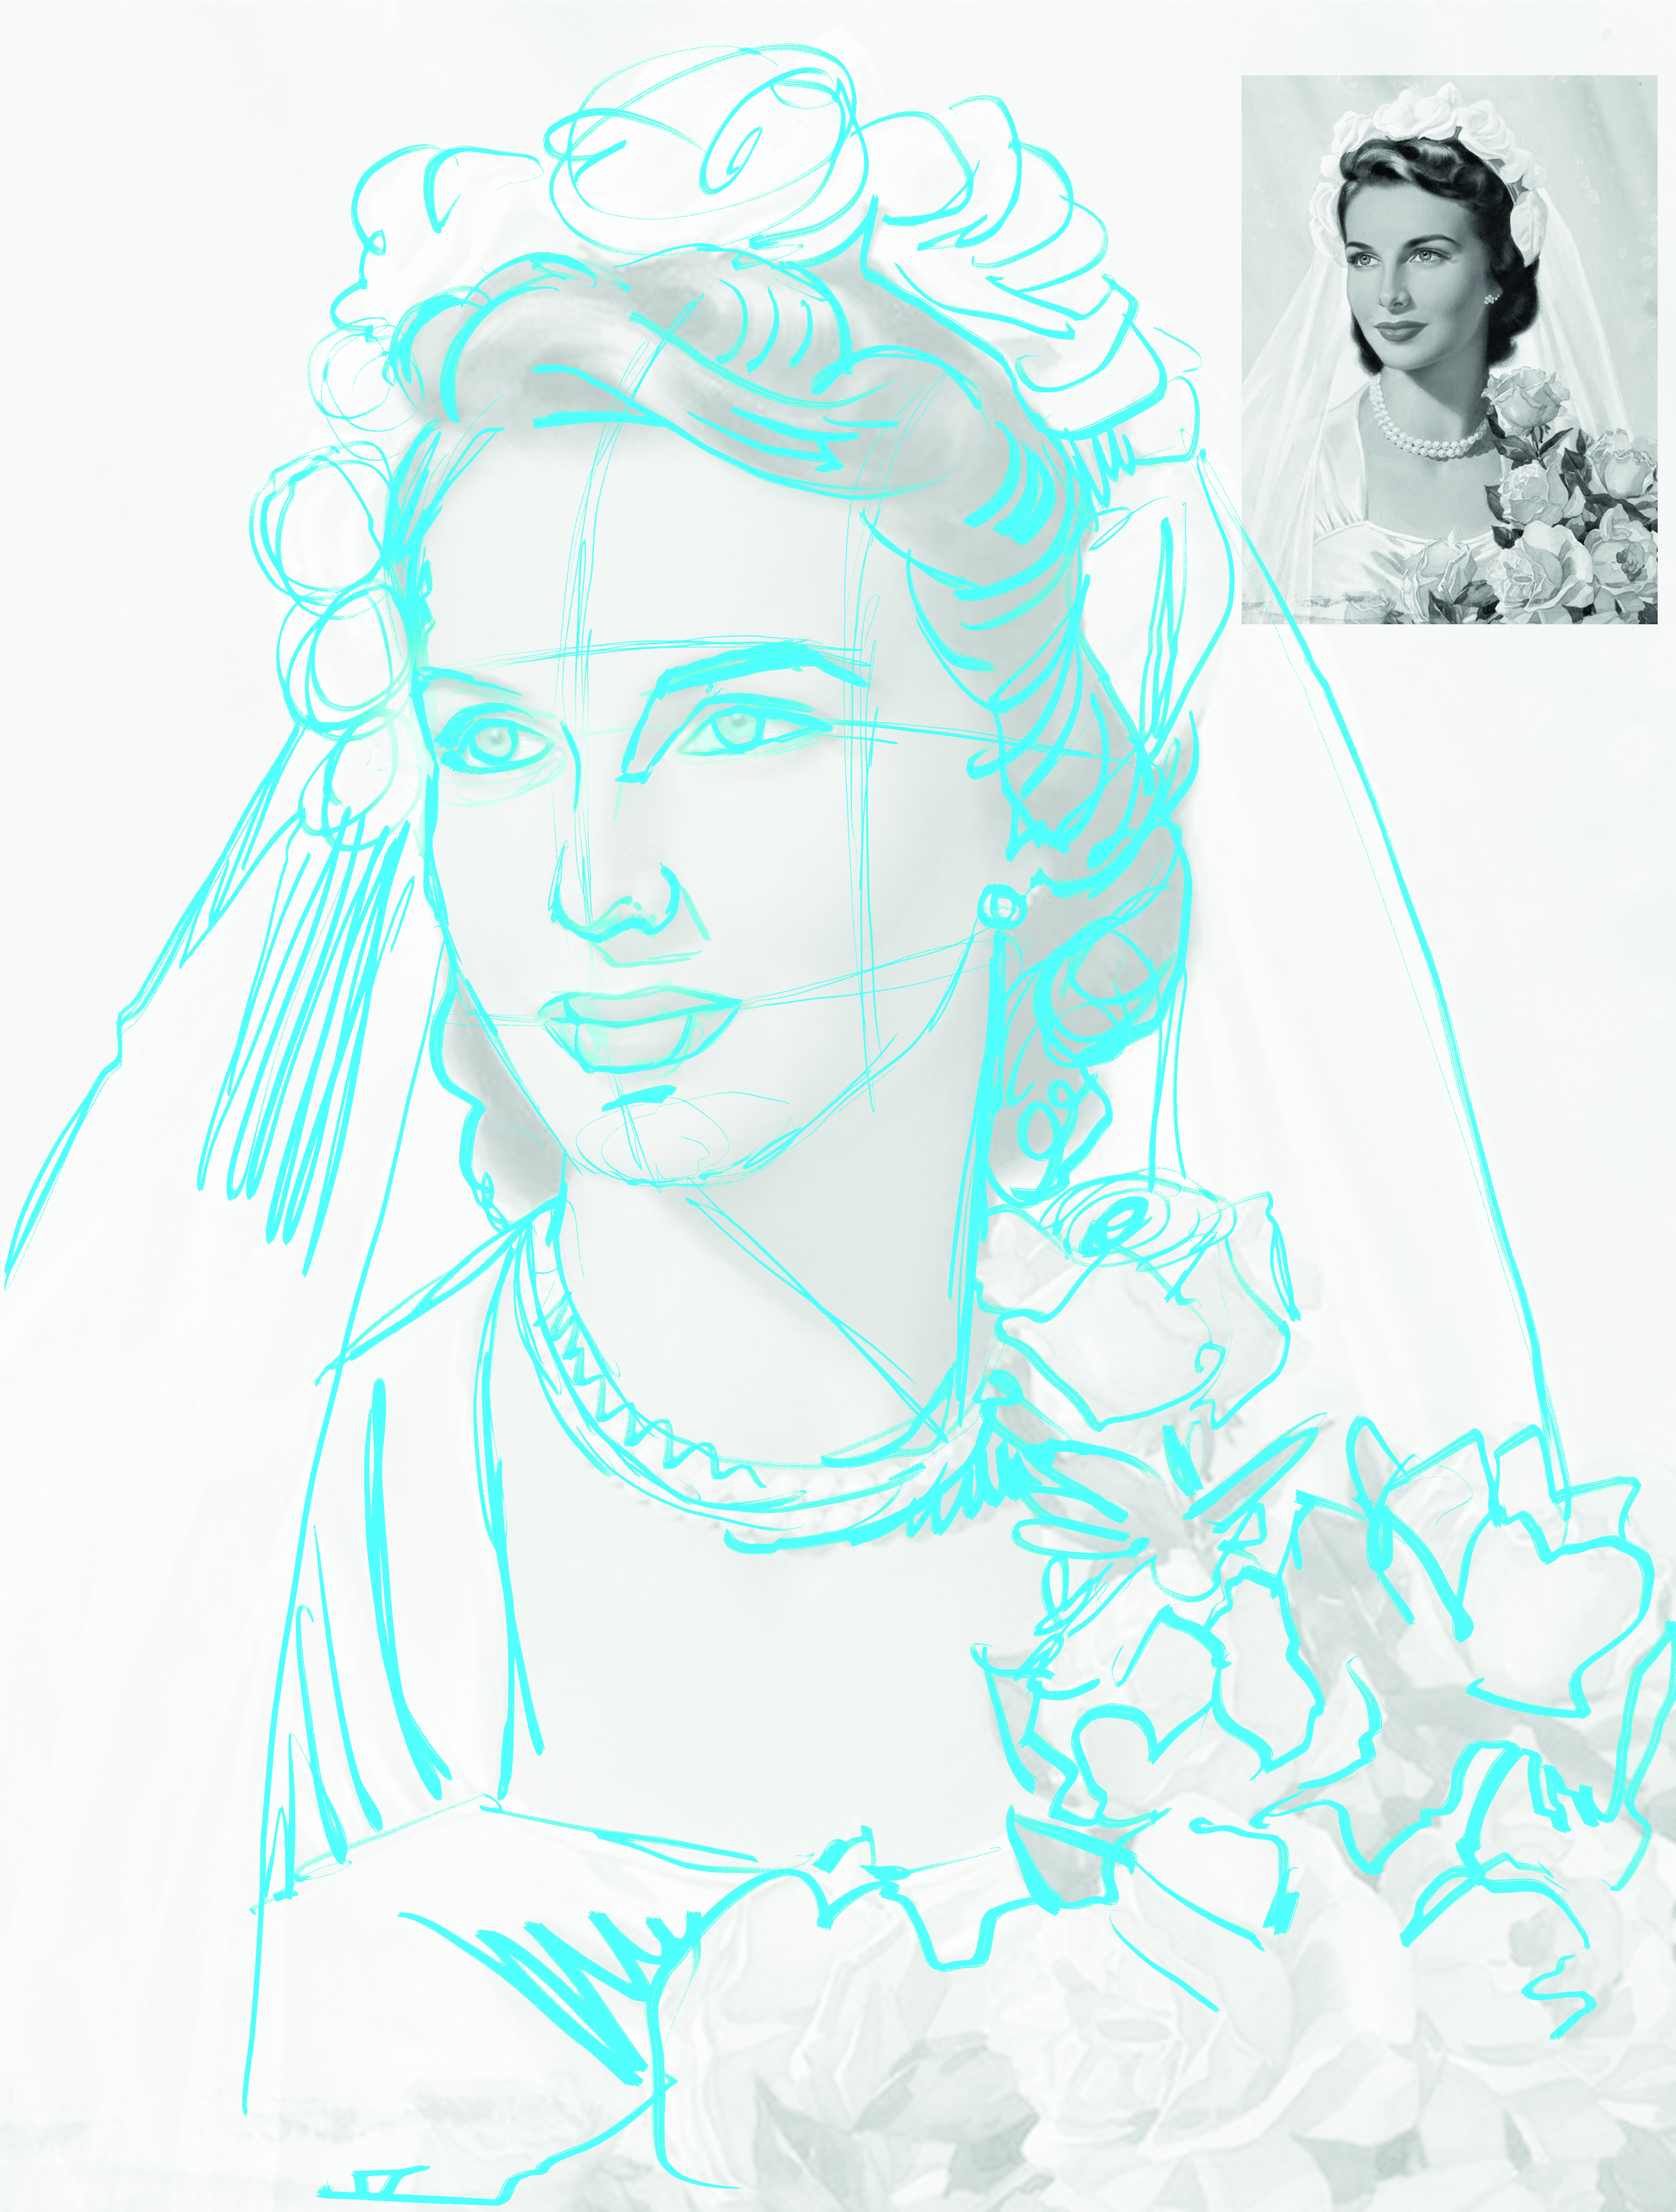
I block out the reference image to get the basic composition. I find that it is really important not to directly trace over the top of the image – direct traces can sometimes feel stilted and emotionless. Working this way allows me to give the drawing some movement. Once the image is blocked in, I move a small copy of the reference image to the corner of my canvas where I can see it easily.
Get the Creative Bloq Newsletter
Daily design news, reviews, how-tos and more, as picked by the editors.
04. Introduce linework
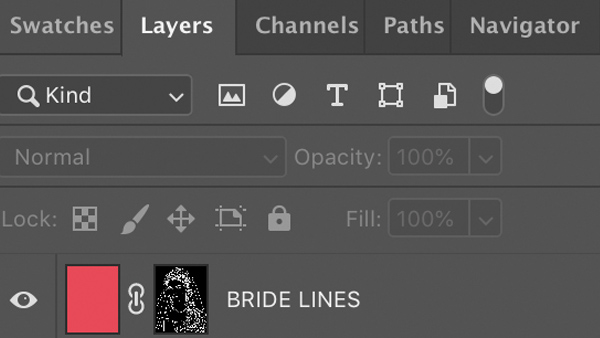
Next I digitally ‘ink’ the drawing. Typically, all of my linework is done in one go. Working in black and white helps ensure that I get the lines I want. I could, at this step, draw in a layer mask or ink in red, but that tends to slow me down.
05. Add a layer mask
To colour the linework, I like to create a solid colour layer (red). Then I make a layer mask where I will paste my linework. At this point I’ll set it to Multiply and turn the opacity to around 20 per cent, just enough to see the red layer.
07. Sketch the under-layer and define
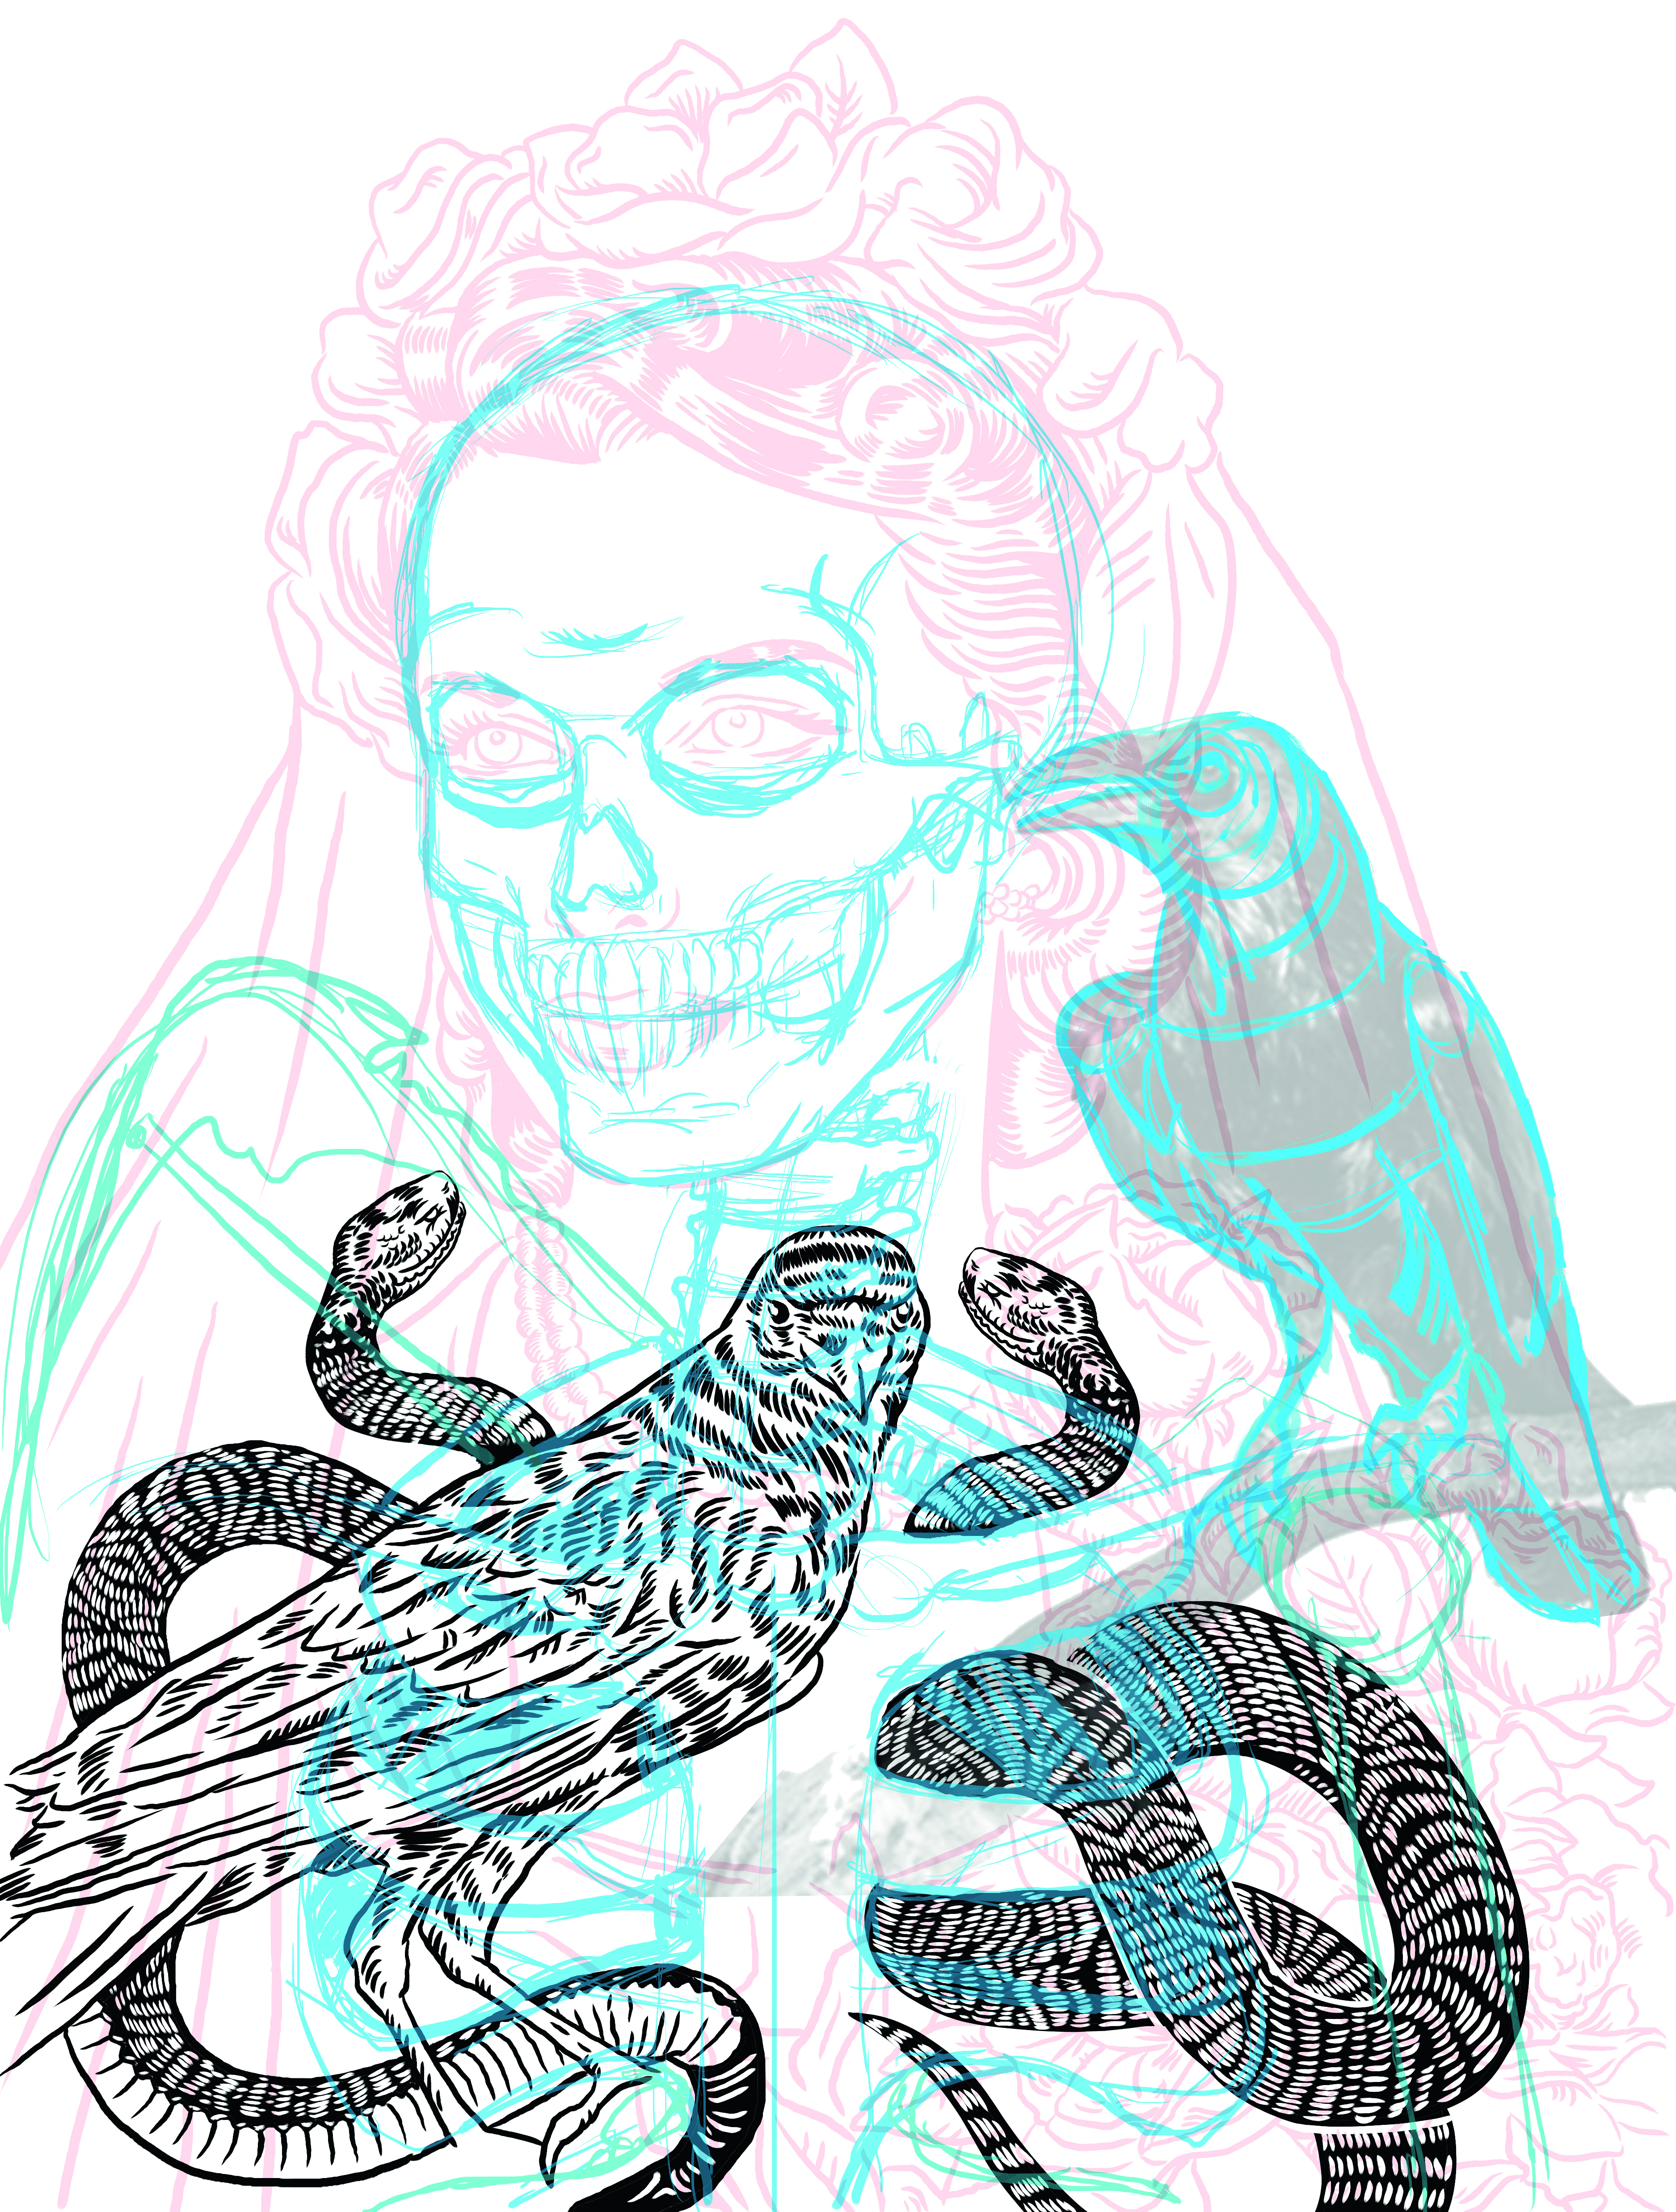
Creating the under-layer is my favourite part of my process – this is where the piece really gets interesting. I usually try several different ideas and compositions. The skeleton is something I’ve drawn loads of times, so I feel pretty confident drawing it freehand. I will use the faint upper layer as a guide.
For the crows and snakes, I use reference images the same way I did for the upper layer drawing (see step 03). I ink them before moving on to the skeleton. That way I can move things around if the composition isn’t working. Once I’m happy with the composition, I ink the remaining sketch and paste it into a mask, just as I did before.
09. Add shade and texture
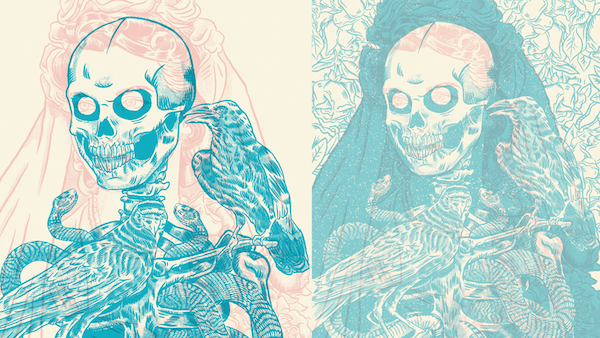
Now that I have my red and blue layers where I want them, it’s time to add some shade and texture. I used to create my own custom brushes and textures for years, painstakingly scanning ink splatters and grainy textures.
Then I discovered True Grit Texture Supply and haven’t looked back. True Grit has some of the best print-quality, high-resolution Photoshop brushes on the market.
10. Shade one layer at a time
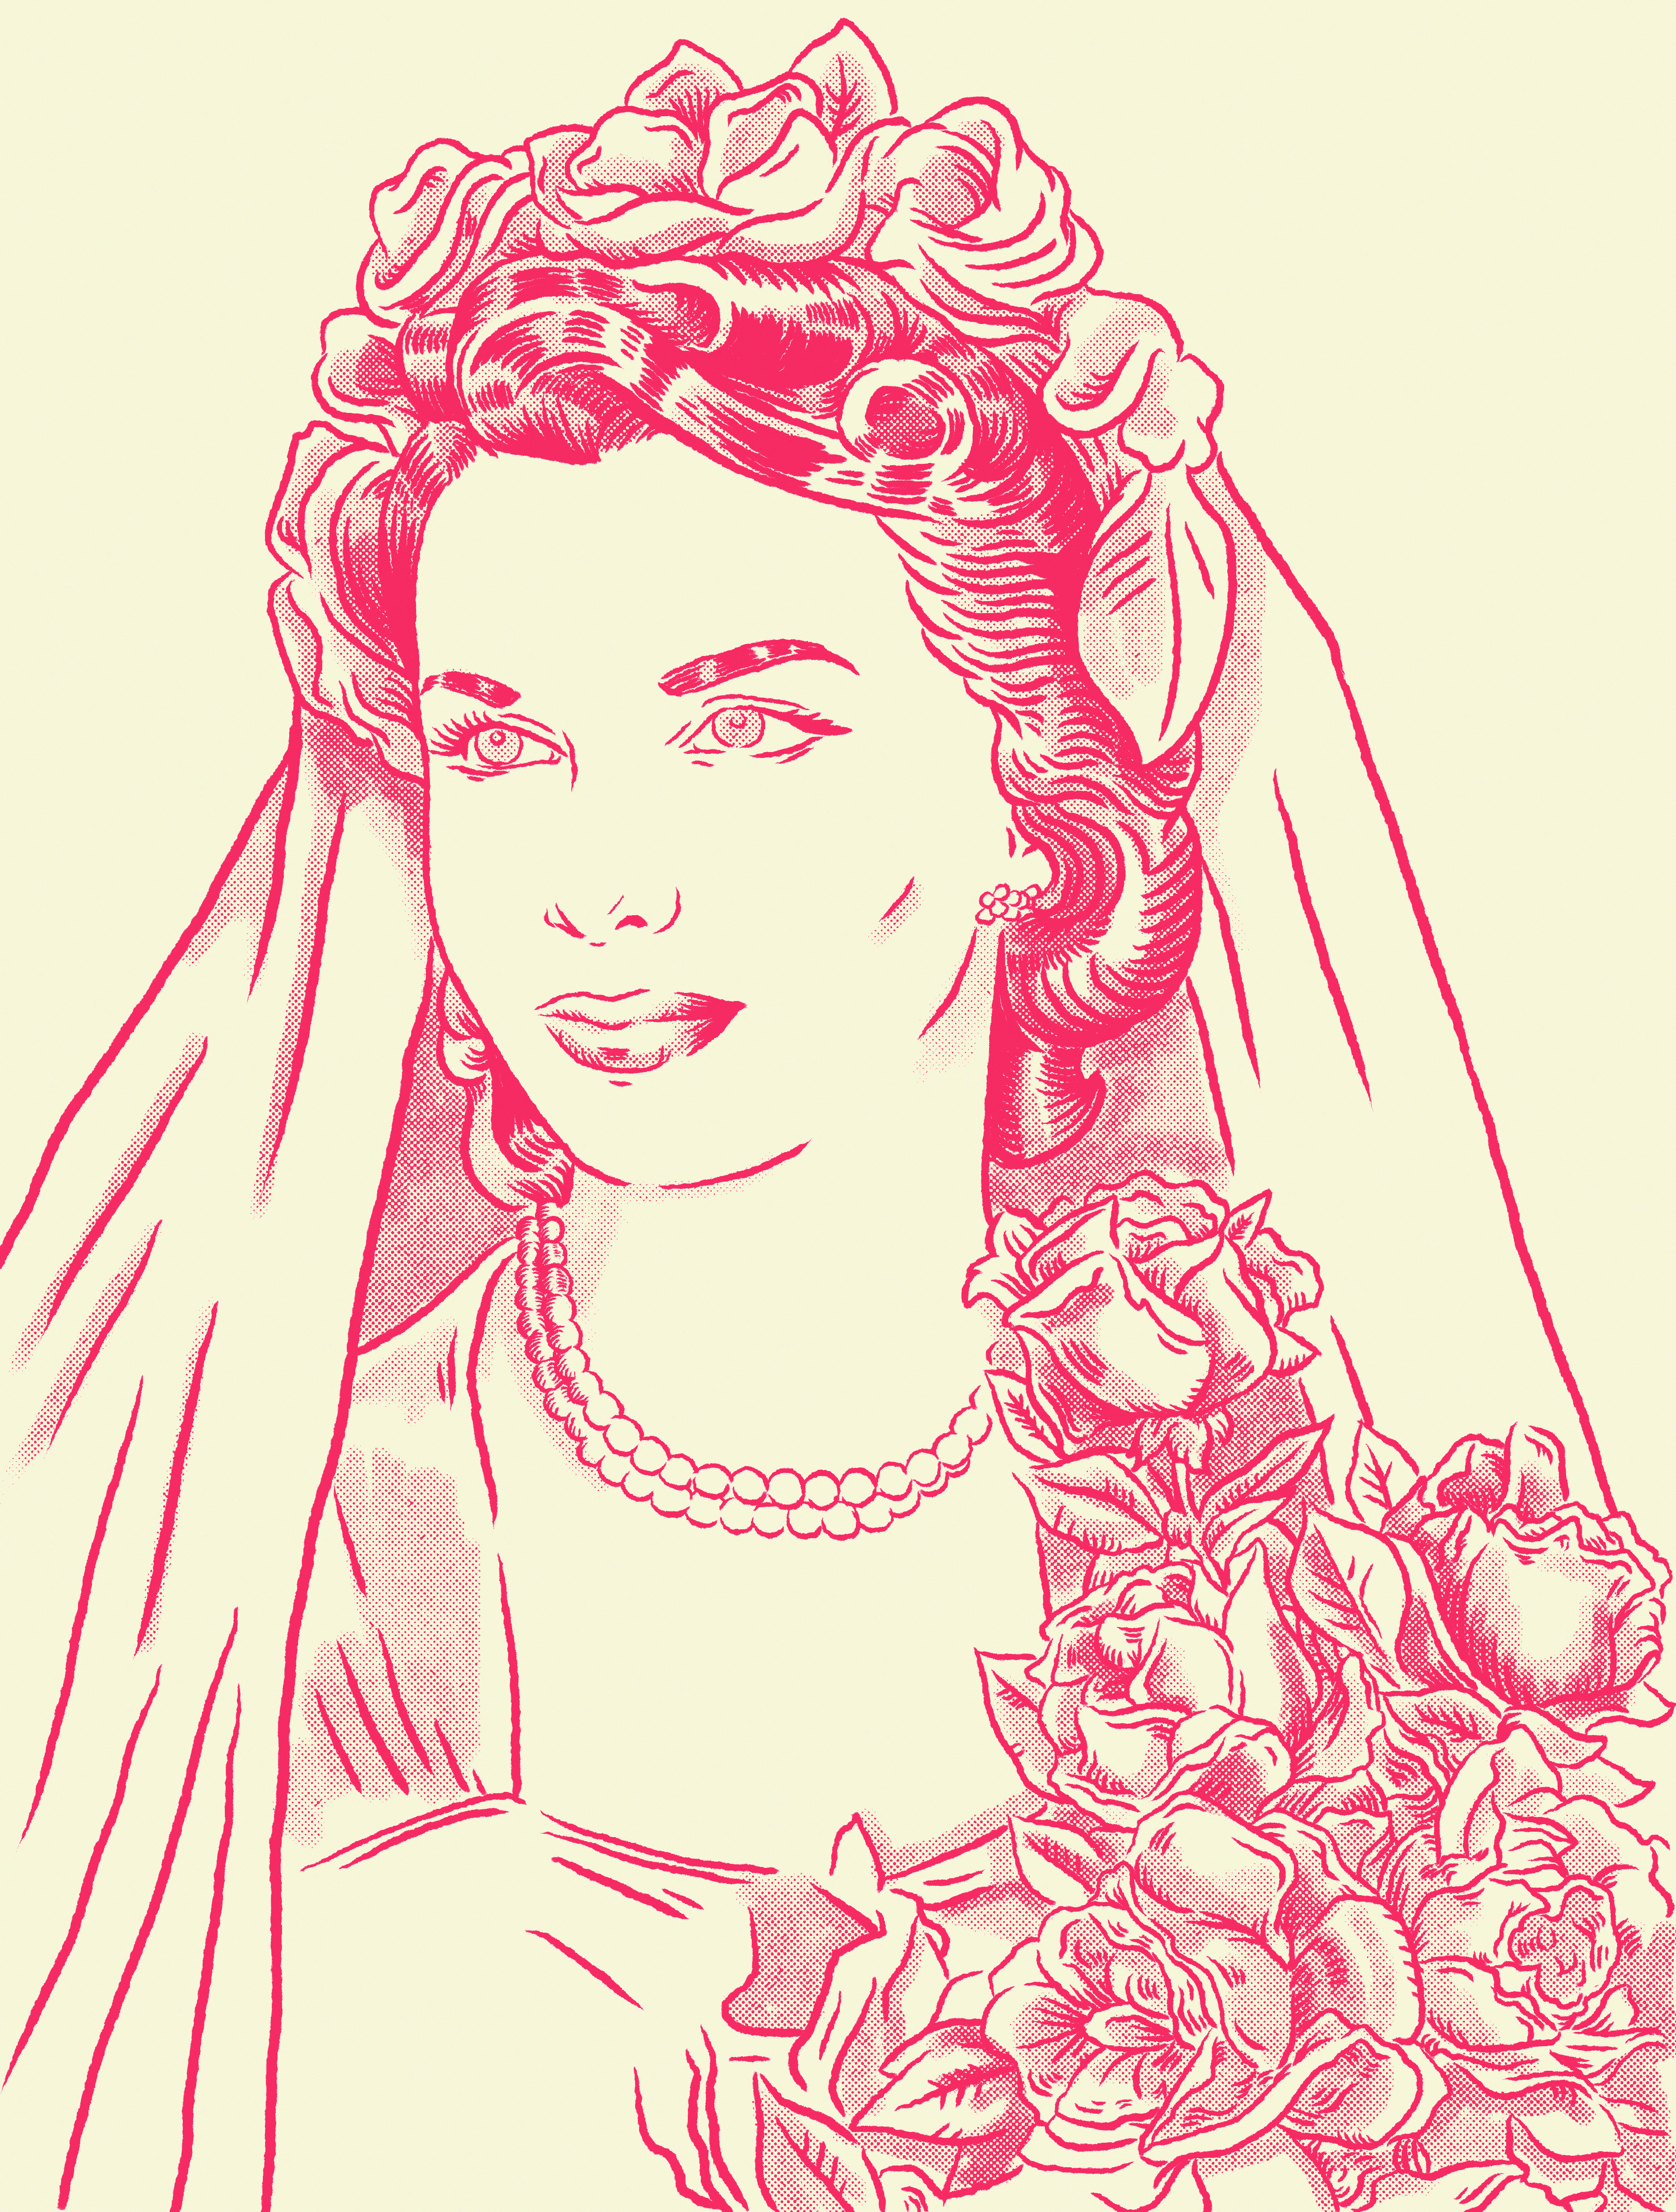
While shading, I like to focus on one layer at a time. This way I know that each layer is solid on its own. On the red layer I’m using one of True Grit’s half-tone shader brushes with 45-degree dots. I love how I can immediately achieve a vintage halftone texture. On the blue layer I use a 90-degree line half-tone brush, also from True Grit (I promise they aren’t paying me…). All of this takes place on the layer mask.
11. Add grit and texture
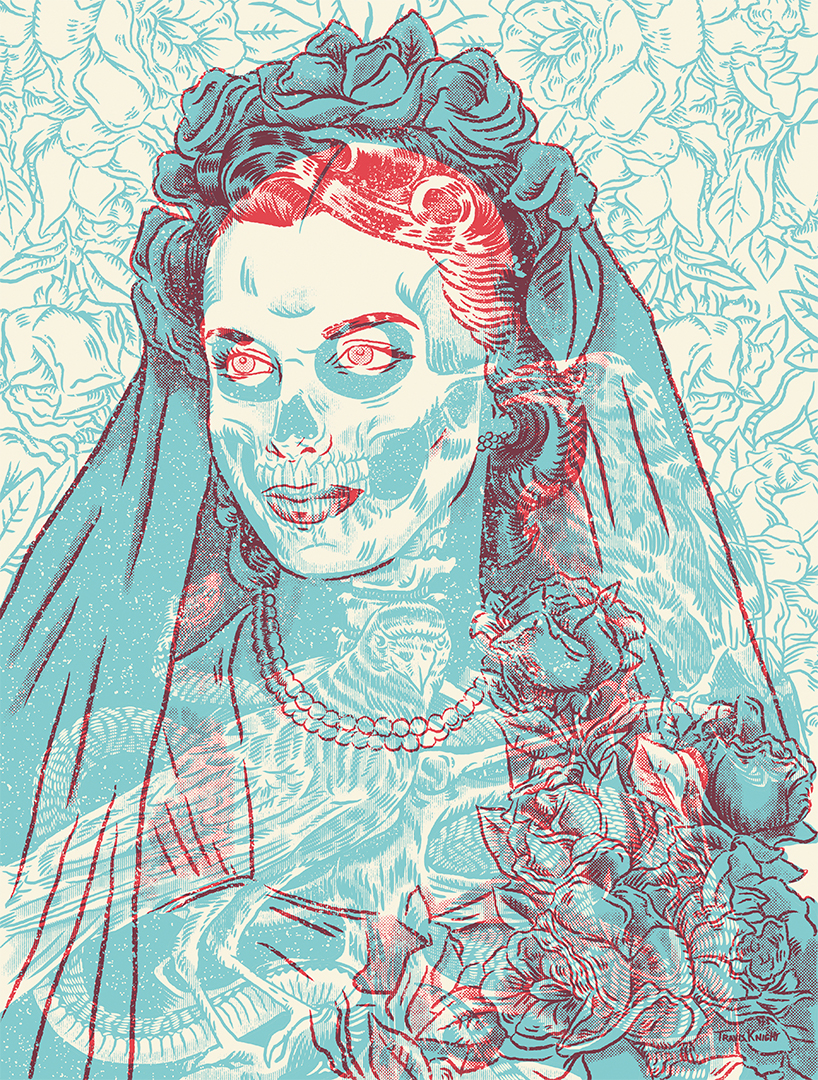
When the shading values are looking great, it’s time to add some grit and texture. My goal is to create a worn-in and rugged appearance that mimics weather damage.
I want the piece to feel like it has been forgotten about or lost to time. However, it’s important that I don’t go overboard on this step and that the distressing on both layers complement each other. The opacity of the layers has been played with a lot at this point, so I want to make sure things look random and not too planned-out.
This article was originally published in issue 296 of Computer Arts.

Thank you for reading 5 articles this month* Join now for unlimited access
Enjoy your first month for just £1 / $1 / €1
*Read 5 free articles per month without a subscription

Join now for unlimited access
Try first month for just £1 / $1 / €1

Travis Knight lives and works in Chattanooga, Tennessee. In college he studied painting and drawing before moving to graphic design, where he’s worked in the agency world for 10 years. During this time, he fell in love with creating art digitally, and finds it ironic that he spends so much time trying to make his work feel old and tactile.
