19 tips for great Poser art
Create character-based art and animations with these tips.
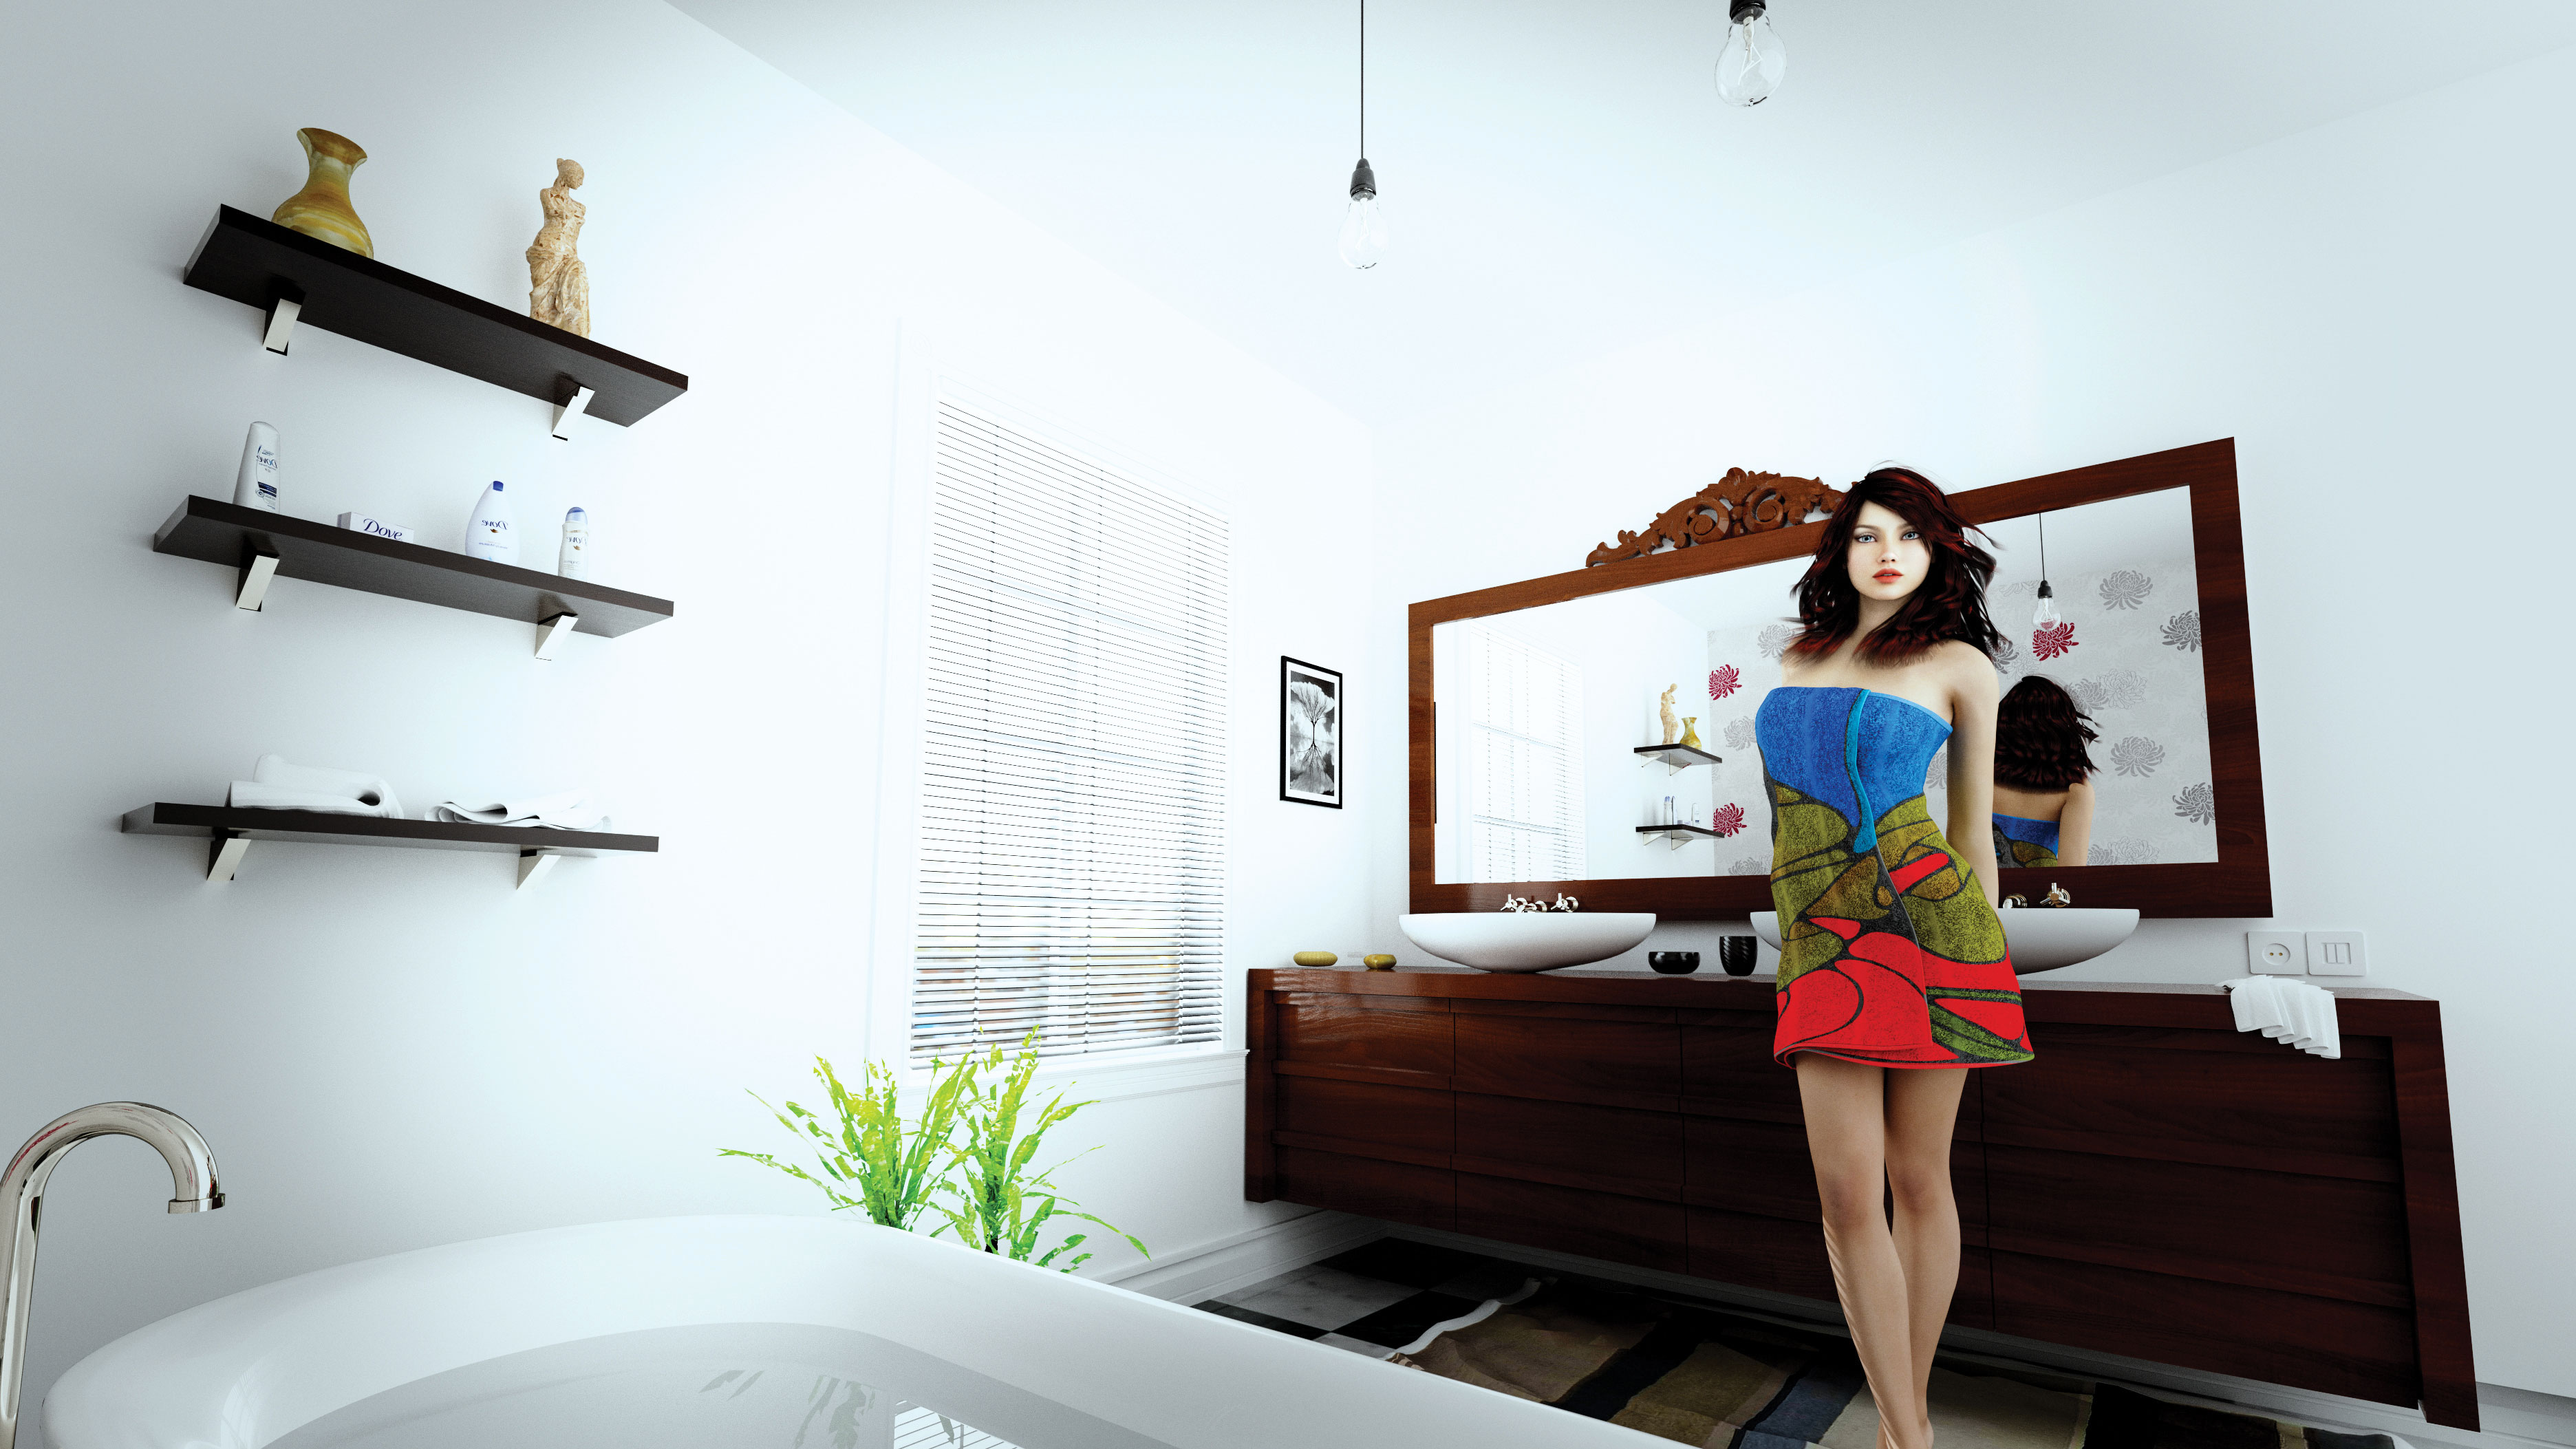
Poser software is greatly underrated. With version 11, its PBR Superfly engine enables it to create tremendous realism across a wide range of areas of 3D art, rendering directly in-program without the need to rely on exporting, third-party plugins, or integrating into high-end programs for materials and lighting that obey physically correct laws.
As with any tool, with great power often comes a bewildering range of options, parameters and tweaks that can quickly overwhelm even experienced users. That's why we've compiled this list of 19 tips for using Poser that will help take your renders to the next level.
01. Tweak settings for better reflections
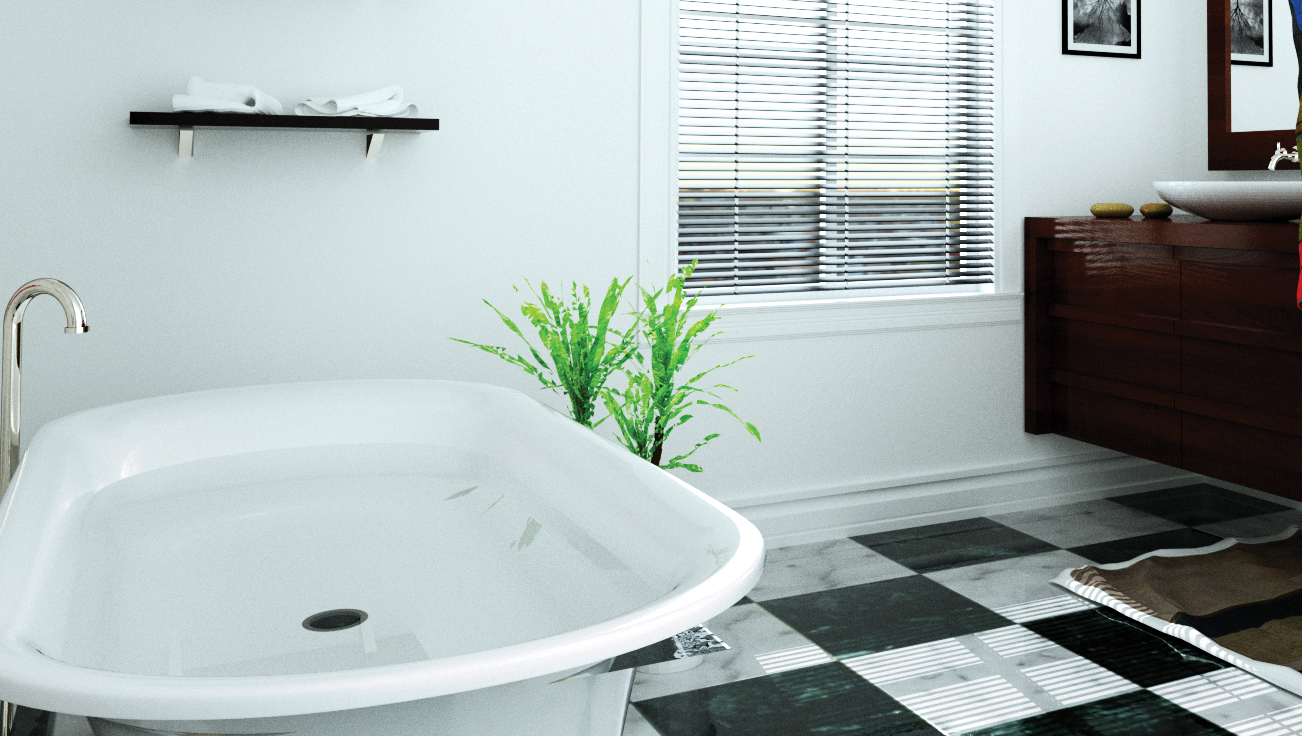
Noise in the light or shadows or on reflective surfaces may simply be the result of insufficiently high pixel samples in your Superfly render settings, but it may also mean that certain render settings need to be selectively increased.
Sometimes tweaking these can save overall render time whilst producing the improvements you seek. In the image above, you can increase the Glossy bounces setting to account for the reflective floor and mirror without cranking up the overall pixel samples beyond 50. If you felt it necessary to add realism to the bath water, you could increment the Volume parameter, and even activate Caustics, although these three can greatly increase render times.
02. Check indirect lighting
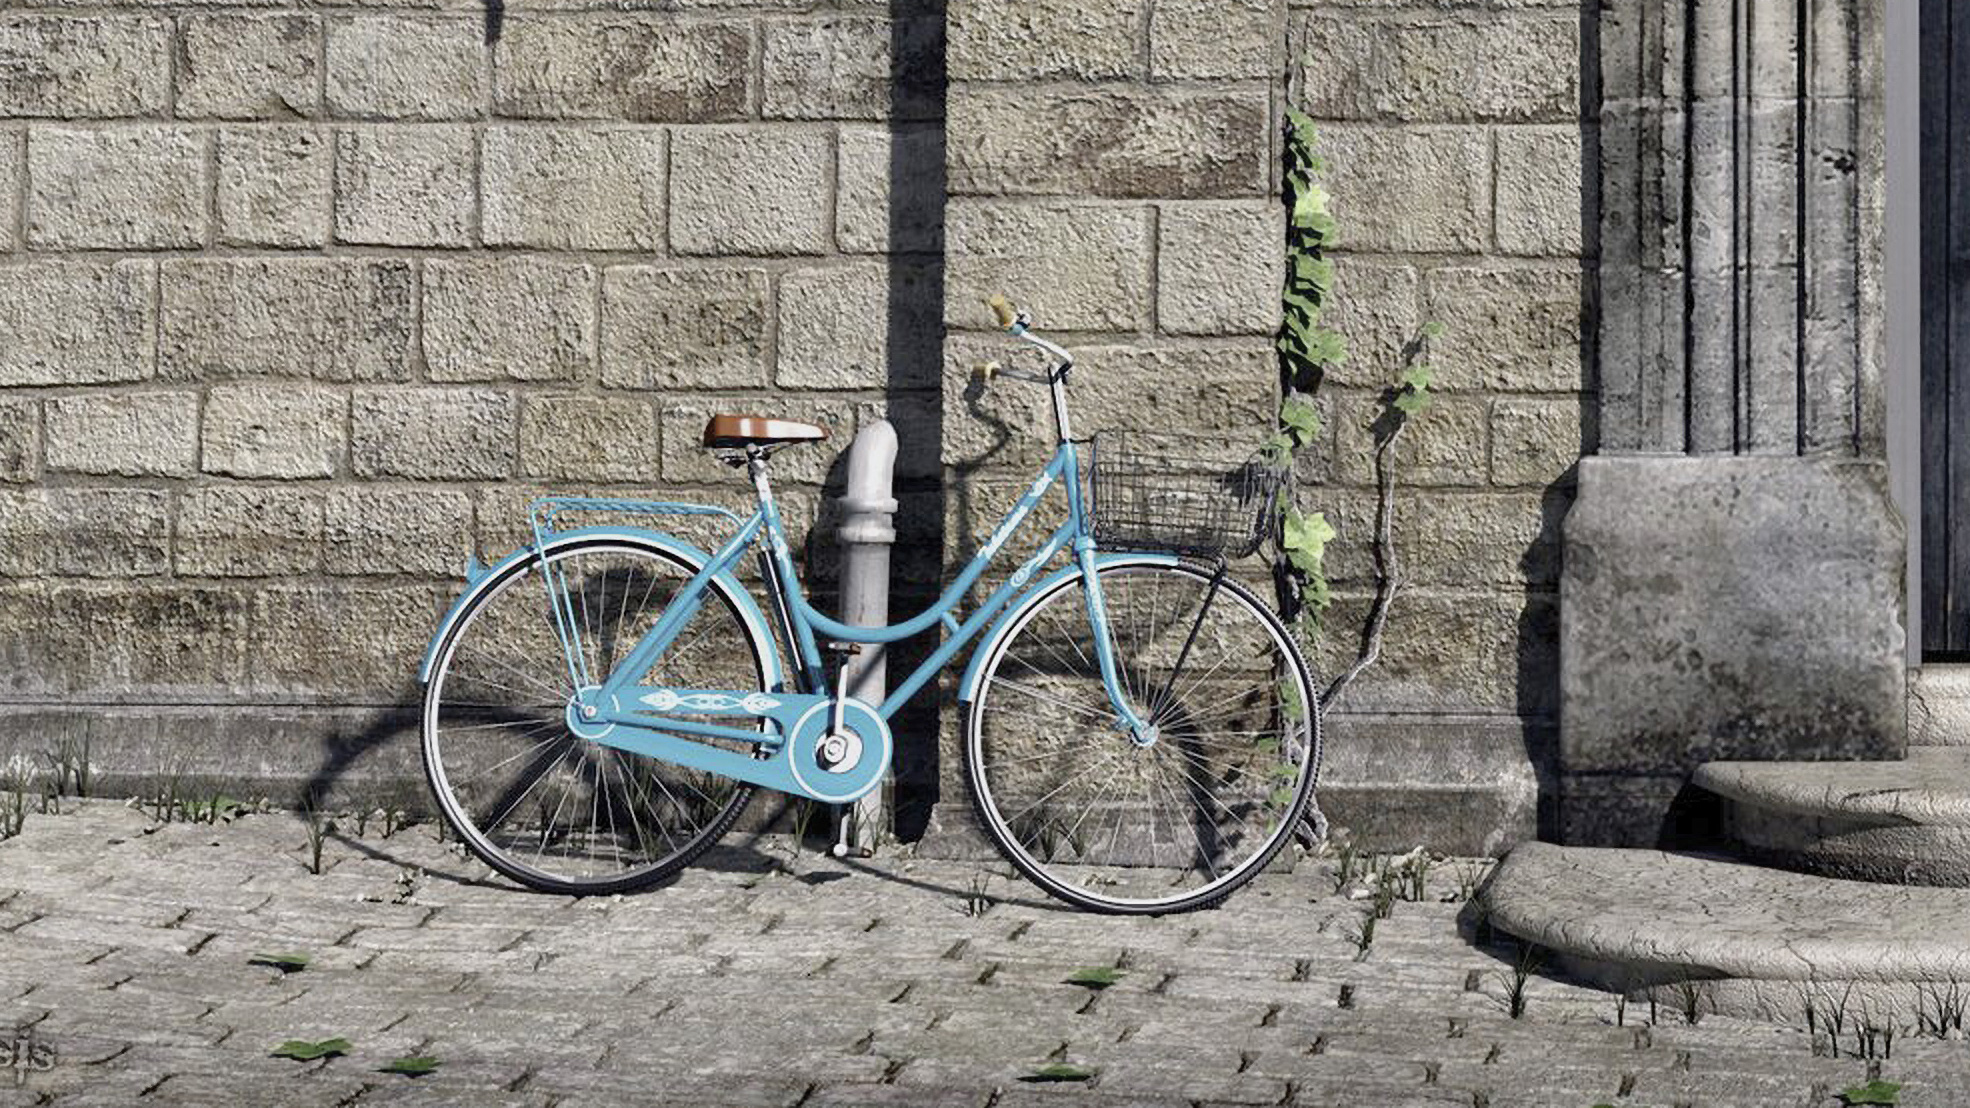
If you are still using a version of Poser older than 11, be sure to check the Indirect illumination option for richer shadow detail when creating Firefly renders. Be aware however, that trans-mapped hair or other transparent/reflective surfaces can reduce your renders to a snail’s pace that takes many hours, even days for a single HD scene.
In general, using less shadow blur works well with bright sunlight and objects close to the surface they are casting on, whereas grey days, interior lighting or objects further from the shadows they are casting all produce softer shadows.
03. Use optimal render settings
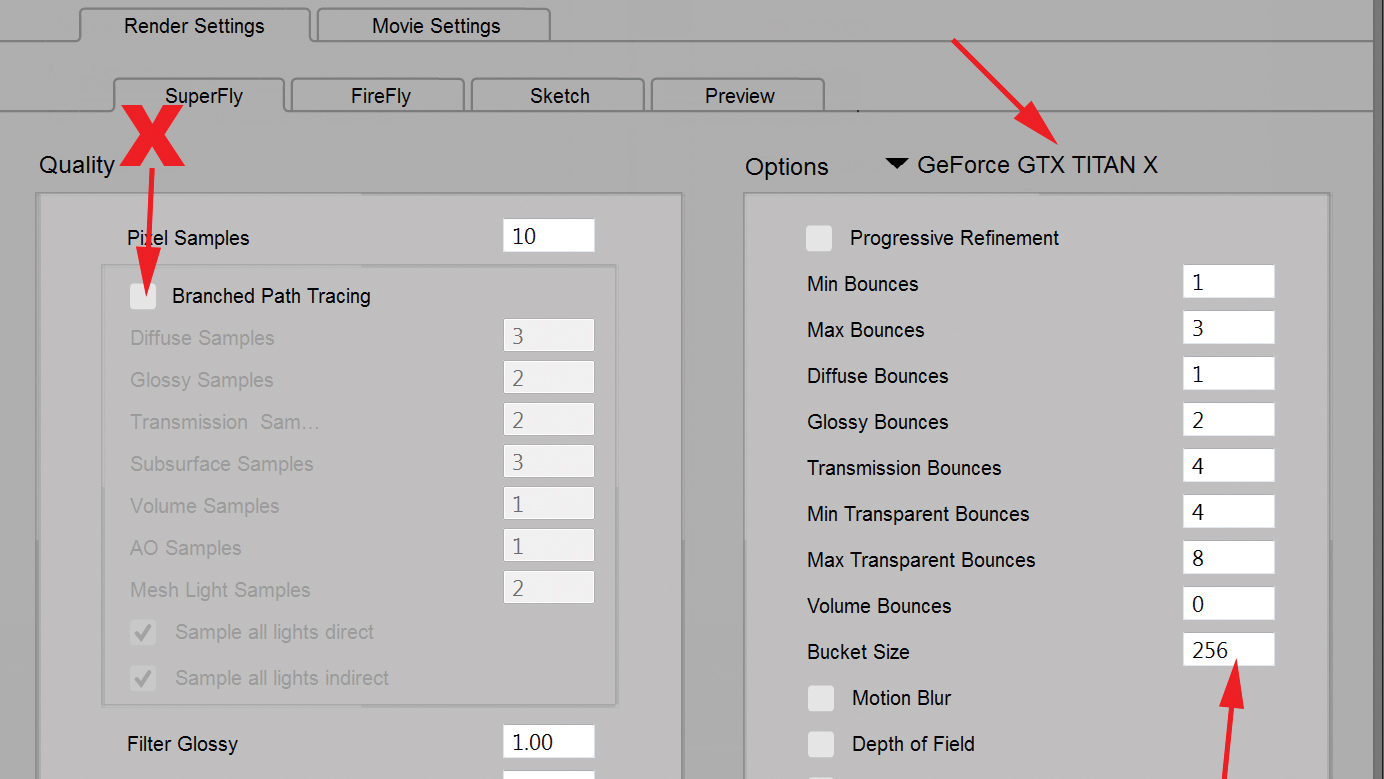
Choose the Superfly rendering engine and select GPU rendering. Rendering with Branched Path Tracing turned off (for additional render stability), and a setting of just 5 Pixel Samples is enough to assess colour, lighting and general form of even 4K images in just a few minutes. Then you can ramp up the settings as needed.
Get the Creative Bloq Newsletter
Daily design news, reviews, how-tos and more, as picked by the editors.
I find that a setting of 40 overall gives great results, and sometimes you can get away with as little as 30 or even 20.
04. Speed up transparency renders
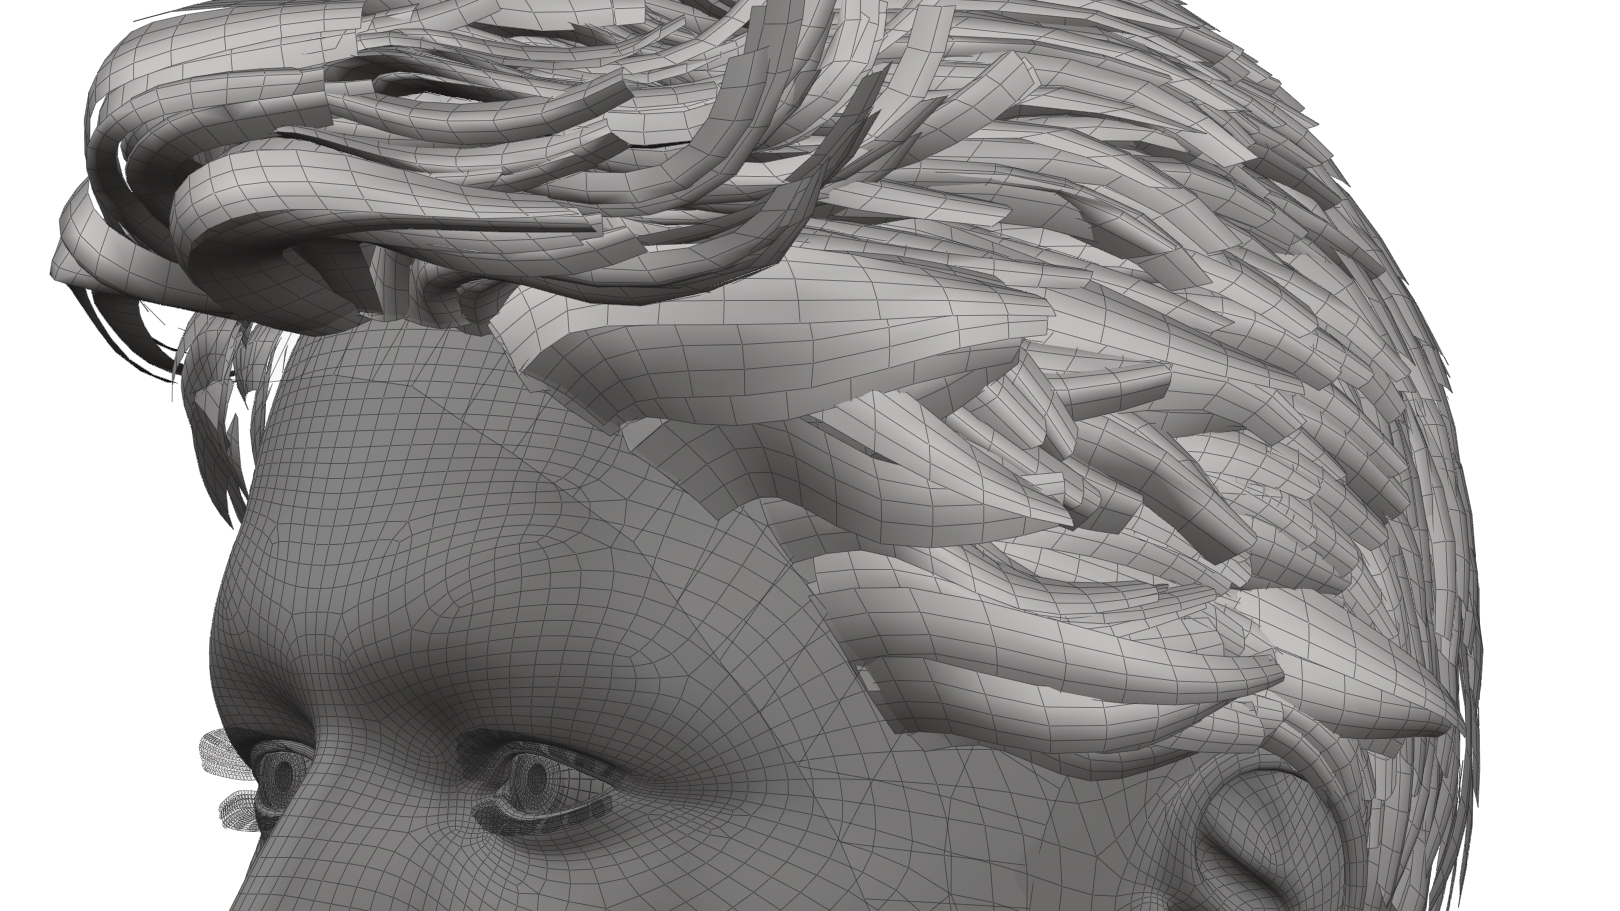
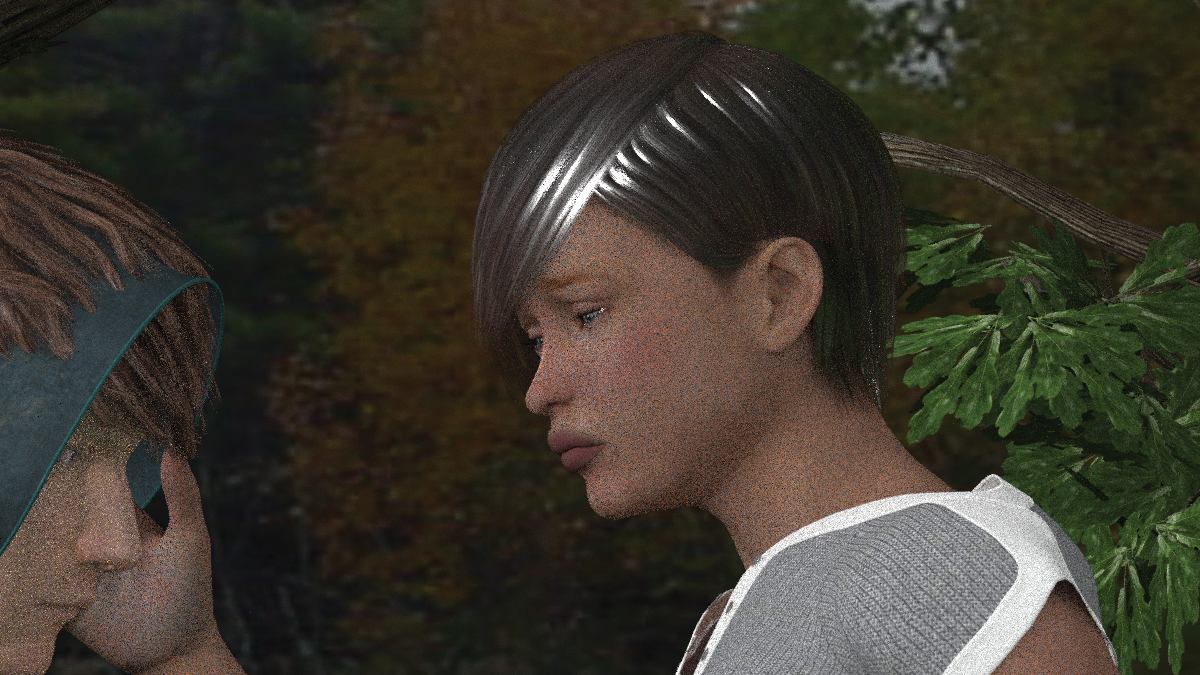
Rendering transparency can bring Poser’s Firefly or Superfly rendering engines to a grinding halt, increasing rendering times from minutes to hours. Nowhere is this more apparent than when using multi-layered transparency effects such as DAZ’s more recent hair creations (yes Genesis 3 can be converted to fit your earlier figures).
For Superfly test renders, you’ll want to either hide these hair figures or set the max transparency in the render settings down to just 1 or 2. When you come to final render, you’ll want to bump the minimum up to 8 or even 16 in order to ensure that transparency looks good.
05. Increase bucket size
You can significantly improve rendering speed by increasing the bucket size on the Superfly render tab if you are using your GPU to render. The bucket speed determines the number of pixels that the program will render simultaneously, and the number of cores on your graphics card will determine the bucket size your card can manage. Try 128 and increase in increments until performance starts to degrade.
06. Send to the queue
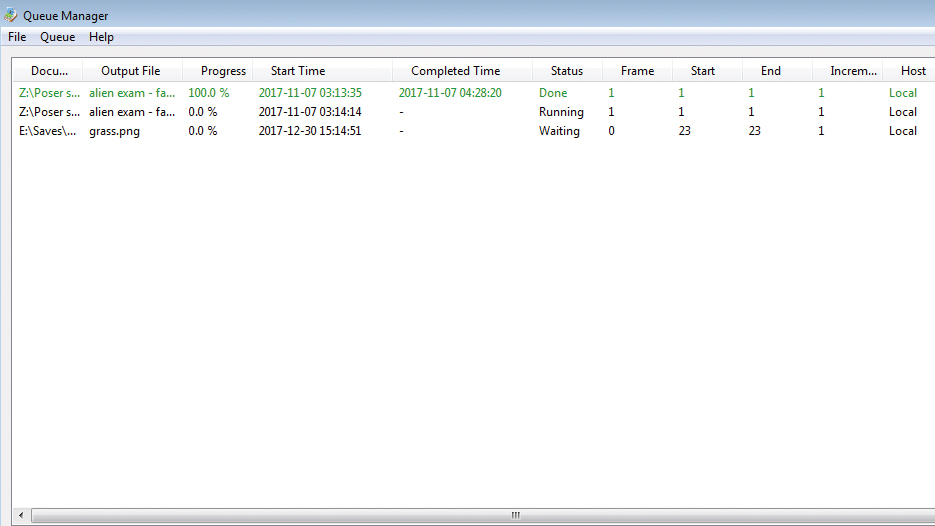
In addition to its network rendering, you can instead send multiple renders to the render queue (Render>Send to). This is a great way to set up renders before you go to bed, however, it is somewhat twitchy about being paused if you require your processor for other tasks.
I find that the best workflow is to only send jobs to the queue when you do not require your computer for anything else that night. Then it’s simply a matter of loading jobs to Poser, choosing camera angles, clicking the Send to Queue button, and going to bed.
07. Consider scene interaction
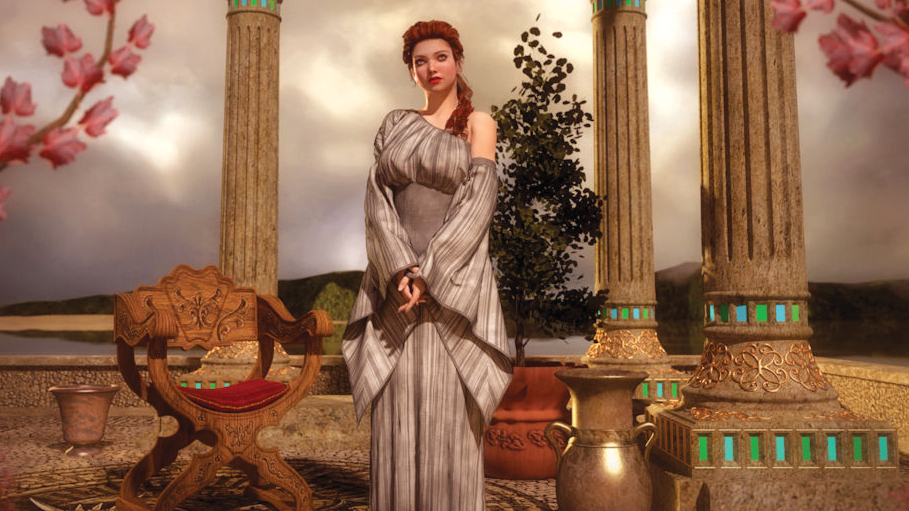
The tiny details make all the difference. By all means start with off-the shelf poses, but then take the time to adjust them precisely to your scene. Off-the-shelf poses tend to work well when the figures are not interacting with anything other than the ground.
However, you’ll want to carefully adjust the bends and angles of hands, fingers, feet, toes and any other body parts that interact with objects. Nothing spoils the illusion of reality quicker than stock hands that don’t interact properly, or feet floating off the ground. Ten minutes of extra work makes a world of difference.
08. Remove or add clutter
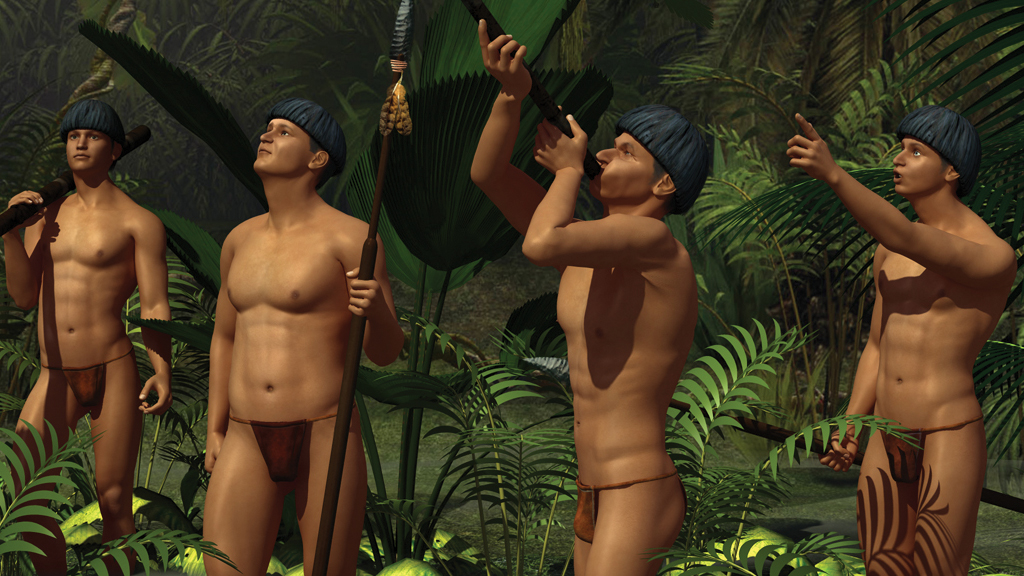
Keeping the near distance uncluttered can focus the viewer’s attention and avoid confusing figure profiles and distracting shadows, especially when background scenery is naturally busy (flora, textured walls or complex landscape topography).
When it comes to scenes without distant backgrounds, adding clutter can create intimacy, and provide subtle additional threads to the narrative of your image, encouraging the viewer to explore beyond the central tableau. Carefully arranged clutter can lead your viewer’s eye around your image, creating a living narrative that has the central figures as the focal point.
09. Focus on the eyes
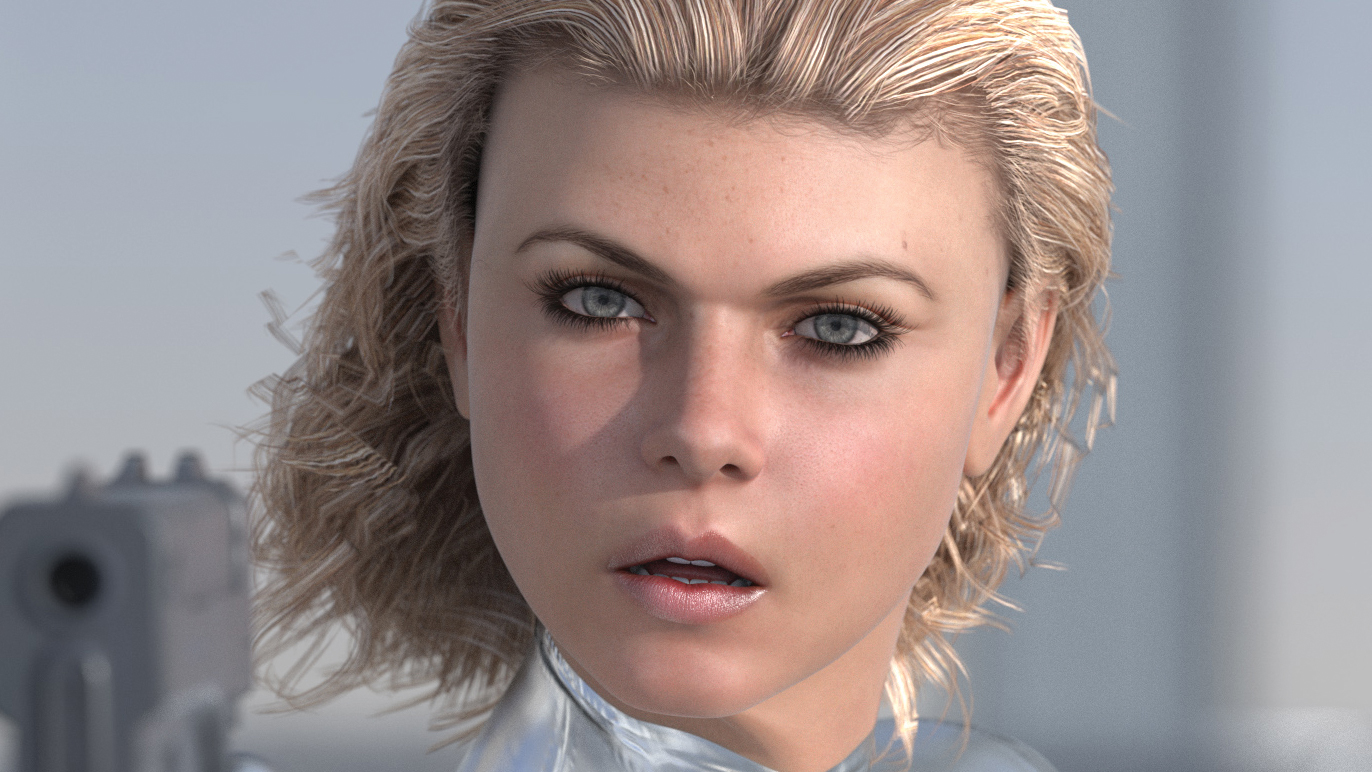
Aim to create a connection with the character’s eyes. The focal point for eyes can tell a story in its own right. Sometimes eyes that don’t meet another person’s, or that don’t look straight at the camera, can speak volumes. At other times, a direct gaze bespeaks honesty, openness or confidence.
Convert your characters to Superfly-ready materials with Snarly Gribbly’s superb EZSkin script. Once you’ve run this, you can then replace the eye material nodes with Ghostship’s eyes, which creates much better realism. You can always swap your previous irises back into the material nodes if you need specific colours.
10. Vary skin tones
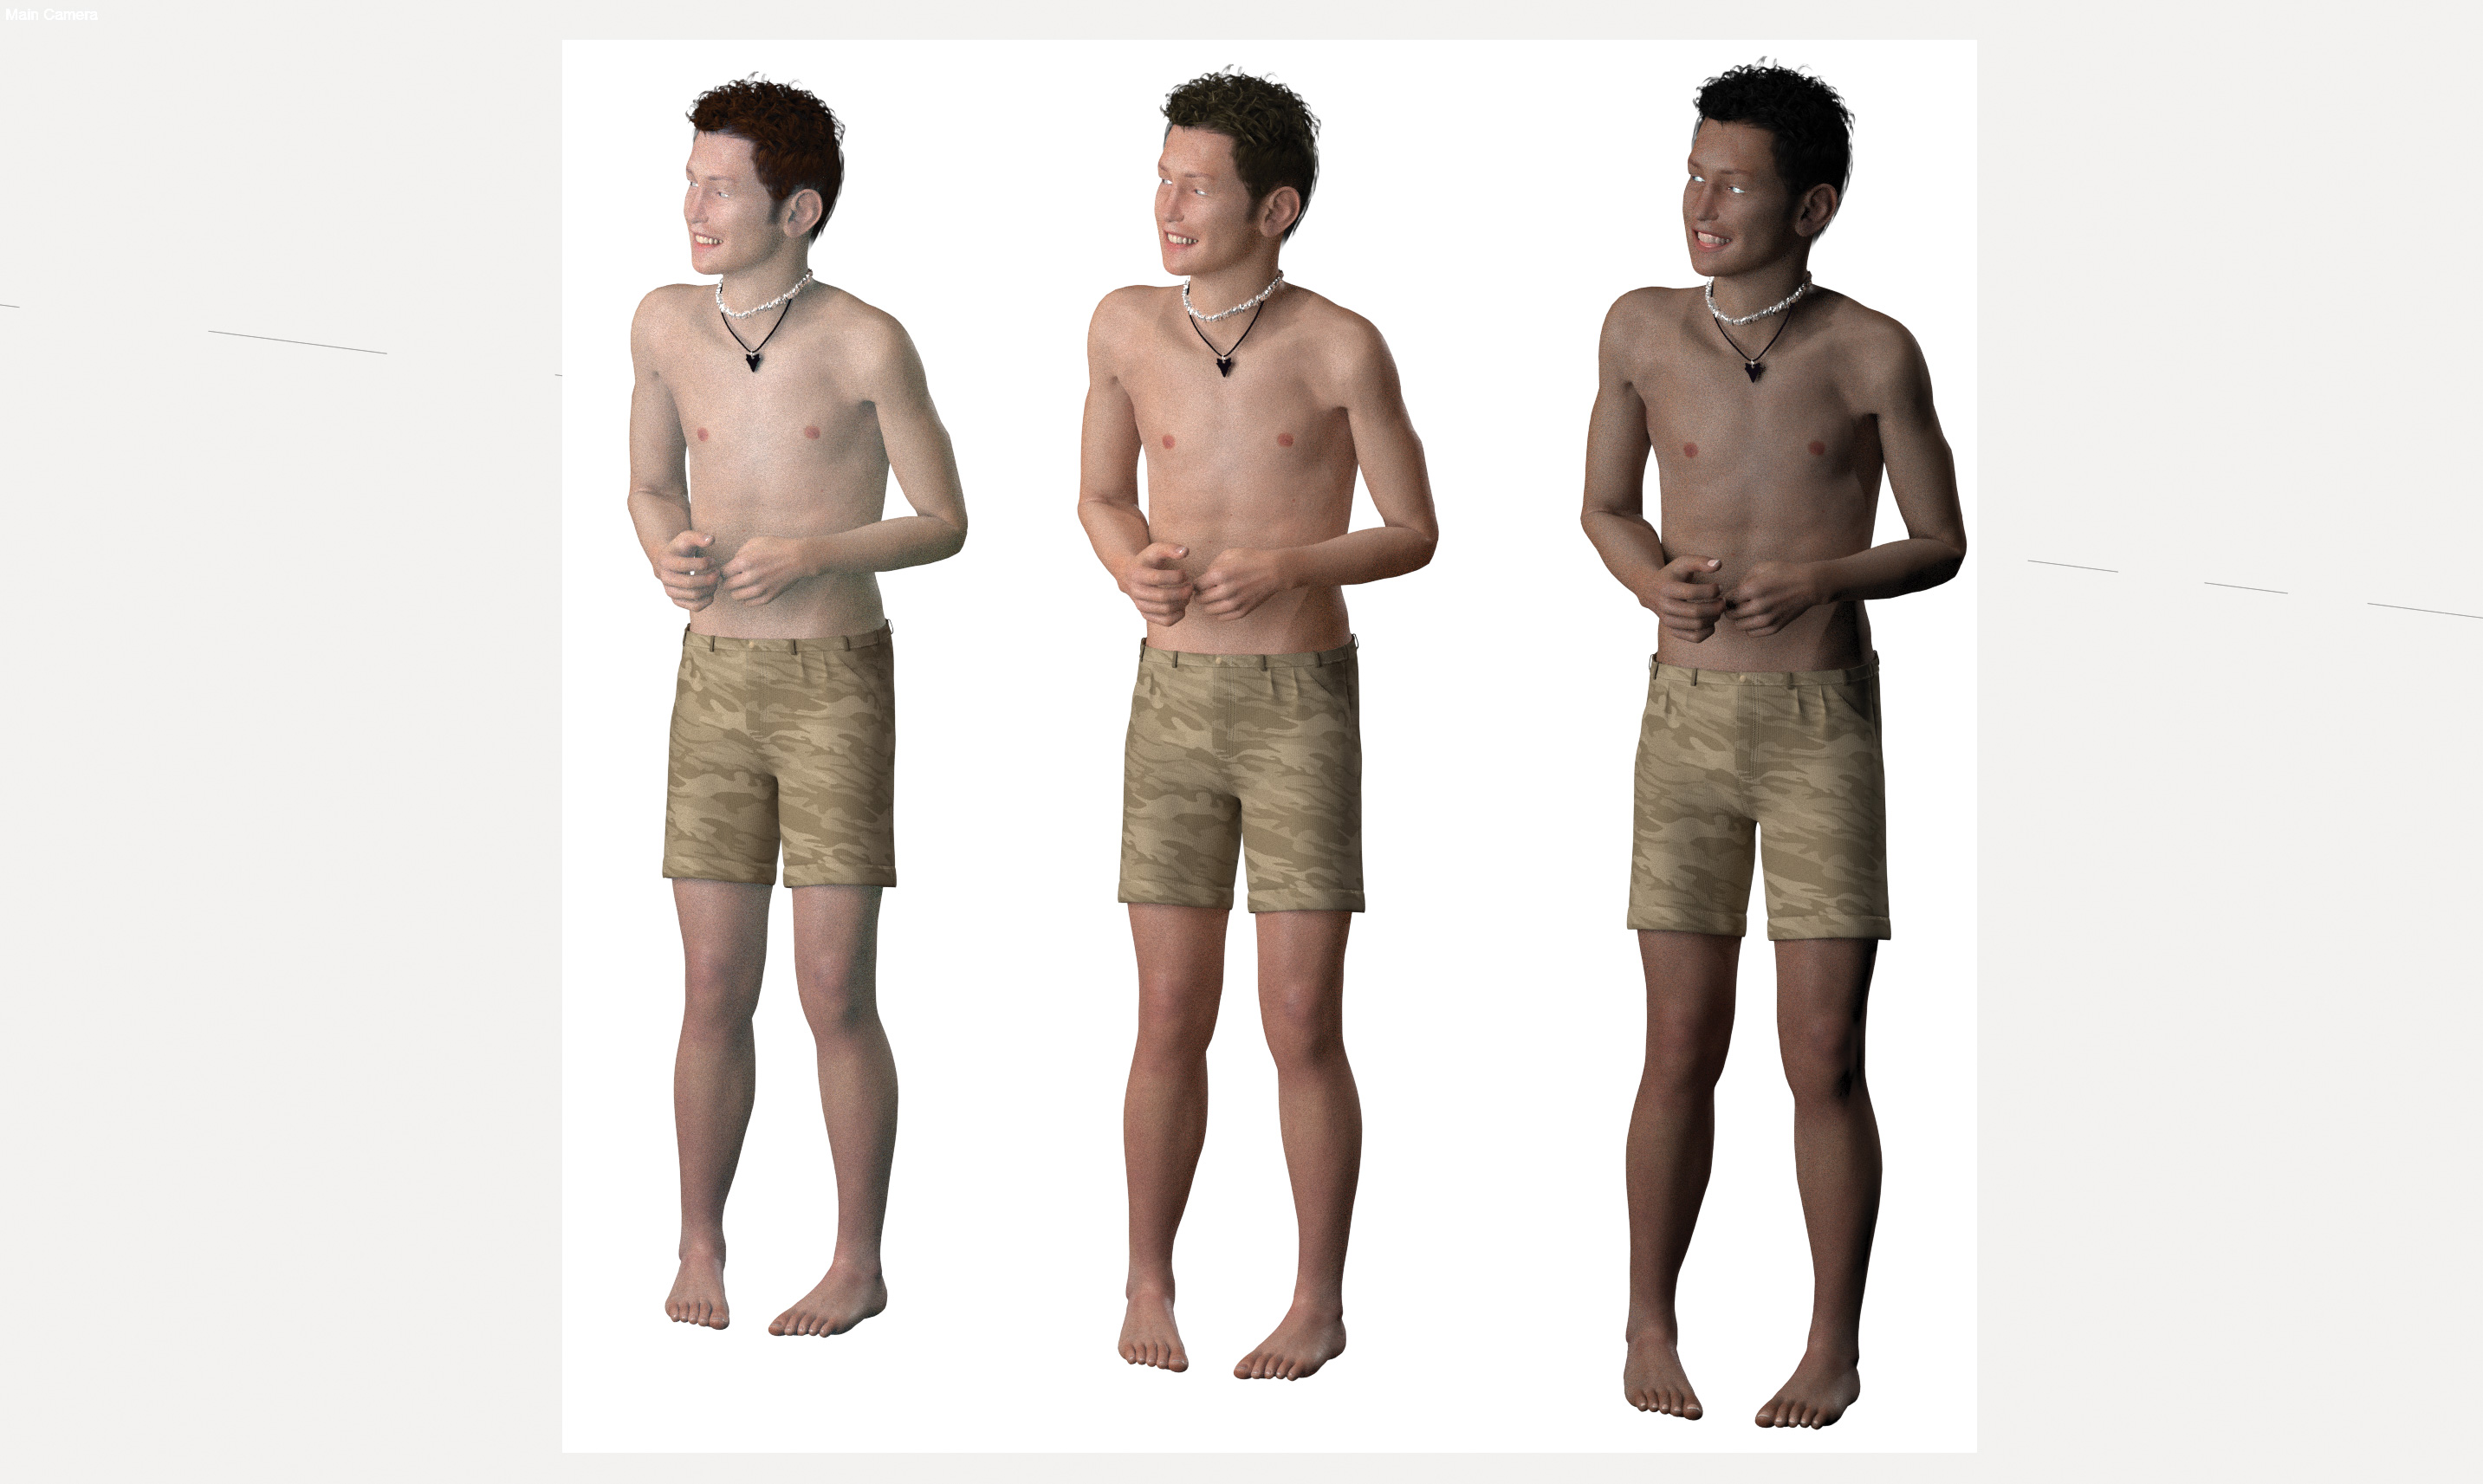
Create skin types for different ethnicities (or levels of tan) by altering the base colour or the subsurface colour. In an ideal world, you’d digitise real people and use those photos to create skin of the precise colour you need, but that takes a huge amount of work and time to accomplish.
I created a pale skin base, and can create a range of different tones, from red-head white, rosy pink to darker skin, by changing the base colour. You’ll sometimes need to give an extra tweak to mouth, lips and nipple bases to create a consistent appearance.
Next page: More tips on Poser, including how to use lighting and materials

Thank you for reading 5 articles this month* Join now for unlimited access
Enjoy your first month for just £1 / $1 / €1
*Read 5 free articles per month without a subscription

Join now for unlimited access
Try first month for just £1 / $1 / €1
