The making of the Ancestories XR cinematic game trailer
Giving life to characters with Digital Soul.
Video games and the 'language' of interactive media are being adapted and used in new and creative ways. One new project is the Ancestories XR video game, which uses game techniques to enable American's to trace and discover their family histories.
In this tutorial, José Tijerín explains how Character Creator (CC) and iClone helped to make a fund-seeking cinematic trailer for the Ancestories XR video game. Tijerín is a digital illustrator, 3D sculptor, and the video games developer behind 'Dear Althea', which is available on Steam. The extra content, 'We're Besties', is now for sale in the Reallusion store.
Read on to discover the possibilities of Reallusion software to attain professional and industry-standard results sans expensive equipment and enormous financial support. You can watch the Ancestories XR video game cinematic trailer below before scrolling down to discover how Tijerín made use of Character Creator (CC) and iClone, in his own words.
The Ancestories XR Project
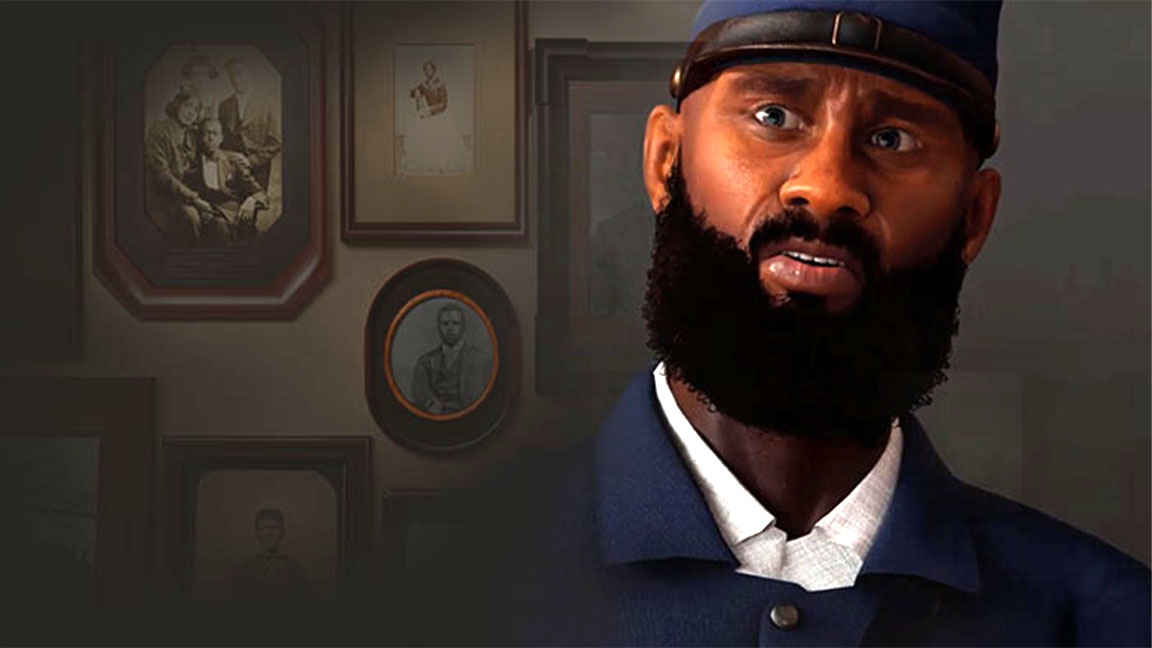
This promotional trailer was made to bring awareness to AncestoriesXR.com. We are telling stories about American history and stories of individual families. We are building a company that uses narrative video game techniques to create connections between younger and ‘digital-first’ generations to their family history and their combined legacy to American history.
Millions of Americans can trace their family history back to the time of the Civil War, and this promotional video makes that history come alive. We don’t stop at animation; we also add interactivity so people can learn and explore via modern game techniques.
Planning the Project
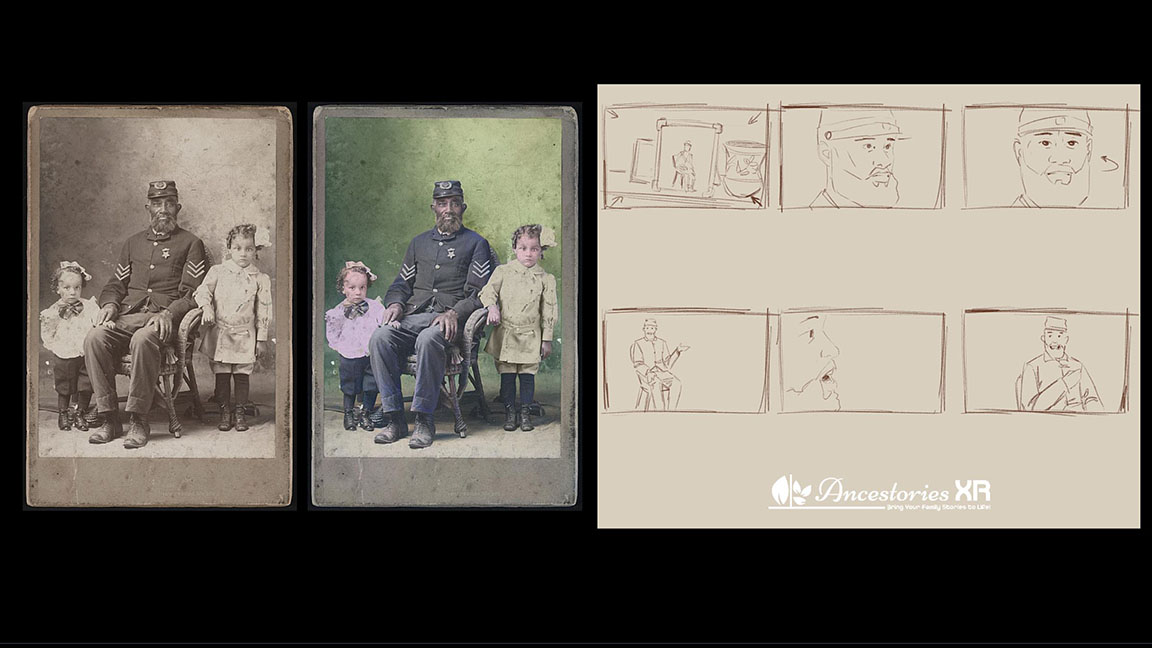
The first thing to do, in a really big project like this, is to spend weeks visualising the result. Then we develop a plan that allows us to get there in the most efficient way possible, to not waste time and resources.
The most important aspect is to define a storyboard and main character according to the narrative and audio files provided to us. In order to emphasise the aim of the project, it is decided that an old family photograph will come to life to tell a story – specifically, an old African-American Union soldier in army uniform.
Creating the Character
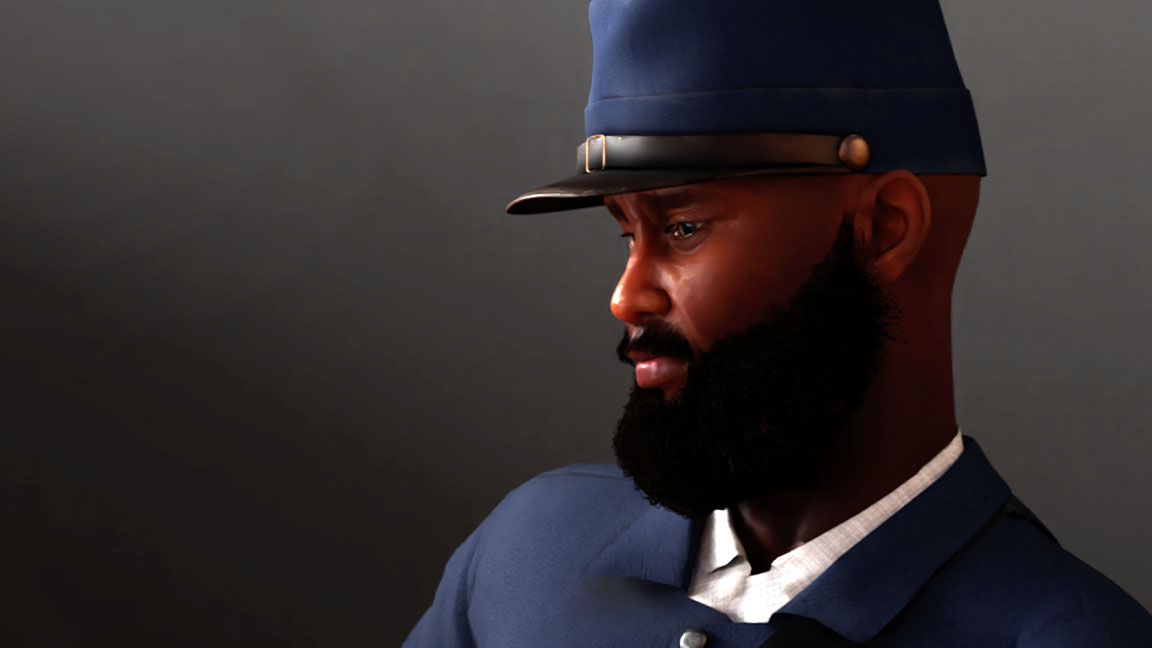
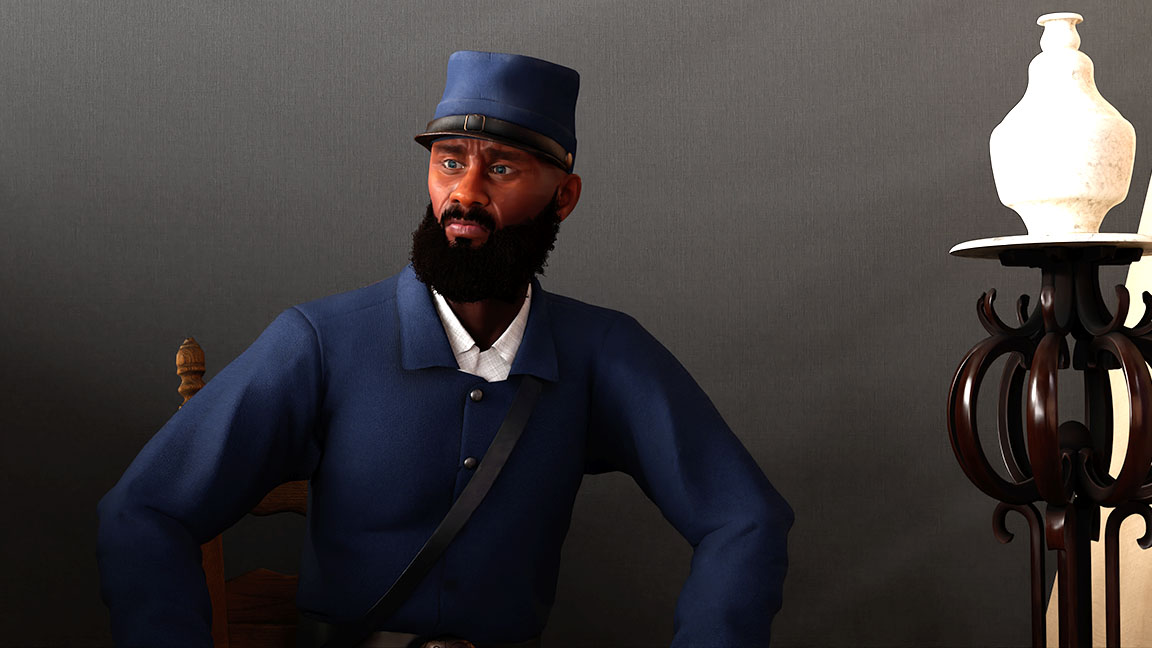
To create the central character, I use Character Creator 4 together with Reallusion’s Human Anatomy pack, and after modifying the base character to resemble the references that I have gathered, I take it to ZBrush for retouching until I achieve the desired look.
When sculpting, I usually do so without perspective in order to keep all polygons in sight, as lens distortions can augment the actual shape of the character. Modelling should not be approached in the same fashion as drawing: It’s important to constantly check all angles of the character and the shadows that form on its face.
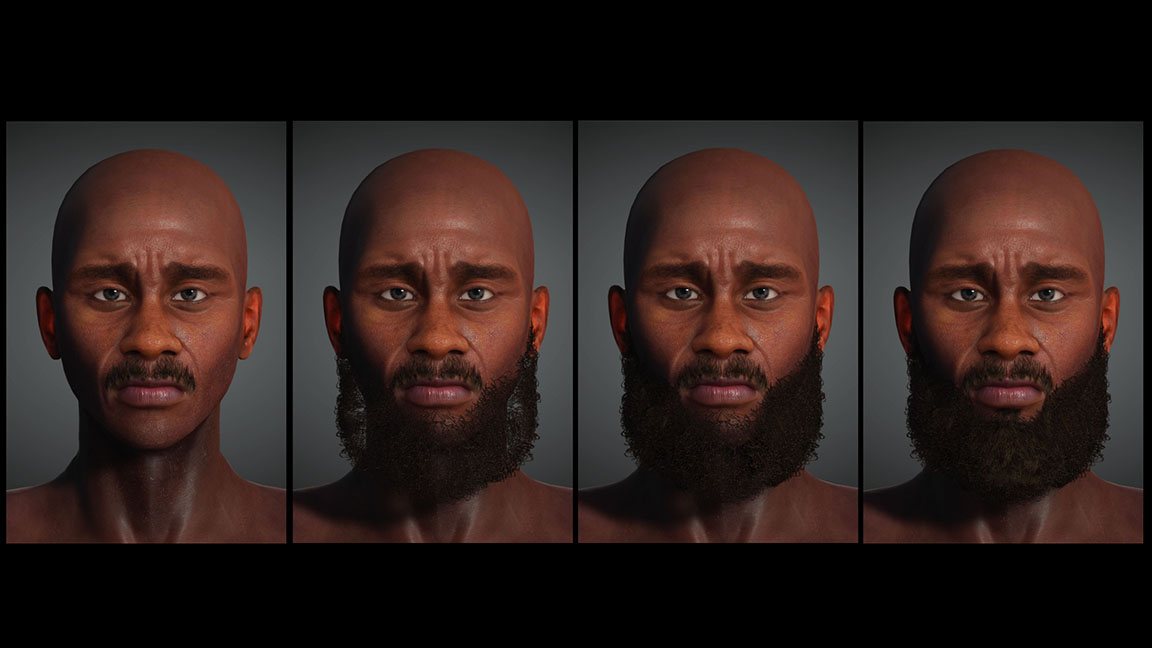
After this, I go to work on the character’s add-ons, most importantly, his beard. This element will be responsible for giving shape to his face and personality, so it's crucial that this is exactly the beard I have in mind.
For this, I choose one of the beards that comes with a mustache, which is also offered as a base in Character Creator, and I take this into ZBrush for reshaping. Even then, I add more hair cards with transparent textures of thick and kinky hair for a more fluffy and realistic look.
It’s also important to test out animations, and in this case, we had to make sure the beard didn’t deform (José Tijerín)
You can see the beard layers that are progressively applied in the image above. And thanks to Character Creator’s efficient system, the beard automatically adopts the weight maps of the face (when the program is kept open).
If we close Character Creator during this procedure, then we’ll have to manually synchronise the morphs of the face and beard when it comes time to animate facial expressions and perform lip-sync. It’s also important to test out animations, and in this case, we have to make sure the beard doesn't deform, due to its length, while the character turns his head.
To make the clothes and objects of the scene, I have to do a lot of research and ask for help from historian Retha Hill of the Ancestories XR group. I usually use, as was this case, Maya and ZBrush for modelling and Substance Painter for texturing. While Character Creator makes clothing setup fast and adaptable, we still have to make sure the clothes were error-free while the character moves about.
CC 4 lets us apply an animation test to check for possible errors with clothing and accessories, and allows us to correct them and prevent further complications later down the road. In the same way, it is now also possible to test, modify, and add facial expressions.
Animating the Character
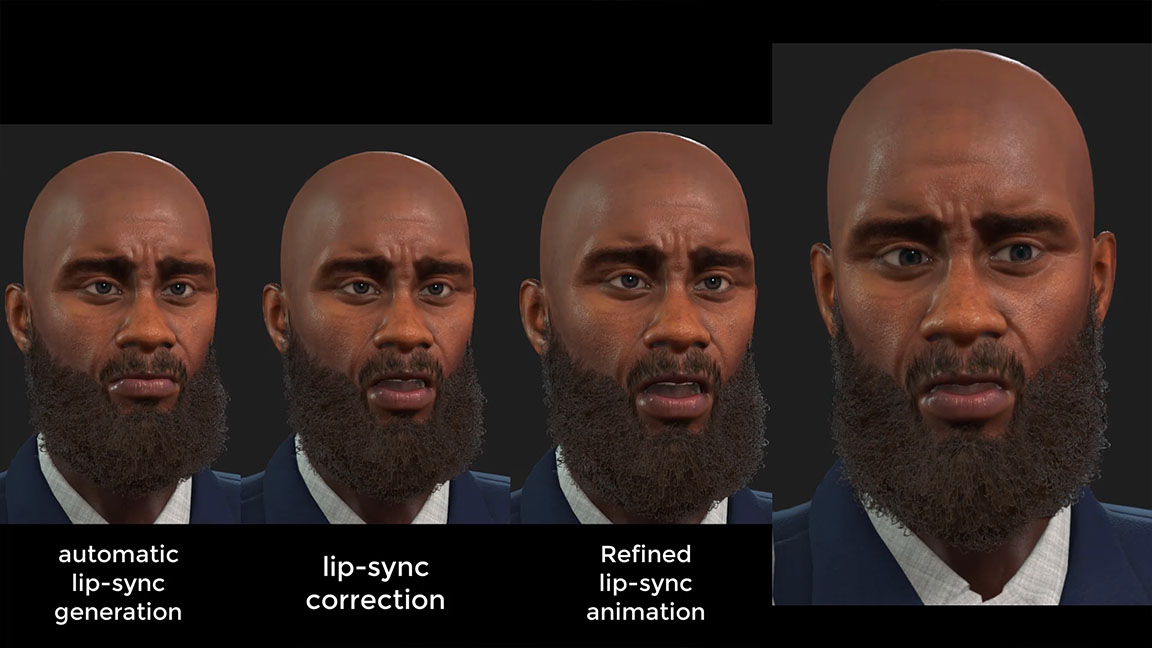
After having done all of the necessary checks, including correcting the position of the teeth and tongue – which is often overlooked – it’s time to export the character for animation in iClone, and after having set up the scene with props, I then apply lip-syncing.
Adding audio to the character as the base for the rest of the animation makes the most sense, as it gives us a clear guide to match the voice actor’s performance with the character’s movements and, ultimately, a much more realistic animation.
iClone also offers manual and easy ways to correct the lip-sync and match them to the words pronounced by the character, as well as intensity and emphasis of the syllables, which helped to get the animation just right.
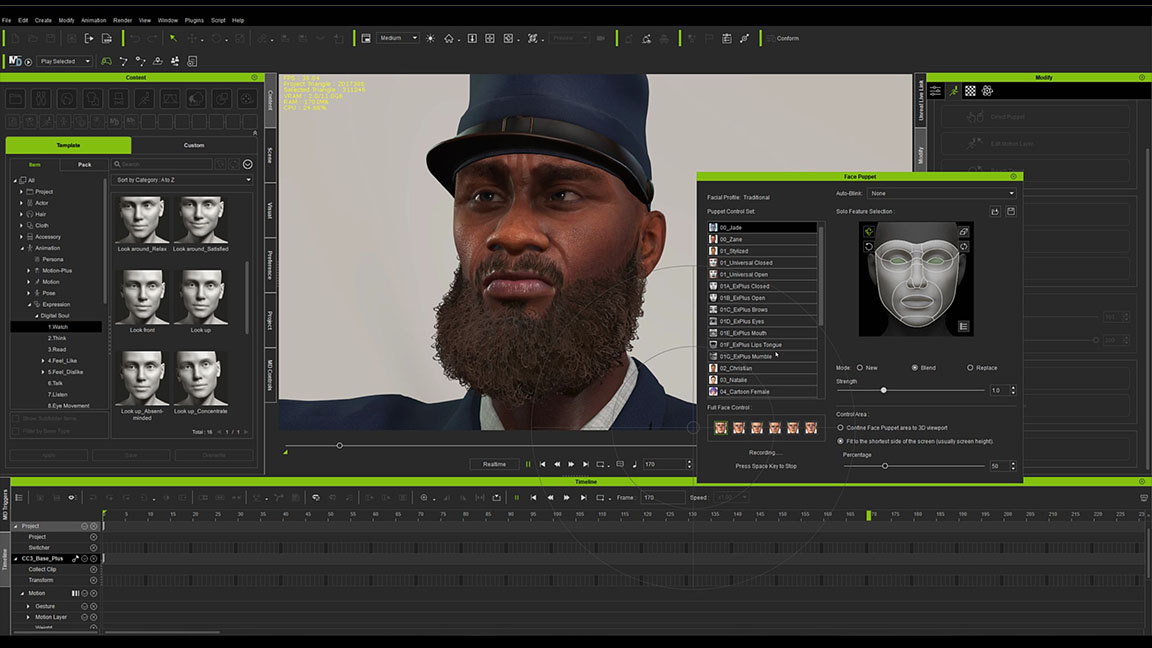
After having completed this process, it is time to use the revolutionary Digital Soul content pack available in the latest version of iClone. With this tool, we are able to apply subtle facial animations that contributed to the ‘presence’ of the character and enhanced his performance with the lip-sync already applied.
Simply by adding one of the many animations available in the package, the character comes to life in a solidly realistic way with subtle and natural movements that make the character feel more human. This becomes a great base animation, on top of which, we apply additional motion keys with tools such as the real-time Face Key and Face Puppet tools, to perfect and customise the performance until we have what we are looking for.
We are also able to layer on additional animations from Digital Soul without a loss in animation quality. It’s important to keep trying out several options and retouching the final animation, to give the performance a ‘genuine’ touch, fitted for the specific scenario.
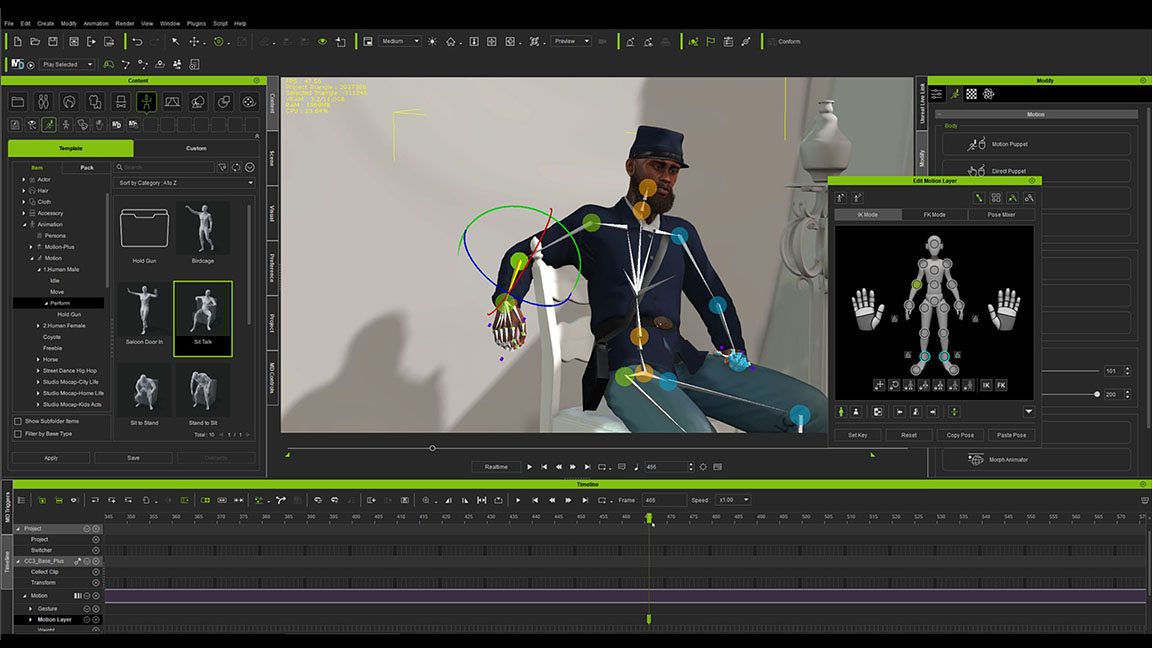
After having defined the facial expressions, it is now necessary to add an animation to the body to enhance the performance of the character. This should be done even if the camera shots do not capture the character completely, for example, even if the character's hips are not shown, their movement will inevitably affect the head and make their movement less stiff and more natural.
Fortunately one of iClone's default animations works perfectly for this task and only a couple of adjustments have to be made with the Edit Motion Layer window to make the character fit the chair. While applying this animation, I notice that there is a moment when the character changes his posture and raised his hand. Combining these movements with a change in the voice acting gives intention to the character and makes more sense and gives more power to the performance.
Exporting work to Omniverse
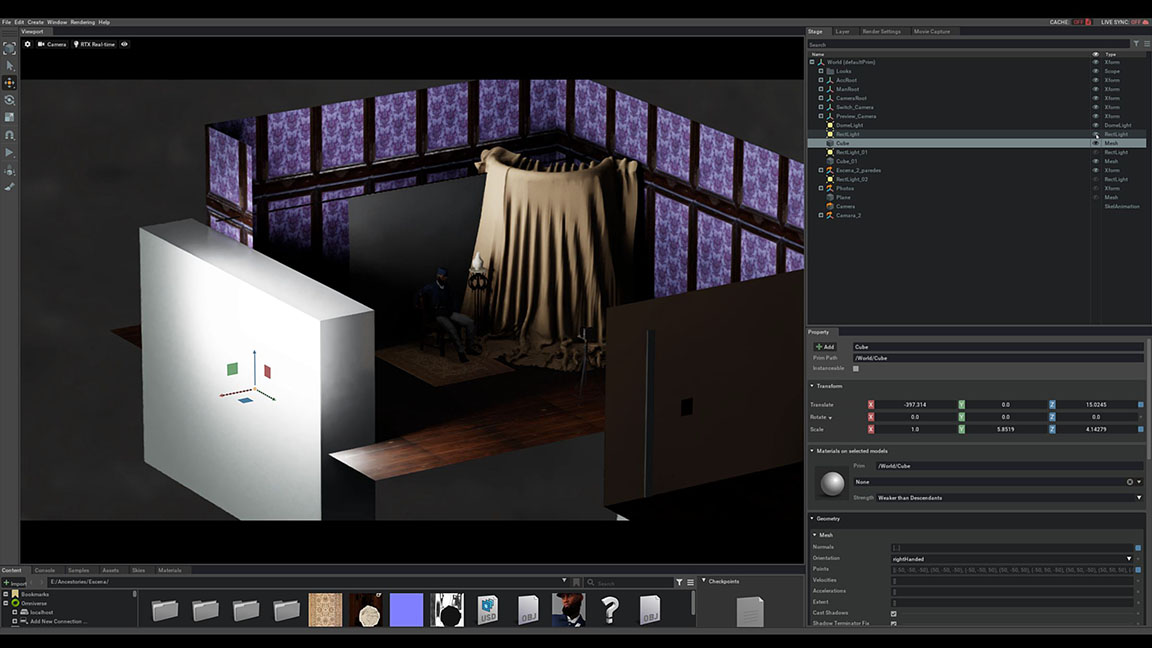
After having made sure the whole cinematic sequence looked exactly as planned with camera animation, which were mostly still-shots, we finish the project in iClone and export it to Omniverse for final rendering.
It’s a good idea to leave the scene lighting to Omniverse and check the result in RTX Path-Traced mode. Otherwise, the lighting can give unpredictable results in the final render, if we don’t preview the light bounces.
As shown in the image above, there is a general light thanks to the HDR image that encompassed the entire scene (not visible in the shot). Another two sets of lights are placed to illuminate the face.
This creates a more intimate effect for the scene
I then add a cube as a back-wall that created soft-shadows on the entire character and darker shadows for the lower parts of the character. In my opinion, this creates a more intimate effect for the scene. Finally, I place a yellowish cloth to bounce lighting onto the opposite side of the character’s face.
Now that everything was complete, the only remaining step is to configure the Movie Capture window and render for as many hours as necessary. In this case, rendering at 4K in RTX Path-Traced mode with 60 frames per second on my computer took more than 40 hours.
After assembling the video together with the music and audio, I am able to deliver the Ancestories XR cinematic advert to the team, which is then used to promote the project. Remember to visit ancestoriesxr.com to support the project and I recommend you to watch more related videos of this article on the official Reallusion Youtube channel.
Read more:
- Find out more about Tijerín Art (José Antonio Tijerín)
- Read up on Character Creator
- Discover more about iClone
- Download the Digital Soul 100+ content pack
- Learn more about Reallusion

Thank you for reading 5 articles this month* Join now for unlimited access
Enjoy your first month for just £1 / $1 / €1
*Read 5 free articles per month without a subscription

Join now for unlimited access
Try first month for just £1 / $1 / €1
Get the Creative Bloq Newsletter
Daily design news, reviews, how-tos and more, as picked by the editors.
José Tijerín is a digital illustrator, 3D sculptor, and creator of video games such as Dear Althea, available on Steam. His content pack We're Besties is currently for sale in the Reallusion content store and he is working on another game called From the Streets to the Script: A Carabanchel Story.
- Ian DeanEditor, Digital Arts & 3D
