Model luminous 3D surfaces with these texture tips
Master CG lighting with this advice for luminous surfaces.
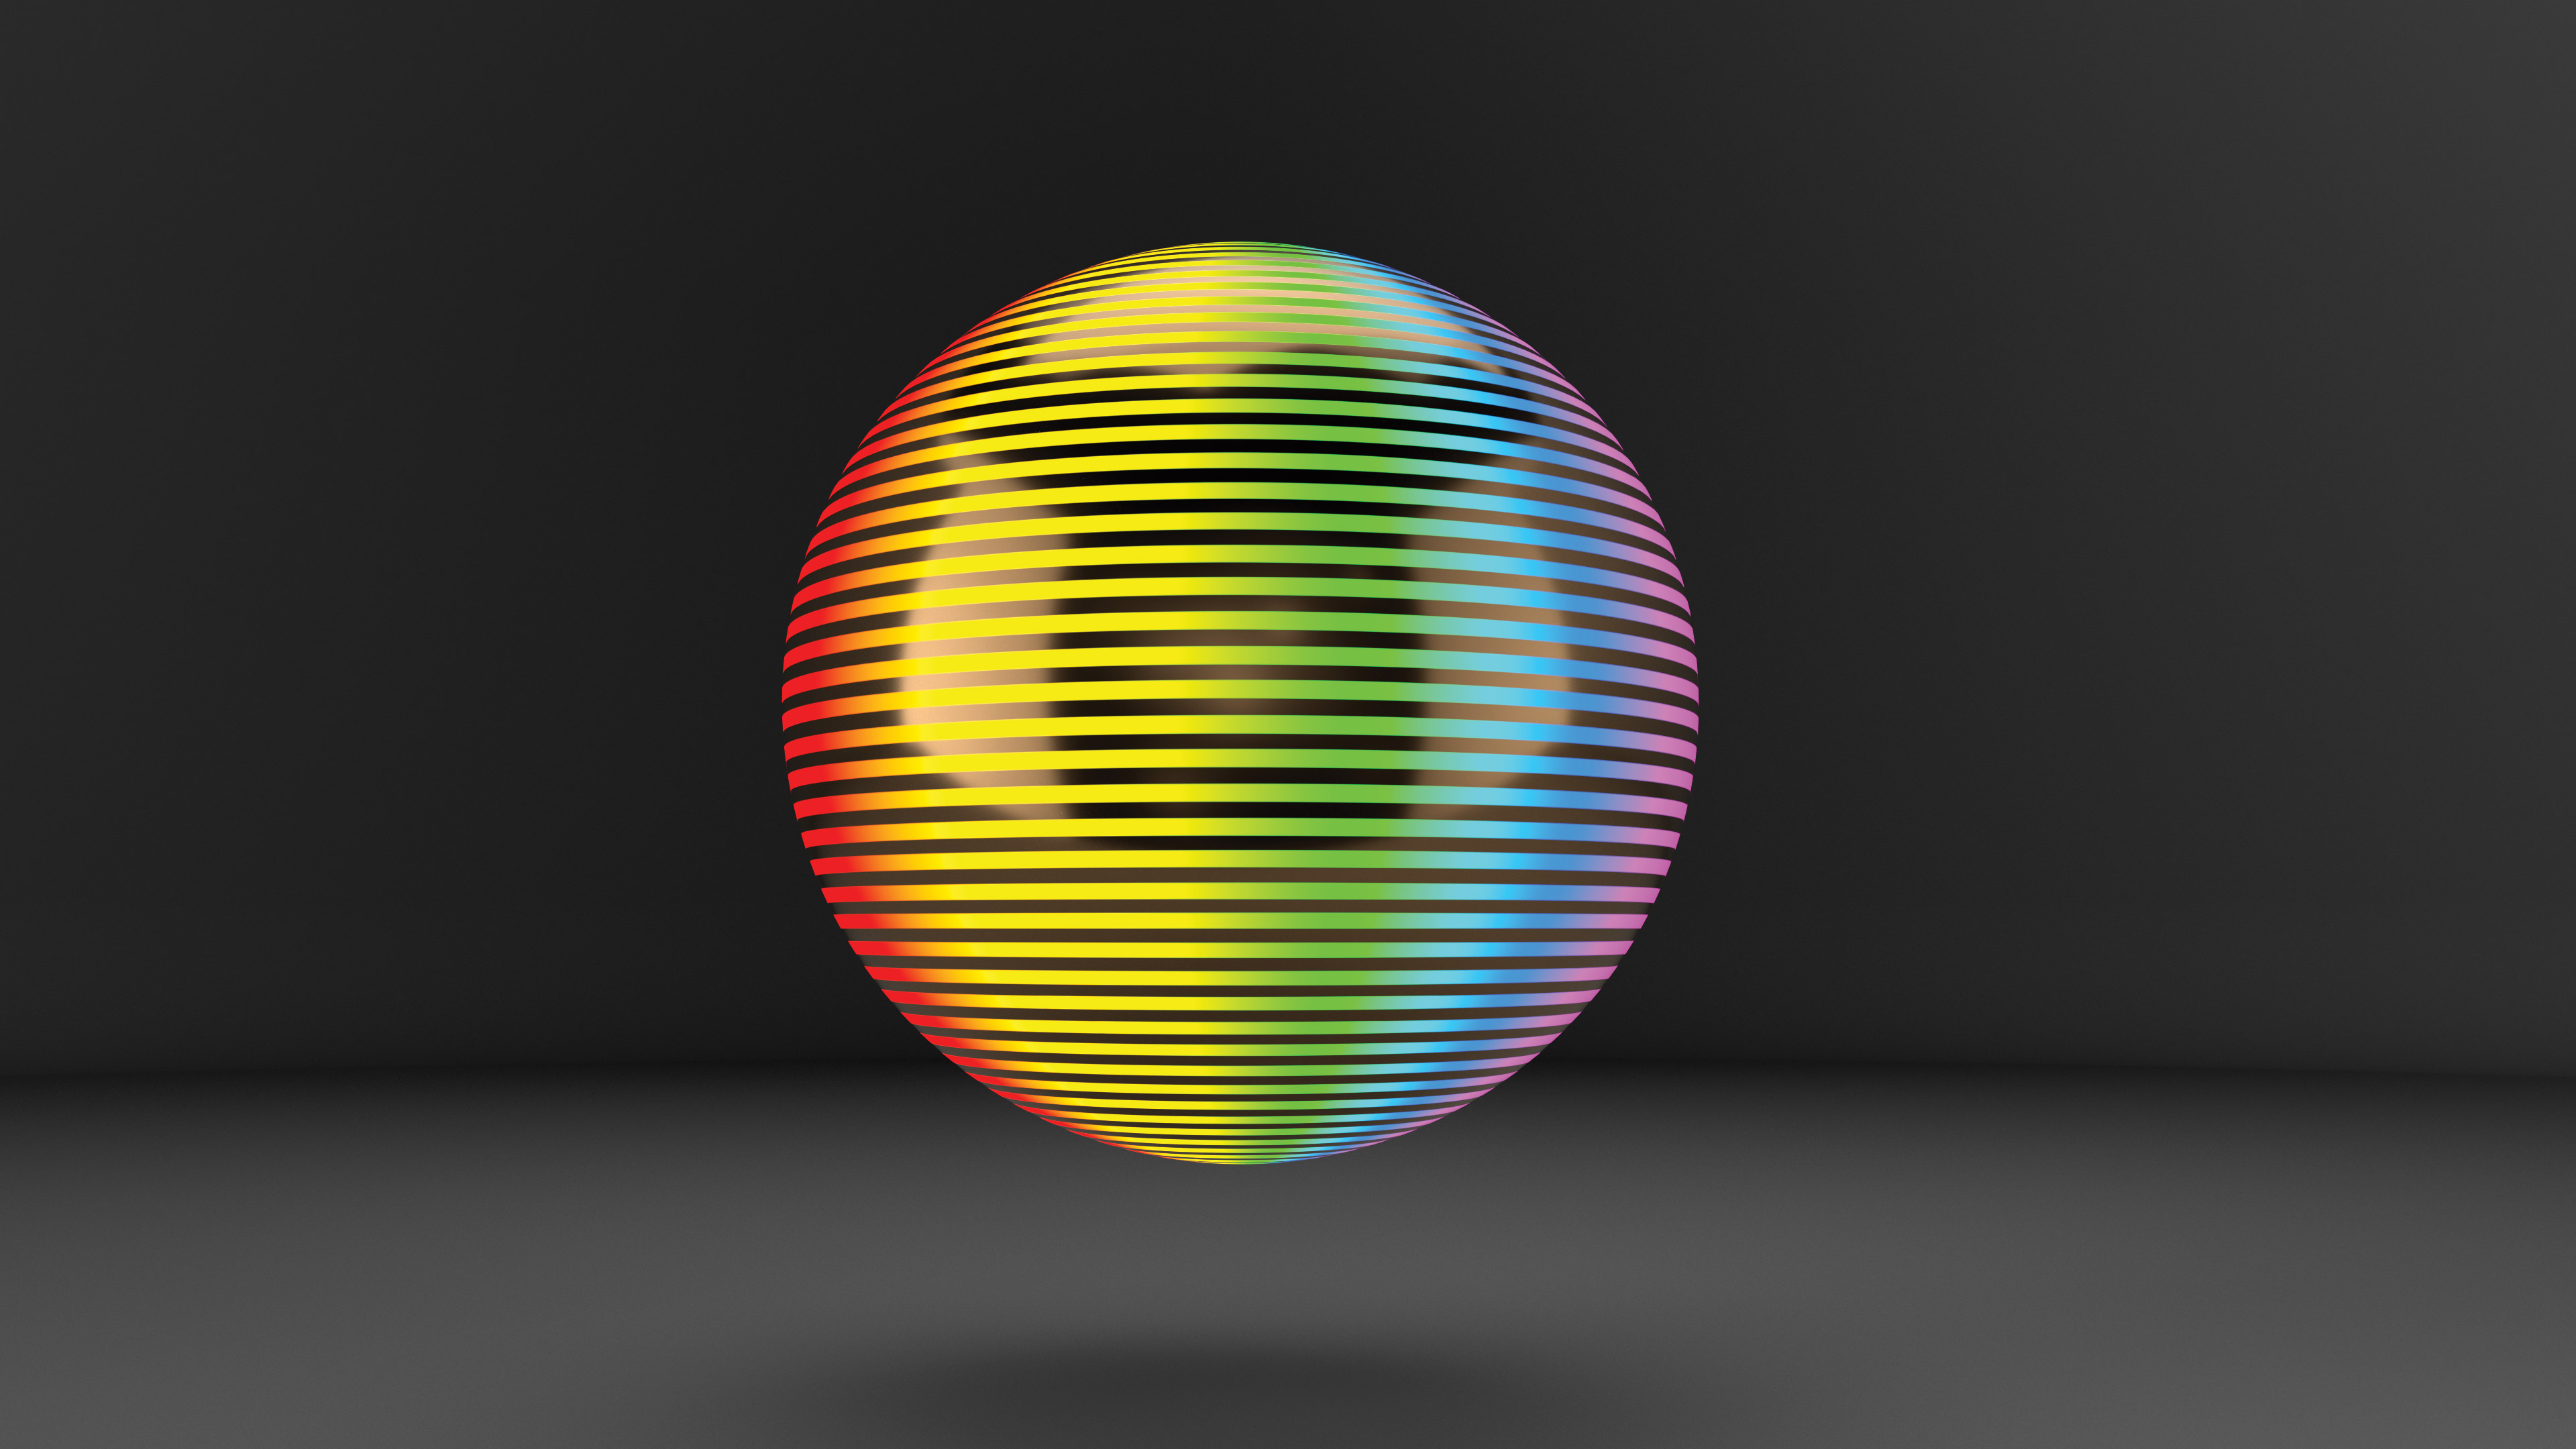
If you’re new to CGI, you may feel that there are far too many 3D art tools to choose from in a dizzying array of software. In this article I'll aim to break everything in CGI down to the very basics, so that every artist can be armed with the knowledge of which tool is best. Let’s explore materials and shaders by looking at luminous surfaces.
Lighting is one of the key skills to master in CG, and learning what each of the light types can do really helps artists mimic the real world in their CG scenes. The issue is, not all lights are… lights. A lot of objects emit light, a classic example being the rear of a firefly. So how do CG artists re-create emissive objects? They do it through the use of luminous effects within the material itself.
The luminance properties of a shader/material are some of the most fun elements of texture work, as they can bring a scene to life instantly, whether it’s lava from a volcano or the screen of an old TV set. As the luminance channel is usually interacting with a wide range of colours from the shader, it really adds pop to a scene.
Clever use of luminance properties can bring big improvements to a scene
Mike Griggs
Depending on the render software being used, the luminance properties of a material can have a lot, if not all, of the same properties as a light object, making them truly powerful and a key part of a compositing workflow. Clever use of luminance properties can bring big improvements to a scene, especially for effects that would be quite difficult to create with light objects alone. Motion graphic UI elements, for example, are really enhanced by the use of emissive properties.
As luminance materials are embedded within a material, they can use the same sources as other parts of the material, for example animations for the screen of a TV can be played through a luminance channel, creating realistic interactive lighting.
In fact, luminous materials can also be used as actual lighting, for example when lighting a product shot. The full range of modelling tools from the application can be used to create easy-to-preview light shapes to enhance the reflections in a scene.
01. Add luminance
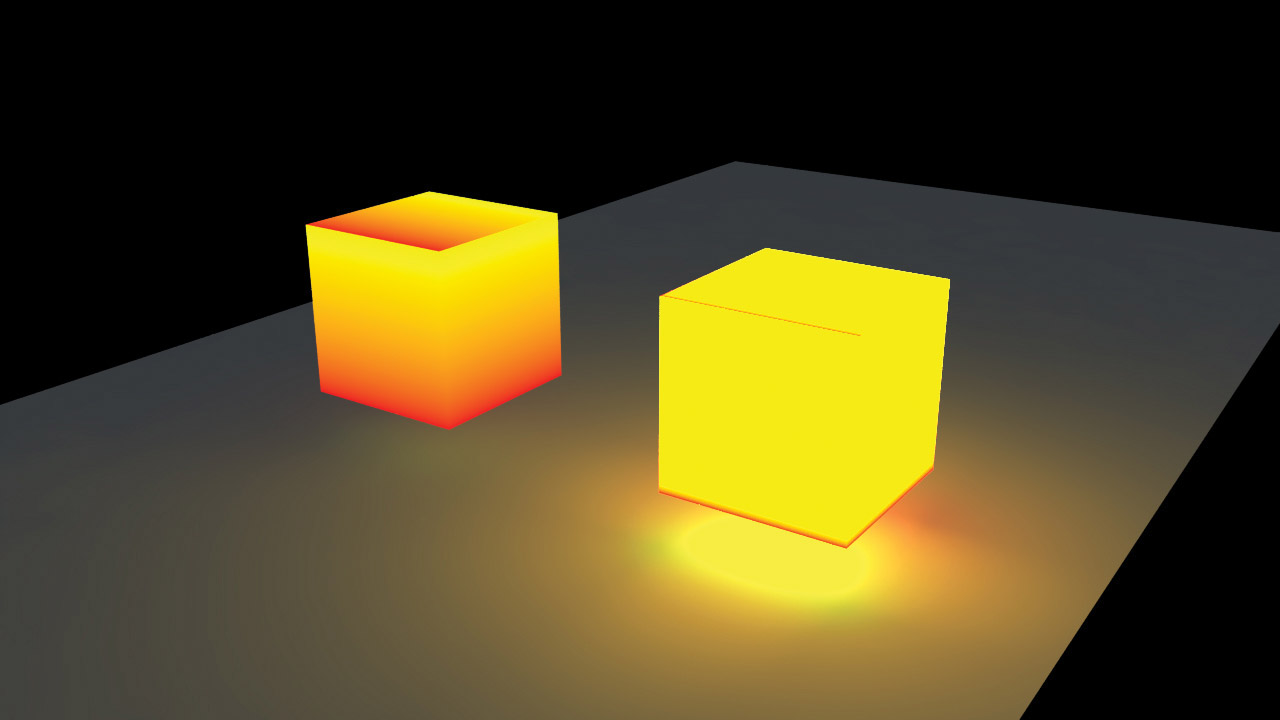
Look for a group of settings that may be called Luminance, Incandescent or Emission. These usually tend to be the same options as found in a diffuse colour or similar channel.
Get the Creative Bloq Newsletter
Daily design news, reviews, how-tos and more, as picked by the editors.
The major difference is with the intensity option, which can quickly blow out image-based textures in the emission channel to the predominant colour. If this is the case, look to balance the lighting in the scene in order to achieve a much more realistic-looking result.
02. Make use of animated textures for screens
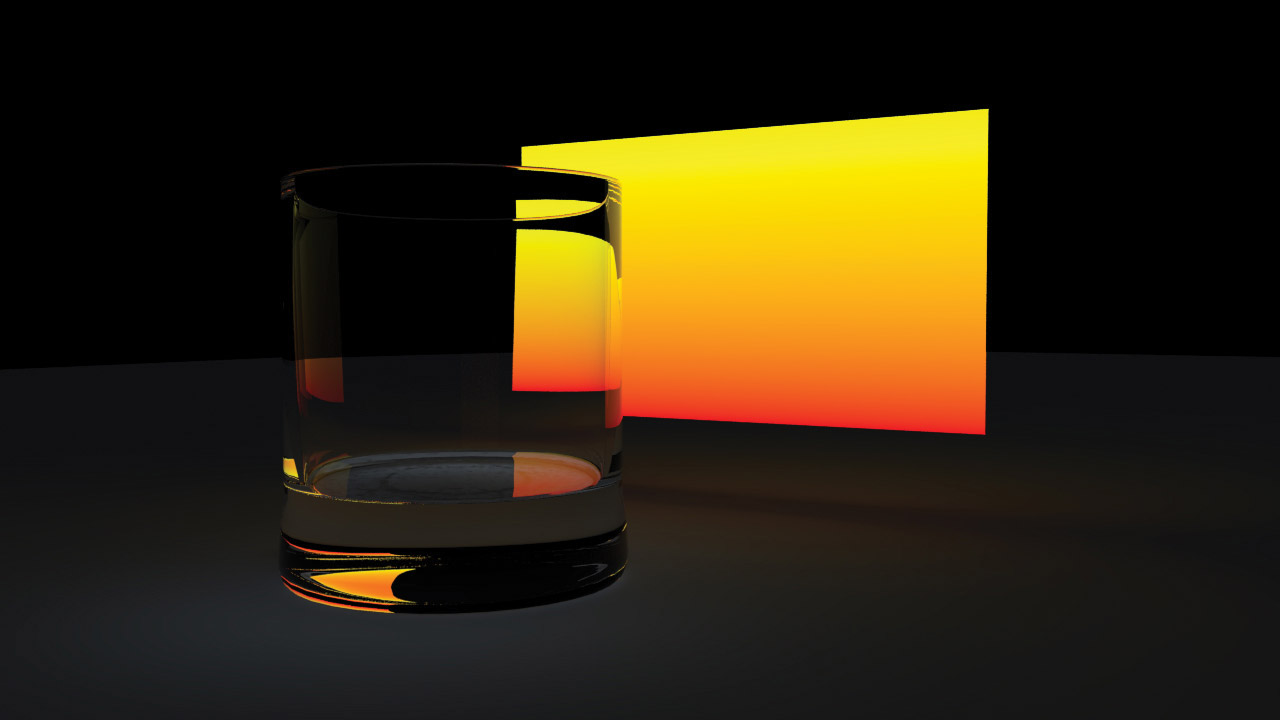
One of the best uses for emissive textures is in creating animated screens, as these can bring in texture sequences which can then interactively light a scene. As everything is being calculated in the render, complex effects such as refraction and subsurface scattering will react properly to the emissive texture.
These kind of effects would be difficult to match in compositing. It is always best to render emissive textures ‘in-camera’ if supported, and if it doesn’t impact on your project time.
03. Use the luminance channel for compositing
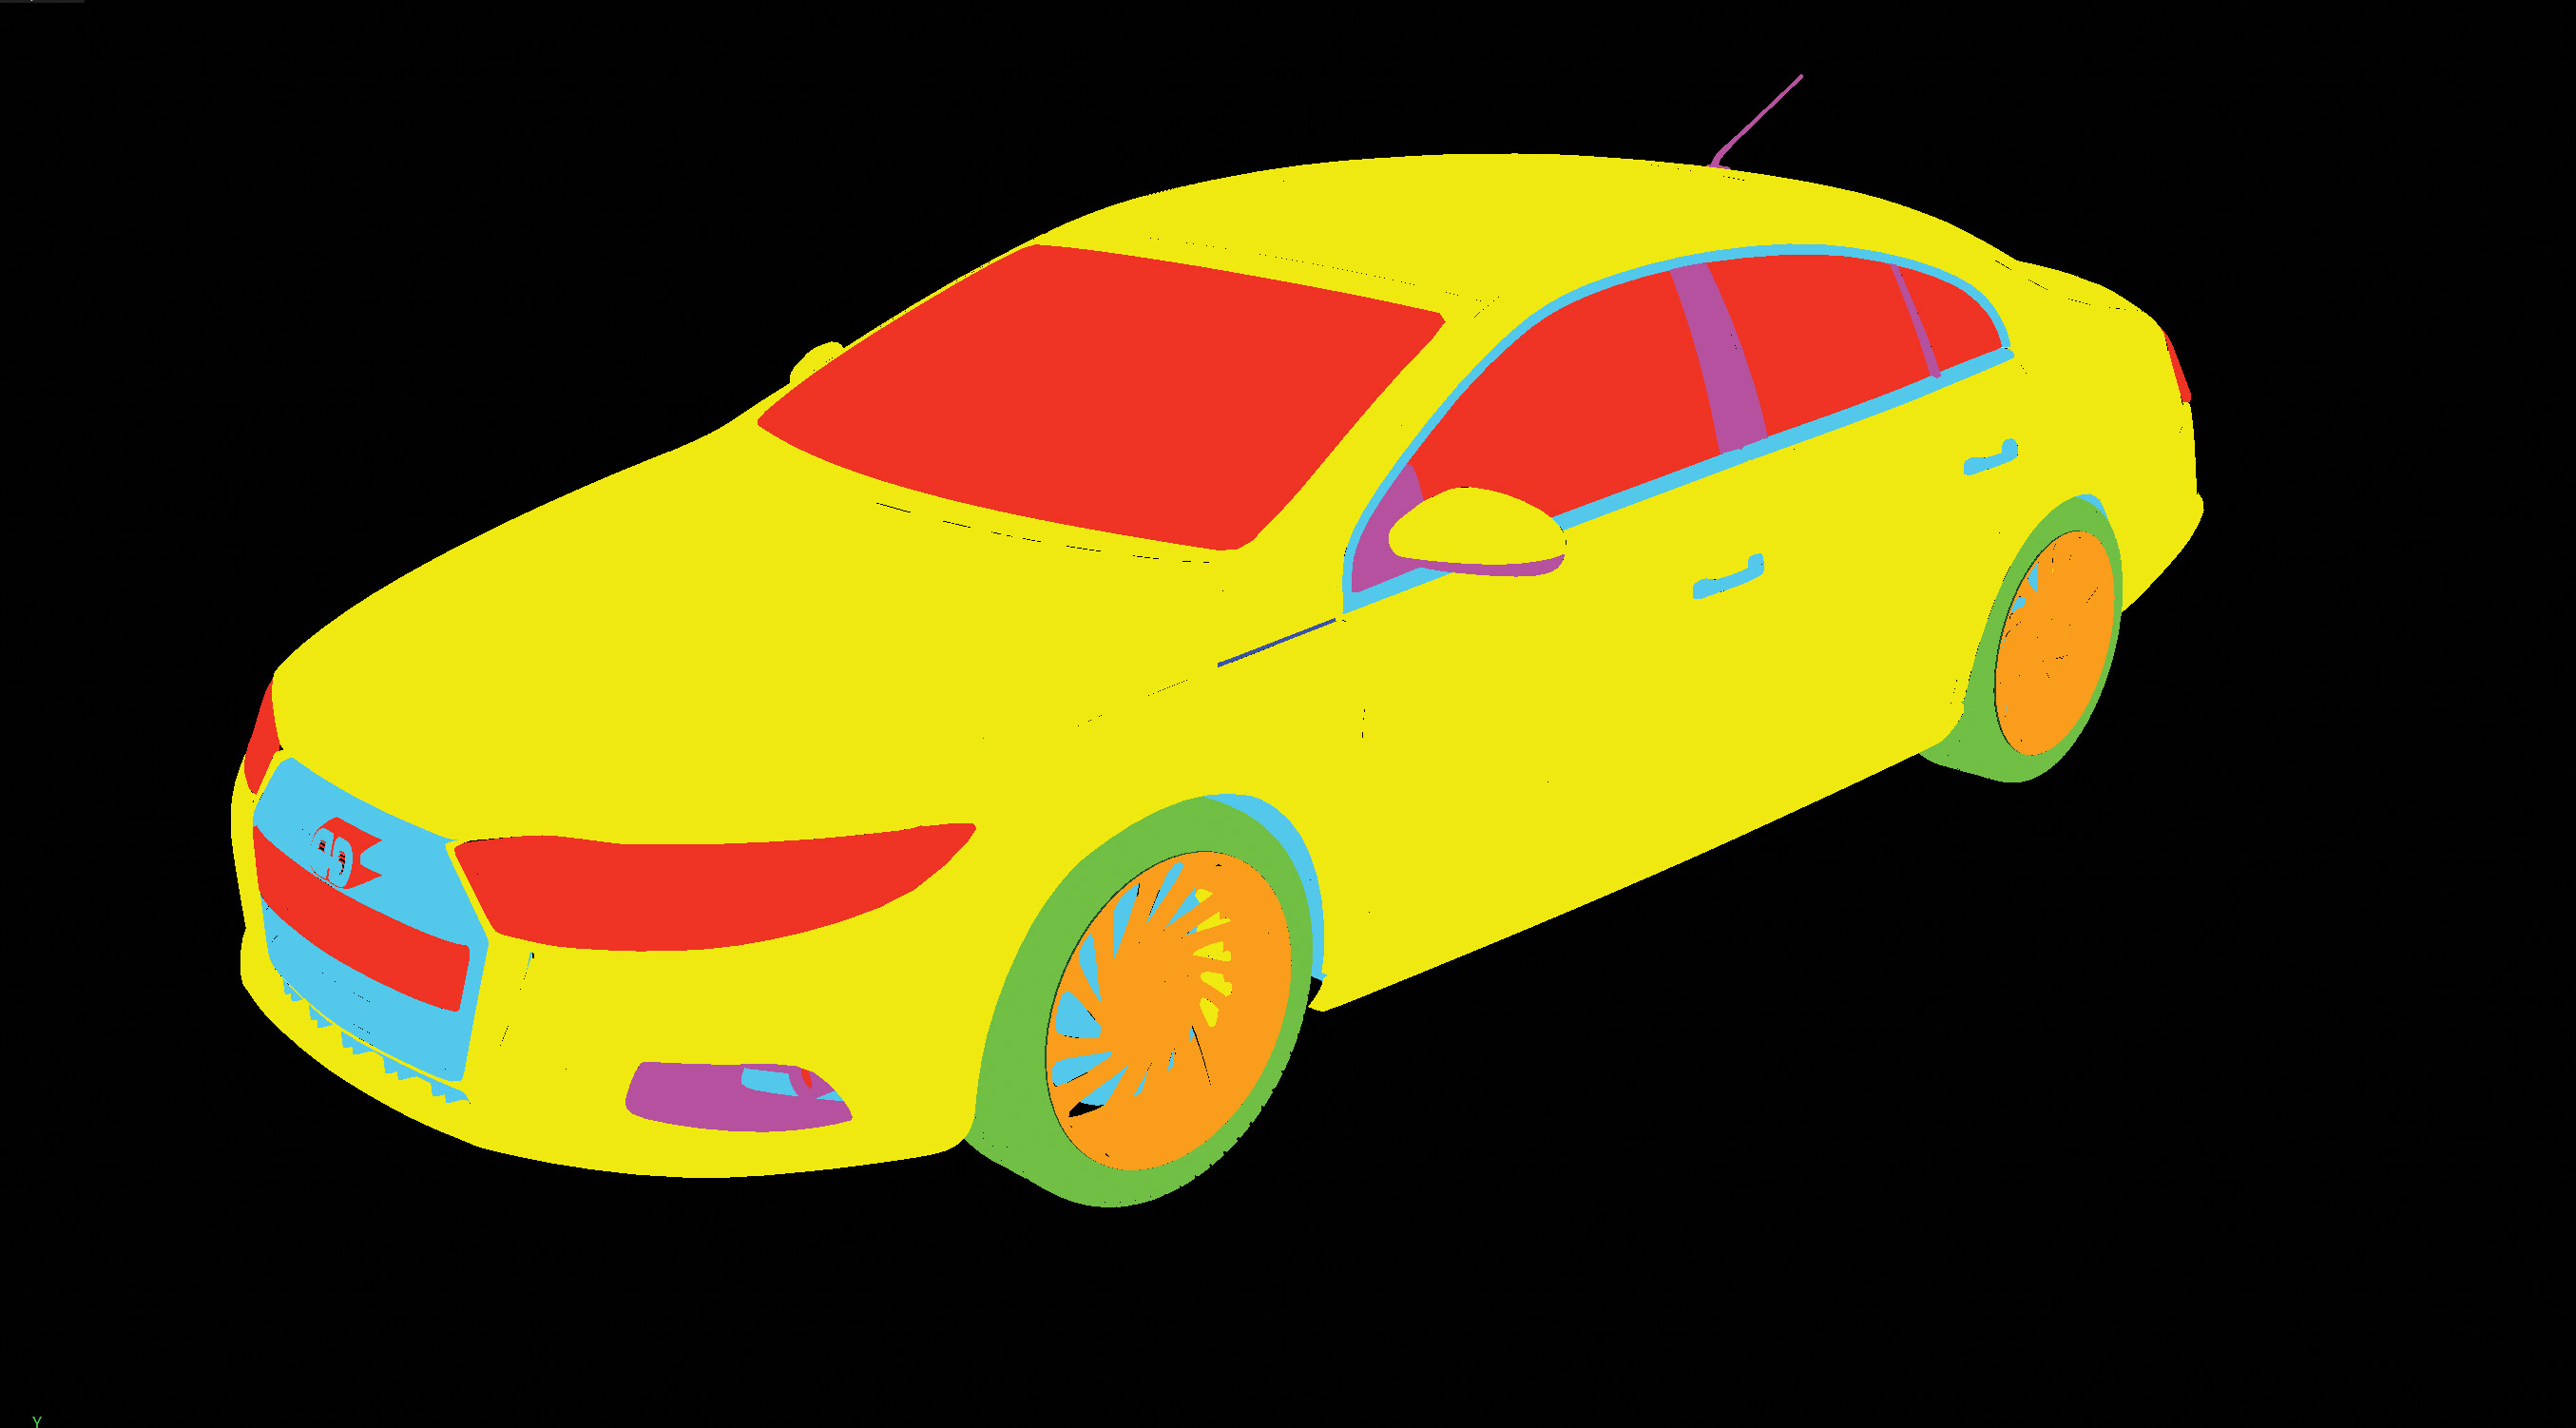
A great use of the luminance channel is to make coloured mattes of a scene if the render engine in question has limited matte support. Once a scene has been rendered normally, make a new version and switch off settings such as Global Illumination and apply new shader materials to the objects.
Using pure red, green and blue is a great way to start, as these colours can then be used by keying software in the compositing application, to create a variety of mattes from one image pass. This speeds up the compositing process and saves disk space.
04. Emissive textures for highlighting objects
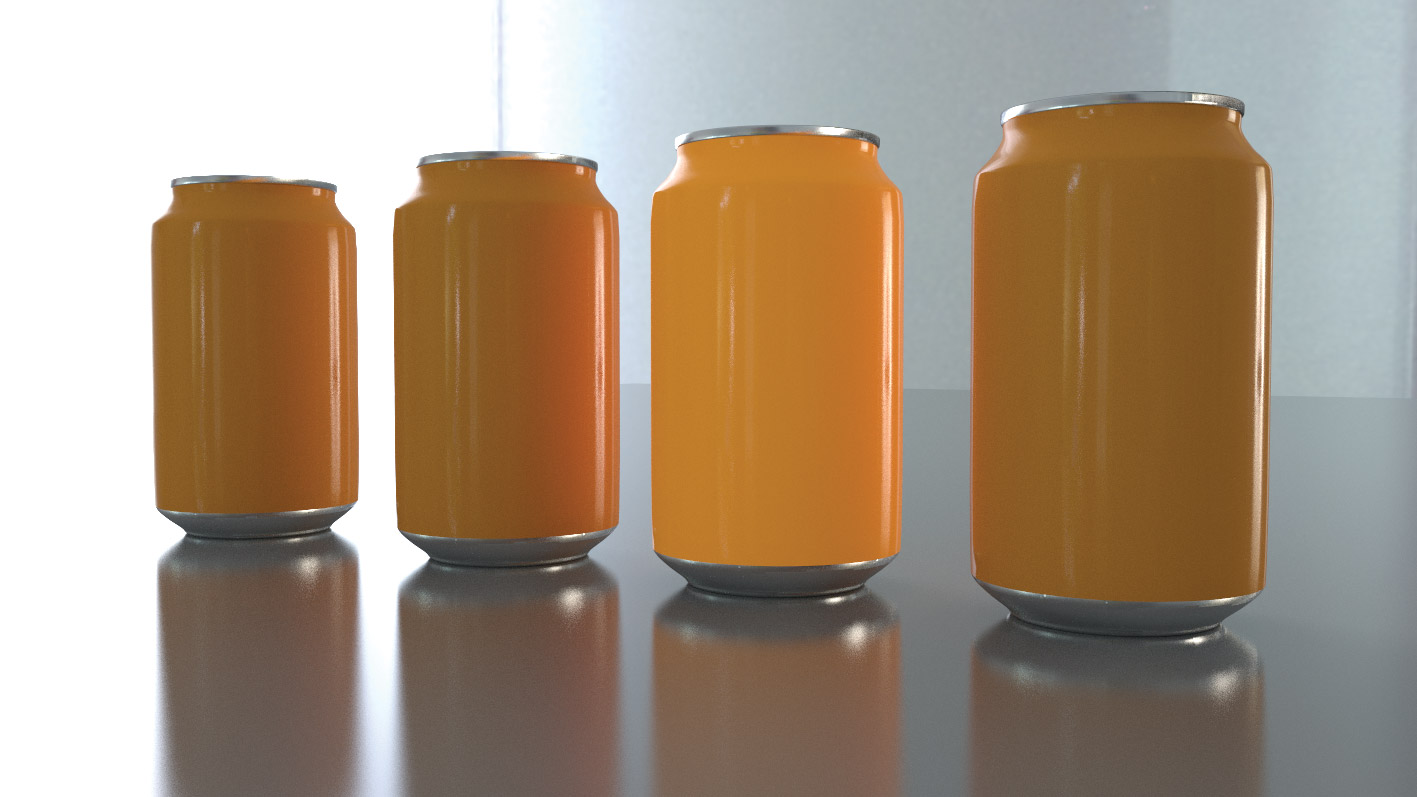
Using emissive textures can be a great way to bring objects in a scene to life, whether this is by using them as highlights on an edge of a motion graphic UI element, or to add an extra bit of colour to an object in a scene.
If a scene isn’t looking exactly how you want it or an object isn’t clearly defined for its purpose, do not be afraid to add a touch of emission colour (usually the same as the diffuse colour) in order to help the material pop in the scene.
05. Create bespoke lighting rigs
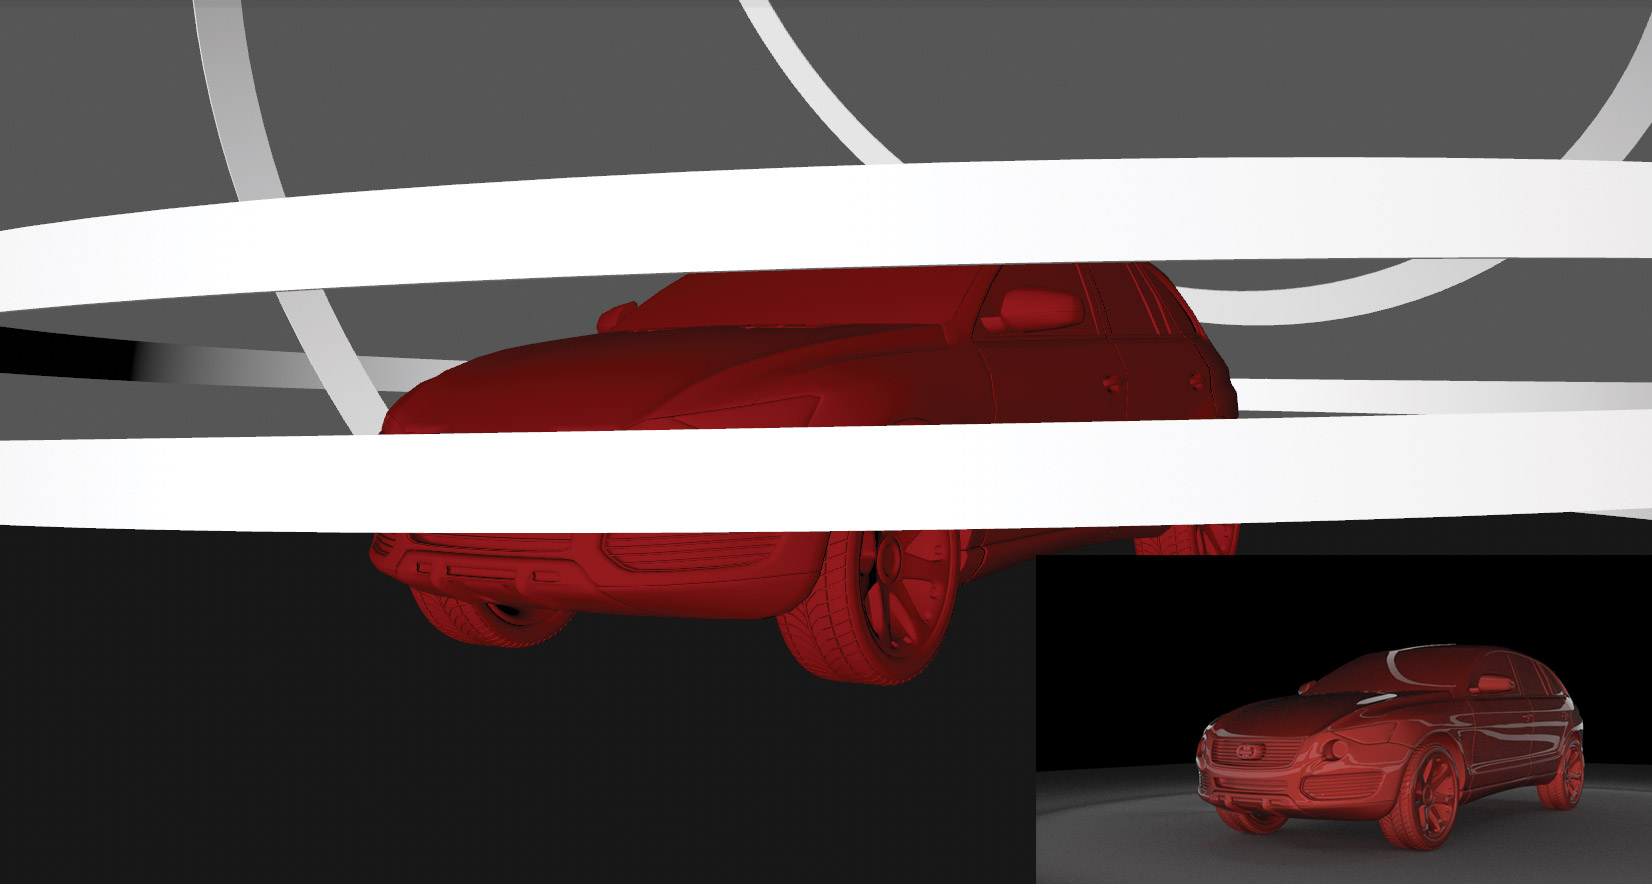
One of the hardest things to do is create exciting lighting. This is where emissive textures can come into their own, as they can be combined with a 3D application’s modelling toolset to create bespoke lighting setups, for product shots for example.
Many 3D applications have controls regarding visibility of objects. Use the visibility tools if they are available to control whether a lighting object is seen in the render, creating an easy-to-understand lighting setup.
This article was originally published in issue 238 of 3D World, the world's best-selling magazine for CG artists. Buy issue 239 or subscribe to 3D World here.
Related articles:

Thank you for reading 5 articles this month* Join now for unlimited access
Enjoy your first month for just £1 / $1 / €1
*Read 5 free articles per month without a subscription

Join now for unlimited access
Try first month for just £1 / $1 / €1

Mike Griggs is a veteran digital content creator and technical writer. For nearly 30 years, Mike has been creating digital artwork, animations and VR elements for multi-national companies and world-class museums. Mike has been a writer for 3D World Magazine and Creative Bloq for over 10 years, where he has shared his passion for demystifying the process of digital content creation.
